Welcome to TheCapn's new journal. In this journal I'll be documenting my new aeroponics growing chamber.
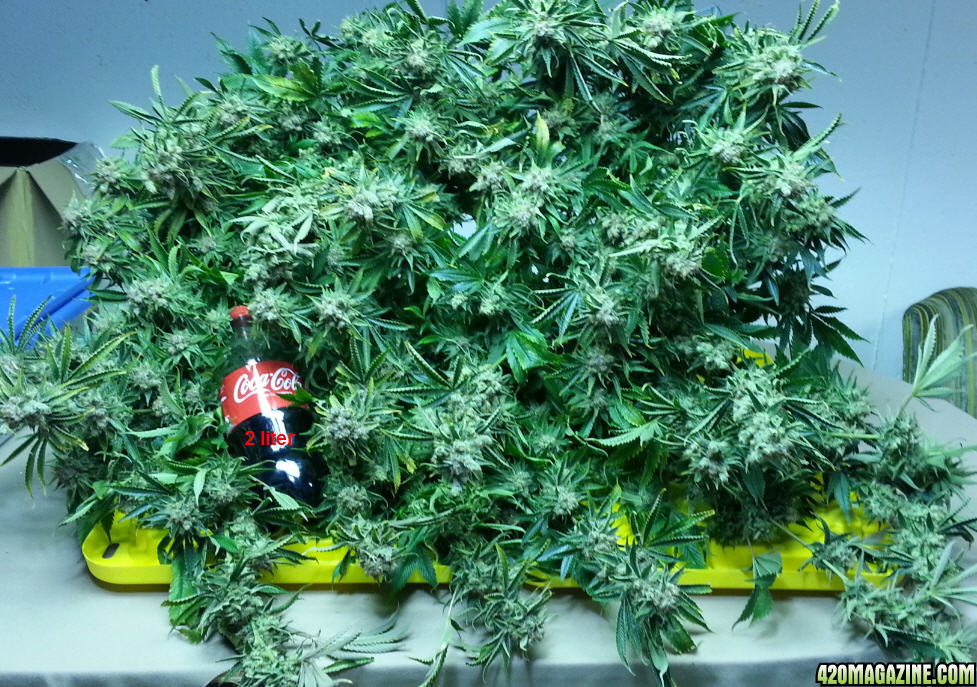
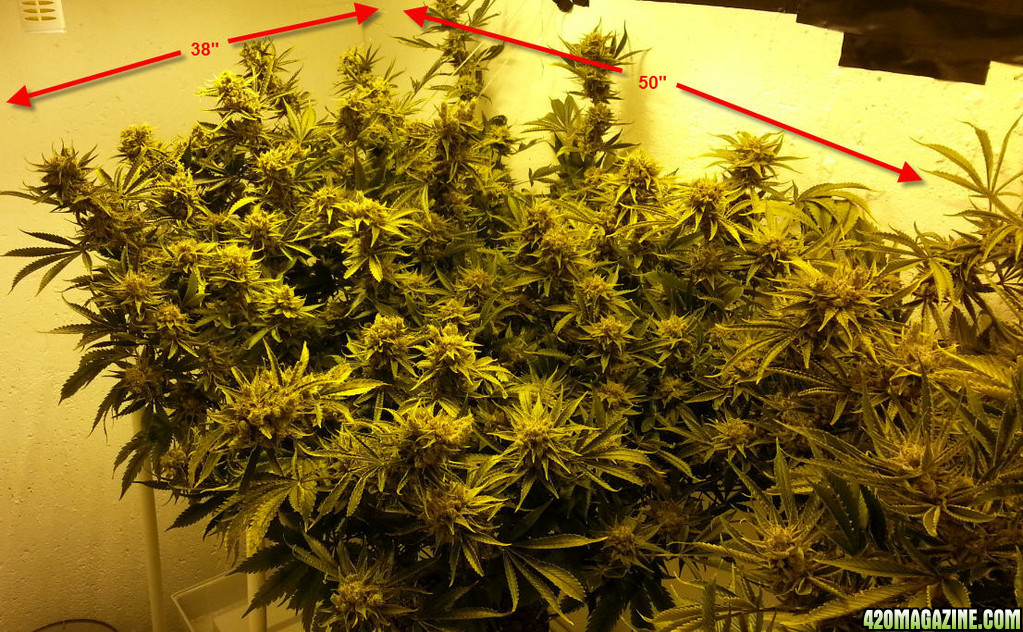
If you haven't read any of my stuff, check my signature. I've written several articles for 420Mag; everything from how to clone, to how to accelerate vegetative growth. People who know me, will tell you I've graduated to a simple, yet effective growing method. I grow a couple 1lb yielding plants at a time - SCROG - 600W per plant - top feed, grodan grow cubes, aka, croutons. Here are a couple snapshots:

I enjoy sharing my techniques with my readers. You won't see me use confusing stoner slang like "bennies, nutes, and flip". I write clearly so both beginners and advanced growers can understand.
People ask me how I get such big yields in plan 'ole rockwool. Nothing I do is a secret or unheard of. I've only built on what I've seen others do. I focus on simplicity, and the basics of growing (air, nutrients, and light). Writing these articles is my way of giving back to the community, for everything I've learned from these forums in the last couple years. If you're interested in my favorite growing method (from the pictures above), check out my SIMPLE HYDROPONICS thread here.
There will be no "Capn Style" in this journal, and this grow won't be like you've seen me do before. What's the point in showing you what you've already seen? I'll still be focusing on a single large plant, however, I'm stepping way out of my comfort zone with all new methods. I'm going to attempt something I have never seen anyone do before; My goal is to grow a single, large plant in a 4 x 5 space with 900watts, in a low pressure aeroponic chamber, with a final yield goal of 1.5 pounds. Yep, I said 24oz, 4 oz more than my previous record. Here are a few highlights you'll see in this grow:
* Time lapse photos to demonstrate aeroponic growth rates, (we will compare to my previous method).
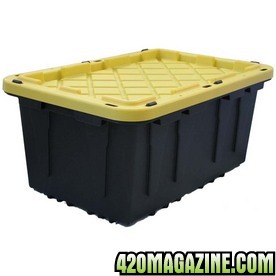
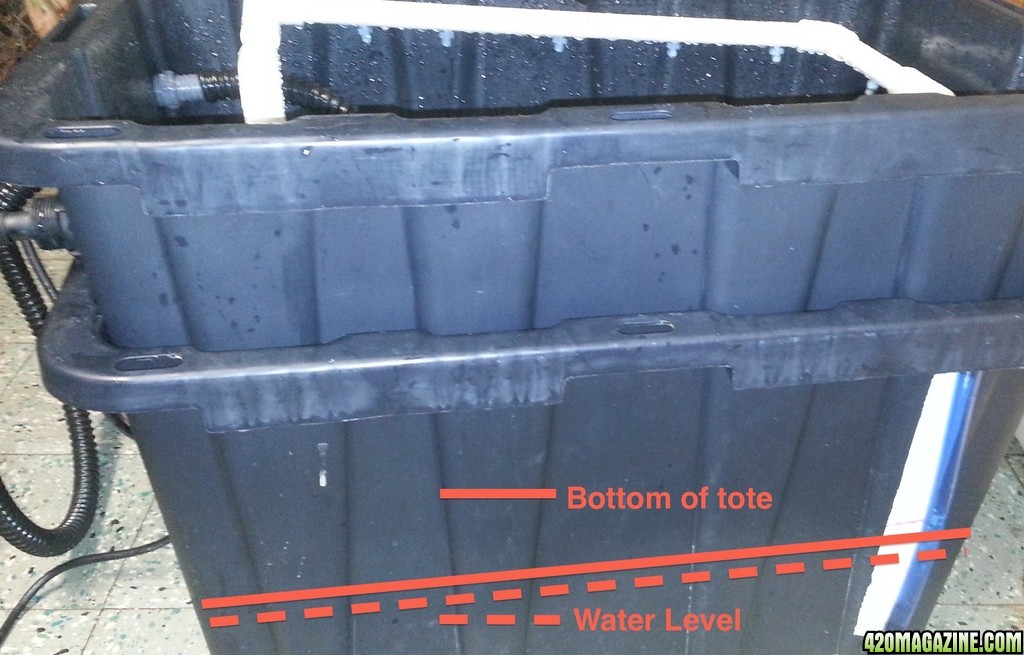
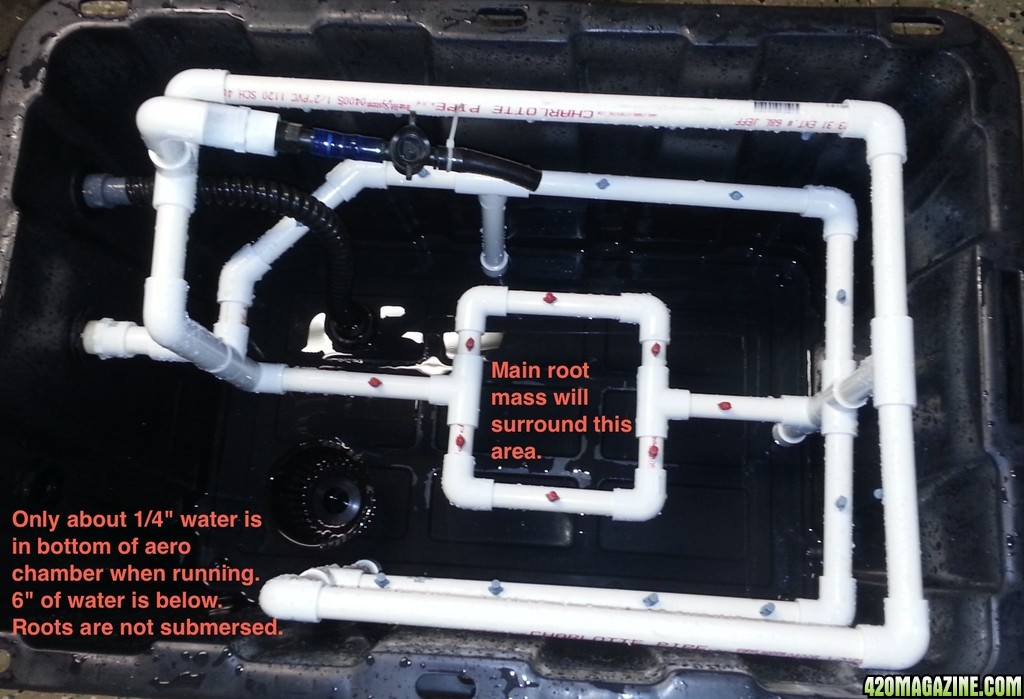
* An aeroponic grow chamber like you've never seen before, designed to take a single plant, from clone to maturity. Including enough information for you to build your own, under $100.
* Semi Vertical lighting, 900 watts.
* NO SCROG. I'll be using a unique branch spacing method I've been working on.
* A new strain with a lot of hype behind it. Sorry, I will not be announcing the strain until the end of the grow.
* I'll be focusing on the aero grow chamber, but you will also get to see my grow space design, and everything else I'm doing in the mini grow operation.
* All the basics: Training (LST), topping, bending, cloning, nutrient recipe, beneficial bacteria, light placement,
This grow is certainly do-able for many of you to replicate in your own home. But it won't be for the faint at heart either. It requires a Chiller, 24/7 monitoring of PH, EC, and Temperature, and a whole lot of experience. I'll tell you how, when, and most importantly, WHY I'm doing what I'm doing.
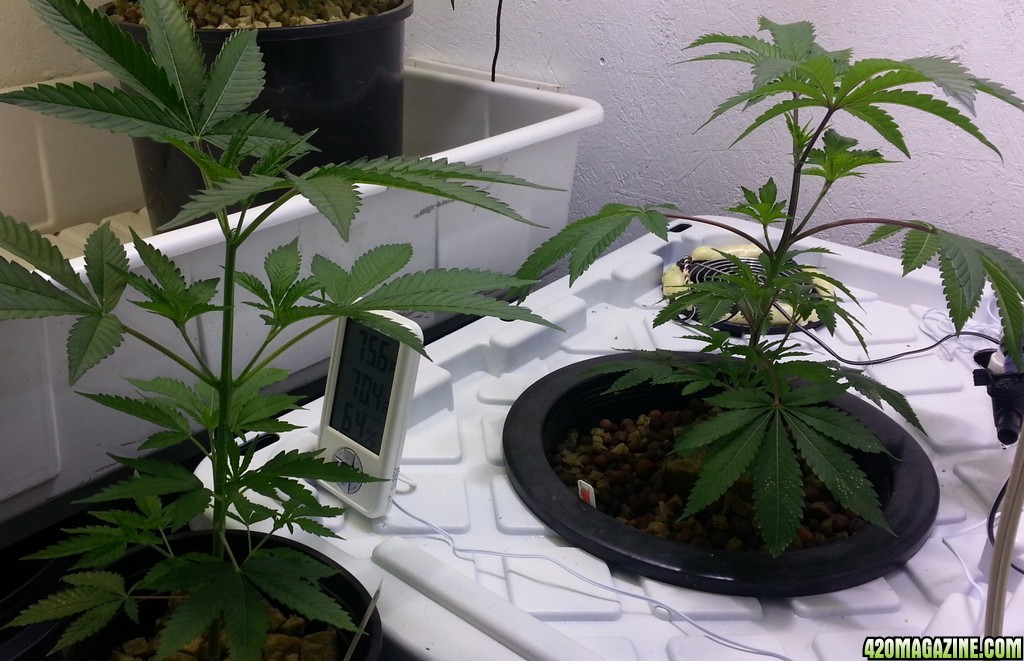
This will be a ~3-4 month journal. But don't worry, I'm not going to bore you with pictures of clones or seedlings. You've seen 100 of those already. We will start with a plant, which started from clone. This plant has been topped for the first time recently, and is soon to get into rapid growth. It was put into the aeroponics grow chamber today.
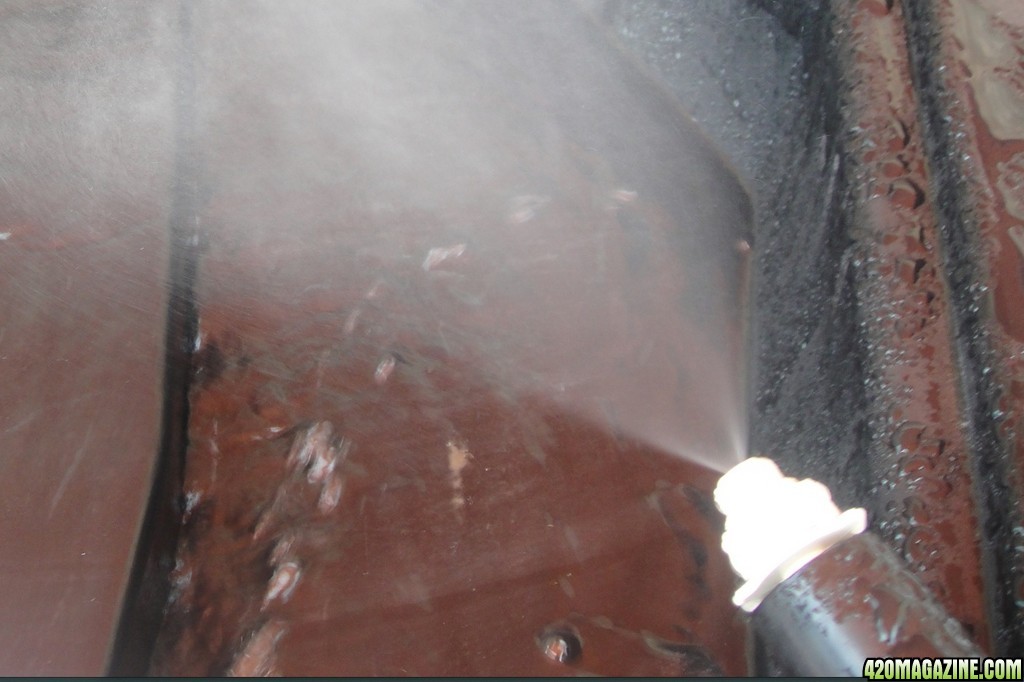
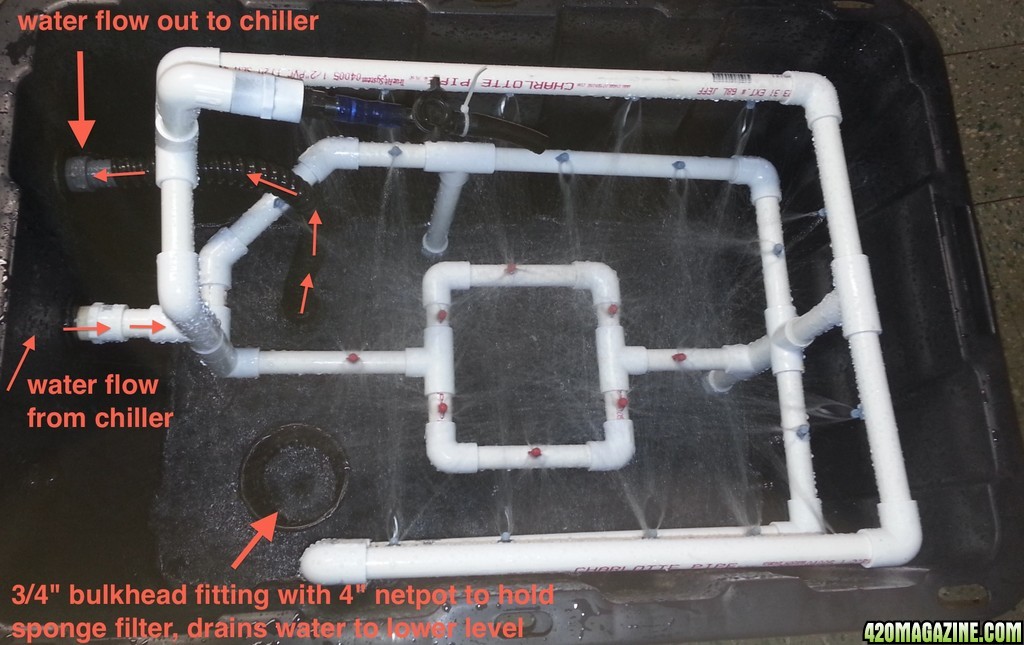
Here is a preview of the (low pressure) aero chamber; I will get in to the complete, design of it tomorrow.

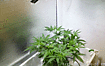
And here is our soon to be famous strain.

Anyone is welcome to ask questions or provide constructive comments, especially those with aeroponics experience. For questions not related to this journal, please PM me.
Thanks for watching,
The Capn
If you haven't read any of my stuff, check my signature. I've written several articles for 420Mag; everything from how to clone, to how to accelerate vegetative growth. People who know me, will tell you I've graduated to a simple, yet effective growing method. I grow a couple 1lb yielding plants at a time - SCROG - 600W per plant - top feed, grodan grow cubes, aka, croutons. Here are a couple snapshots:
I enjoy sharing my techniques with my readers. You won't see me use confusing stoner slang like "bennies, nutes, and flip". I write clearly so both beginners and advanced growers can understand.
People ask me how I get such big yields in plan 'ole rockwool. Nothing I do is a secret or unheard of. I've only built on what I've seen others do. I focus on simplicity, and the basics of growing (air, nutrients, and light). Writing these articles is my way of giving back to the community, for everything I've learned from these forums in the last couple years. If you're interested in my favorite growing method (from the pictures above), check out my SIMPLE HYDROPONICS thread here.
There will be no "Capn Style" in this journal, and this grow won't be like you've seen me do before. What's the point in showing you what you've already seen? I'll still be focusing on a single large plant, however, I'm stepping way out of my comfort zone with all new methods. I'm going to attempt something I have never seen anyone do before; My goal is to grow a single, large plant in a 4 x 5 space with 900watts, in a low pressure aeroponic chamber, with a final yield goal of 1.5 pounds. Yep, I said 24oz, 4 oz more than my previous record. Here are a few highlights you'll see in this grow:
* Time lapse photos to demonstrate aeroponic growth rates, (we will compare to my previous method).
* An aeroponic grow chamber like you've never seen before, designed to take a single plant, from clone to maturity. Including enough information for you to build your own, under $100.
* Semi Vertical lighting, 900 watts.
* NO SCROG. I'll be using a unique branch spacing method I've been working on.
* A new strain with a lot of hype behind it. Sorry, I will not be announcing the strain until the end of the grow.
* I'll be focusing on the aero grow chamber, but you will also get to see my grow space design, and everything else I'm doing in the mini grow operation.
* All the basics: Training (LST), topping, bending, cloning, nutrient recipe, beneficial bacteria, light placement,
This grow is certainly do-able for many of you to replicate in your own home. But it won't be for the faint at heart either. It requires a Chiller, 24/7 monitoring of PH, EC, and Temperature, and a whole lot of experience. I'll tell you how, when, and most importantly, WHY I'm doing what I'm doing.
This will be a ~3-4 month journal. But don't worry, I'm not going to bore you with pictures of clones or seedlings. You've seen 100 of those already. We will start with a plant, which started from clone. This plant has been topped for the first time recently, and is soon to get into rapid growth. It was put into the aeroponics grow chamber today.
Here is a preview of the (low pressure) aero chamber; I will get in to the complete, design of it tomorrow.
And here is our soon to be famous strain.
Anyone is welcome to ask questions or provide constructive comments, especially those with aeroponics experience. For questions not related to this journal, please PM me.
Thanks for watching,
The Capn