Hey guys and gals, been stalking this site for a month or so now and finally built up the gumption to try my hand at a grow. I'm very open to suggestions and any advice offered. So here goes!!!
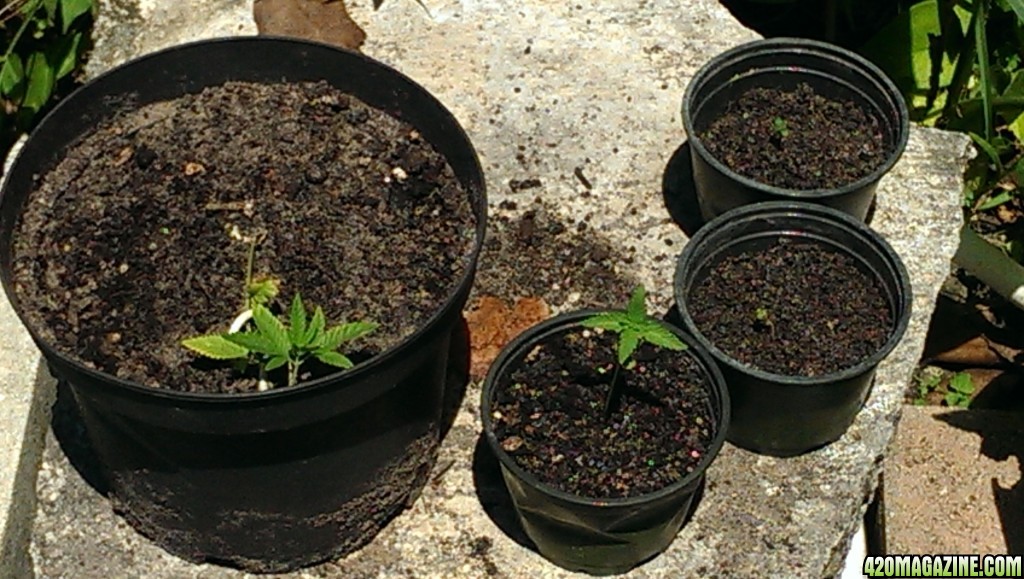
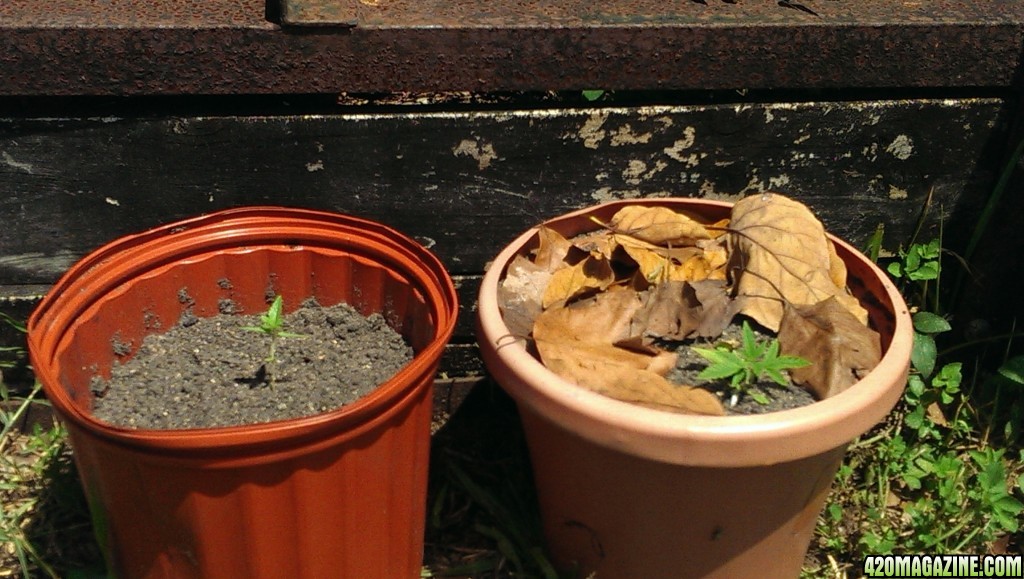
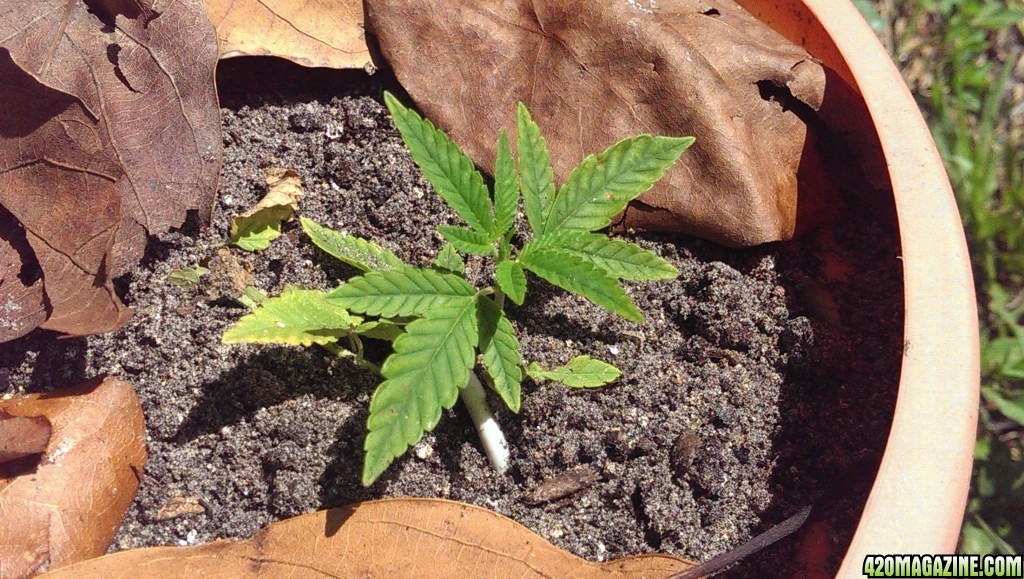
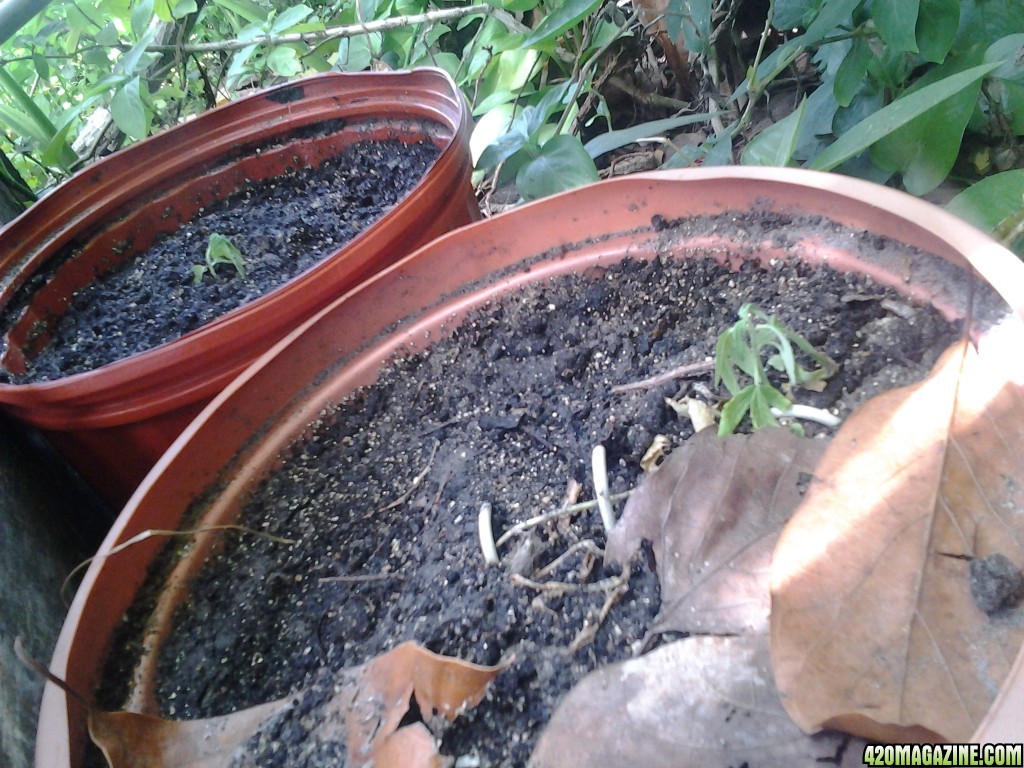
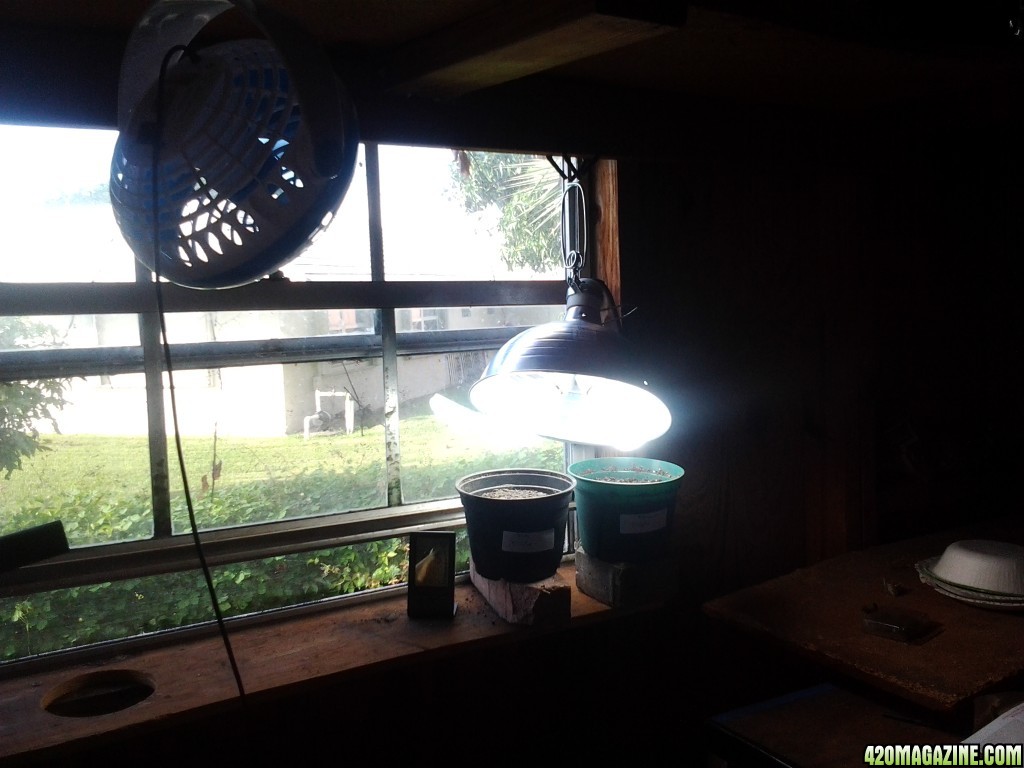
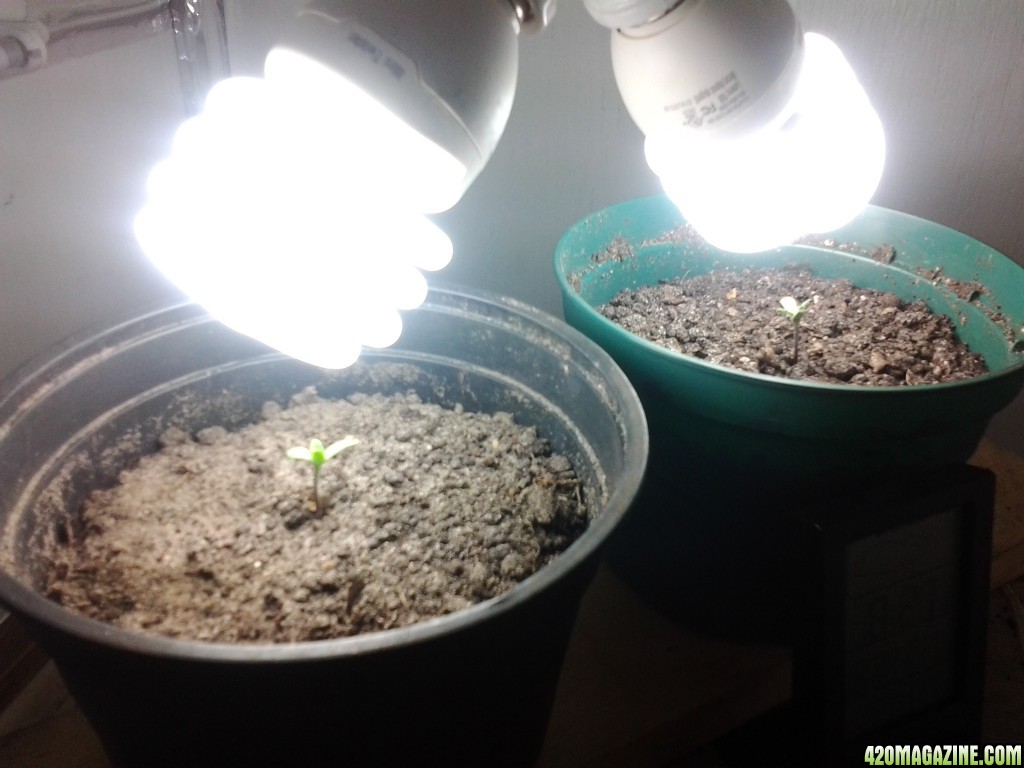
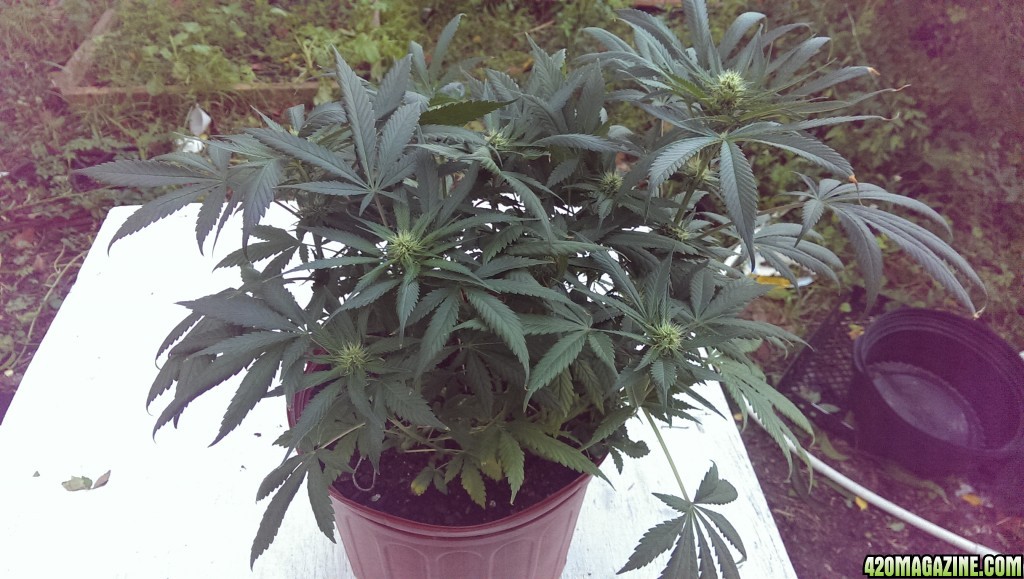
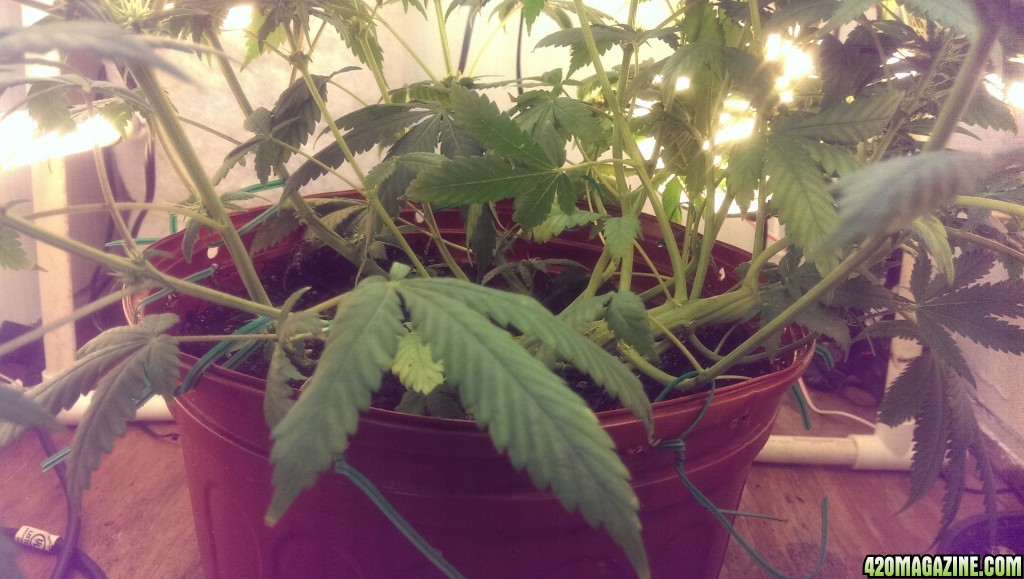
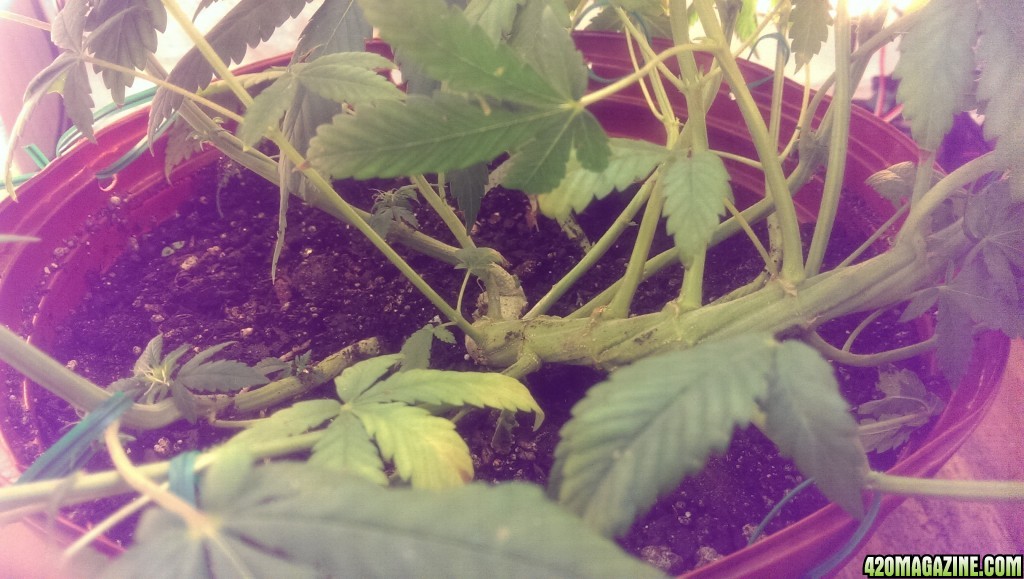
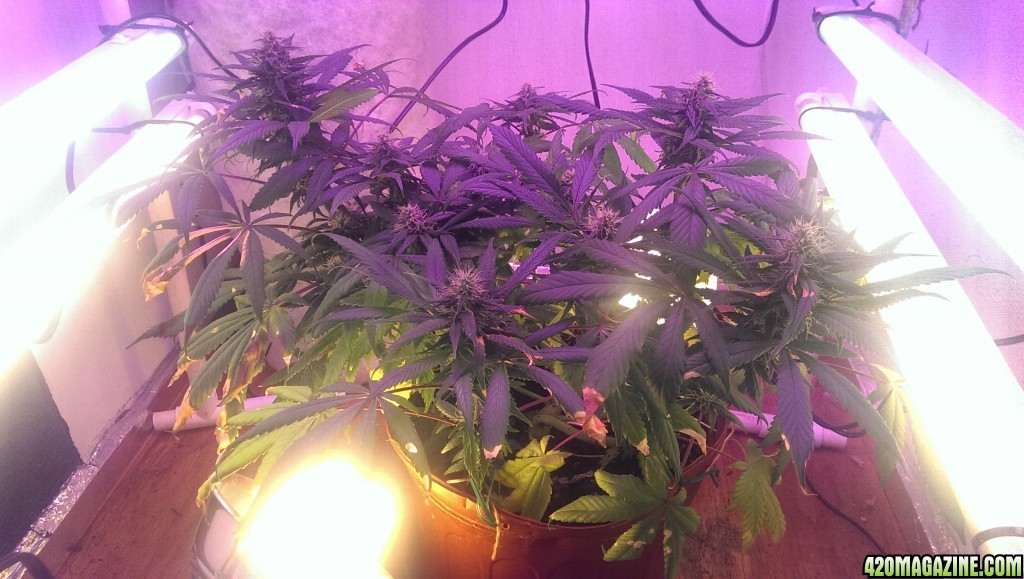
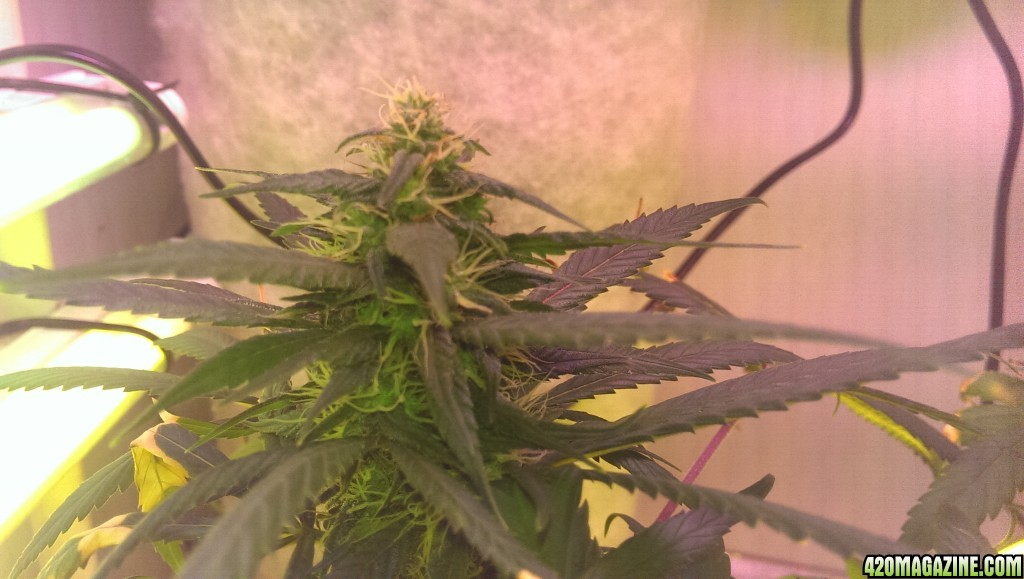
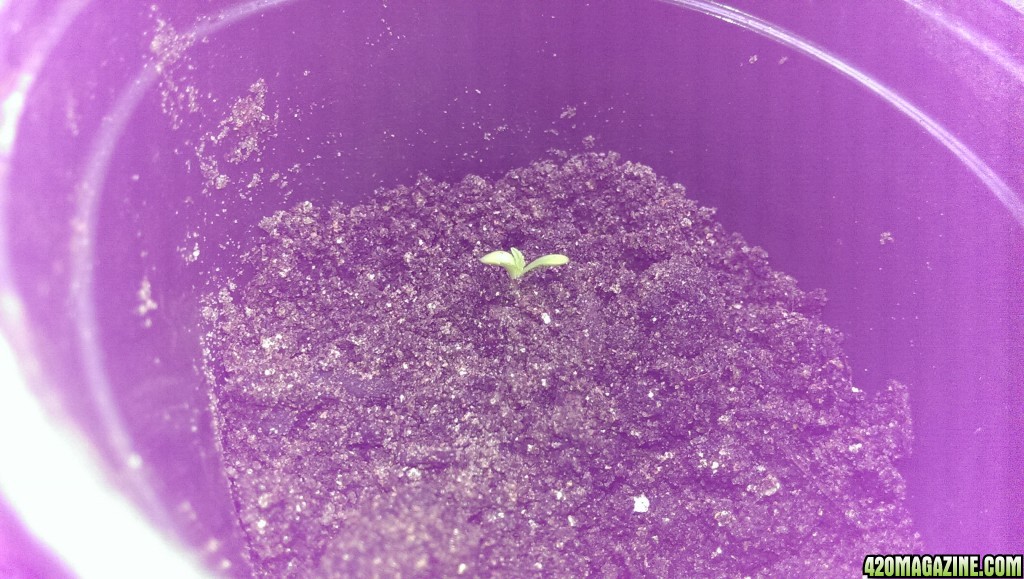
Its day 30 for my very first grow, which is bag seed from a pretty damn good green I bout a few months ago. my best guess is some type of northern lights mix. Trying LST and she is taking her time to recover and grow.

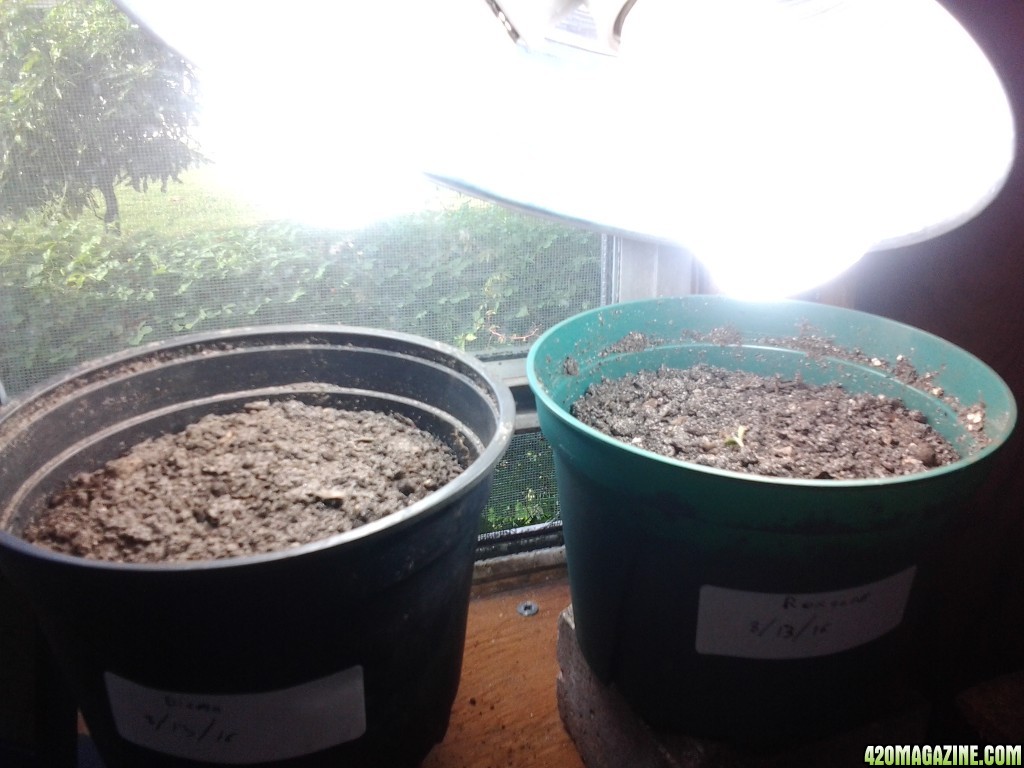
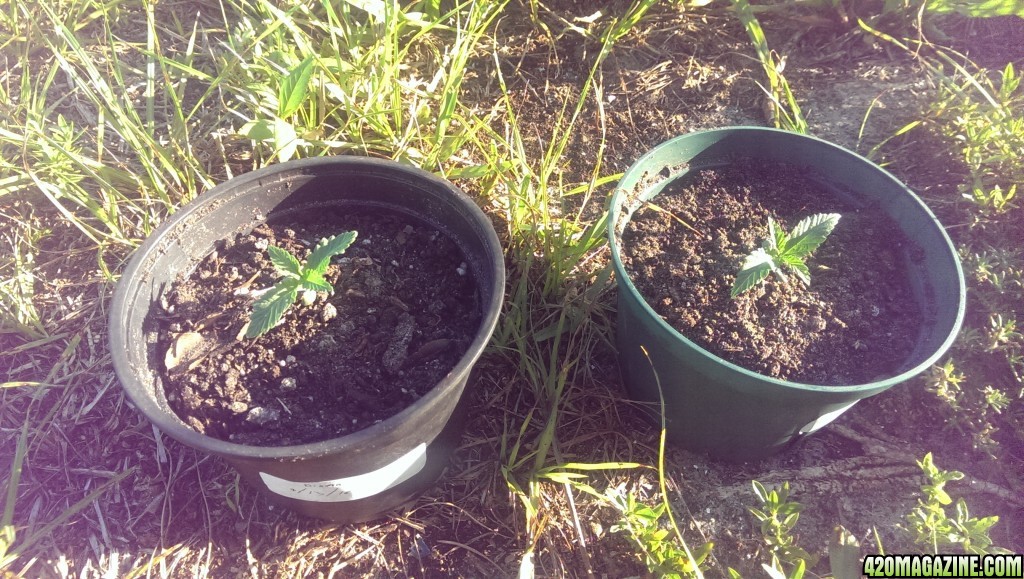
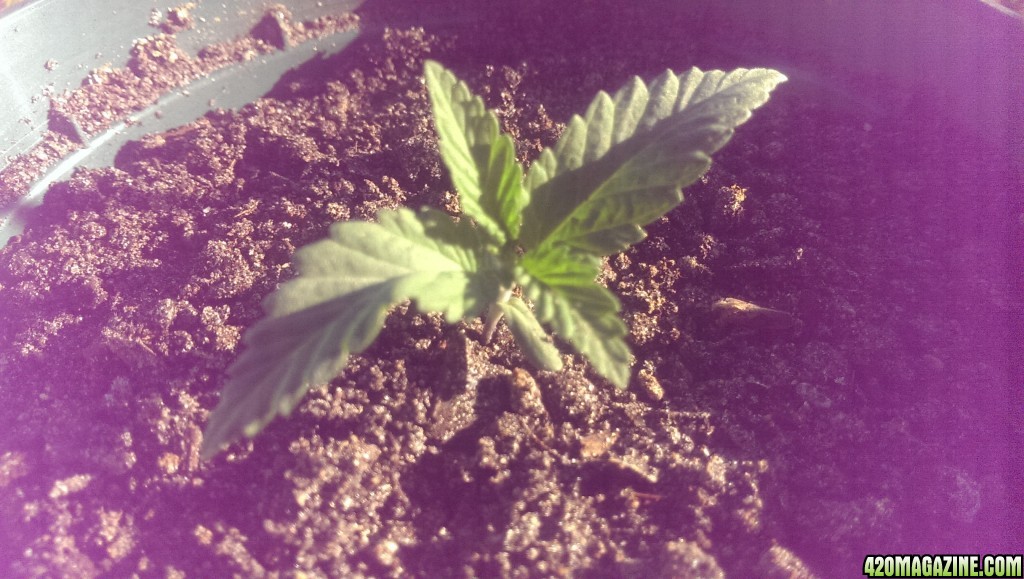
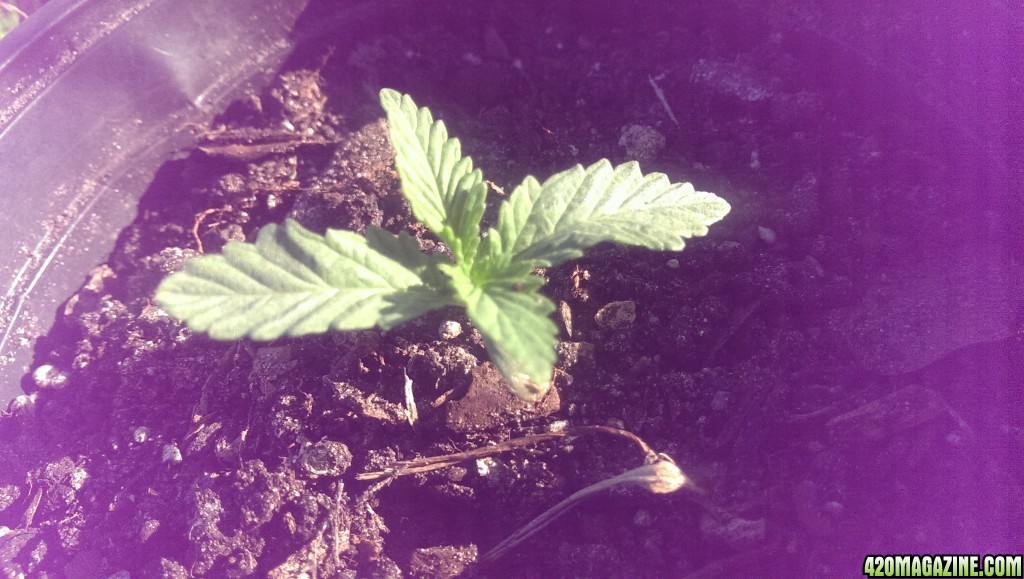
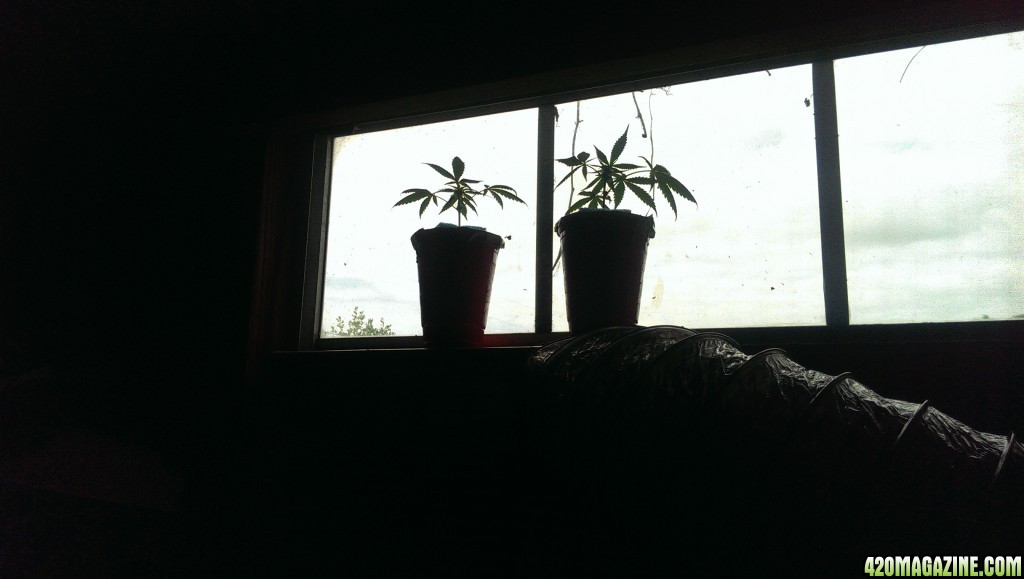
She had a pretty rough start but seems to be doing ok. Even though it looks like an indica, growth seems slow, especially compared to the seedling doin the dashboard in her rearview mirror, this plant seems to be growing much faster and broke ground with her true leaves already forming. I've been keeping her in a 7x6 pot, a lot of room yes but I discovered she seems to be enjoying it. I keep her in a hole in the ground near some weeds for camo, pulled her up today and she had a root in the ground!
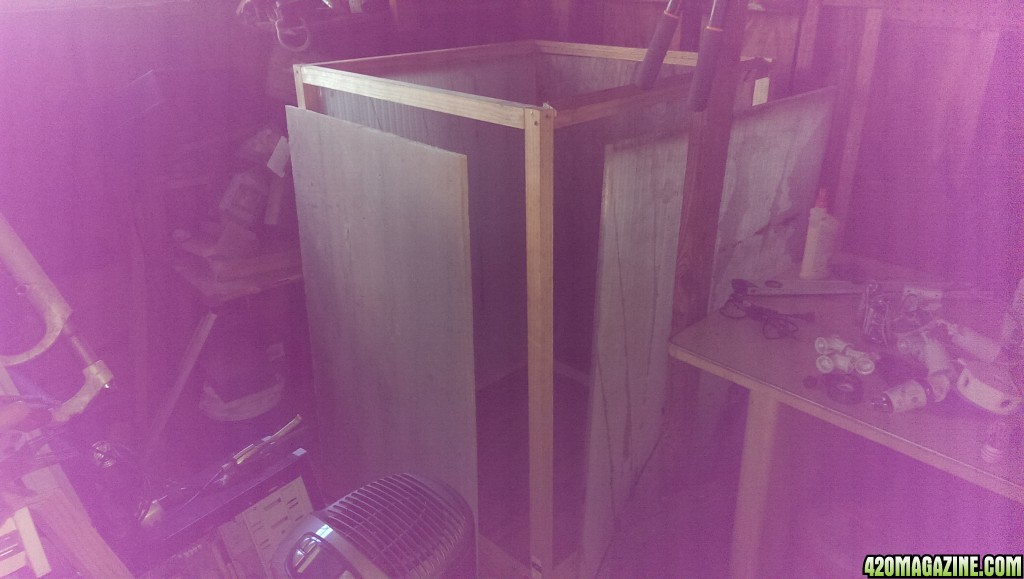
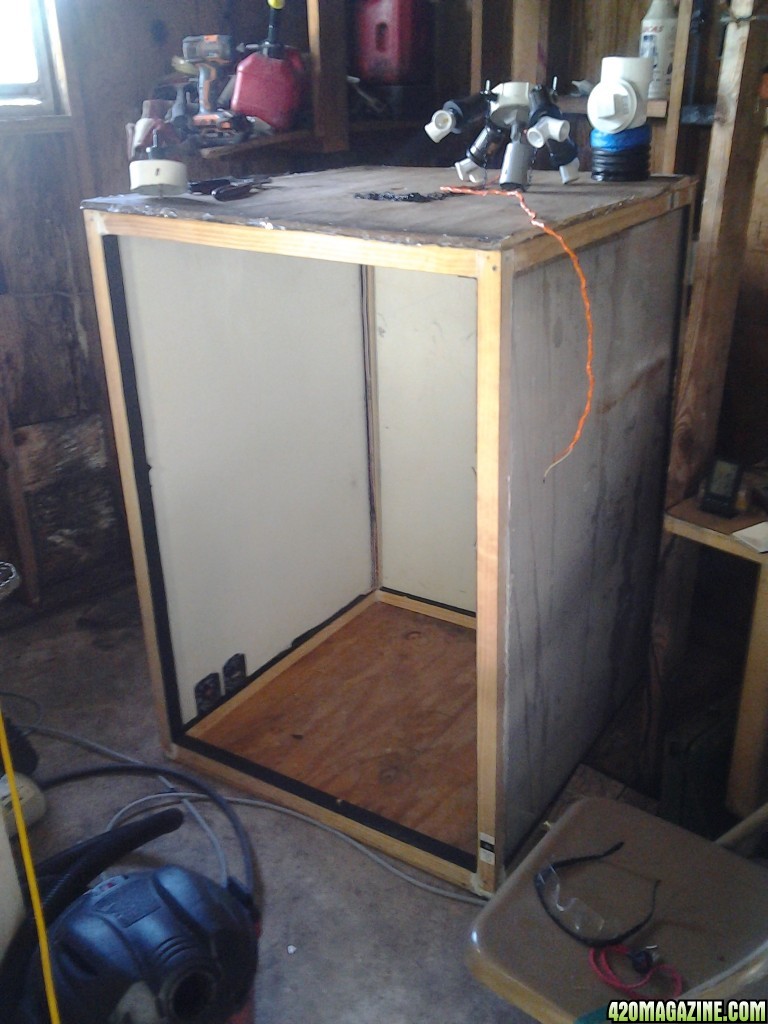
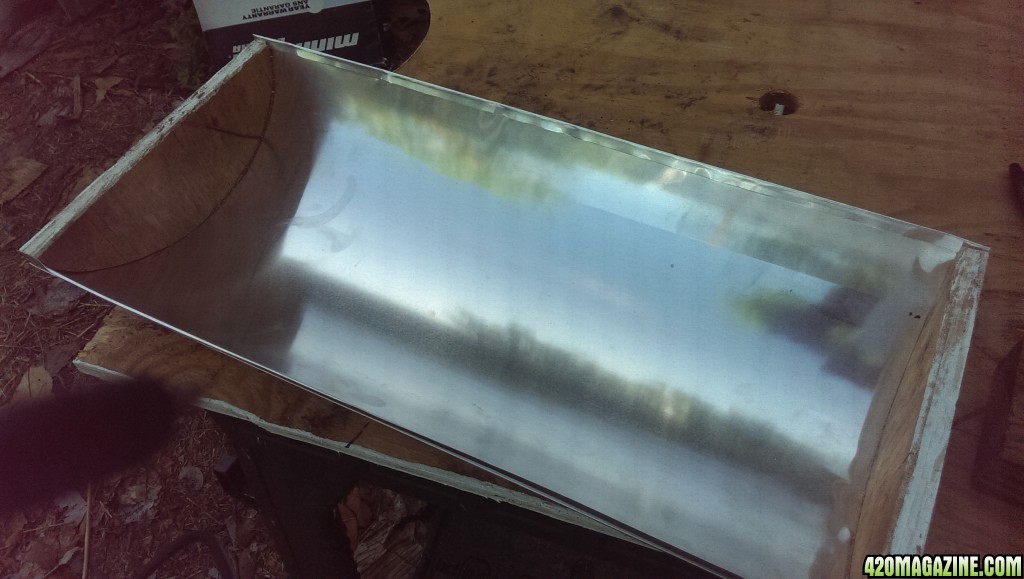
So anyway after drooling over this site I convinced myself that I need to build a grow box. I'm even more of a noob at building things than growing plants, so any piece of advice is more than welcomed.
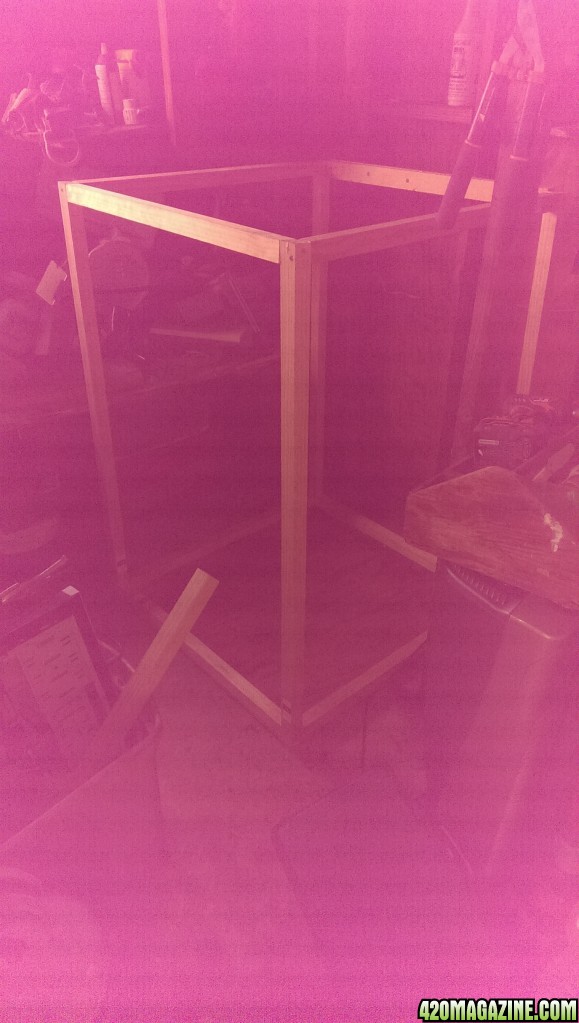
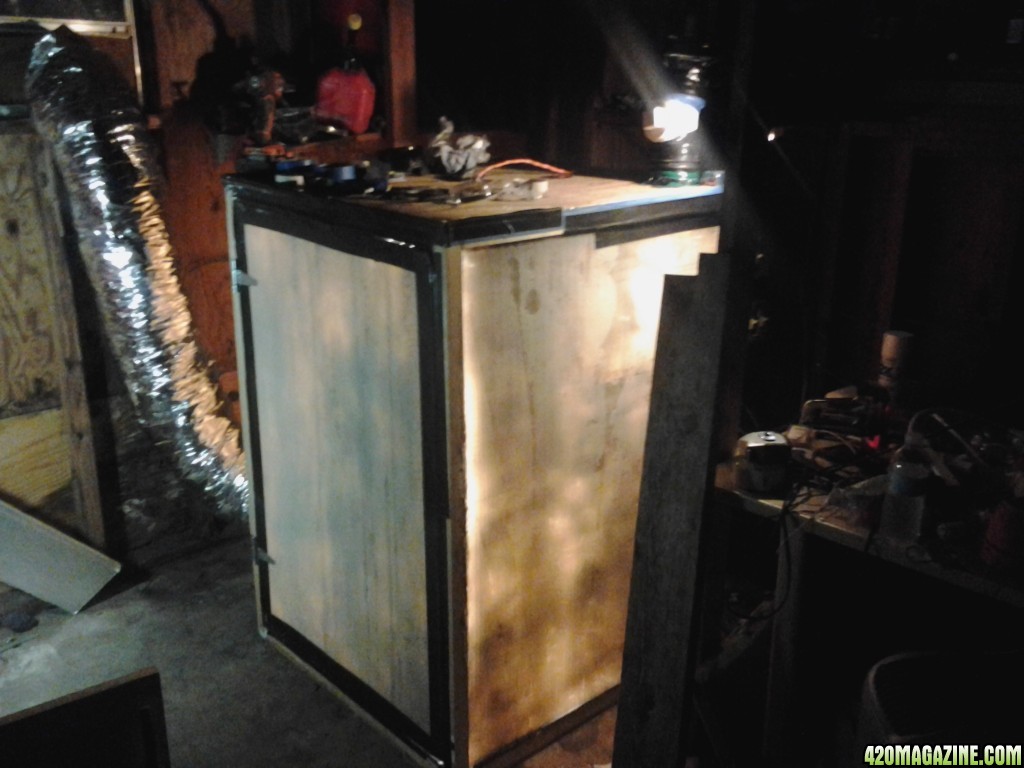
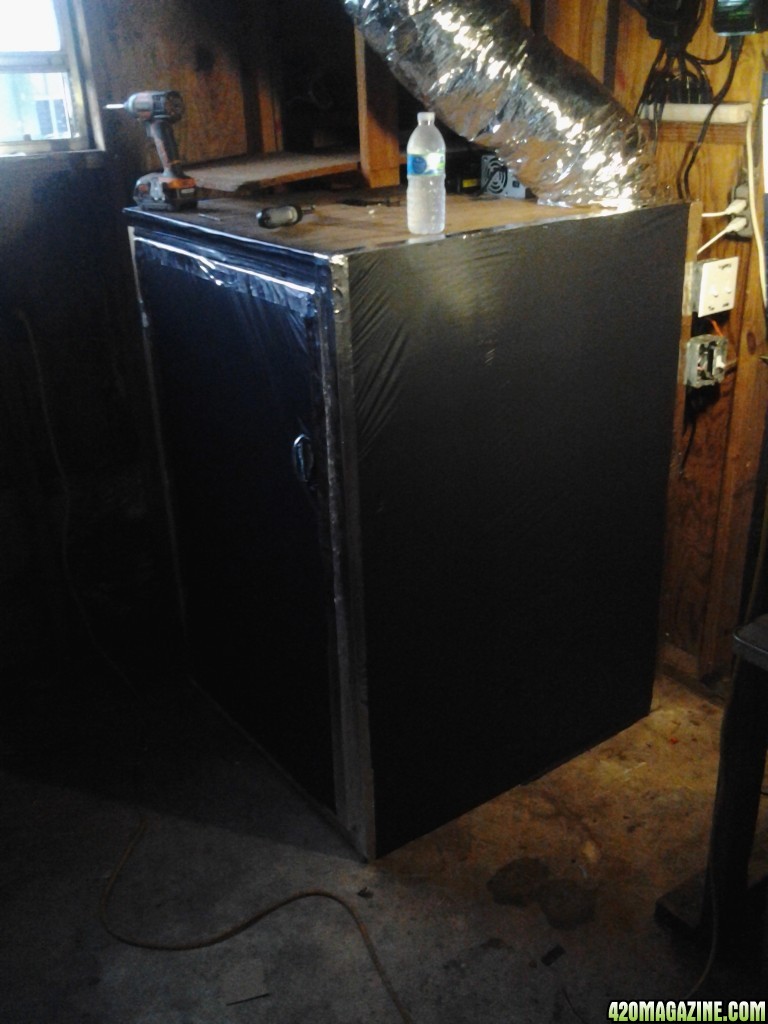
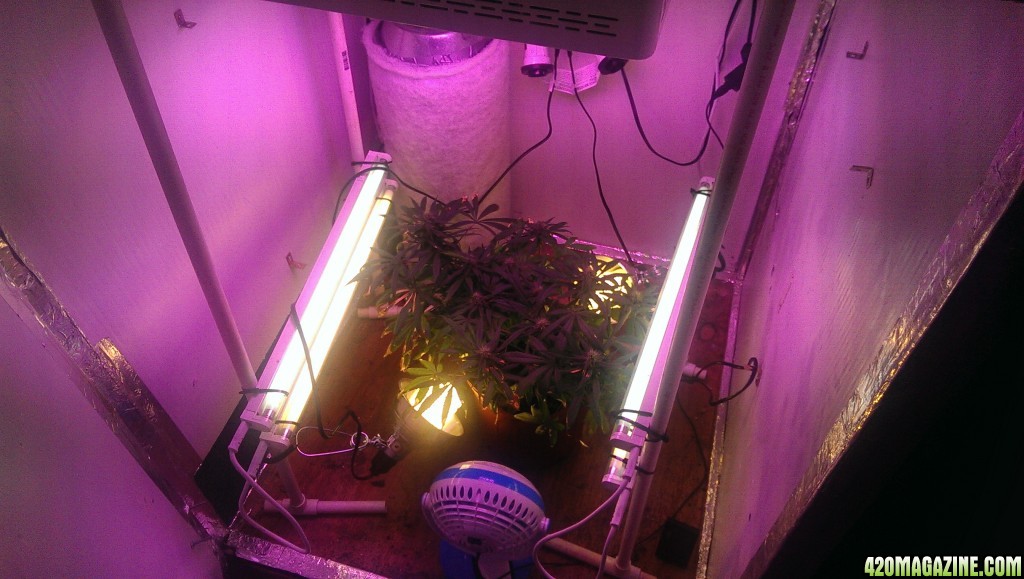
Sorry for the pc quality my phone camera has an issue with false light. My box is 4 feet tall, 33Lx31W.I ripped the design from a member here name stratlogic, so thanks for the visual inspiration man. I'm looking to install some polycarbonate for the panels and I could really use some advice on the best way to attached these panels for an airtight seal and efficiency.
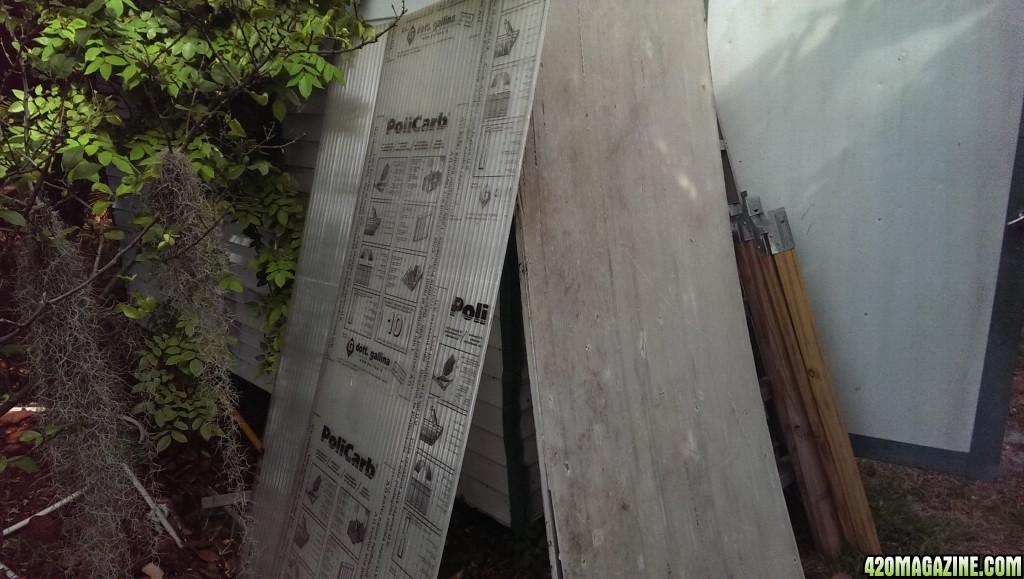
The inner frame will take a 45Lx33w panel. Also looking for advice on what material to use for the top. I also have a small piece of polyisocyanurate insulation with a reflective aluminum surface on one side. If not I can go in another direction.
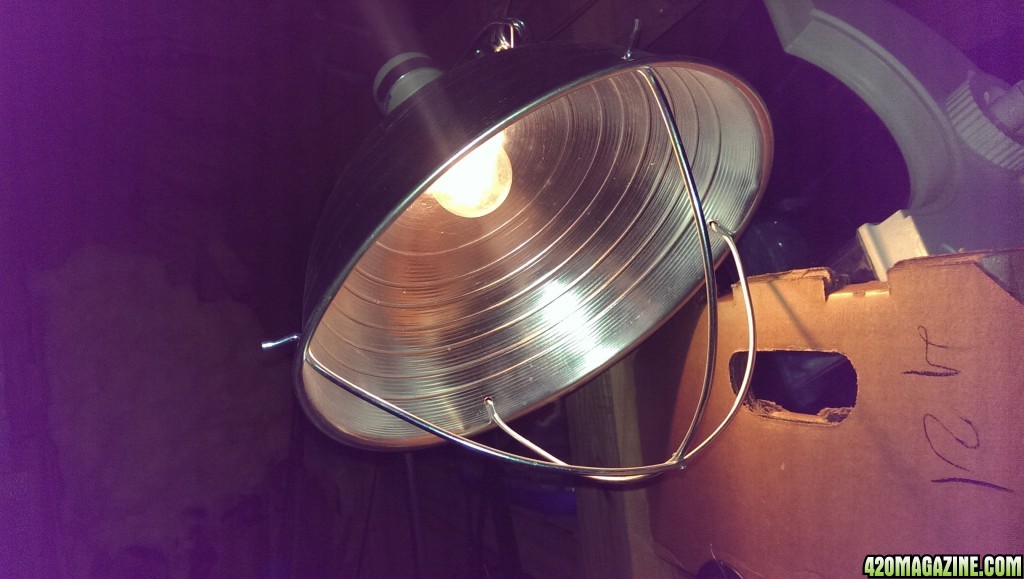
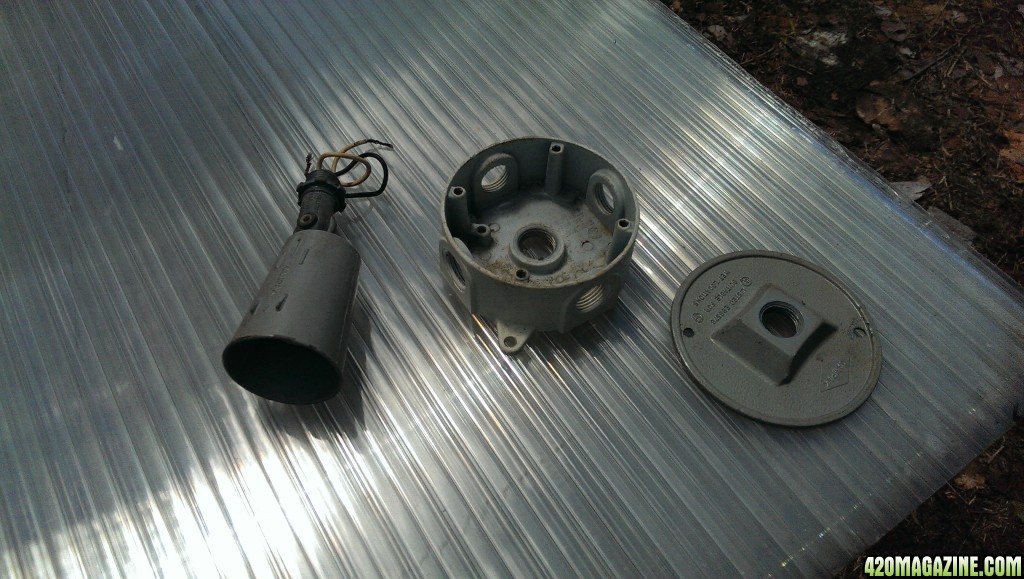
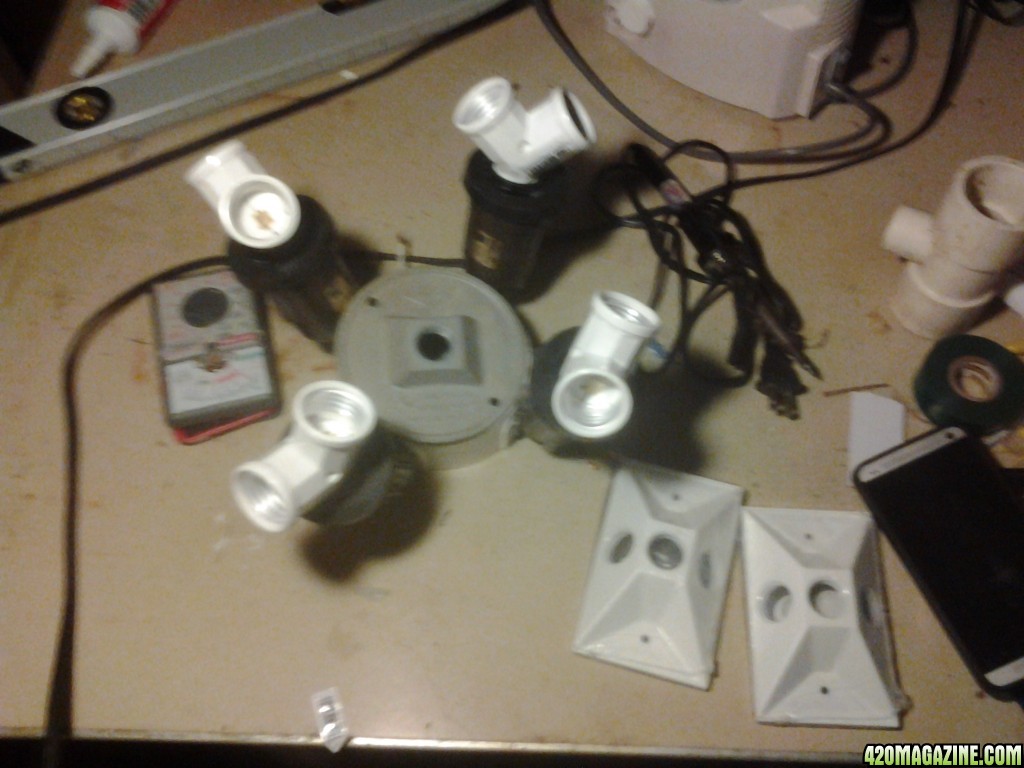
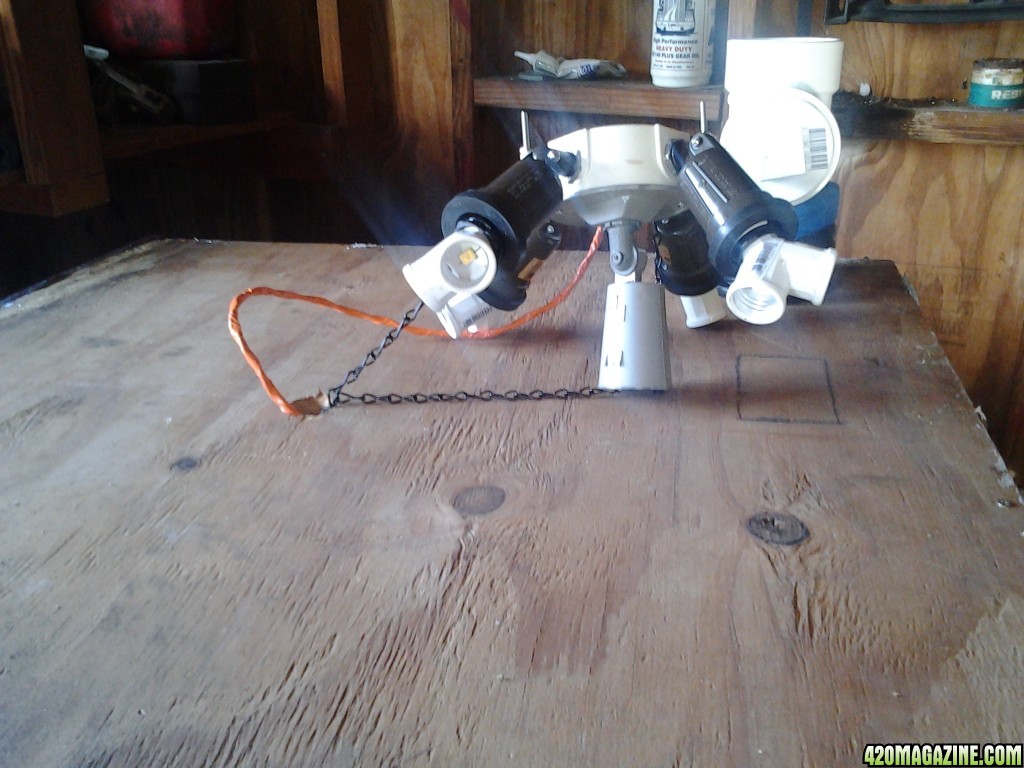
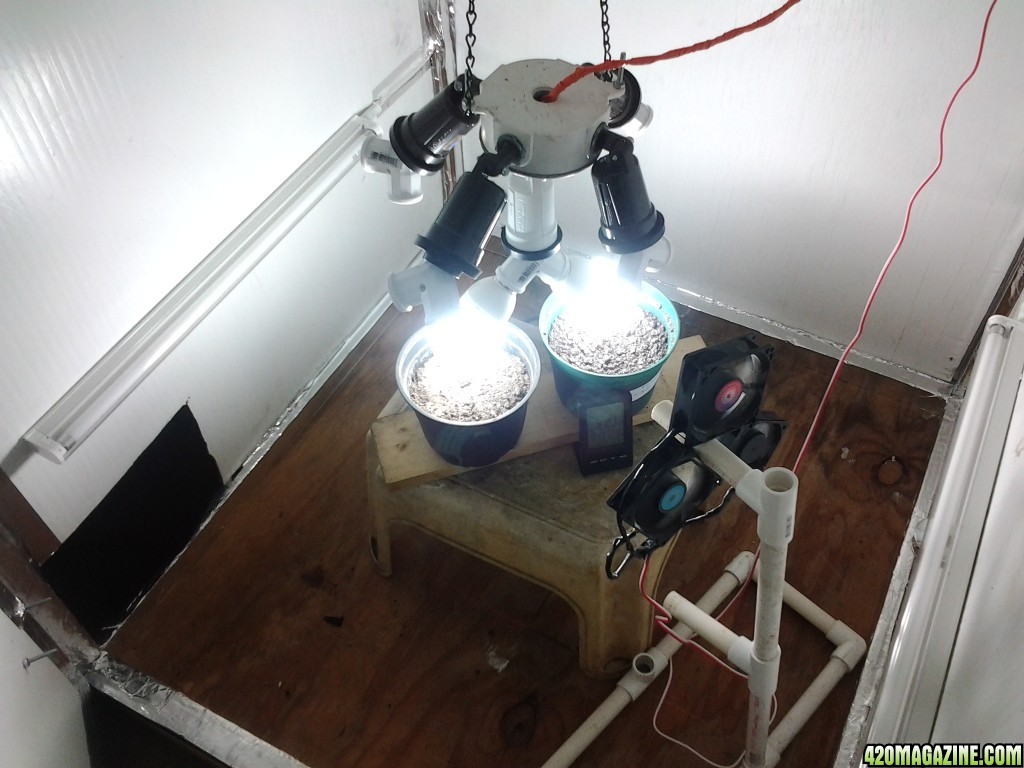
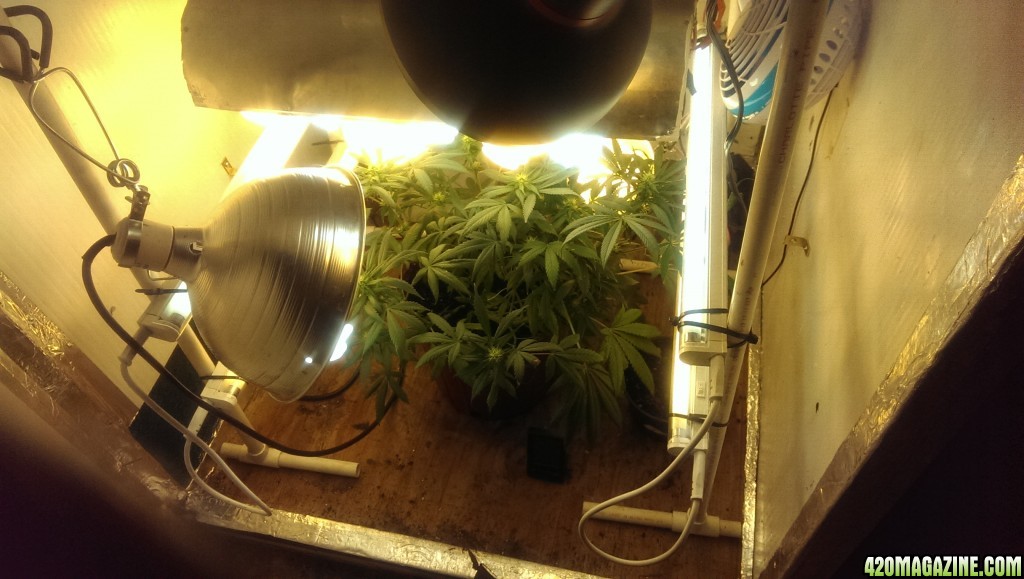
Lights...
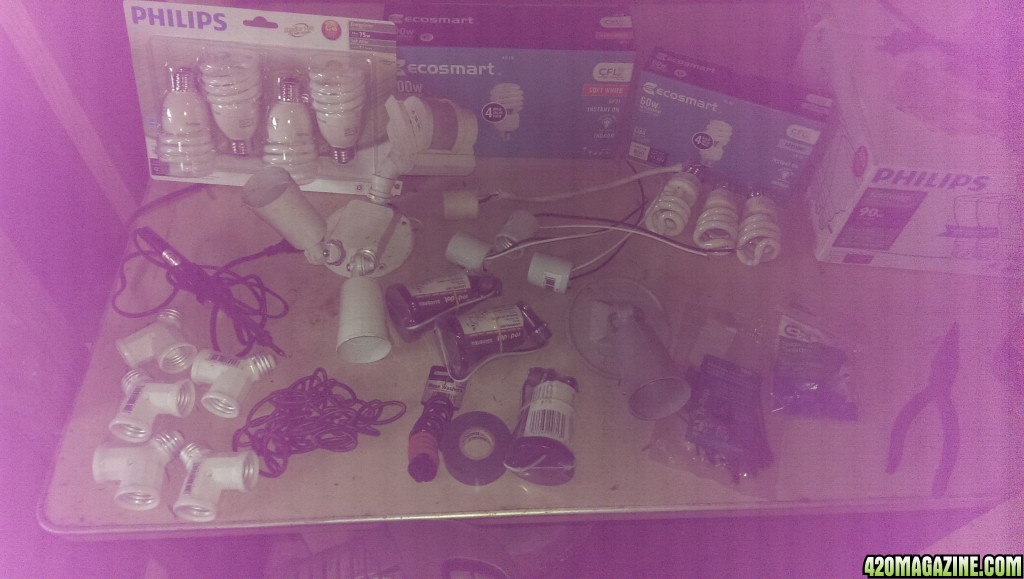
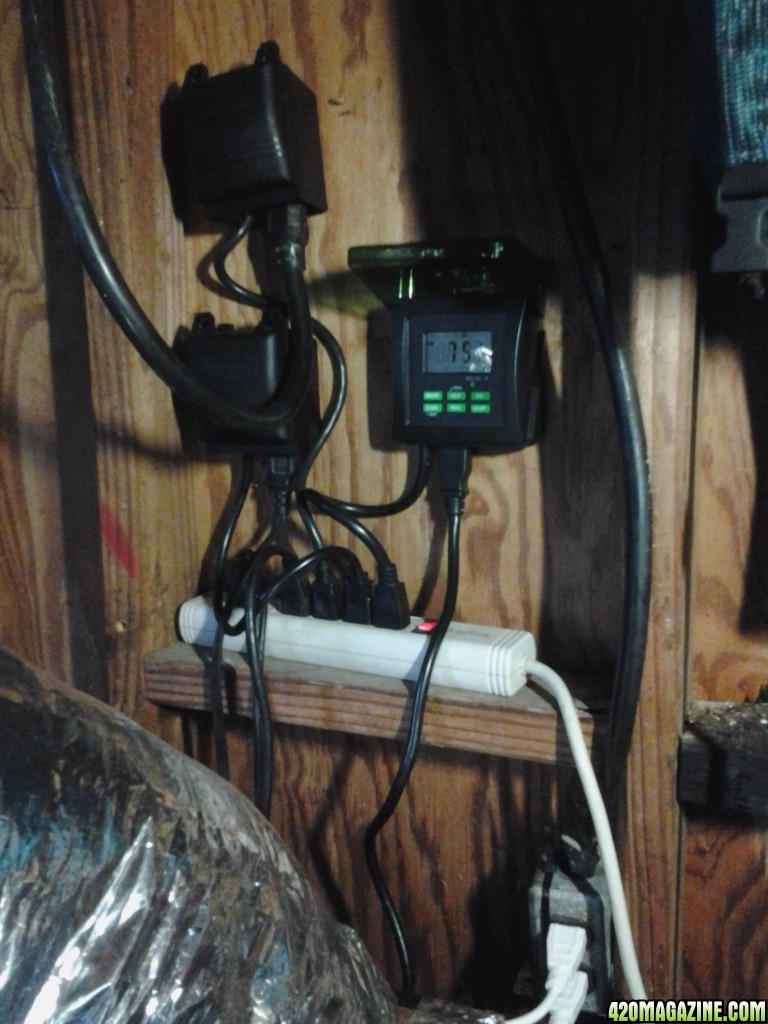
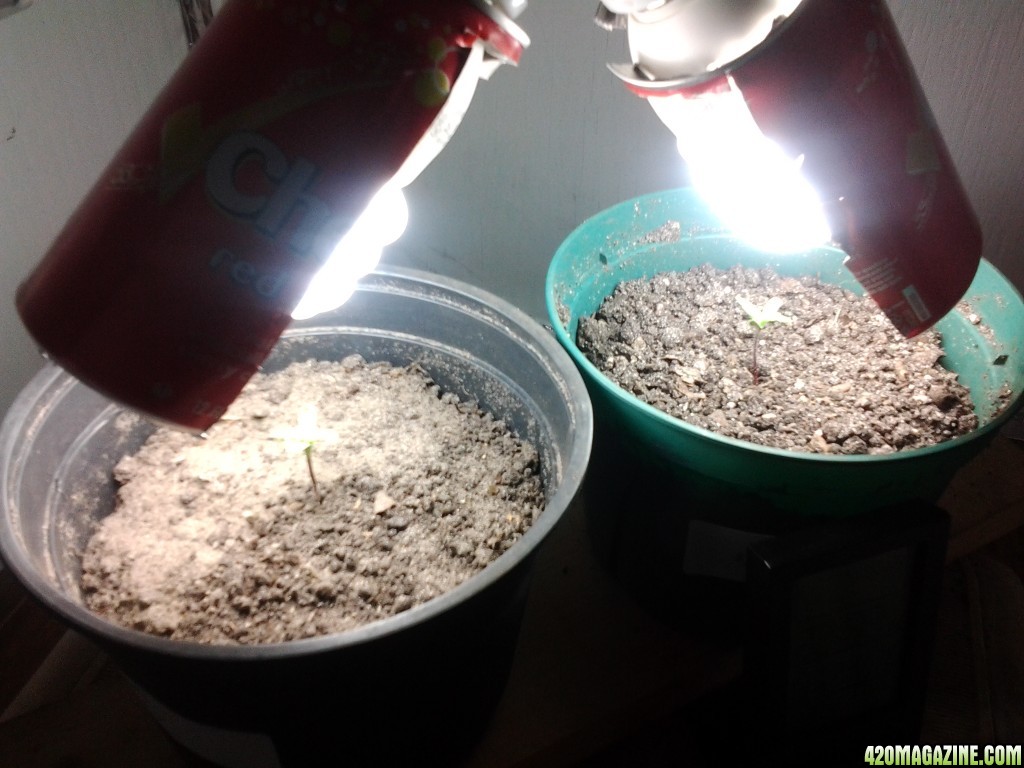
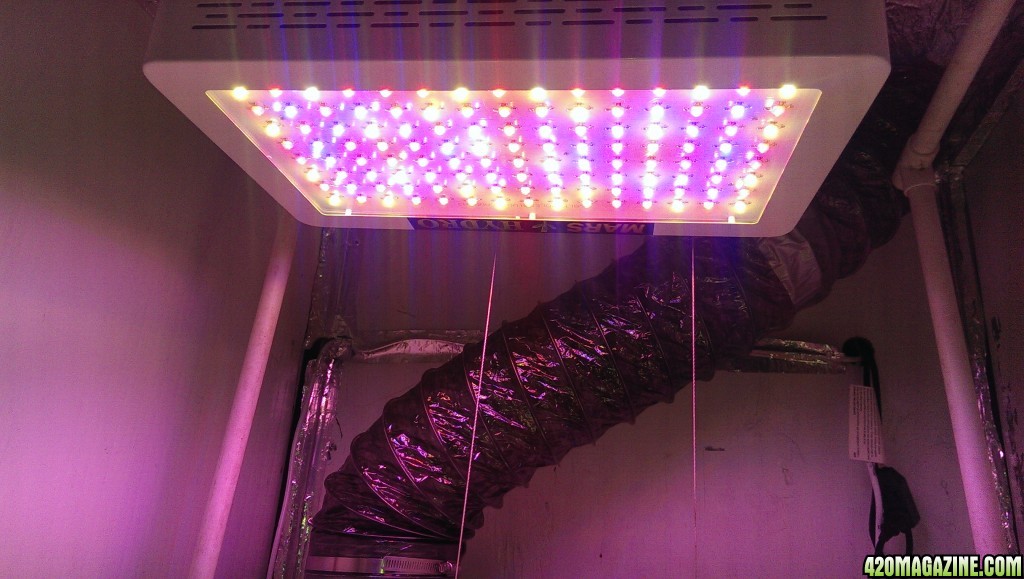
10 lamps, 5 splitters, cfl soft white and daylight bulbs, 6 fixtures an the rest of the stuff in the pic. Looking for suggestions on the light setup and how many I should be using.
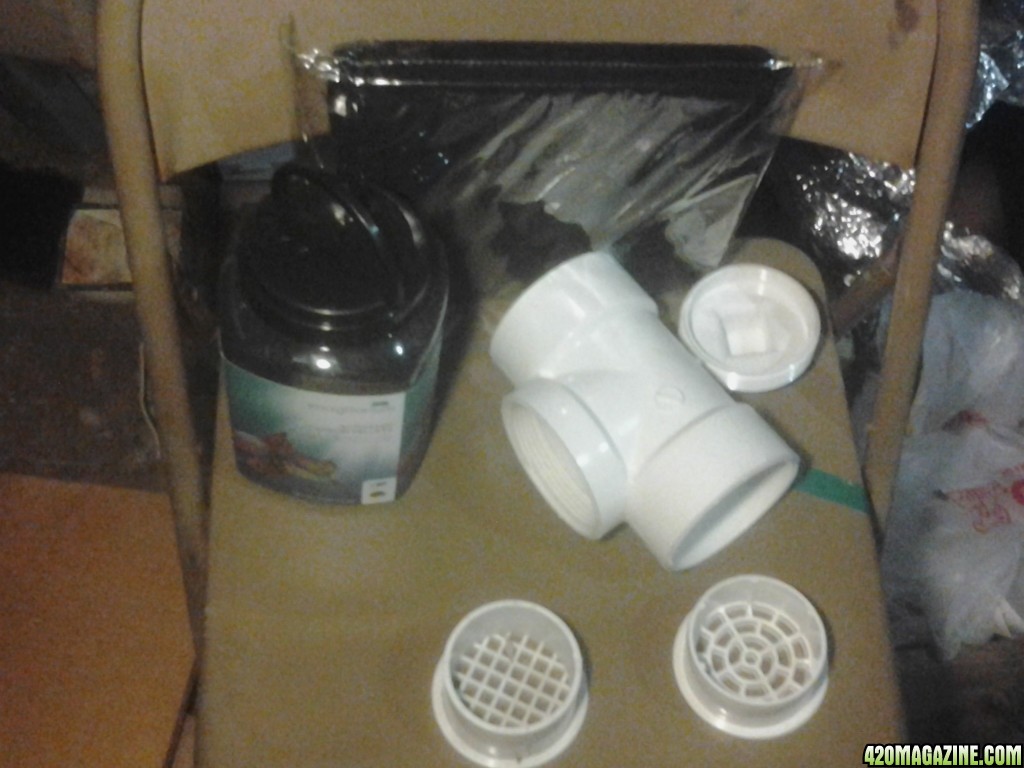
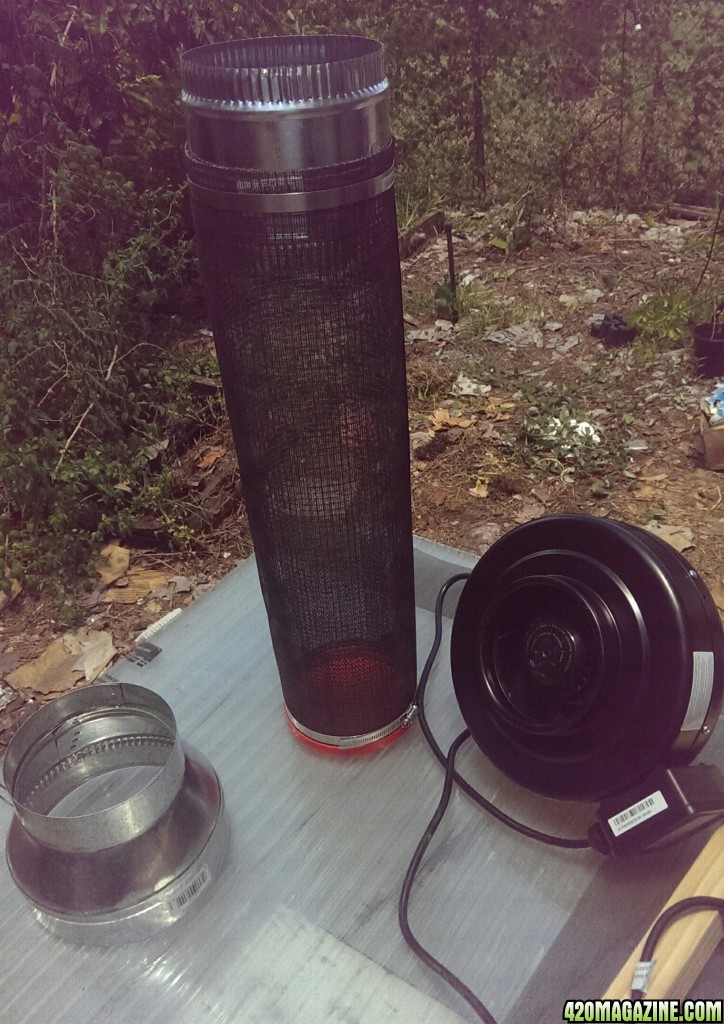
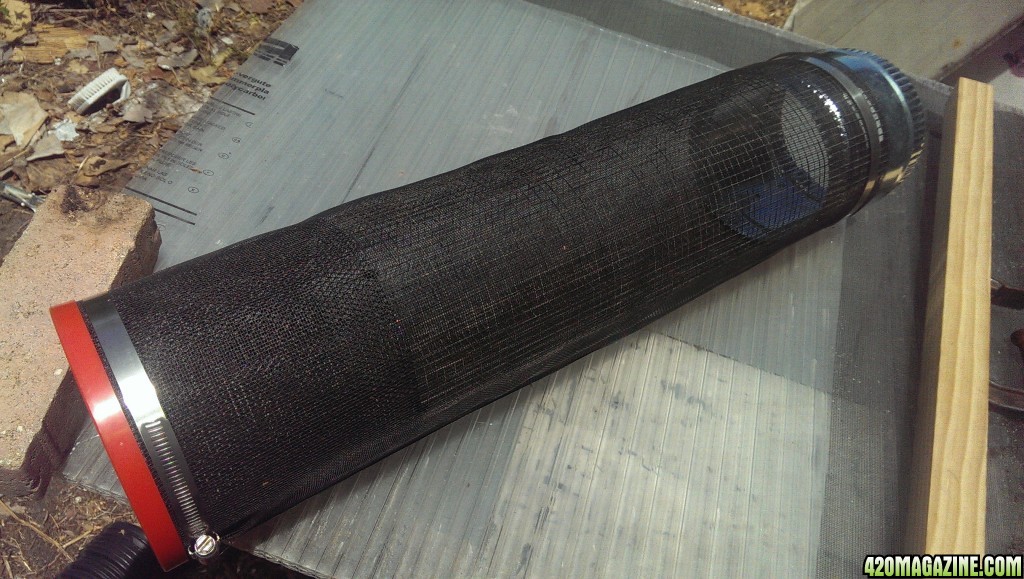
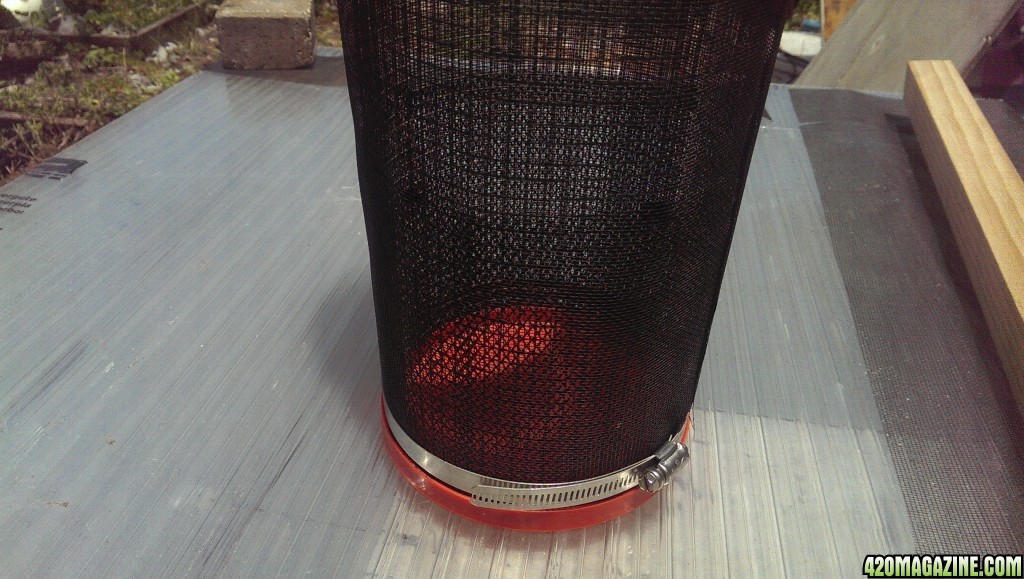
Fans/ventilation...

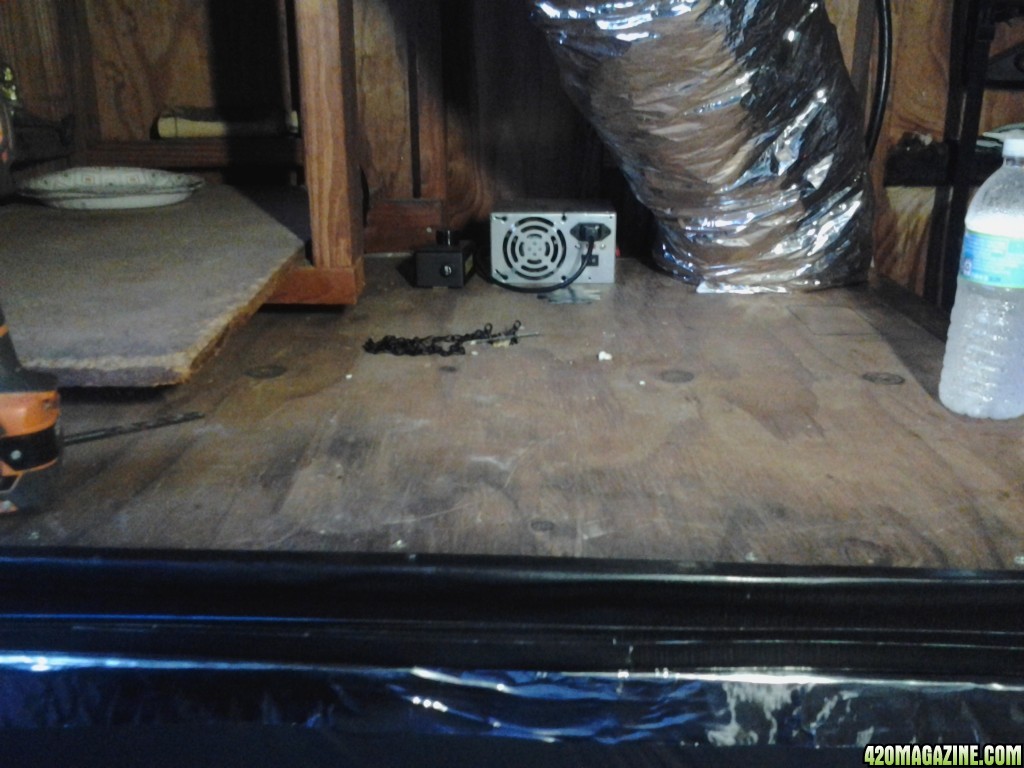
I swiped a cpu fan, a vent fan, and a chipset fan from an old pc I had, plus the fan in the power supply can be removed and used as well. the two fans on the right: one came from an old laptop, and the other is a small exhaust from a broken battery charger. I'm hoping ventilation and heat is not a big issue with these fans installed or ill see if I can salvage the powerful fan from this ion generator I don't use anymore, its pretty damn strong maybe too strong.
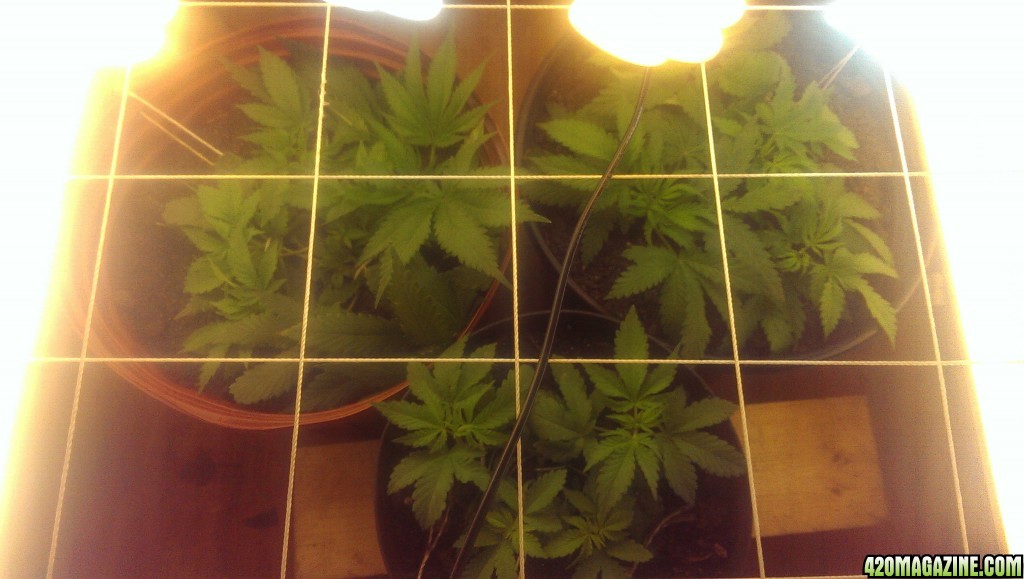
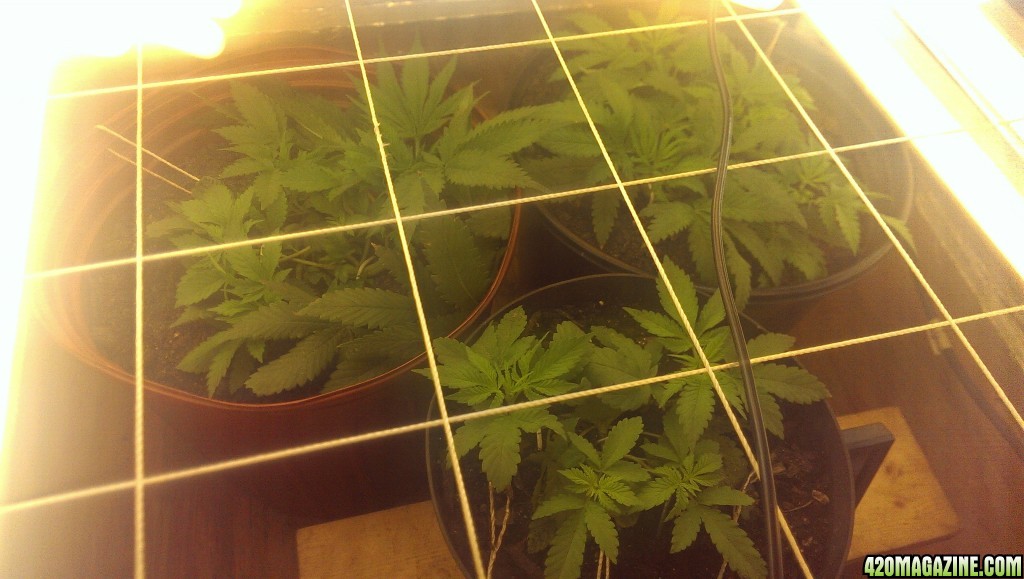
As you can see I have some time before these plants mature and I hope to be ready as I plan to flower these plants indoors and let them veg outdoors. Not sure if its the smartest thing to do but my main concerns are smell and security. I'll be picking up some mylar tomorrow to do the frame and panels, if I'm missing anything let me know I hope not to spend much more money. Again all advice is welcome and thanks in advance!!
Its day 30 for my very first grow, which is bag seed from a pretty damn good green I bout a few months ago. my best guess is some type of northern lights mix. Trying LST and she is taking her time to recover and grow.
She had a pretty rough start but seems to be doing ok. Even though it looks like an indica, growth seems slow, especially compared to the seedling doin the dashboard in her rearview mirror, this plant seems to be growing much faster and broke ground with her true leaves already forming. I've been keeping her in a 7x6 pot, a lot of room yes but I discovered she seems to be enjoying it. I keep her in a hole in the ground near some weeds for camo, pulled her up today and she had a root in the ground!
So anyway after drooling over this site I convinced myself that I need to build a grow box. I'm even more of a noob at building things than growing plants, so any piece of advice is more than welcomed.
Sorry for the pc quality my phone camera has an issue with false light. My box is 4 feet tall, 33Lx31W.I ripped the design from a member here name stratlogic, so thanks for the visual inspiration man. I'm looking to install some polycarbonate for the panels and I could really use some advice on the best way to attached these panels for an airtight seal and efficiency.
The inner frame will take a 45Lx33w panel. Also looking for advice on what material to use for the top. I also have a small piece of polyisocyanurate insulation with a reflective aluminum surface on one side. If not I can go in another direction.
Lights...
10 lamps, 5 splitters, cfl soft white and daylight bulbs, 6 fixtures an the rest of the stuff in the pic. Looking for suggestions on the light setup and how many I should be using.
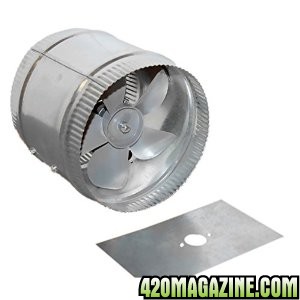
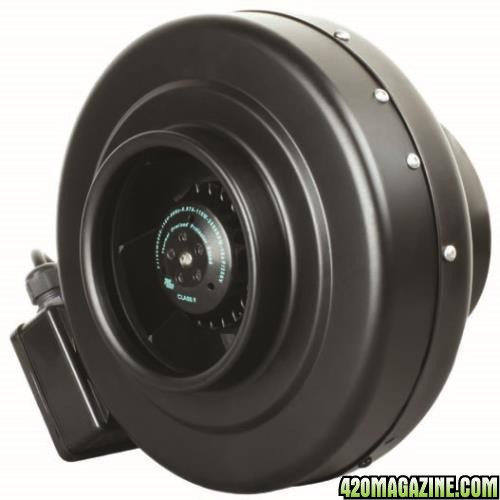
Fans/ventilation...
I swiped a cpu fan, a vent fan, and a chipset fan from an old pc I had, plus the fan in the power supply can be removed and used as well. the two fans on the right: one came from an old laptop, and the other is a small exhaust from a broken battery charger. I'm hoping ventilation and heat is not a big issue with these fans installed or ill see if I can salvage the powerful fan from this ion generator I don't use anymore, its pretty damn strong maybe too strong.
As you can see I have some time before these plants mature and I hope to be ready as I plan to flower these plants indoors and let them veg outdoors. Not sure if its the smartest thing to do but my main concerns are smell and security. I'll be picking up some mylar tomorrow to do the frame and panels, if I'm missing anything let me know I hope not to spend much more money. Again all advice is welcome and thanks in advance!!