K.I.S.S. my Buckets

SmokzAlot

New Member
It's time for some DIY!

A simple buckets system designed with ease of construction and modest cost. Functional yet not complicated any more than it needs to be. Less prone to failure but yet easy to maintain. I will do my best to break it down for you along the way with plenty of pics. By no means is this a definitive system or best of anything. Only one way to do it out of many.

Goal:
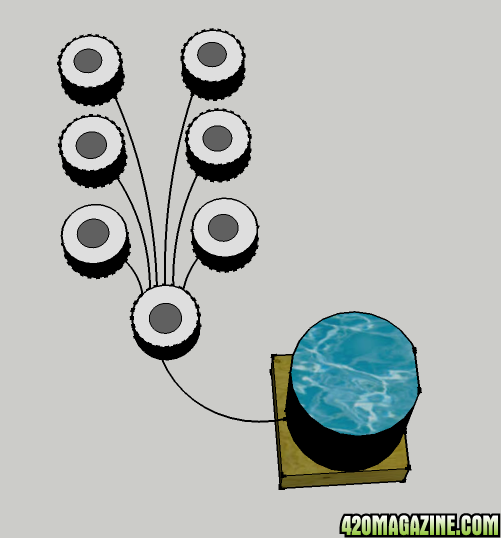
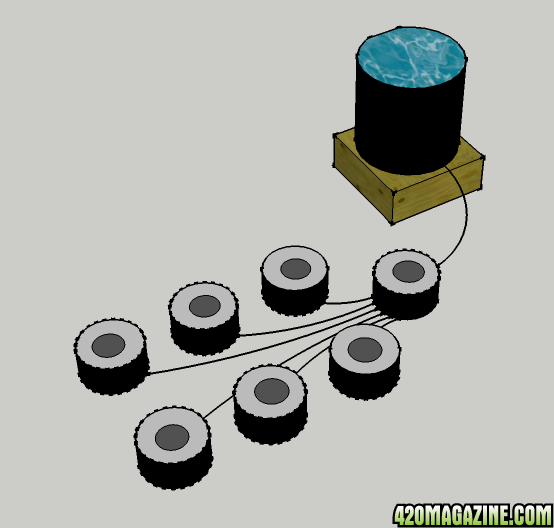
6 bucket DWC (deep water culture) using 3 1/2 gal buckets connected to a common bucket (controller of the simplest type, totally manual at this time). Building with the intended flexibility to expand and improve along the way. Eventually It will become RDWC (recirculating DWC).

Disclaimer:
A modest system at best, but far from ghetto.

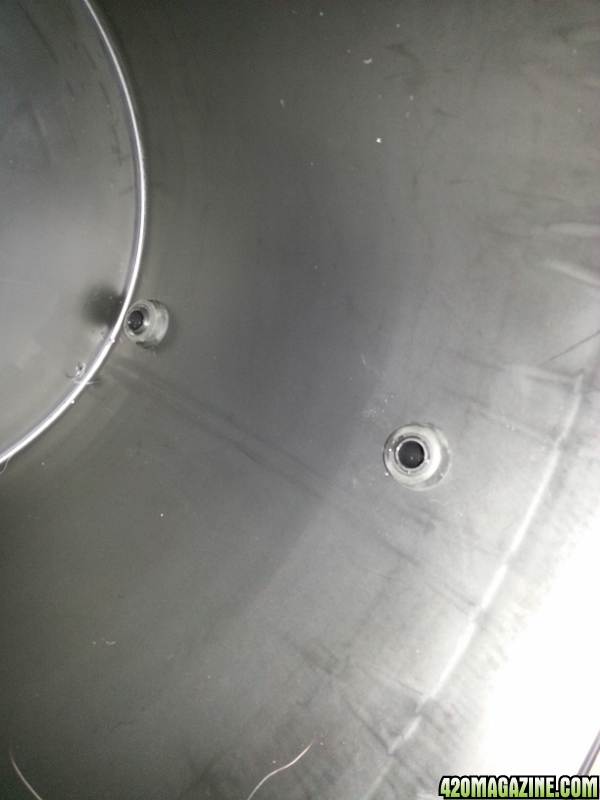
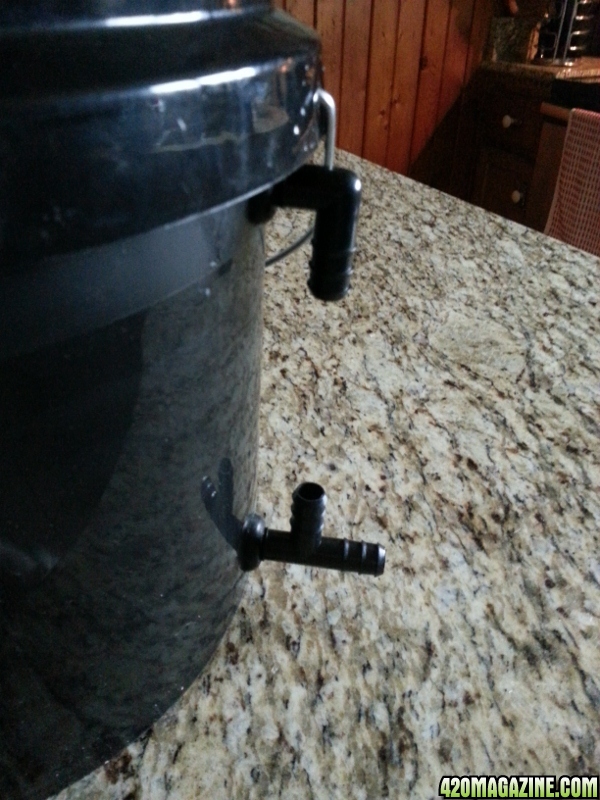
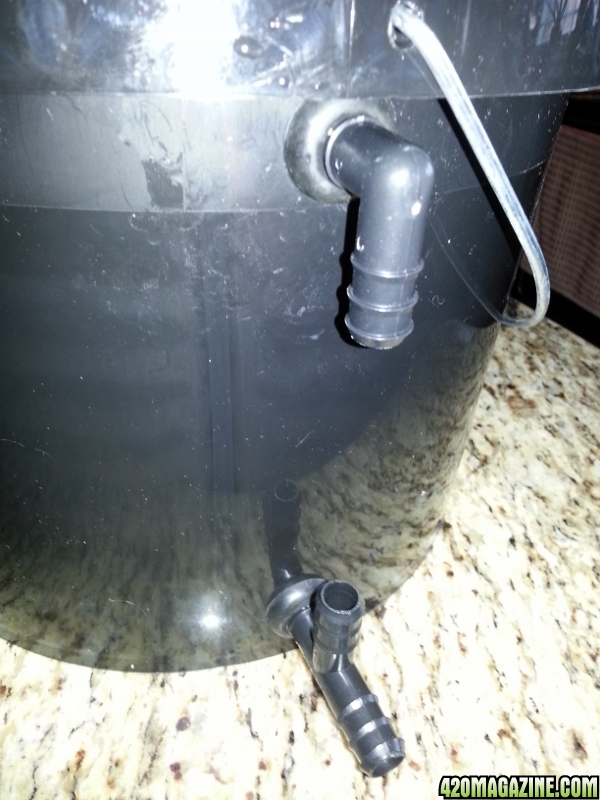
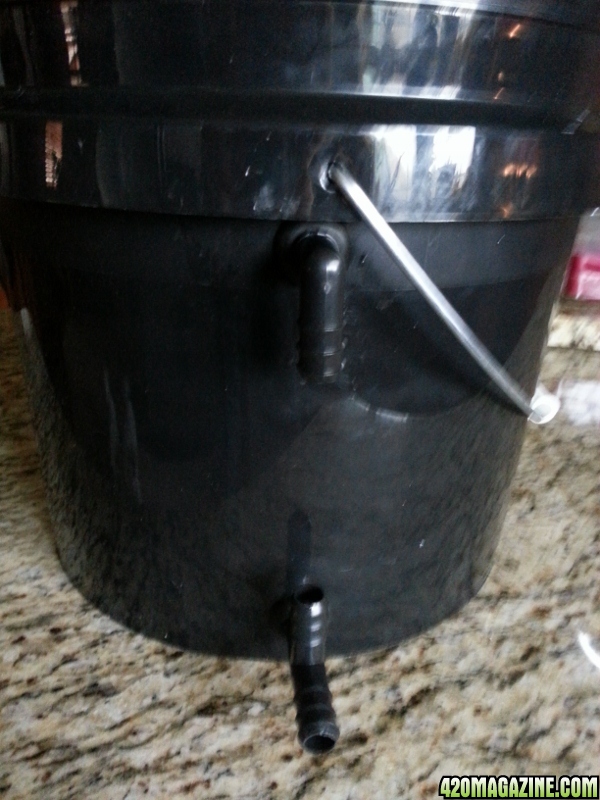
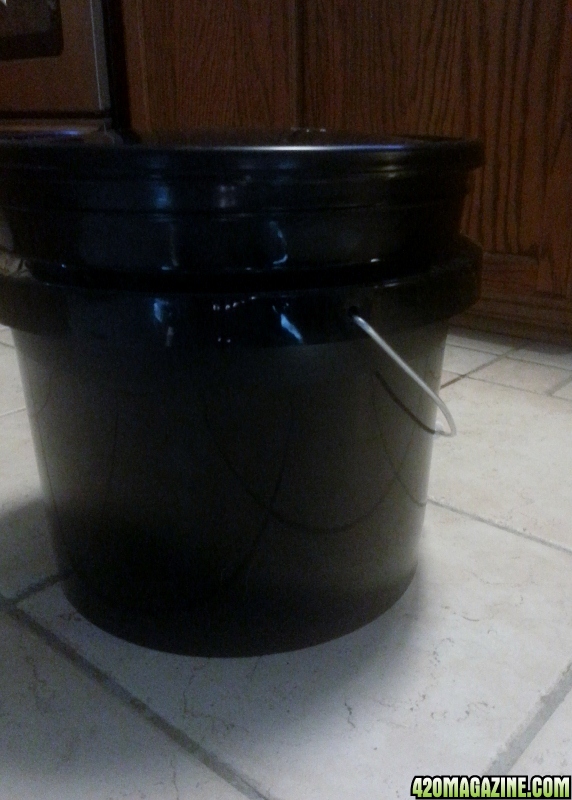
1. We will follow along with one bucket, then copy it 5 more times. How simple is that?
2. We will prepare the controller bucket, a single bucket of at least equal capacity. Pretty simple huh?
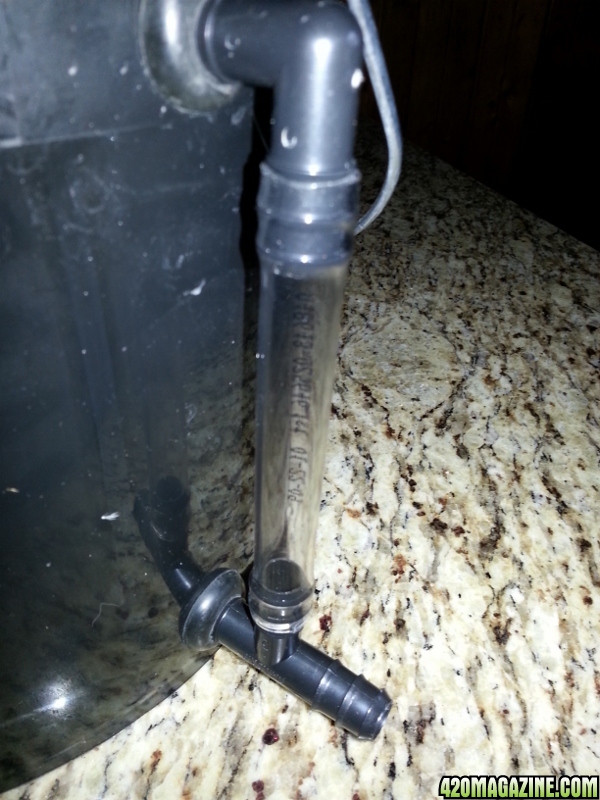
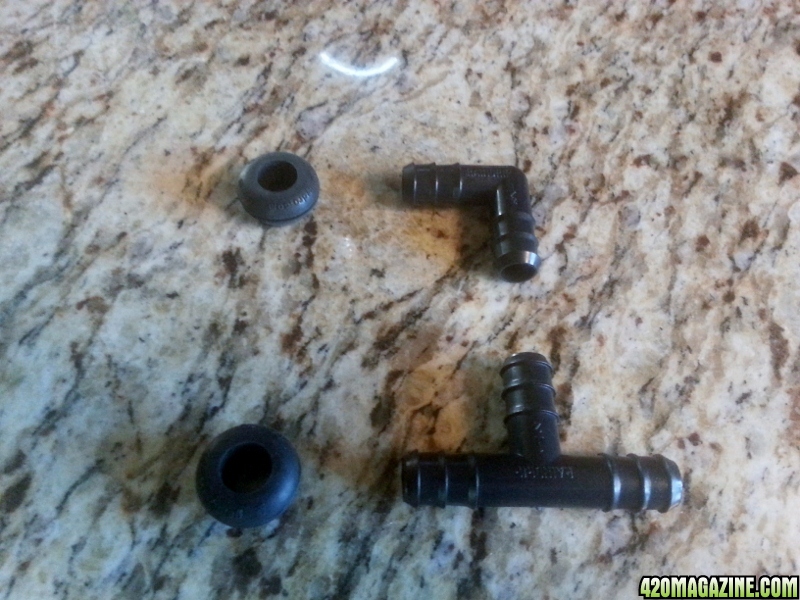
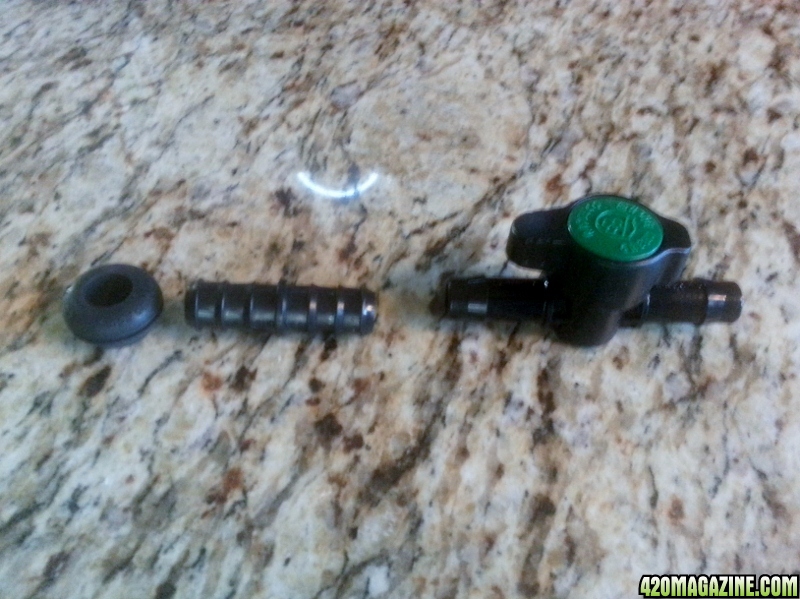
3. We will then build the hose network to connect it all together.

1..2..3 Easy enough!

:tokin:
 
Re: K.I.S.S. myBuckets

Well now that you brought it up, I am vegging a few RW clones in perlite hempy cups just for this purpose. The next DIY being considered will be a bubble/dwc, cloning/vegging setup. After that I may dabble with some aeroponics diy. Till then, need to finish this project first.

DIY is like growing your own, just feels right and better when you do it. Can you say Gratifying?

:hookah:
 
Re: K.I.S.S. myBuckets

I agree, for me sticking with a project even a headache one till the end always feels superb compared to buyers remorse that I always get when I overpay for something I could have done as good or better.
I'm subbed and looking fwd. to seeing what your coming up with.
Thanks for the help and I added +Reps to ya.
 
Re: K.I.S.S. myBuckets

Thanks for the rep, I do what I can to pay it forward. Not sure which I enjoy more, the DIY or the growing? Both get me to the holy land so its all good...

Got the rest of my material today so we will start this project very soon, as my clones are exploding in their hempy cups. Have to keep moving forward...

:passitleft:
 
Re: K.I.S.S. myBuckets

Let's get started...

First we need a bucket or similar container.
20121205_160106_572x800_.jpg


Here are the components for a complete bucket sans the hose and net pot lid of your choice.

20121205_160032_800x600_.jpg


I will be using a 6" net pot lid. The ready mades are quite affordable so I chose to not DIY the lid. System is 1/2" fittings and black poly vinyl hose. 3/4" would be a better option but significantly costs a bit more. We will have good return as each bucket will return to the controller with its own 1/2" line. An attempt to keep maintenance costs low, so parts are more or less disposable and replaceable.

Here we have the components required to attach a bucket to the controller.

20121205_155957_800x599_.jpg


Valve will allow removal of any bucket as needed from an active system. Keep in mind you will need these components for each bucket in your system.

Next step gather some tools...

:smokin:
 
Re: K.I.S.S. myBuckets

I am new to the community. I am just L&L [lurking and learning] right now, can't wait for this thread to continue.
Thanks SmokzAlot!!:popcorn:
 
Re: K.I.S.S. myBuckets

Let's start building buckets...

I drilled two 3/4" holes in the bucket. One is 1" to center from the bottom, and the other is just under the side rib. Here is a peek from the inside with grommets installed.

20121206_144041_600x800_.jpg


Next we install the fittings, an Elbow at the top and a Tee at the bottom.
20121206_143952_600x800_.jpg


Here is a shot with the flash in case you find the other angle not sufficient.
20121206_144129_600x800_.jpg


The Bucket is now ready for the hose and the net pot...
20121206_144016_600x800_.jpg


If you didn't figure it out on your own, the top is for overflow in case the bottom return gets plugged. In the chance that the controller bucket were to over fill from a bigger res I will also include an overflow on the controller bucket. If I choose I can add top drip or convert to RDWC at a later date. For now they will be bubble buckets with a common bucket to ease drain and refill.

more to come...

:tokin:
 
Re: K.I.S.S. myBuckets

Glad to have you along.. feel free to ask any questions you may have.

I am new to the community. I am just L&L [lurking and learning] right now, can't wait for this thread to continue.
Thanks SmokzAlot!!:popcorn:
 
Re: K.I.S.S. myBuckets

I decided to use a clear hose here so I can monitor the bucket visually. The level will be far into the net pot if it hits the over flow, but I find it better than a flood.

20121206_154903_600x800_.jpg


I have no intention of growing trees in such a small bucket. I use 5 gal buckets for that kind of grow. I expect to keep my garden anywhere from 24"-36" when in flower. We shall see if it is adequate for my needs.

Moving right along....

:passitleft:
 
Re: K.I.S.S. myBuckets

Thanks for your support, it's just how I roll...

I love it when someone takes precautions for things that will save someone problems :)
Great info and Im looking fwd. to more :) Thanks for spending the time.
 
Re: K.I.S.S. myBuckets

Here is the proposed setup, just to give an idea of where this is headed. The first bucket in the series is the proposed controller. Res size will depend on container selections, do your own math. I am figuring in this application a 30 gal res will suffice, with seven, 3.5 gal buckets. I saw some nice HD trash cans at the home improvement store that will work great. The plan is to elevate the res so it can gravity feed via float valve to the controller.

bucket_system_a.png


bucket_system2b.png
 
Re: K.I.S.S. myBuckets

Sketchup is the name, and its free. Great 3d modeling program, very easy to use.

hey smokzalot what program are you using? Some sort of auto-cad?
Thanks I'd love to learn how to draw like that with my computer.
 
Back
Top Bottom