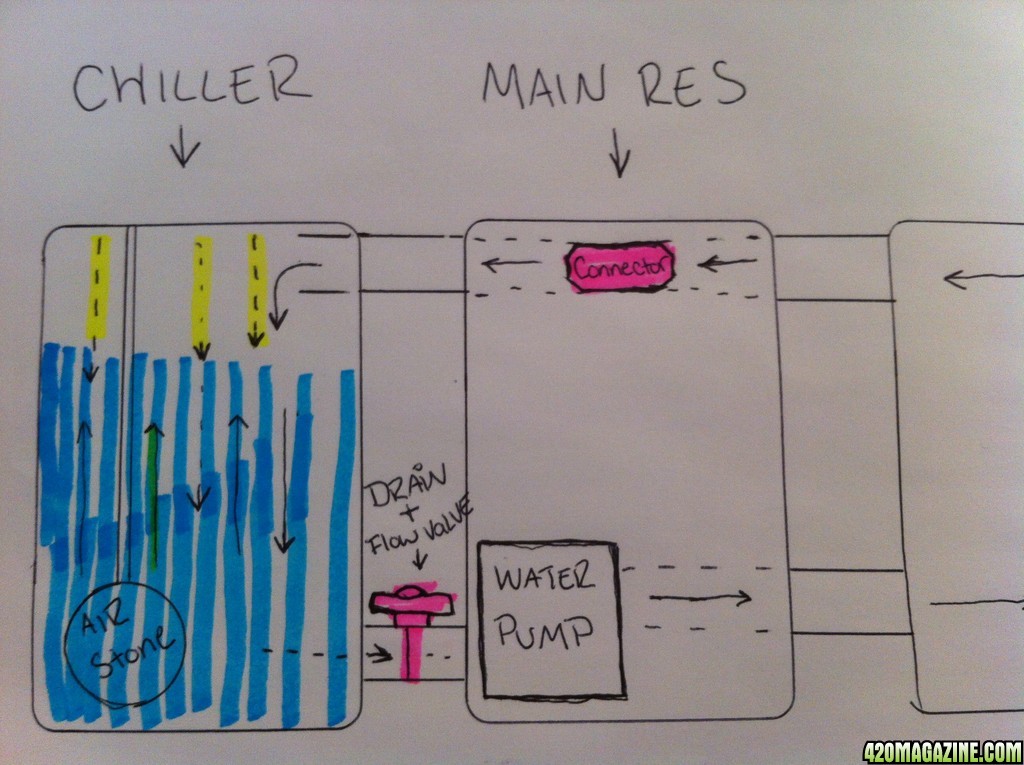
Hey everyone Ive been battling water temps as well you other growers. So I came up with this DIY water chiller. You will hook this up to your main res so for those with a RO system you will need to run your good water into the chiller which will keep it full.
Any who things you will need:
1x Home Depot leak sealed bucket with lid.
1x 1/2" rubber grommet
1/2" air tubing. The length will depend on how far you run the hose's to your main res as well as it being fed back into the chiller.
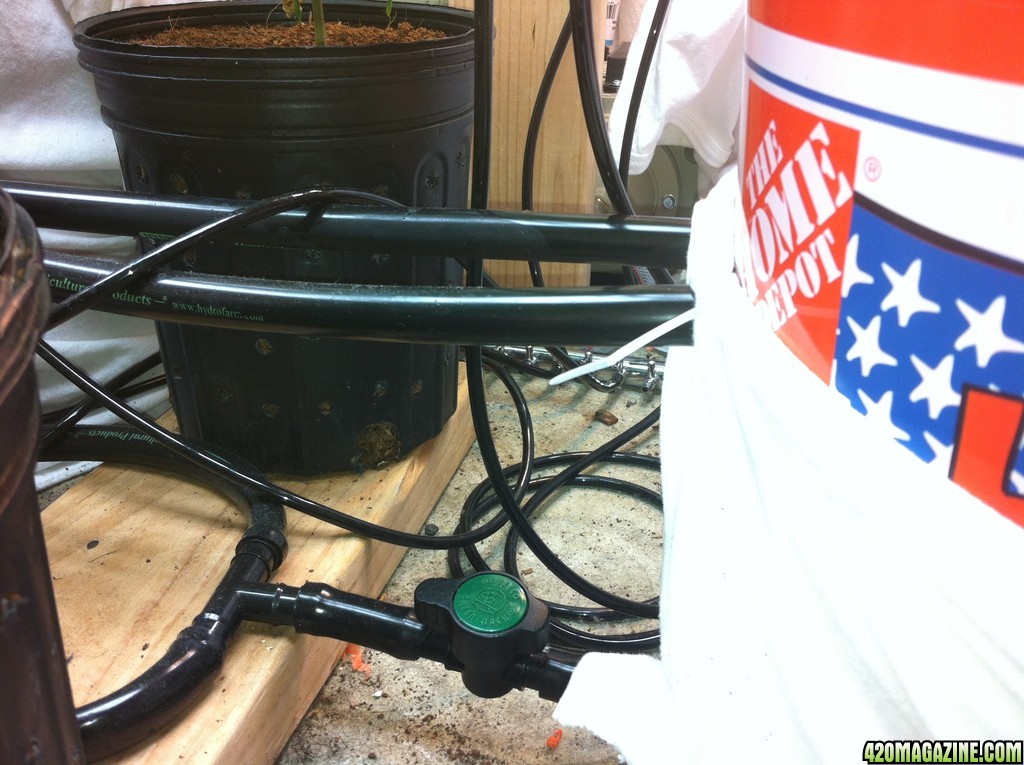
1x shut off control valve that fits 1/2" tubing.
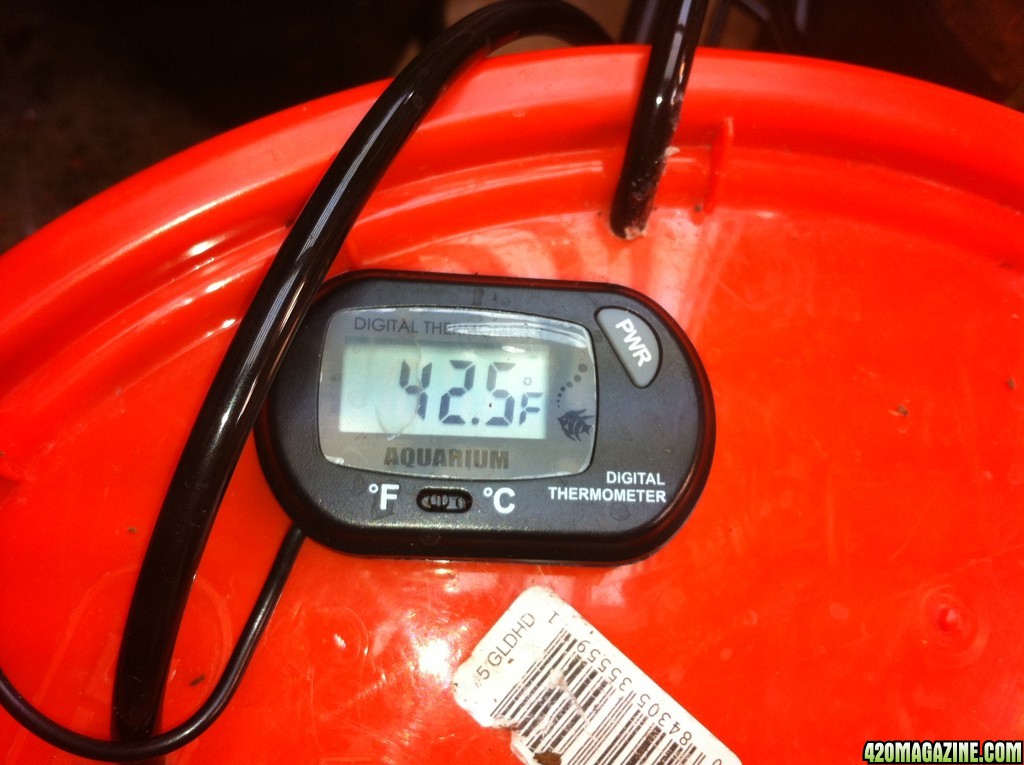
"X" amount of ice packs or frozen water bottles. More the better and less you will have to change them out. I used 6 and it kept the chiller below and around 40F which kept my RDWC system at 50-60F for the whole day.
Airline hose with air stones & air pump.
Ok so what you do now is cut a 5/8 size whole in the bottom of the bucket and insert the 1/2" rubber grommet. After insert the control valve and hook up tubing to your system as you would like.
2nd drill holes threw the top lid to insert the airline(s) with air stones. Fill with freezing cold water as much as you like. You can do this by adding alot of ice to the bucket after filling. Then add you ice packs. Remember the more the better. After seal the lid on the bucket tightly making sure there are no air leaks.
AND JUST LIKE THAT YOUR READY TO LET YOUR CHILLER RIP")
I know some of you are like how will this work and keep my water at cooler temps. Well to explain it, I really dont know how and what makes this thing actually work. I just know from the air pressure building inside the bucket will push the water down as well as keeping the water really cold. I ran into this by accident. I was standing on my main res after adding ice packs to lower my light. Next thing I just heard a loud rumbling from the bucket. I guess the pressure was building up. So I looked at the temps and what do ya know they were dropping by the second. I so happen to leave it untouched came back 3hrs later and the water temps were still at 40F. Im running a 4 site RDWC system so thats alot of water to keep at 40F. Still running strong after 8hrs.
Any who I just made a separate bucket and voila!
Any who things you will need:
1x Home Depot leak sealed bucket with lid.
1x 1/2" rubber grommet
1/2" air tubing. The length will depend on how far you run the hose's to your main res as well as it being fed back into the chiller.
1x shut off control valve that fits 1/2" tubing.
"X" amount of ice packs or frozen water bottles. More the better and less you will have to change them out. I used 6 and it kept the chiller below and around 40F which kept my RDWC system at 50-60F for the whole day.
Airline hose with air stones & air pump.
Ok so what you do now is cut a 5/8 size whole in the bottom of the bucket and insert the 1/2" rubber grommet. After insert the control valve and hook up tubing to your system as you would like.
2nd drill holes threw the top lid to insert the airline(s) with air stones. Fill with freezing cold water as much as you like. You can do this by adding alot of ice to the bucket after filling. Then add you ice packs. Remember the more the better. After seal the lid on the bucket tightly making sure there are no air leaks.
AND JUST LIKE THAT YOUR READY TO LET YOUR CHILLER RIP
I know some of you are like how will this work and keep my water at cooler temps. Well to explain it, I really dont know how and what makes this thing actually work. I just know from the air pressure building inside the bucket will push the water down as well as keeping the water really cold. I ran into this by accident. I was standing on my main res after adding ice packs to lower my light. Next thing I just heard a loud rumbling from the bucket. I guess the pressure was building up. So I looked at the temps and what do ya know they were dropping by the second. I so happen to leave it untouched came back 3hrs later and the water temps were still at 40F. Im running a 4 site RDWC system so thats alot of water to keep at 40F. Still running strong after 8hrs.
Any who I just made a separate bucket and voila!