sweetcheeba
New Member
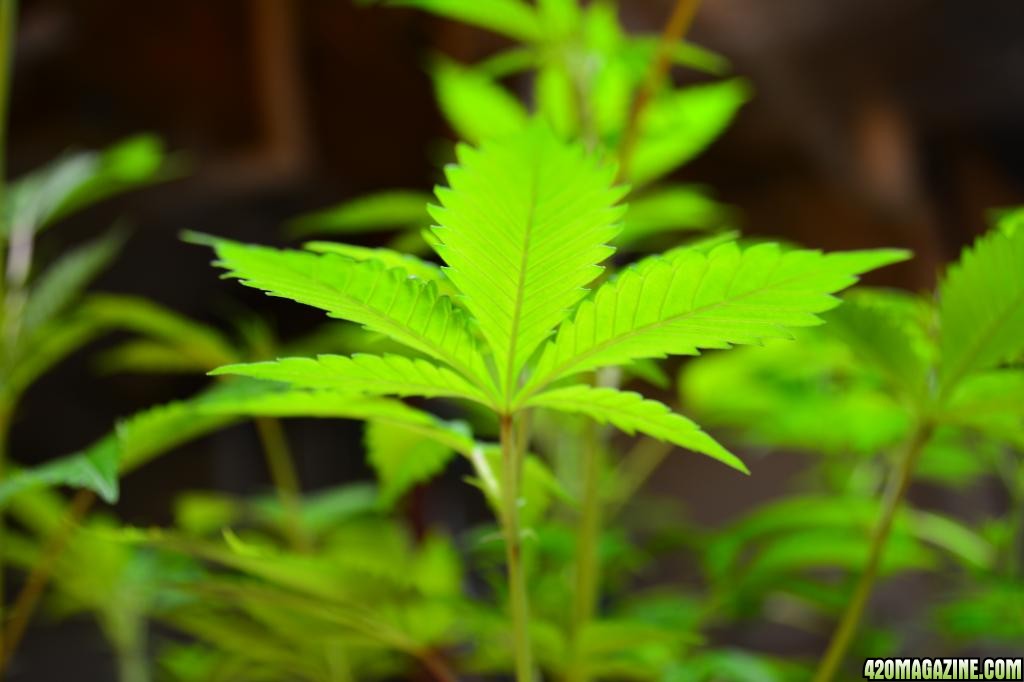
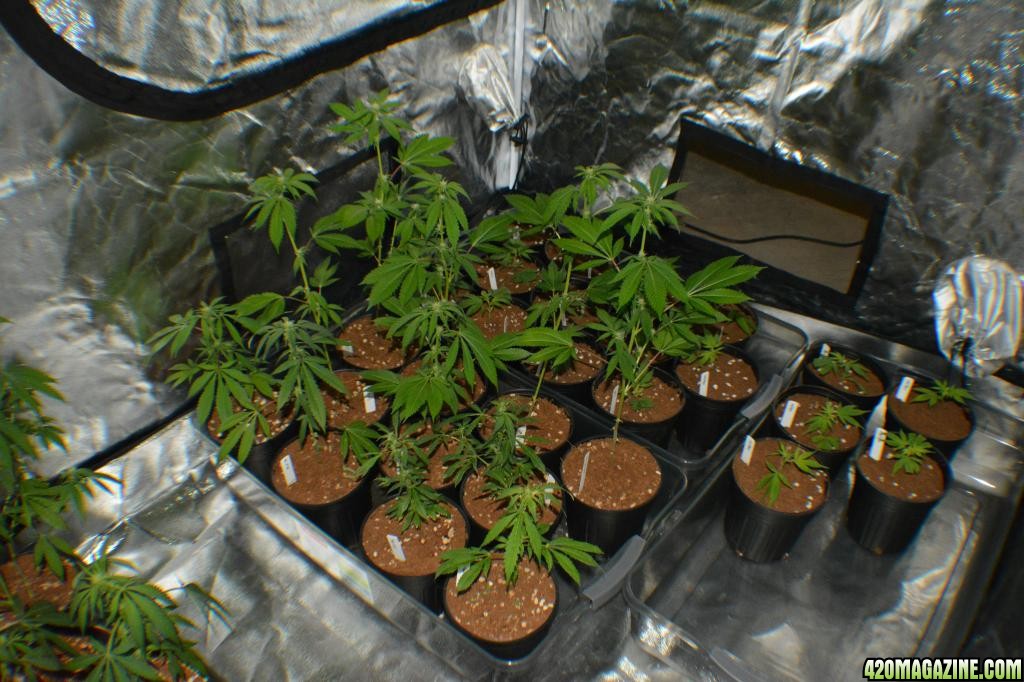
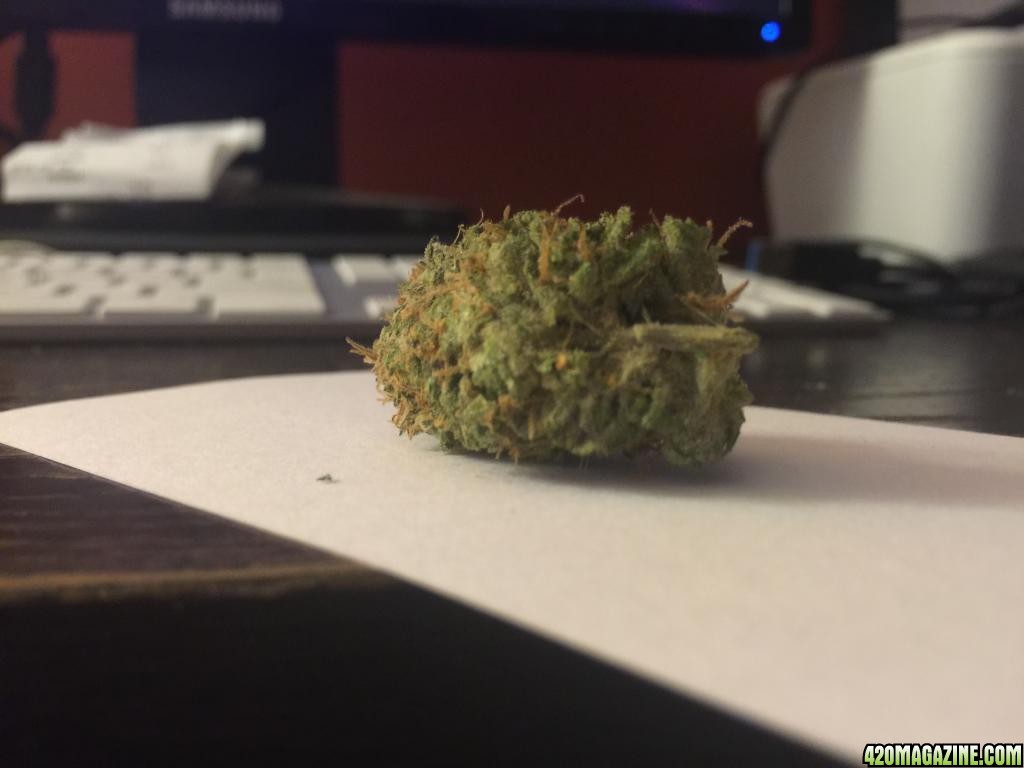
Howdy folks! How is everyone? It's been a minute but I'm back and in fine fashion. I was here a while ago with a 250w Kings Kush grow, since then I have popped a Chemdog seed and helped a couple homies with their grows. The reason I am posting before you is to document a 1600w perpetual system from the cozy and cold state of Maine. This is going to be conducted in coco and will be perpetual utilizing the sea-of-green method. My previous experience has been with hydro (water farms, dwc etc) but now I want to experiment with so I am giving coco a shot. We are coming online with hopes of legalization by 2016..but until then a brotha has gotta have his stress relief 
Here's the details:
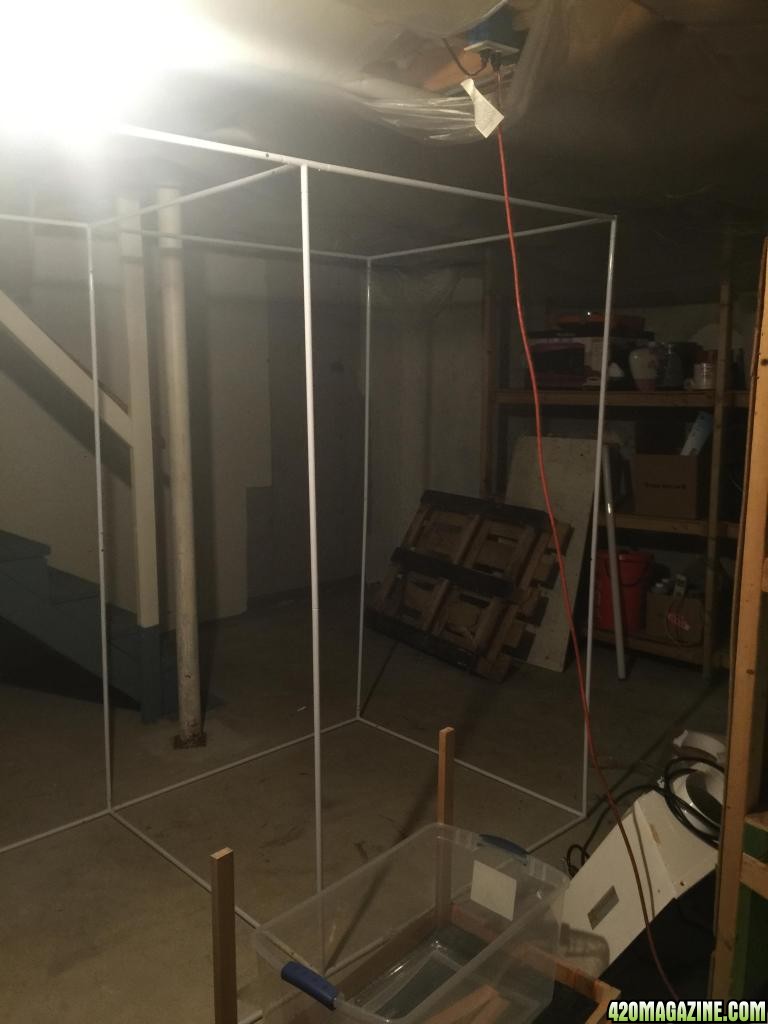
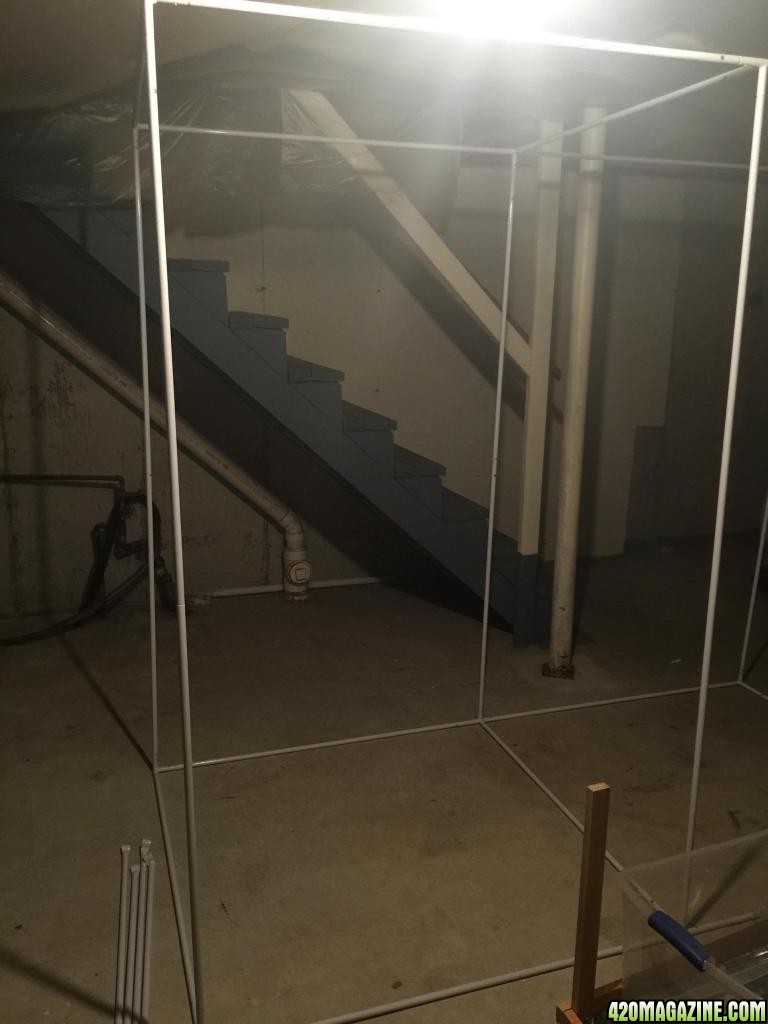
400w Mh Custom Veg Cabinet w/ ballast+cool tube
4" inline fan with fan speed controller
4" Carbon Filter
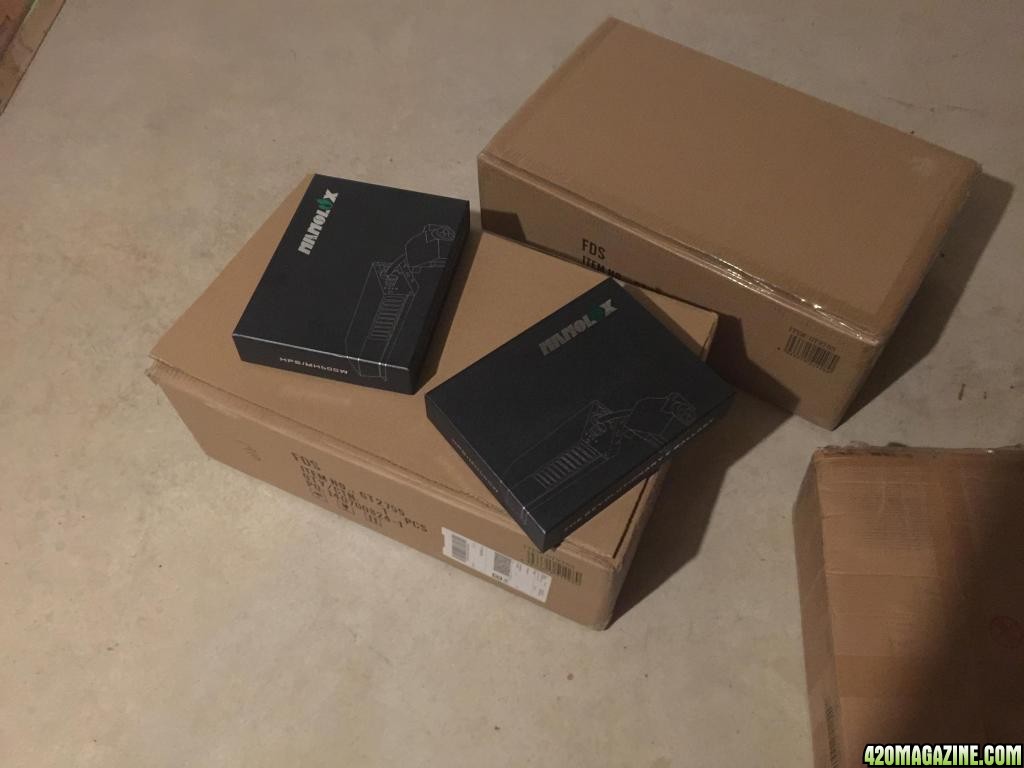
2 600w HPS w/ Nanolux digital micro-ballasts
6" inline fan with fan speed controller
6" carbon filter
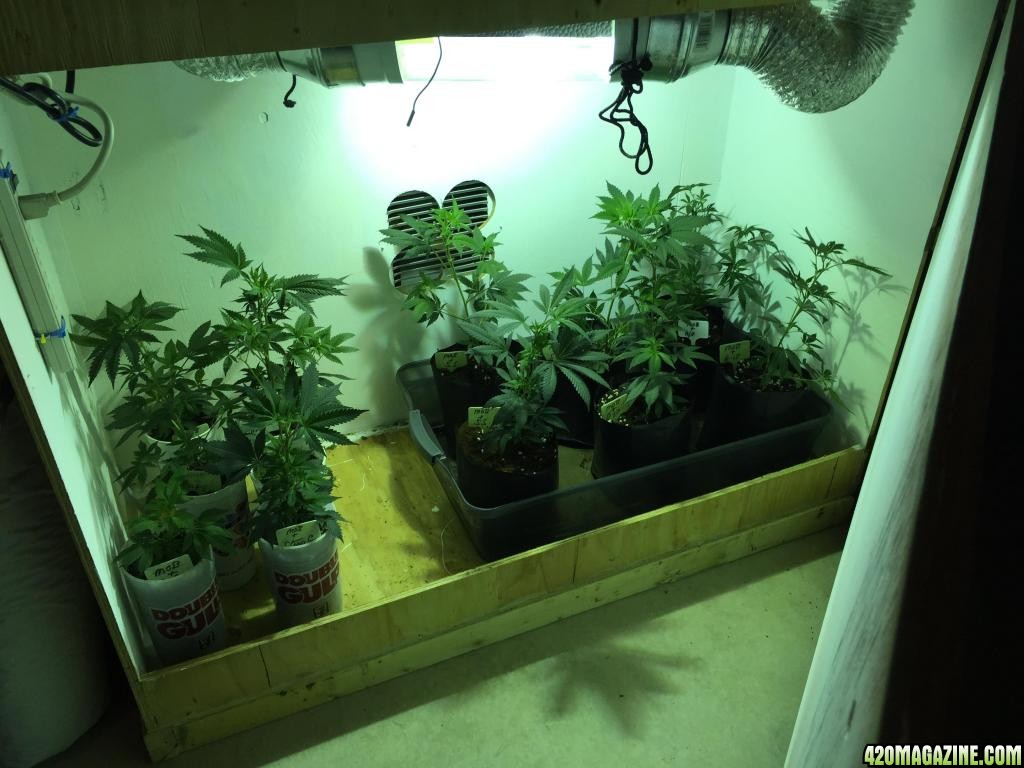
96"x48"x78" (8x4x7.5ft) 600D grow tent for flower
2 black ventilated hoods with built in mogel sockets and easy-access levers for cleaning
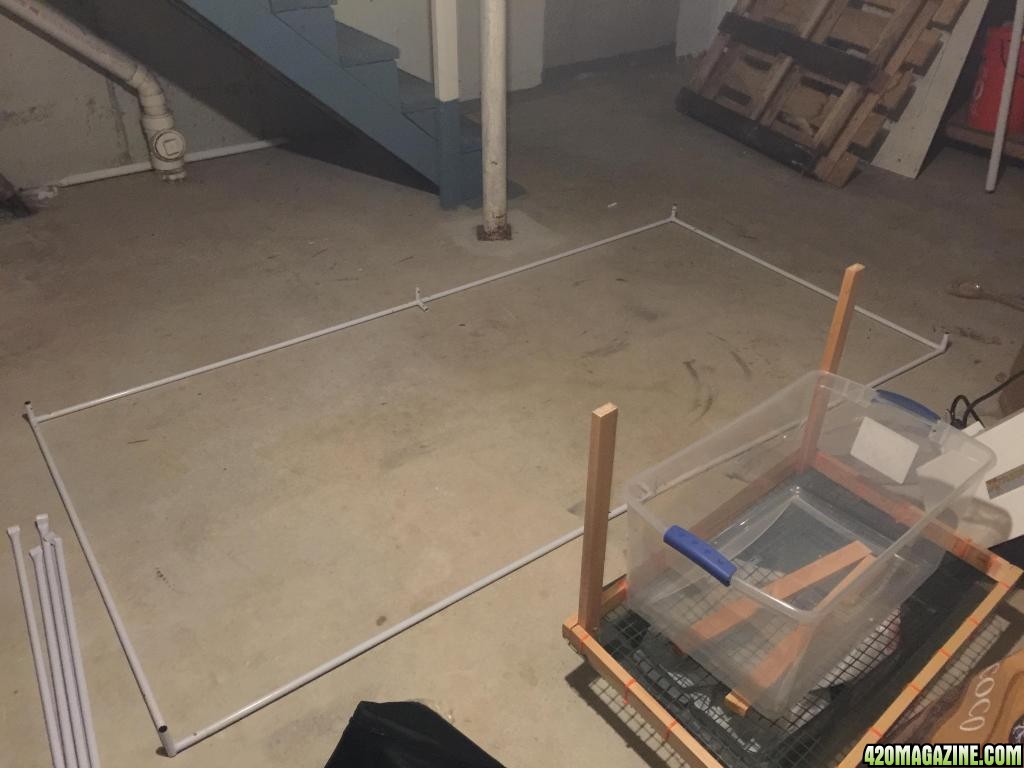
DIY table for each tray
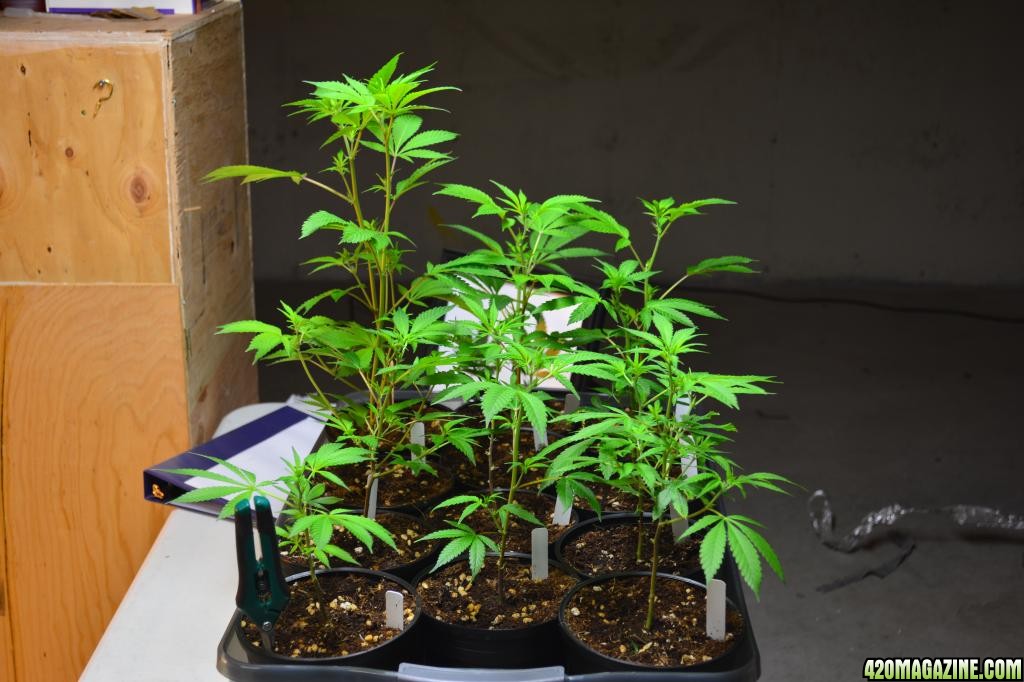
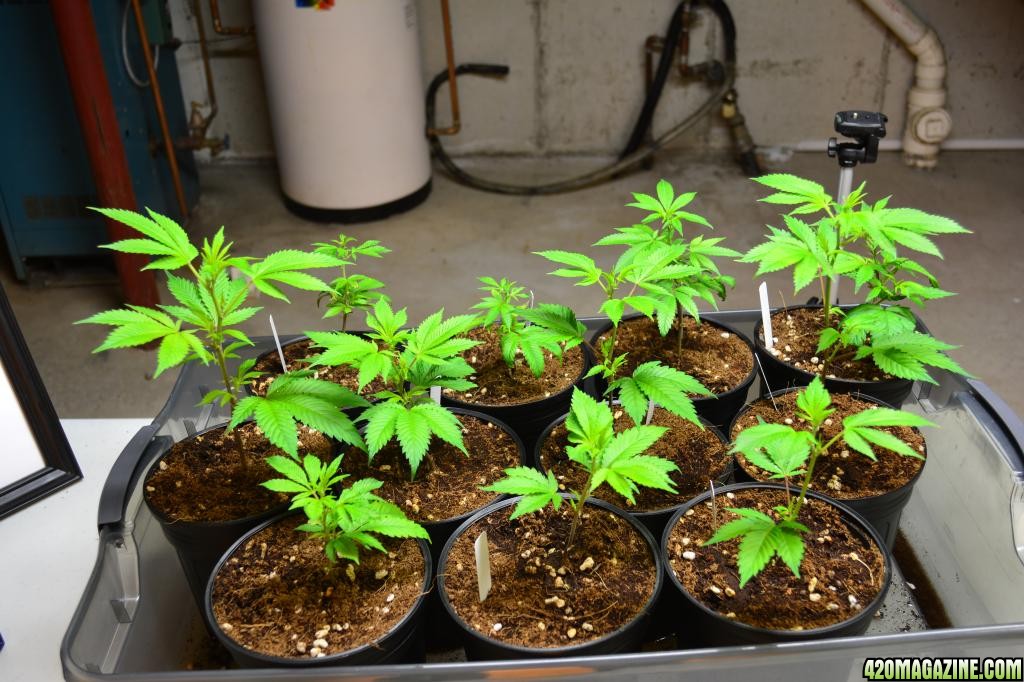
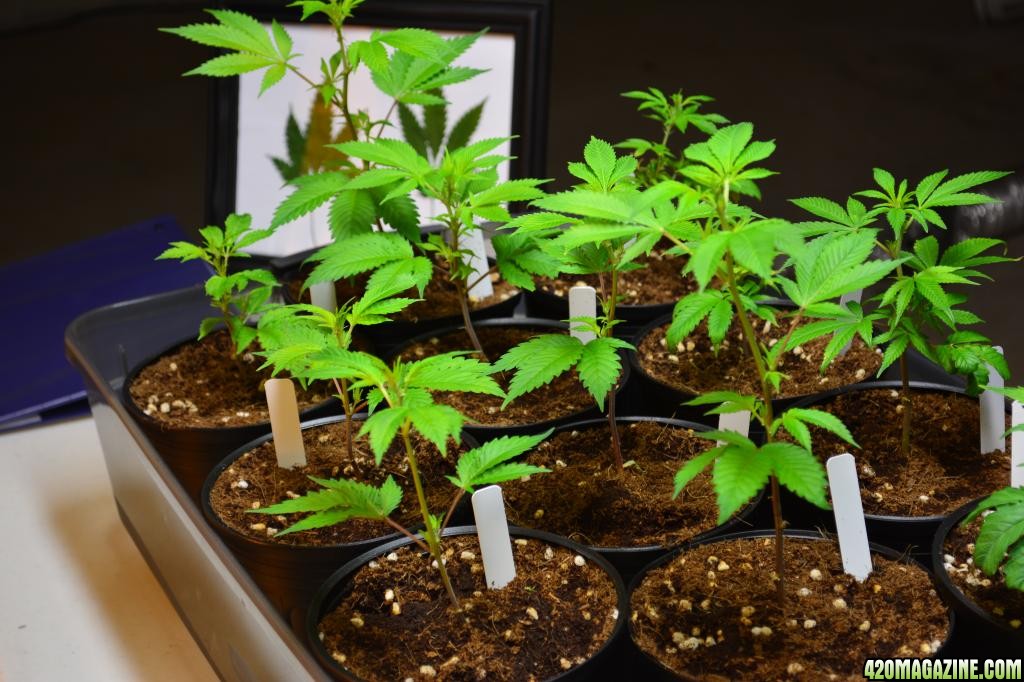
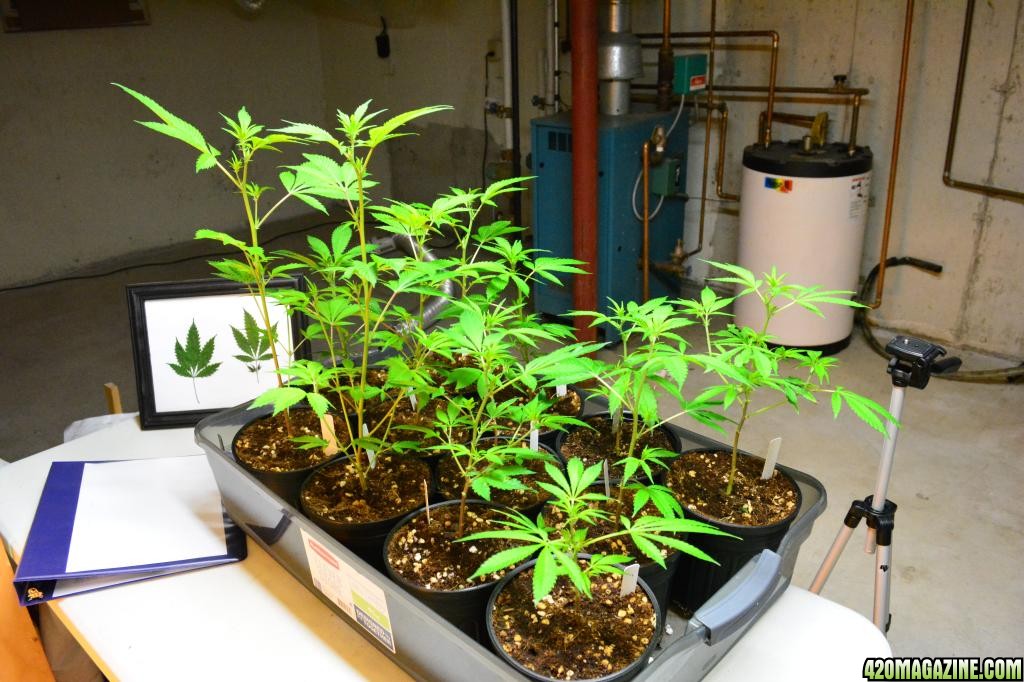
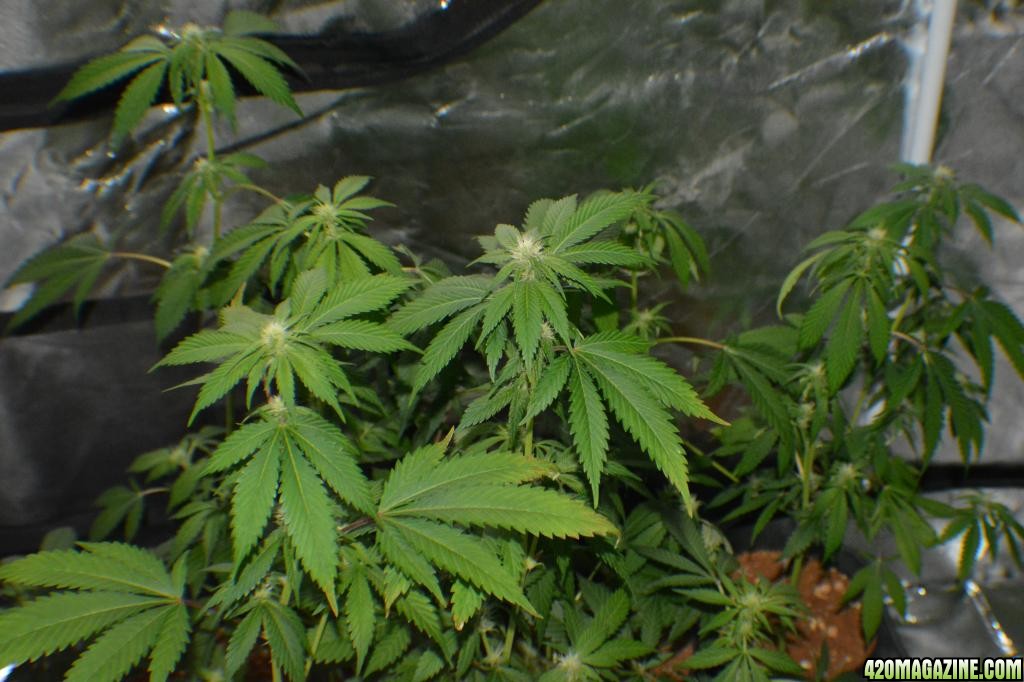
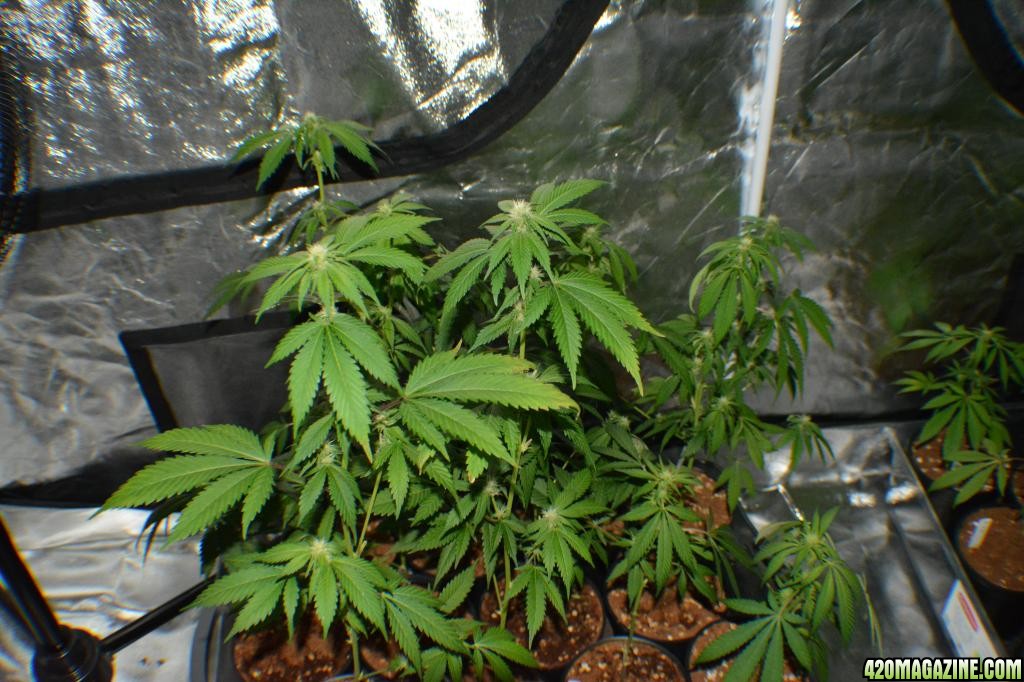
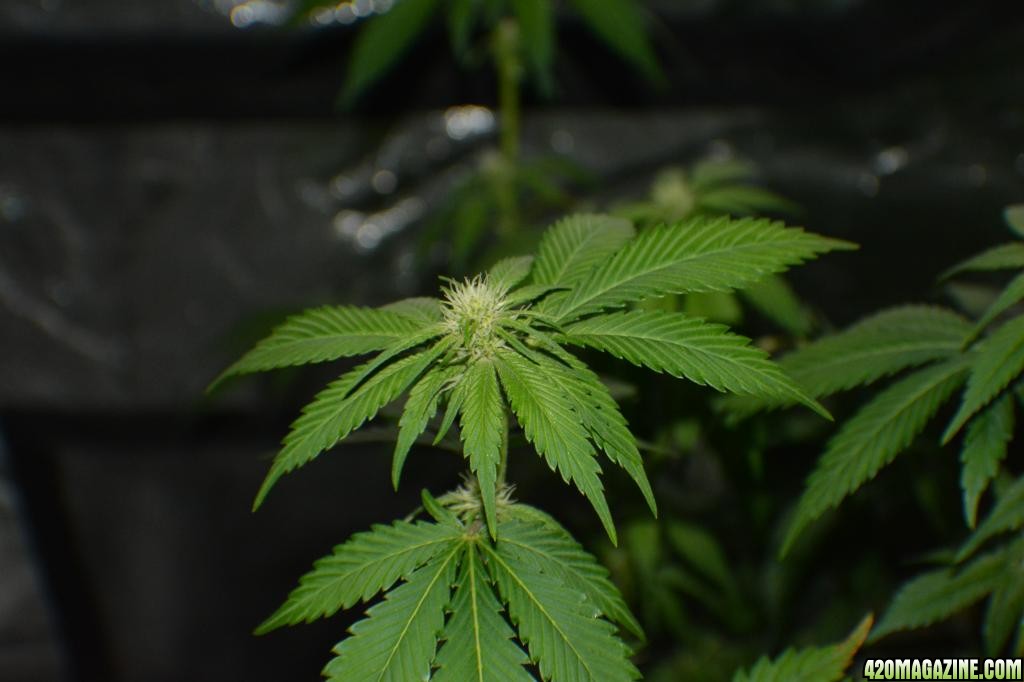
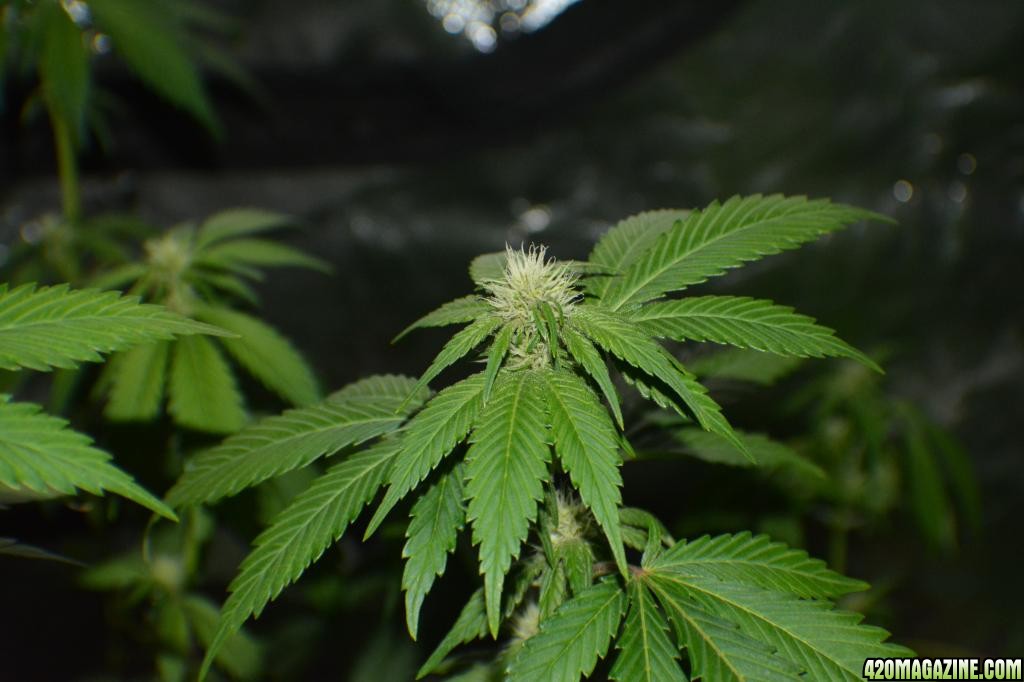
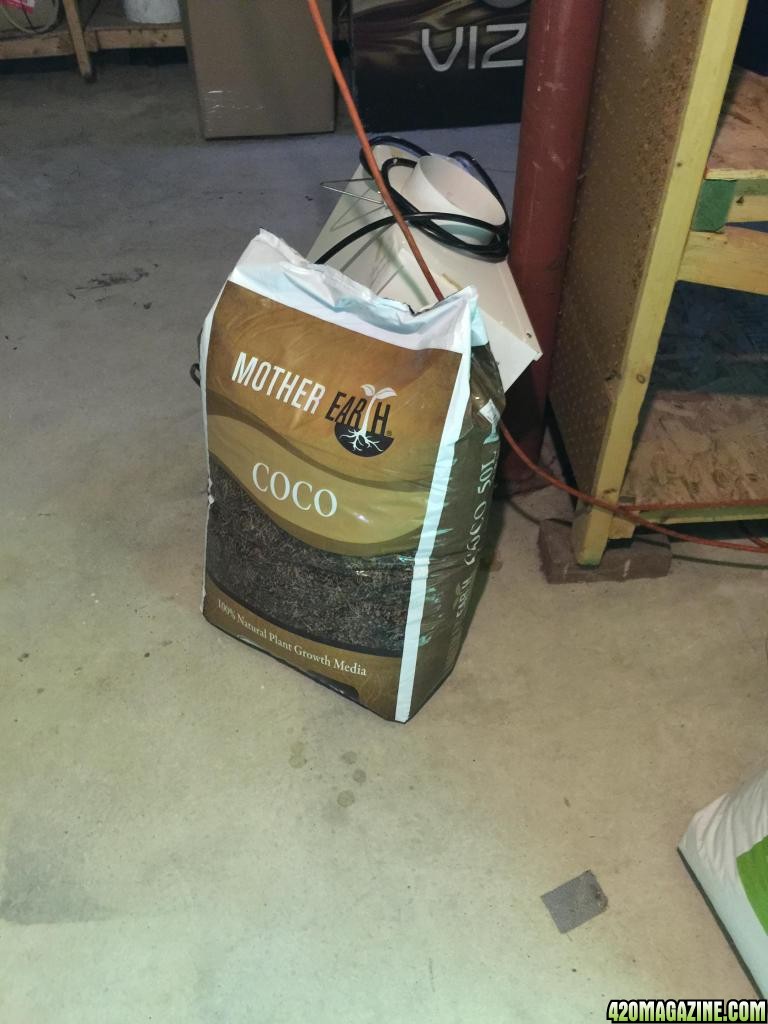
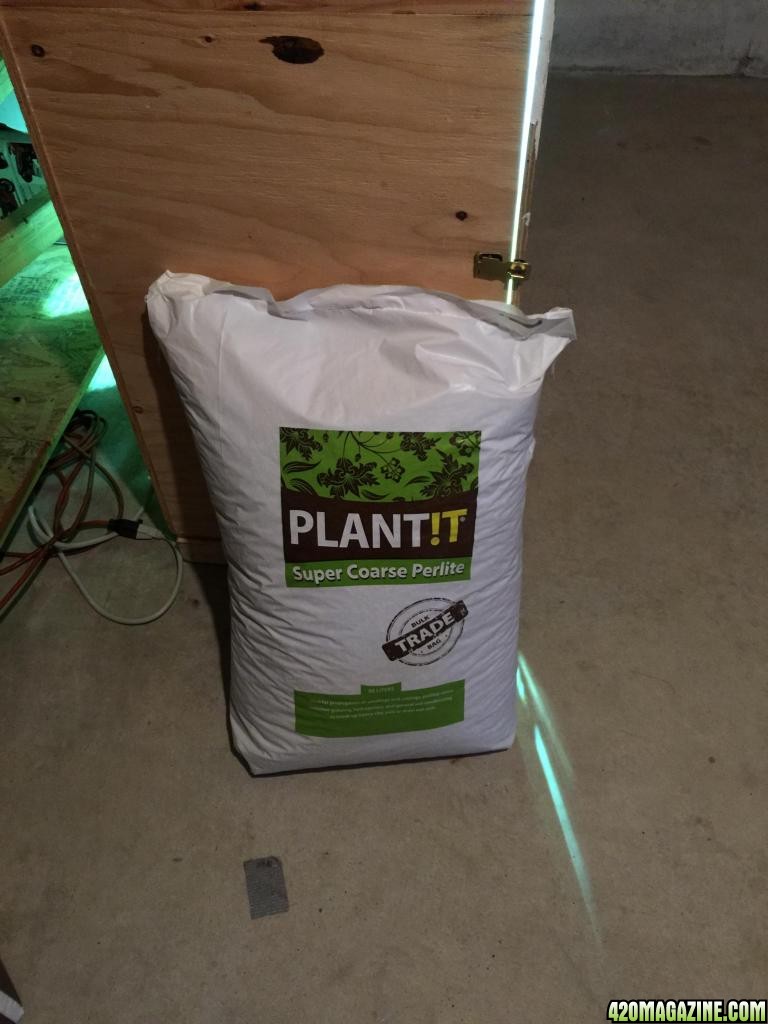
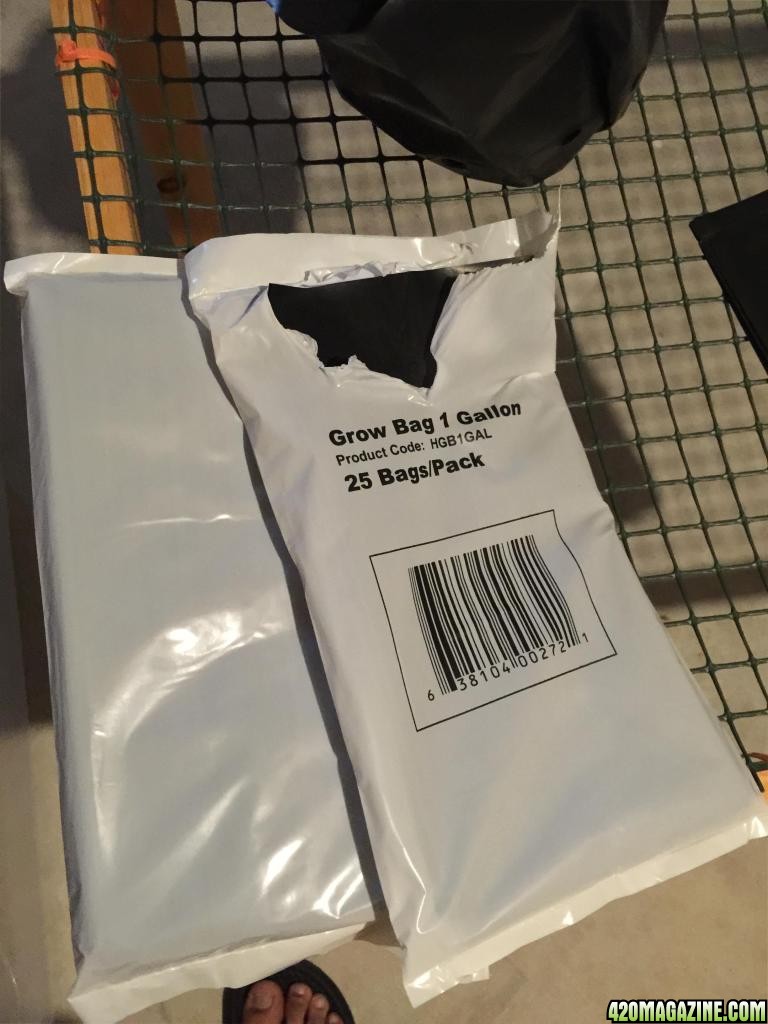
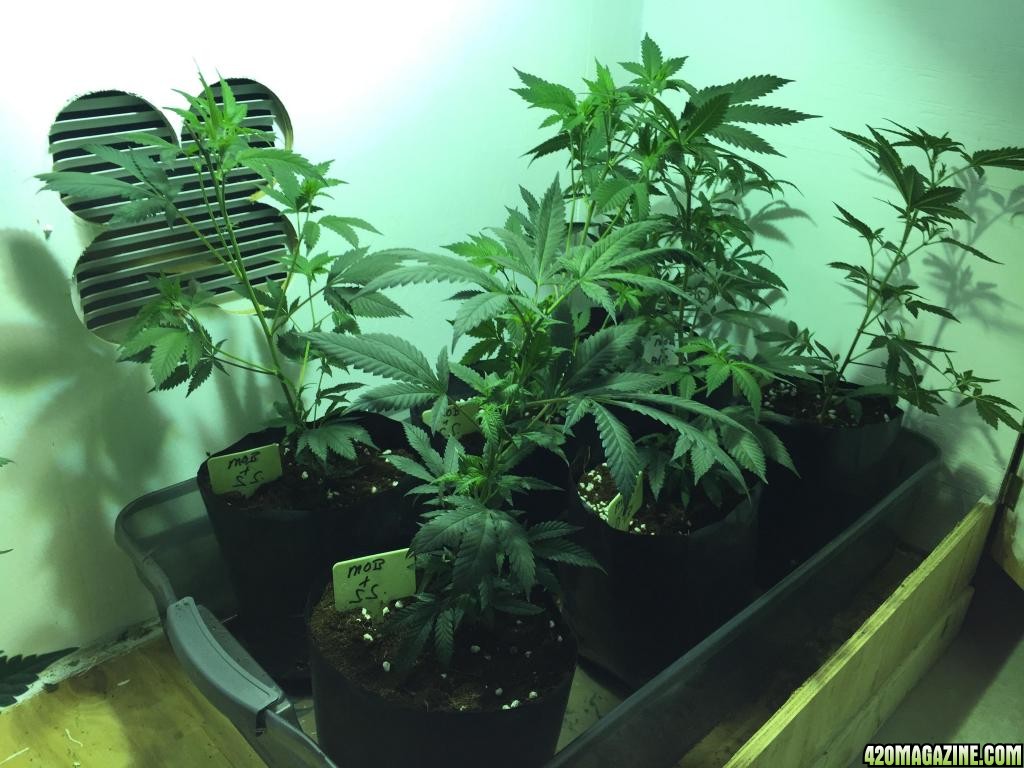
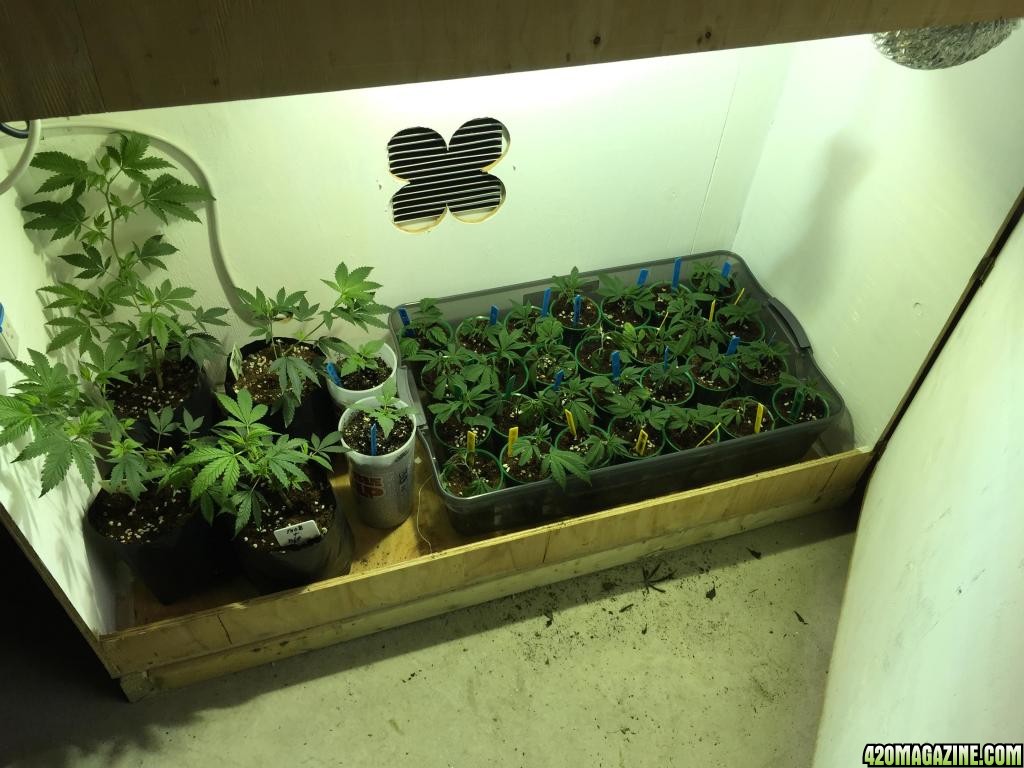
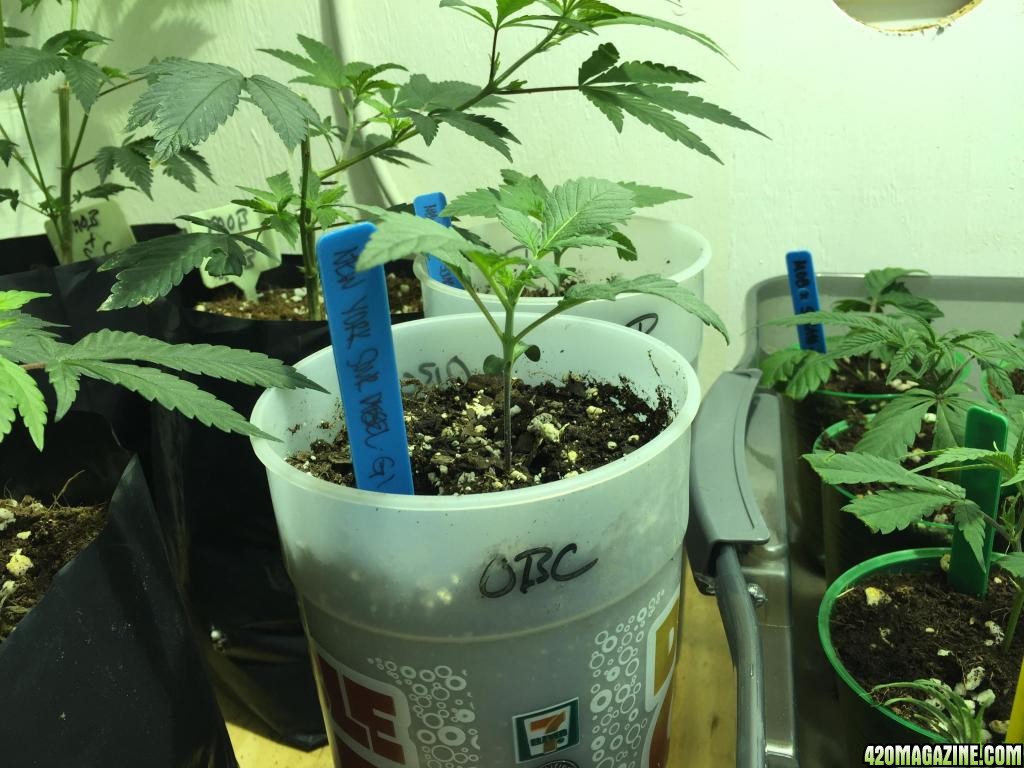
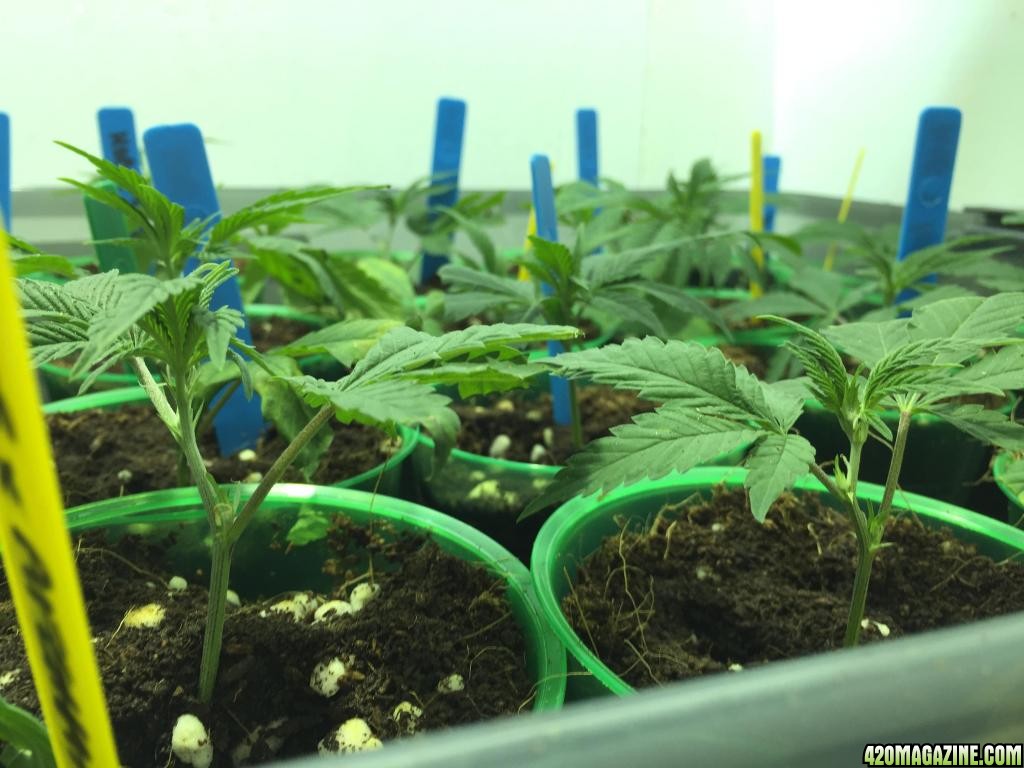
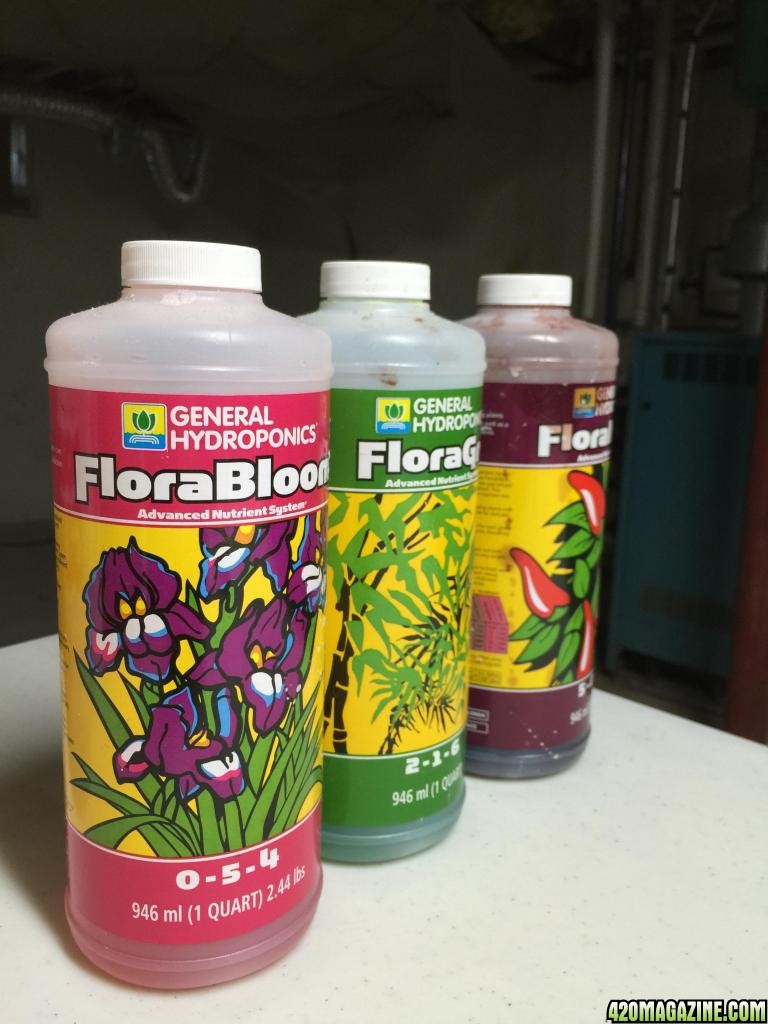
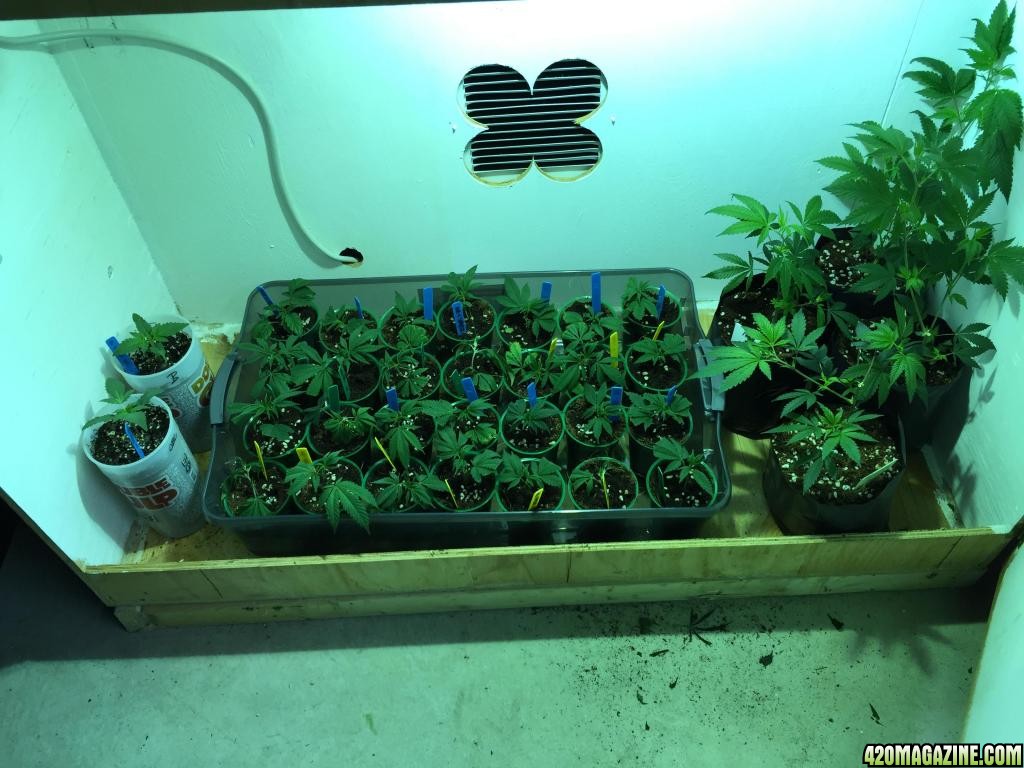
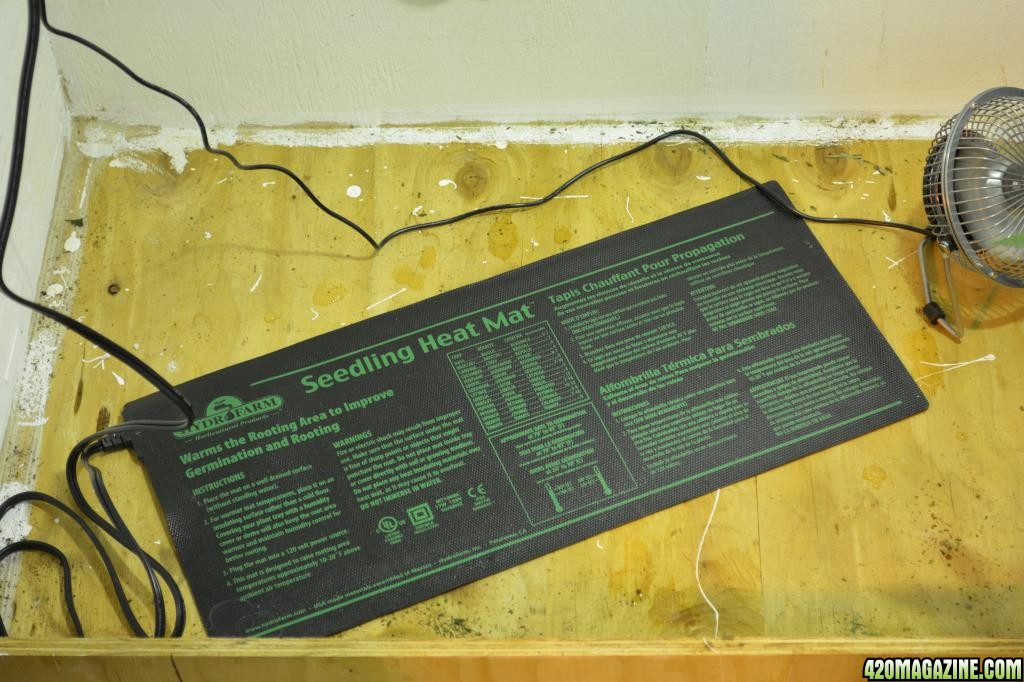
What I aim to do is create a system where I harvest 12-15 plants every one-two weeks max. This will be achieved by maintaining quality mothers (bonsai of course) and a combination of 80/20 coco/perlite. Clones will be taken and planted in 1 gal bags which are then placed in Rubbermaid containers with hydroton. So far I have had success with GH's Flora series so I am going to give it a shot before I commit to changing to canna. Once clones have some vigor and reach 8-10" they are going in the flower chamber. Throughout this process they will be watered 2-3x a day to cut down on salt buildup and also to make the flush a little easier.
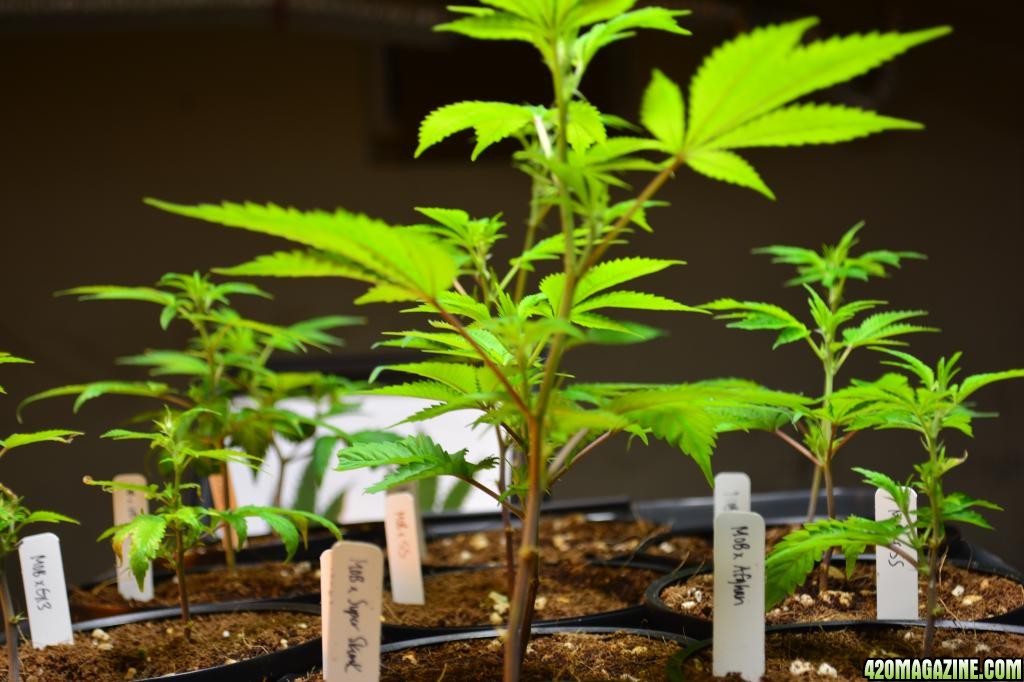
My my goal is to achieve 14g per plant-if I could do that Id be ecstatic. As of right now I plan to just do single cola's but I may try to top or fim one to see what happens. My genetics are as follows:
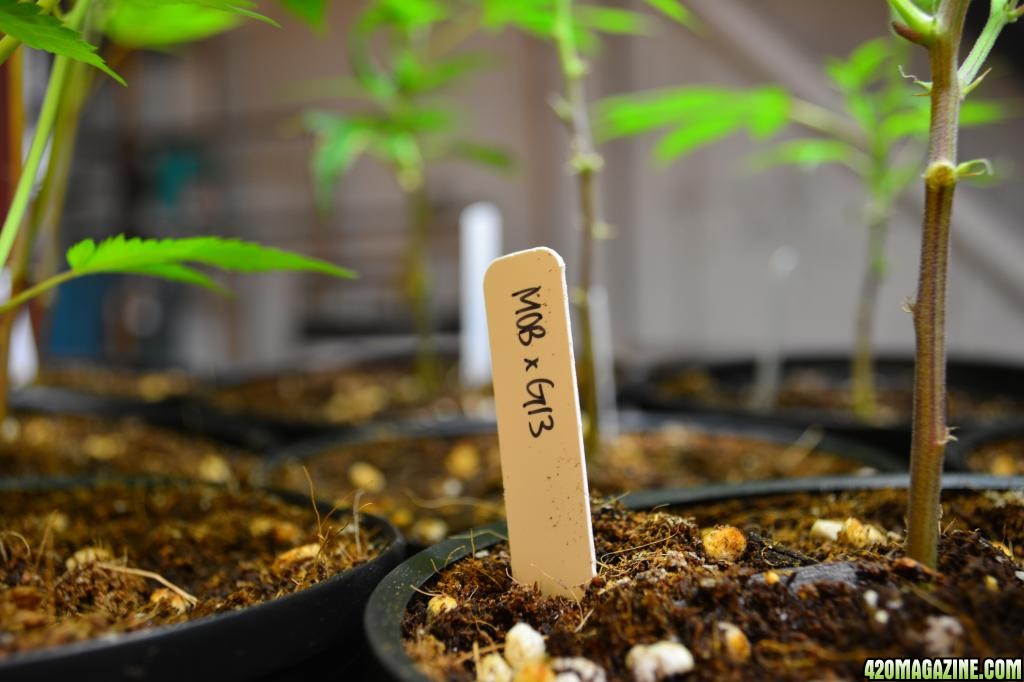
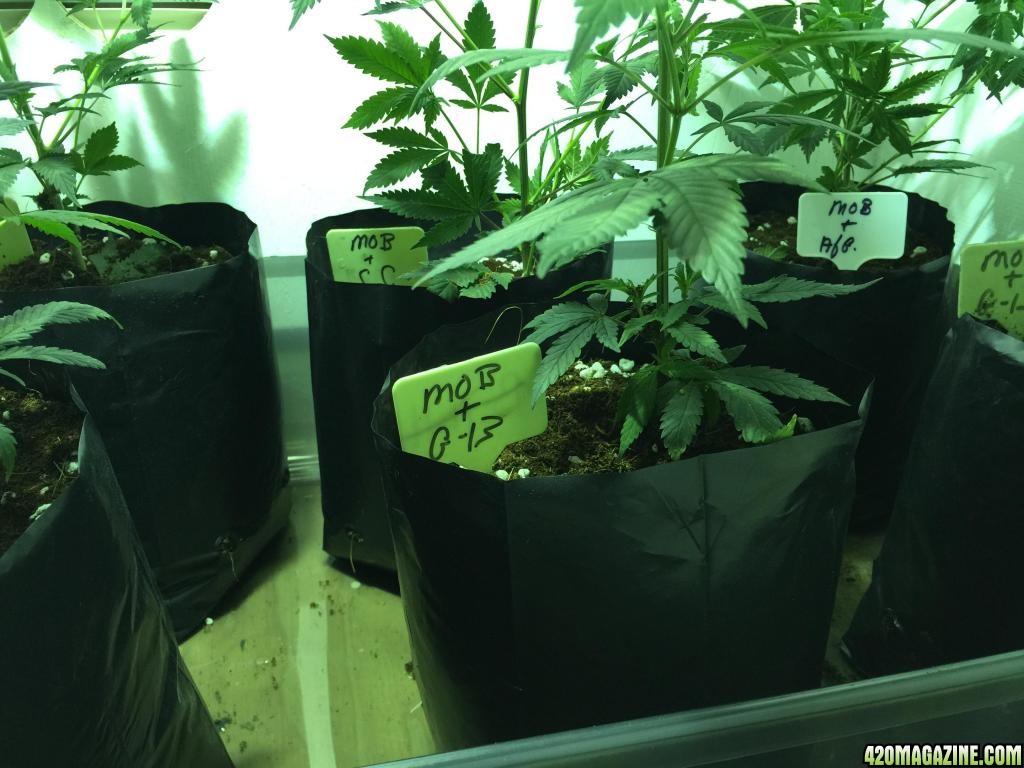
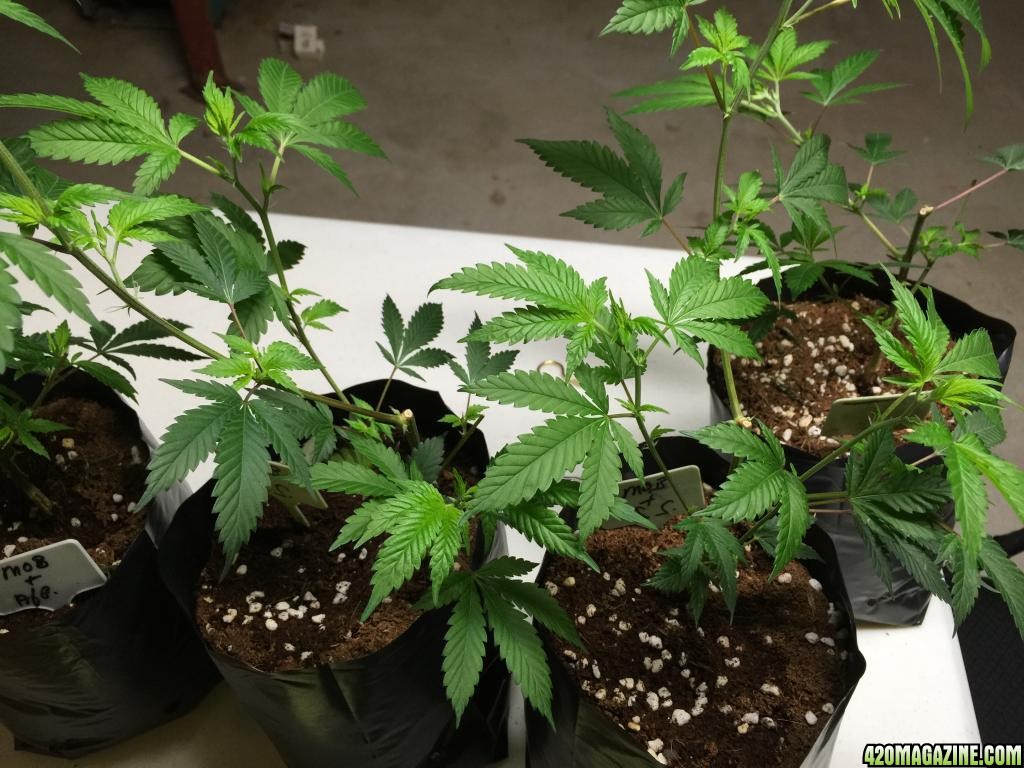
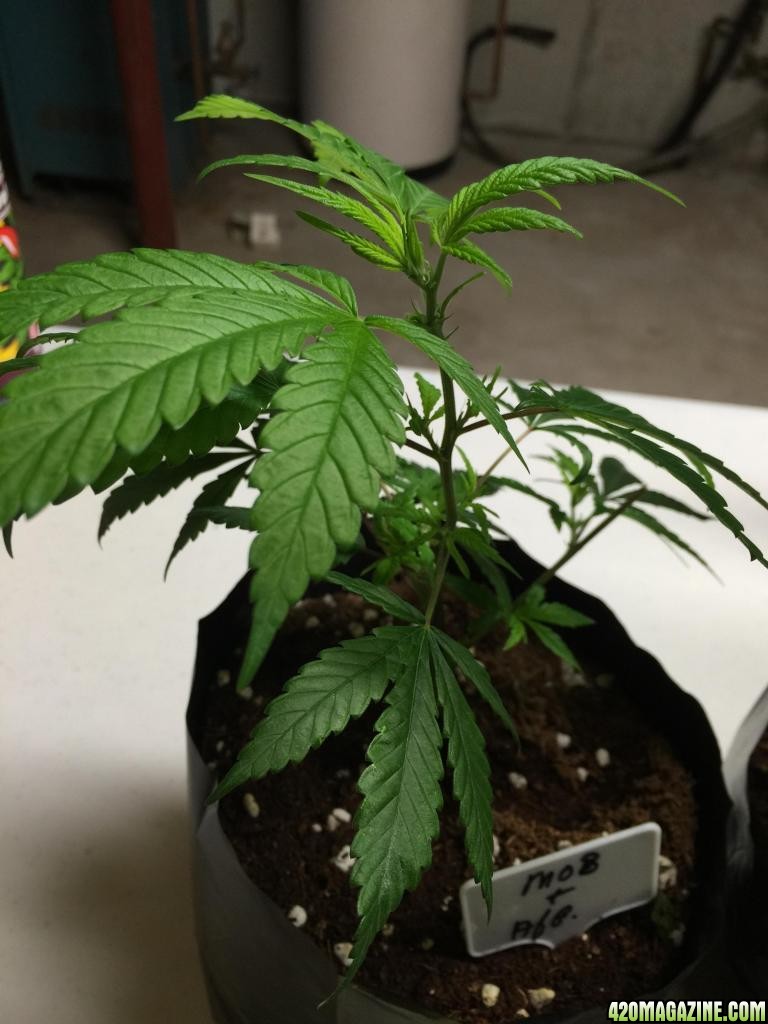
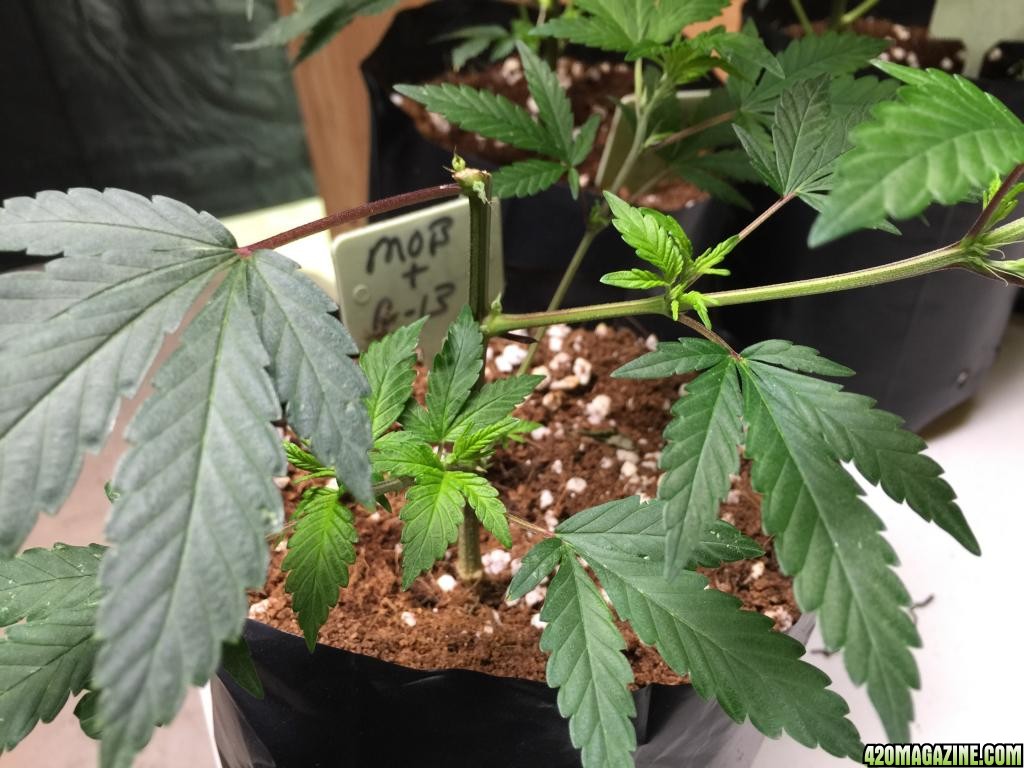
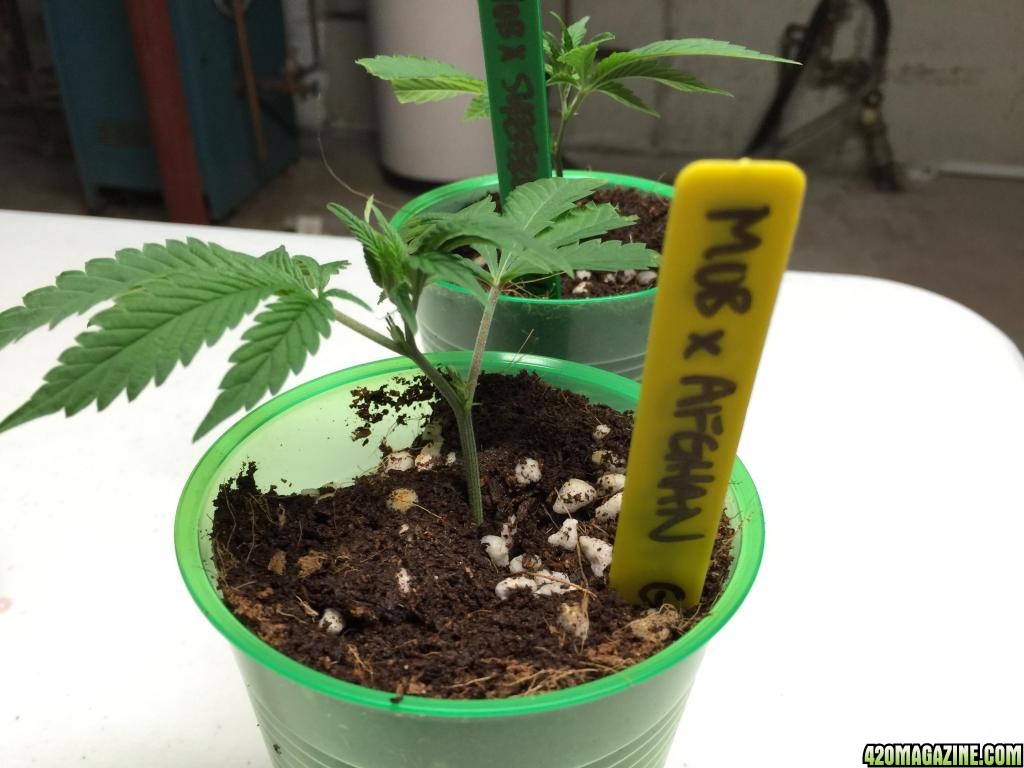
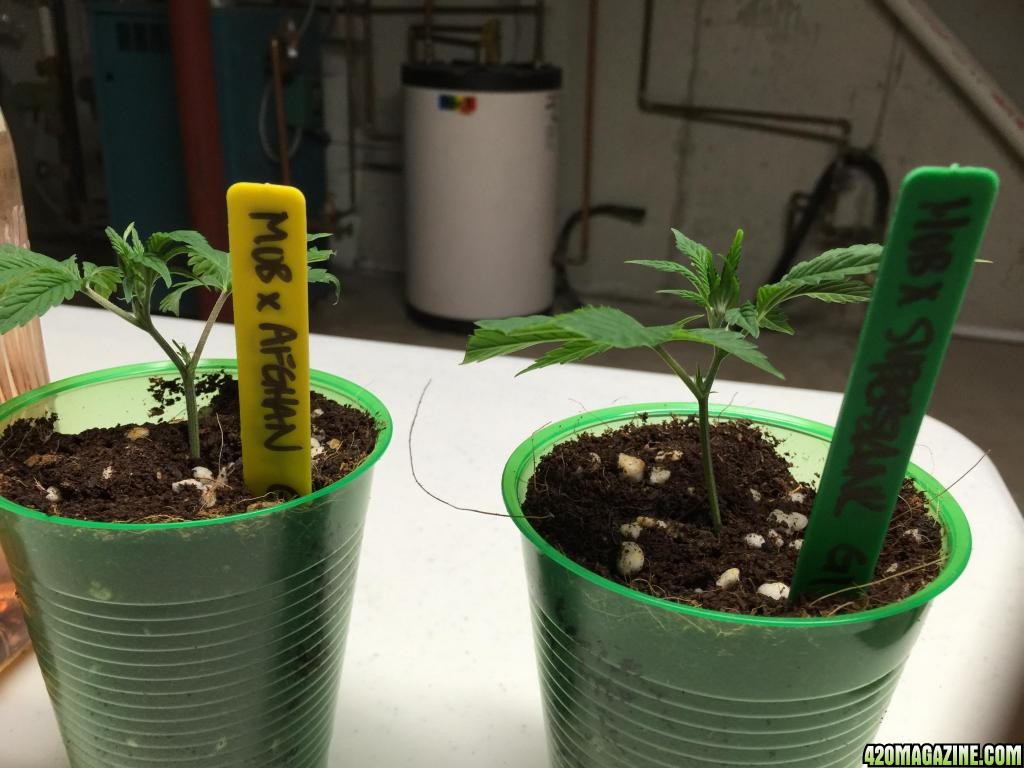
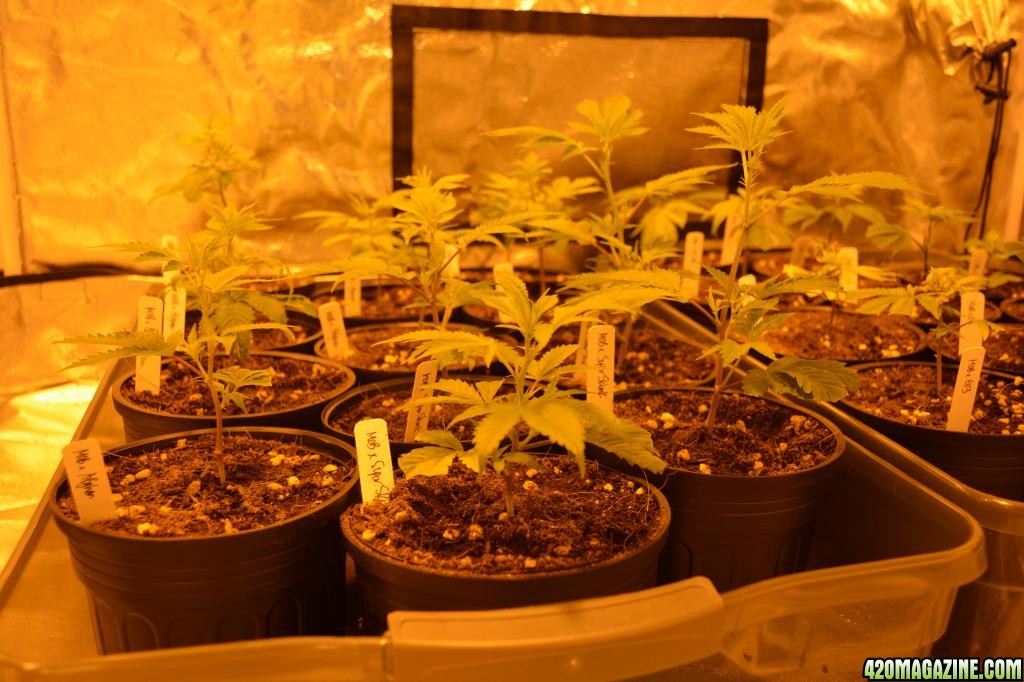
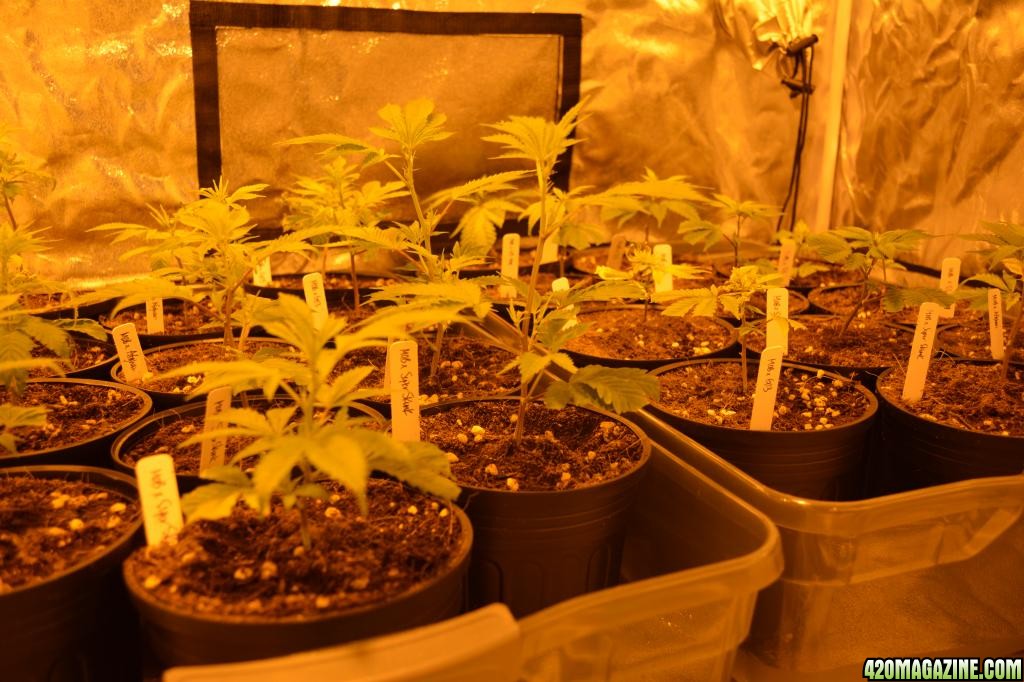
Maine MOB x Afghan
Maine MOB x G-13
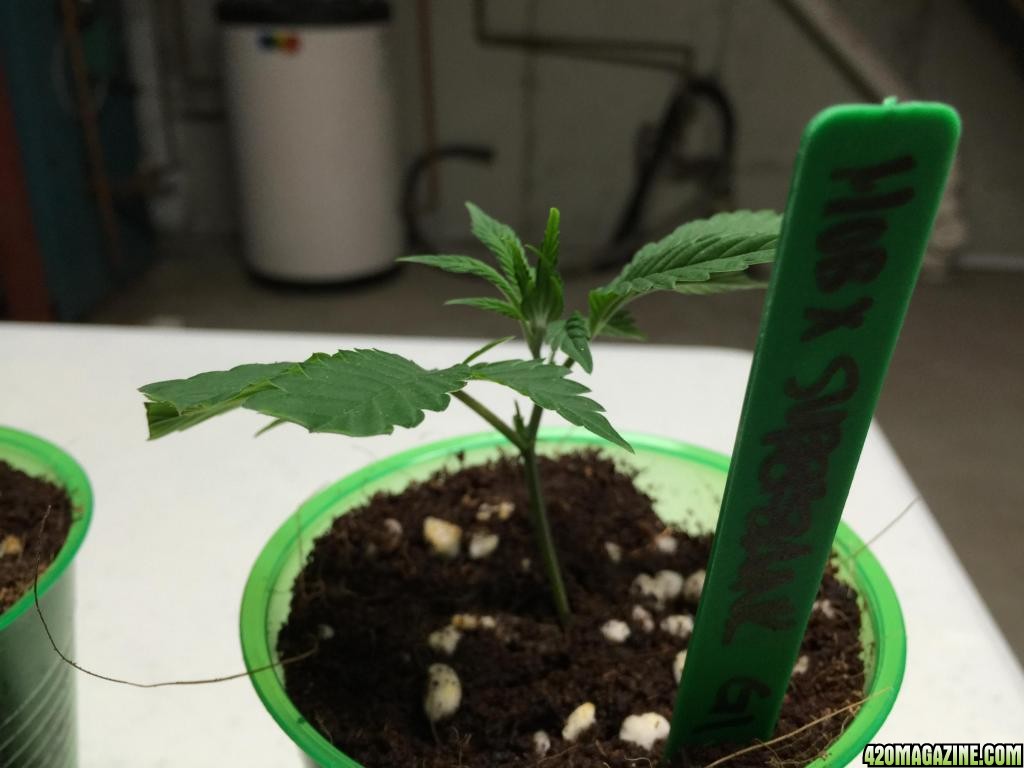
Maine MOB x Super Skunk
Maine MOB x Strawberry Cough
To my understanding the original maine MOB was crossed with these already awesome strains and these are the result. According to the person who gave them to me (only avail in cuttings) they are 45day strains but they could go 55-60 depending on effect.
This thread wi be photo heavy and hopefully will house some useful information for those looking to do this themselves. I have only come across a limited amount of threads mentioning the original MOB but even less info on it. I plan to document (with both photos and words) everything from delivery boxes to setting stuff up. I've created an advanced edge spreadsheet that I am willing to share with anyone interested. Also planning to make some short 2-3minute video series on techniques such as cloning, transplanting, drying and more! So please post your questions/comments/recommendations and I will be sure to help in anyway that I can. Thanks for stopping in guys and enjoy the show
Here's the details:
400w Mh Custom Veg Cabinet w/ ballast+cool tube
4" inline fan with fan speed controller
4" Carbon Filter
2 600w HPS w/ Nanolux digital micro-ballasts
6" inline fan with fan speed controller
6" carbon filter
96"x48"x78" (8x4x7.5ft) 600D grow tent for flower
2 black ventilated hoods with built in mogel sockets and easy-access levers for cleaning
DIY table for each tray
What I aim to do is create a system where I harvest 12-15 plants every one-two weeks max. This will be achieved by maintaining quality mothers (bonsai of course) and a combination of 80/20 coco/perlite. Clones will be taken and planted in 1 gal bags which are then placed in Rubbermaid containers with hydroton. So far I have had success with GH's Flora series so I am going to give it a shot before I commit to changing to canna. Once clones have some vigor and reach 8-10" they are going in the flower chamber. Throughout this process they will be watered 2-3x a day to cut down on salt buildup and also to make the flush a little easier.
My my goal is to achieve 14g per plant-if I could do that Id be ecstatic. As of right now I plan to just do single cola's but I may try to top or fim one to see what happens. My genetics are as follows:
Maine MOB x Afghan
Maine MOB x G-13
Maine MOB x Super Skunk
Maine MOB x Strawberry Cough
To my understanding the original maine MOB was crossed with these already awesome strains and these are the result. According to the person who gave them to me (only avail in cuttings) they are 45day strains but they could go 55-60 depending on effect.
This thread wi be photo heavy and hopefully will house some useful information for those looking to do this themselves. I have only come across a limited amount of threads mentioning the original MOB but even less info on it. I plan to document (with both photos and words) everything from delivery boxes to setting stuff up. I've created an advanced edge spreadsheet that I am willing to share with anyone interested. Also planning to make some short 2-3minute video series on techniques such as cloning, transplanting, drying and more! So please post your questions/comments/recommendations and I will be sure to help in anyway that I can. Thanks for stopping in guys and enjoy the show
") .
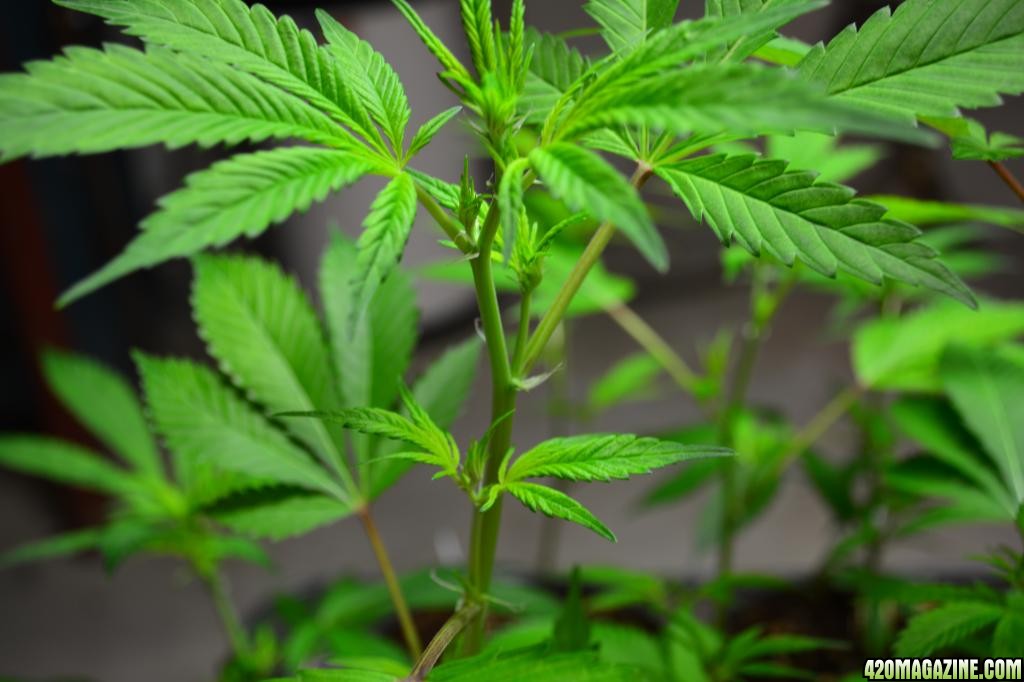
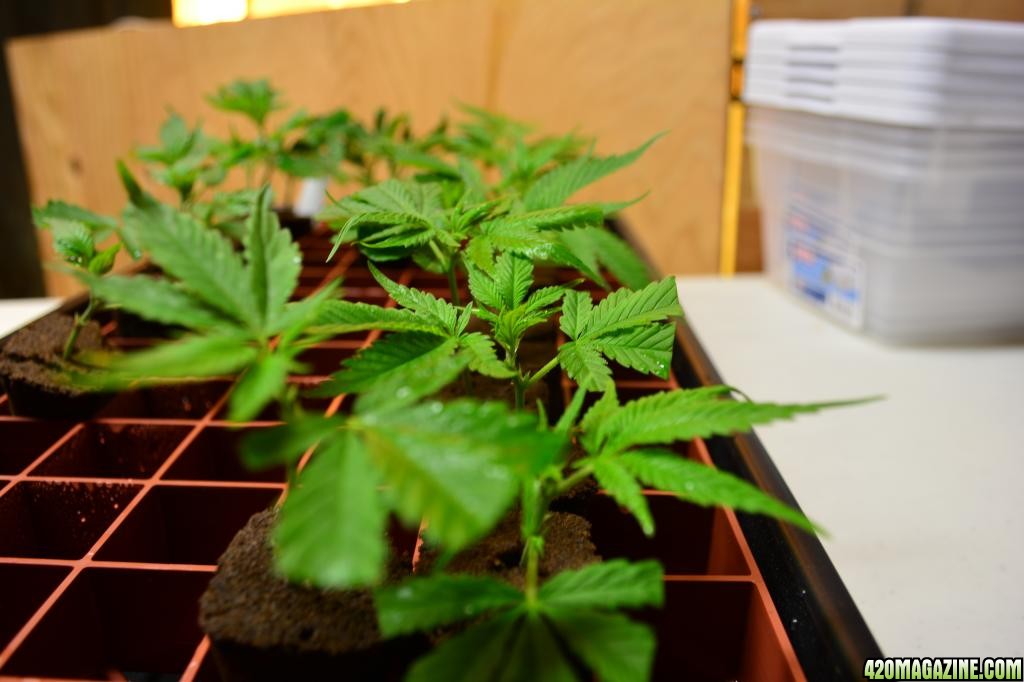
.  . Next day I check them and same thing. After reading up I remembered I only lightly watered them upon transplant so I thought if I step up the watering game it might give me some results. Low and behold it worked. Around the fourth day over half had regained their vigor and by today I am seeing new sets emerging from the nodes. I will post a pictorial of my exact method on my next batch but it uses no hormones and limited space.
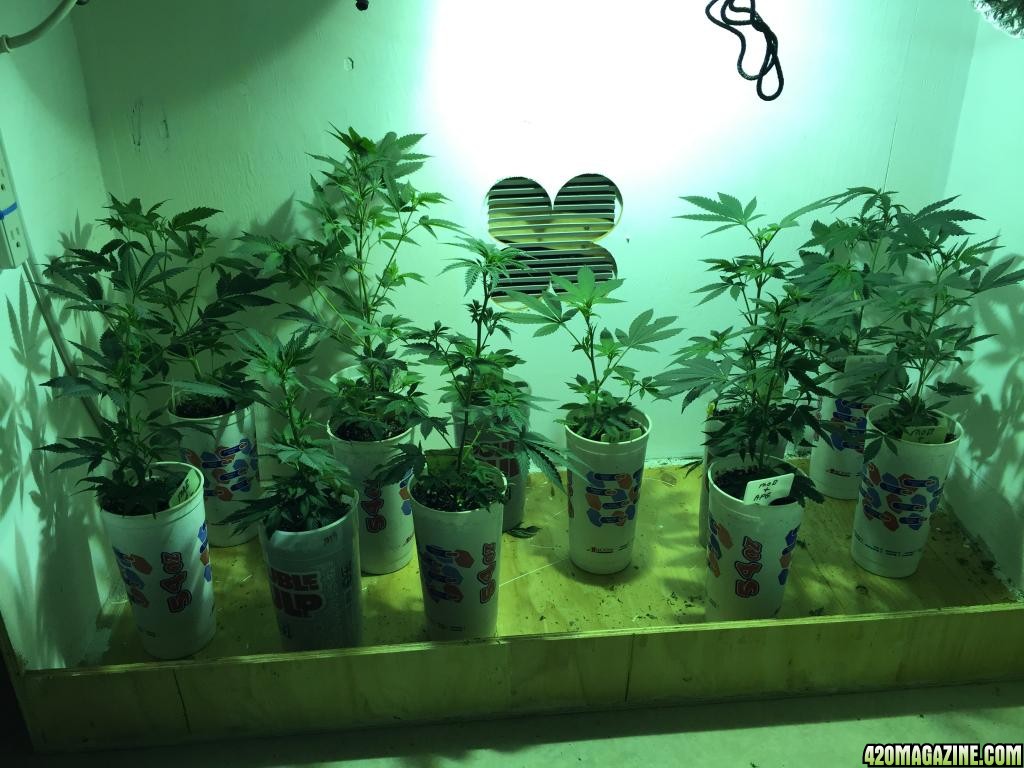


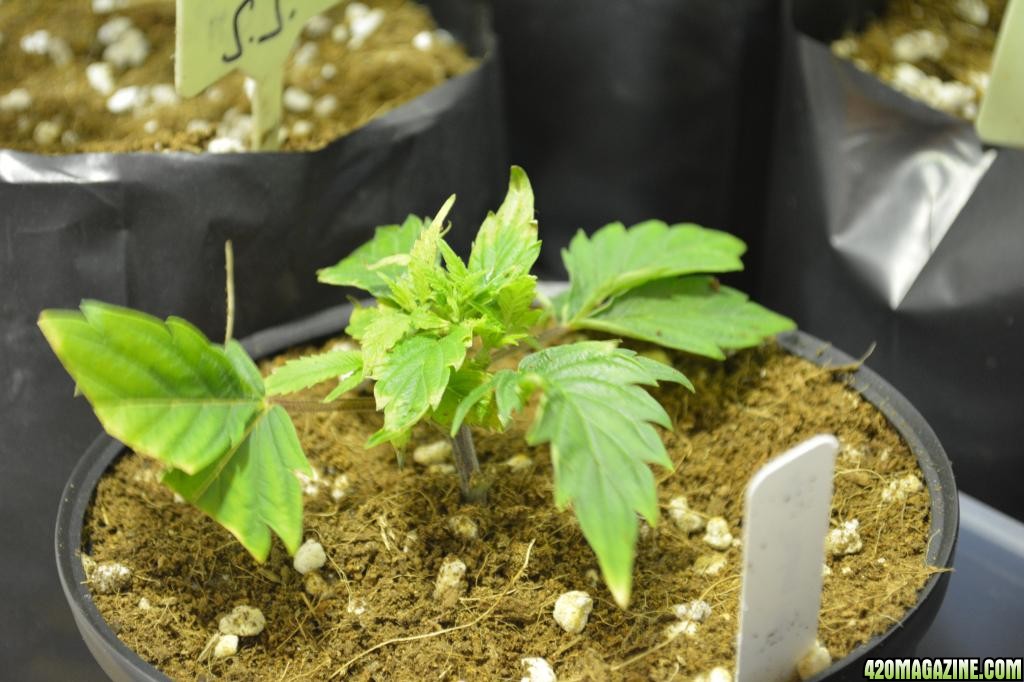


 This worked for my smaller-scale setup not sure if the same applies to direct current or 220v outlets. If this didn't work I would've gone to mechanical timers then to the inline large-box type but that is a bit heavy duty for my liking. If you have questions let me know-see you guys soon.