Hazie Clear
New Member
Hey corona. I first tried using HPS in cab. I was not able to keep temps low enough. I recommend doing trials and checking temps often if you go this route.
How To Use Progressive Web App aka PWA On 420 Magazine Forum
Note: This feature may not be available in some browsers.
I just bought the same cabinet myself from Home Depot and am in the process of setting it up. This will be my second cabinet. I know this thread is old but why would anyone pay for a cfl and reflector for $80 when you could get a 150 watt hps complete setup for a little less?
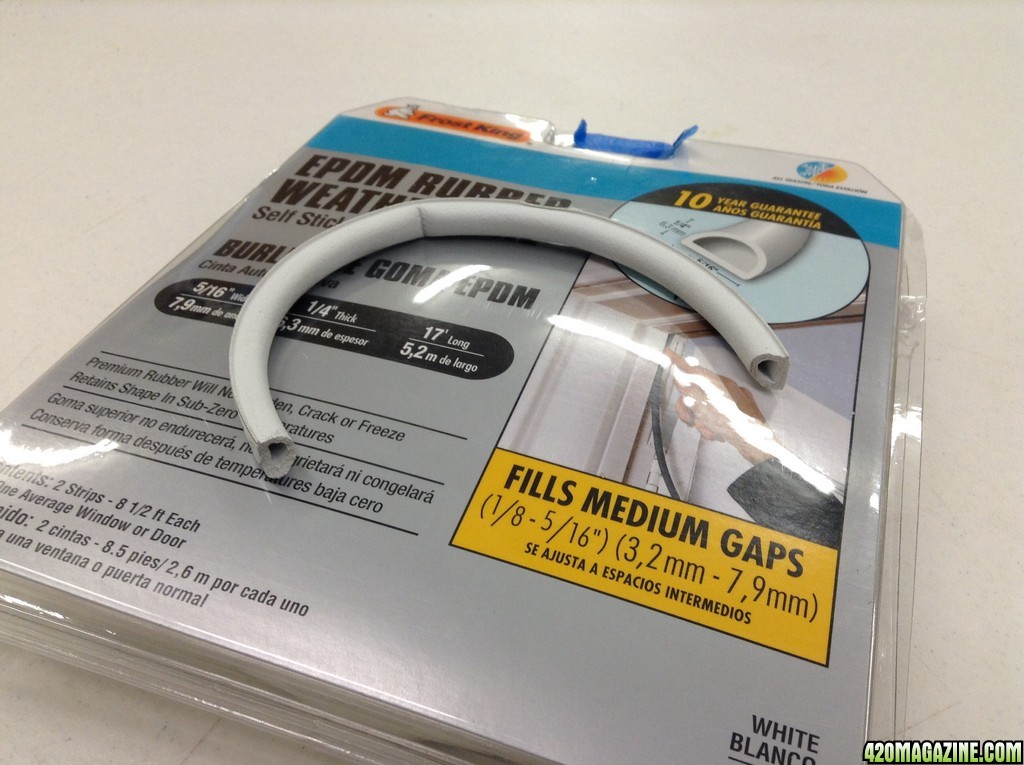
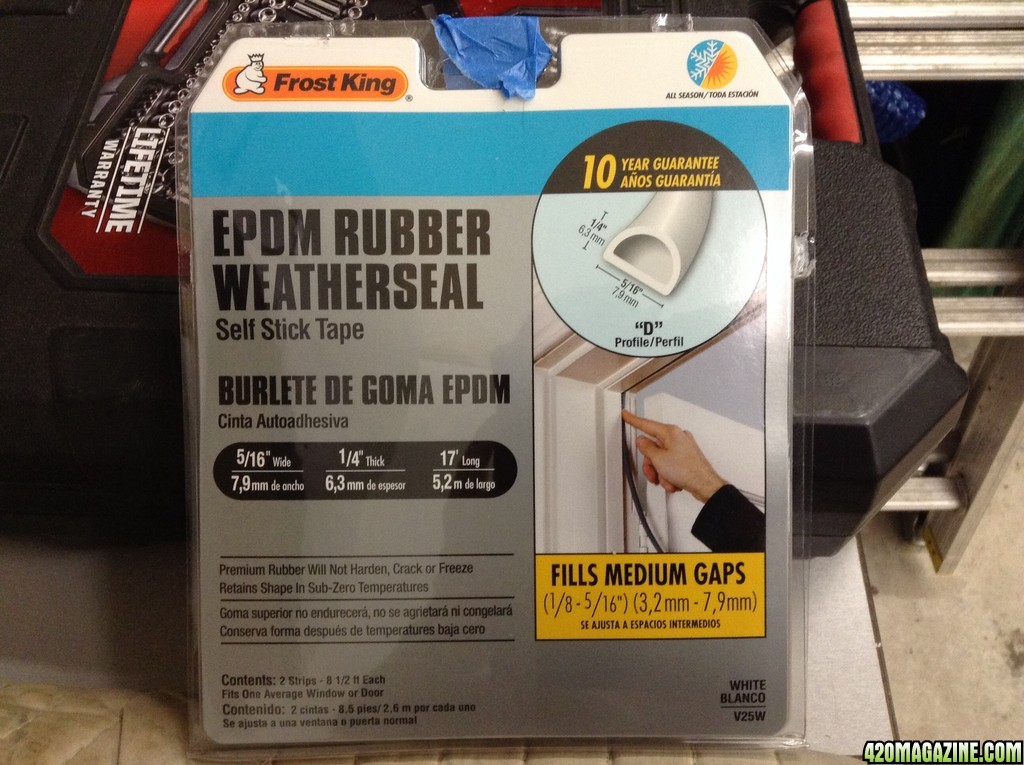
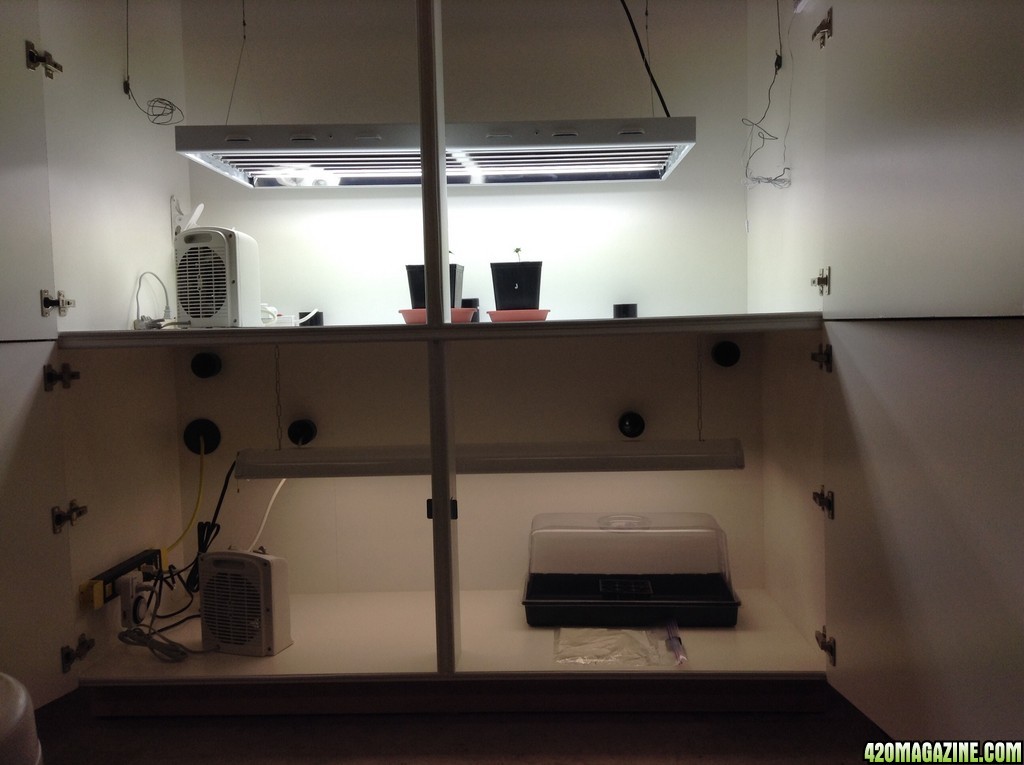
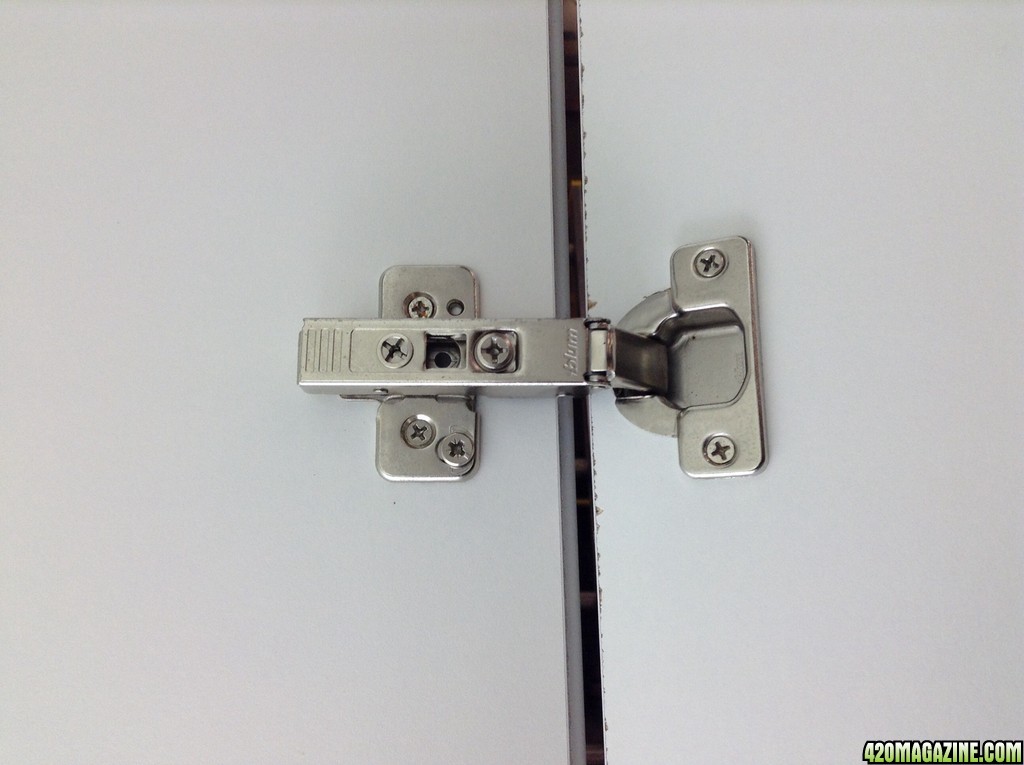
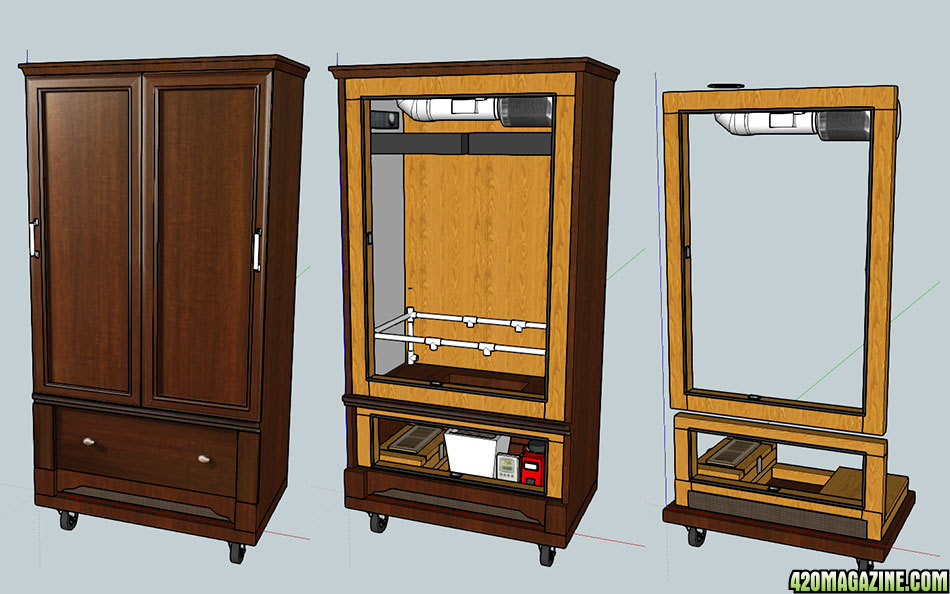
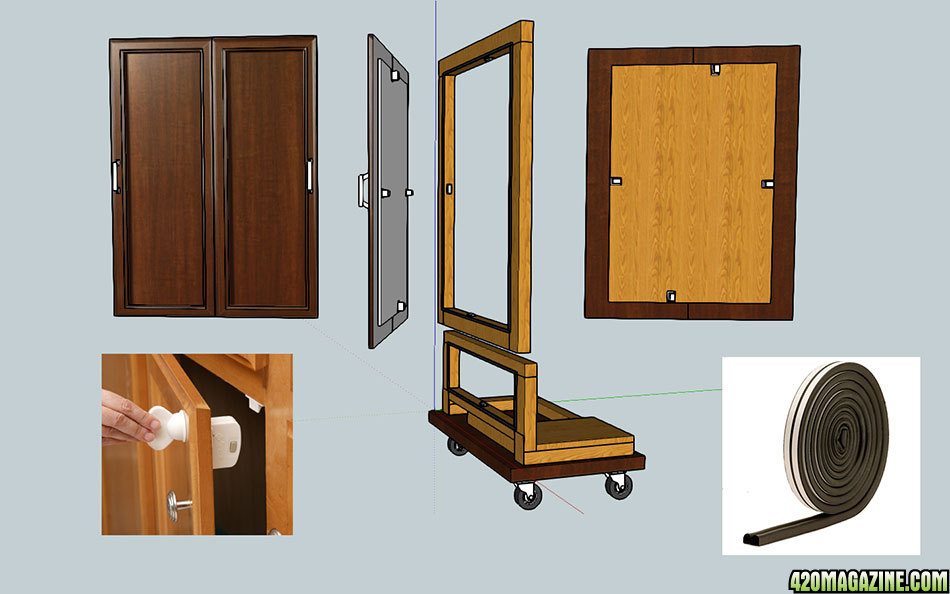
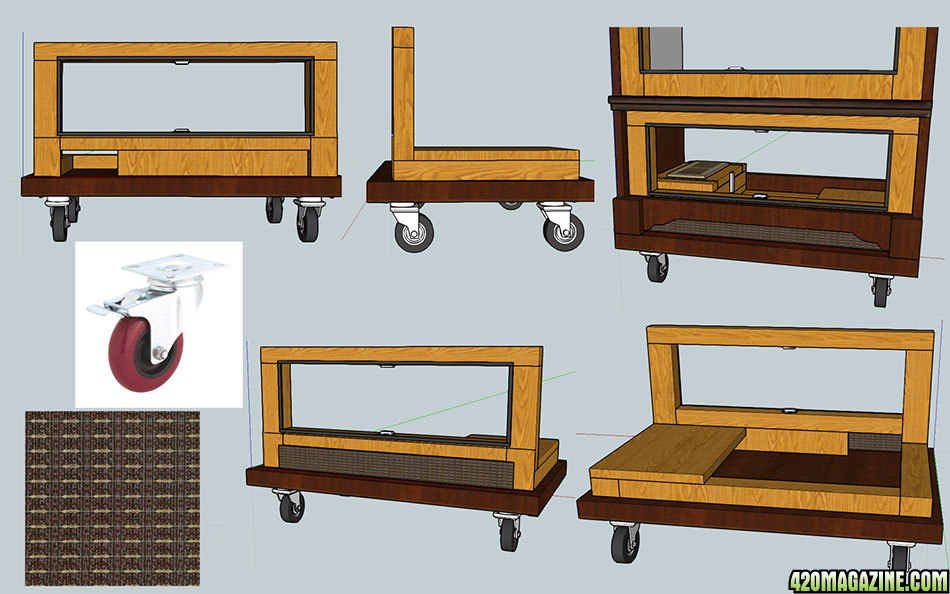
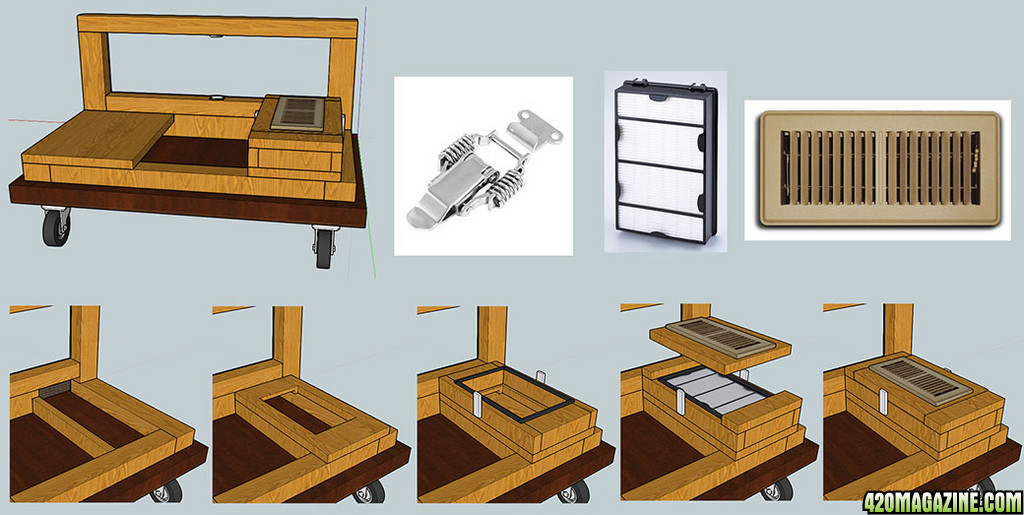
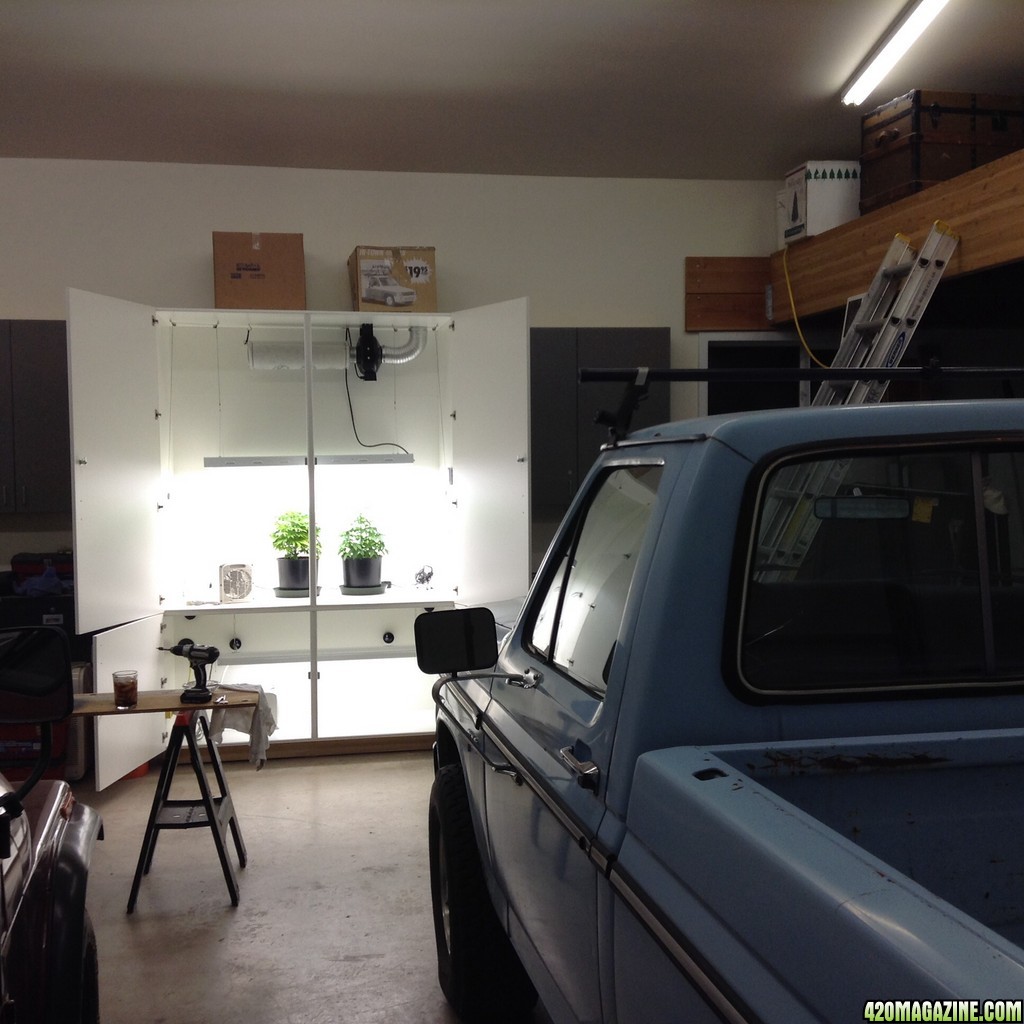 I built something similar. I was able to make small weather striping work by adjusting the hinges in and out. Air tight. I used 2" abs pipe with generic floor vent covers and hose clamps for inlet in back of cab. Two inlets come into the bottom chamber. From there 2 more pipes connect from lower to upper chamber. Works out well. One problem I had using white mellomine is mine is out in a cold shop. When the temps got under 40 I would get condisation sometimes. Caused minor swelling on some door corners. Still works great though. Good luck.
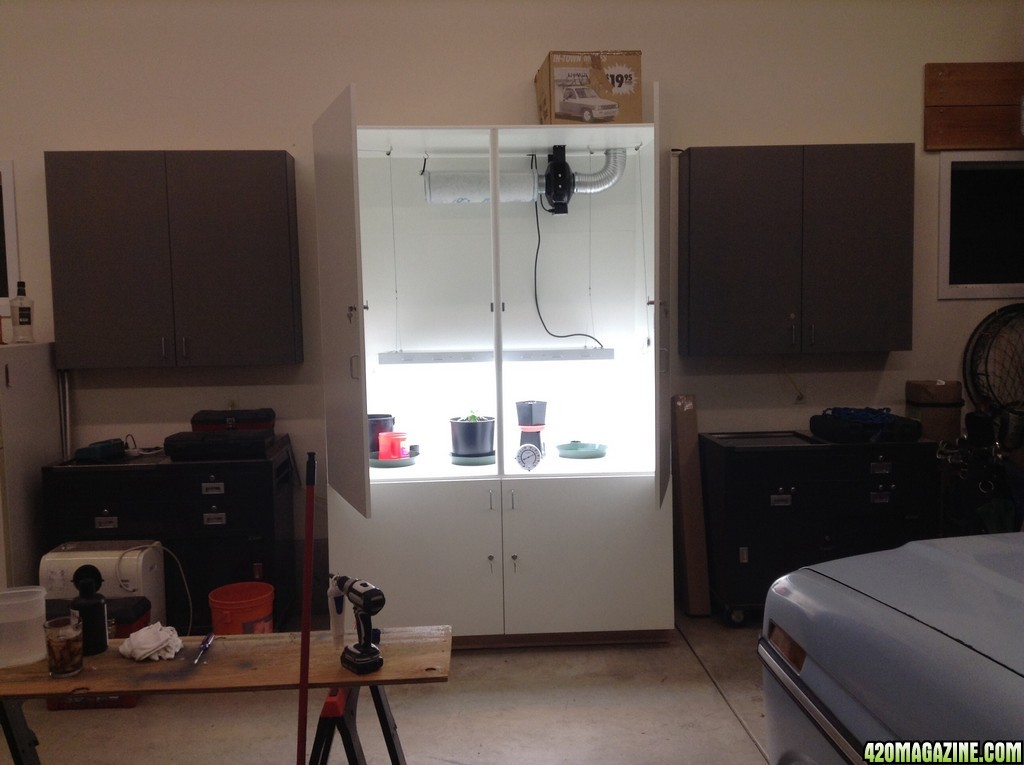
Hey corona. I first tried using HPS in cab. I was not able to keep temps low enough. I recommend doing trials and checking temps often if you go this route.
I just went out and got another closetmaid cabinet that's 48"Wx20"Dx70"H. I'm trying to figure out how to setup the new cabinet. I also purchased a 600 watt Apollo digital ballast with a bat wing reflector for the new cabinet.