TheRoach
Well-Known Member
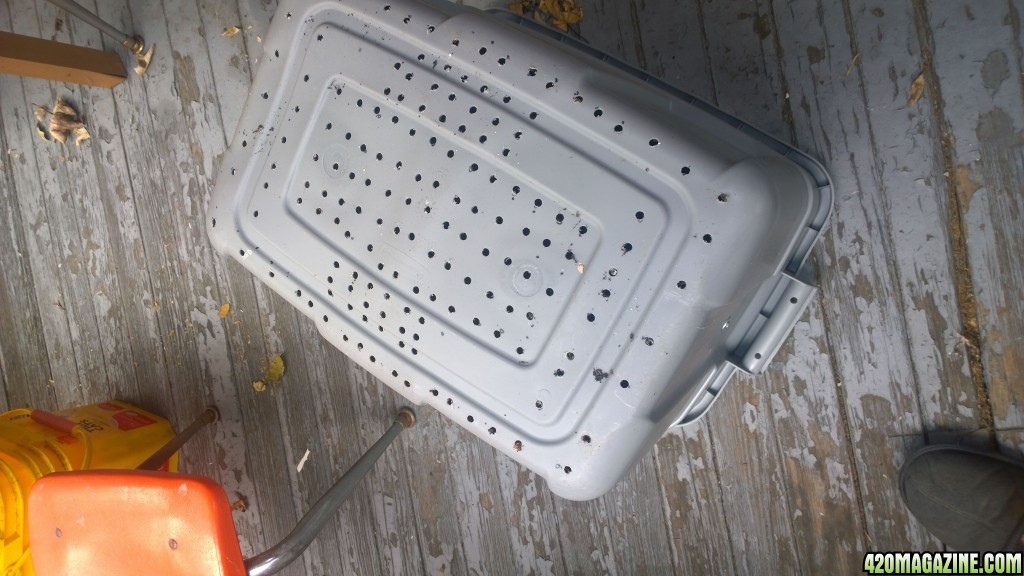
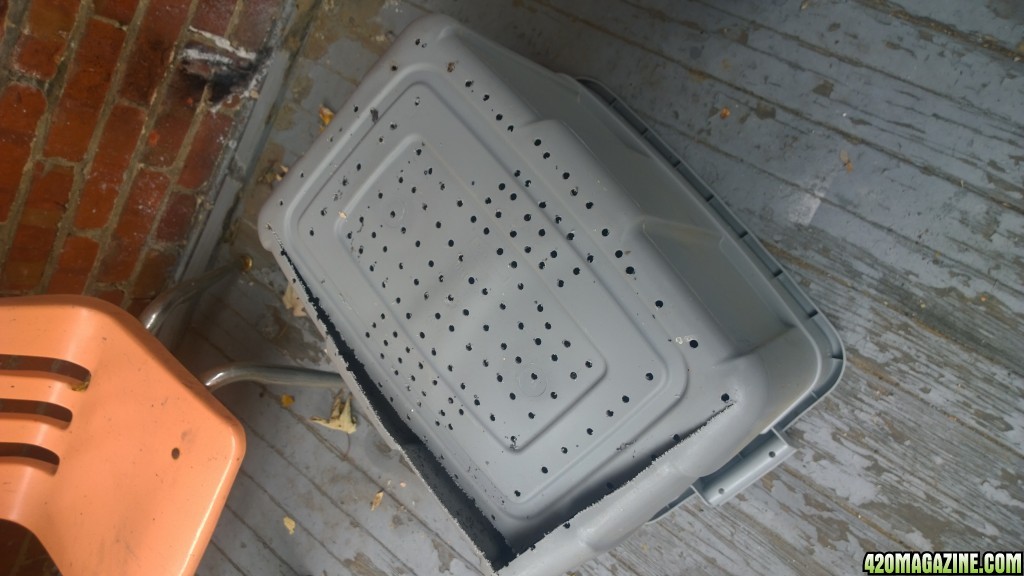
You can make so many things with those plastic tubs!!!
I have tried feeding newspaper in my bin but the worms won´t touch it.
This is a very nice tutorial Closedcircuit! Reps+
I have tried feeding newspaper in my bin but the worms won´t touch it.
This is a very nice tutorial Closedcircuit! Reps+
 haha, you have a great sense of humor!
")


")