

- Thread starter
- #101
A few chores to do before getting pics of the babies and posting them. If I sit down for 1 minute and open up my 420 Magazine app, it's all over. 2 hours later, I'll have forgotten what to-do item I was working on.
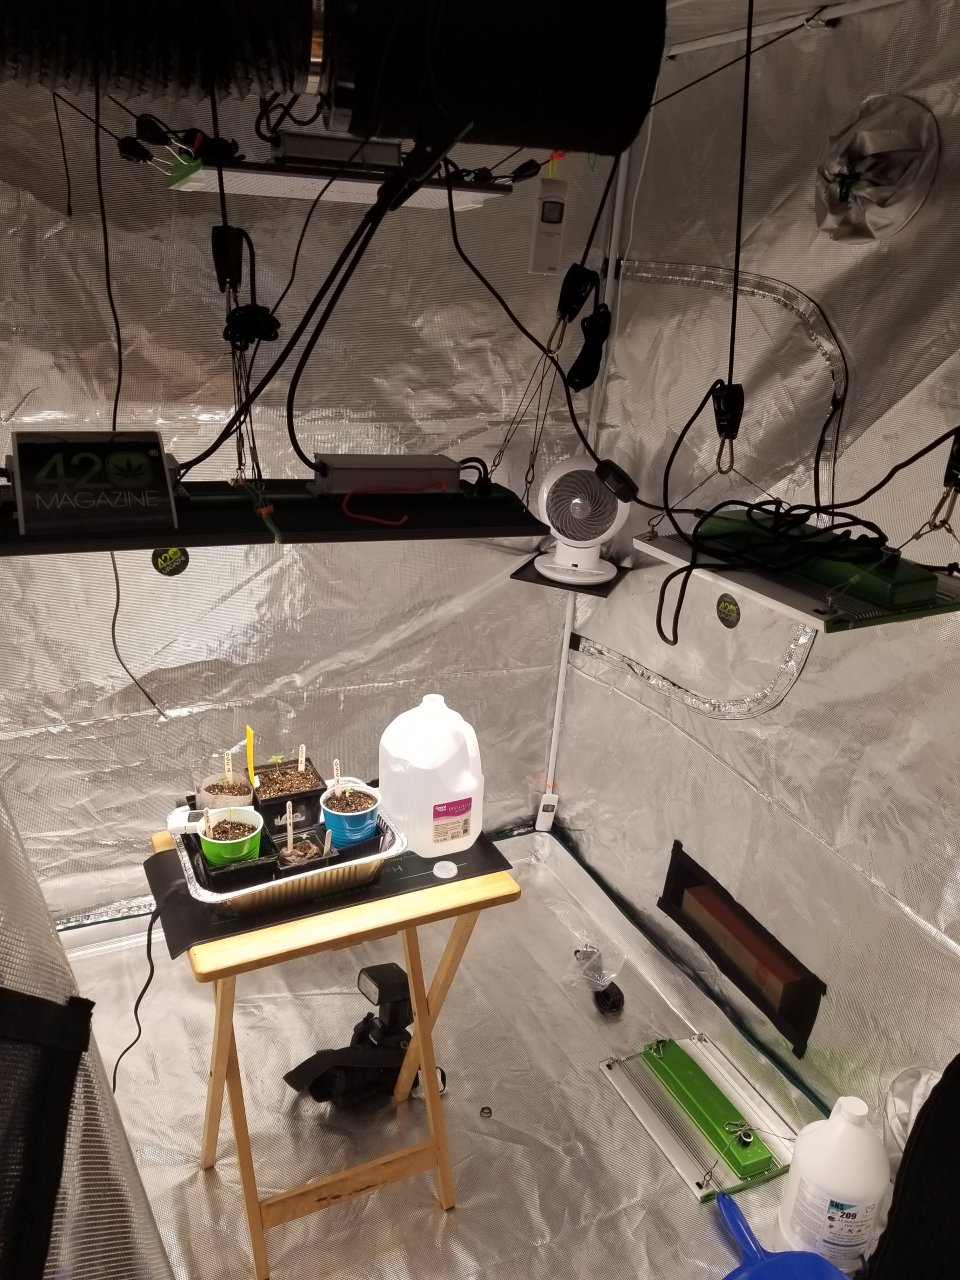
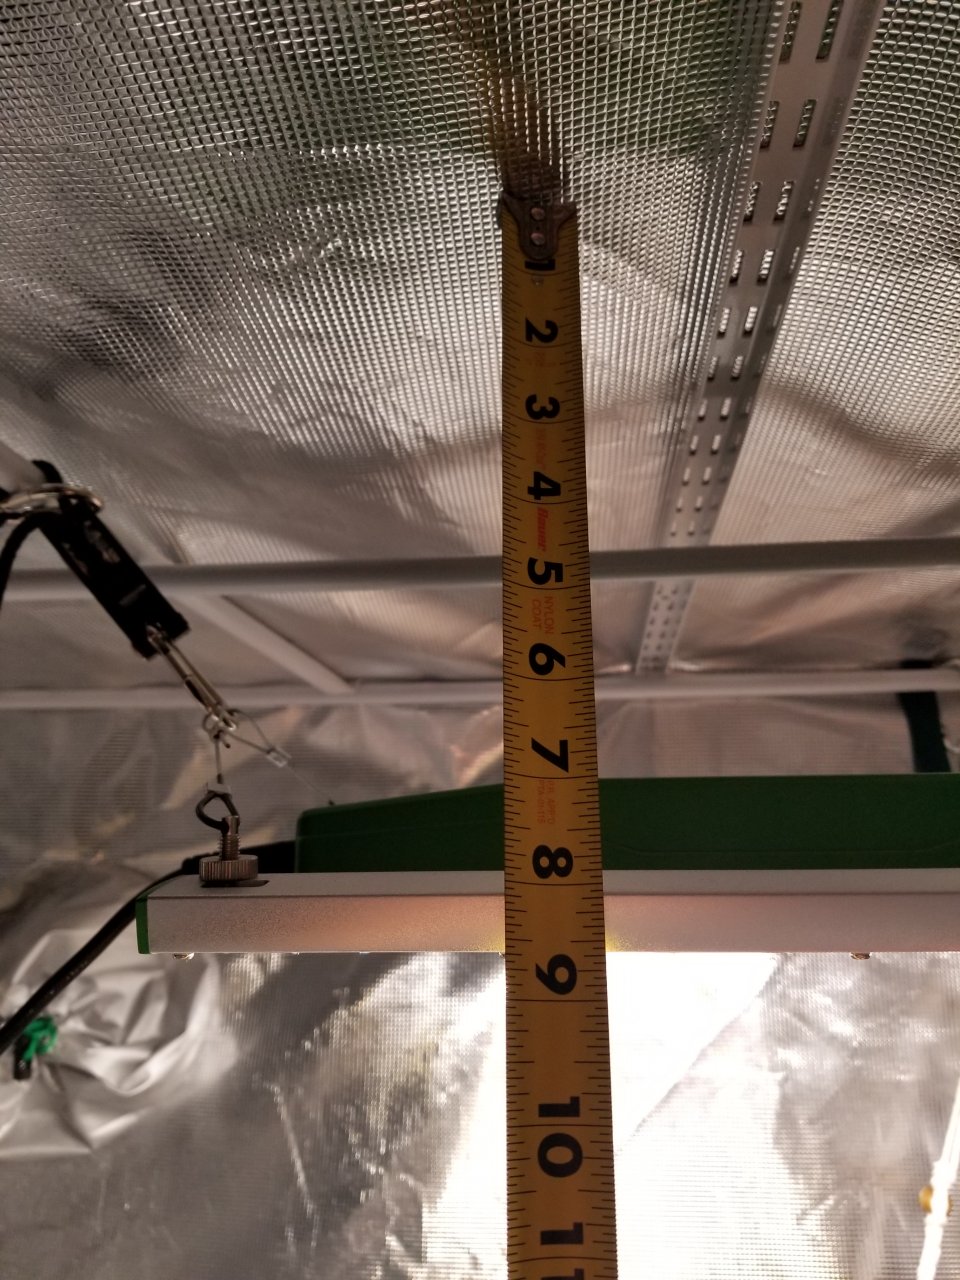
Current mission is to re-hang the Bestva (@GrowTina ) lights. I'm going to put a Pro 1000 up front on the right and the other in the back right. I did some modifications (not pretty but functional) to the hangers. I wanted to maximize the potential canopy space. I may be able to get them closer than 9 inches, but for now it should be fine
Baby updates a little bit later...
20210501_083000.jpg
Official @420 Magazine Girl Scout Cookies by @Weed Seeds Express - Working on...
Current mission is to re-hang the Bestva (@GrowTina ) lights. I'm going to put a Pro 1000 up front on the right and the other in the back right. I did some modifications (not pretty but functional) to the hangers. I wanted to maximize the potential canopy space. I may be able to get them closer than 9 inches, but for now it should be fine
20210430_214552.jpg
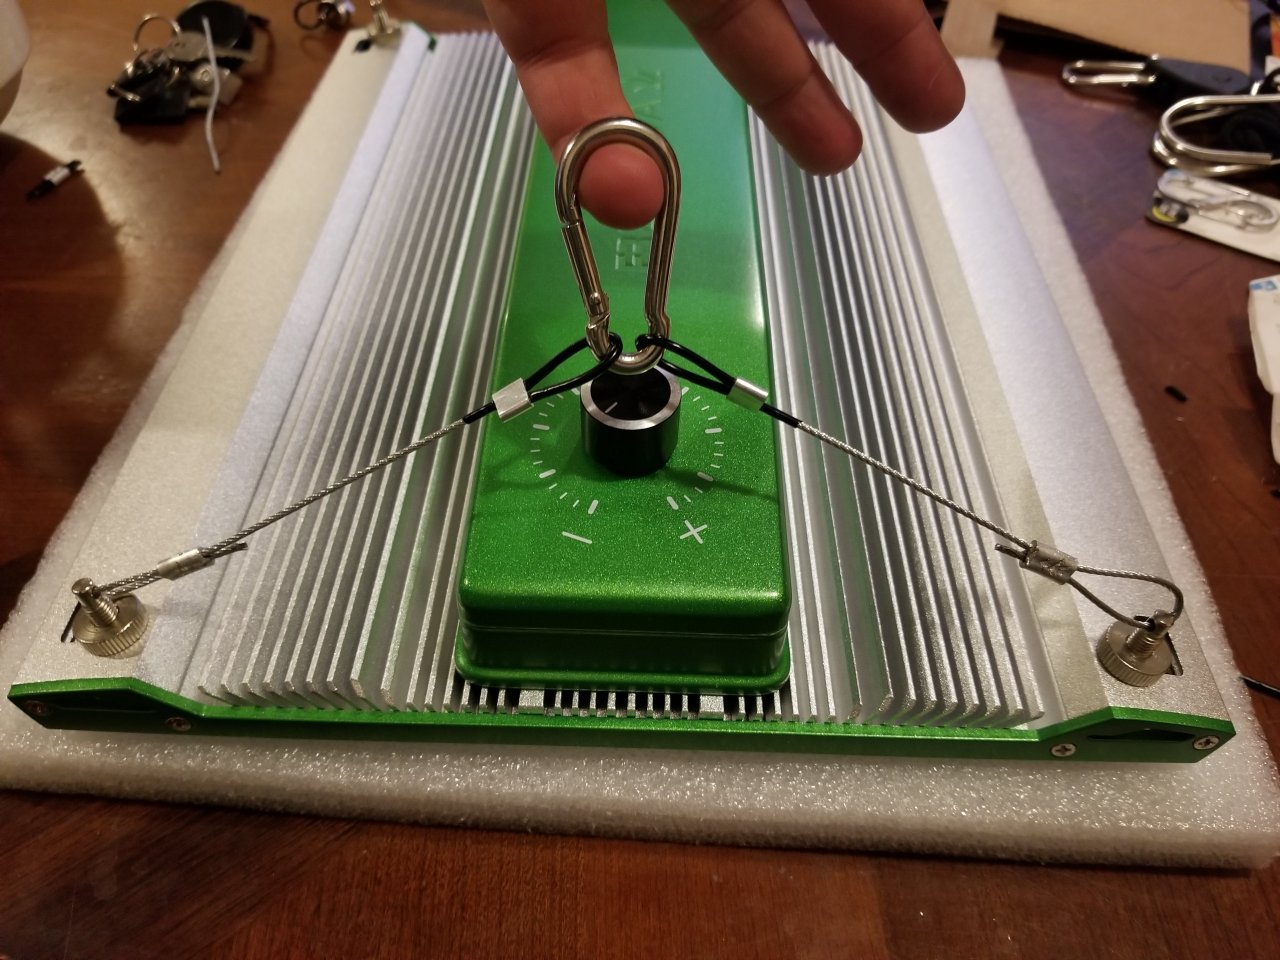
Bestva Pro 1000 hanger modifications. Factory hangers way too long.
20210430_222400.jpg
Bestva Pro 1000 hanger modifications. Factory hangers way too long.
Baby updates a little bit later...


 El Especial Numero Cinco is looking thick!
