

Websissy
Well-Known Member
Seeing the email last night from Fedex that I had a package on it's way and that it would be delivered today on 420 was perfect. What a great day to start a new grow ")

Comparative Grow Plan:
Here's a pic of the seed's birthday
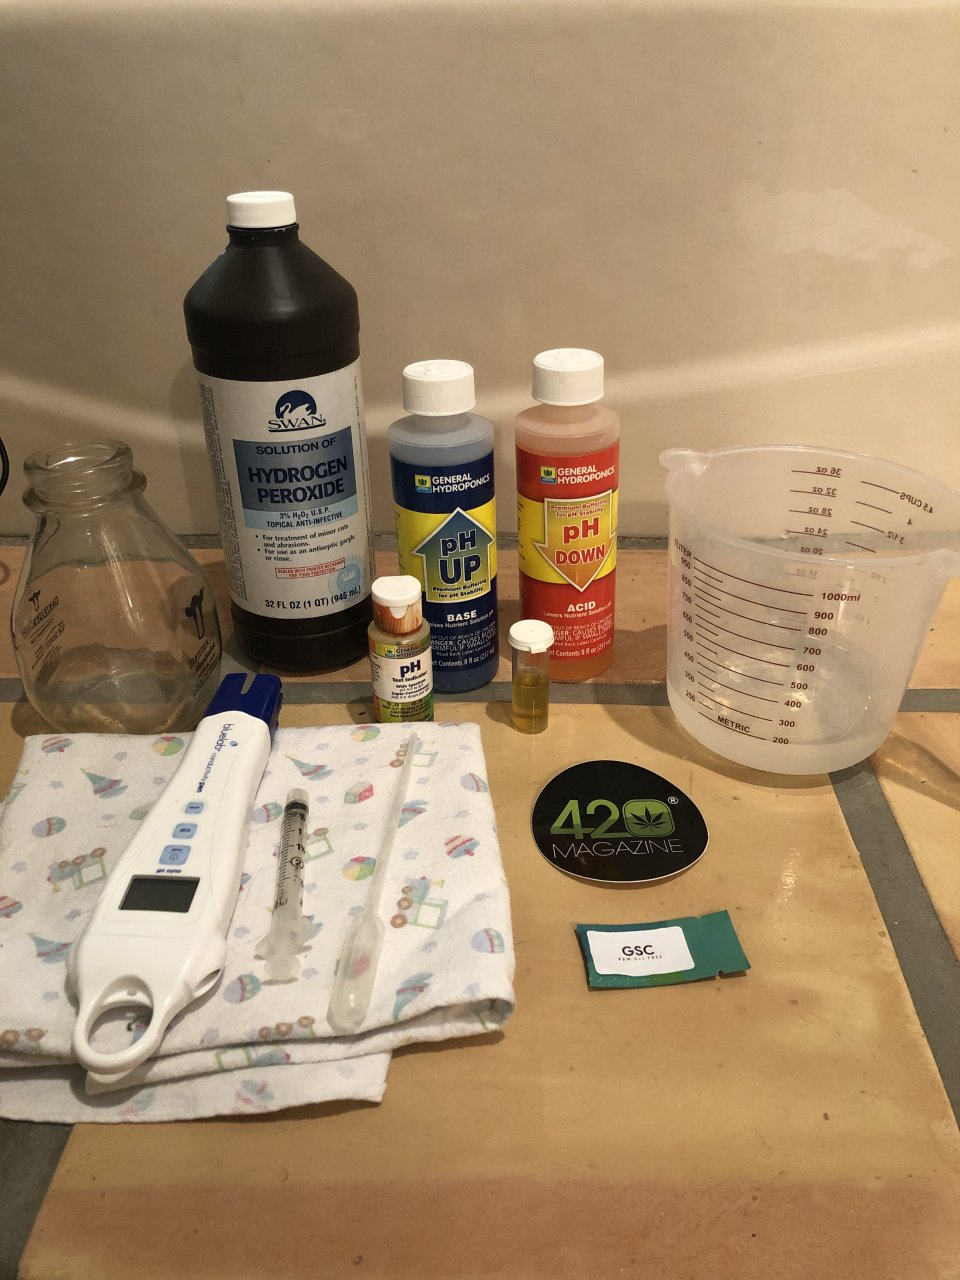
Comparative Grow Plan:
- GSC genetics provided from Weed Seeds Express
- Soak seeds for 24 hrs - RO water with 10% Hydrogen Peroxide. Leave soak in cupboard.
- Put seeds in solo cups with holes added to bottom. Plant with tap root/pointy end down - pinky tip deep (use a chop stick to make hole). Water slightly with RO water. Test PH. Put in growing tray with lid in cupboard to germinate.
- Medium - Amended Potting Soil
- Once sprouted will put under WeeGrow CS-100 LED light in make shift grow tent (need to figure that out still) as my only grow tent has Flower Girl and bath tub temp grow has Flower Girl Clones vegging). Will keep temps between 75-85F. 70%RH. Test PH and PPM's. Will adjust the light intensity and have one over each plant per WeeGrow instruction booklet.
- After about 2 weeks will transplant to 1 gallon cloth pots and then 3 gallon cloth pots as they get bigger.
- Will start GeoFlora Nutrients at veg stage.
- Plan to keep at vegetative stage for 6 weeks and then flip to flower for 6 weeks.
- Plan to water when the containers are light and will follow the GeoFlora feeding instructions.
Here's a pic of the seed's birthday


 Let’s grow!


