

Well 2018 has come and gone. And so has another grow cycle in the “tub of love”, my bathroom grow space.
Originally, I had planned to implement my “beginners guide to growing on a budget” thread at the start of this year, but due to personal growth reasons, I'm afraid I won't have the proper time to dedicate to the task. I started on 420 with a strict “allowance for growing” and made my first harvest successfully. My hope to still share the outline and details with you all later this year. In the meantime, without further ado, welcome to...
PSM AND STANKBEREY GROWN REMO STYLE!
There's no better place to begin than at the beginning, so let me begin by introducing myself to those of you whom I am not already acquainted. I'm dabber, dabs, them, and now that I'm out of the canna closet, per say, you can also call my Kyle. I've been in Alaska about a year and a half now, where cannabis is both recreationally and medically legal. I've been a member here at 420 magazine for over a year and accredit 99% of my grow knowledge to this amazing community. I am back working again but not in construction, but rather in the cannabis industry, which I love! I have always loved smoking and the benefits this amazing plant has to offer and am ecstatic to be doing that for a living now.
What little free time I do have these days away from work and family I hope to spend with you all. I am accepting a position as laboratory technician and will be doing lots of learning and training in the coming months so that's why I opted for a more “normal” journal for this round. I'll likely be working longer hours and have less time and energy for the mag (yet hopefully more time than I have had the past 2 or 3 months).
In case I cant make it to your journals as often as I once could, please feel free to post any pics you want and as always questions are always welcome!
So, let's get down to brass tacks.
MEDIUM
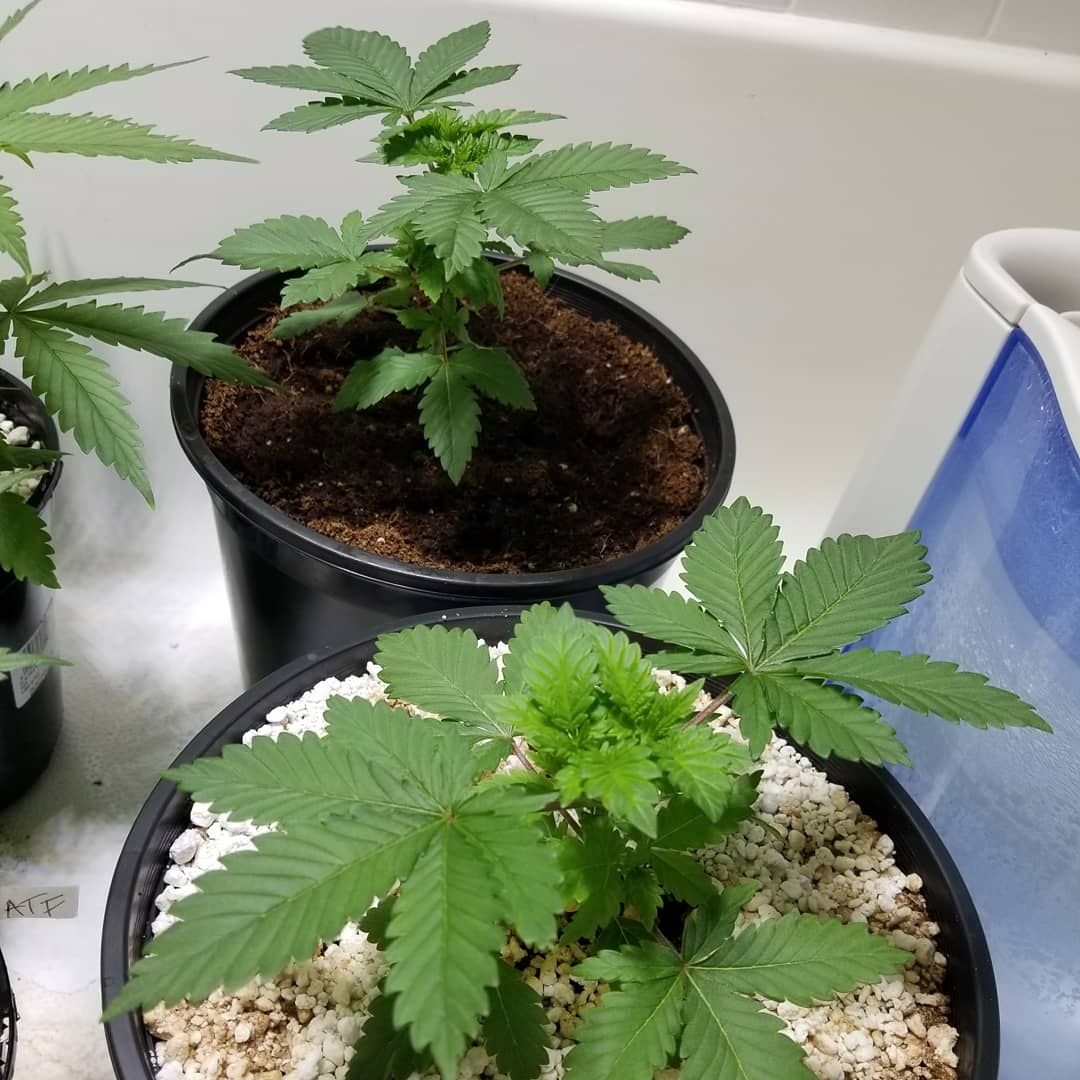
I began growing in coco “hempy style”, but after some overfeeding in flower my first grow, I have found salt buildup easier to avoid with normal containers.
I typically use an inch of perlite at the bottom of the pot for drainage, thoroughly rinsed, and straight (also rinsed) coco as a main medium.
I start my seeds and clones in BLACK GOLD -- natural and organic.
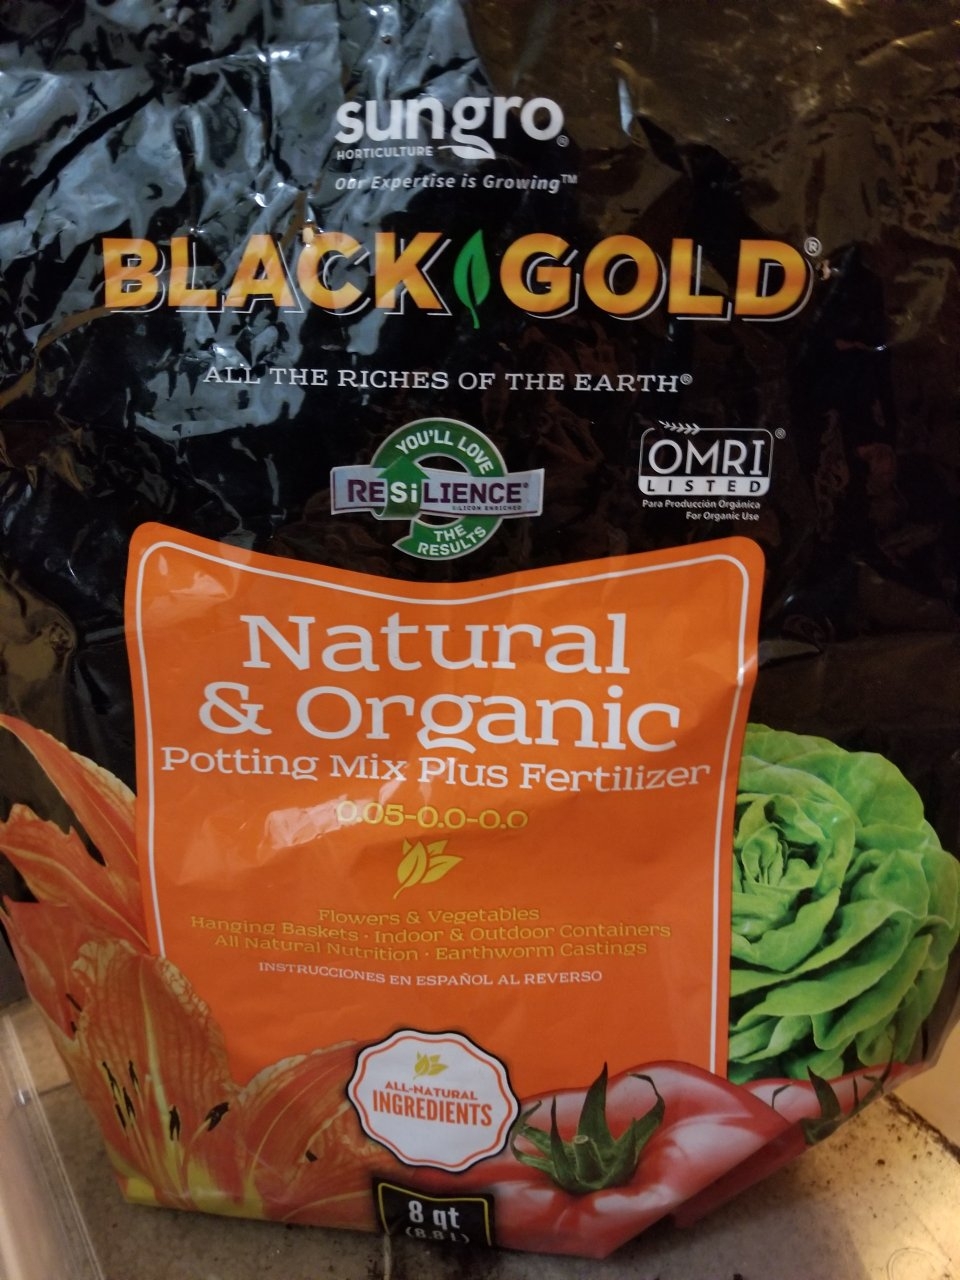
It's a 0-0-0 NPK ratio. Water only. This is an extremely inexpensive way to start seedlings (or transplant clones into) and something I will go into in more detail in my budget grow thread. But in essence, I start them in a solo cup filled with unpacked loose soil. Top them after the 3rd or 4th node and transplant after any stall into “charged coco”
Charging coco-- so a quick tutorial and explanation. To charge coco, first thoroughly rinse and squeeze it to ensure it runs clear or nearly clear. At this point I throw it into a tote or container (no drainage holes) and begin to mix nutrients. The nutrient mix should be an even(ish) 1.1.1 NPK ratio with a low 200 TDS level (not including your starting/ base water).
For example, Using Remo Nutrients, I would fill a gallon jug with my sink water (170 TDS base/starting level) and add...
2 ml of calmagic
2 ml micro
2 ml grow
*** These are just examples! I cannot recall the exact ml amounts of each***
My ideal TDS level would be 370. 200 nutes 170 from my base water.
If your TDS is too high simply dilute the jug by dumping out small amounts out into another container and adding water until the desired TDS is achieved. Adversely, if it is too low, Add ½ ml of each aforementioned nutrients until the desired levels are reached. If you overshoot, simply revert to the dilution process.
Now that your coco is rinsed and nutrients mixed, dump the solution on the moist coco and let it sit overnight.
And that's how to charge coco!
LIGHTING
I won’t offer too much here as I don't want to conflict with “community guidelines”. I run quantum boards. I “build” my own. They are, in my opinion, the best lighting option available in the industry. Sure the initial cost will be more than a blurple or HID but the ppfd per watt is far superior.
I will say if you're interested in boards or COBs to check out our sponsor TIMBER GROW LIGHTS. Also I'll look to plug some of the pages like Riders that detail how to build strip lighting. (The samsung strips contain the same diodes used In the quantum boards I run).
Build Your Own LED Grow Light
Rider's first foray into LED strip lighting: Samsung H Series GEN3
NUTRIENTS
REMO has blessed me with a complementary SUPERCHARGED KIT.
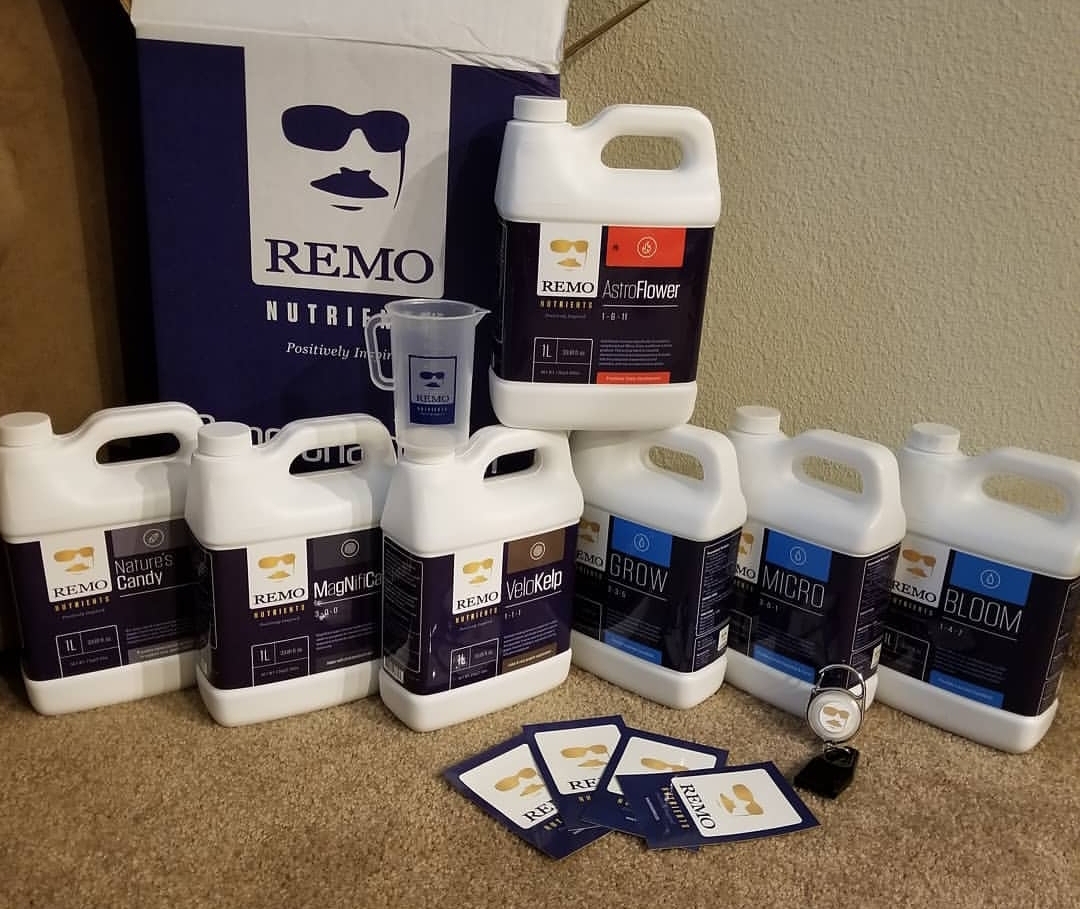
Calmagic 0-0-4
Micro 3-0-1
Grow 2-3-5
Bloom 1-4-7
Natures candy
Velo kelp 1-1-1
Astroflower 1-6-11
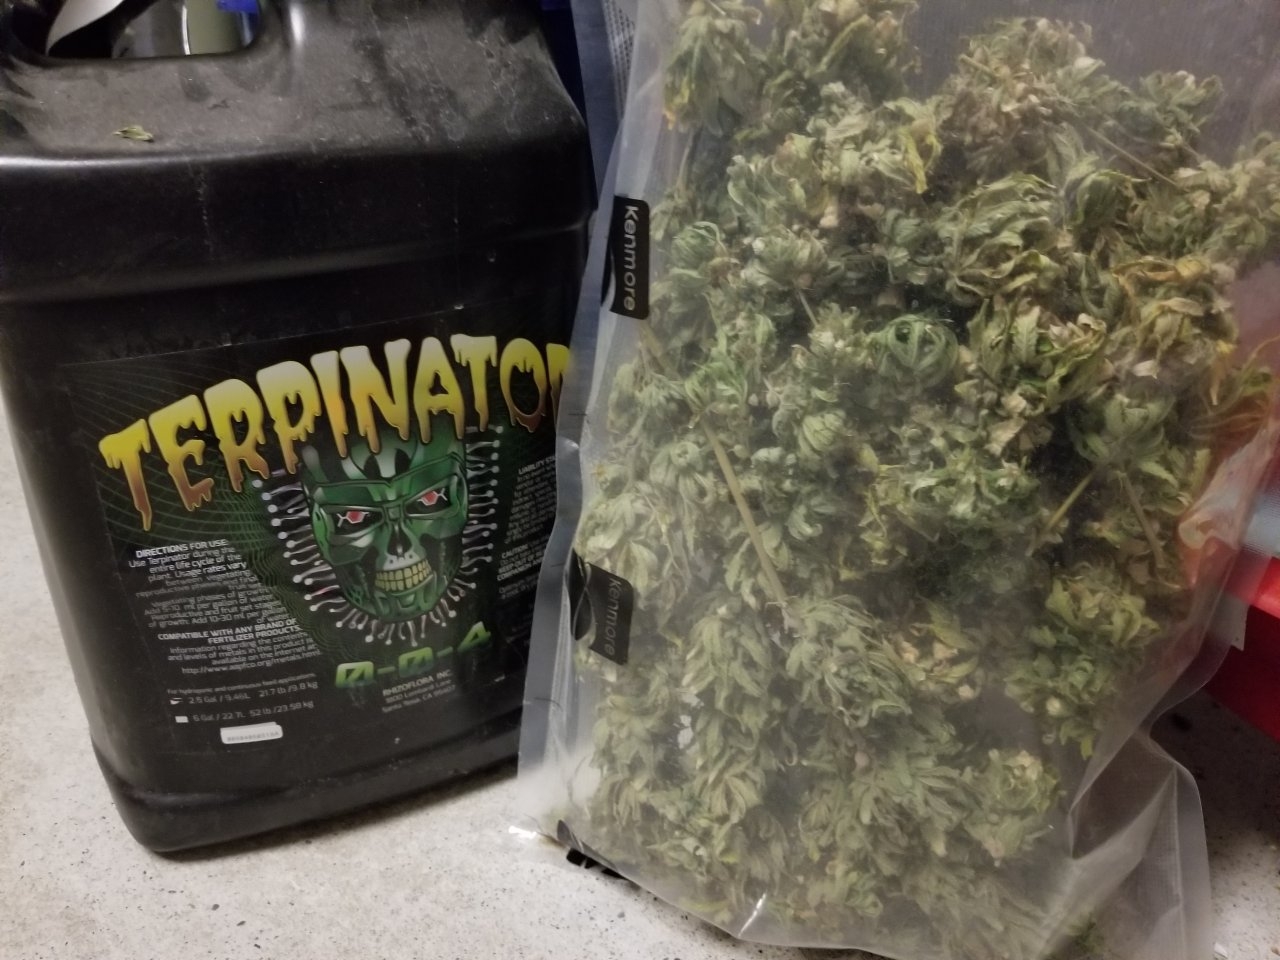
I'll also supplement with terpinator (0-0-4) in flower.
I have little bottles of pirhana and voodoo juice that I add after up potting and after flip. These are root mass expanders that work in conjunction with nature's candy, liquid karma and or molasses to encourage a symbiotic relationship of microbes in the root zone.
Lastly I like me some rhino skin. Silica helps build strong cell walls, stems and branches to support your impending buddage! But beware. Always add your Si supplement first. 15 to 20 minutes before anything else! This will help prevent any ph swing the alkaline supplement can cause.
I have yet to own a ph pen, but I figure I'll pick one up here before the flip at the end of this month-ish.
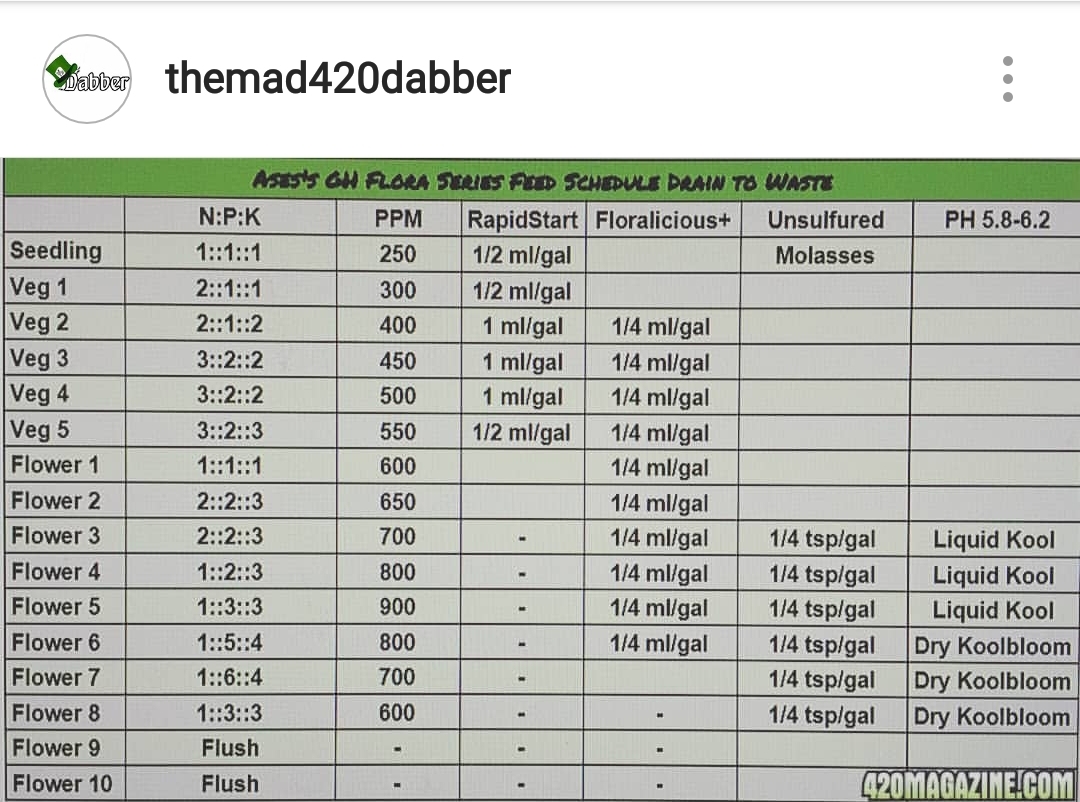
Aseino has a great feed schedule found here.
And cultivator has a thread how to grow in coco both are very informative.
How to grow in Coco: Feed schedule
I will follow the suggested REMO feed ratios at smaller increments.
GROW SPACE AND ENVIRONMENT
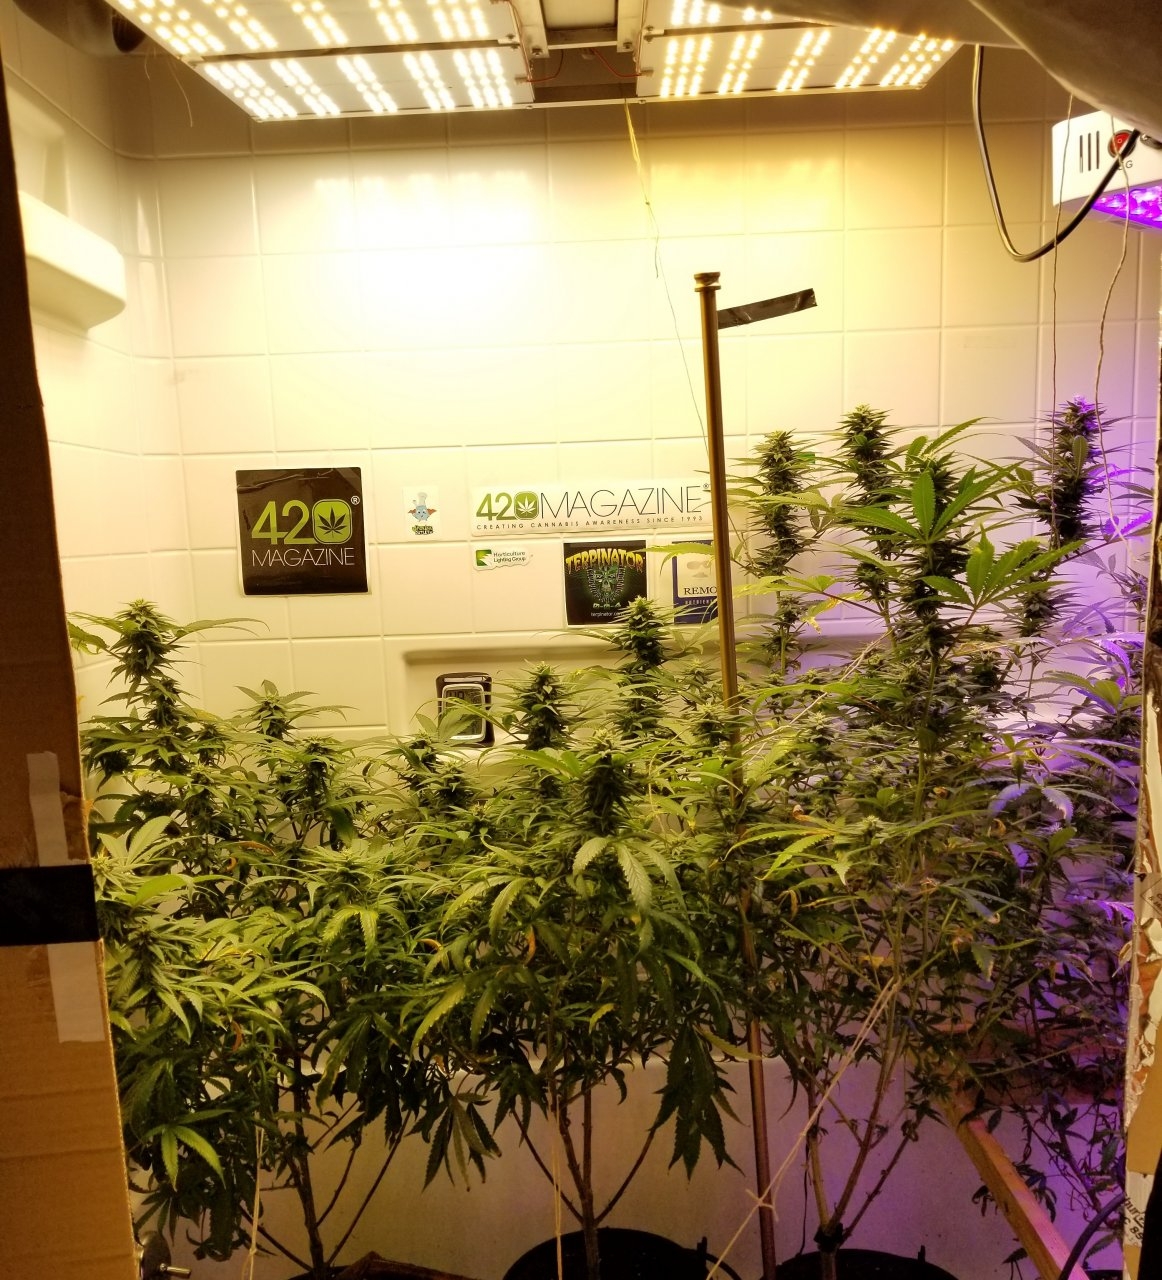
I grow in a bathroom; bathtub more specifically. My wife is military and doesn't smoke. Infact, she hates the smell. So I'm confined to the 5 by 10 space for growing, drying, and the like. Crammed into that space I have a 5x 2.5 foot flower space in the tub which shares a wall with my 18×24 inch “veg box”. I typically tend to both while perched on the pooper…. Which takes up space along with the vanity not offering a while lot of wiggle room!
I have a large box fan for the tub. It blows as an intake/ circulation fan but also is supposed to push warm air up to the extraction fan. Another fan that blows down across the top of my lights, and a 4 inch mixed flow inline fan and carbon filter that are ducted to the bathroom exhaust fan. I'm waiting a paycheck (week) or two, but I'll be upgrading to a 6 inch by flip.
My temps currently should be right between 68 and 81. Humidity is low in veg, so I'll likely grab a humidifier this week. Normally I would use the one we have but it's in use.
GROW TECHNIQUES
This grow will be flipped about when I harvested my first full grow, hence the canniversary. In honor of that I've decided to do a scrog, which was my first training technique I implemented last fall when my growing adventure all began.
A scrog is short for screen of green. Not to be confused with a SOG (sea of green) which is many smaller plants in small containers. A screen of green utilizes a grid like net to train a plants canopy flat, producing multiple top colas as opposed to 1 from an untopped plant.
The basic idea behind a scrog is as the plant begins to grow up through one part of the screen it is moved or tucked over to another segment, effectively bending the growth center down and promoting equal distribution of hormones. As the plant sends messages back down the plant after training, it knows to give the lower growth a boost. This allows the lower growth to “catch up” to the lead growth resulting in multiple growth centers at the same height, and the tallest branches always produce the highest quality cannabis. So the more “tops” at the same height, the more quality colas you'll get!
While topping the plant isn't necessary for this grow technique I would recommend it. (I always recommend implementing some form of training to increase yield be it scrog or otherwise. And if you have questions about this or any other training technique, feel free to ask!)
Topping a plant is simply sniping or pinching the uppermost growth off. This is a high stress training technique. Typically after topping a plant it will grow 2 main shoots instead of 1. And with some other training methods used that can be increased to 20+.
I topped my clone whilst it was still in a solo cup, and up canned it Dec. 30th.
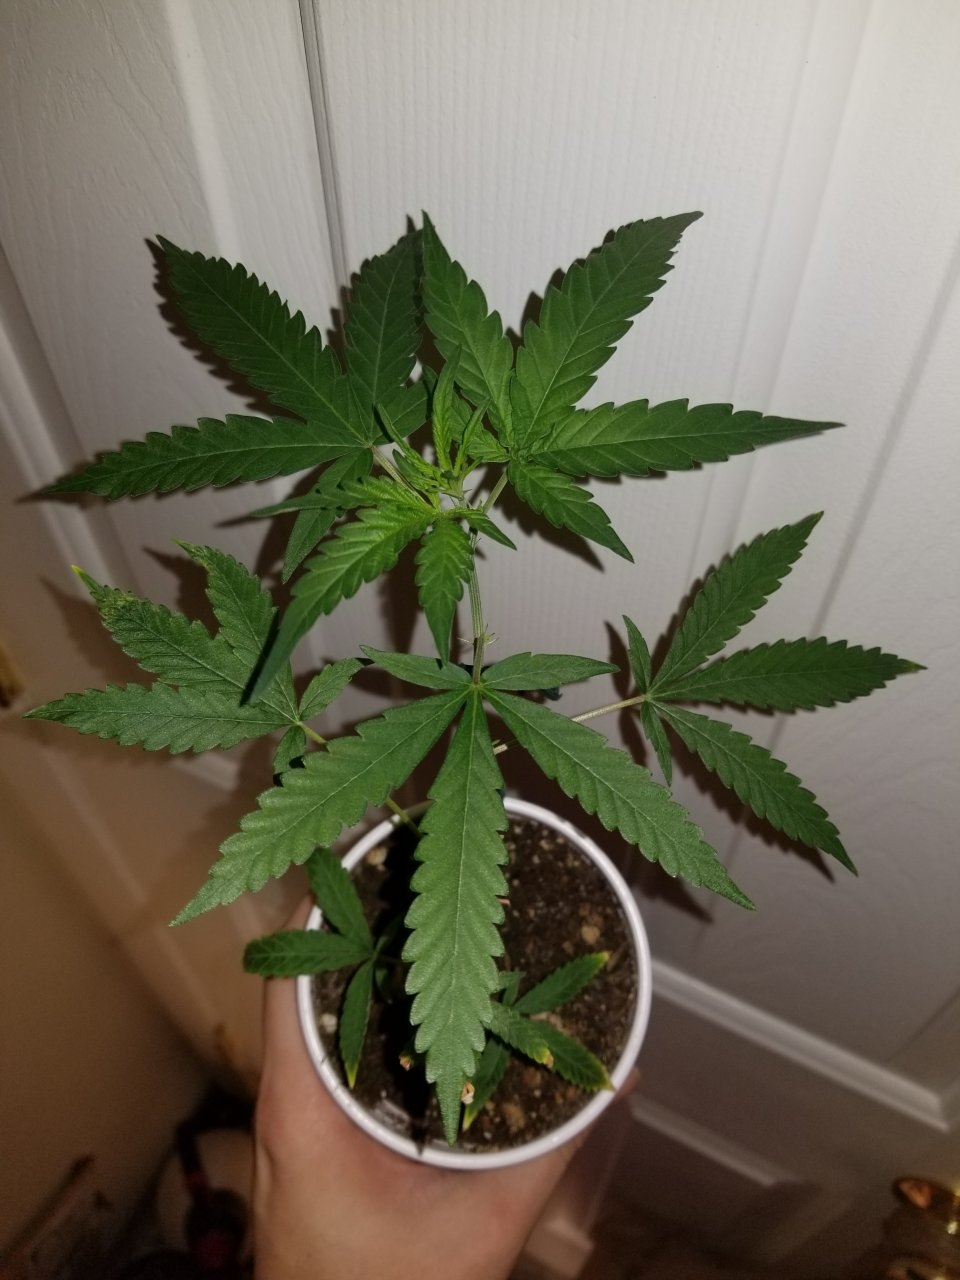
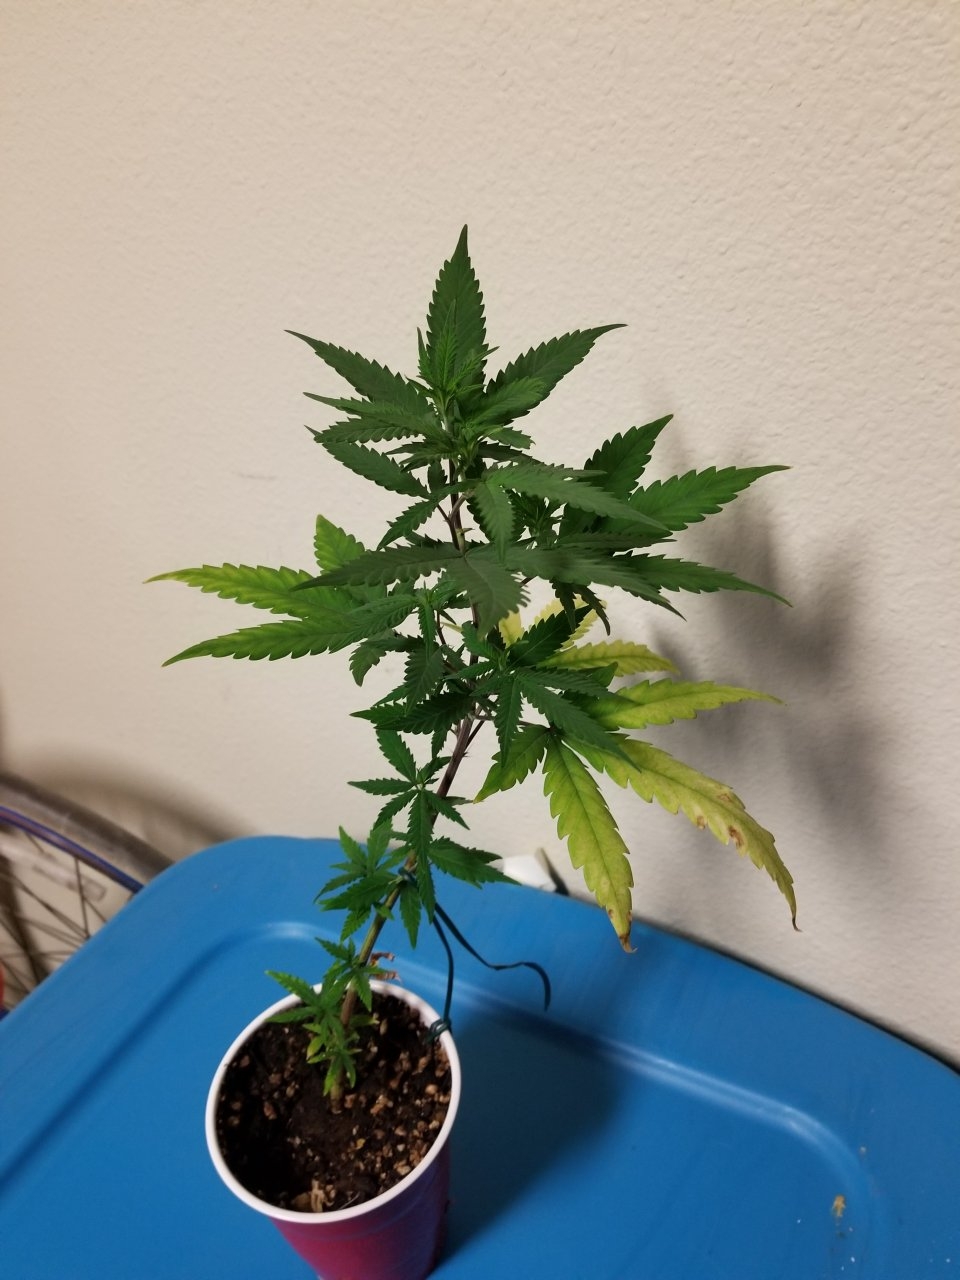
Most recently, I did some basic bending and “supercropping”. To achieve this I just gently pinch the branch and roll it between my fingers. Then using my thumb as a fulcrum bend the growth downward until the growth center points parallel to the floor or past ( it should have an “r” shape).
Tomorrow I will top them again. And have a screen over them next weekend.
Here is a timelapse from my first grow. It was topped and trained with minimal pruning or stripping of leaves.
And I think that about sums up my first post. If I missed anything or you have any questions feel free to ask.
I genuinely appreciate you all being here and hope we can make 2019 a great year of growing in our gardens as well as in every aspect of our lives.
Originally, I had planned to implement my “beginners guide to growing on a budget” thread at the start of this year, but due to personal growth reasons, I'm afraid I won't have the proper time to dedicate to the task. I started on 420 with a strict “allowance for growing” and made my first harvest successfully. My hope to still share the outline and details with you all later this year. In the meantime, without further ado, welcome to...
PSM AND STANKBEREY GROWN REMO STYLE!
There's no better place to begin than at the beginning, so let me begin by introducing myself to those of you whom I am not already acquainted. I'm dabber, dabs, them, and now that I'm out of the canna closet, per say, you can also call my Kyle. I've been in Alaska about a year and a half now, where cannabis is both recreationally and medically legal. I've been a member here at 420 magazine for over a year and accredit 99% of my grow knowledge to this amazing community. I am back working again but not in construction, but rather in the cannabis industry, which I love! I have always loved smoking and the benefits this amazing plant has to offer and am ecstatic to be doing that for a living now.
What little free time I do have these days away from work and family I hope to spend with you all. I am accepting a position as laboratory technician and will be doing lots of learning and training in the coming months so that's why I opted for a more “normal” journal for this round. I'll likely be working longer hours and have less time and energy for the mag (yet hopefully more time than I have had the past 2 or 3 months).
In case I cant make it to your journals as often as I once could, please feel free to post any pics you want and as always questions are always welcome!
So, let's get down to brass tacks.
MEDIUM
I began growing in coco “hempy style”, but after some overfeeding in flower my first grow, I have found salt buildup easier to avoid with normal containers.
I typically use an inch of perlite at the bottom of the pot for drainage, thoroughly rinsed, and straight (also rinsed) coco as a main medium.
I start my seeds and clones in BLACK GOLD -- natural and organic.
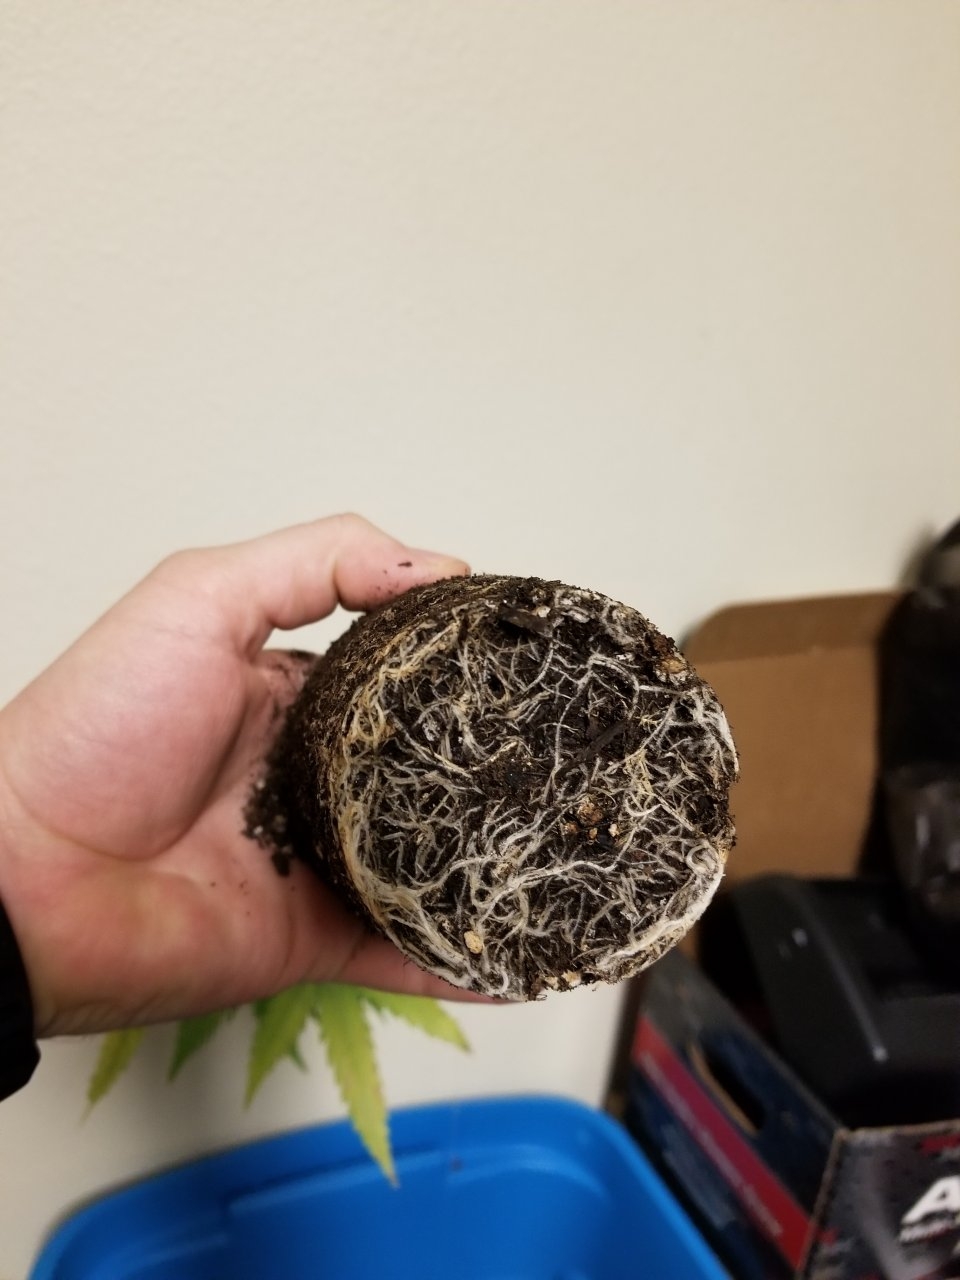
It's a 0-0-0 NPK ratio. Water only. This is an extremely inexpensive way to start seedlings (or transplant clones into) and something I will go into in more detail in my budget grow thread. But in essence, I start them in a solo cup filled with unpacked loose soil. Top them after the 3rd or 4th node and transplant after any stall into “charged coco”
Charging coco-- so a quick tutorial and explanation. To charge coco, first thoroughly rinse and squeeze it to ensure it runs clear or nearly clear. At this point I throw it into a tote or container (no drainage holes) and begin to mix nutrients. The nutrient mix should be an even(ish) 1.1.1 NPK ratio with a low 200 TDS level (not including your starting/ base water).
For example, Using Remo Nutrients, I would fill a gallon jug with my sink water (170 TDS base/starting level) and add...
2 ml of calmagic
2 ml micro
2 ml grow
*** These are just examples! I cannot recall the exact ml amounts of each***
My ideal TDS level would be 370. 200 nutes 170 from my base water.
If your TDS is too high simply dilute the jug by dumping out small amounts out into another container and adding water until the desired TDS is achieved. Adversely, if it is too low, Add ½ ml of each aforementioned nutrients until the desired levels are reached. If you overshoot, simply revert to the dilution process.
Now that your coco is rinsed and nutrients mixed, dump the solution on the moist coco and let it sit overnight.
And that's how to charge coco!
LIGHTING
I won’t offer too much here as I don't want to conflict with “community guidelines”. I run quantum boards. I “build” my own. They are, in my opinion, the best lighting option available in the industry. Sure the initial cost will be more than a blurple or HID but the ppfd per watt is far superior.
I will say if you're interested in boards or COBs to check out our sponsor TIMBER GROW LIGHTS. Also I'll look to plug some of the pages like Riders that detail how to build strip lighting. (The samsung strips contain the same diodes used In the quantum boards I run).
Build Your Own LED Grow Light
Rider's first foray into LED strip lighting: Samsung H Series GEN3
NUTRIENTS
REMO has blessed me with a complementary SUPERCHARGED KIT.
Calmagic 0-0-4
Micro 3-0-1
Grow 2-3-5
Bloom 1-4-7
Natures candy
Velo kelp 1-1-1
Astroflower 1-6-11
I'll also supplement with terpinator (0-0-4) in flower.
I have little bottles of pirhana and voodoo juice that I add after up potting and after flip. These are root mass expanders that work in conjunction with nature's candy, liquid karma and or molasses to encourage a symbiotic relationship of microbes in the root zone.
Lastly I like me some rhino skin. Silica helps build strong cell walls, stems and branches to support your impending buddage! But beware. Always add your Si supplement first. 15 to 20 minutes before anything else! This will help prevent any ph swing the alkaline supplement can cause.
I have yet to own a ph pen, but I figure I'll pick one up here before the flip at the end of this month-ish.
Aseino has a great feed schedule found here.
And cultivator has a thread how to grow in coco both are very informative.
How to grow in Coco: Feed schedule
I will follow the suggested REMO feed ratios at smaller increments.
GROW SPACE AND ENVIRONMENT
I grow in a bathroom; bathtub more specifically. My wife is military and doesn't smoke. Infact, she hates the smell. So I'm confined to the 5 by 10 space for growing, drying, and the like. Crammed into that space I have a 5x 2.5 foot flower space in the tub which shares a wall with my 18×24 inch “veg box”. I typically tend to both while perched on the pooper…. Which takes up space along with the vanity not offering a while lot of wiggle room!
I have a large box fan for the tub. It blows as an intake/ circulation fan but also is supposed to push warm air up to the extraction fan. Another fan that blows down across the top of my lights, and a 4 inch mixed flow inline fan and carbon filter that are ducted to the bathroom exhaust fan. I'm waiting a paycheck (week) or two, but I'll be upgrading to a 6 inch by flip.
My temps currently should be right between 68 and 81. Humidity is low in veg, so I'll likely grab a humidifier this week. Normally I would use the one we have but it's in use.
GROW TECHNIQUES
This grow will be flipped about when I harvested my first full grow, hence the canniversary. In honor of that I've decided to do a scrog, which was my first training technique I implemented last fall when my growing adventure all began.
A scrog is short for screen of green. Not to be confused with a SOG (sea of green) which is many smaller plants in small containers. A screen of green utilizes a grid like net to train a plants canopy flat, producing multiple top colas as opposed to 1 from an untopped plant.
The basic idea behind a scrog is as the plant begins to grow up through one part of the screen it is moved or tucked over to another segment, effectively bending the growth center down and promoting equal distribution of hormones. As the plant sends messages back down the plant after training, it knows to give the lower growth a boost. This allows the lower growth to “catch up” to the lead growth resulting in multiple growth centers at the same height, and the tallest branches always produce the highest quality cannabis. So the more “tops” at the same height, the more quality colas you'll get!
While topping the plant isn't necessary for this grow technique I would recommend it. (I always recommend implementing some form of training to increase yield be it scrog or otherwise. And if you have questions about this or any other training technique, feel free to ask!)
Topping a plant is simply sniping or pinching the uppermost growth off. This is a high stress training technique. Typically after topping a plant it will grow 2 main shoots instead of 1. And with some other training methods used that can be increased to 20+.
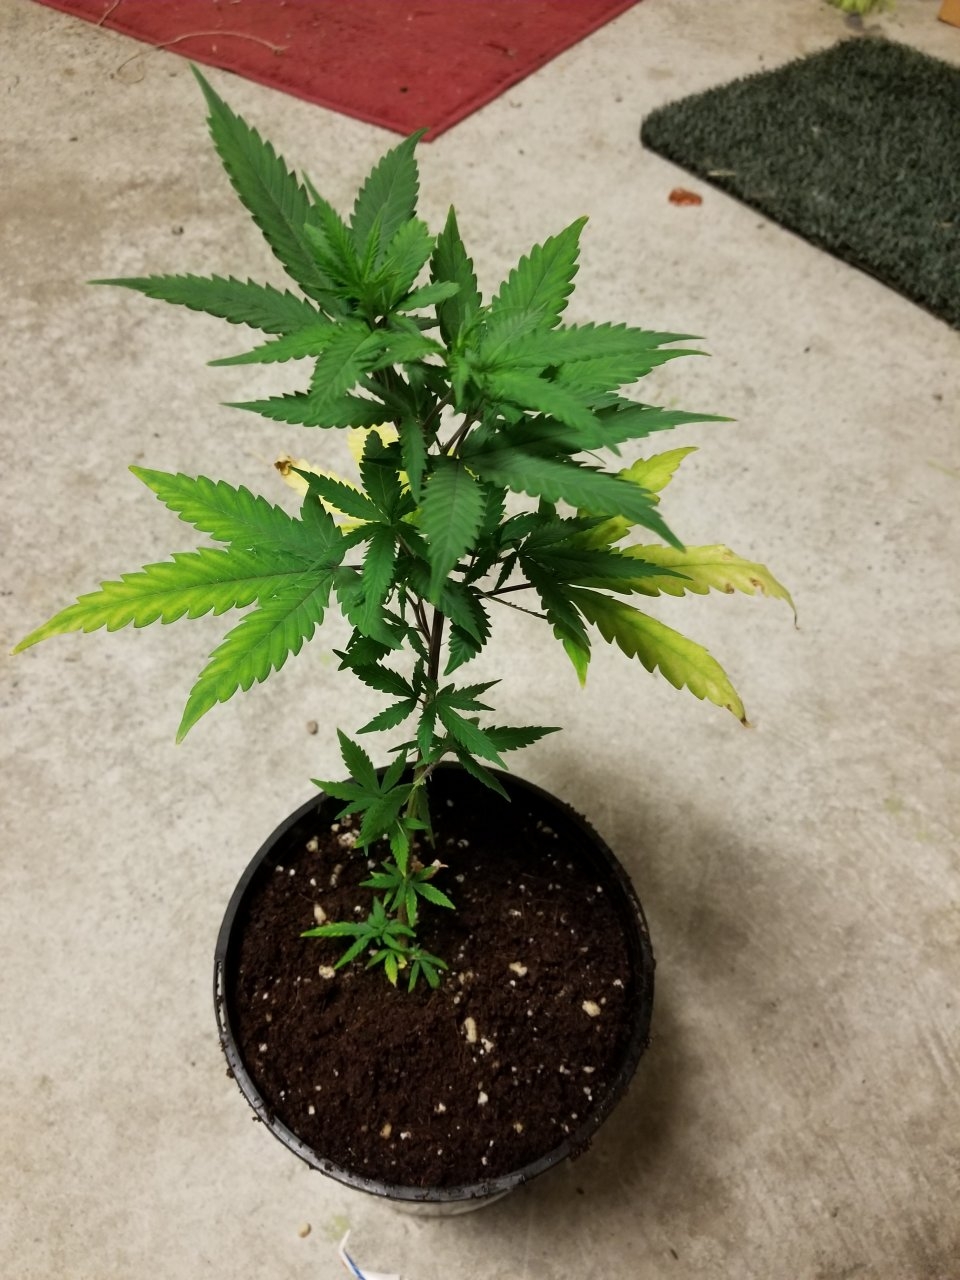
I topped my clone whilst it was still in a solo cup, and up canned it Dec. 30th.
Most recently, I did some basic bending and “supercropping”. To achieve this I just gently pinch the branch and roll it between my fingers. Then using my thumb as a fulcrum bend the growth downward until the growth center points parallel to the floor or past ( it should have an “r” shape).
Tomorrow I will top them again. And have a screen over them next weekend.
Here is a timelapse from my first grow. It was topped and trained with minimal pruning or stripping of leaves.
And I think that about sums up my first post. If I missed anything or you have any questions feel free to ask.
I genuinely appreciate you all being here and hope we can make 2019 a great year of growing in our gardens as well as in every aspect of our lives.


