TrysHard
New Member
This is pretty much all you need to build one from Scratch.
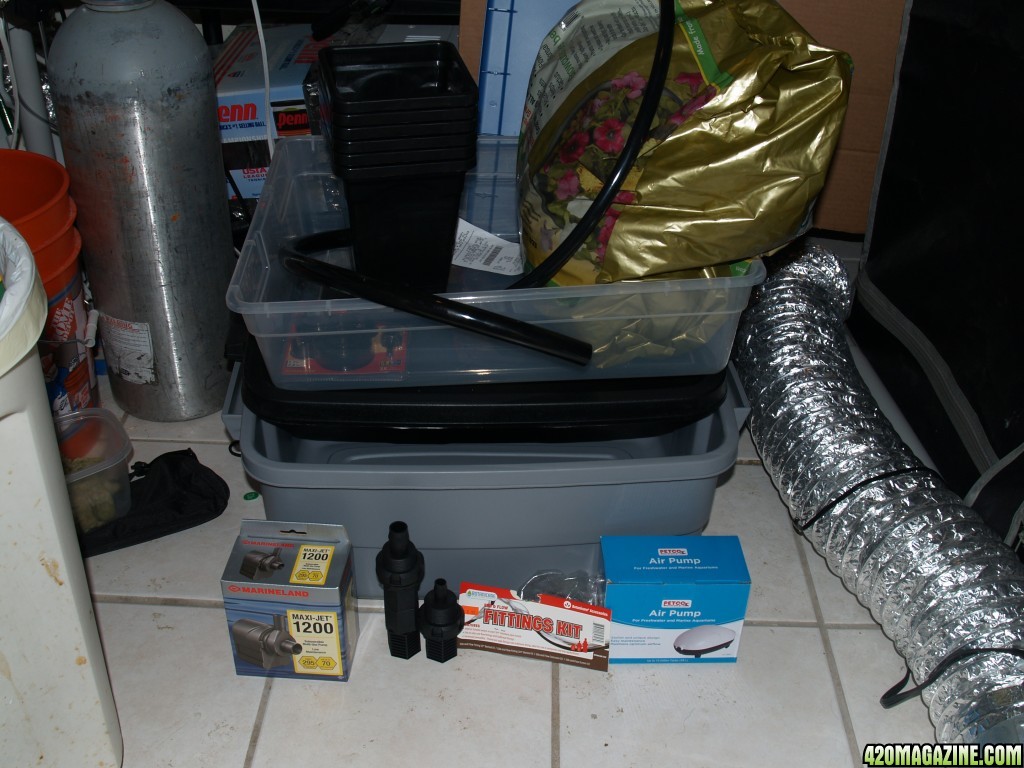
Home Depot:
The Drain Tray is the clear one I had to find one small enough to fit into the tent which is 24x18x36. $6
They come in all sizes you just need to make sure you get one with a flat bottom. So get one that will fit your application. Just remember the bigger it is the more weight and water needed.
The reservoir tub is a 10 Gallon one. I plan on using about 5 gallons for the fill. So 7.5 Gallons in the Reservoir should be enough $8 (Update note: 7.5 G fills this up pretty high. Next time I'm at home depot I'm upgrading to the 16G version.)
Hydro Store
Fittings kit these are pretty standard and you can get extra spacers for the drain fitting if you need higher flood levels $15
The hose 1/2" Fill and 3/4" drain I got there also $3
The fluid pump $15 I also got there. I know I can save money on the internet, but if you don't support your local guy he won't be there when you need him in the pinch. And this one is pretty good, and has a nice suction mount included.
The air pump is a Petco special comes with the hose, one way valve and air stone $14 I did not get this at the hydro store because the stone and 1 way valve were extra.
Subtotal $46
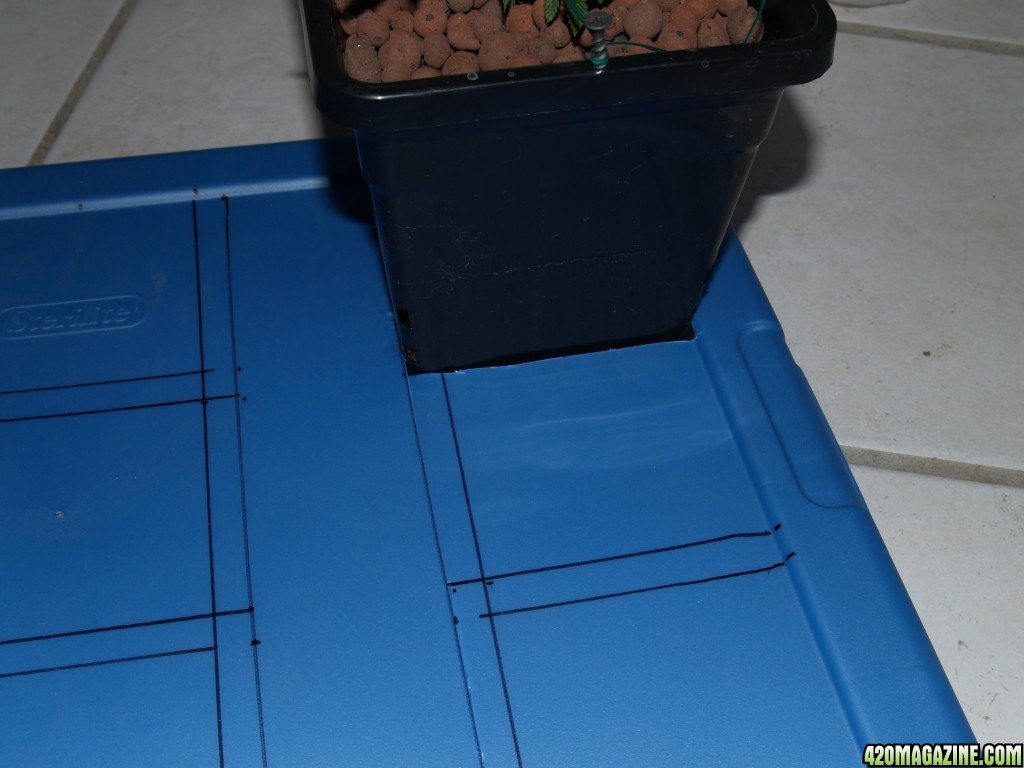
Six 6" pots with air hole up the sides $12 for all six. These are disposable so I don't include them into the cost of the system. You can get any pots you want the will fit into the drain tray. You just have to match the height of the pot to the drain table fill level. And you want an aerated pot style, with holes up the side of the pot for good nutrient penetration.
An Grodan Grow Cubes, little 1/2" cubes they were pretty cheap like $12 and I needed less than I thought and ended up wasting some.
On to the assembly:
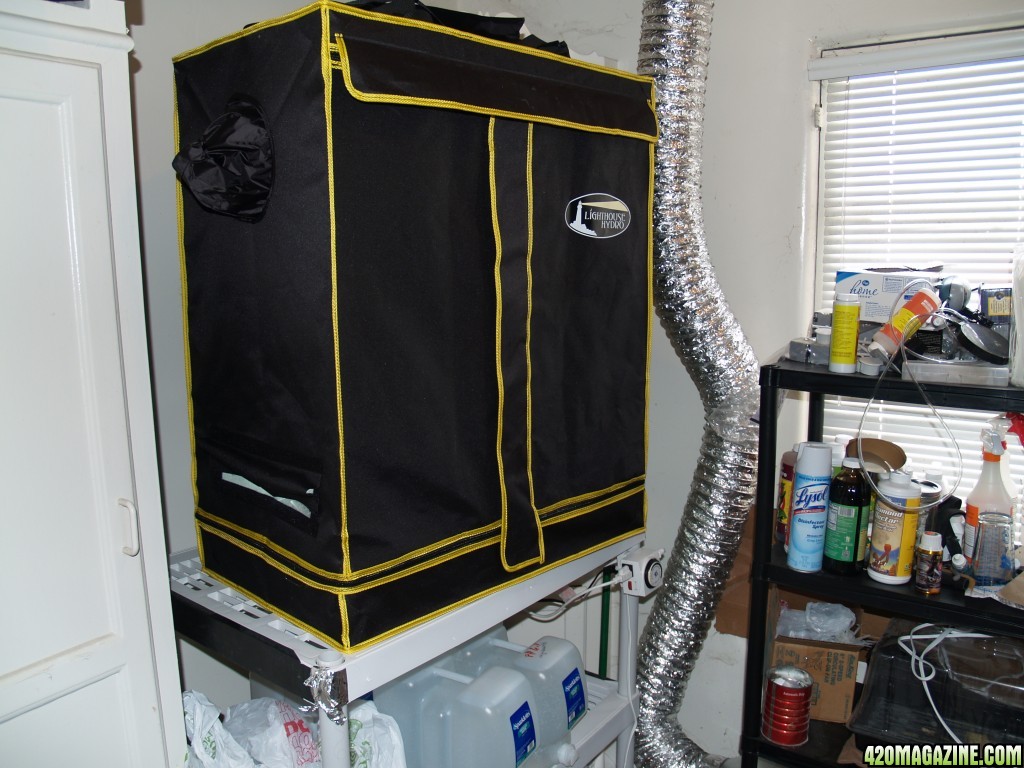
I have a small 18"x24"x36" Tent I am going to use for a Veg Station. I currently have it on a Home depot shelf that I only used 1/2 of. It made a perfect platform for this type of system. You should be able to install this into just about any walk in closet you have. Mine is in the kitchen, I am a MM patient and it is legal where I live. Here is a picture of the tent on the shelf.
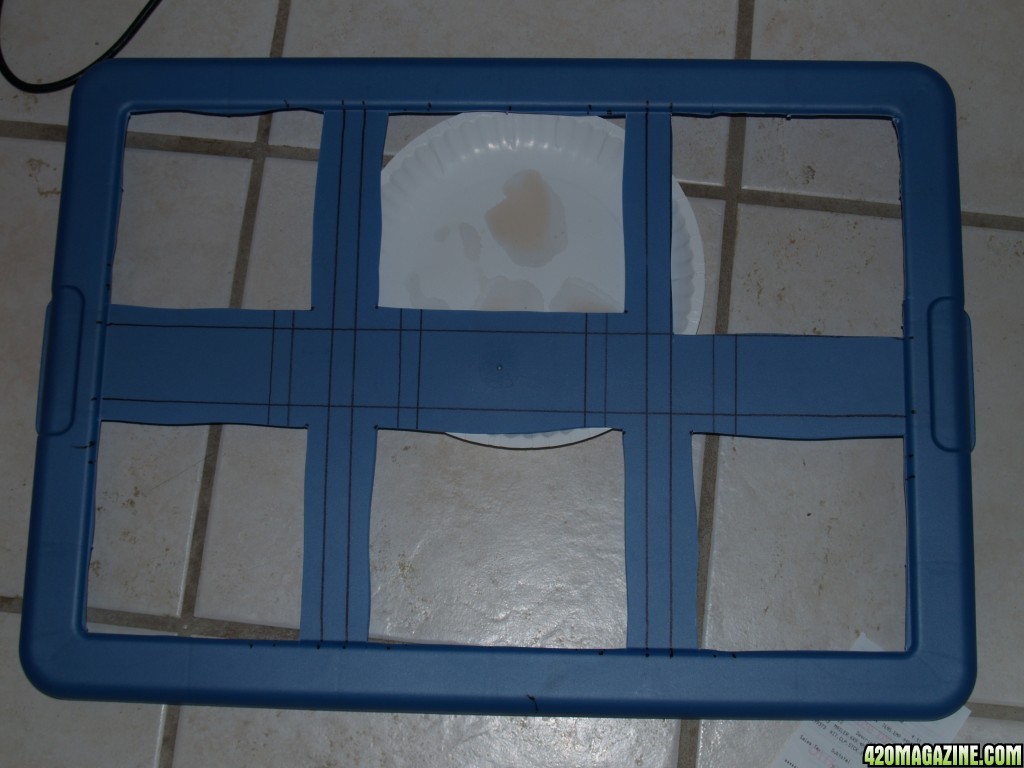
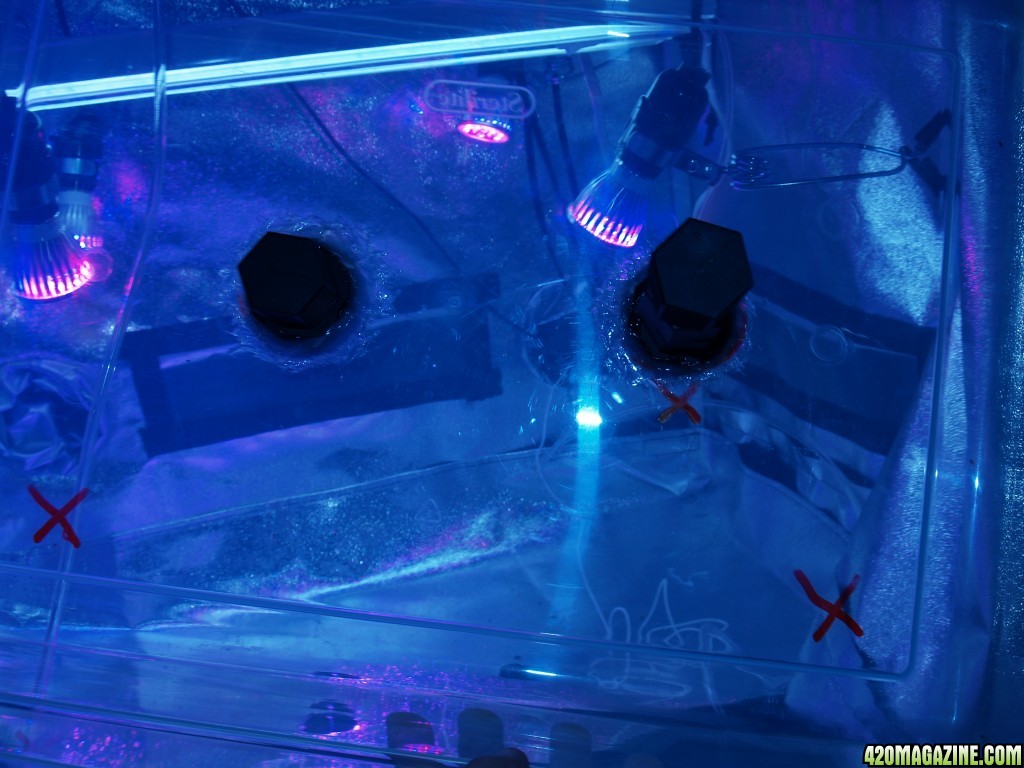
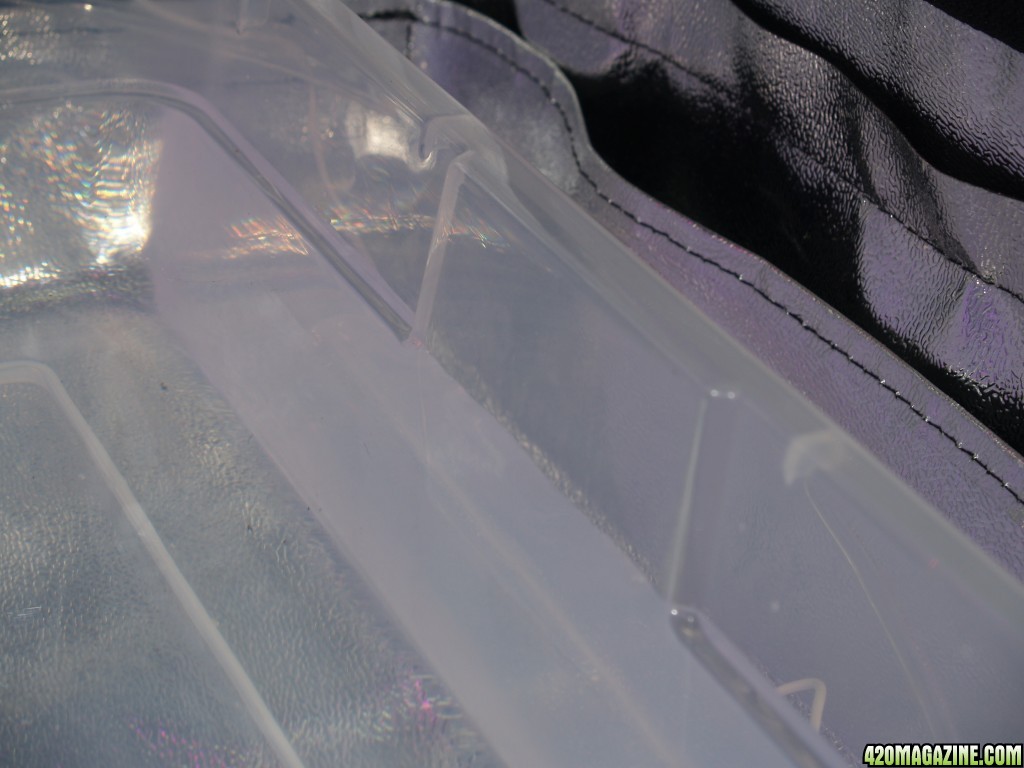
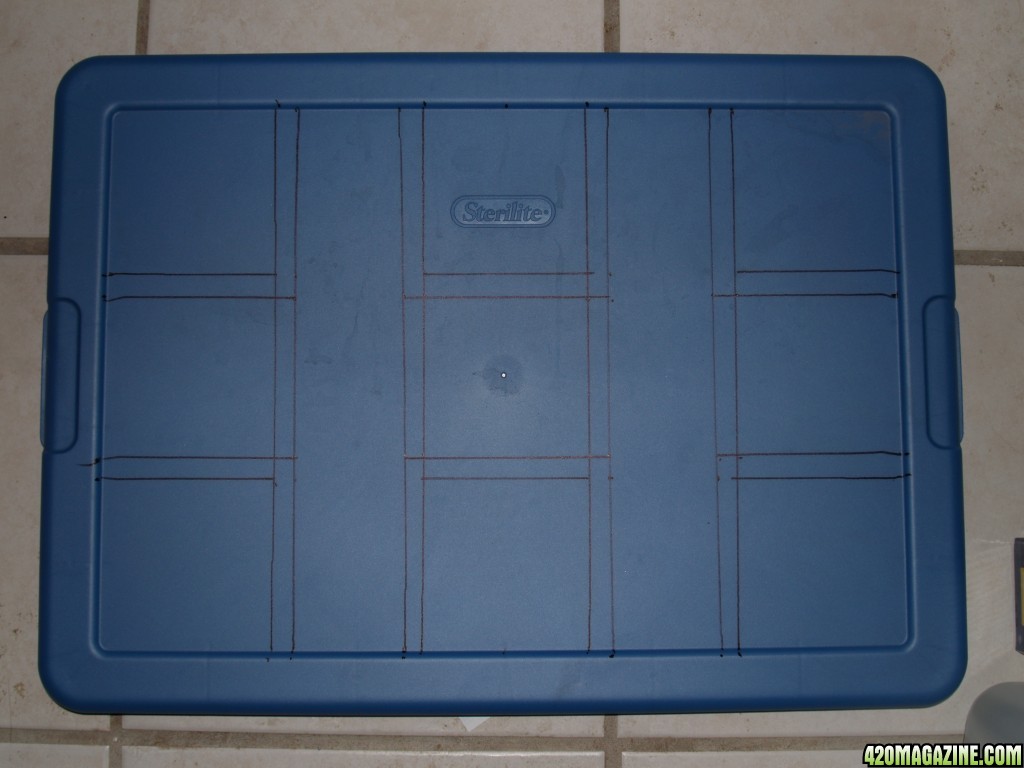
First thing to do is make a Drain Tray. Here is I have marked where I am going to drill through the bottom.
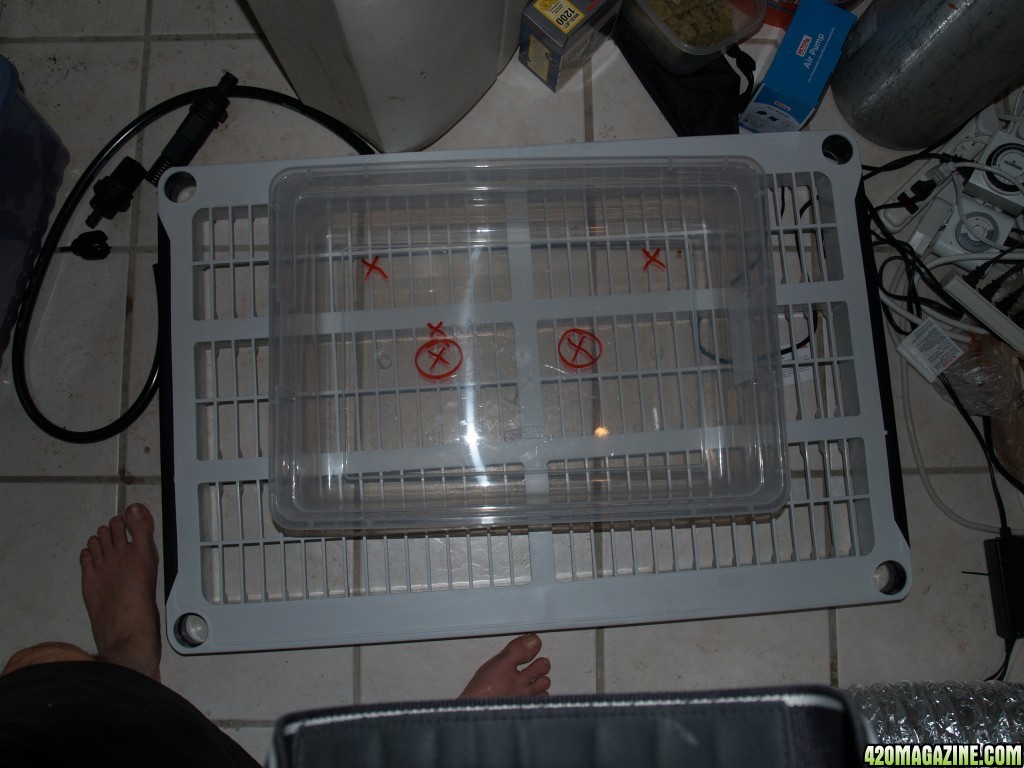
Excuse the extra markings, (I was medicated and indecisive) the circled marks were where I decided to install the fittings. Here again, planning ahead here will prevent a second trip to Home Depot, make sure you know where your fittings are going to exit below down to your reservoir is an important design feature. You want the lines going down to be stress free and as straight as possible. Pictures later will show that. Also you see one of the extra shelves I didn't need was used to help set it up.
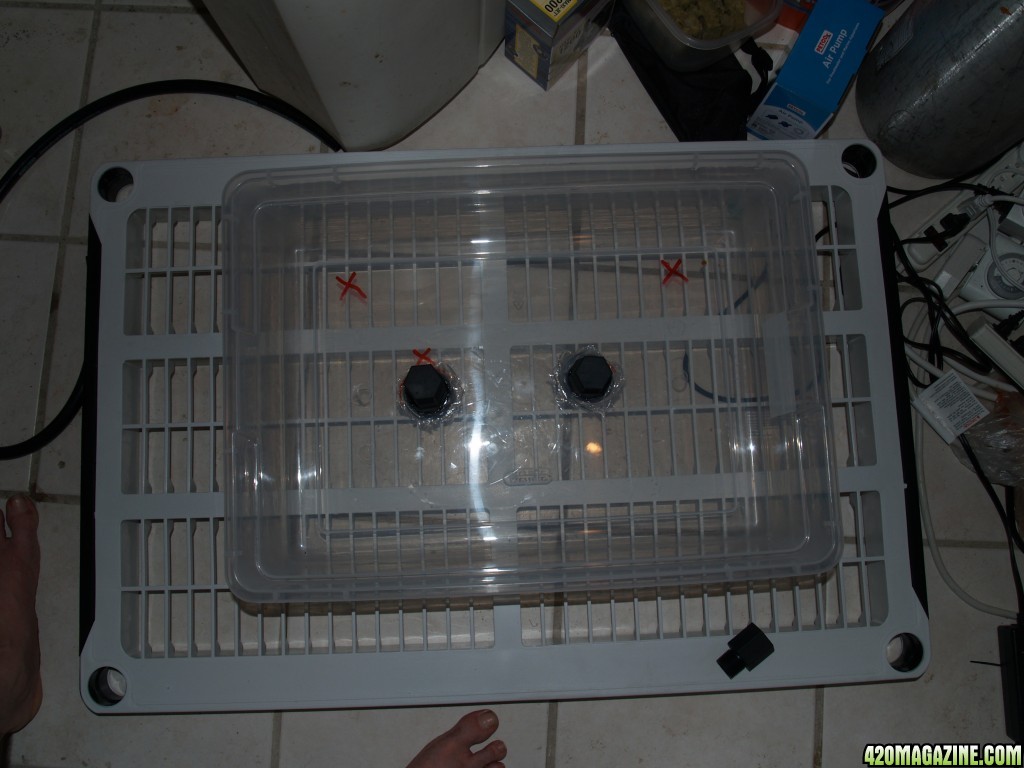
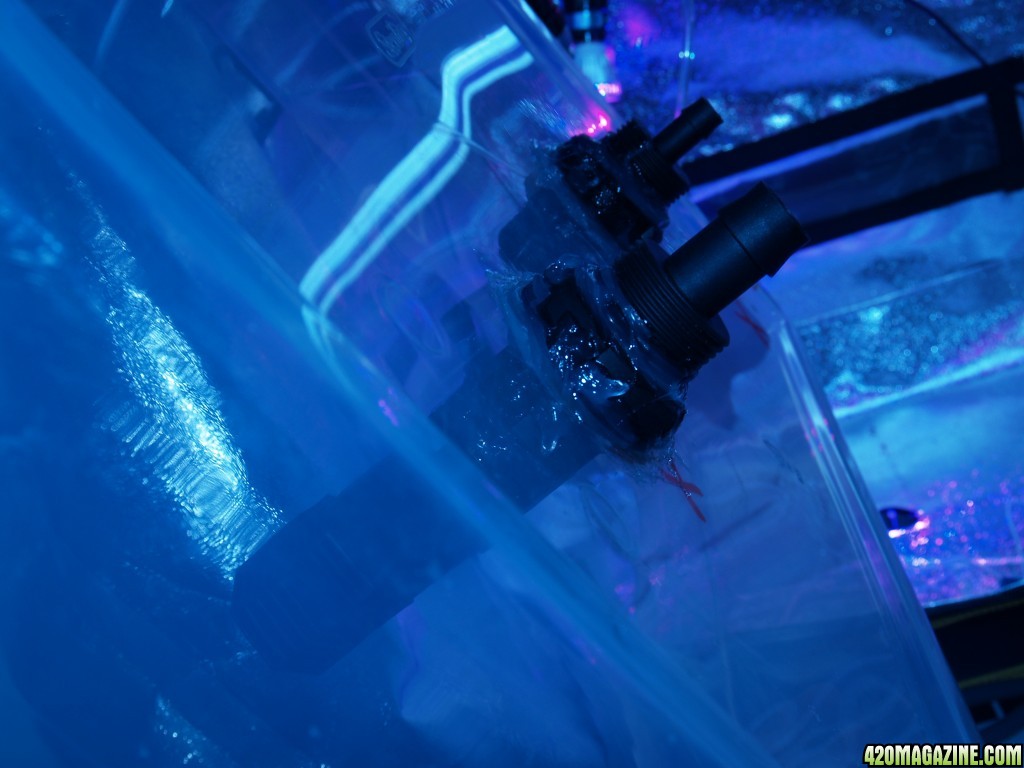
Here is the tray with the fittings installed, and positioned where it will be on the shelf when the silicone I spread over the fittings is dry in the morning. Let the silicone dry, do not be impatient and try to complete it before the silicone fully sets, you will just be causing yourself problems.
So on to the next morning.
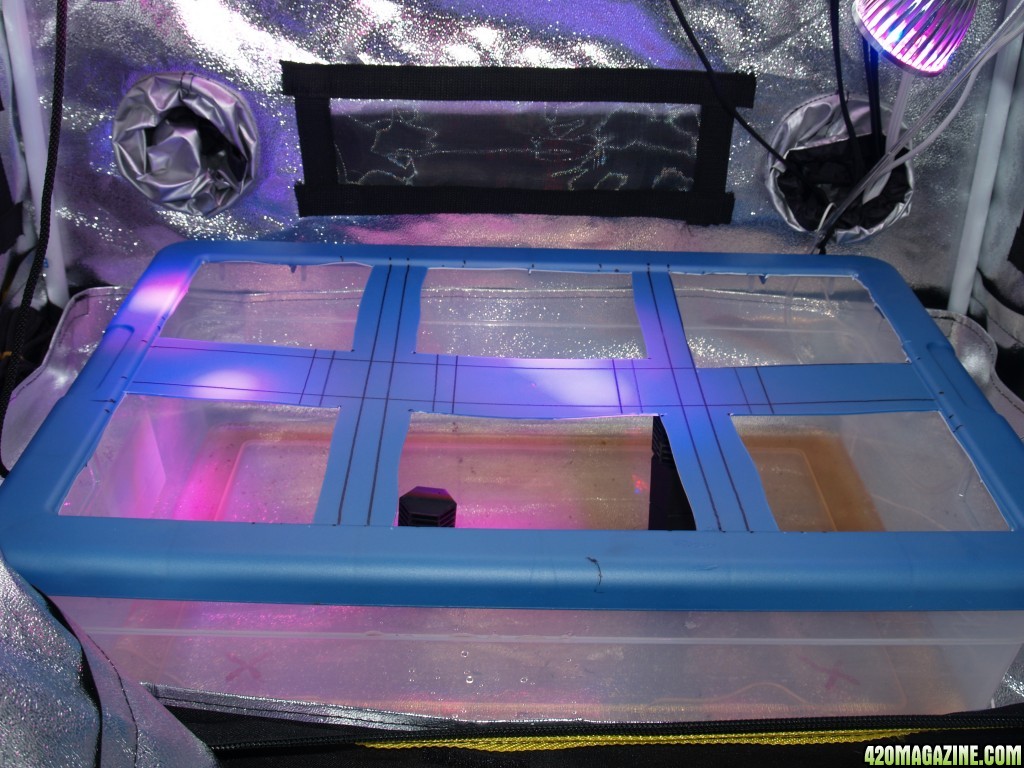
Now for the completion of my Fill and Drain Hydro veg station. Yesterday I made the drain tub. Today, I took the plants out of the tent and started the install.
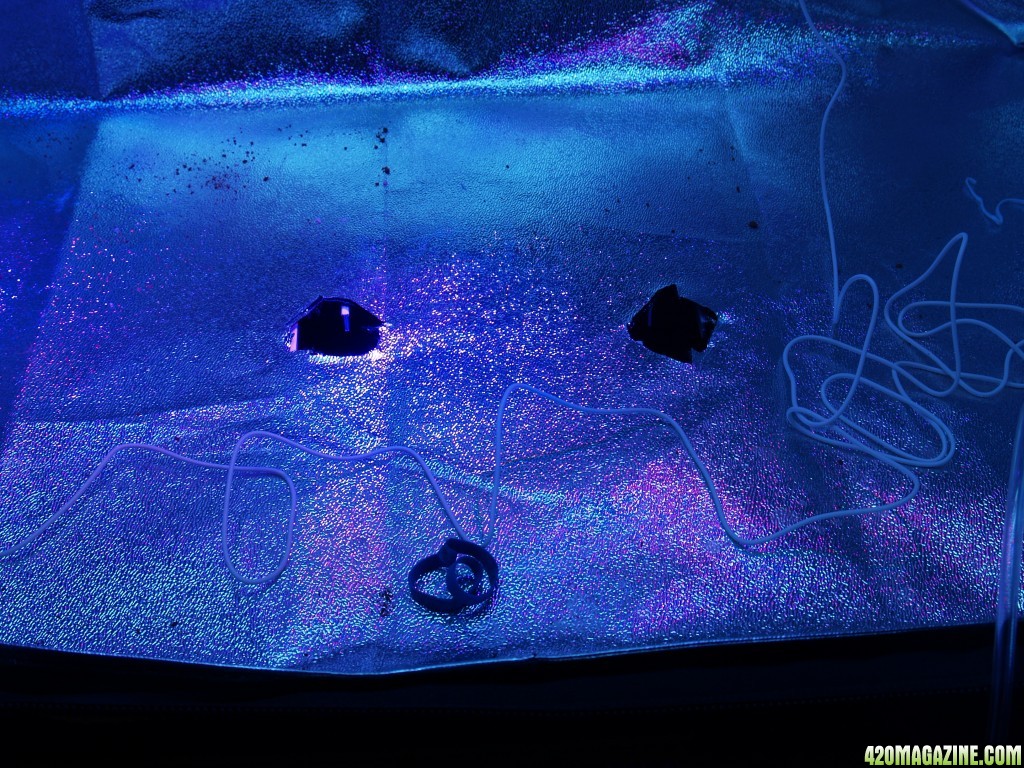
Here is the completed drain tray.
First thing to do is cut two holes into my brand new tent. It was tough material, I tried little holes and then shove the fitting through but the material wouldn't tear easy enough, so I had to cut out fairly large holes. Then there was the shelf grating to deal with as fittings would not fit between them.
Luckily some diagonal cutters and liberal chopping opened up a large enough hole so the tray would flat.
Here is the drain tray connected to the reservoir on the shelf below. The hoses I left long enough so I could slide the reservoir around some with out pulling them out of the lid. Plan ahead again here will prevent a future headache.
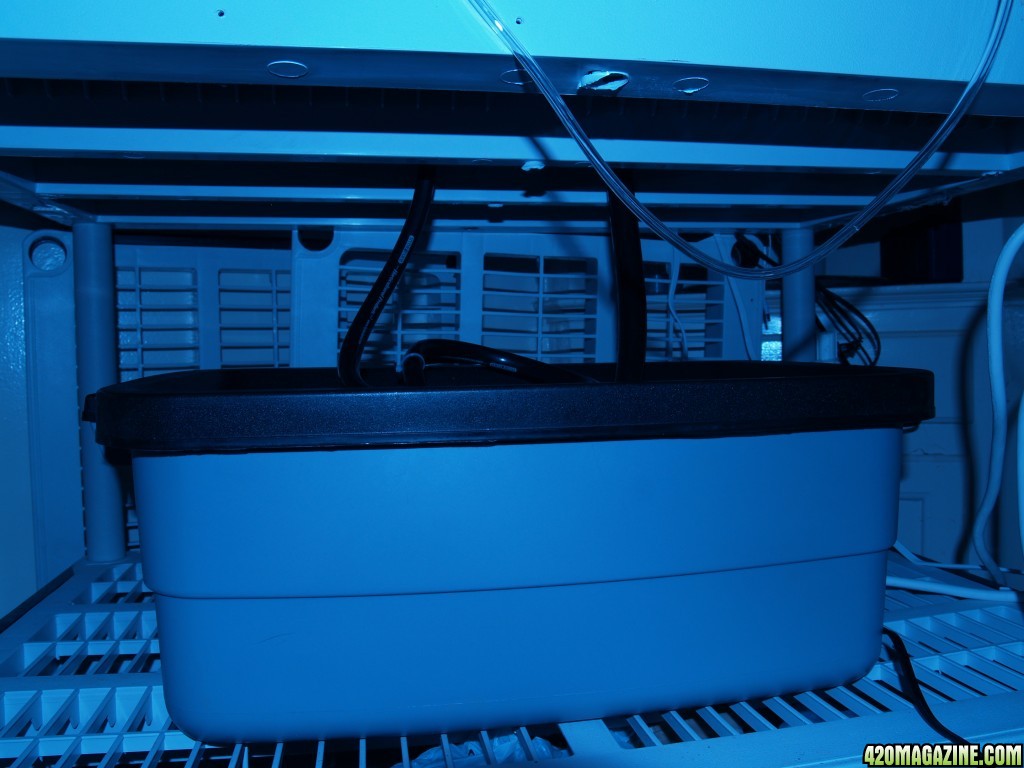
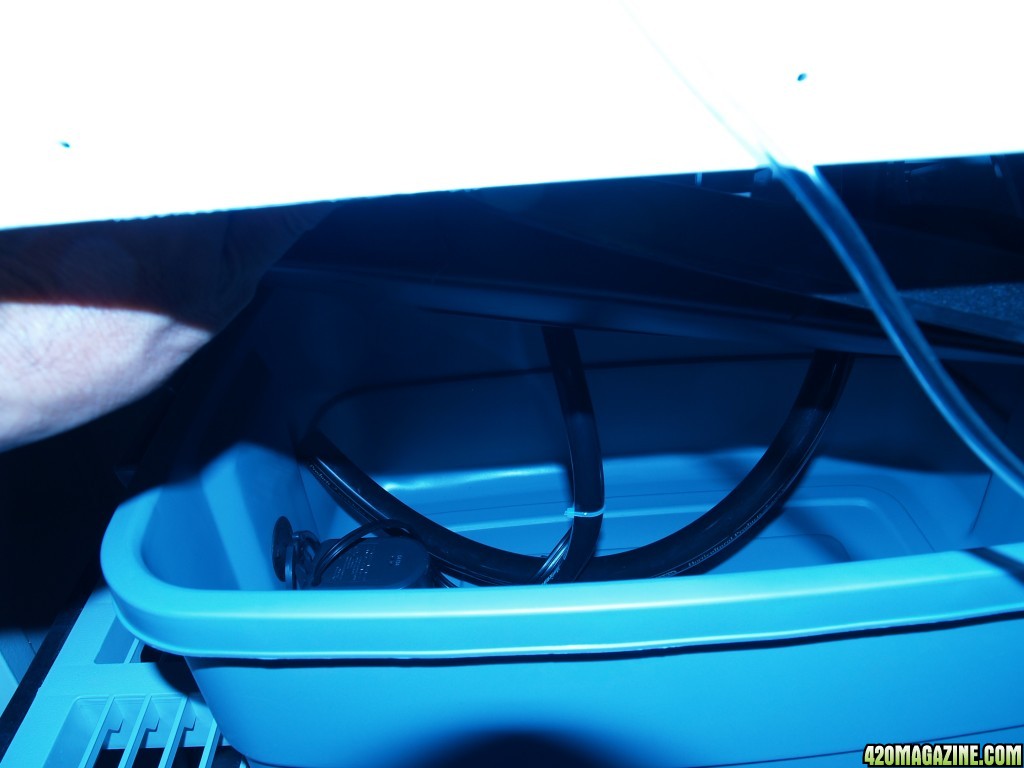
Peek inside, the pump and fill hose, I zip tied the cord to it to keep things neat. The drain tube I shortened after this picture so it would lay on the bottom, also zip tied the air stone to it so nutrient will go through bubbles as its returned. It is critical to aerate your nutrient solution, by placing the stone in the return stream I am insuring that all the nutrient will get aerated. Which is a good thing.
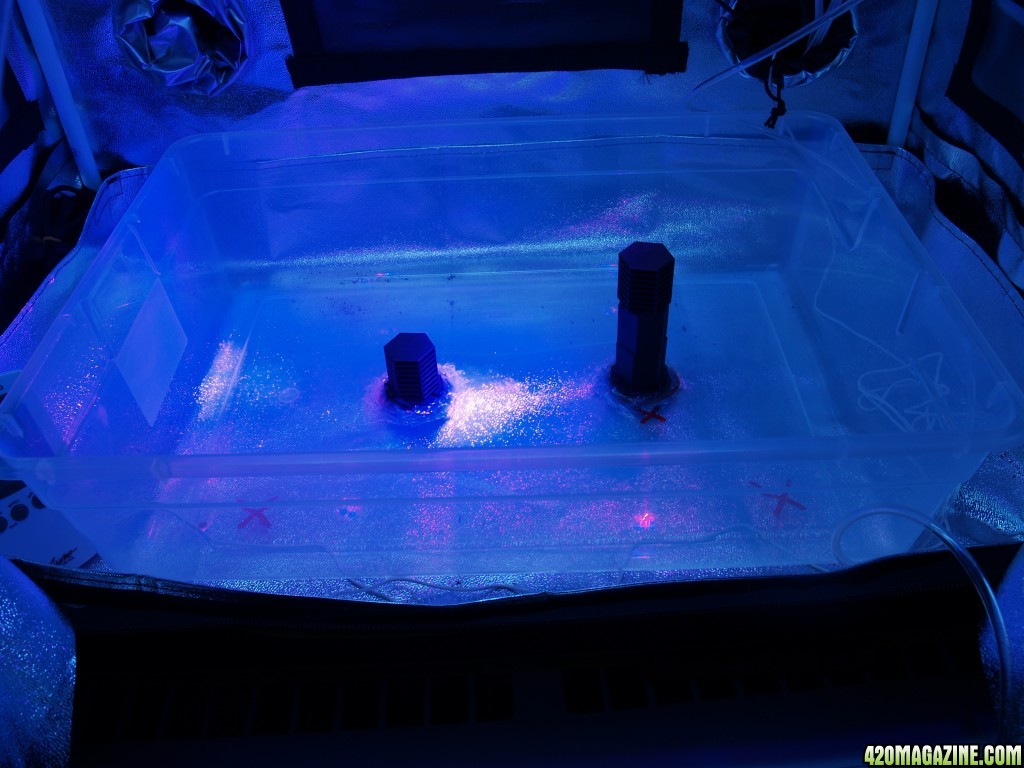
First test with water no leaks, the silicone insurance well worth it. Make sure you do this first. Don't assume everything will work, water is a lot easier to clean up than nutrient.
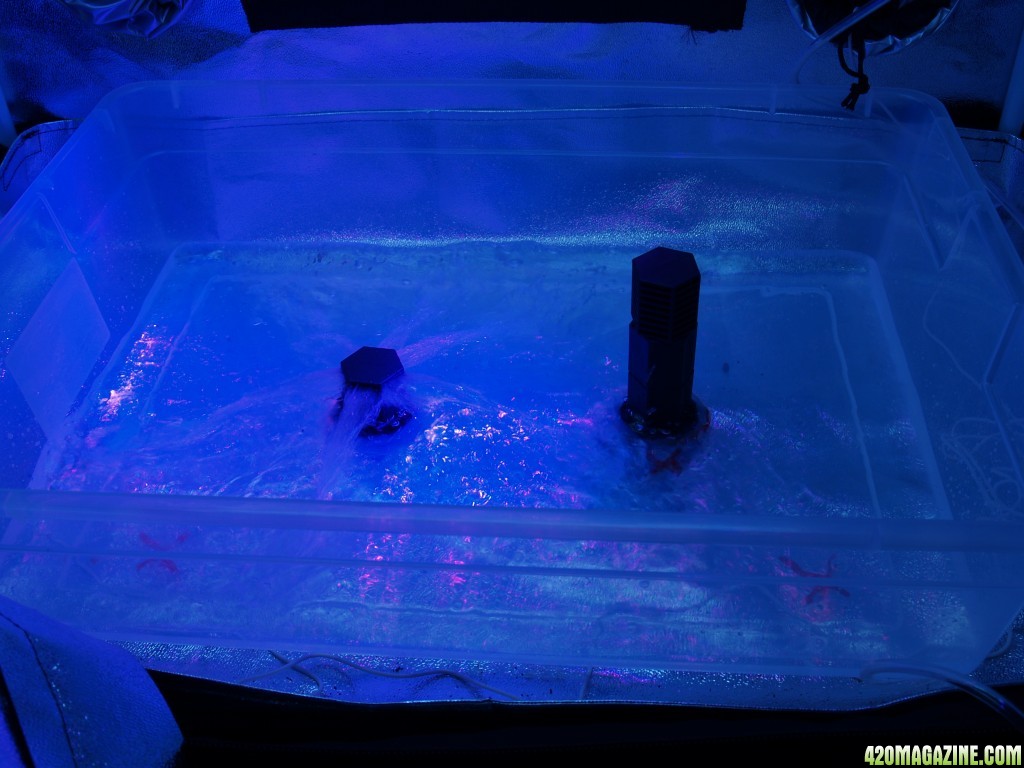
Filled up to this level, check again for leaks, good to go.
On to preparing the pots. What you don't see is I first put a layer of Hydroton down first, then the Rockwool cubes which had been soaked in my initial nutrient solution.

So you don't have to ask the I will be following the GH Expert re-circulation nutrient schedule, using the early growth step: Here it what I used per gallon:
Flora Micro - 7.5 ml
Flora Bloom - 2.5 ml
Flora Grow - 10 ml
Diamond Nectar - 10 ml
Floralicious Plus - 1 ml
Roots Excelurator - 1 ml (my change in the formula)
PH at 5.8 and PPM at 1108.
I also mixed up 7.5 Gallons for the main reservoir.
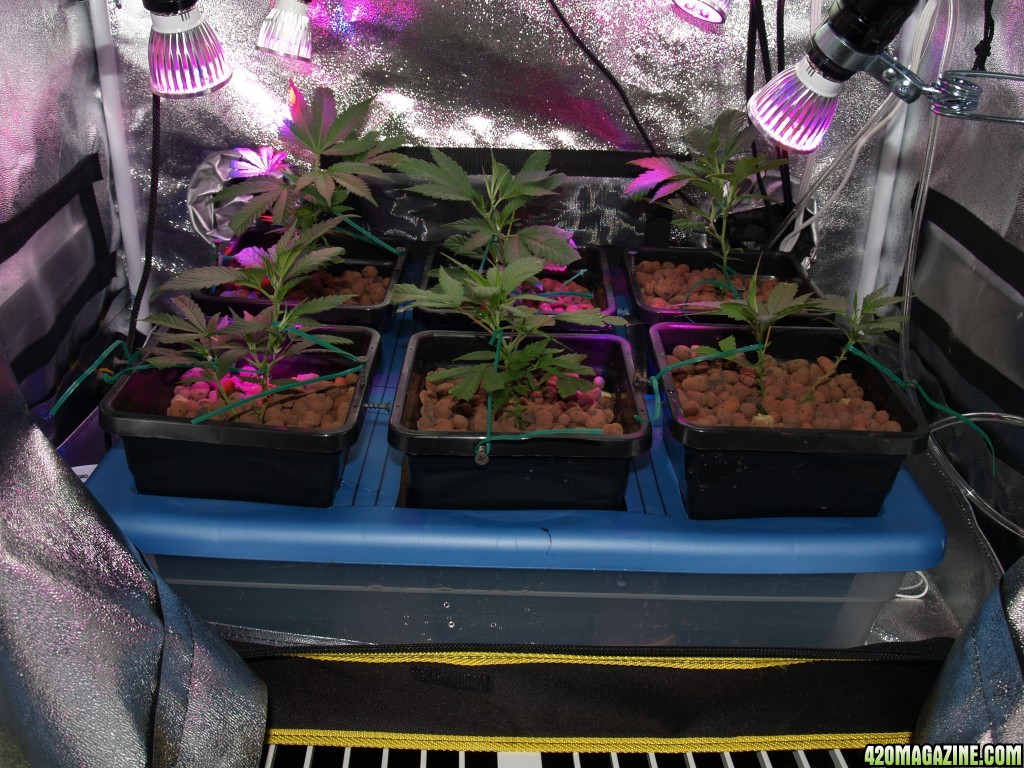
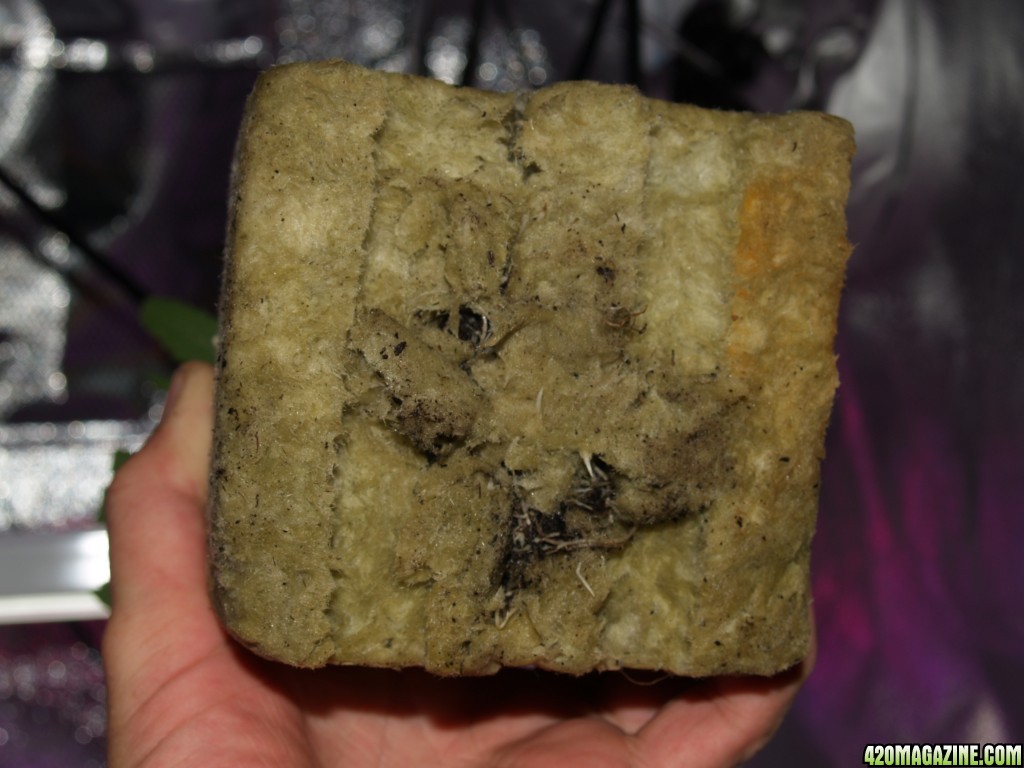
Next unwrapped the first plant, looked at the bottom seeing roots after just a couple of days, looks good for the first transplant. I will be transplanting these again when they go into the main tent E&F Top Feed System. If you want to learn more about these GS Cookie clones visit my Grandaddy Blueberry Grow Journal.
Filled it up with more rockwool cubes, had to make sure they went down the sides, so I poked them down. You don't want any voids with no rockwool so take your time here. Again, your growing plants, not running a hundred yard dash. Take your time double check, its easier to prepare properly than to fix later.
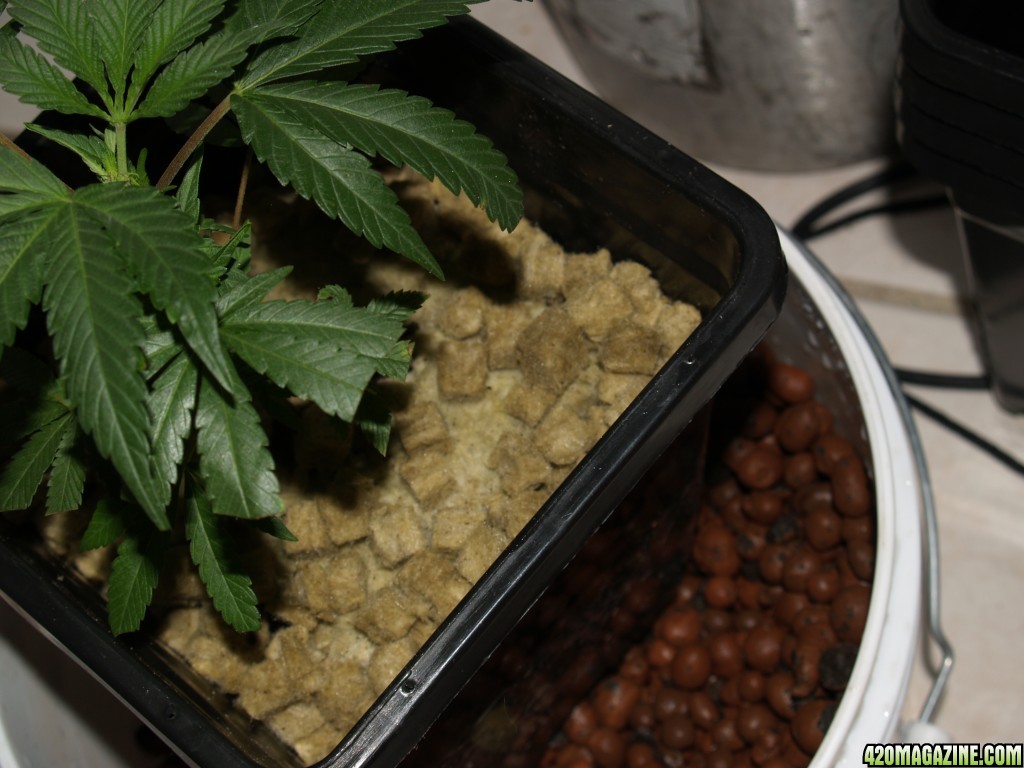
Then I topped them with Hydroton to combat algae growth. This is important as Rockwool has been known to develop algae when drenched in nutrient and exposed to light.
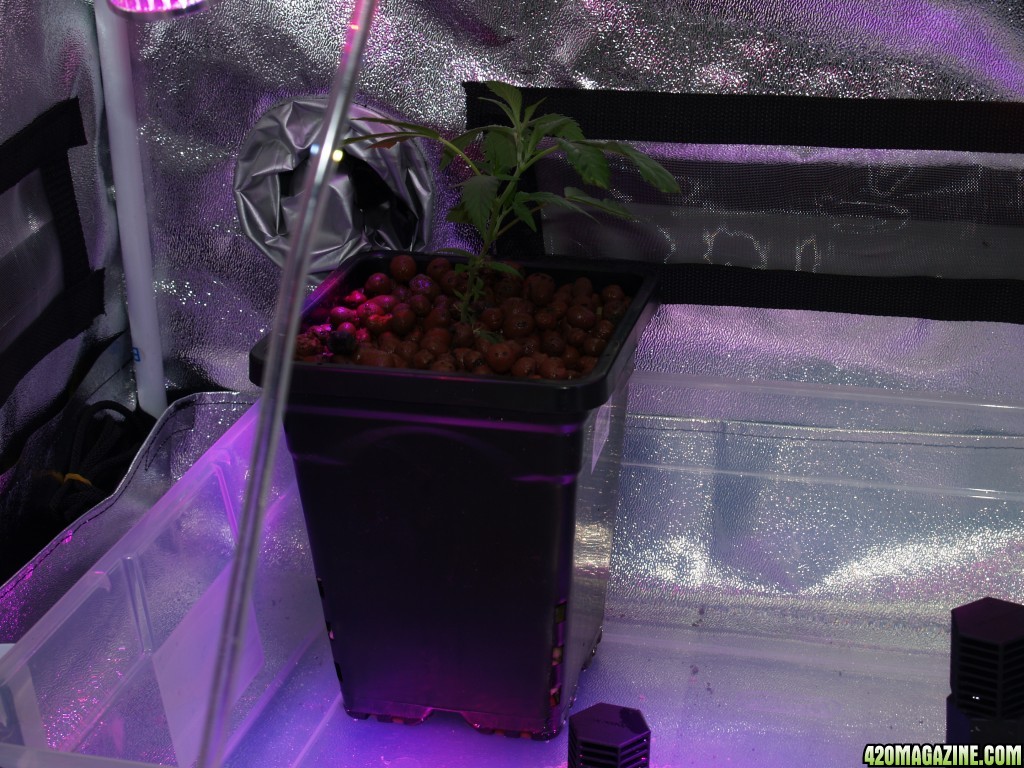
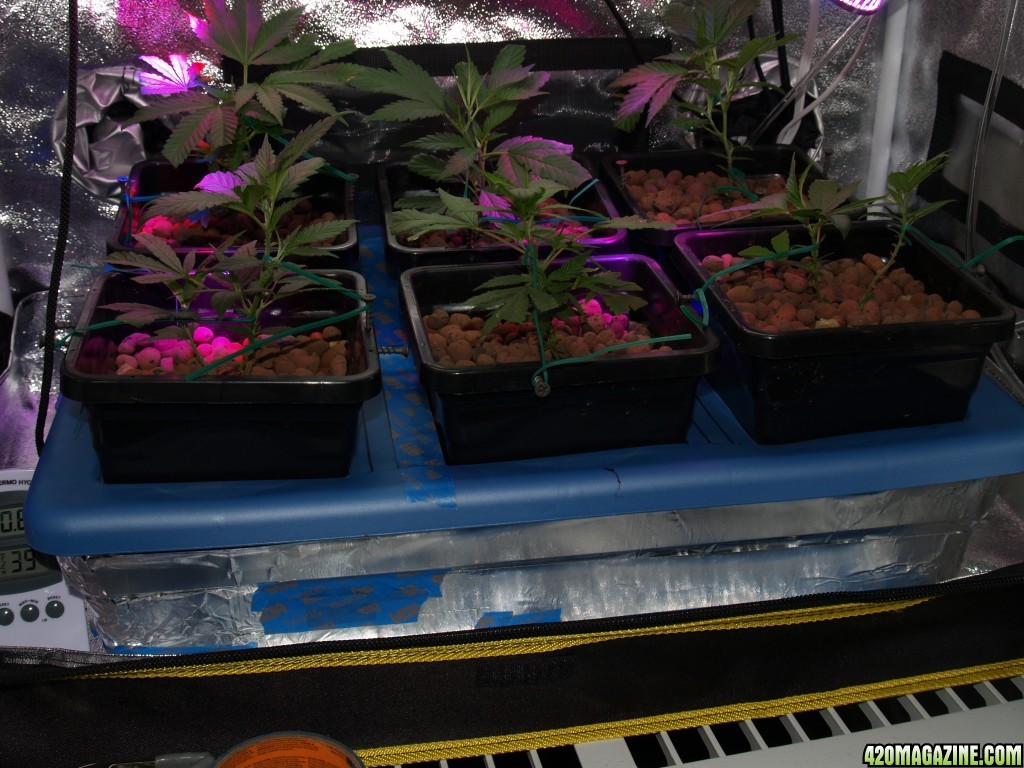
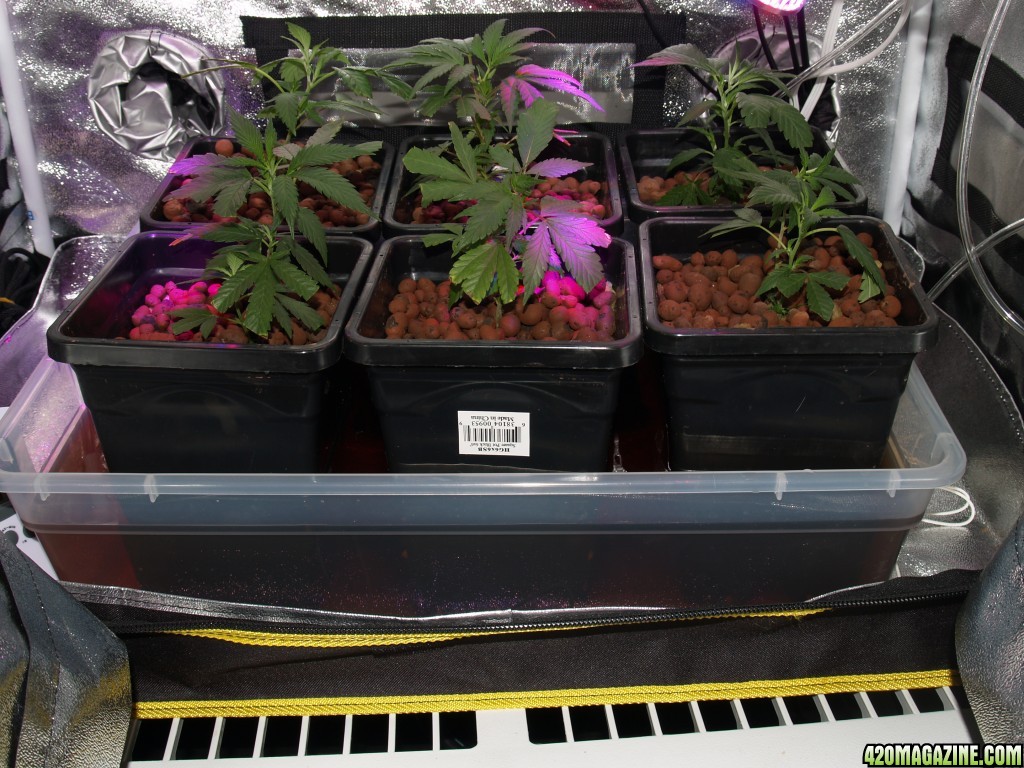
Here are all six clones in their new home all happy.
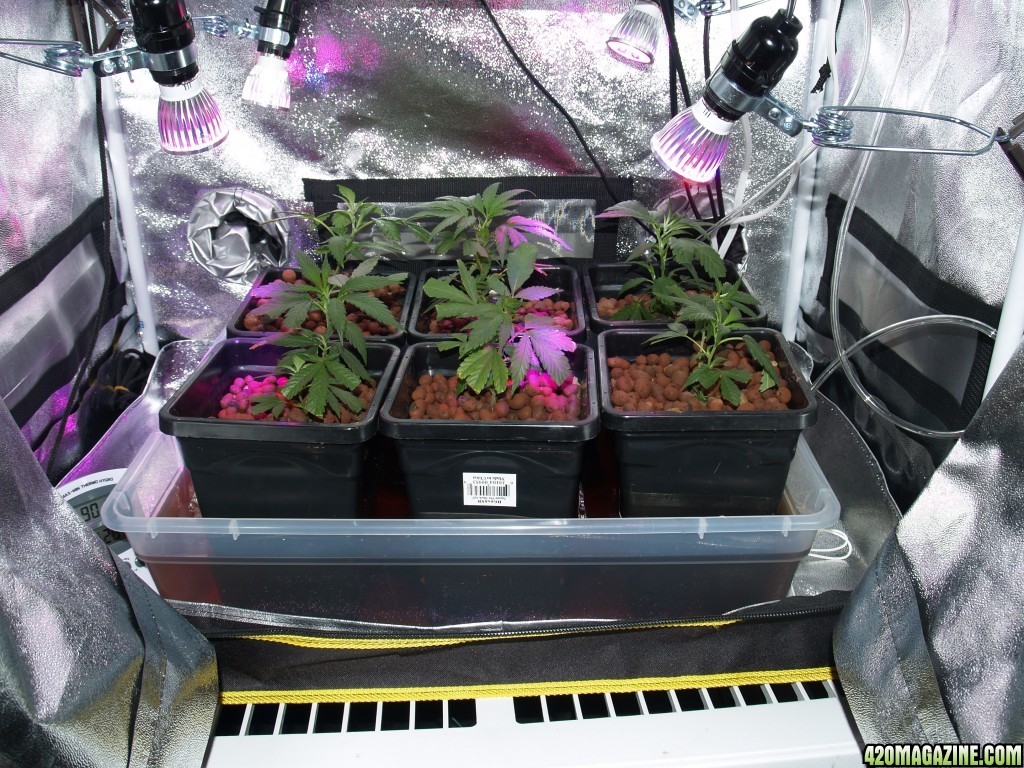
The first Feeding you can see the nutrient level.
Ok I hope that was beneficial for those who want to make their own. The entire F&D Hydro system cost less that $50. If you count the tent, the lights, temp/Humidity gauge, timers and shelf, pots and Rockwool I have less than $175 in the whole setup.
Hope this helps those on a budget.
Home Depot:
The Drain Tray is the clear one I had to find one small enough to fit into the tent which is 24x18x36. $6
They come in all sizes you just need to make sure you get one with a flat bottom. So get one that will fit your application. Just remember the bigger it is the more weight and water needed.
The reservoir tub is a 10 Gallon one. I plan on using about 5 gallons for the fill. So 7.5 Gallons in the Reservoir should be enough $8 (Update note: 7.5 G fills this up pretty high. Next time I'm at home depot I'm upgrading to the 16G version.)
Hydro Store
Fittings kit these are pretty standard and you can get extra spacers for the drain fitting if you need higher flood levels $15
The hose 1/2" Fill and 3/4" drain I got there also $3
The fluid pump $15 I also got there. I know I can save money on the internet, but if you don't support your local guy he won't be there when you need him in the pinch. And this one is pretty good, and has a nice suction mount included.
The air pump is a Petco special comes with the hose, one way valve and air stone $14 I did not get this at the hydro store because the stone and 1 way valve were extra.
Subtotal $46
Six 6" pots with air hole up the sides $12 for all six. These are disposable so I don't include them into the cost of the system. You can get any pots you want the will fit into the drain tray. You just have to match the height of the pot to the drain table fill level. And you want an aerated pot style, with holes up the side of the pot for good nutrient penetration.
An Grodan Grow Cubes, little 1/2" cubes they were pretty cheap like $12 and I needed less than I thought and ended up wasting some.
On to the assembly:
I have a small 18"x24"x36" Tent I am going to use for a Veg Station. I currently have it on a Home depot shelf that I only used 1/2 of. It made a perfect platform for this type of system. You should be able to install this into just about any walk in closet you have. Mine is in the kitchen, I am a MM patient and it is legal where I live. Here is a picture of the tent on the shelf.
First thing to do is make a Drain Tray. Here is I have marked where I am going to drill through the bottom.
Excuse the extra markings, (I was medicated and indecisive) the circled marks were where I decided to install the fittings. Here again, planning ahead here will prevent a second trip to Home Depot, make sure you know where your fittings are going to exit below down to your reservoir is an important design feature. You want the lines going down to be stress free and as straight as possible. Pictures later will show that. Also you see one of the extra shelves I didn't need was used to help set it up.
Here is the tray with the fittings installed, and positioned where it will be on the shelf when the silicone I spread over the fittings is dry in the morning. Let the silicone dry, do not be impatient and try to complete it before the silicone fully sets, you will just be causing yourself problems.
So on to the next morning.
Now for the completion of my Fill and Drain Hydro veg station. Yesterday I made the drain tub. Today, I took the plants out of the tent and started the install.
Here is the completed drain tray.
First thing to do is cut two holes into my brand new tent. It was tough material, I tried little holes and then shove the fitting through but the material wouldn't tear easy enough, so I had to cut out fairly large holes. Then there was the shelf grating to deal with as fittings would not fit between them.
Luckily some diagonal cutters and liberal chopping opened up a large enough hole so the tray would flat.
Here is the drain tray connected to the reservoir on the shelf below. The hoses I left long enough so I could slide the reservoir around some with out pulling them out of the lid. Plan ahead again here will prevent a future headache.
Peek inside, the pump and fill hose, I zip tied the cord to it to keep things neat. The drain tube I shortened after this picture so it would lay on the bottom, also zip tied the air stone to it so nutrient will go through bubbles as its returned. It is critical to aerate your nutrient solution, by placing the stone in the return stream I am insuring that all the nutrient will get aerated.
Which is a good thing.
First test with water no leaks, the silicone insurance well worth it. Make sure you do this first. Don't assume everything will work, water is a lot easier to clean up than nutrient.
Filled up to this level, check again for leaks, good to go.
On to preparing the pots. What you don't see is I first put a layer of Hydroton down first, then the Rockwool cubes which had been soaked in my initial nutrient solution.
So you don't have to ask the I will be following the GH Expert re-circulation nutrient schedule, using the early growth step: Here it what I used per gallon:
Flora Micro - 7.5 ml
Flora Bloom - 2.5 ml
Flora Grow - 10 ml
Diamond Nectar - 10 ml
Floralicious Plus - 1 ml
Roots Excelurator - 1 ml (my change in the formula)
PH at 5.8 and PPM at 1108.
I also mixed up 7.5 Gallons for the main reservoir.
Next unwrapped the first plant, looked at the bottom seeing roots after just a couple of days, looks good for the first transplant. I will be transplanting these again when they go into the main tent E&F Top Feed System. If you want to learn more about these GS Cookie clones visit my Grandaddy Blueberry Grow Journal.
Filled it up with more rockwool cubes, had to make sure they went down the sides, so I poked them down. You don't want any voids with no rockwool so take your time here. Again, your growing plants, not running a hundred yard dash. Take your time double check, its easier to prepare properly than to fix later.
Then I topped them with Hydroton to combat algae growth. This is important as Rockwool has been known to develop algae when drenched in nutrient and exposed to light.
Here are all six clones in their new home all happy.
The first Feeding you can see the nutrient level.
Ok I hope that was beneficial for those who want to make their own. The entire F&D Hydro system cost less that $50. If you count the tent, the lights, temp/Humidity gauge, timers and shelf, pots and Rockwool I have less than $175 in the whole setup.
Hope this helps those on a budget.
 .
.
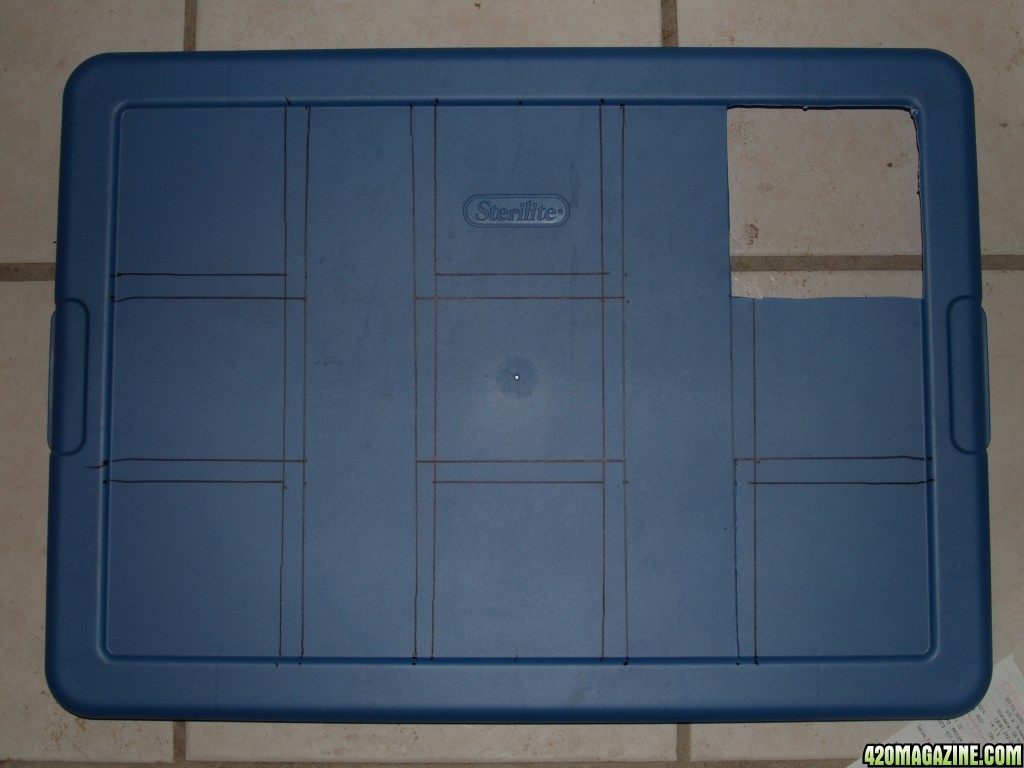
 So 5" is correct, so I measure again, by this time its getting hard to distinguish the marks on the lid. But I know I got it right this time since I was using my special stoned careful technique. Notice the two center holes. Everywhere I was just able to add the amount I need to adjust to my previous markings since each box was tied to a corner. The middle boxes I added 1/2" to much on each side and made the box too wide, so I only got 50% right using my special stoned technique, which is pretty good.
  part of the special technique is to super rationalize everything.