

MrIcculus
Well-Known Member
MY DIY DRYING BOX WITH ODOR CONTROL
I was posting pics of my new drying box in my journal as I was building it. The info was scattered over a few posts and I received a request to post the instructions here in their entirety.
So, here it goes...
Since I'm getting real close to harvest, I figured it was time to start thinking about where & how I'm gonna dry all these sweet-smelling buds. In the last several days, I've also given a lot of additional thought to odor control (they're really stinking, now!) and even more thought to my limited budget at the moment.
Here's what I've come up with...
I had picked up a small drying net on eBay for just under $20 (PM me if you want the link).
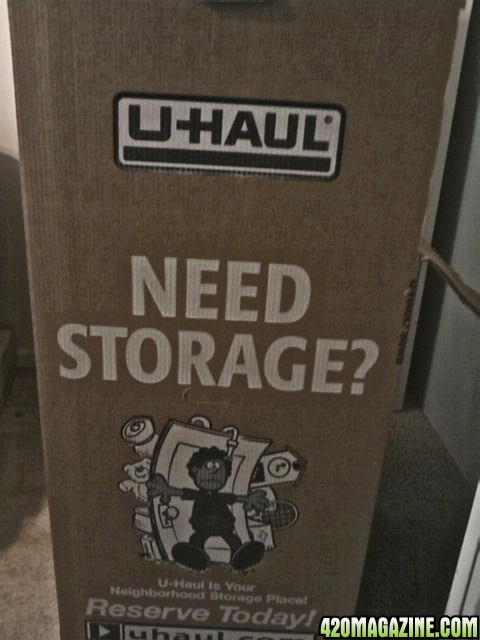
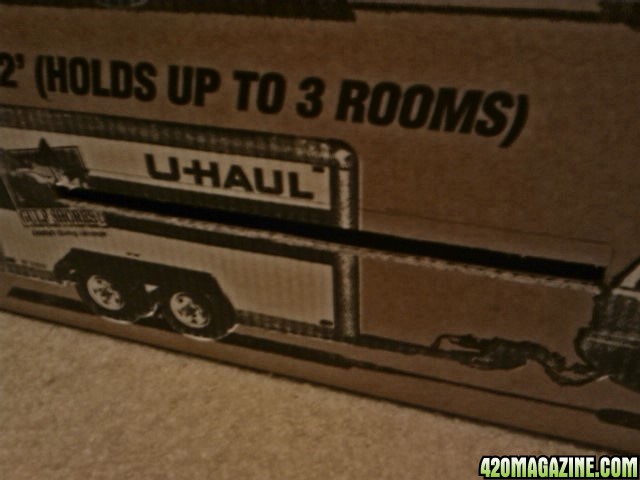
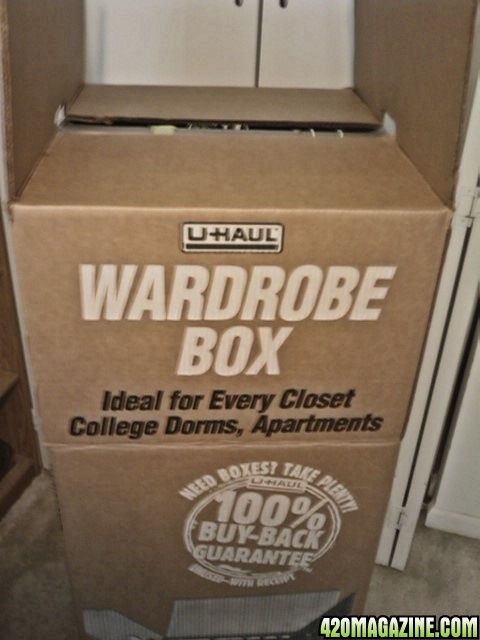
I then went to U-Haul and picked up what they call a "Grand Wardrobe Box" for $11.95. It's the kind they use to move clothes on hangers and comes with a hanger bar:
I cut an octagon centered towards the top of the back of the box. The octagon shape is much easier to cut in cardboard than a circle, and let me maximize airflow. You can see I first traced the outline of the fan and cut slightly smaller:
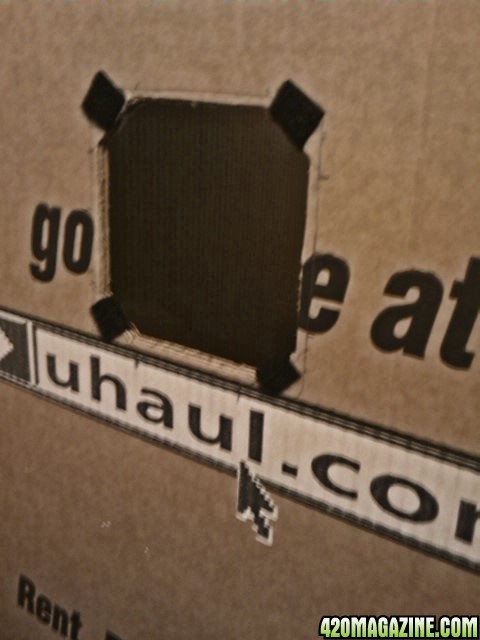
TIP: When cutting cardboard, first make a light cut against a straight edge, just to score a line. Then, make a second cut a little deeper. Repeat this process a few times until you go all the way through the material and you'll end up with a nice, smooth cut!
I then mounted a PC-fan to the outside back of the box using some velcro and sealed the edges using duct tape, although, this pic was before the duct tape was added:
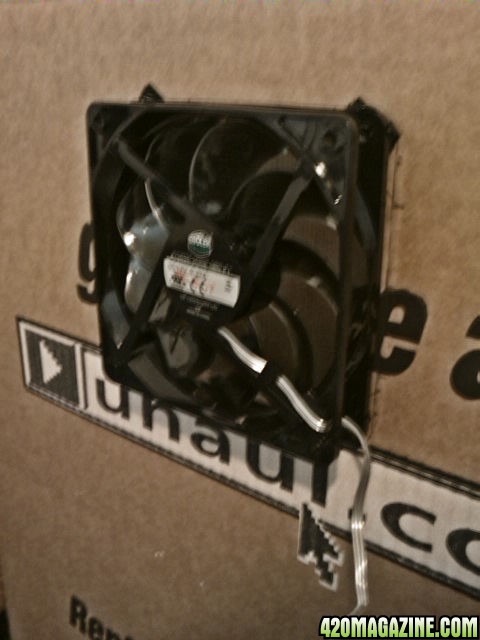
TIP: This fan is for exhaust so make sure the fan is blowing the air OUT of the box.
NOTE: When you're using duct tape for actual ducting, it's not considered "jerry rigging"!
Then, I added passive intakes...
I cut a 5/8" slot, 12" across, located 4" up from the bottom of each of the two sides and duct taped some landscape weed block screening (how appropriate!) to the insides.
Here's the inside with the box turned upside down, so you're looking at the bottom in this pic:
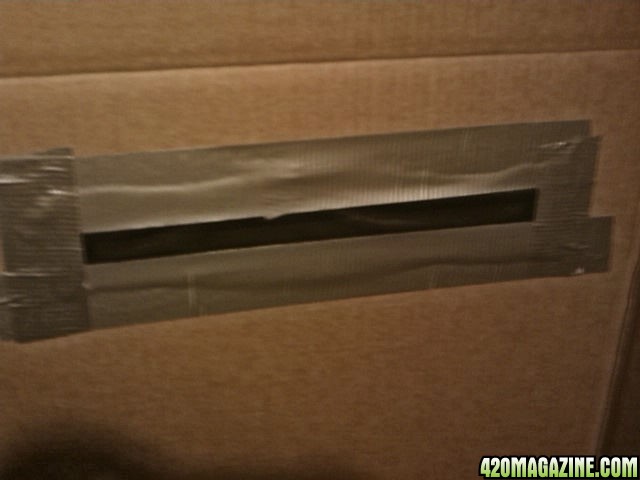
Once I dd this to each side, my passive intakes were complete and bug-proof:

Then, it was time to tackle odor control...
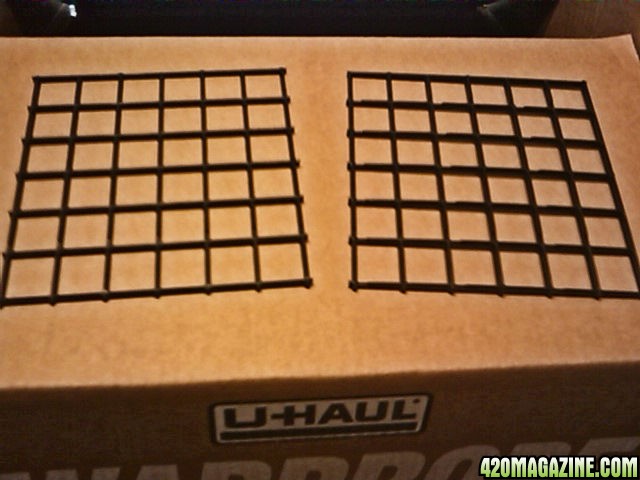
I decided to go with this Air Conditioning Odor Control Filter I found for $9 at Homie's:

It's got a filter grate included that you can cut to size along with the filter which has an activated carbon backing for odor control:

So, I first cut the grate into two equal size pieces slightly larger than the fan opening:
I then cut a piece of the filter the same size and made a filter sandwich using some duct tape:
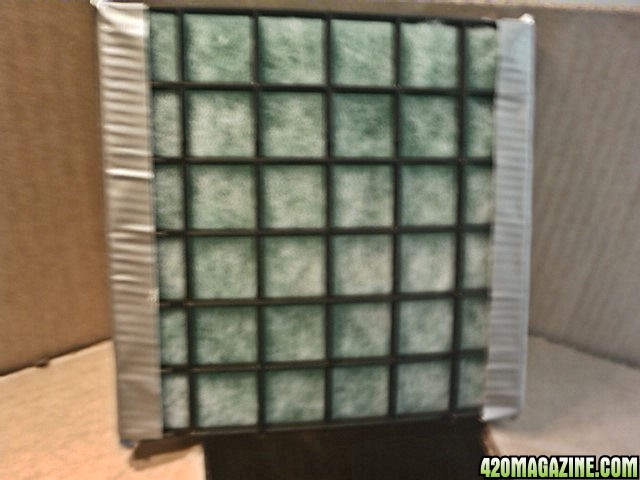
TIP: Don't squeeze/tape the filter sandwich together too tight. You want it loose but snug so it doesn't constrict the fibers and end up restricting airflow.
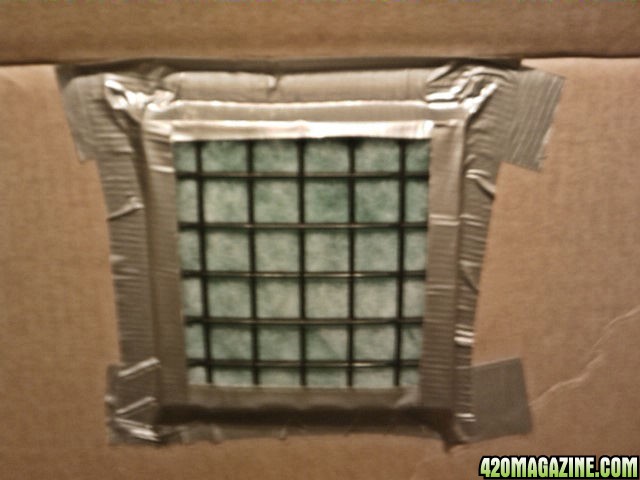
I then used more duct tape to seal it to the back of the box over the fan opening:
TIP: Make sure the carbon side of the filter is facing the outside of the box and put the fuzzy side of the filter facing inside!
I wanted to make sure the fan had a good seal in both front and back, so plugged the fan in and held a small piece of the weed block screening in front of it and the suction from the fan was enough to hold it to the back of the filter, so it's working!
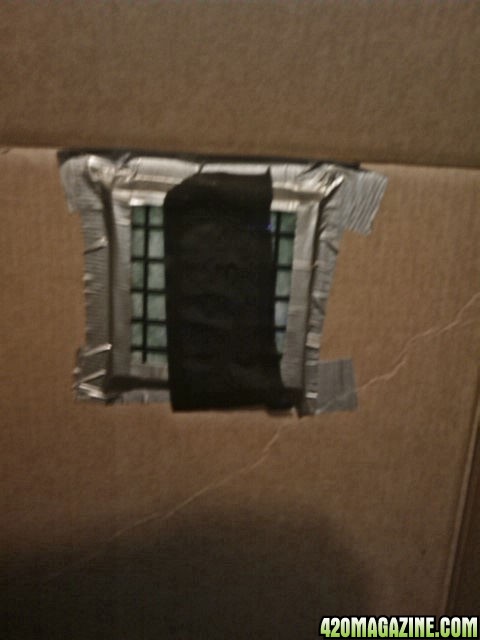
Here is the completed filter assembly:
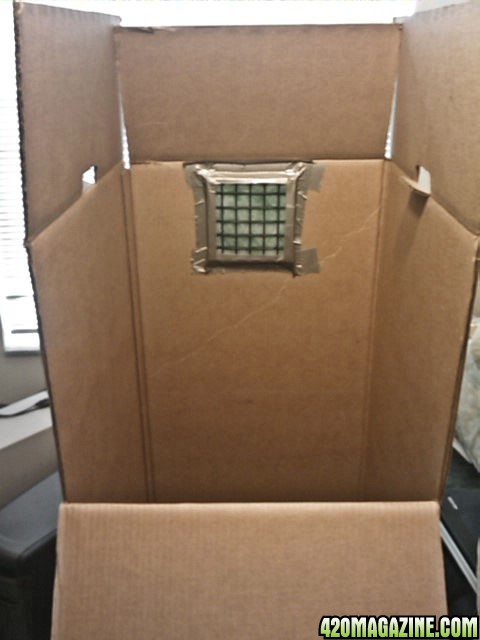
And here's the dry box waiting to get loaded and all ready to fire up:
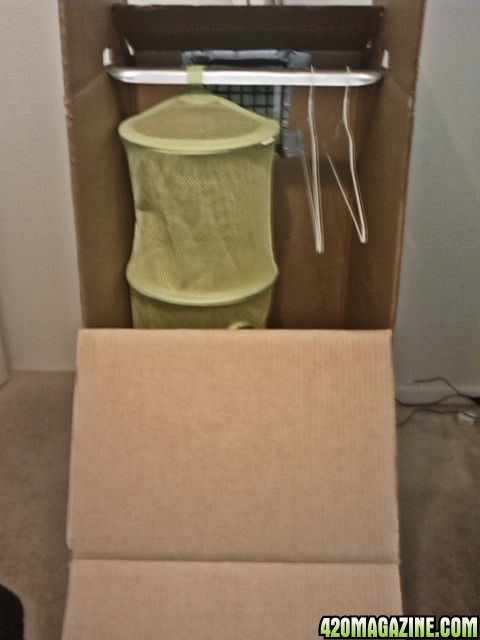
And, the entire box will seal shut (although, the two top side flaps are open in this pic:
One side note is that there is enough filter material left over to replace the existing filter about 10 times!
I'm looking forward to breaking it in within the next two weeks, so I'll let you know how it performs.
I hope this helps others out there!
Happy Harvests!
I have used a box similar to this one for the last couple years for drying and cloning and as a space for secluding reversals from the rest of a grow. Thank you @Mr. Krip

")