DIY High Flow Carbon Filter

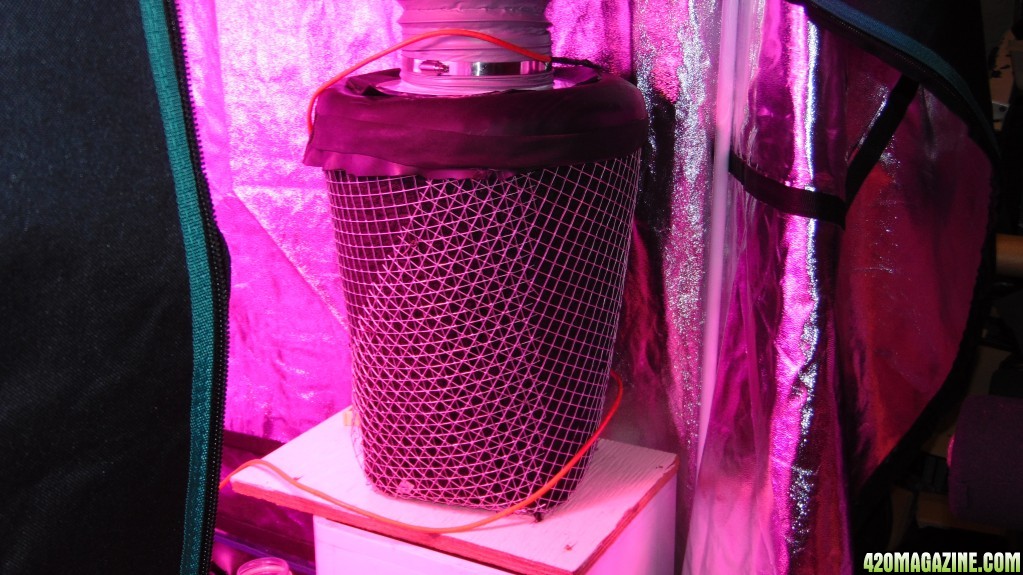
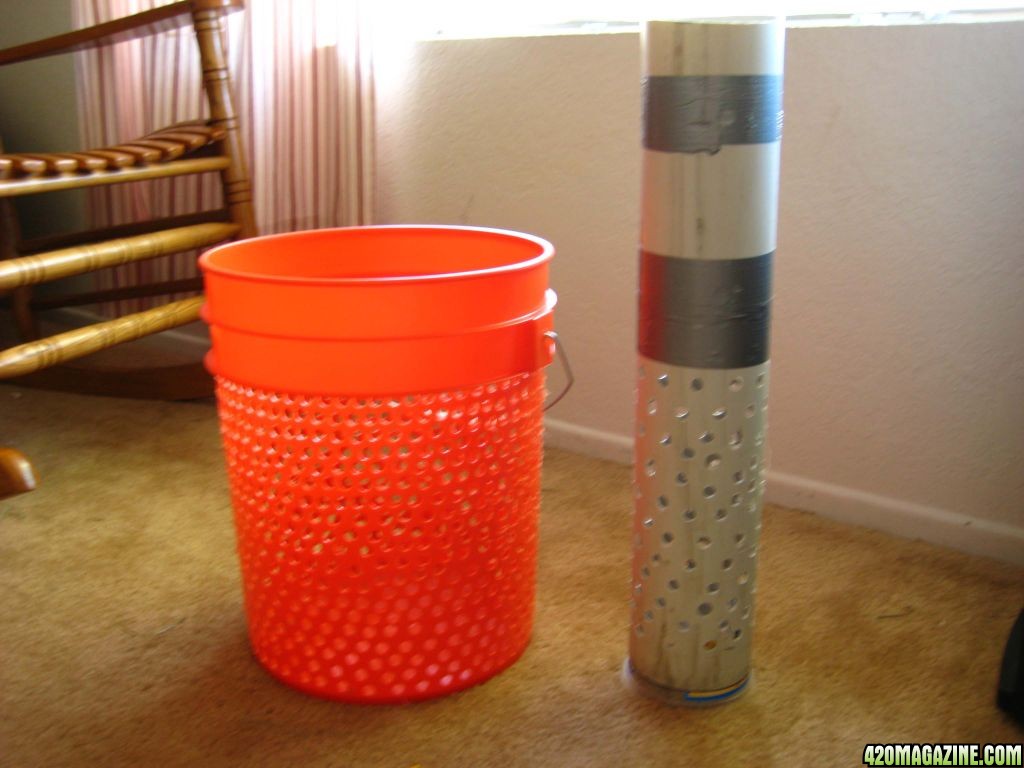
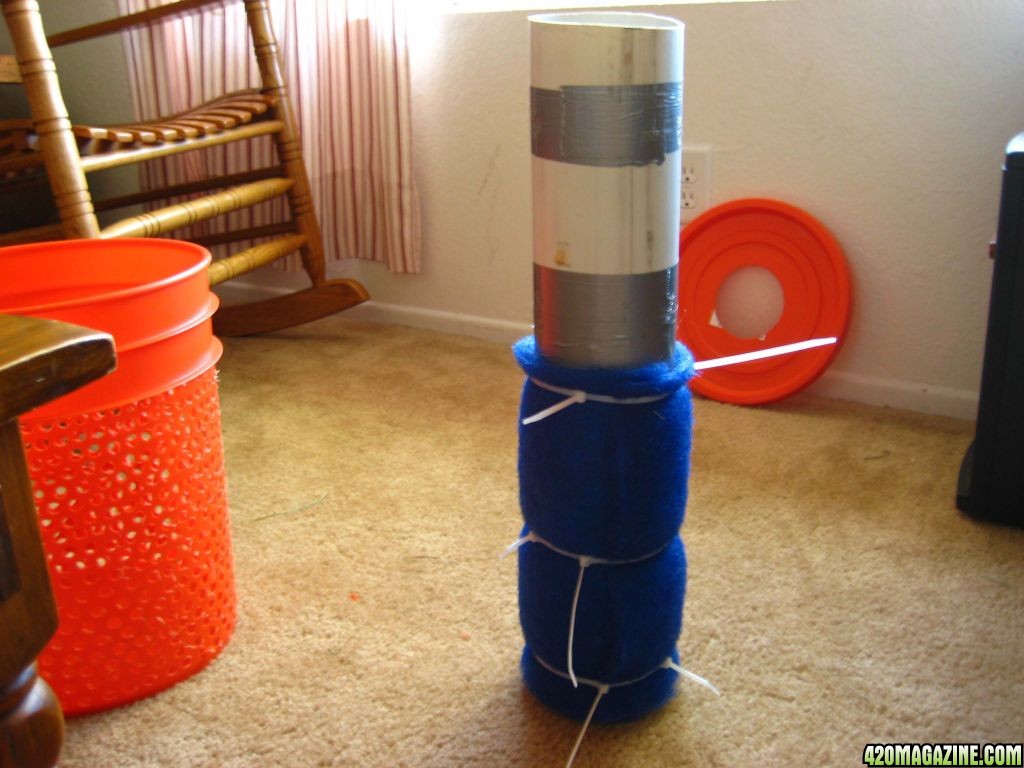
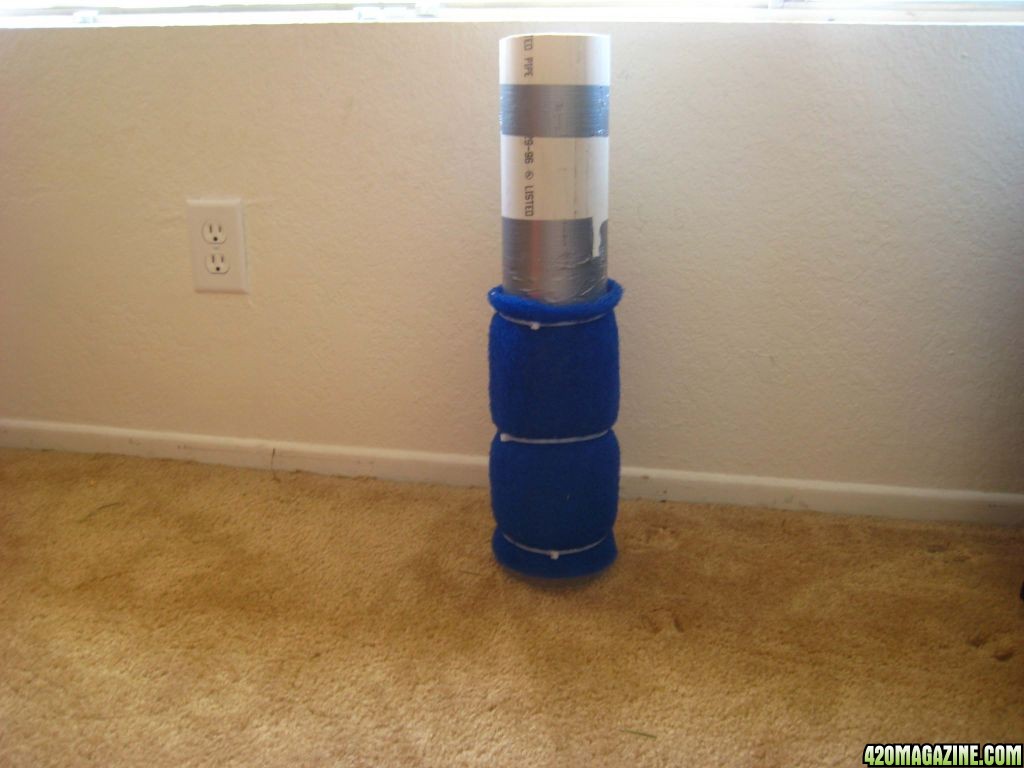
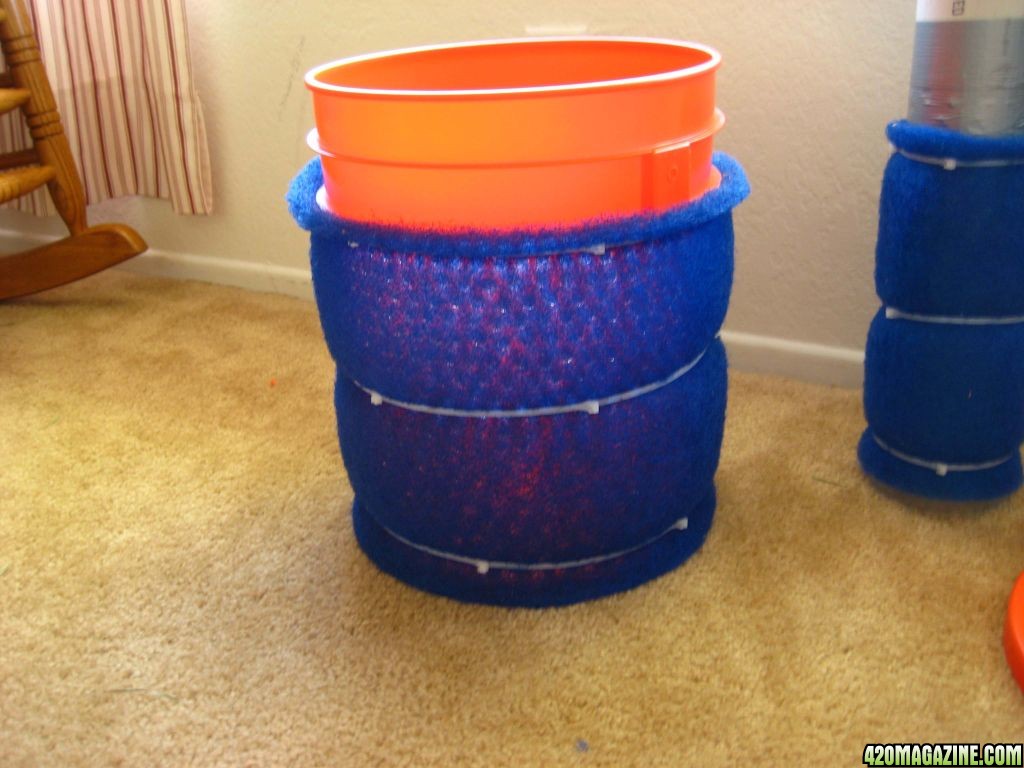
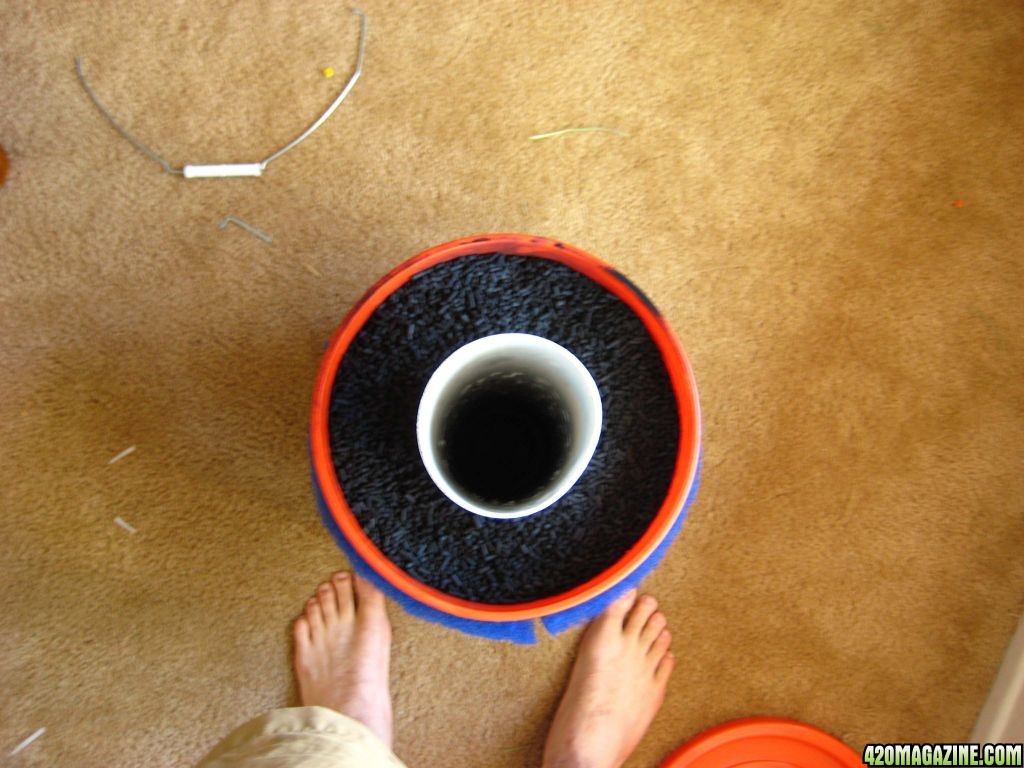
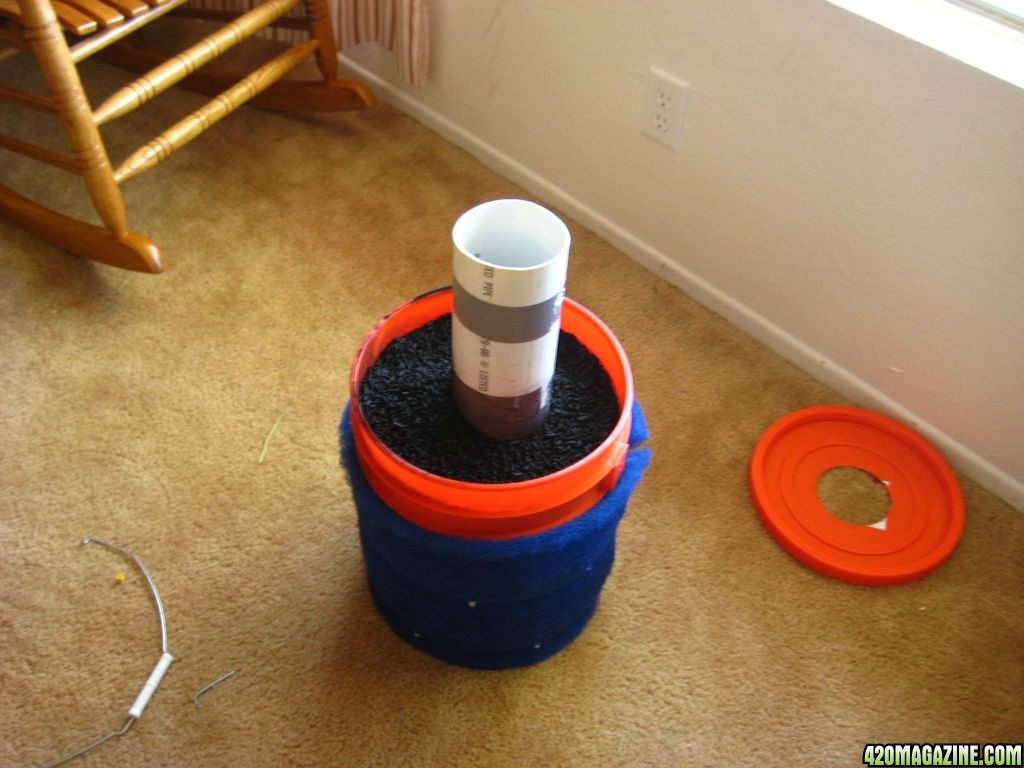
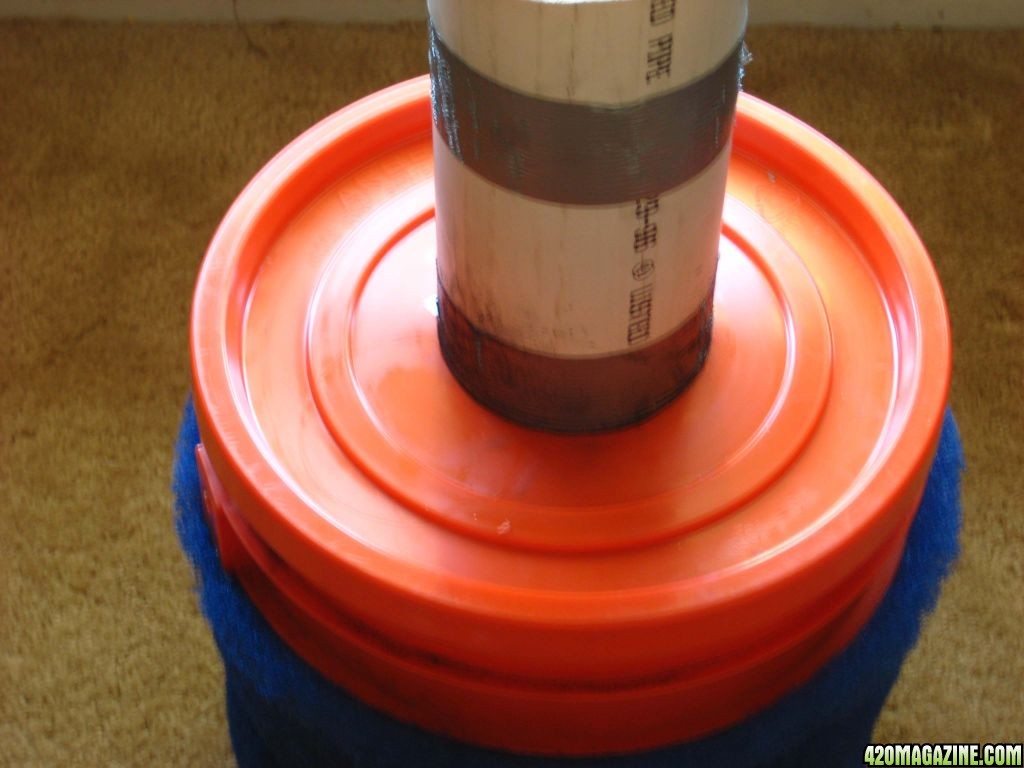
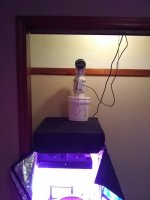
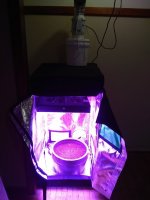
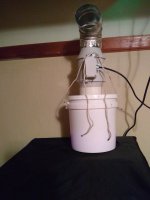
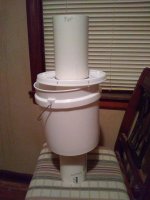
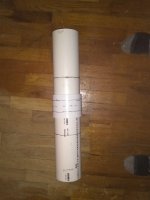
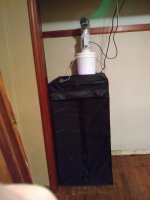
You could build one with what ever materials you have. 6" pvc pipe would work, however in a 5 gal bucket application you would greatly reduce the amount of carbon the contaminated air would touch in a single pass, thus reducing the effectiveness of the filter. if you were to use it as a scrubber where the air would pass over the carbon multiple time, then this would not be a big issue. On the the other hand there is no law that says it has to be a 5gal bucket. You could theoretically use a number of containers ranging from a rubbermaid tote to a 55gal drum, just uses what ever you need to fit your needs. The building concept would be the same just modify the design a bit.

Yeah I was thinking of doubling it, Two buckets .. one on top of the other
Kinda just double the recipe lol:hookah:
 
where does the fan go on this , i currently have a carbon filter and 4" fan inside my tent with a flexible line hooked to it and running out of my tent . does the filter you built go on the end of that flexible hose ? do i need a second fan before the filter you built ?
 
SunGod I really do like your Filter / scrubber , I know it will be very effective !!

As it has about 4 inches of carbon

Those common longish hydroponic carbon filters used to use 2 inches of carbon now most are using just 1 inch

Like you I used the Pellets , I bought 25lbs of them from eBay for $50

Before I bought the Carbon I looked into it and found that the Carbon pellets work the best and last twice as long as other types.


I made this one last week from a mesh waste paper basket and a roll of wire with 25lbs of carbon pellets set 2 inches in thickness.

8_weeks_019.JPG


It has a 6 inch 12v 170CFM axial fan mounted in its top , I still need to get the pre filter
 
Here a step by step filter construction that I am currently using. Prior to installing this filter you could smell my grow if you go within 25 feet of my house. Within 20 mins I couldn't detect the slightest odor unless you went in to the actual grow room... I have this filter set up a a single pass filter hooked up to my room exhaust. I have not noticed any temp rise or air flow reduction. I hope this will be beneficial to the 420 community. Enjoy

Materials needed
1 5 gal bucket w/ lid
4 gal of activated carbon pellets
3' section of 4" PVC drain pipe
1 roll of duct tape
1 section of flexible ducting
1 section of blue filter material
1 package of zip ties
1 4" pvc cap

Step 1

Drill holes in the sides of the bucket and PVC pipe. The more holes the better the air flow. (Note drill the bucket with a fast drill speed helps to keep the burrs down, and the PVC with a slow drill speed prevents the pipe from breaking.)

The end result should look like this you only want to drill holes in the pipe as high as you think the carbon will go you want the first hole in the pipe to be about 3"-4" submerged in carbon. If you drill to many holes simply cover the holes up with duct tape. You can use the PVC cap to plug the end of the pipe that will be in the bucket or just find something to plug the end. I used an empty sour cream container and silicone caulk.

Bucket_and_tube.jpg


Step 2

Place the end of the pipe on the center of the lid and trace with sharpie marker then cut out as carefully as possible with a razor knife. This is where the pipe will go through the lid you want a tight fit to prevent pipe from shifting in the carbon.

Lid.jpg


Step 3

You will need to cut the filter material to size and wrap the material around the pipe and the bucket, and secure it with zip ties. This will allow you to use larger holes for better air flow while keeping the carbon from falling through.

Tube_with_filter.jpg


Step 4

Trim off excess zip ties

Zip_ties_trimmed.jpg


Bucket_with_filter_material.jpg


Step 5

Place the plugged end of the pipe in the bucket. Ensuring the pipe stays straight and centered pour carbon in filling the bucket around the pipe.

Carbon_added.jpg


Carbon_added1.jpg


Step 6

Install lid and run a bead of silicone around the seam.

lid_installed.jpg


Step 7

Install the filter on you inline fan. if you have a 4" fan then it should be straight forward if you have another size you will need a PVC adapter to step up to your fan and ducting size. If you have any questions you can post so everyone can see and I will be happy to answer.
My version seems to work well,plus small enough not to get in the way,plus it pulls air threw carbon filter.i am terrible about posting,hope this goes thru,and maybe help someone
 

Attachments

  • IMG_20190211_204913827.jpg
    IMG_20190211_204913827.jpg
    362 KB · Views: 268
  • IMG_20190211_204627373.jpg
    IMG_20190211_204627373.jpg
    640.6 KB · Views: 251
  • IMG_20190211_204159341.jpg
    IMG_20190211_204159341.jpg
    551.4 KB · Views: 261
  • IMG_20190211_204127682.jpg
    IMG_20190211_204127682.jpg
    318.1 KB · Views: 251
  • IMG_20190211_204119911.jpg
    IMG_20190211_204119911.jpg
    396.6 KB · Views: 242
  • IMG_20190211_203859989.jpg
    IMG_20190211_203859989.jpg
    389.1 KB · Views: 239
  • IMG_20190204_002815781.jpg
    IMG_20190204_002815781.jpg
    481.6 KB · Views: 243
  • IMG_20190204_002305637.jpg
    IMG_20190204_002305637.jpg
    378.9 KB · Views: 233
  • IMG_20190211_204053409.jpg
    IMG_20190211_204053409.jpg
    622.8 KB · Views: 227
  • IMG_20190211_203834320.jpg
    IMG_20190211_203834320.jpg
    435.5 KB · Views: 235
This is my first attempt at doing anything like this,need medical for graves disease,and it's so dry here couldn't buy any to save my life,but tired of migraine headaches.would appreciate any help,about to try some auto flower.
 
I love the DIY aspect of growing and considering building my own carbon filter. I see this is an older thread, so my question is; how long can you use this style filter before it needs to be recharged? I'm tired of spending $100 on filters that you might get a year out of.
 
It would depend on the amount of carbon material, the quality of the carbon material (there are multiple grades)... and how tightly it was packed in. With a DIY approach, you have the opportunity to end up with whatever size/shape you can dream up and construct; threads like this one are just suggestions.

I'd think a long tube, tightly packed with small-sized high-quality carbon material might be a good design, but it would probably take a fan with more guts than the average exhaust setup - remember that many fans just aren't designed to move air against a restriction / pressure, and that their actual flow rates go way down under such conditions. Be worth thinking about if you have to replace your HVAC and decide to salvage the Dayton blower out of it, though, IMHO. Those things seem to function more or less properly for decades, often with no maintenance or even cleaning.
 
bit late to the game but i just want to point out the carbon people have linked and stuff for ponds or any pellets basically are rubbish. you want what's known as "virgin RC412" carbon. virgin means it hasn't been pressed. RC412 is (mostly or all not sure) Australian mined coal-based carbon. it has a much better pore size and Australian rc412 is the purest activated carbon you can get. it also has a MUCH lower ash content than other types of carbon m,meaning it more efficiently passes air and has a longer lifespan. its probably quite expensive to buy, so if your lazy like me just buy a rhino pro filter. they're light weight, reversible flange (can swap ends to further increase working life) and has a 50mm carbon bed. they also sell replaceable carbon sleeves. actually just buy one of those and make your own out of that... hmm lightbulb moment.

There are 3 types of carbon used for air filtration; Pelletized, Coconut and Granulated.

Pelletized carbon is produced by burning coal and processing it into tiny rods. These are then broken up and distributed through the filter. This method is probable the worst carbon to use in air filtration. The process of creating the pelletized carbon involves the carbon been crushed in to pencil like structures then bonding agents are added to hold the pellet together this collapses the pores structure which in turn makes the carbon less effective as the organic microbes cannot be absorbed by the carbon. Because of the small pores size of the palletized carbon it will only be re activated to about 50% or less which in turn affects the absorption rate. Also pelletized carbon contains a large percentage of ash.

Coconut carbon is produced by burning coconut fibres. This produces carbon with a greater surface area than coal but with much higher ash content and higher moisture levels. Ash is a "dead" material within the carbon and offers no benefit to the user, coconut carbon carries around 20% ash with a 5% moisture level, this high moisture level detracts from the overall adsorption of the filter. This carbon only has about a 12 month life span and is very ineffective.

Most granulated carbon is produced by burning coal but if it is left unprocessed this gives you the virgin granulated carbon . This carbon has very low ash content less than 13%. The carbon is almost magnetic to the organic compounds in air (odours).
 
Here a step by step filter construction that I am currently using. Prior to installing this filter you could smell my grow if you go within 25 feet of my house. Within 20 mins I couldn't detect the slightest odor unless you went in to the actual grow room... I have this filter set up a a single pass filter hooked up to my room exhaust. I have not noticed any temp rise or air flow reduction. I hope this will be beneficial to the 420 community. Enjoy

Materials needed
1 5 gal bucket w/ lid
4 gal of activated carbon pellets
3' section of 4" PVC drain pipe
1 roll of duct tape
1 section of flexible ducting
1 section of blue filter material
1 package of zip ties
1 4" pvc cap

Step 1

Drill holes in the sides of the bucket and PVC pipe. The more holes the better the air flow. (Note drill the bucket with a fast drill speed helps to keep the burrs down, and the PVC with a slow drill speed prevents the pipe from breaking.)

The end result should look like this you only want to drill holes in the pipe as high as you think the carbon will go you want the first hole in the pipe to be about 3"-4" submerged in carbon. If you drill to many holes simply cover the holes up with duct tape. You can use the PVC cap to plug the end of the pipe that will be in the bucket or just find something to plug the end. I used an empty sour cream container and silicone caulk.

Bucket_and_tube.jpg


Step 2

Place the end of the pipe on the center of the lid and trace with sharpie marker then cut out as carefully as possible with a razor knife. This is where the pipe will go through the lid you want a tight fit to prevent pipe from shifting in the carbon.

Lid.jpg


Step 3

You will need to cut the filter material to size and wrap the material around the pipe and the bucket, and secure it with zip ties. This will allow you to use larger holes for better air flow while keeping the carbon from falling through.

Tube_with_filter.jpg


Step 4

Trim off excess zip ties

Zip_ties_trimmed.jpg


Bucket_with_filter_material.jpg


Step 5

Place the plugged end of the pipe in the bucket. Ensuring the pipe stays straight and centered pour carbon in filling the bucket around the pipe.

Carbon_added.jpg


Carbon_added1.jpg


Step 6

Install lid and run a bead of silicone around the seam.

lid_installed.jpg


Step 7

Install the filter on you inline fan. if you have a 4" fan then it should be straight forward if you have another size you will need a PVC adapter to step up to your fan and ducting size. If you have any questions you can post so everyone can see and I will be happy to answer.
Hi Dave here, I'm doing an outdoor grow in a suburban area with four neighbors from 3 - 10 meters from the patio. I'm sealing off the patio area (90%) I want to grow 30 plants (Acapulco Gold, Pineapple Express, Purple Haze etc, etc 10 varieties). My total area is 20 x 4.5 x 2.2 an impressive 198 cubic meters. Plan is to get a blower about 915 cubic meters per minute. Place this outside the grow area and draw air in from several duct points. So with no resistance I will get that flow, but obviously I will get resistance to flow through the system. How much I don't know? I could use a smaller blower. I could use a 250 litre plastic drum with massive windows cut in the sides, with only about 5 strips left downwards, then just put plastic mesh on the inside (you could do that with your bucket, it would save you drilling all those holes) (with your inside pipe you could drill a hole near the bottom and a hole near the top and jigsaw up so you just have strips all the way round?? would that work?) So, if I made up a 250 litre drum like that do you think it would work? How slowly do I have to pass the air through the carbon for it to remove the odours? I guess if I'm bringing in fresh air all the time quite fast into the grow area (remember the drum will be outside the grow area) then the odour in the air would be weaker, would you say? Would it work? What do you suggest. I only grew 5 plants for the first time this summer, but it was fun and my weed piggy mates all enjoyed the spoils but man did it stink. Thanks, Dave
 
Back
Top Bottom