

Excited2start
Well-Known Member
Alright so I have been wanting to find tutorial on how to make a simple cheap reflector for 70 watt HIDS. So I chose do to one myself. So this cost me about 20 bucks to make, but most of the stuff I already had. Just had to buy a few things.
So this is a photo of the equipment needed to build these hoods.
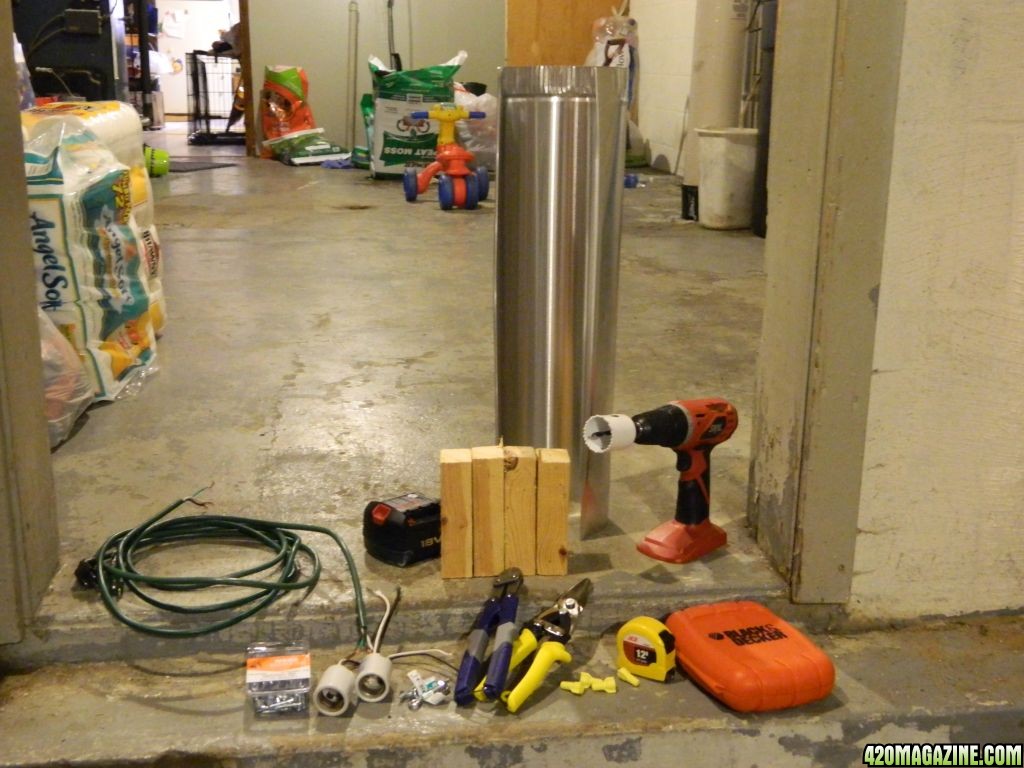
This is only the stuff for one reflector, but they both are the same minus the ballast they plug into.
So in the photo we have
1 x galvanized duct pipe 3'' x 24''
1 x pair mini bolt cutter
1 x metal shears
4 x 6 inch 2x3 wood pieces
2 x HID sockets medium base
2 x 16 gauge three prong extension cord
4 x I bolts
4 x electrical cords covers
1 x power drill
1 x 2 inch hole saw
1 x box assorted drill bits
1 x tape measure
4 x screws from old skate board hardware.
1 x box 1/2 inch screws
There are a few other things I forgot to put in the picture.
1 x 2 inch paddle saw. It looks like a paddle with a spike and drills hollow holes. I used this to clear the left over in the middle from the hole saw.
also 1 x phillips head screw driver
and 1 x Pair of pliers
and 1 x spare block of wood. 2x3
Ok so we are going to start with the wood. We are going to take the drill and drill until you are about 1/4 inch or a little more from going through the wood.
I went on the side of the wood. here is a pic of how it looks.
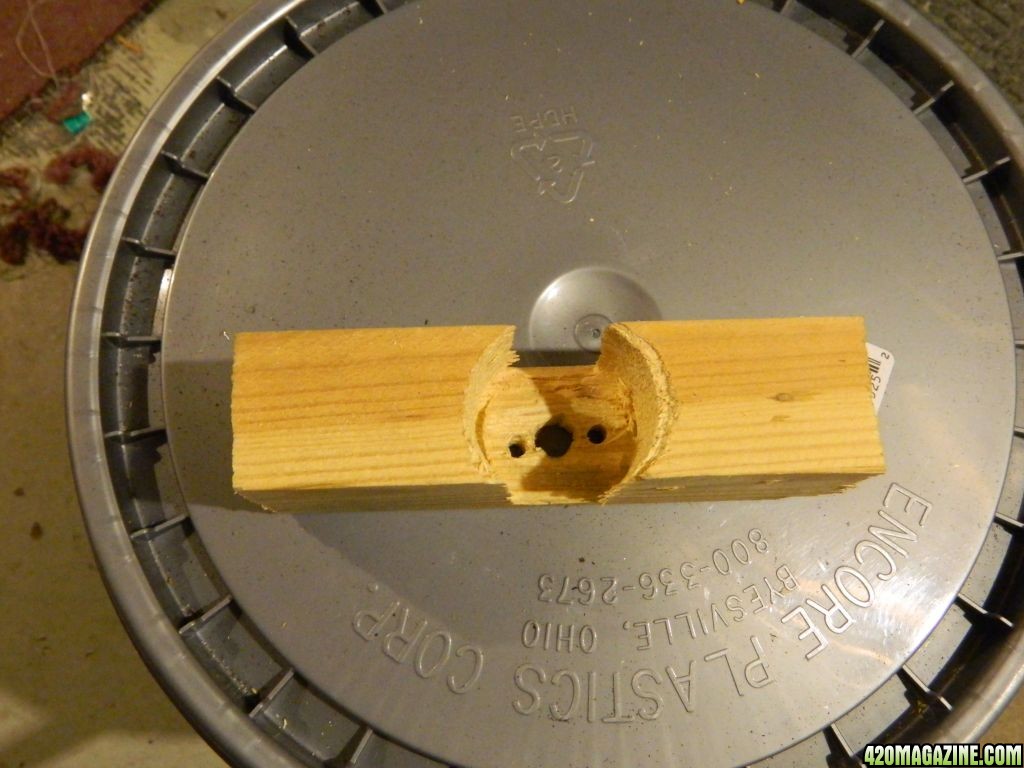
This is where we are going to put our socket. as you can see there are three oles with in the bigger hole. The one in the center is for the wires while the two on the side are to help secure the socket in place.
To do that take the screws from a skateboard. Now take your bolt cutter and cut the heads of the screws into a square shape so that they easily fall into the square holes in the bottom of the socket. This is how the screws look after they are cut.
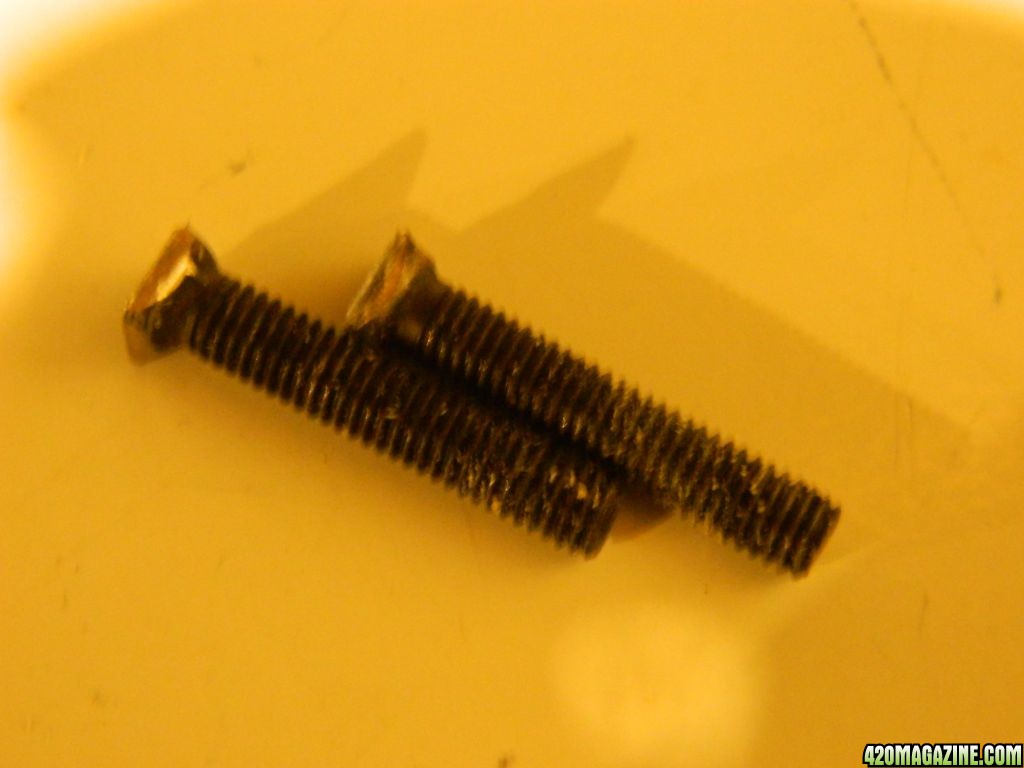
As you can see the sides are straight now instead of rounded. once you have cut them straight you can now place them in the socket and take a screw driver and push them to the bottom. Once you have them in the bottom they should look like this.
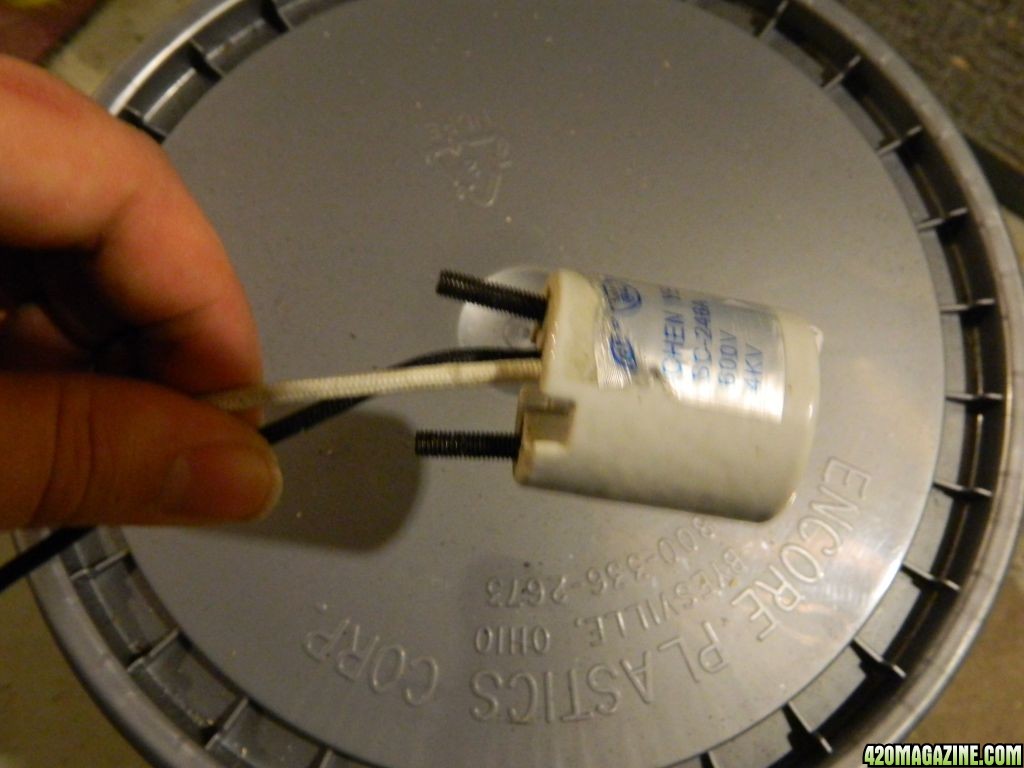
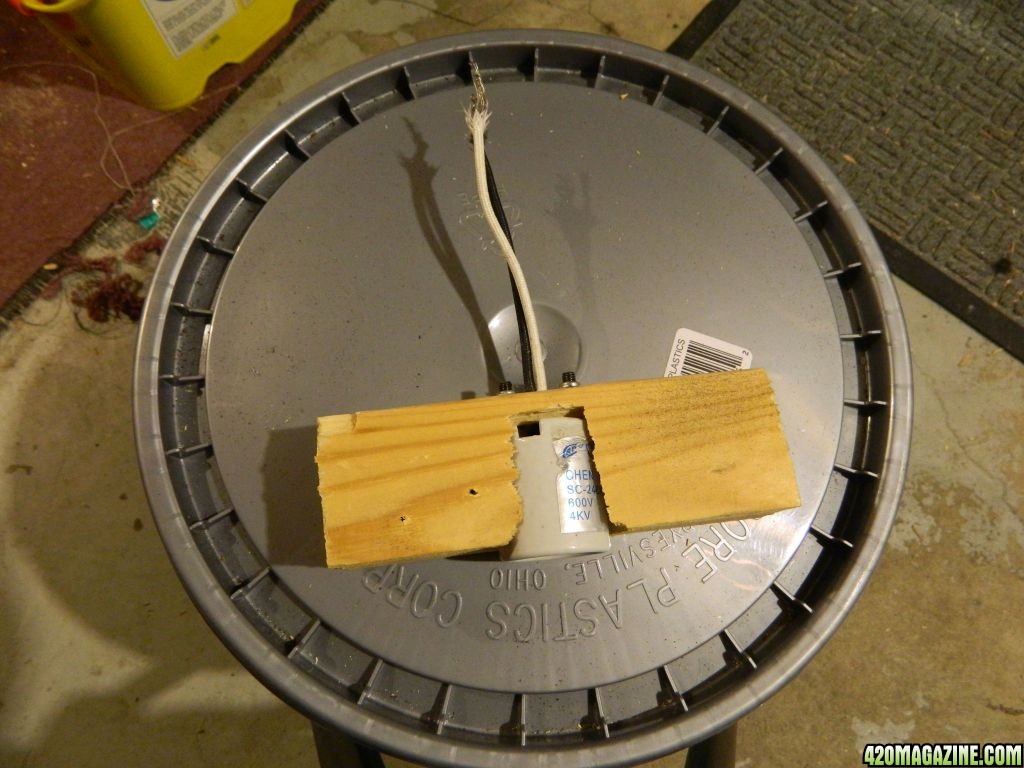
Now stick the socket and screws into the piece of wood. Carefully pull the wire through first then insert the screws in to the pre-drilled holes made for them. Once through the holes screw on the nuts that come with the hardware from the skateboard, and tighten until you cannot tighten anymore with the pliers. When done it should look like this.
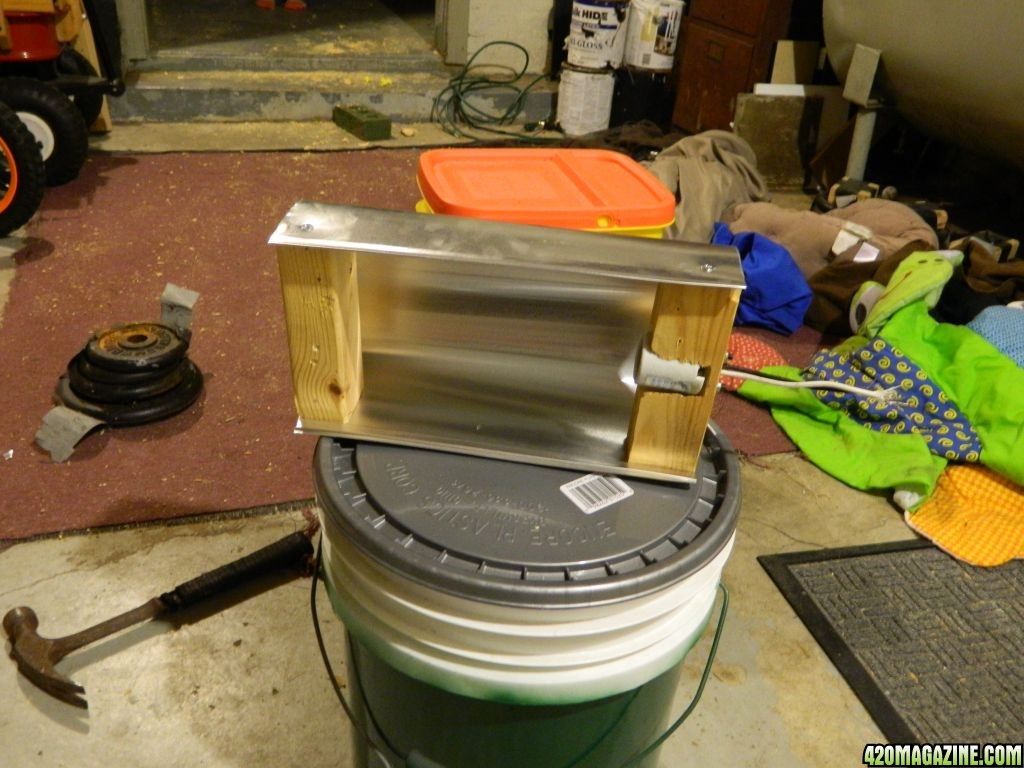
Now grab your ducting pipe and put the piece of wood with the socket all the way to the end with out the crimps in it. Take your drill and screw the sides of the duct to the piece of wood, now take another piece of wood and screw it in to the duct as well. You want to measure about 12 inches from the out side of the block with the socket to the outside of the block with out the socket before you screw the piece in place. This is how it looks after you have screwed the pieces of wood in place.
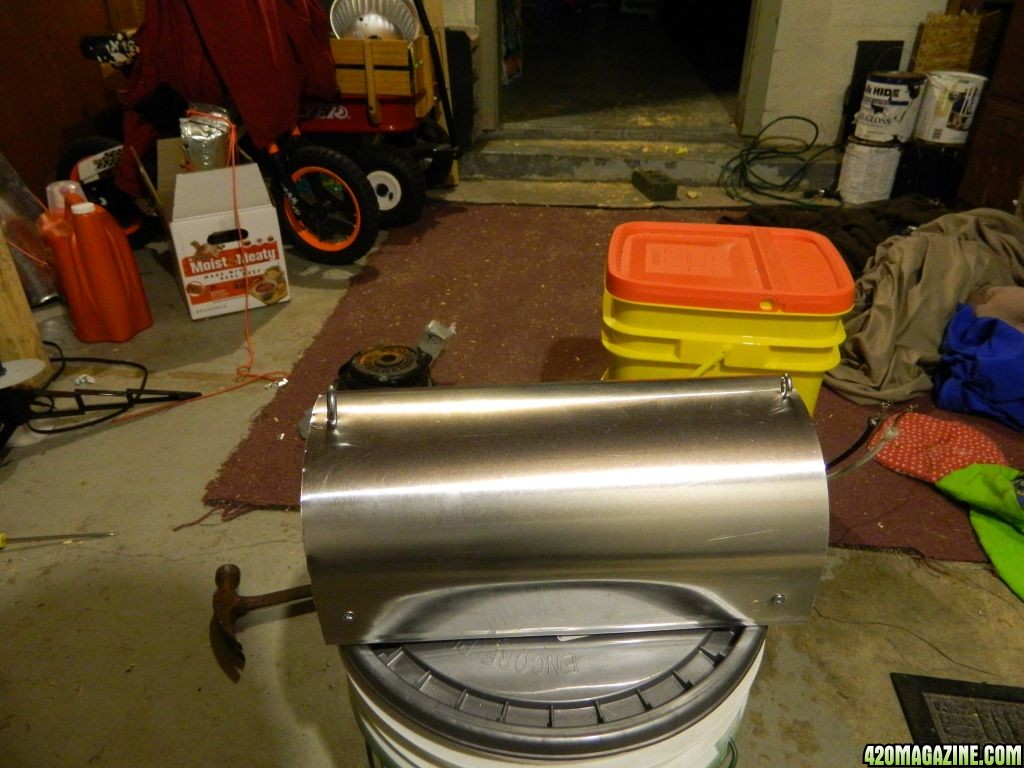
After you have done that take your spare block of wood and place it between the hood and either block of wood. now depending on the size of the I bolts you have depends on the drill bit you use to drill the holes. For me I had 3 1/4 inch and a 1/2 inch I bolt. So i drilled 1 hole on each side of the hood. The 1/4 bolts I cut with the bolt cutter to help secure them and shorten the bolt.
here is how it looks
OK guys that is it for now. Tomorrow i will be adding how to wire them and what I used to hang them in the box. Thanx for stopping to read this.
So this is a photo of the equipment needed to build these hoods.
This is only the stuff for one reflector, but they both are the same minus the ballast they plug into.
So in the photo we have
1 x galvanized duct pipe 3'' x 24''
1 x pair mini bolt cutter
1 x metal shears
4 x 6 inch 2x3 wood pieces
2 x HID sockets medium base
2 x 16 gauge three prong extension cord
4 x I bolts
4 x electrical cords covers
1 x power drill
1 x 2 inch hole saw
1 x box assorted drill bits
1 x tape measure
4 x screws from old skate board hardware.
1 x box 1/2 inch screws
There are a few other things I forgot to put in the picture.
1 x 2 inch paddle saw. It looks like a paddle with a spike and drills hollow holes. I used this to clear the left over in the middle from the hole saw.
also 1 x phillips head screw driver
and 1 x Pair of pliers
and 1 x spare block of wood. 2x3
Ok so we are going to start with the wood. We are going to take the drill and drill until you are about 1/4 inch or a little more from going through the wood.
I went on the side of the wood. here is a pic of how it looks.
This is where we are going to put our socket. as you can see there are three oles with in the bigger hole. The one in the center is for the wires while the two on the side are to help secure the socket in place.
To do that take the screws from a skateboard. Now take your bolt cutter and cut the heads of the screws into a square shape so that they easily fall into the square holes in the bottom of the socket. This is how the screws look after they are cut.
As you can see the sides are straight now instead of rounded. once you have cut them straight you can now place them in the socket and take a screw driver and push them to the bottom. Once you have them in the bottom they should look like this.
Now stick the socket and screws into the piece of wood. Carefully pull the wire through first then insert the screws in to the pre-drilled holes made for them. Once through the holes screw on the nuts that come with the hardware from the skateboard, and tighten until you cannot tighten anymore with the pliers. When done it should look like this.
Now grab your ducting pipe and put the piece of wood with the socket all the way to the end with out the crimps in it. Take your drill and screw the sides of the duct to the piece of wood, now take another piece of wood and screw it in to the duct as well. You want to measure about 12 inches from the out side of the block with the socket to the outside of the block with out the socket before you screw the piece in place. This is how it looks after you have screwed the pieces of wood in place.
After you have done that take your spare block of wood and place it between the hood and either block of wood. now depending on the size of the I bolts you have depends on the drill bit you use to drill the holes. For me I had 3 1/4 inch and a 1/2 inch I bolt. So i drilled 1 hole on each side of the hood. The 1/4 bolts I cut with the bolt cutter to help secure them and shorten the bolt.
here is how it looks
OK guys that is it for now. Tomorrow i will be adding how to wire them and what I used to hang them in the box. Thanx for stopping to read this.
