DIY Wardrobe Conversion - One Day Project

TameGuerrilla

New Member
This will be my first post on :420:, i appreciate any feedback/tips and advice.
I have read so many grow and build journals here, So i thought i would dive in and sign up so i could create my own journals.
This DIY journal is just to get used to posting and formatting correctly so i am well prepared for actual grow journals in the future.
And a record of how i went from wardrobe to 99% grow cab in one day Cheers! :volcano-smiley:
 
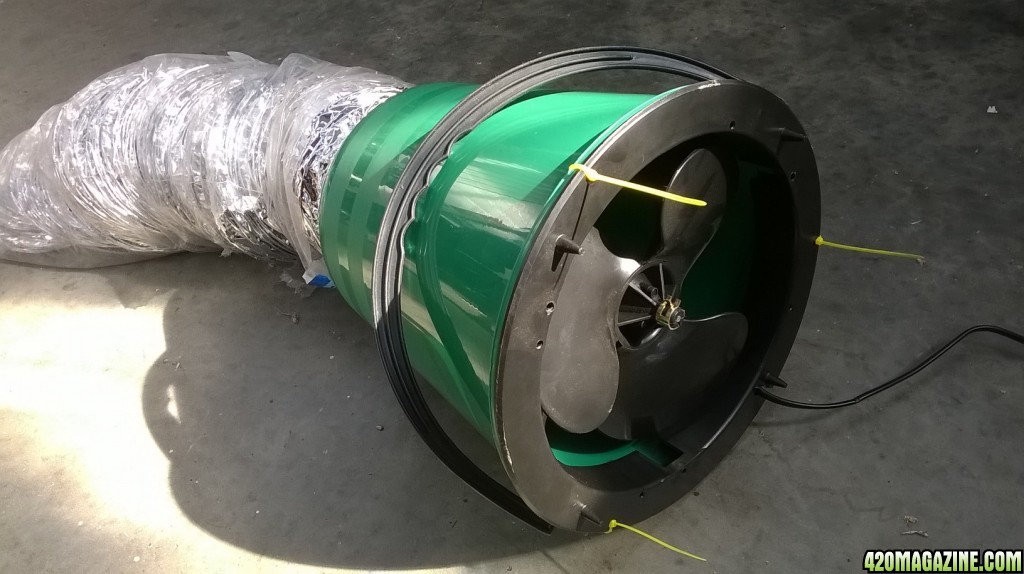
This is a 30w bathroom extraction fan mounted flush to the top of a 3gallon (11litre) bucket, this was a bit of a process as i had to make sure there were mounting holes through the bucket as well as a slot for the power cable to come out the top of the bucket.
The holes were burnt through with a steel rivet held in multi grips and heated with a lighter.
The power cord needed a slot cut in the black plastic rim of the fan body, this was done with a hacksaw in two cuts to make a nice V shape with the cord held in place by the fan body and the top of the bucket.
The fan body was then mounted to the bucket with three zip ties, and i must say it fits perfectly.
WP_20151126_16_49_31_Pro.jpg

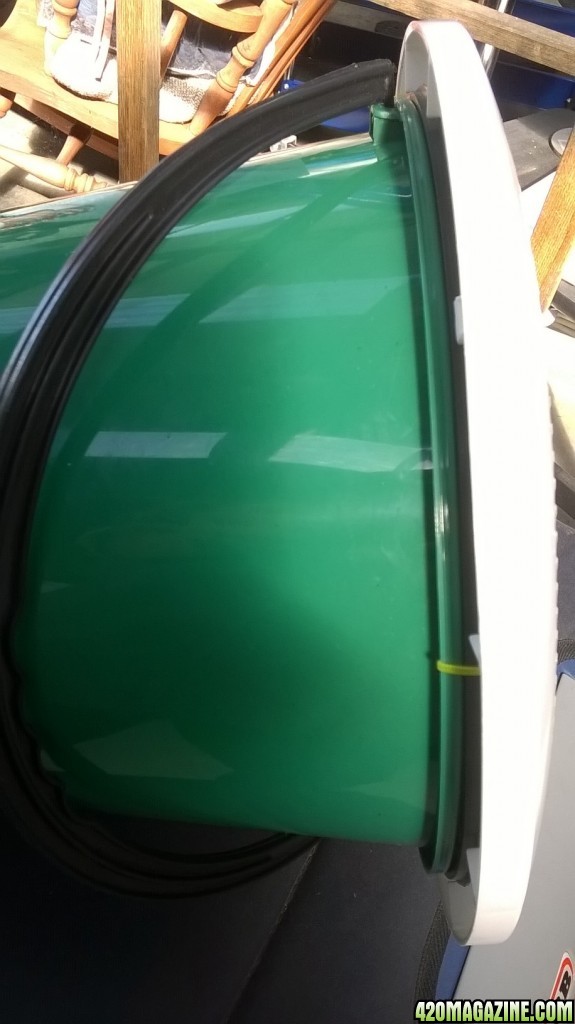
Here you can see the how nice the seal is between the fan and the bucket, also that there is enough clearance to fit and remove the white fan cover with no issues.
WP_20151126_16_51_33_Pro.jpg

You may note that i can no longer use the bucket handle as the plastic fan cover is too big, meaning hanging this contraption took some problem solving..
 
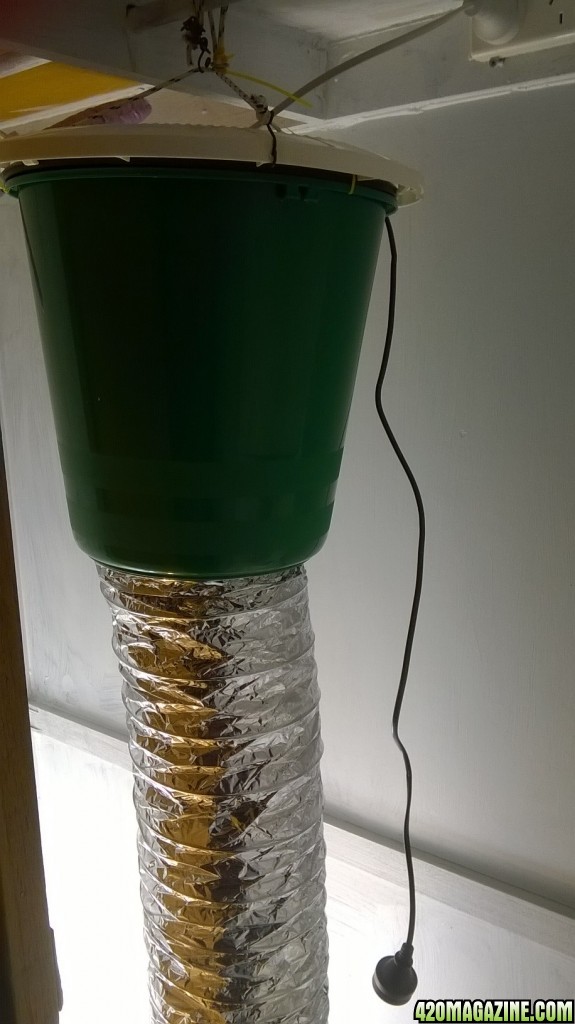
This is the bucket again with 6inch (15cm) silver ducting fitted and sealed on the inside of the bucket with tape.
The wardrobe i'm converting has a rail through the middle top, supported on the sides and the centre roof support of the wardrobe, so plenty strong enough to support the 2 pound (1kg) extractor fan.
WP_20151126_20_32_29_Pro.jpg

Hanging the light was... tedious, i drilled three holes of equal distance around the white plastic fan cover, making sure they were in the middle spaces of the three clips that hold it onto the fan body.
Then i bent 2mm wire (?inch), into an S shape with closed loops, threaded them through the holes on the fan cover and then used nylon cord to hang the fan. WHEW!
 
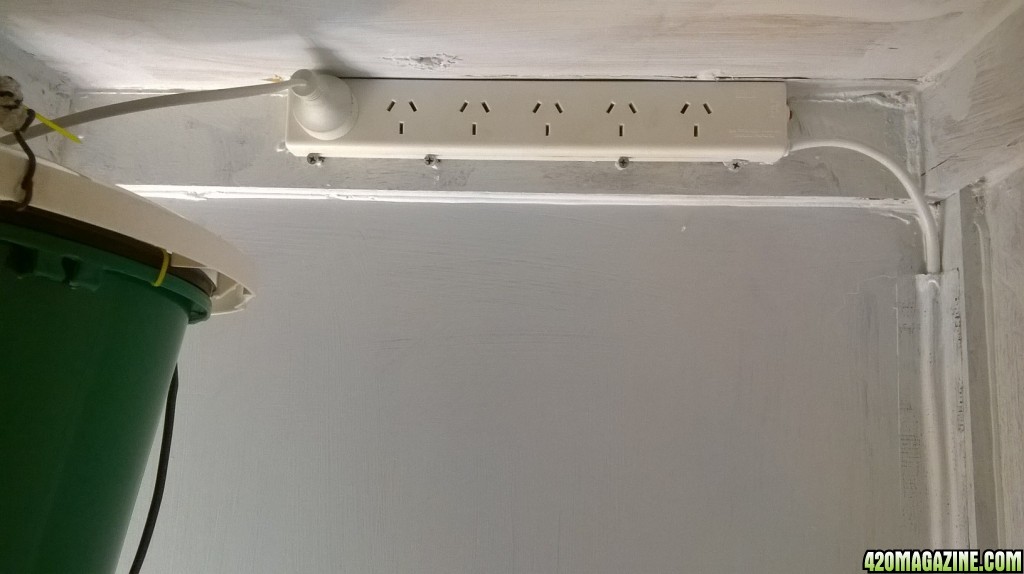
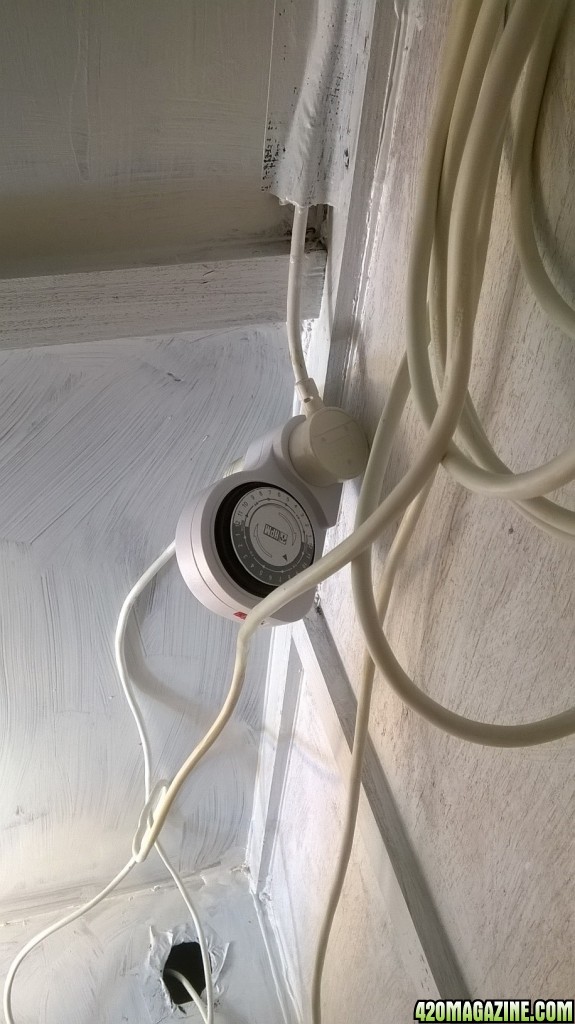
Here you can see my elegant mounting of the first power strip, another will be added so i can run the lights on a schedule separate from the fan and perhaps a pump in the future (Hint hint)
This wardrobe is at least 40 years old so i used silicon gap filler EVERYWHERE.

WP_20151126_20_32_50_Pro.jpg


Here we have the temporary mess and you can see my passive air intake straight through the floor where my power cord comes through.
WP_20151126_20_32_41_Pro.jpg

Another power strip will be added soon on the left side of the wardrobe, the current air intake will be modified to draw air further away.
The wardrobe doors will be sealed somehow with foam strips (suggestions welcome)
And another few coats of paint thrown on while i wait for my seeds and light to arrive.
 
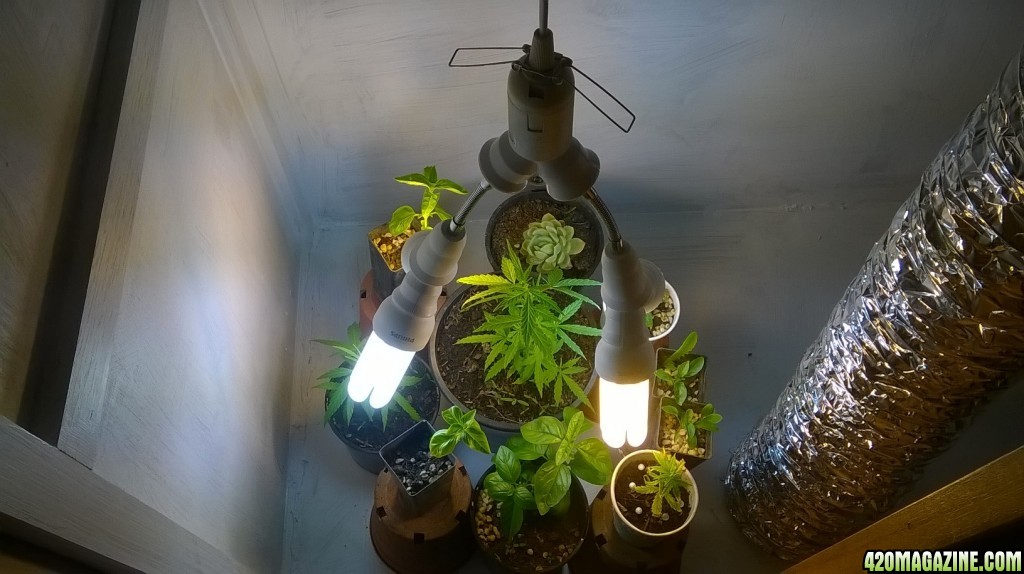
I figured I would test out the space asap so moved some things from my greenhouse indoors.
Up the top is a basil and a succulent.
Below that is my first two clones ever, from a mother plant overwintered in my greenhouse and stuck outdoors a few months back.
Below that is a few more basils and some birds eye chilis, hoping to bonsai at a later date.
Bottom right is a clone with a severe zinc deficiency, i neglected it due to working too much but i'm hoping to save it by sticking galvanized nails around it, good experiment anyhow.

WP_20151126_20_33_44_Pro.jpg

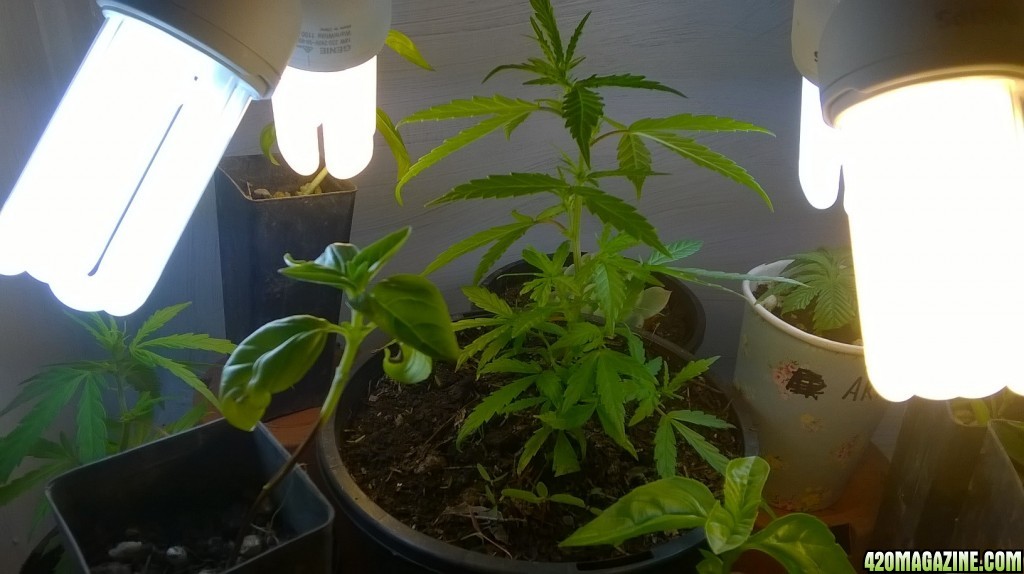
All plants are in my own organic composted soil mixed with 3 cups fine perlite per gallon (1 cup per litre pots)
WP_20151126_20_33_29_Pro.jpg


Light bulbs are 18watt cfls 2xcool white and 2x warm white.
Light Components are all E27 socket,
1x Pendant 1.8m (6foot) socket light
3x Y splitter
2x Flexible socket extension.
All of these fittings were ordered on online and the whole fitting cost around $11 (AUD) not including lights.
For this cab also purchased were
2 power strips at $10
10 meter (32 feet) extension cord $10 (should have been half as long)
2 timers $9
bucket $1


Thanks for stopping by, Please feel free to leave any feedback and suggestions or questions.
Cheers!
 
Back
Top Bottom