Doopler's First Time Grow - Northern Lights x Big Bud - SSSDH

SEGreenThumb

New Member
Hello all!

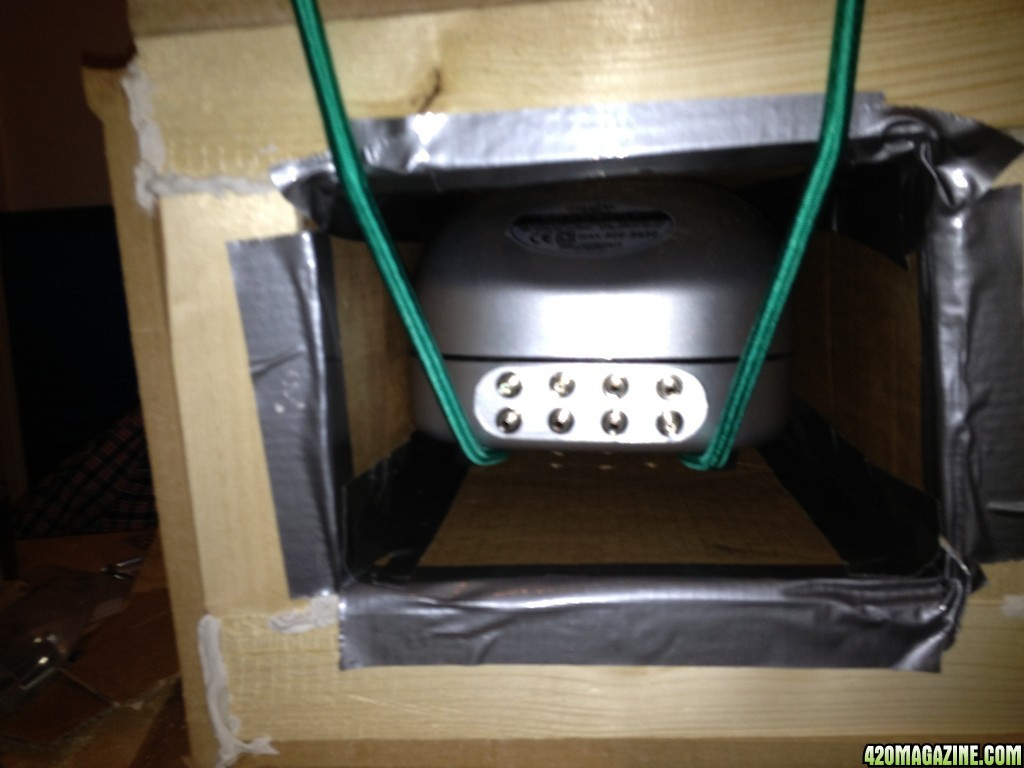
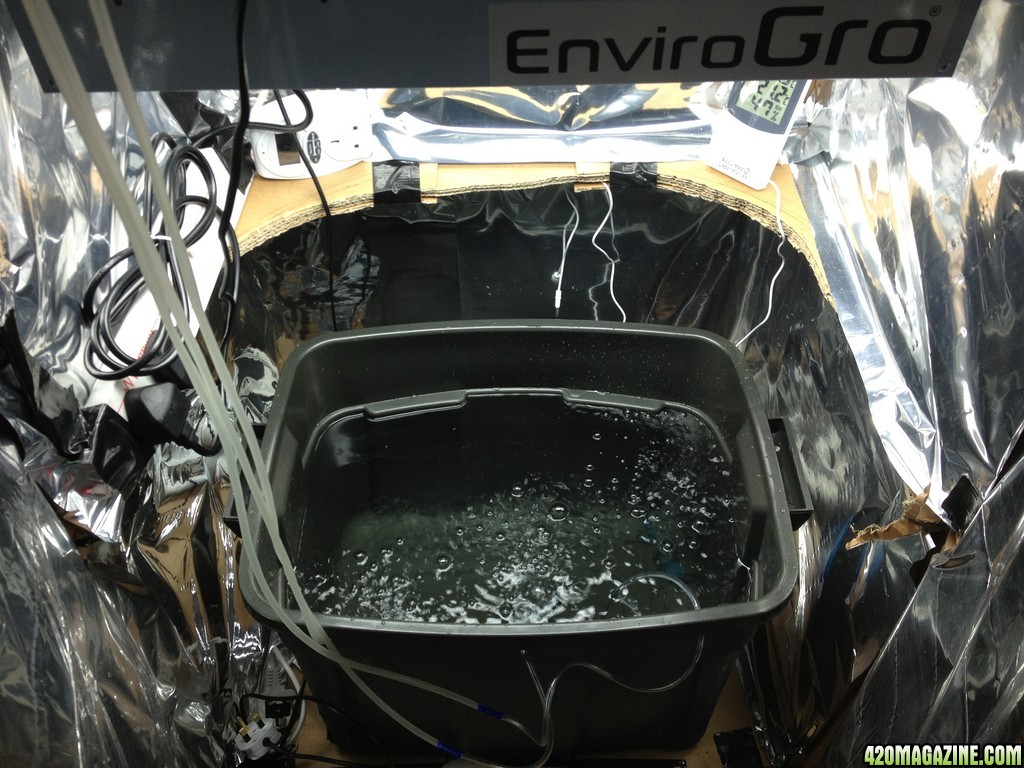
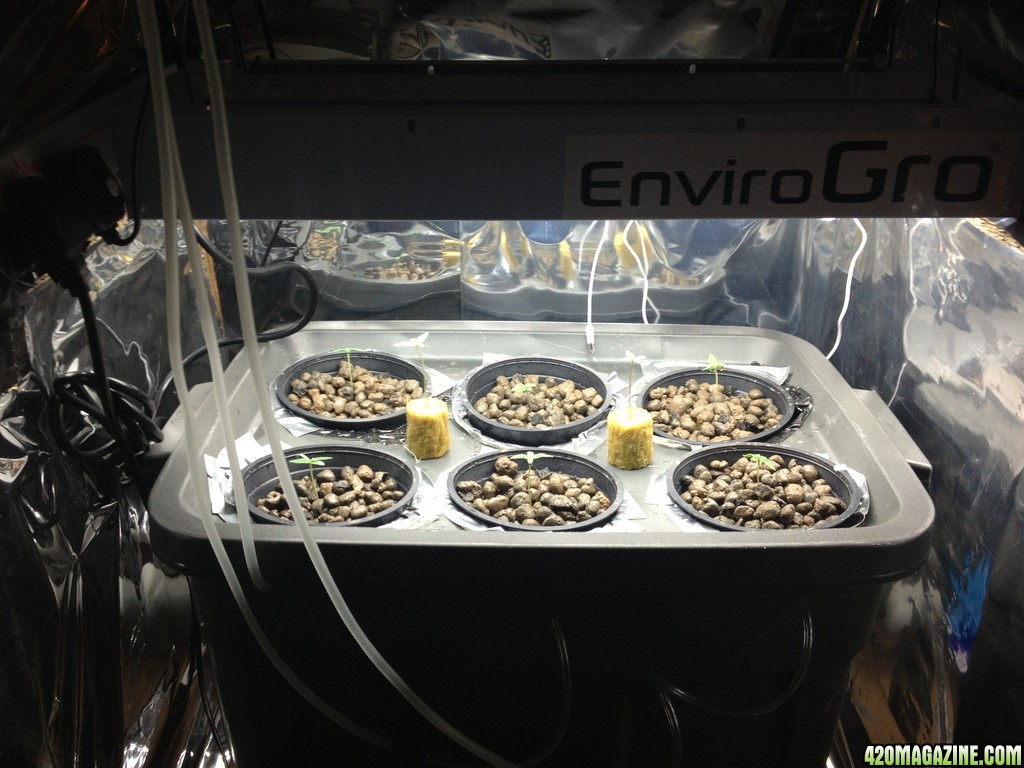
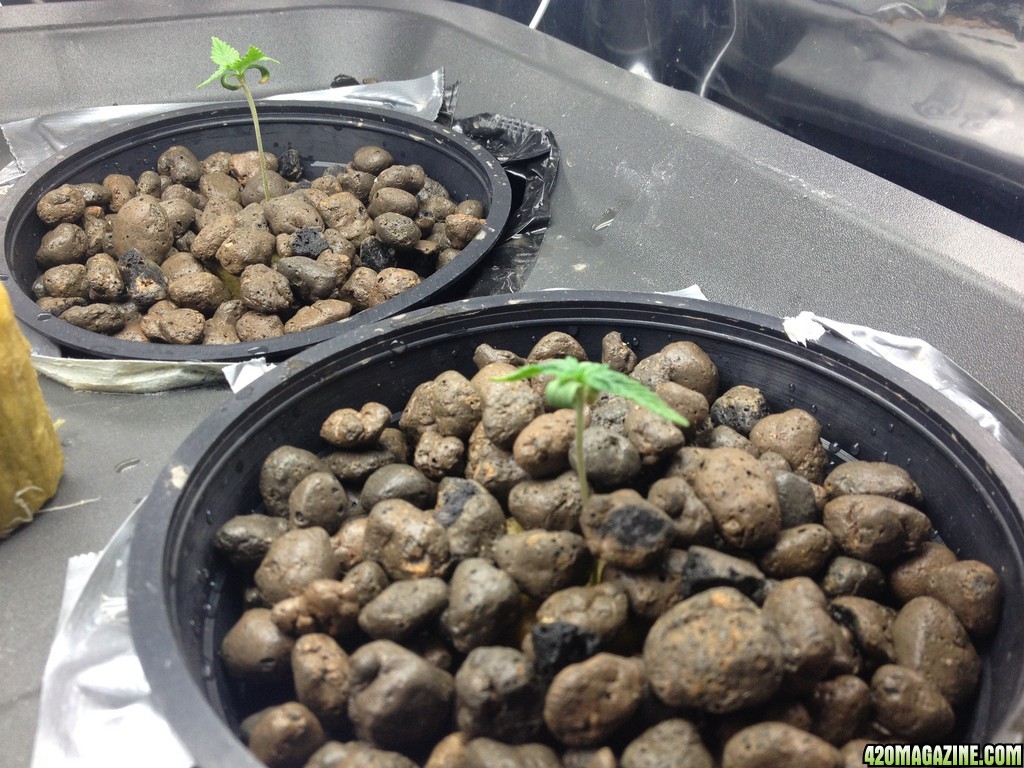
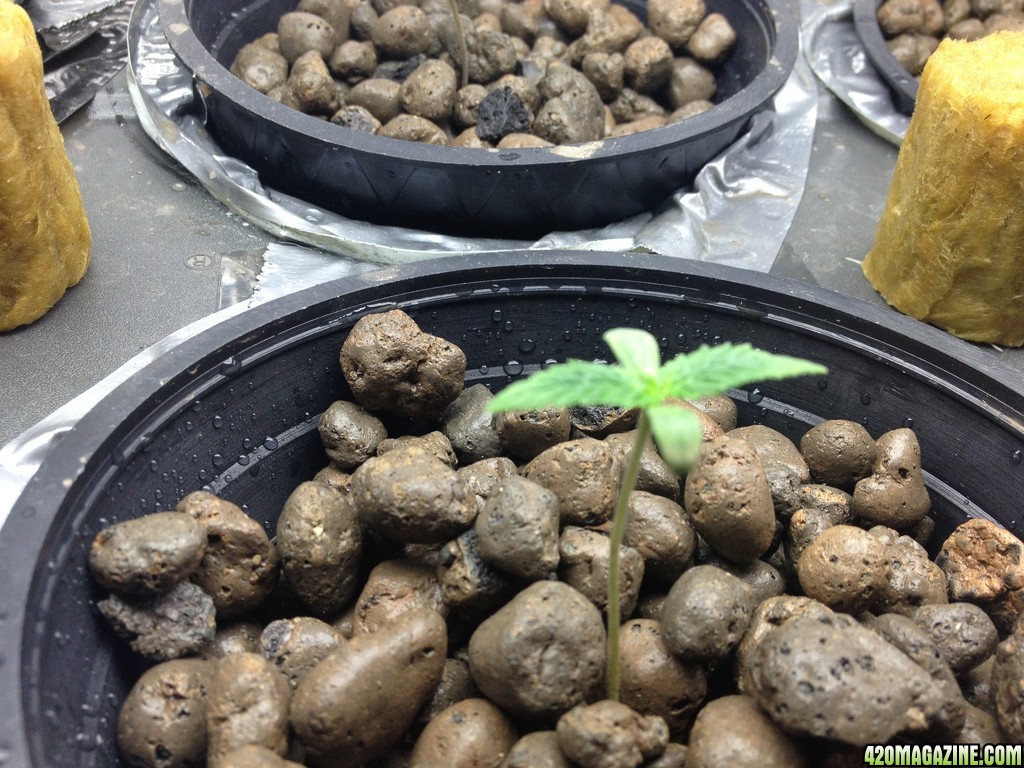
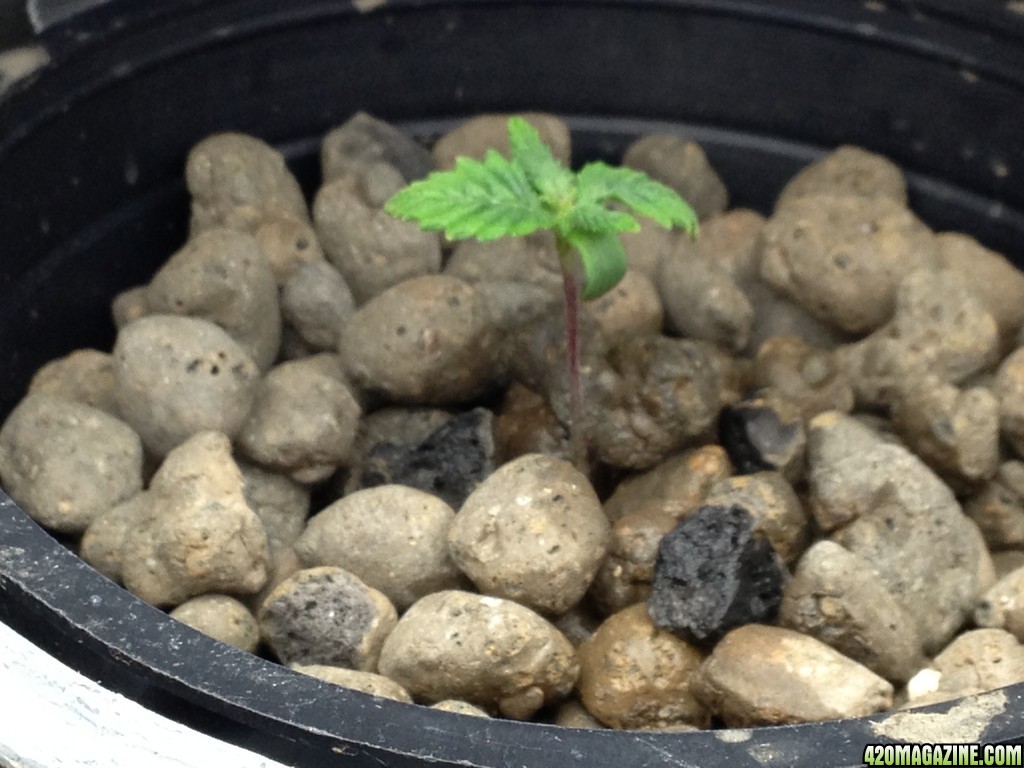
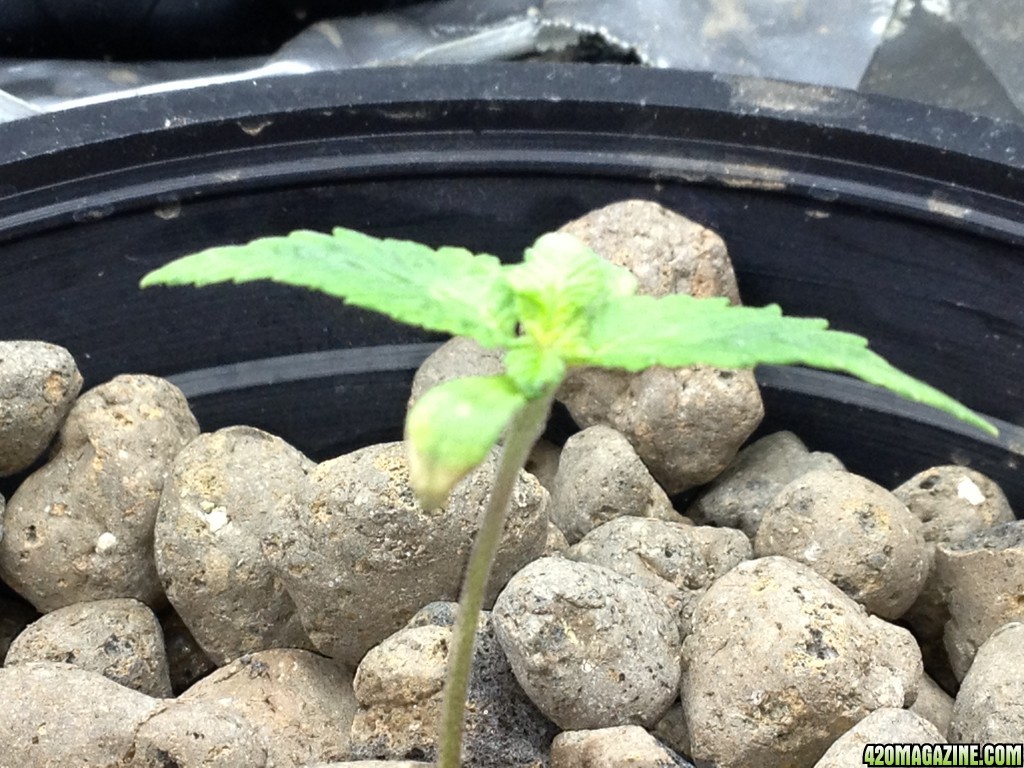
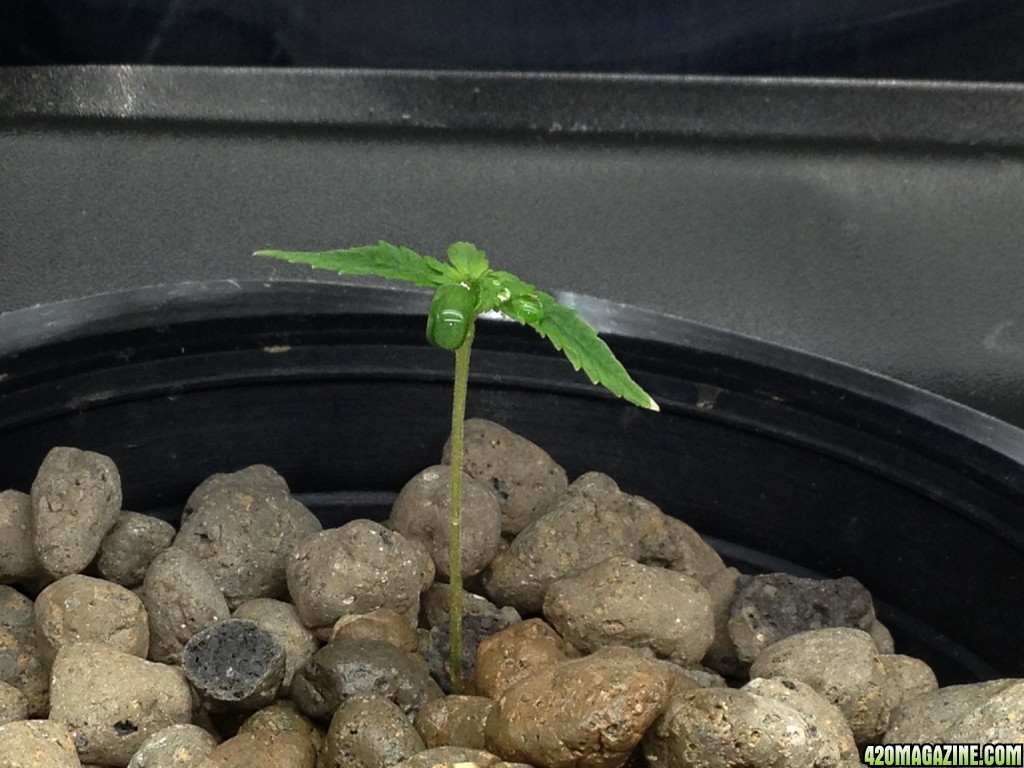
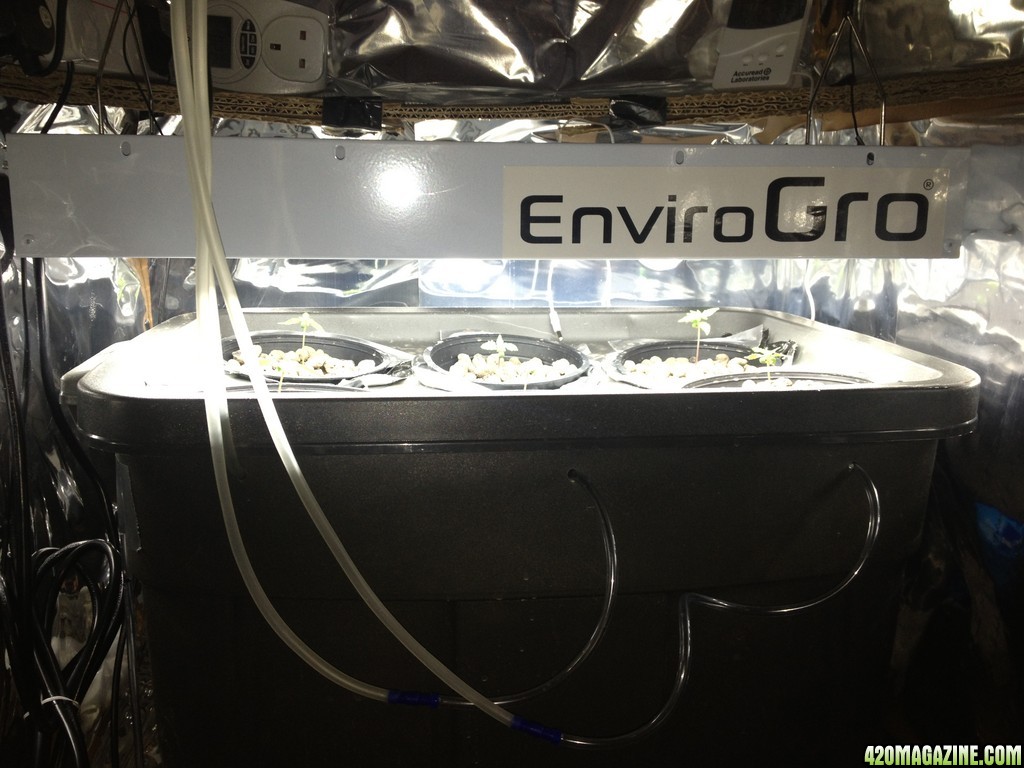
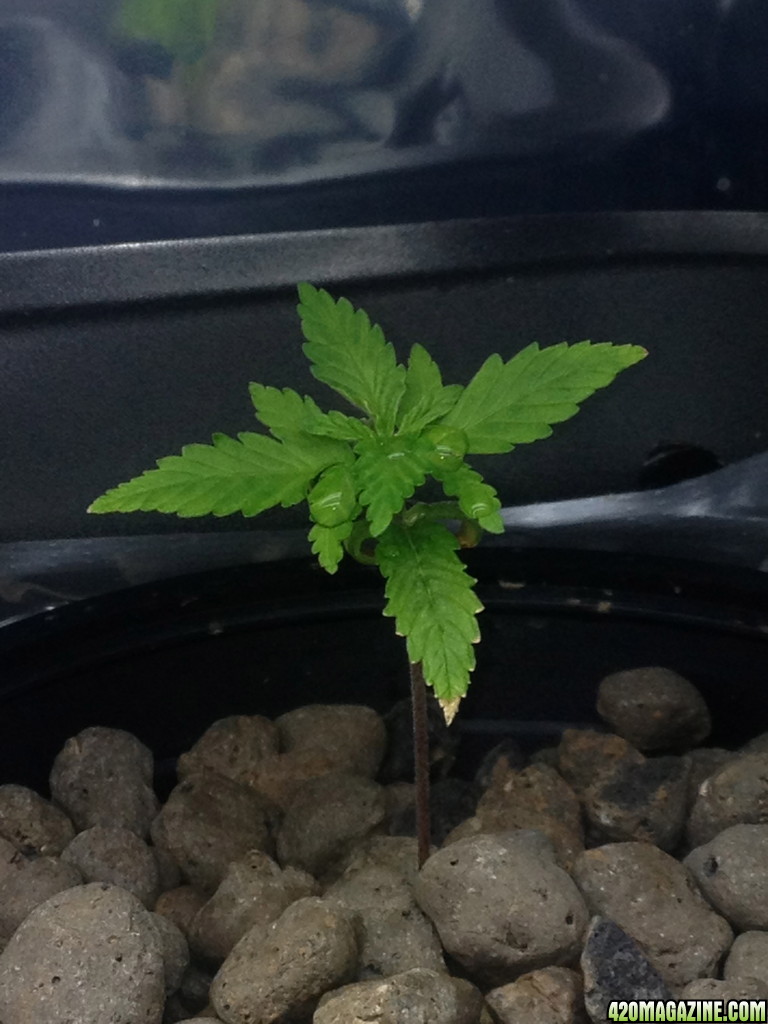
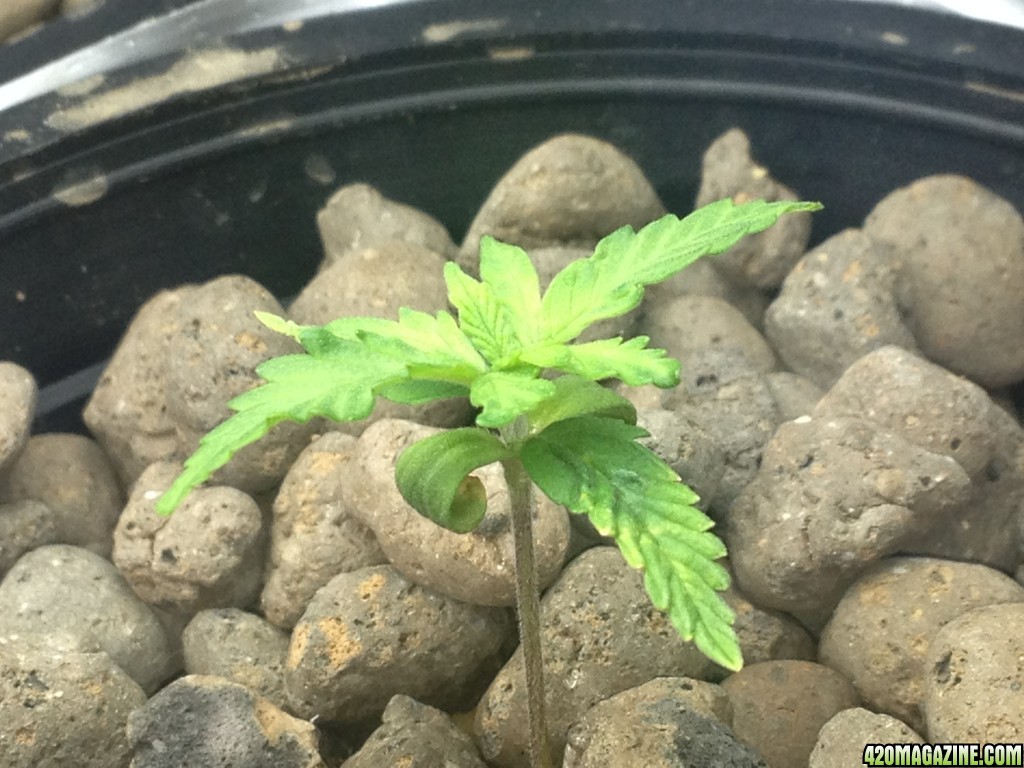
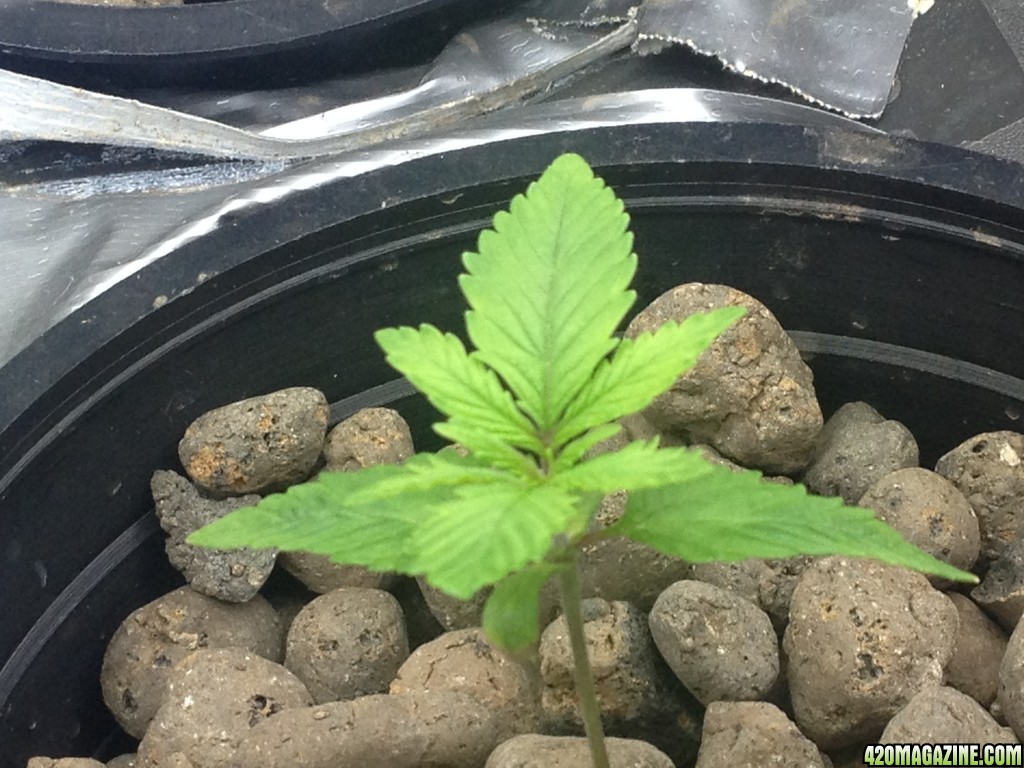
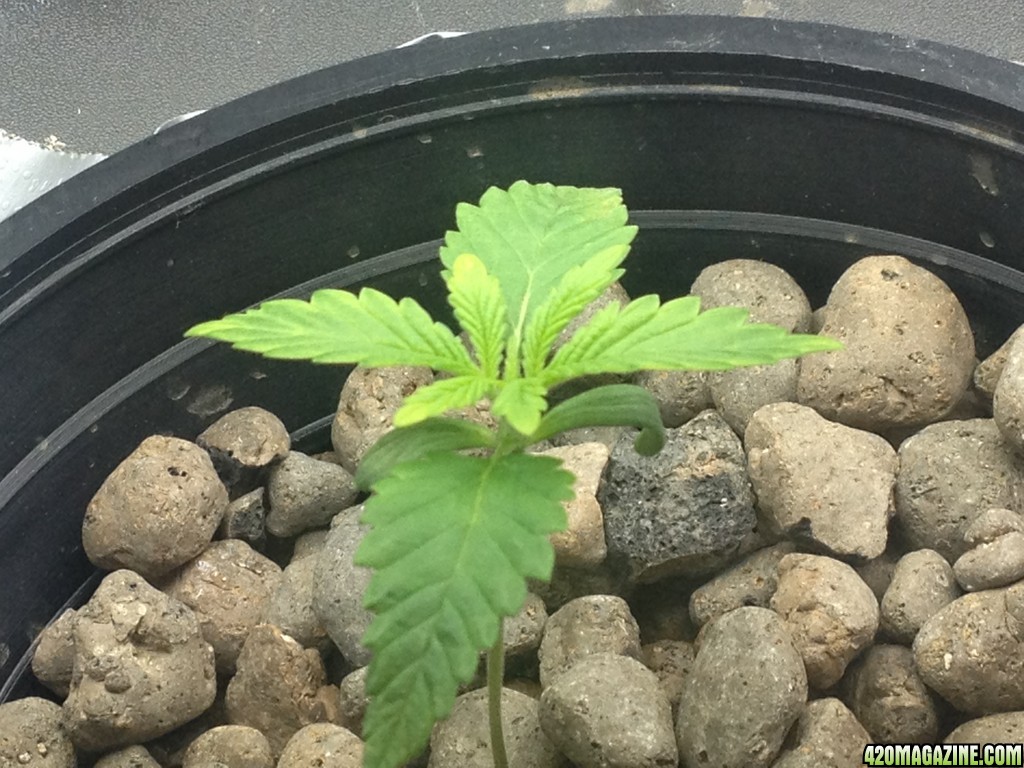
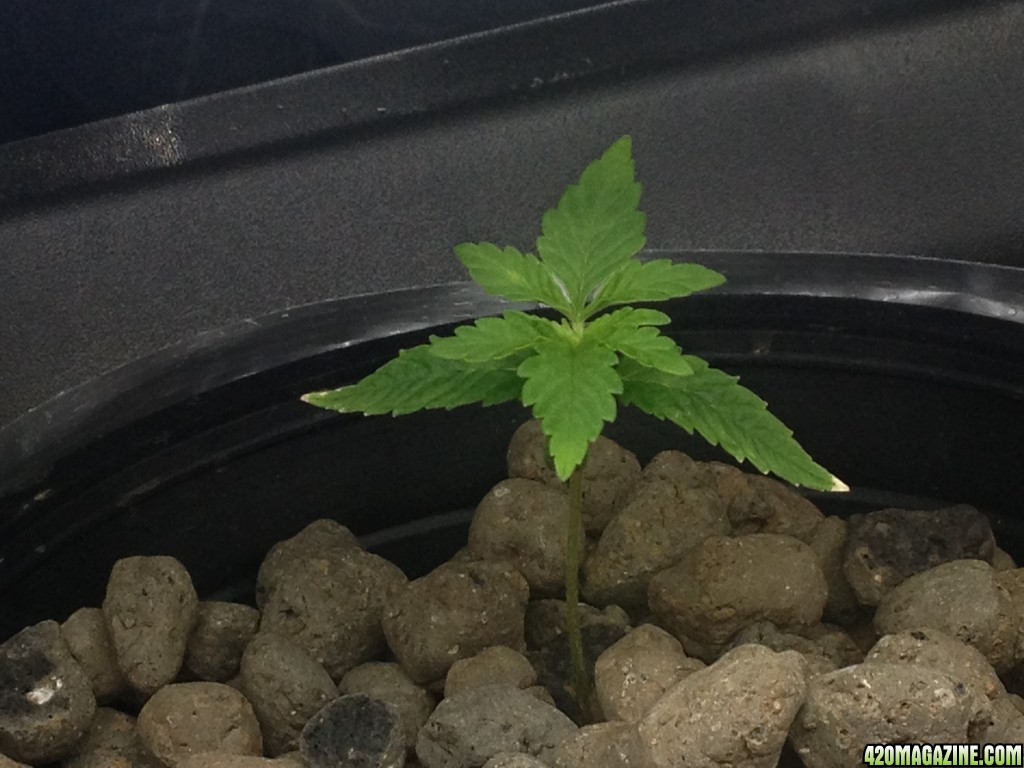
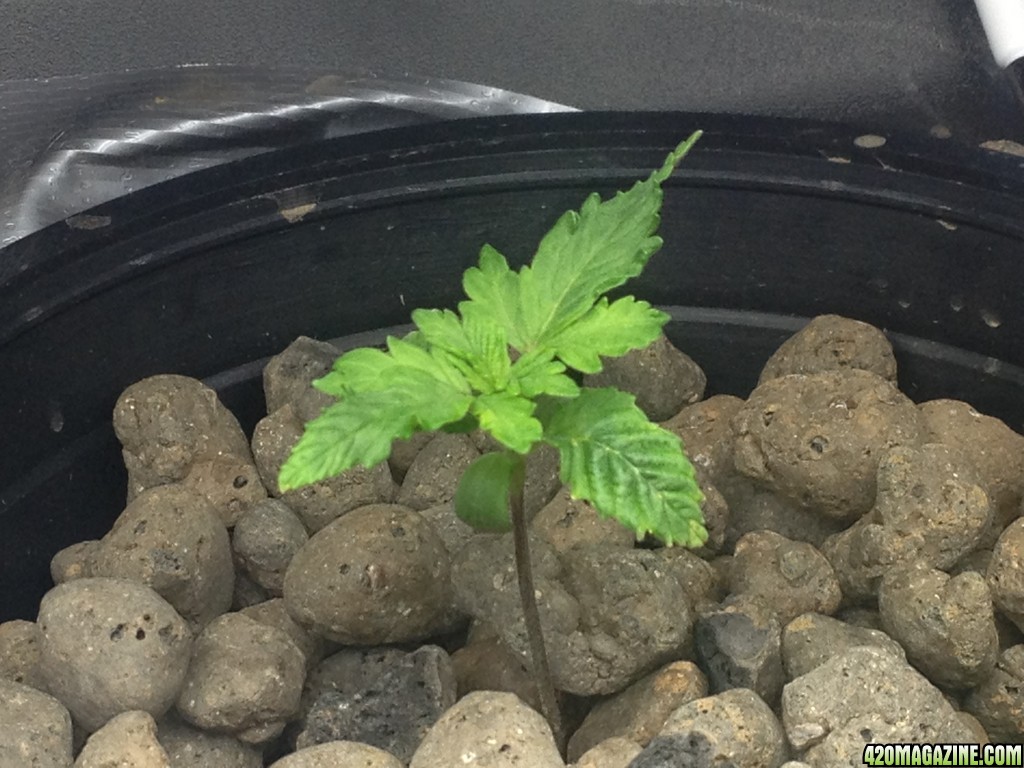
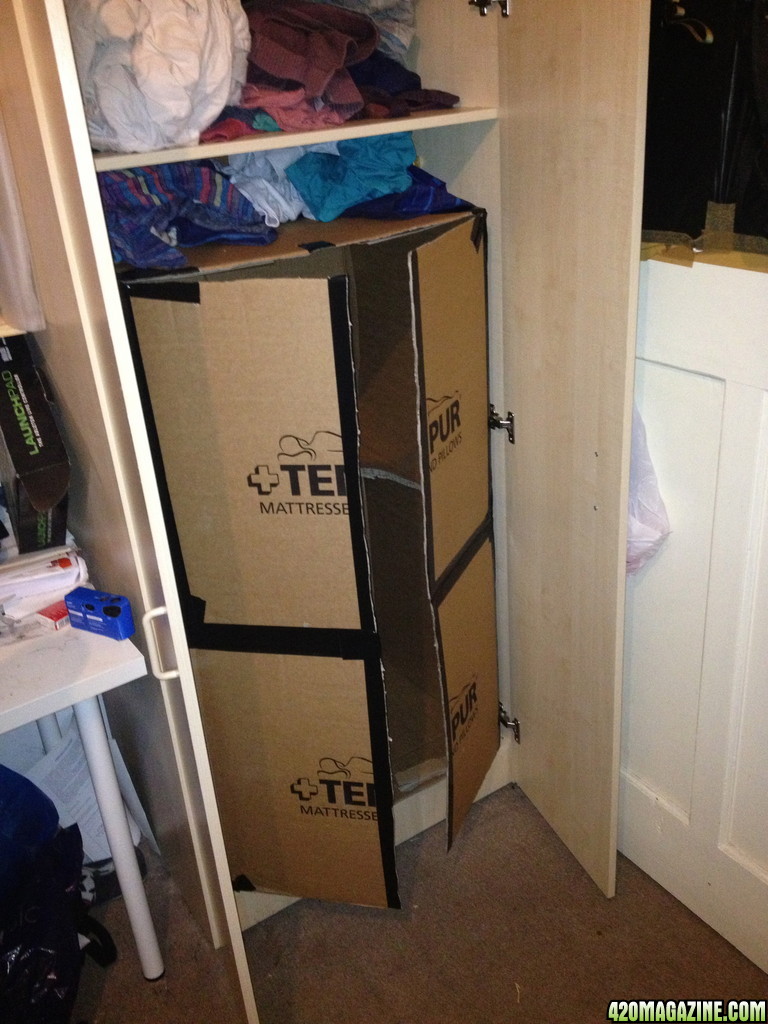
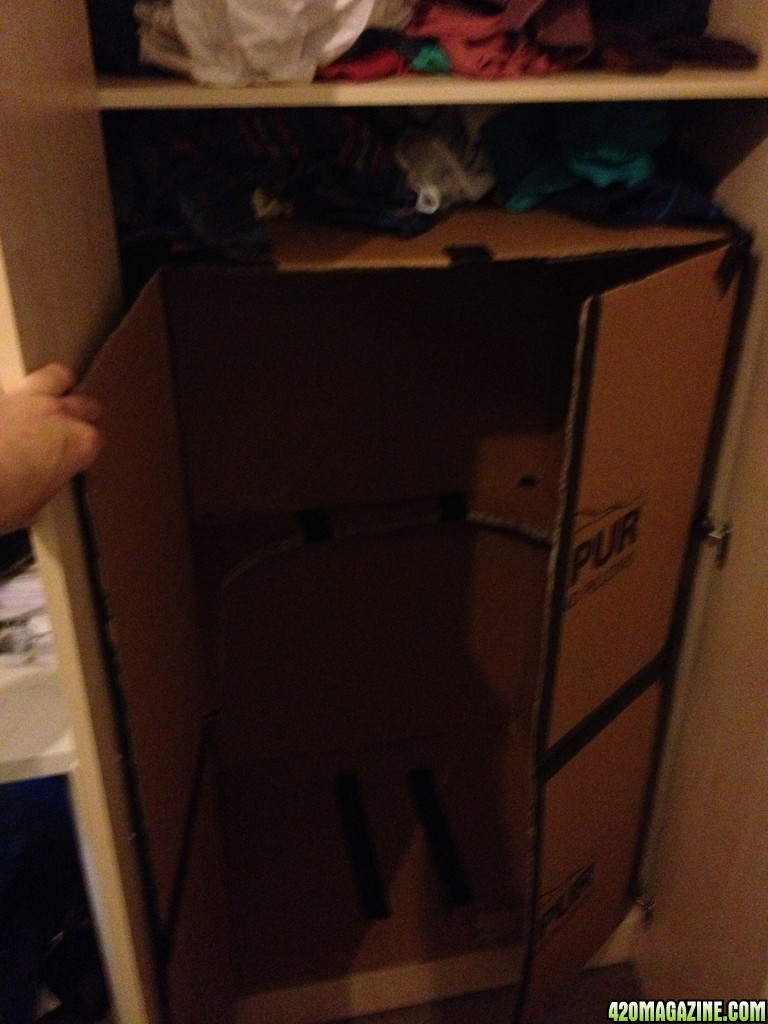
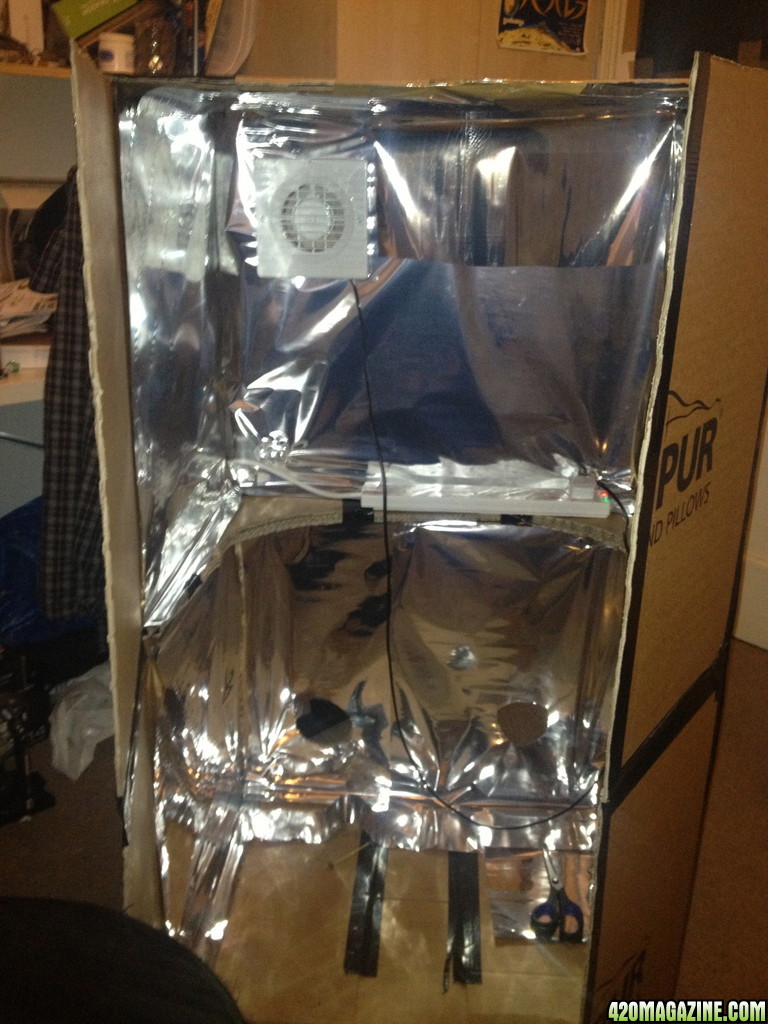
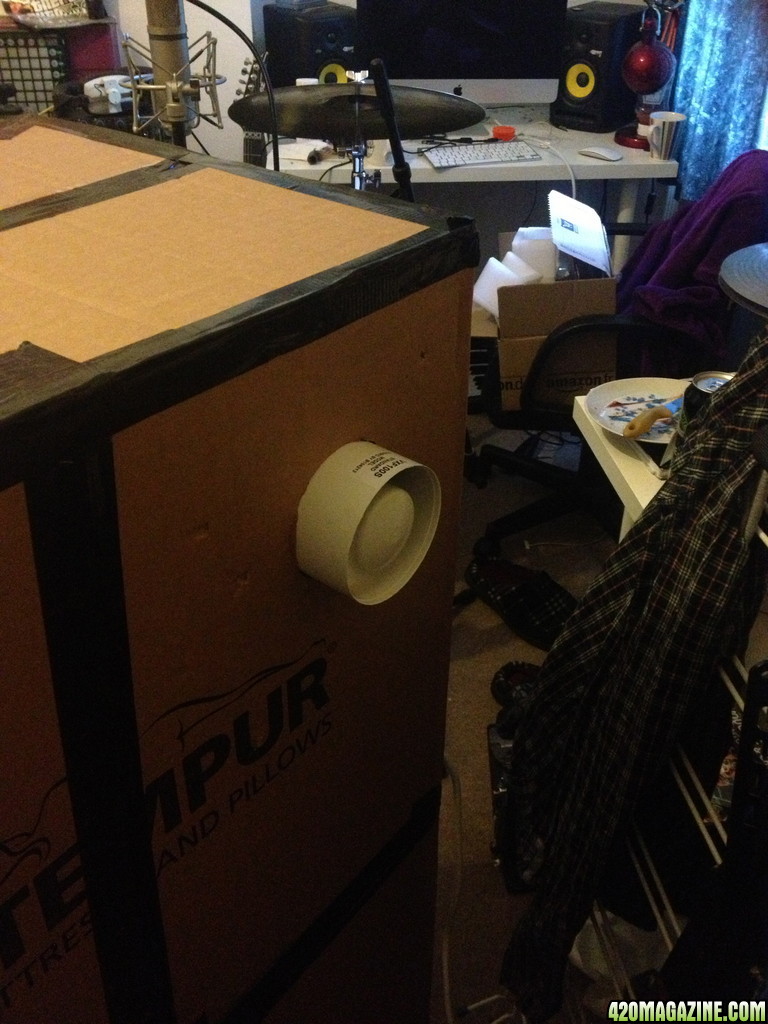
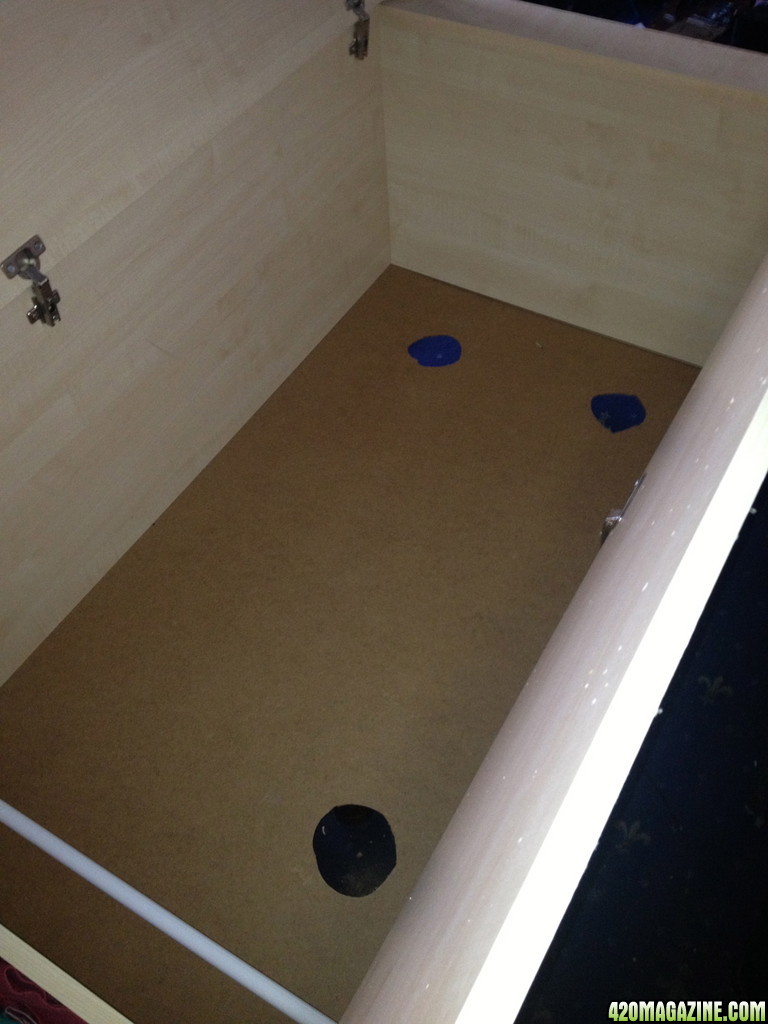
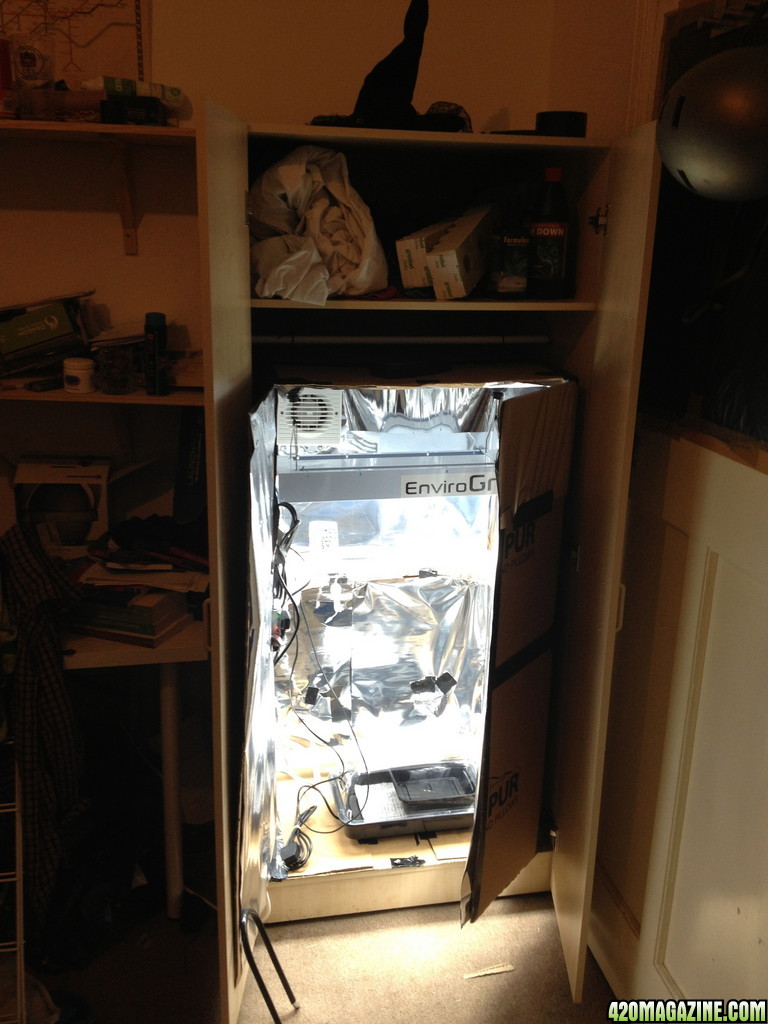
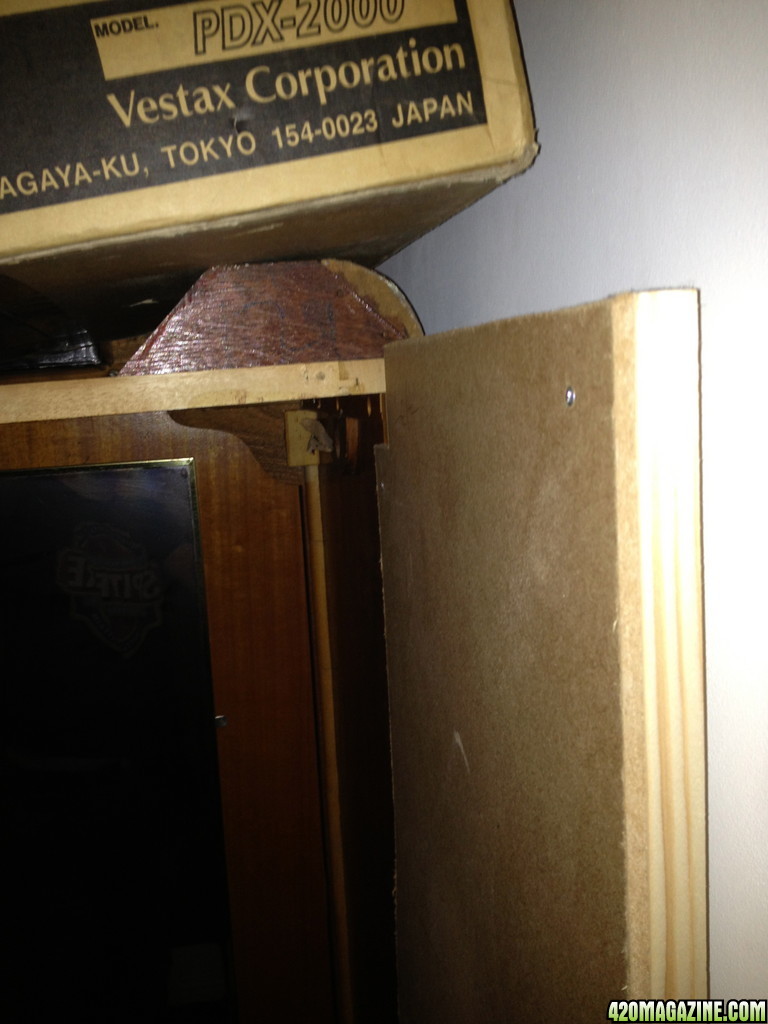
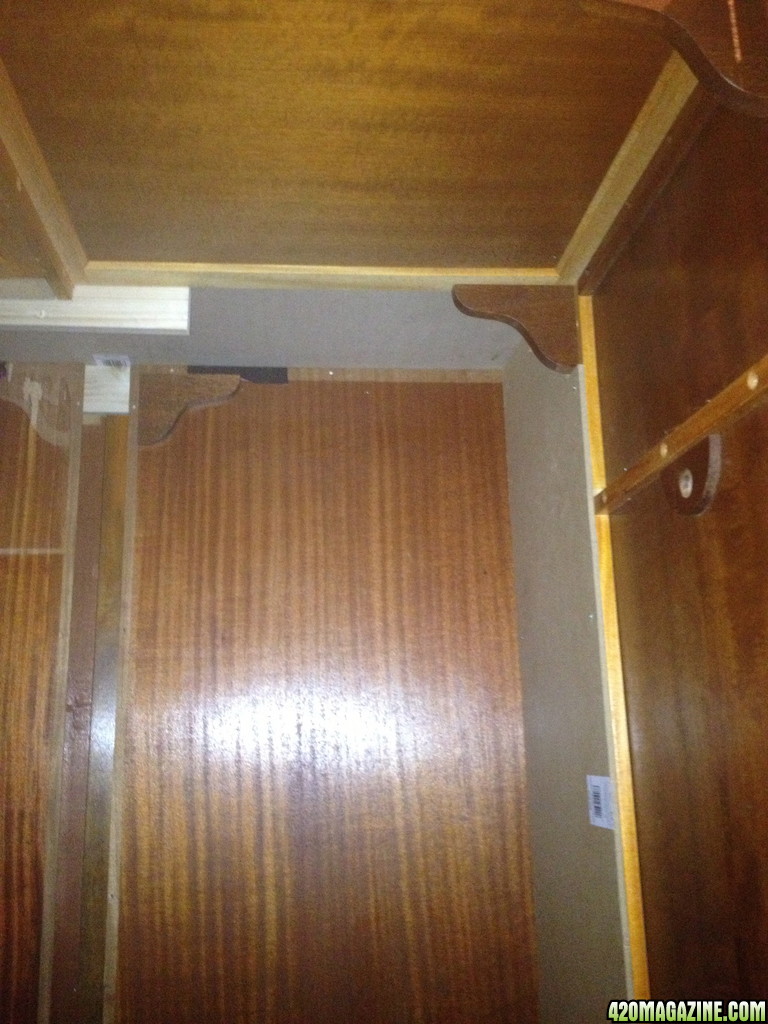
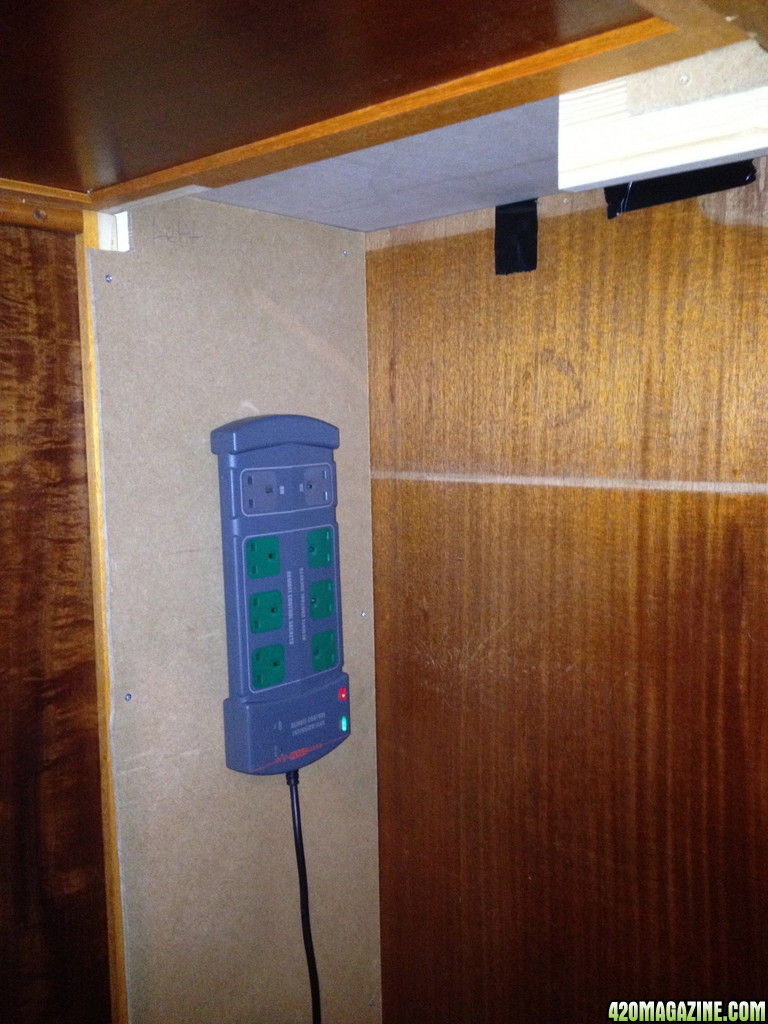
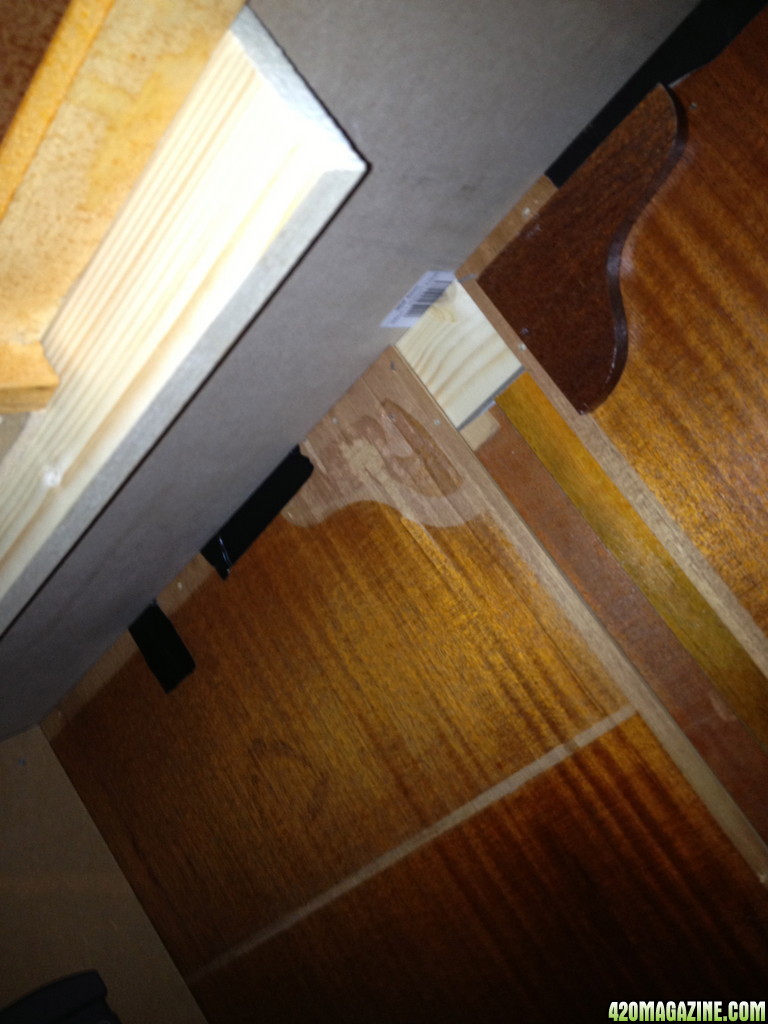
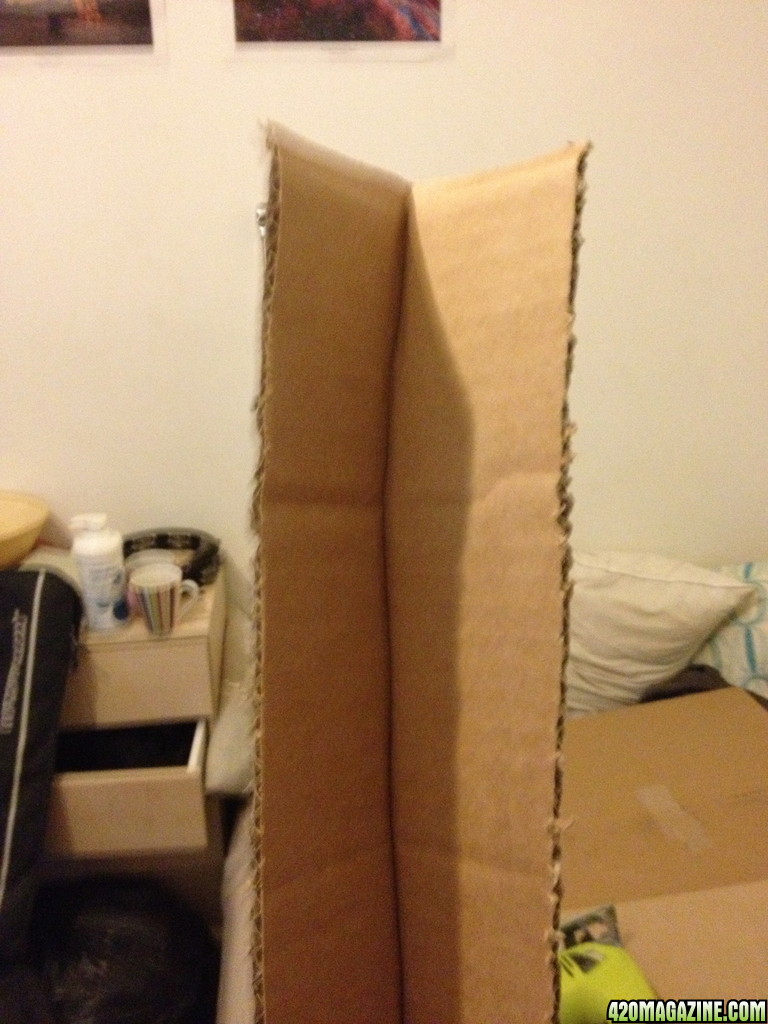
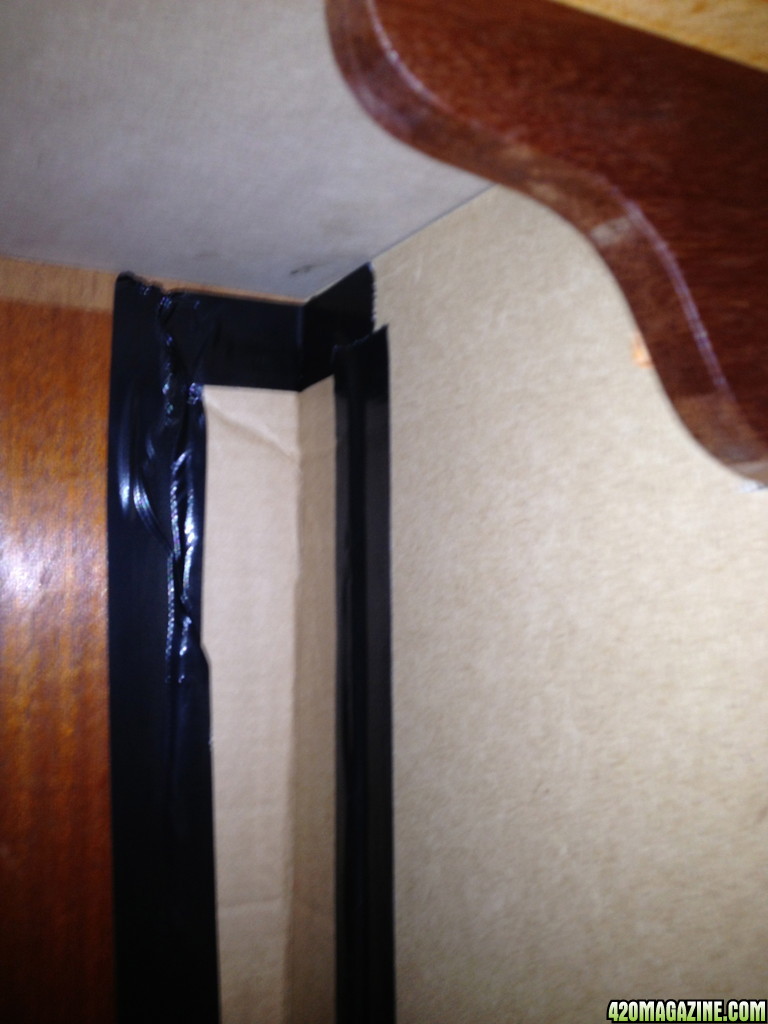
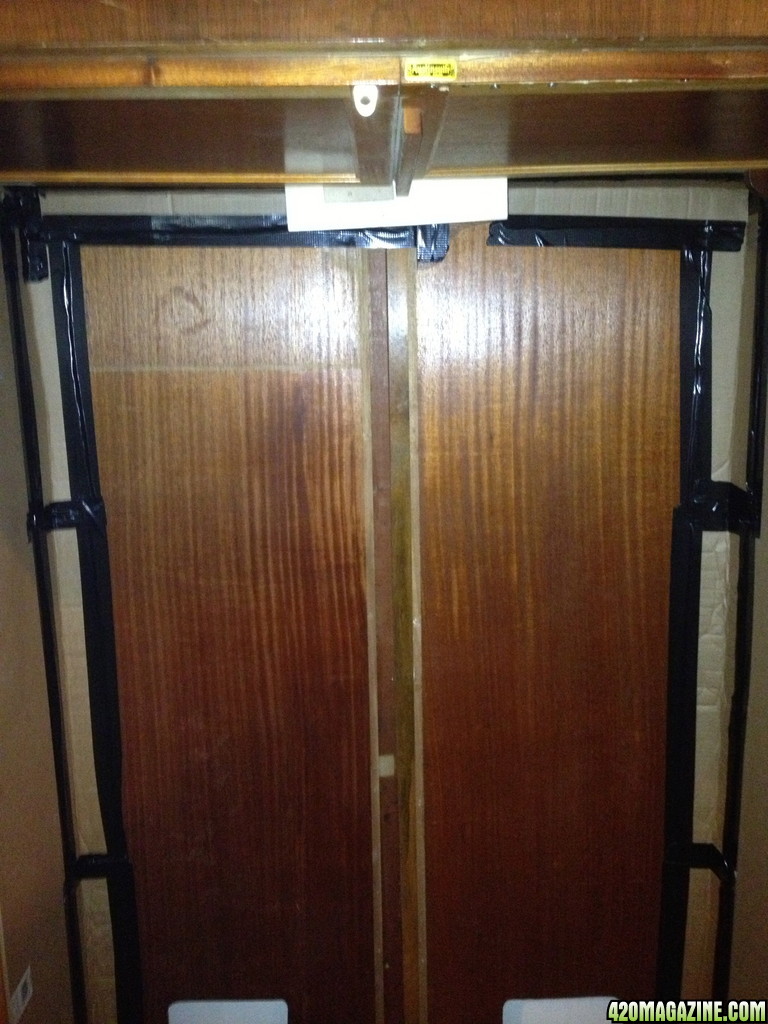
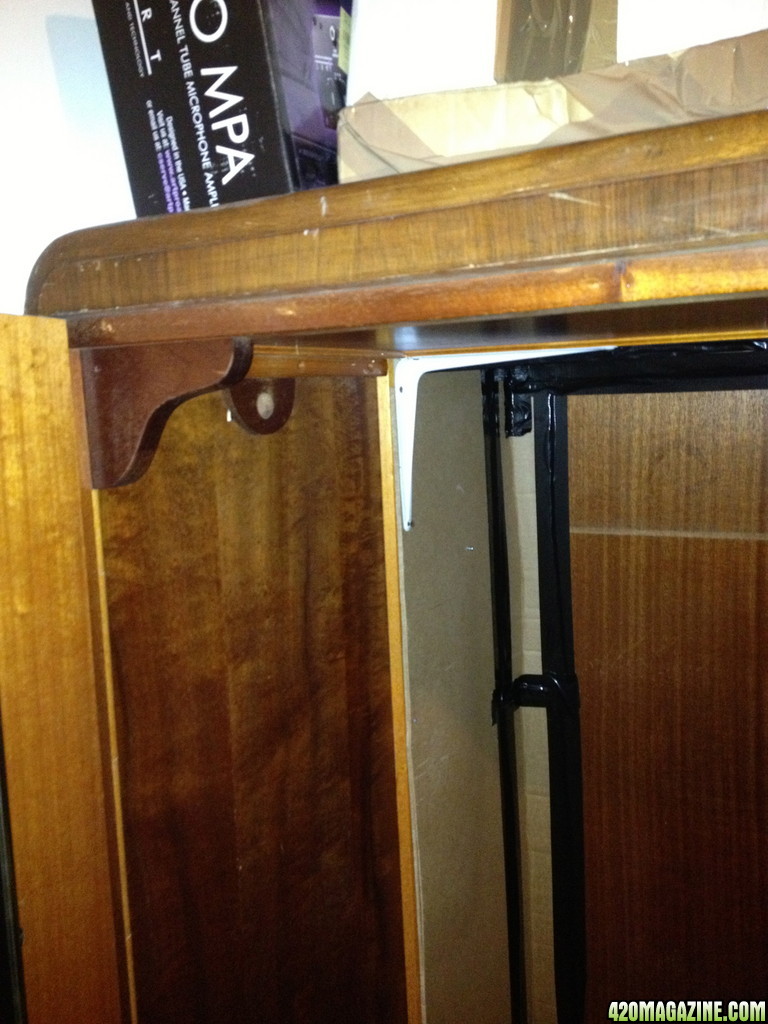
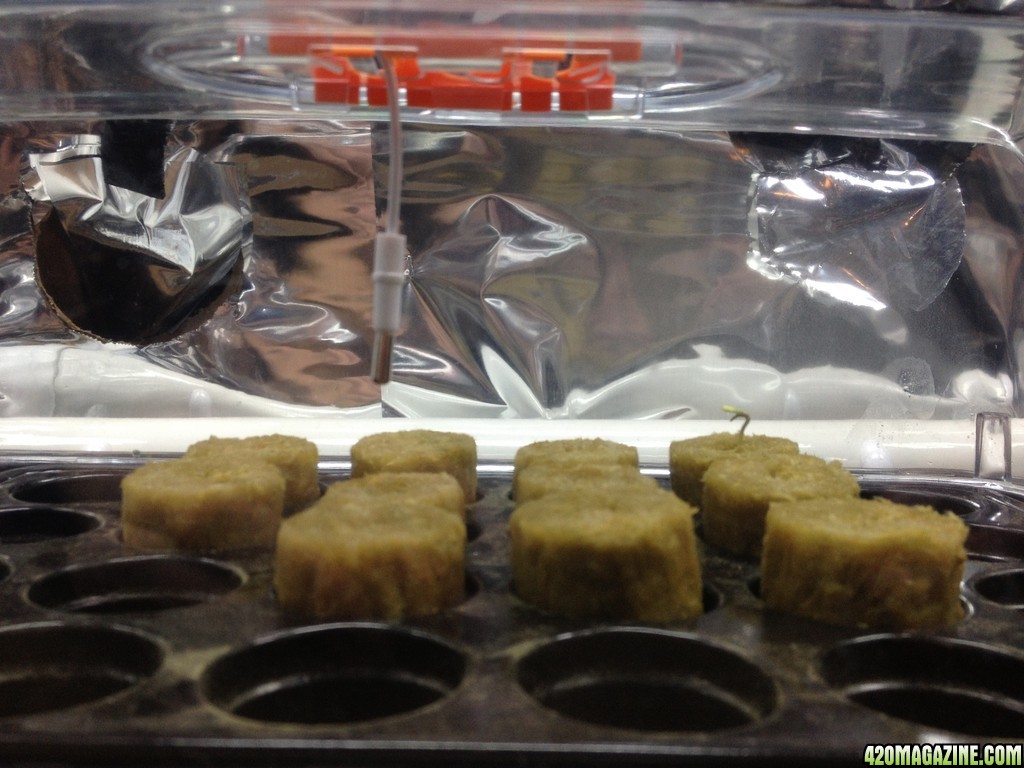
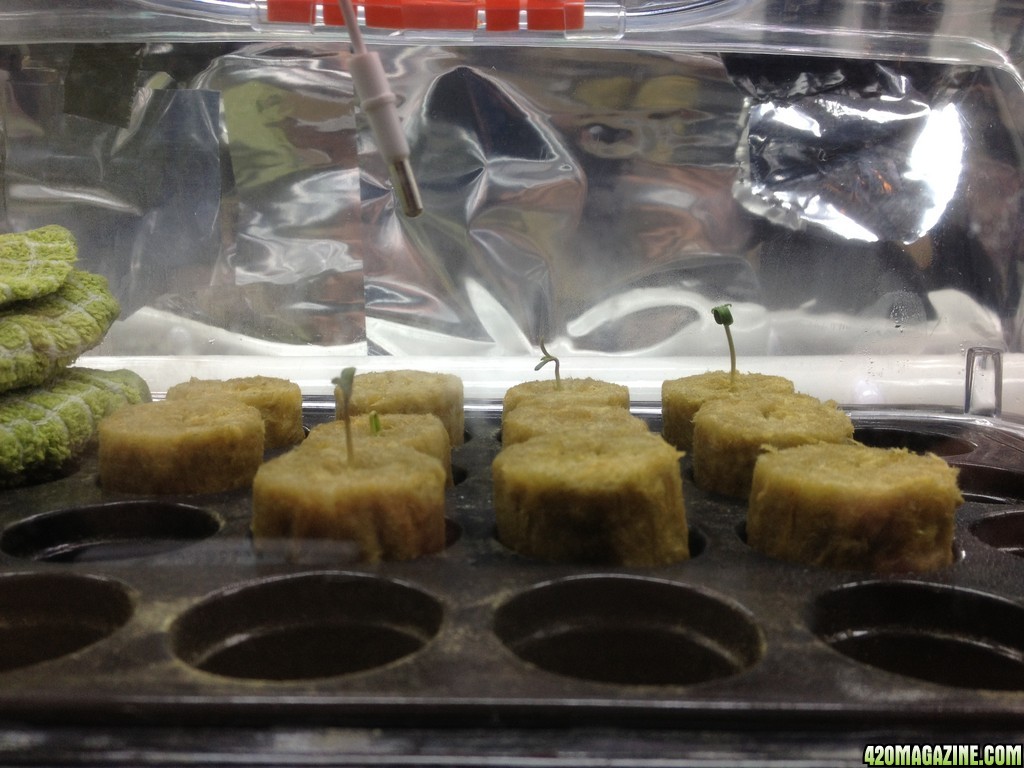
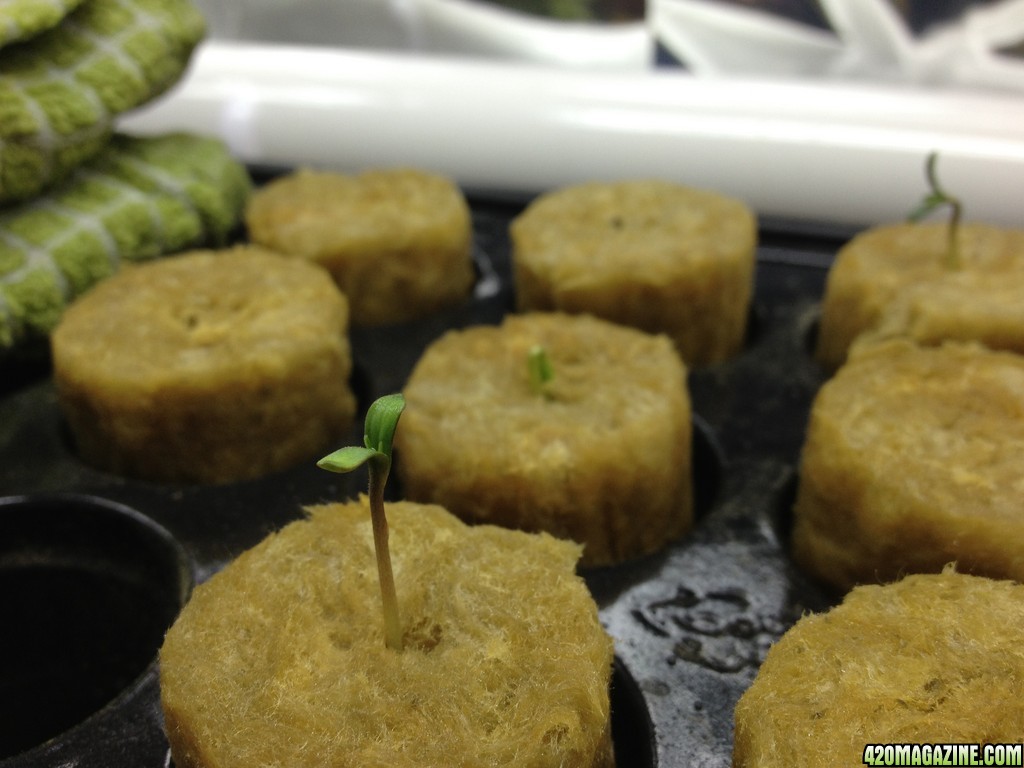
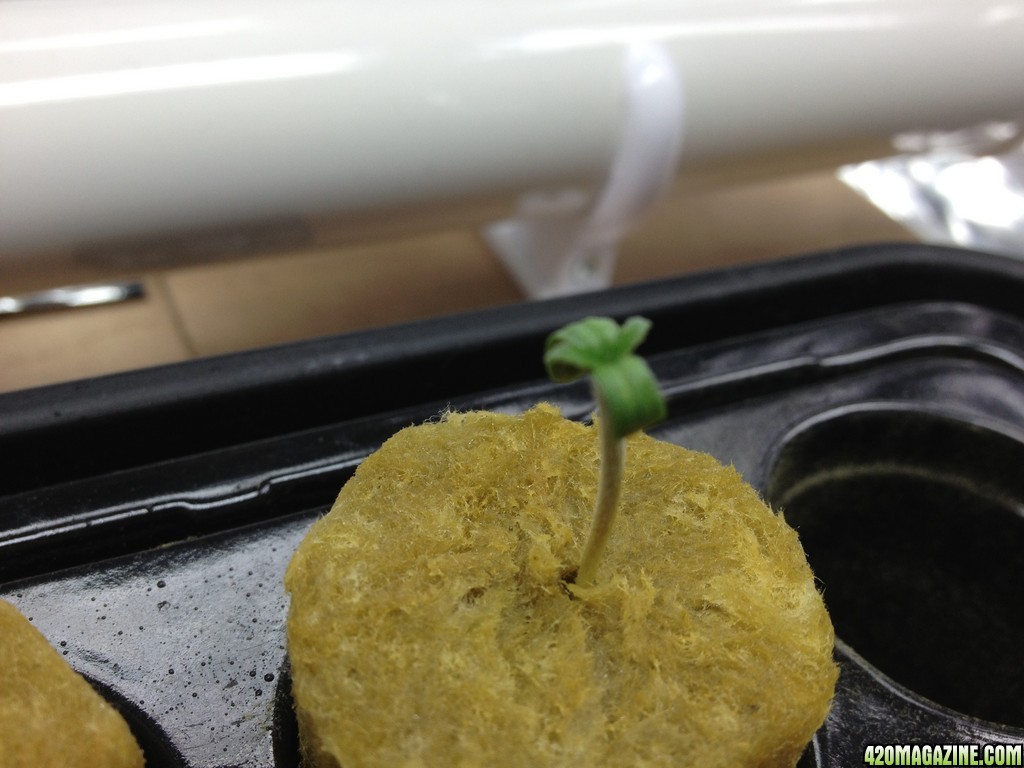
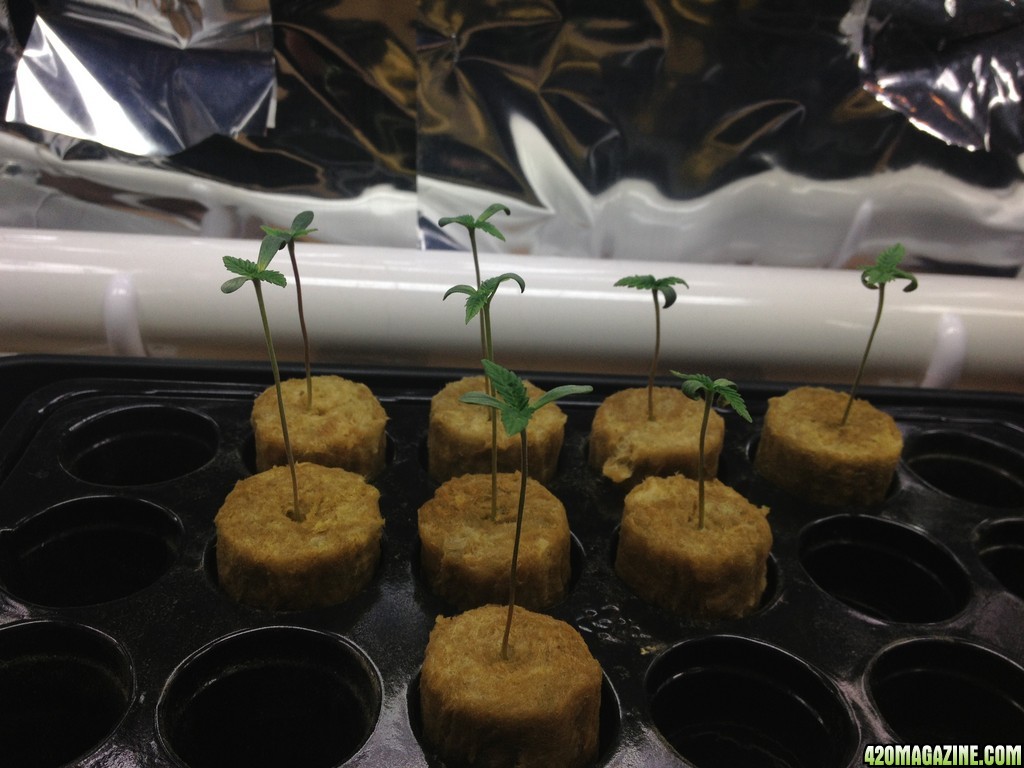
I have actually already started this grow a few weeks ago, seeds are now at 2 weeks. I'm gonna go back and post all of the photos I have so far leading up to this point so it is a more complete journal.

My main aim in starting this journal is, of course, to get the help from you pros out there. But I also think if I document it in detail, it could serve as great source of information for all the newbies as we sort out my inevitable mistakes (;

So without further ado, I humbly present to you my first grow.

This should be good.

:surf:
 
A little background on this thing.

I live in a flat in London, sick of waiting for dodgy arseholes in alleyways for shit bags at shit prices. Also I think this is going to be the most awesome project I have started yet and am having so much fun with this thing.

So, the plan:

-Build a veg area with 2x T5 Flo lights. Start from seed (Northern Lights x Big Bud, SSSDH).

-Start in rockwool cubes to be transplanted into my DWC system. (have to use tap water unfortunately)

-Veg as long as needed to fill out a 1.2mx0.7m Scrog under a 600W Hid lamp.

-Then hopefully harvest some tasty buds :)

Details of plan to come in following posts.
 
Hey Light Addict, good to know I got you here with me!

Just waiting on some photos to upload, there's like 80 so far, shoulda started this sooner but hey...
 
Again, I'm writing this from a month on so forgive me if I forget a few things, I will try to go into as much detail as possible though.


Building the Veg area:


So, big shout to "Buds McGee" on youtube for his idea for the cardboard grow box haha :)

Easy to Build Budget Grow Box | Video Instructions with Buds McGee - YouTube

Got the first lot of gear, and set up the box. Using a bog standard extractor fan I had lying around, ventilation works very well. Its cold here at the moment so I have a heater which only comes on if temps go below 22.

Took a few hours to construct the box, works really nicely and is pretty airtight, would definitely recommend this design. Also, as if by some magic, the thing fits PERFECTLY into my smaller wardrobe, really happy about that. I would imagine the cardboard would provide a little insulation?

There are intake holes at the bottom, twice the surface area of the exhaust. These holes go through the cardboard and then out through holes in the wardrobe.

The lights will be hung from the clothes rail in the wardrobe which, miraculously, sits perfectly above the top of the box.

Anyway, I'll leave some pics of the Veg box, feel free to ask any questions, give me some improvements!

IMG_106916.jpg
IMG_107021.jpg
IMG_107120.jpg
IMG_108427.jpg
IMG_108020.jpg
IMG_108516.jpg
IMG_109222.jpg
 
I'll try and go over what I'm doing for the flower area.

Basically, in my room I have a fireplace, this good for 2 reasons, the first being the obvious (extraction), the second being that in my room there is a kind of cavity in the corner where the wall wraps around the fireplace.

Now i figured i could use this to my advantage to get more space whilst making it look like a normal sized cupboard was just sitting there in the room. An optical illusion if you will.


So the plan:

-Find a cupboard 1.2m wide (the width of the cavity)
-Remove the back and extend into the cavity.


The main things here are that it looks discreet and is airtight, so I got to planning, got me some tools, some wood, found the PERFECT wardrobe and got to work.

I'll let the photos do the talking, sorry for the god awful quality on some of these pictures, my hands were SHAKY after lugging that big ass wardrobe up 4 flights of stairs. Complete. Fucking. Ballache. Worth it though!

IMG_107516.jpg
IMG_113217.jpg
IMG_114417.jpg
IMG_114619.jpg
IMG_115116.jpg
IMG_115216.jpg
IMG_115415.jpg
IMG_115516.jpg
 
The illusion seems to be a success, I had a trusted friend round who opened up the doors, said it melted his mind how much space there was, then I explained to him how there was a cavity in the wall, he said it works extremely well so I'm happy :)

So the next job was making the damn thing as air tight as possible, had loads of cardboard lying around from the veg box so i came up with the solution:

Cardboard + Duct tape = Success.


So I cut all these strips which i folded into the corners, then taped all along the edges.

IMG_116019.jpg
IMG_116117.jpg
IMG_116220.jpg
IMG_116318.jpg
IMG_116516.jpg
IMG_116621.jpg
 
Next steps on the flower box are to just get the panda poly and all the gear fitted in there and do some tests. Waiting on more cash though so that will have to wait a little while.

In the meantime, germination can begin so lets see what happens with these seeds.
 
Seeds were placed straight into rockwool cubes which had been soaked overnight in PH 5.5 distilled water. These cubes (6 of each) placed in the propagator under the T5s and planned to water them only when cubes started to feel light.

As far as I can see no nutes whatsoever for 2 weeks? Writing in retrospect I can confirm that was the right course of action (phew).

 
It was around this stage that I realized I was balls deep in this thing now and had to see it through. First time I'd gotten stressed about it, couldn't stop thinking about the risks, would it work? am i capable? is it worth it? the usual stuff I'm sure some of you are used to.

I knew there would be blood, sweat and tears as anything worthwhile is!

Do wish this shit was legal though, the more I think about it the more I realize how crazy prohibition is.

This is like the most innocent hobby I can think of, I mean shit, you change the EXACT same process to cultivating tomatoes and its one of nerdiest things I can think of!

But hey, take me to jail go figure...
 
Hi SEGreenThumb.

Wanted to drop by, welcome you to 420 Magazine and subscribe to your grow. I really like your veg and flower boxes and look forward to watching you achieve success in your grow.

:welcome: to :420:
 
Time to build the DWC bubbler.

So for veg I decided to use on tub for 6 pots with plastic separators to prevent roots from becoming entangled. I'm going to pick the best 2 from each strain to flower to make sure my plant count stays down.

I bought a pump and it is WAY louder than I thought it would be. Derp. Starting to think I should have gone soil but hey no going back now.

My solution to this was to build a soundproof box. The box would suspend the pump on bungee cords, and surround it with cardboard, sleeping bag foam and MDF.

It worked great at first but then I realized that it would be a fire hazard being so airtight, so I had to open up the sides a little. Still works but the low HUMMMMM still comes through strong. Ears used to it now though so all is good in the hood.

Anyway, pictures: excuse SHODDY woodworking skillz haha...

 
Now a quick look at the great water debate... Oh dear not this one again...

So I ordered a portable RO from amazon, seemed like a good deal, got the thing hooked up to my tap in the bathroom only to find it faulty. So I called the company up for advice and they said to send it back but it may be a problem with my water pressure, and even if my pressure was good, I could only get like 5 litres every few hours or so. I was like WTF thats no good, I live in shared accommodation and I can't be occupying the bathroom for 10 hrs, multiple days a week. No way in hell. Sent the damn thing back.

Also those things are a TERRIBLE waste of water.


So it seems my ghetto setup just got more ghetto and my plants are gonna sipping on that tasty South London council pop :)

Tested it at 0.4 ECs base level, I know its not ideal but until my next grow this will be ok? As long as I use the hard water adjusted micro nutes?

I dont really have a choice so its all about damage limitation guys, all the help you can give me here is greatly appreciated.
 
You sure do need to learn a lot of different skills for this hobby eh? I honestly feel like a more capable person after figuring all of this shit out. Very rewarding.
 
So, the little babies have been transplanted into the bubbler;


Clay pebbles soaked overnight in PH 5.5 water, then rinsed like heck.

I top fed the cubes at 1/4 strength nutes before the transplant to encourage growth into net pots, was I right here? Roots were growing like crazy out of the bottom of the cubes.

Water in the reservoir with nutes at 1/2 strength, reading at 0.8 EC, PH at 5.6.

 
Around 4 days after transplanting and the roots are starting to show through the netpots, they looking nice and white. Very worried now that the EC 0.8 nute strength was too much though? I'm seeing a little nute burn on the tips, am I right?

Gonna start the air circulation fan on them an hour a day for a week from this point too.

Also leaves on a couple of the plants look weird and distorted? I'm sure they will be fine but I must be doing something wrong?

 
Back
Top Bottom