Elkay's First Grow - 4 NL Fems - Tent - LED - Hydroponic DWC - Scrog

Elkay

New Member
Welcome!

I'm excited to share my first grow with you all and learn from you along the way. This post is edited because I will no longer be using the raspberry pi to fully automate my set up as I planned before, I'll only use it to collect data from the sensors and to view the information remotely when I'm not by my tent.

The set up:
IMG_20160131_225207102.jpg


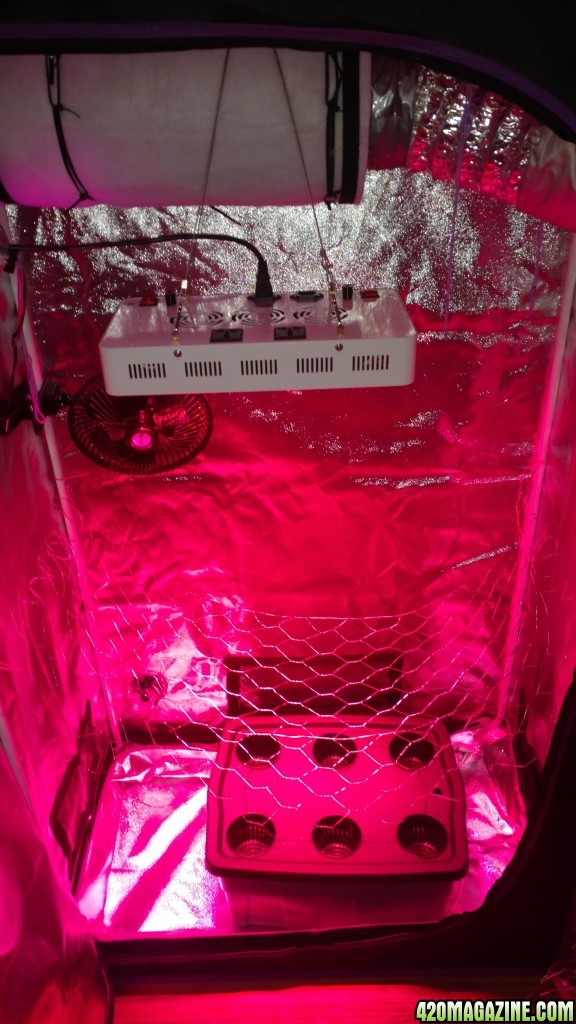
  • Apollo grow tent - 2'L x 3'W x 5'H
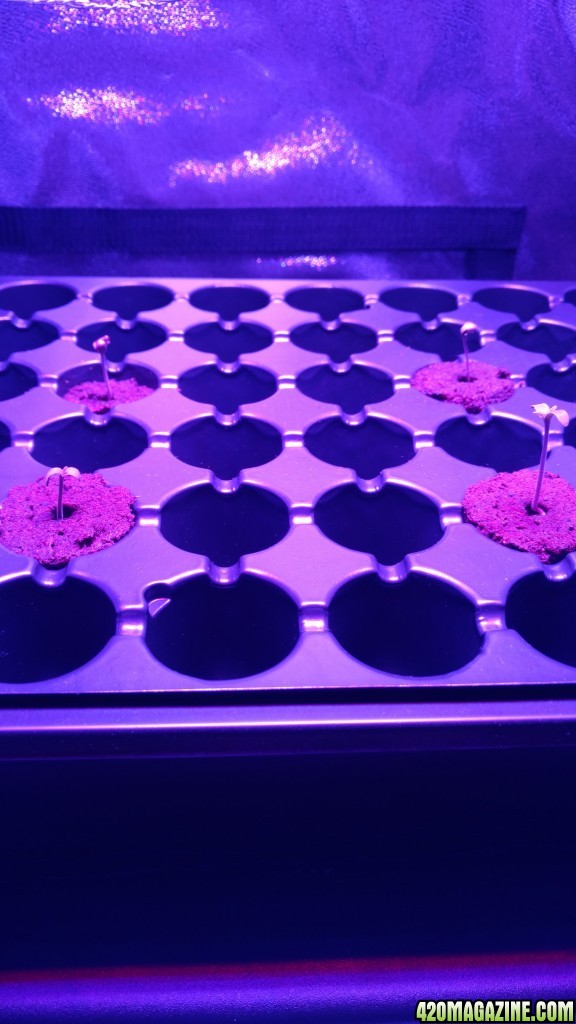
  • 6 site DWC hydroponic kit but I only plan on using 4 sites in a square - 20"L x 15"W x 9.5"H, 8 gallon
  • Chicken wire scrog is hard to see in the picture. Slightly curved, bottom of U is 7" from the top of the res. Clipped off 53" long chicken wire, cut 2 loops off the side to allow the tent to close without
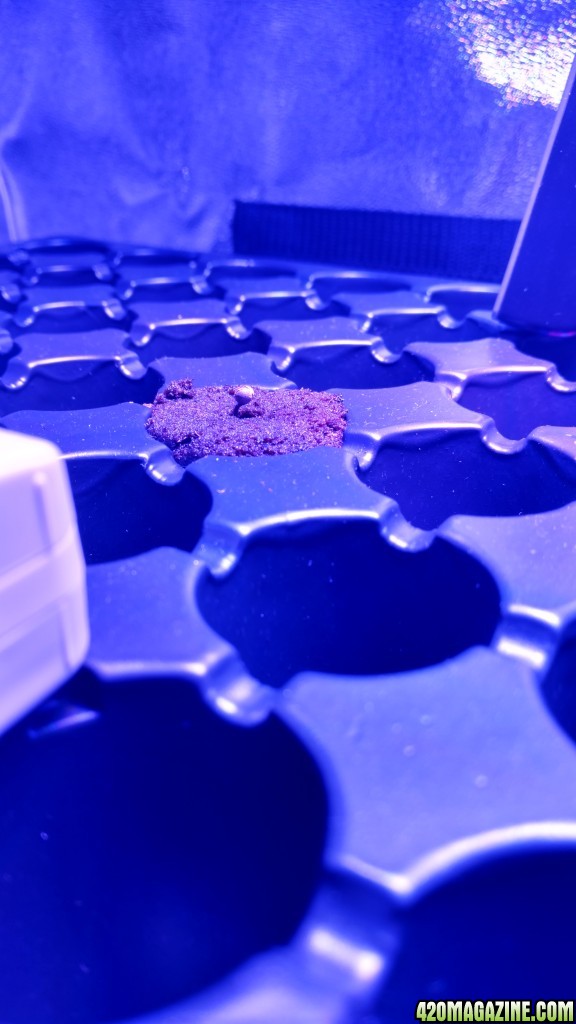
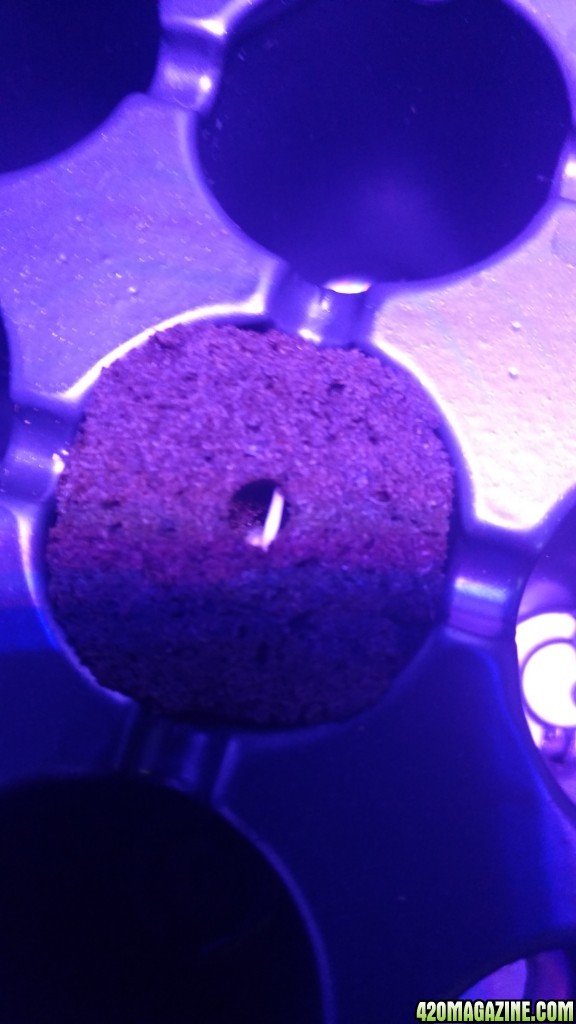
  • Not pictured, Rock wool with clay pellets
  • Full spectrum, 360w LED grow light. Separate switches for vegging and flowering with a dimmer for each spectrum.
  • VenTech Inline Exhaust Blower Fan with Carbon Filter and Variable Speed Controller, 440 CFM, 6". The carbon filter is connected to the external fan with ducting. Carbon filter is being held up by ziptie chains for now, planning on replacing with metal chains soon.
  • Not pictured, Corsair Air Series AF120 LED Quiet Edition High Airflow Fan Twin Pack to go on the bottom right side of the tent.
  • Not pictured, DYNA-GRO Liquid Grow and Flower plant food.
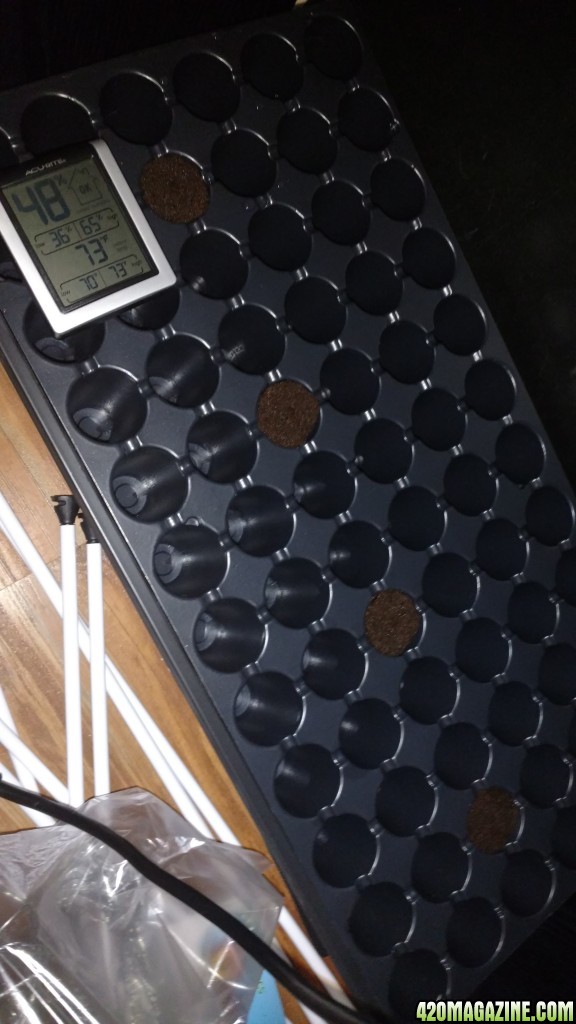
  • PH probe raspberry pi sensor to log PH levels of the res for remote viewing and records.
  • Temp and humidity sensor for raspberry pi to also log for remote viewing and records.
  • 6" circulation fan (will be getting another one later for under the scrog)
 
Hello again Elkay. Hope you don't mind me hanging out in your tent and absorbing a little more knowledge. Never tried DWC but have joined a lot of journals and watched many great farmers succeed. Won't be long until some the finest cannabis farmers come along and guide you on the right path.
Thanks again for the journal.
 
Hey man, i am looking to do the same with an arduino. So far i got an arduino, 2.4 tft, a light intesity sensor, a barometric pressure sensor, an ir temp sensor, a distance sensor, and a rtc. Ive just been ordering one off pieces from ebay as i have pocket change accumalted. Ive got a journal on here as well, but no mention of the arduino right now. Hopefully by my second or third full perpetual cycle i can have it doing some of my work. Check out my journal- i'm in the works of getting some pics posted now.
 
Mtn Dew - welcome, make yourself at home! I honestly thought that nobody was reading or interested so I wasn't planning on updating this but now I'm going to, thanks to you!

oOFIKSOo - Are you looking to automate your set up with the arduino or only have it log the sensor readings? I was planning on automating my whole set up but I had a change of heart since this is my first grow and I want to be completely on top of it. Also I just don't trust the reliability of DIY electronics so I'm just going to be using the arduino to display my sensor readings so I can view them remotely and maybe even have them alert me if certain levels drop or raise too high. I'm going to update my original post and my germination info, then I'll take a look at your journal!
 
I think you have a very cool setup man you will definitely have lovely plants !!! ;) I have a way cheaper setup and I am happy enough with my results so far ;) Can`t wait to see how they turn out and learn along the way ;) :thumb:
 
Germination

IMG_20160201_202824199.jpg


I started germinating on Feb 1st.

Here are the steps I took based on research
  1. Filled the hot house res with bottled water. Just enough to fill each little pot with a tiny bit of water so the plugs could soak it up. Wasn't sure if my tap water is too chlorinated so I decided to be safe. I did not adjust the PH.
  2. Opened a fresh pack of Rapid Rooter plugs and put one seed in each. I tried to place the seeds pointy side down but was not successful because I didn't want to put too much pressure on the seeds and the opening was too big so they just fell over to the side. I did not pre soak the seeds or plugs.
  3. Ripped off a small piece of the plug to lightly cover the seed opening.
  4. Put the plugs in the tray, tried to give some space between them.
  5. Put the res on the heat mat that came with it, then put the tray on top.
I am not using the humidity dome so the humidity stays under 50%. Temp has been pretty stable around 73 F. I put the whole thing in my tent and zipped it up so the closet light doesn't disrupt the germination. I opened one of the bottom vent holes and put my out take fan on the lowest setting to create some airflow but the humidity was too unstable so I turned the fan off and closed half of the vent hole (velcro cover). It has been sitting in my tent with no fans on and half one vent open, humidity has been stable at 45% and temp has been stable at 73 F.
 
First Rooting

IMG_20160203_230738163.jpg


This photo was taken about an hour ago. This is the biggest one out of the 4.

I put the small pieces of the rapid root plug back over the seeds and turned on my blue LED to stay on overnight. Temp rose to 77 F so I took out the heat mat and dimmed the light a bit. Hopefully I see more growth in the morning.
 
Aww look at that tiny little baby. How cute! LOL. Hey Elkay, I've never tried DWC either. Actually, I did try it once about 22 years ago, but I was living in a tiny apartment way back then and well it didn't turn out well. I've been growing for a long time off and on, but for the last several years, l have been breeding and cross breeding ... and trading strains and doing more cross breeding. I have a small seed bank now with some killer strains, created by me, my friends and other seed banks.

Looking forward to seeing your grow progress. I just started a grow journal (my 2nd) to hopefully document the next several new strains (and a couple of old strains) that I'm breeding. You can check it out here:

Grow Journal 2 - Several Strains
 
Right, that's what I was thinking. Did you spend a ton of cash on all that equipment? I got all of my equipment over a period of a few years, starting with small 6" 1000-watters and upgrading to 8" 1000-watters, adding my 3 T5s, cloning machine, TrimPro, reservoirs, and millions of plastic pots and smart pots. Your equipment looks way more expensive.
 
Whole set up cost around $800. Most expensive thing had to be the DWC kit, I went with a cheap brand for the LEDs (not sponsor) and the tent wasn't too expensive. Bought everything through amazon prime in case I ordered something I won't end up needing or something broke on me - I'm a big fan of their next day delivery customer service.
 
Mtn Dew - welcome, make yourself at home! I honestly thought that nobody was reading or interested so I wasn't planning on updating this but now I'm going to, thanks to you!

oOFIKSOo - Are you looking to automate your set up with the arduino or only have it log the sensor readings? I was planning on automating my whole set up but I had a change of heart since this is my first grow and I want to be completely on top of it. Also I just don't trust the reliability of DIY electronics so I'm just going to be using the arduino to display my sensor readings so I can view them remotely and maybe even have them alert me if certain levels drop or raise too high. I'm going to update my original post and my germination info, then I'll take a look at your journal!

Im looking to automate my whole set up. It will be done in stages, so at first it will be a glorified weather station. As i progress, i have much bigger plans. I hear ya on the diy electronics, might be a hit and miss proccess for a while, but i think properly sourced componants will resolve most issues.....i just gotta resist the urge to buy ebay parts..lol
 
We pretty much have the same plans, I just didn't rush into it. Looking forward to seeing how both work out. Good luck!
 
Seedlings

4th day morning

I ended up moving the plants into a tighter square because I didn't think that the light reached wide enough for the 2 on the outside when they were in a straight line. I woke up to one girl outgrowing the rest, two on top are peeking out of the dirt but still have the seed around them. I was worrying about the bottom left one since it wasn't standing straight yet and hoped that more exposure to light would get it up.

IMG_20160205_235315557_HDR.jpg

IMG_20160205_150218031_HDR.jpg
 
5th day morning

The little one that was still in the ground yesterday ended up being the second one to sprout. The two in the back were almost sprouted, I misted the seeds very lightly and then even more lightly pushed my tweezer against them and they fell right off. If you end up trying this yourself- make sure to apply VERY little pressure to the seed. If it doesn't fall off from a tiny bit of pressure, it's not ready yet so don't try to push any harder or else the leaves can rip.

I turned on my flowering lights last night so now it's going at full spectrum. Lowered them to about 18" above the plants. Temperature was getting a little hot and humidity was getting low so I put a small USB fan in there on full blast right over the plants and added in a humidifier. Seems stable now at 78 F and right under 50% RH.
IMG_20160206_094825941.jpg
 
Hope all is well in your world.

Is this grow still alive?

We would love to be updated with some pictures and info.

How about posting a 420 Strain Review?

If you need any help with posting photos, please read our Photo Gallery Tutorial.

I am moving this to Abandoned Journals until we get updates.

Sending you lots of love and positive energy.

:Namaste:
 
Back
Top Bottom