Green Knight
Well-Known Member
Hello hello. So, having done a couple of grows about ten years ago (Chronic) I got the itch again. And my house happened to have a perfect cupboard. I had to negotiate with my wife, and do the 'more important things' like the central heating, kitchen, bathroom etc before I could build a grow cupboard without facing a divorce, but four years later the time has come and the last few weeks have been spent planning and building the cupboard. I'm now pretty much ready to start the grow itself and having been stalking this forum in silence for the last few weeks (thanks 420 for the advice I've gleaned!) I've realised that it's nice to have the detail on what people are doing and see things progress from the beginning. It also helps the experts on here give great advice.
So I thought I'd give the intro to the build so the full picture's there from start to harvest. I'm pretty happy with where I've got to with the grow room (DIY is something I've got a lot of experience with so hopefully this bit might be helpful to others) but any advice additional ideas and advice is always welcome. When I get to the grow itself in a few days it will be a different story so the more you people can help the better!!
I'll be growing an Auto Bomb to start while I finish the propogating room, and then will grow a Berry Bomb - I wanted some bud quicker than if I started straight away with a photoperiod so thought I'd get an auto going in the meantime.
I've built some ------------ (completely plagarised from other systems I've seen) under a 125w double spectrum CFL using Canna Hydro nutrients (I bought them before realising they'd now developed pH balanced Aqua for recirculating systems but never mind. I've used the Hydro before and they were fine)
Anyway: here's the cupboard I have at the top of my stairs:
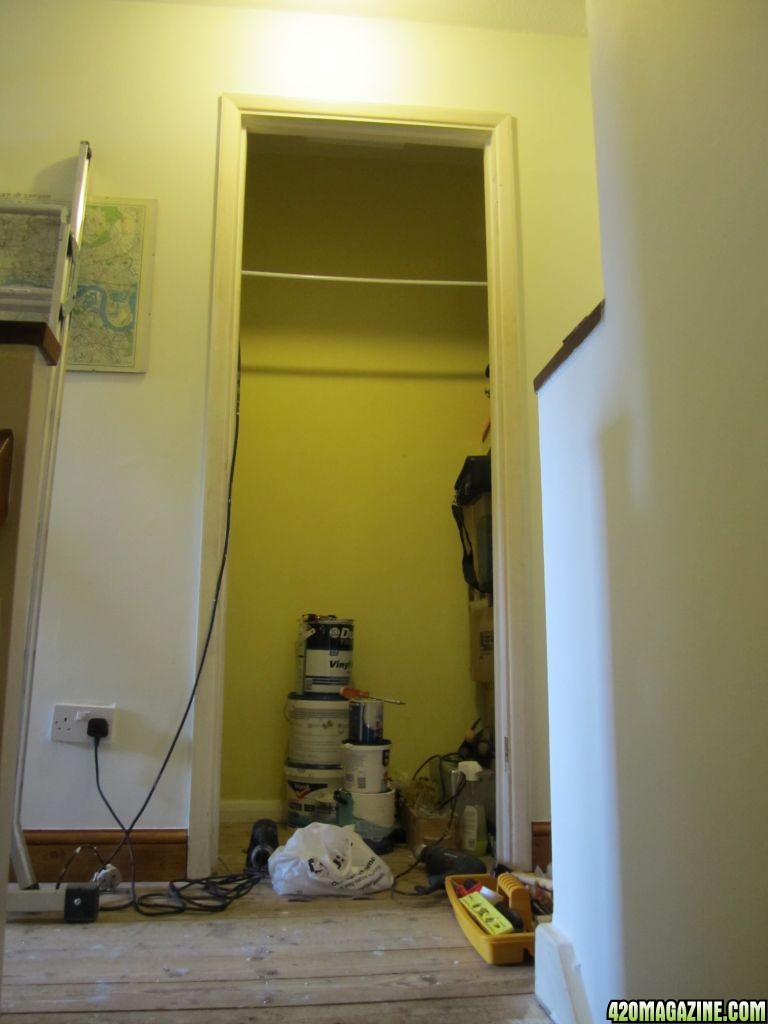
It had a nice space to the left. It's not huge: 48cm x 60cm x 240cm, but big enough for a propogating room and flowering room with one plant. I reckon I'm going to ScrOG with the BerryBomb but may just leave the AutoBomb to do its thing (although I have read some people saying you can Scrog autos too - any experience on this anyone?)
I'd have liked to have used the whole cupboard, but as I mentioned earlier it was a negotiation - I've promised to build my wife a shoe cupboard on the right, so it will be a cupboard for weed and shoes. I think my wife and I will both be standing just outside the cupboard, one looking left, one looking right, admiring our own different pleasures in life!!
I want the cupboard to be completely self contained so I started by installing power - four double sockets, two each for the flowering and propogating rooms:
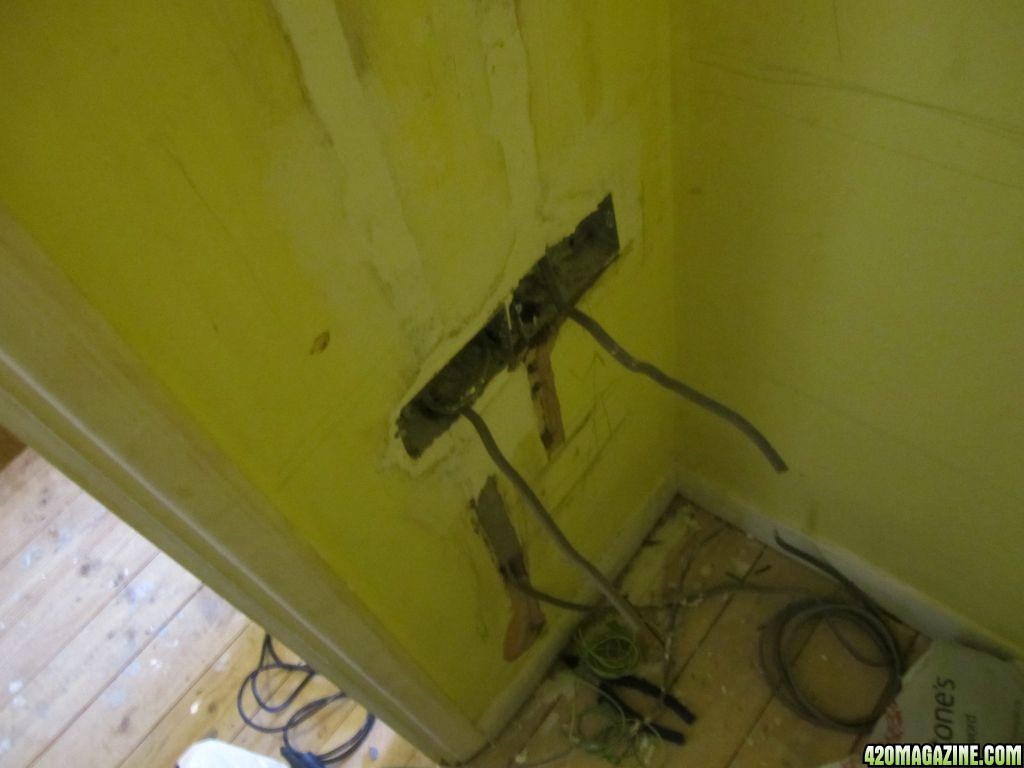
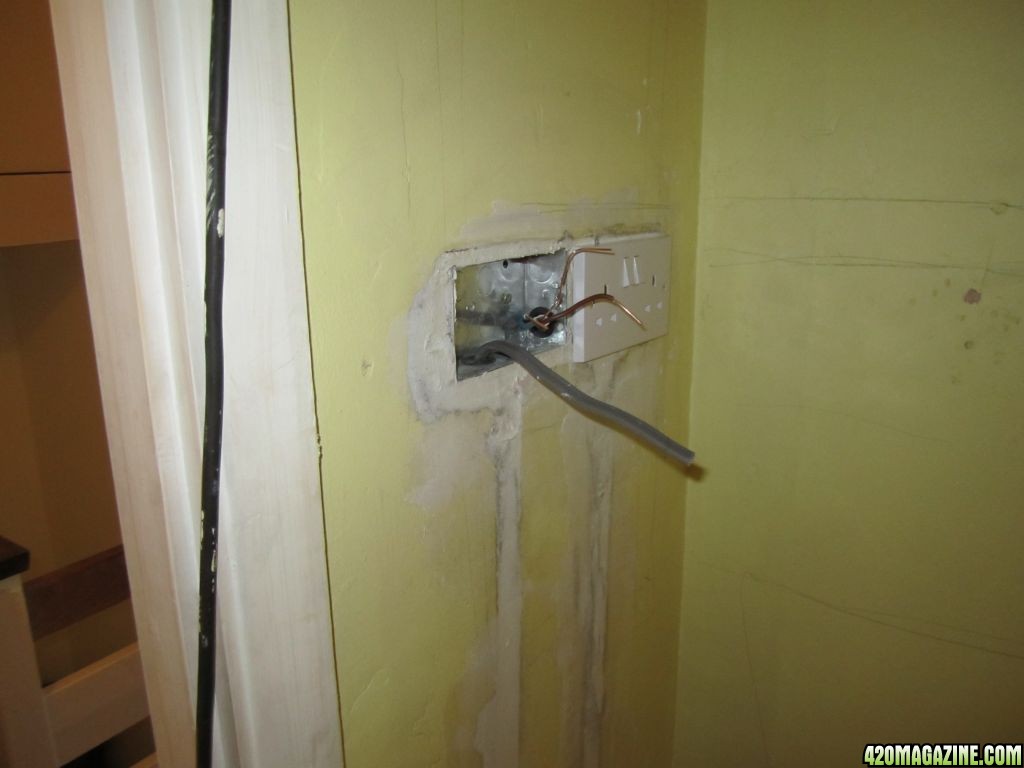
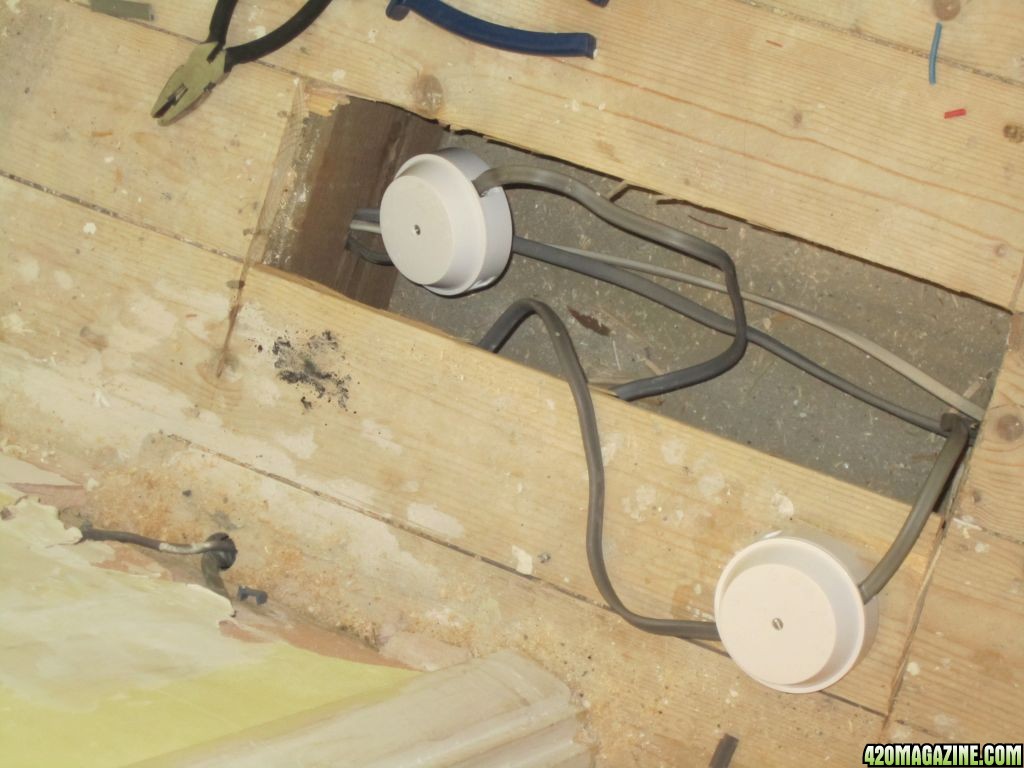
I installed the patress boxes and chased everything in before wiring the sockets. I didn't want anything overloading (even though it's just a 125W CFL and smaller CFL for the propogating room but I'd rather be on the safe side, and it gives some room in the future if I want to upgrade the lights or add stuff) so the floorboards came up and I wired it all into the ring main. It also means the wiring's legal!!
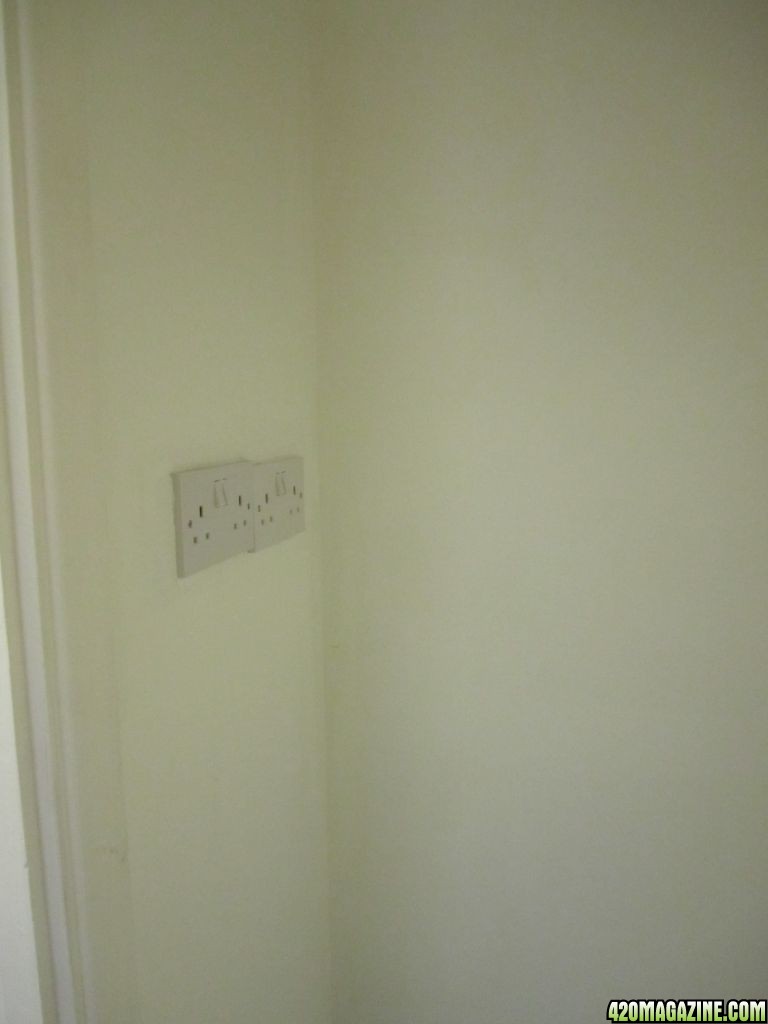
Filled, sanded and painted for a nice finish and then installed a new floor:
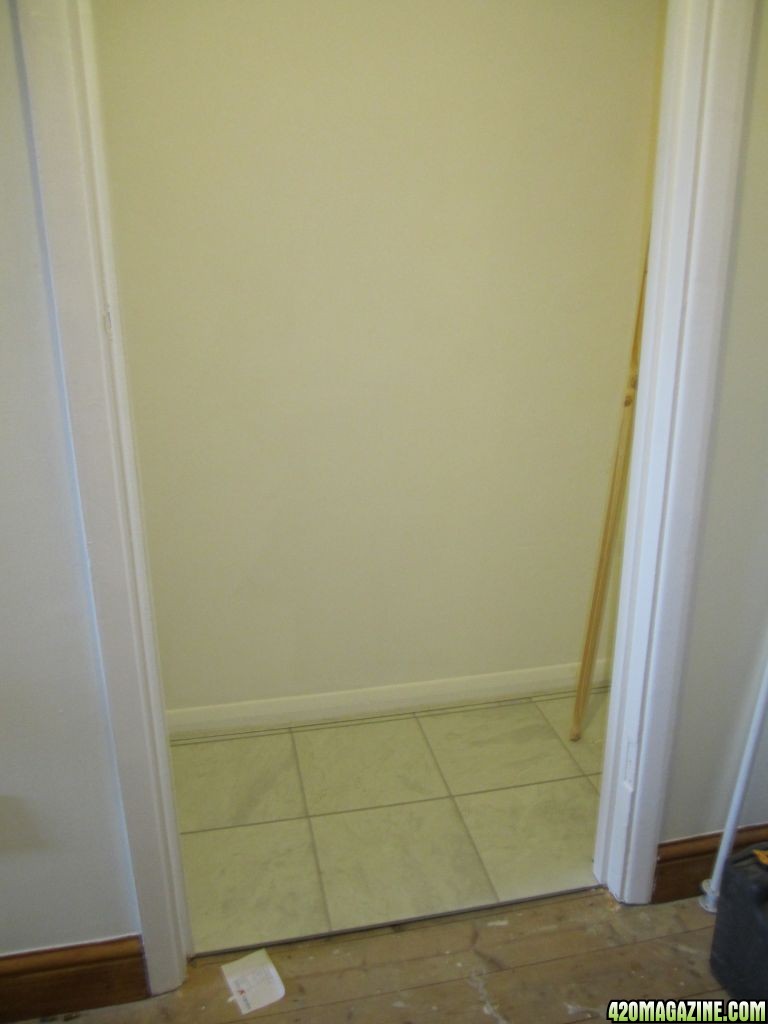
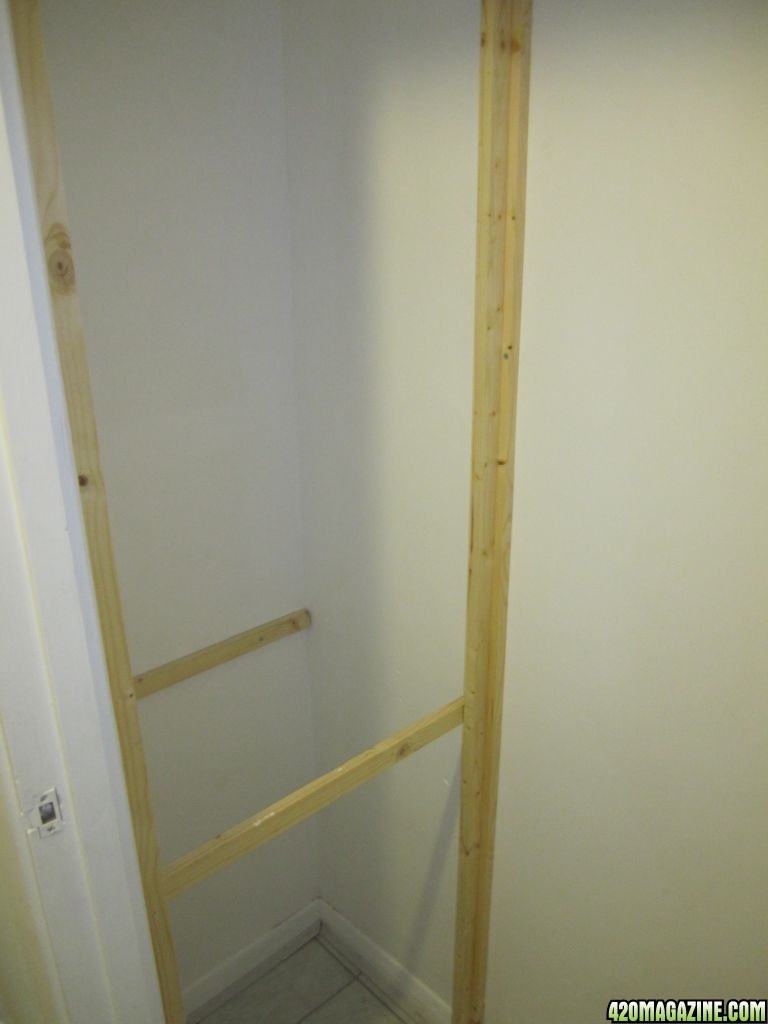
I then started building the frame. I wanted it to be completely light-proof so I built it so the door would sit flush against an overlap which I could paint matt black to kill any light:
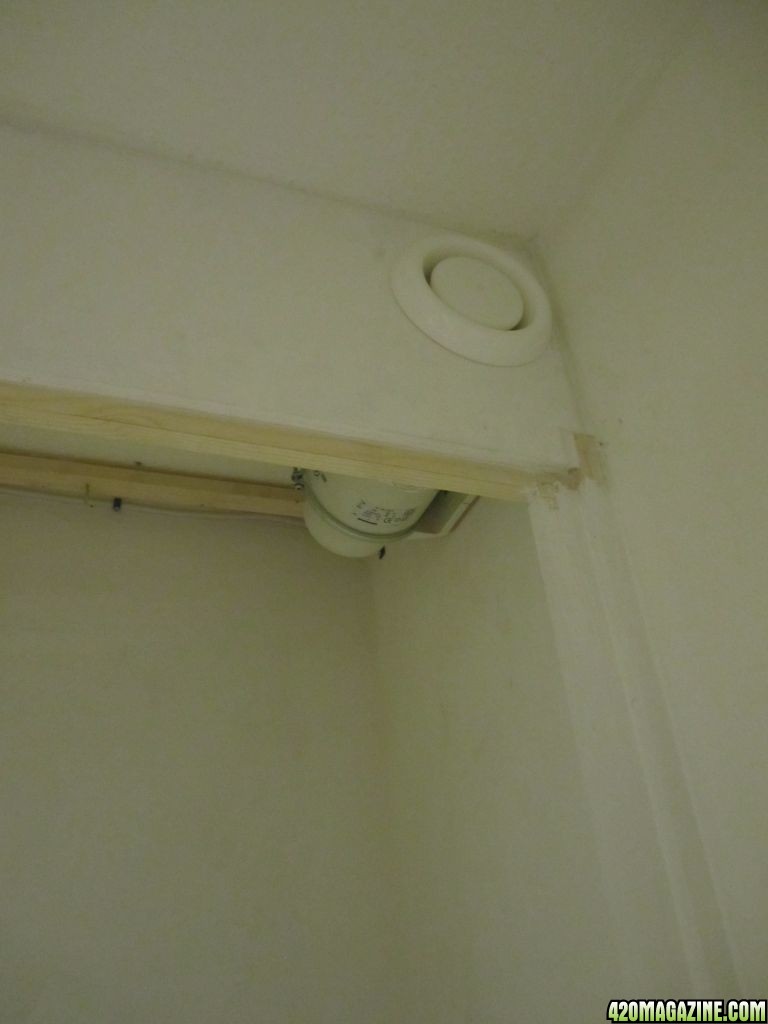
Put the fan in (had this from my grow 10yrs ago). It does 200 cubic meters an hour so will empty the cupboard of air plenty of times!
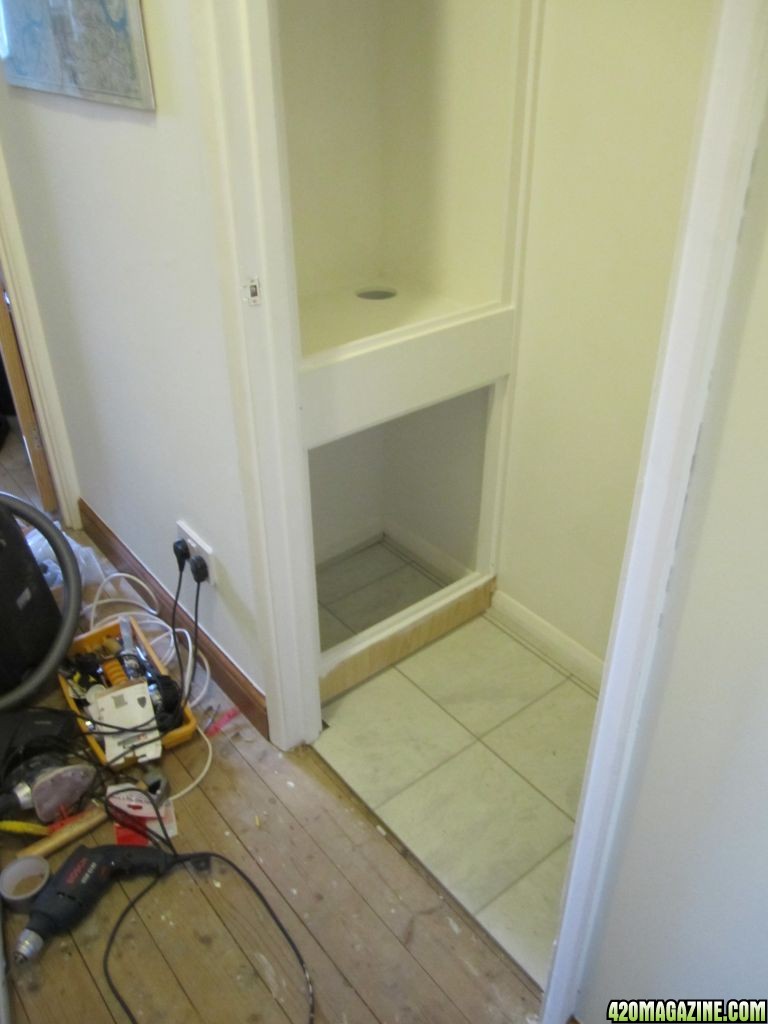
The frame and shelf are now complete and all painted white. The hole at the back of the shelf is to draw air up through the propogating chamber and will be fitted with a dark-room lightproof louvre. I'm using a few of these as you'll see later.
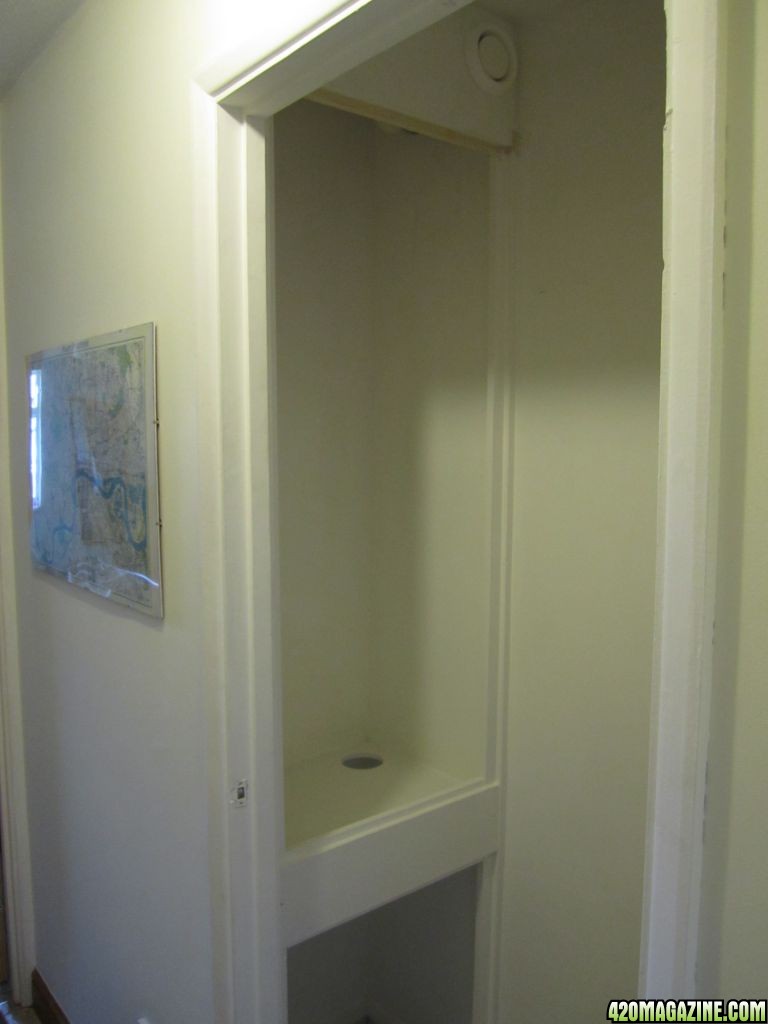
I then put a door on the main cupboard (with a lock!) to keep nosey people out and prevent us from having to live in isolation with no visitors. From the stairs it just looks like a cupboard. I've cut the door a little short (there's a 2-3" gap at the bottom to allow air flow in and out of the main cupboard. No light will escape so this is fine from a stealth point of view.
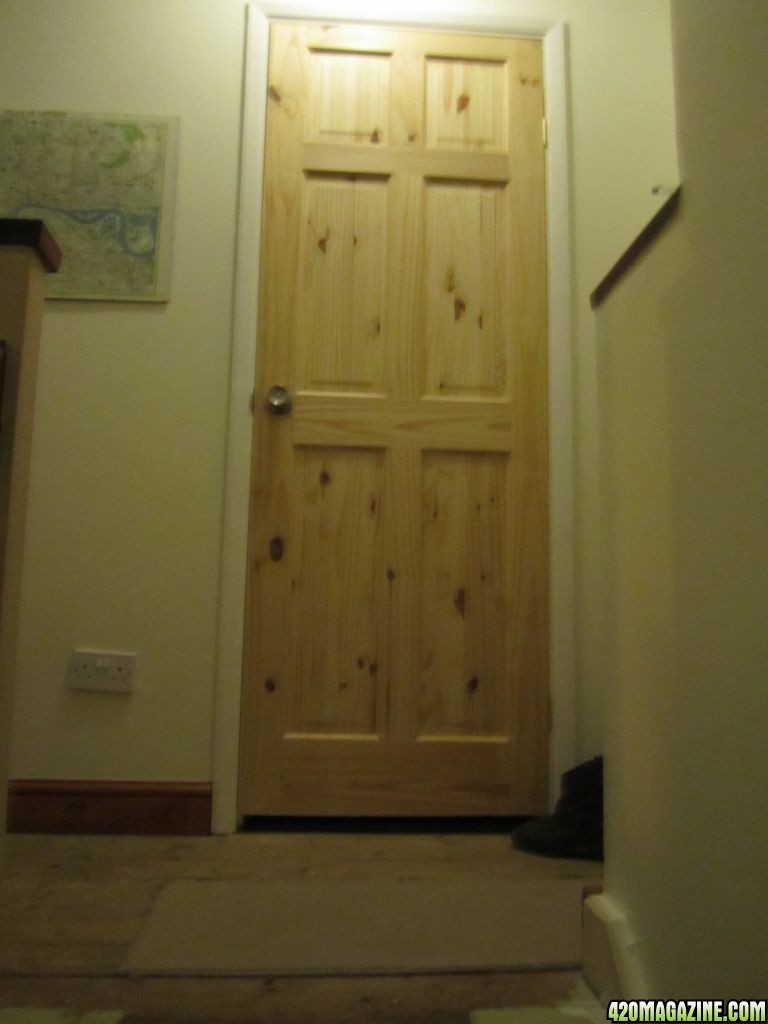
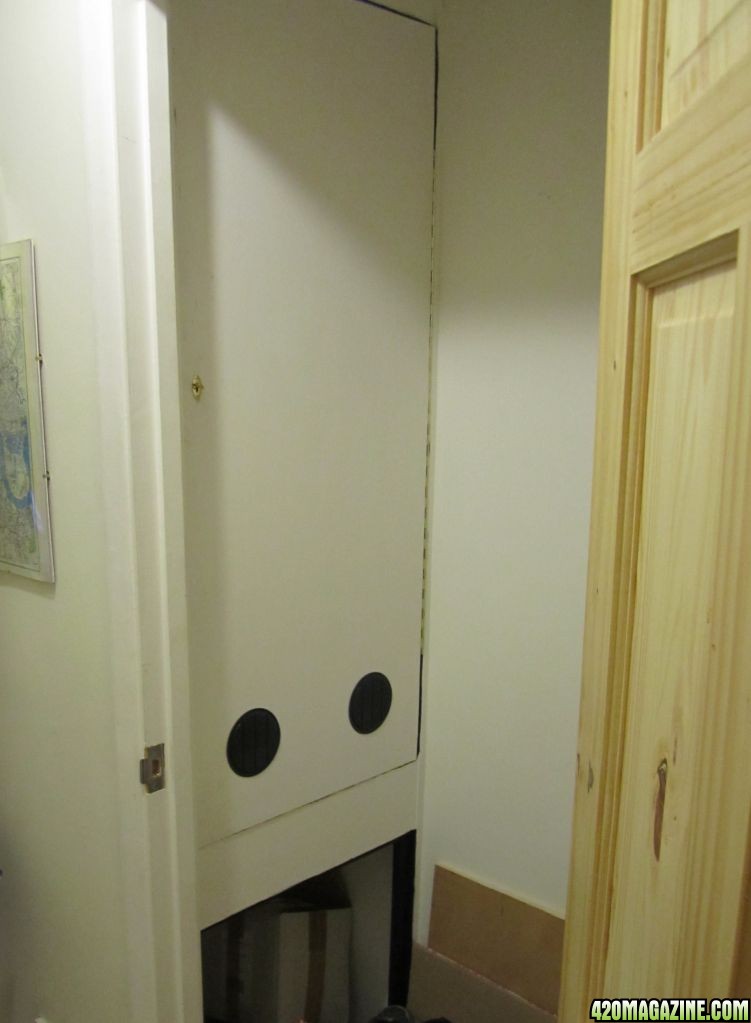
Here's the view of the grow cupboard with the door on. The black circles are more of the light proof vents: two at the bottom of the main door to suck air in and up through the cupboard, and one at the back of the shelf to draw air up and through from the propogating room. The door for the propogating room will also have a vent so air can enter it and go up through into the flowering room.
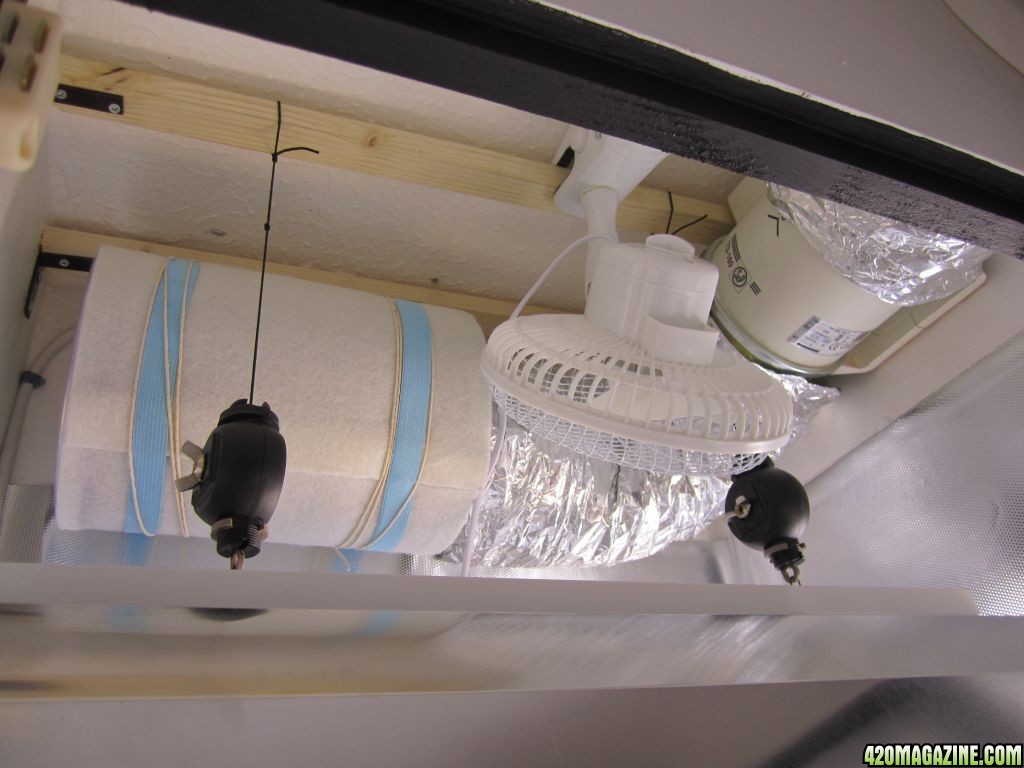
Up at the top of the cupboard is a carbon filter as I can't vent outside and don't want the house stinking of green (or my wife's shoes for that matter - she would not be happy)
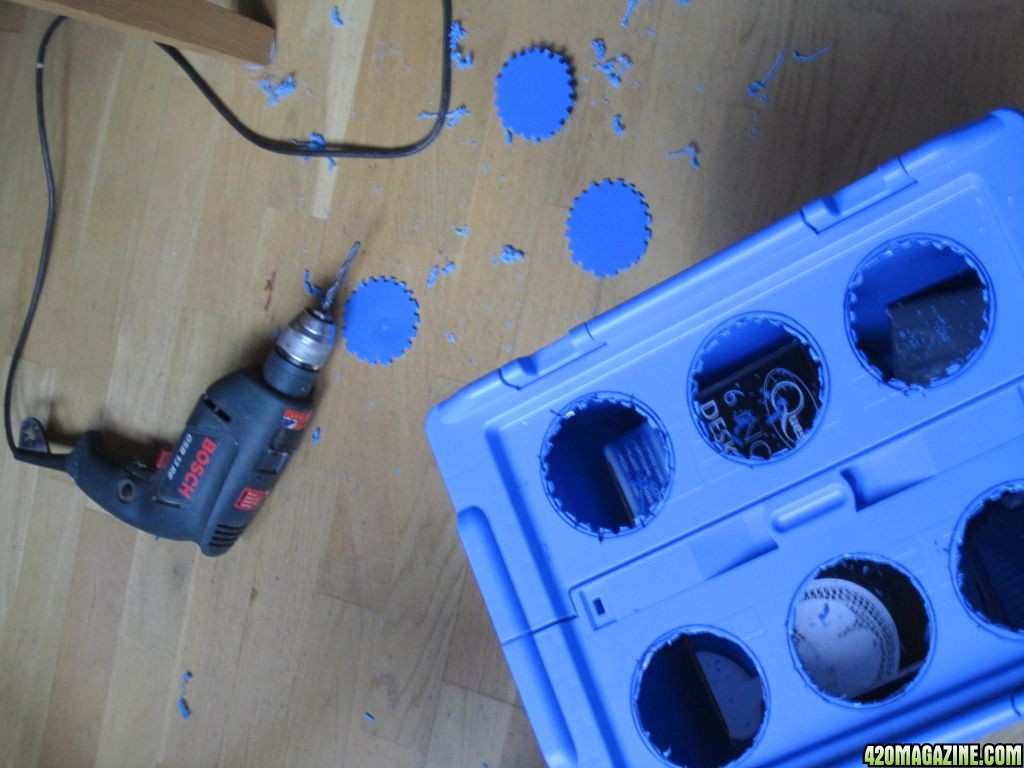
I built the ------------ using totes I bought off the internet: one for the main vegging/flowering and one for propogating cuttings etc. I also figure I could keep a couple of small mother plants going to keep some variety. These will each have a pump which feeds the 8cm net pots (which will be filled with clay pebbles) and an air stone to get loads of oxygen in
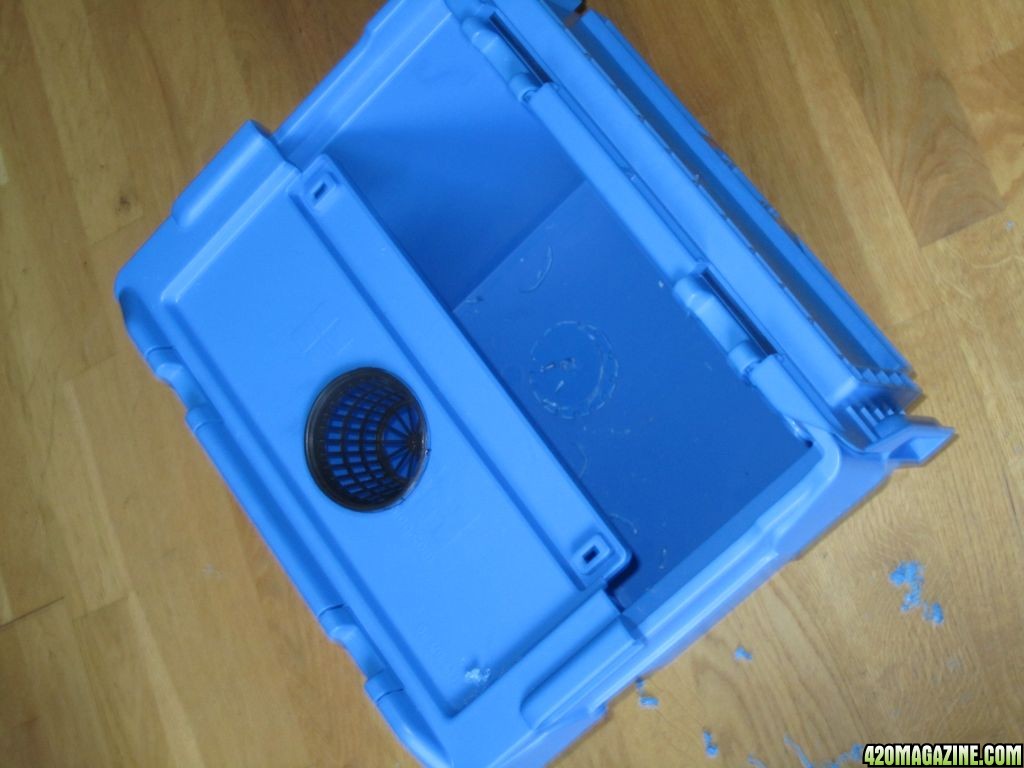
And here's the finished article:
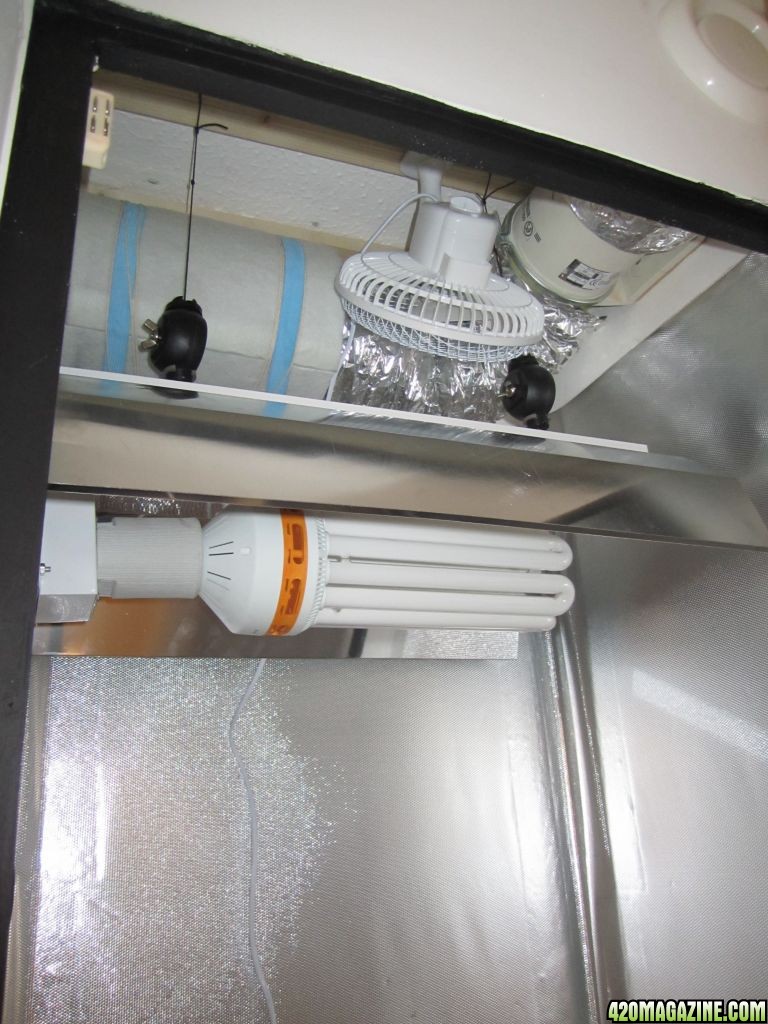
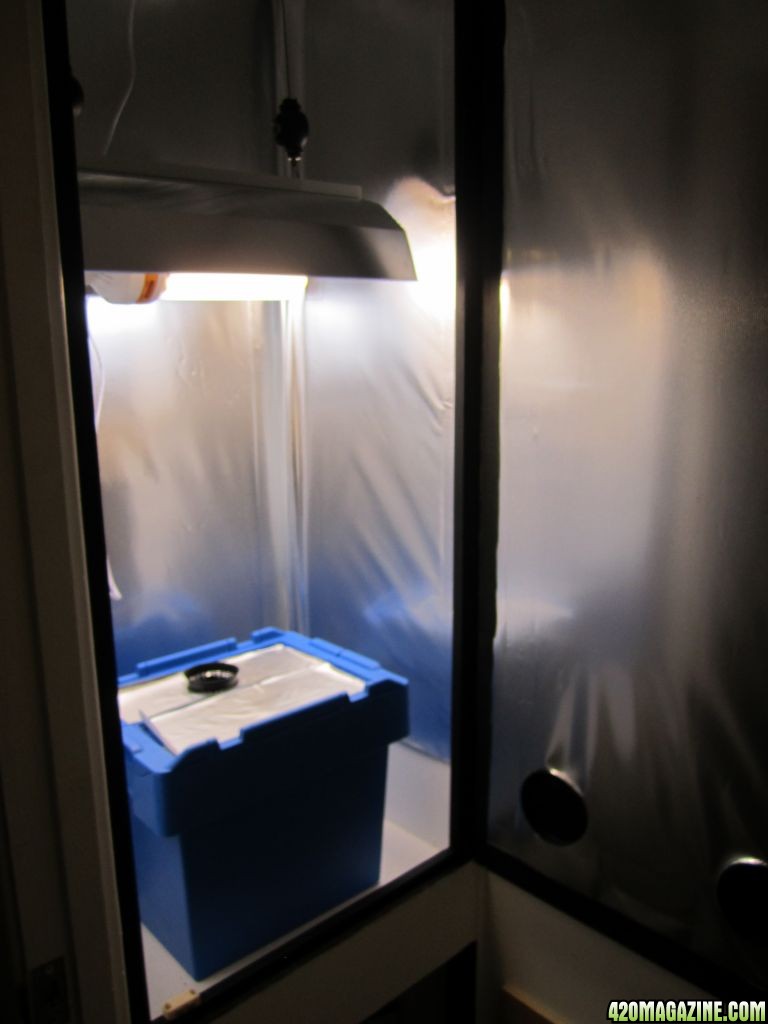
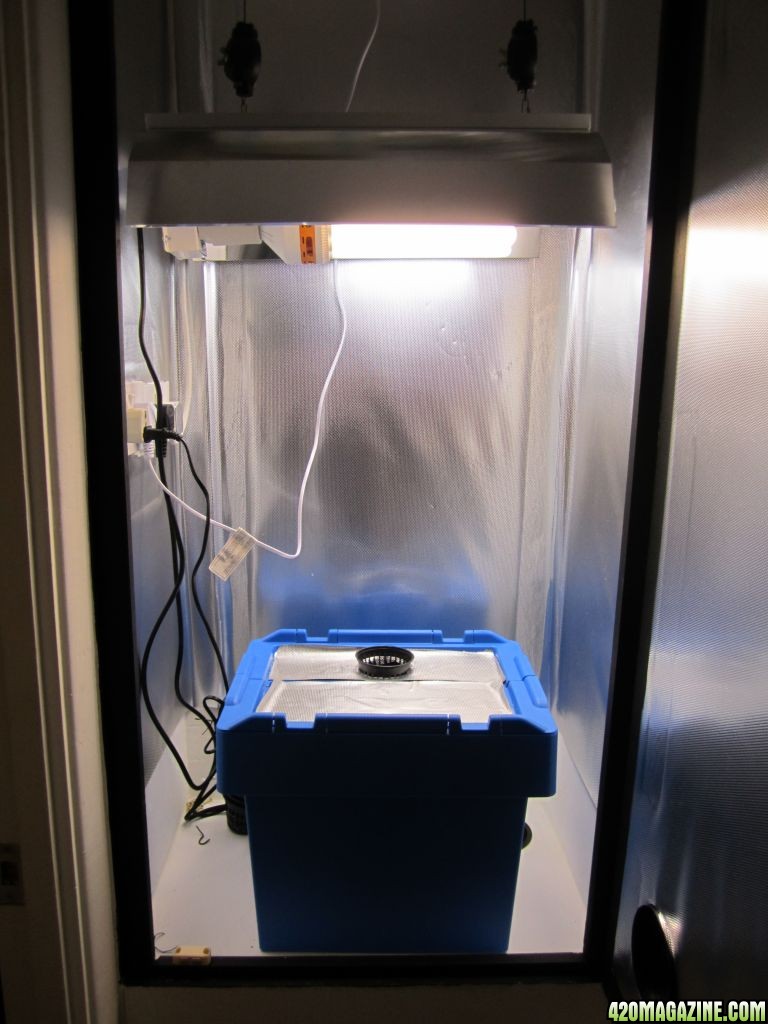
I'm awaiting arrival of my small rockwool cubes and I will germ the seed and start the grow. Rockwool should be here by tomorrow so I think that by Sunday / early next week I shall have a seedling and will give an update on progress.
I'm quite excited and really looking forward to actually getting the lady growing!!!
So I thought I'd give the intro to the build so the full picture's there from start to harvest. I'm pretty happy with where I've got to with the grow room (DIY is something I've got a lot of experience with so hopefully this bit might be helpful to others) but any advice additional ideas and advice is always welcome. When I get to the grow itself in a few days it will be a different story so the more you people can help the better!!
I'll be growing an Auto Bomb to start while I finish the propogating room, and then will grow a Berry Bomb - I wanted some bud quicker than if I started straight away with a photoperiod so thought I'd get an auto going in the meantime.
I've built some ------------ (completely plagarised from other systems I've seen) under a 125w double spectrum CFL using Canna Hydro nutrients (I bought them before realising they'd now developed pH balanced Aqua for recirculating systems but never mind. I've used the Hydro before and they were fine)
Anyway: here's the cupboard I have at the top of my stairs:
It had a nice space to the left. It's not huge: 48cm x 60cm x 240cm, but big enough for a propogating room and flowering room with one plant. I reckon I'm going to ScrOG with the BerryBomb but may just leave the AutoBomb to do its thing (although I have read some people saying you can Scrog autos too - any experience on this anyone?)
I'd have liked to have used the whole cupboard, but as I mentioned earlier it was a negotiation - I've promised to build my wife a shoe cupboard on the right, so it will be a cupboard for weed and shoes. I think my wife and I will both be standing just outside the cupboard, one looking left, one looking right, admiring our own different pleasures in life!!

I want the cupboard to be completely self contained so I started by installing power - four double sockets, two each for the flowering and propogating rooms:
I installed the patress boxes and chased everything in before wiring the sockets. I didn't want anything overloading (even though it's just a 125W CFL and smaller CFL for the propogating room but I'd rather be on the safe side, and it gives some room in the future if I want to upgrade the lights or add stuff) so the floorboards came up and I wired it all into the ring main. It also means the wiring's legal!!

Filled, sanded and painted for a nice finish and then installed a new floor:
I then started building the frame. I wanted it to be completely light-proof so I built it so the door would sit flush against an overlap which I could paint matt black to kill any light:
Put the fan in (had this from my grow 10yrs ago). It does 200 cubic meters an hour so will empty the cupboard of air plenty of times!
The frame and shelf are now complete and all painted white. The hole at the back of the shelf is to draw air up through the propogating chamber and will be fitted with a dark-room lightproof louvre. I'm using a few of these as you'll see later.
I then put a door on the main cupboard (with a lock!) to keep nosey people out and prevent us from having to live in isolation with no visitors. From the stairs it just looks like a cupboard. I've cut the door a little short (there's a 2-3" gap at the bottom to allow air flow in and out of the main cupboard. No light will escape so this is fine from a stealth point of view.
Here's the view of the grow cupboard with the door on. The black circles are more of the light proof vents: two at the bottom of the main door to suck air in and up through the cupboard, and one at the back of the shelf to draw air up and through from the propogating room. The door for the propogating room will also have a vent so air can enter it and go up through into the flowering room.
Up at the top of the cupboard is a carbon filter as I can't vent outside and don't want the house stinking of green (or my wife's shoes for that matter - she would not be happy)
I built the ------------ using totes I bought off the internet: one for the main vegging/flowering and one for propogating cuttings etc. I also figure I could keep a couple of small mother plants going to keep some variety. These will each have a pump which feeds the 8cm net pots (which will be filled with clay pebbles) and an air stone to get loads of oxygen in
And here's the finished article:
I'm awaiting arrival of my small rockwool cubes and I will germ the seed and start the grow. Rockwool should be here by tomorrow so I think that by Sunday / early next week I shall have a seedling and will give an update on progress.
I'm quite excited and really looking forward to actually getting the lady growing!!!


