

Wolfbuddie
Well-Known Member
Well, I thought I would post pictures of my grow box construction to give others some ideas on what can be done relatively inexpensively.
I decided on a 2' X 2' X 5' cabinet to allow for both veg and flowering in the same box. Some of the things I found out when constructing the box, is that when you buy wood from Home Depot or Lowes that is listed as 2" X 2", it is really not 2inches X 2 inches. It actually measures about 1.5 inches X 1.5 inches.
I would recommend that you measure all the wood you will be using before cutting it up for assembly. (I learned that one the hard way.)
I would recommend that you put casters on the box, especially if you live in a rented home, as this way you can move your grow box if you move. I did and it makes it very handy.
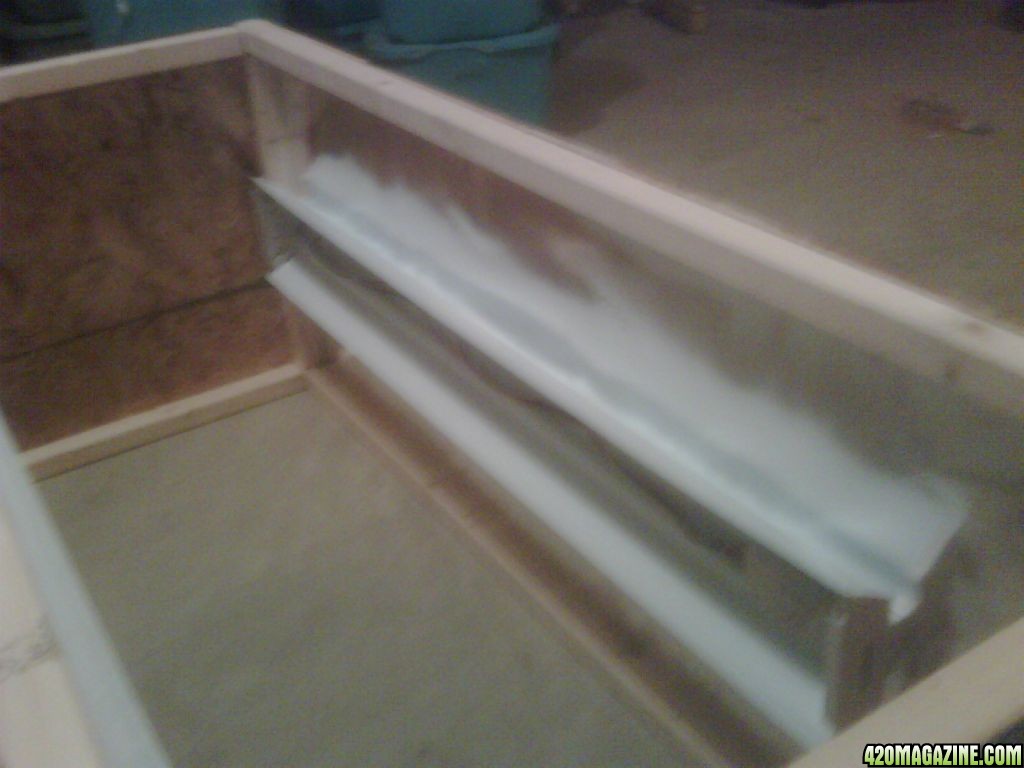
I started the construction using two 4' X 8' pieces of OSB board, the same type of wood that is used in subfloor construction. I cut the 4'X8's in half to give me a total of four 2'X8'. I then cut these down to four 2'X5'. I then cut two 2'x2' pieces out of the left overs to make the floor and ceiling for the box.
I cut four 2 inch X 2 inch stock into 22" lengths to outline the floor panel and that was when I found out the 2x2 was not really 2x2. So back to Home Depot for some more 2X2 inch stock. The second time I took into account the true size and cut the the pieces so they would work. I then added my casters to the floor panel.
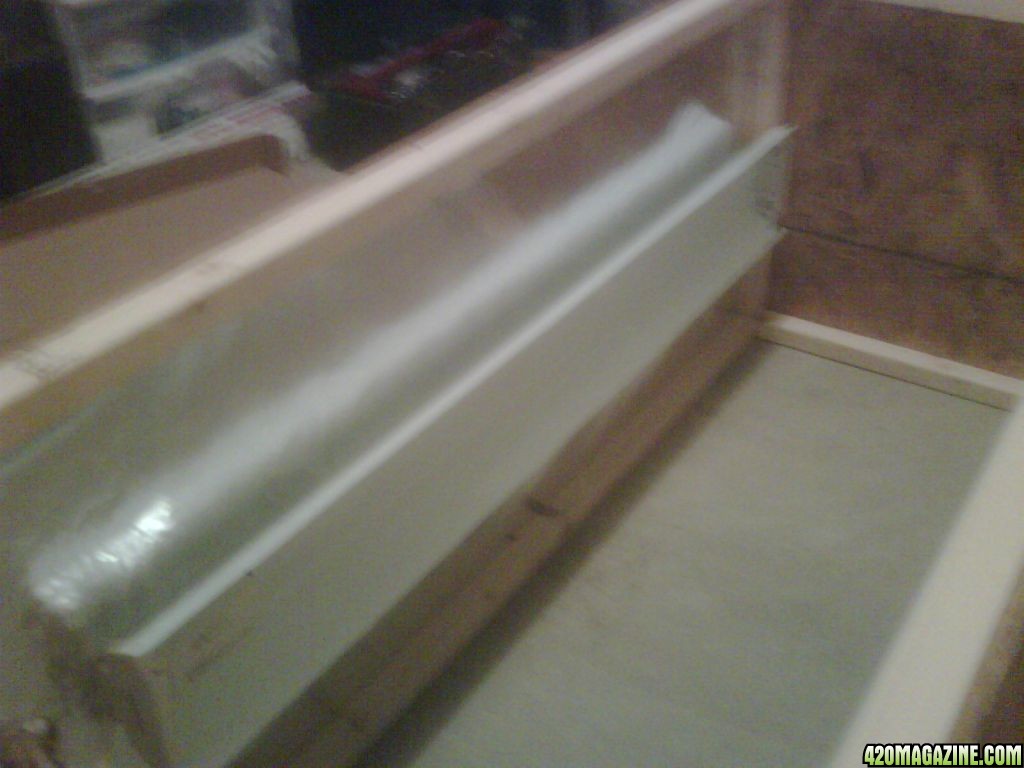
I did the same for the ceiling panel minus the casters. I then cut four 5 foot pieces of the 2X2 stock for the frame of the box.

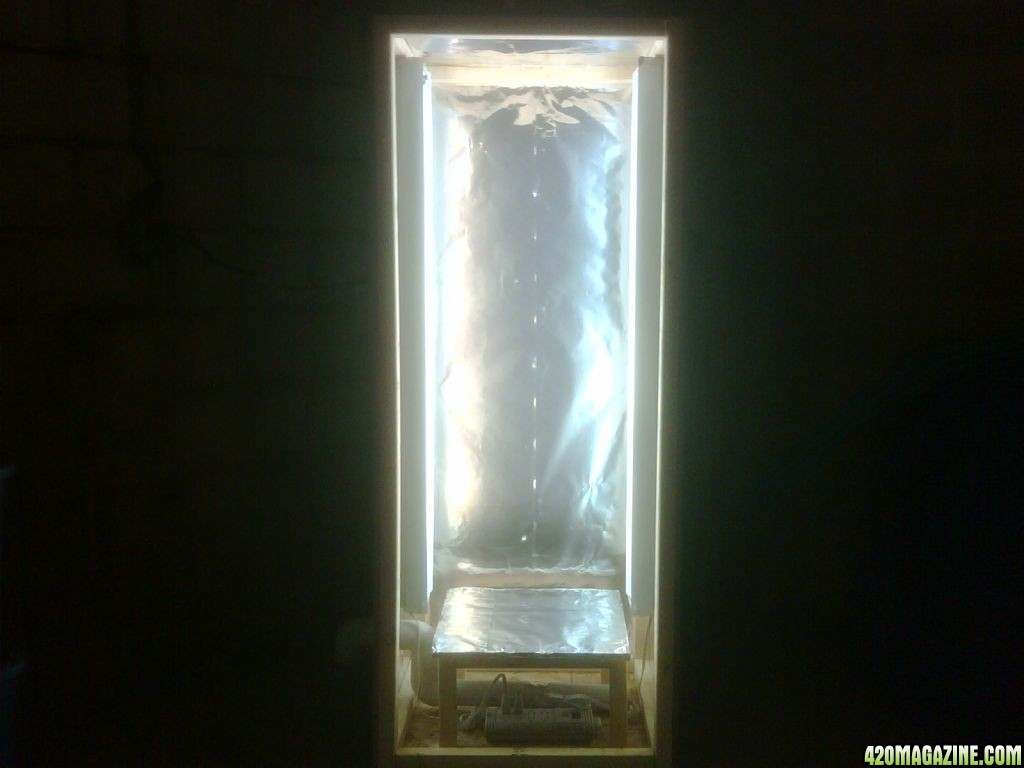
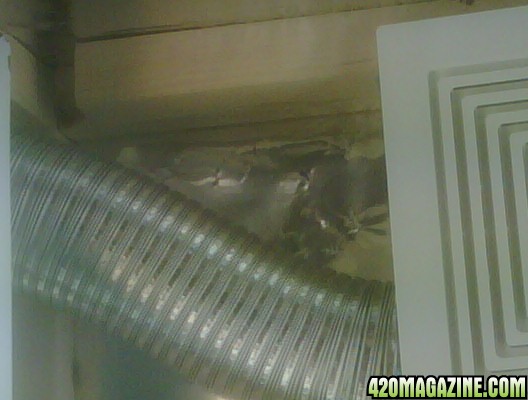
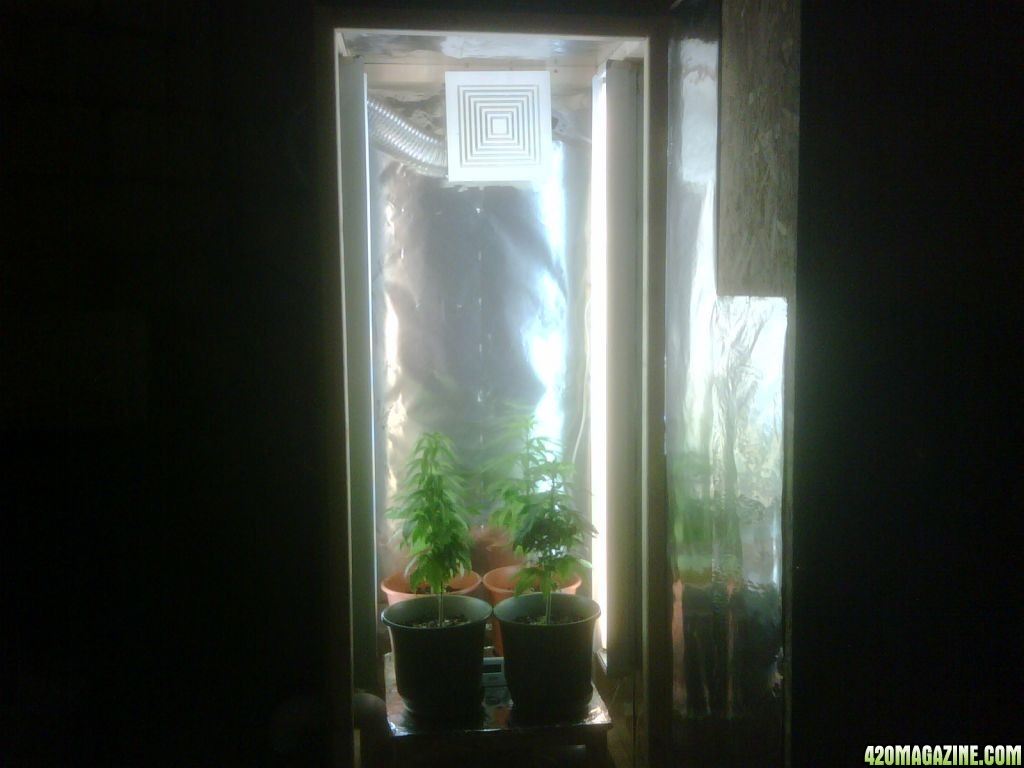
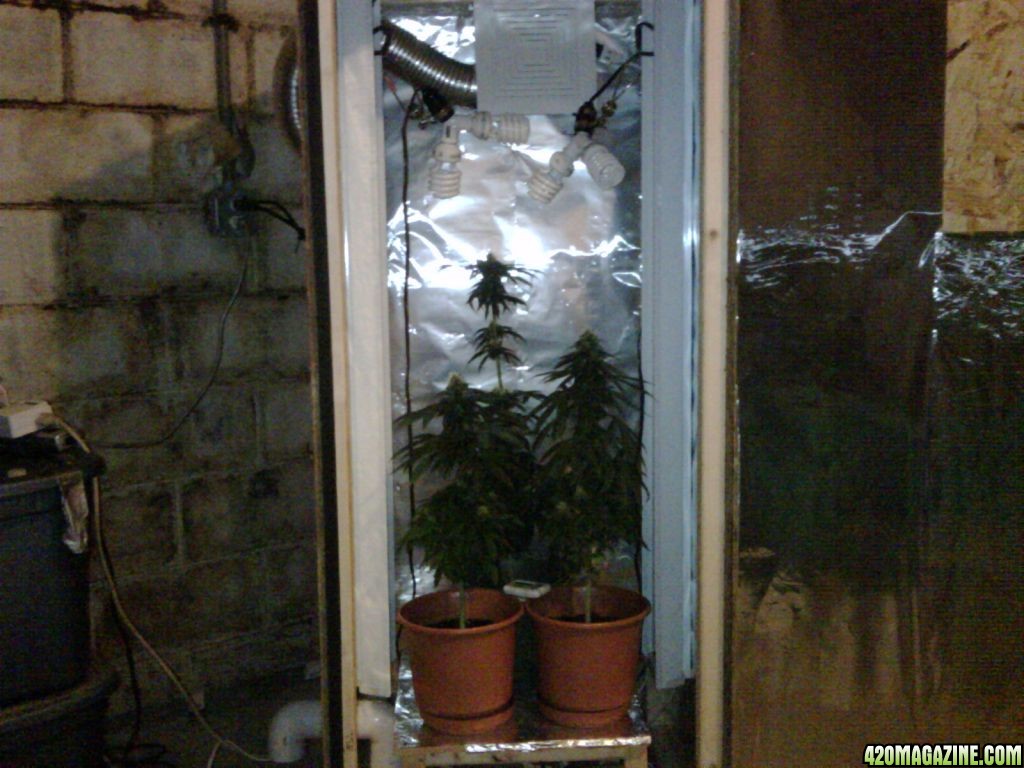
I then lined the side panels with aluminum foil and then screwed the back panel to the frame. I then installed a two bulb T8 4 ft Fluorescent light to the right and left side panels and screwed them to the frame.
I then cut a 2 inch hole under the Left light panel as a passive air inlet and used 2" PVC with 3 90 degree elbows to bring in the air, but eliminate any light that would leak in.
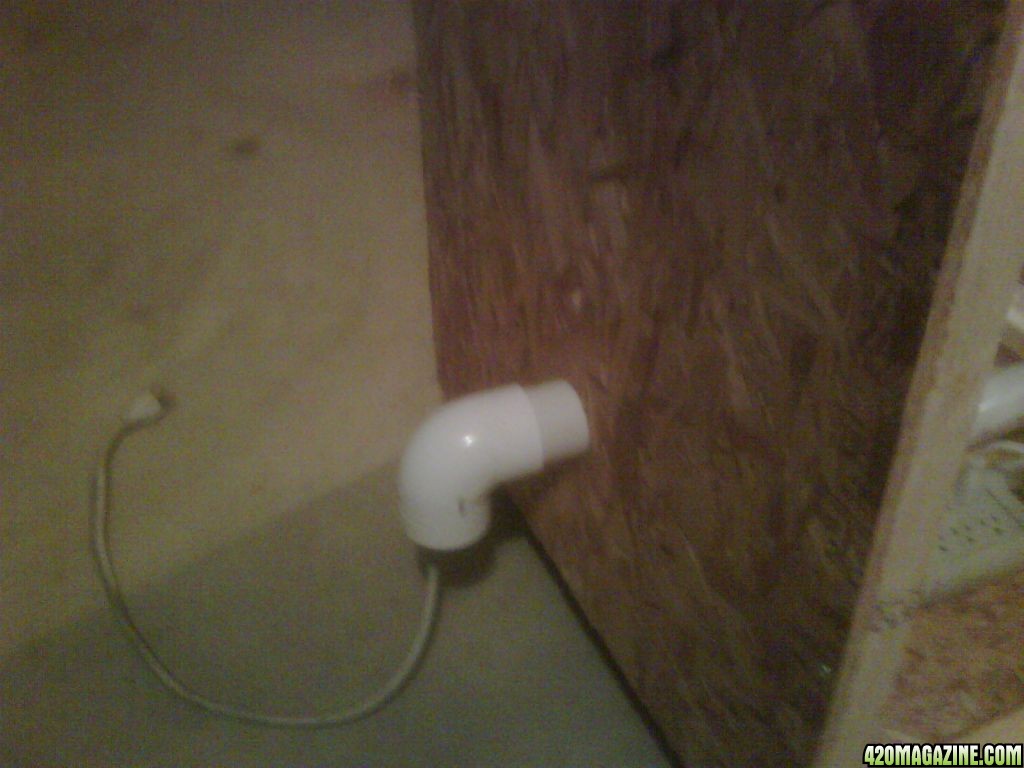
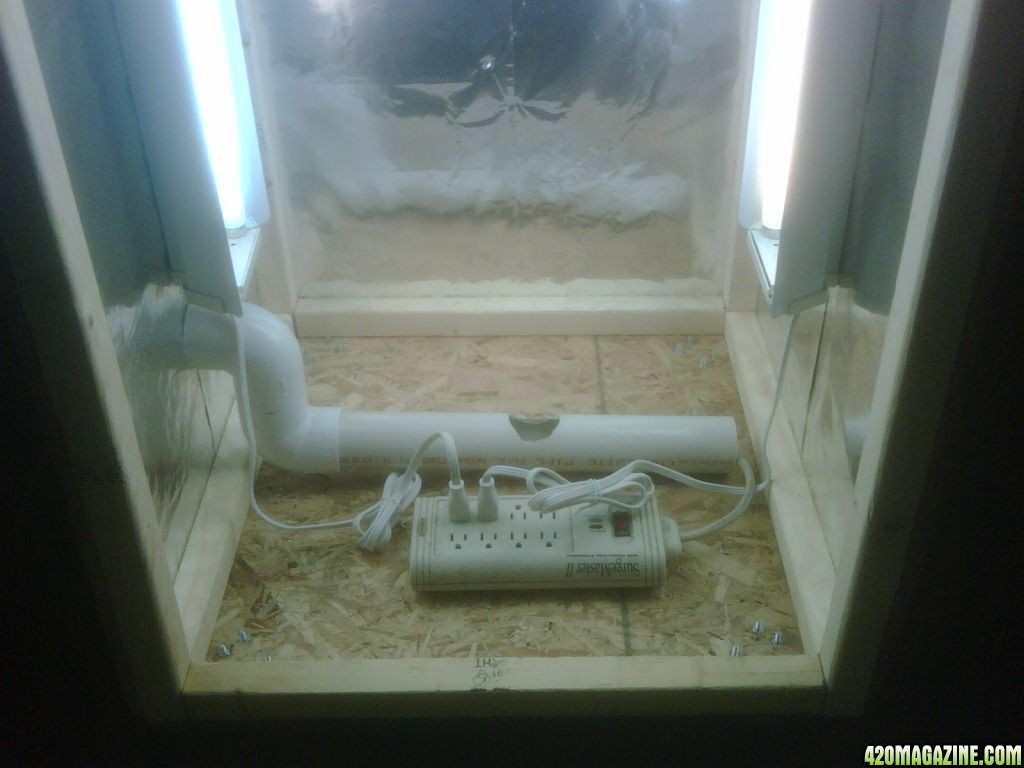
As you can see, I ran the power cord thru the PVC, so that I would not need to cut another hole in the box for the cord. Fewer holes means less chance for light to leak in when the plants are in their dark period.
Since I did not want the plants right on the floor. I build a little stand to support a small 18"X18" platform for the plants to sit on.
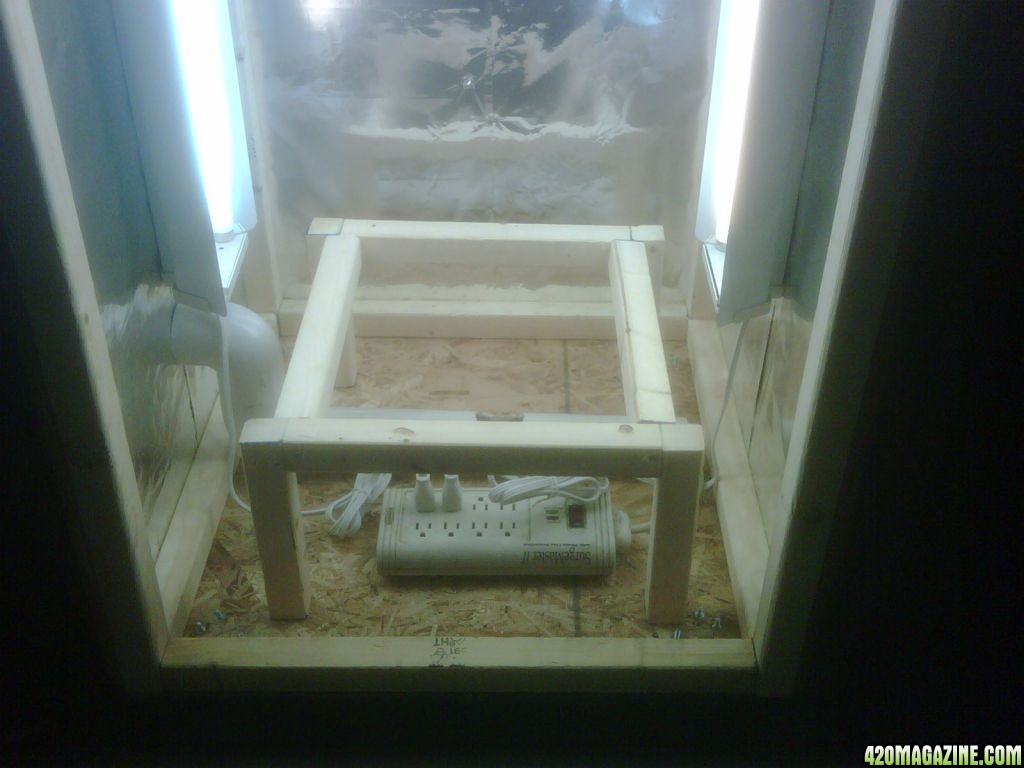
I lined the platform with aluminum foil also.

I used hinges on the front panel with a lockable latch on the other side to keep it closed.
I still need to add a small exhaust fan near the top of the real panel and some weather stripping around the Door to make it light proof. Just waiting on payday to finish it. I will post some final pictures once I add the fan.
I have left enought room to add a 250 watt HPS to the ceiling, once I have saved up enought for it. Even $150 for a used one is out of my reach atm.
Well, I hope that posting this will inspire others, and prove that building a growbox is not that difficult even for someone like me that is not really handy with tools.
 Go Newbies
I decided on a 2' X 2' X 5' cabinet to allow for both veg and flowering in the same box. Some of the things I found out when constructing the box, is that when you buy wood from Home Depot or Lowes that is listed as 2" X 2", it is really not 2inches X 2 inches. It actually measures about 1.5 inches X 1.5 inches.
I would recommend that you measure all the wood you will be using before cutting it up for assembly. (I learned that one the hard way.)
I would recommend that you put casters on the box, especially if you live in a rented home, as this way you can move your grow box if you move. I did and it makes it very handy.
I started the construction using two 4' X 8' pieces of OSB board, the same type of wood that is used in subfloor construction. I cut the 4'X8's in half to give me a total of four 2'X8'. I then cut these down to four 2'X5'. I then cut two 2'x2' pieces out of the left overs to make the floor and ceiling for the box.
I cut four 2 inch X 2 inch stock into 22" lengths to outline the floor panel and that was when I found out the 2x2 was not really 2x2. So back to Home Depot for some more 2X2 inch stock. The second time I took into account the true size and cut the the pieces so they would work. I then added my casters to the floor panel.
I did the same for the ceiling panel minus the casters. I then cut four 5 foot pieces of the 2X2 stock for the frame of the box.
I then lined the side panels with aluminum foil and then screwed the back panel to the frame. I then installed a two bulb T8 4 ft Fluorescent light to the right and left side panels and screwed them to the frame.
I then cut a 2 inch hole under the Left light panel as a passive air inlet and used 2" PVC with 3 90 degree elbows to bring in the air, but eliminate any light that would leak in.
As you can see, I ran the power cord thru the PVC, so that I would not need to cut another hole in the box for the cord. Fewer holes means less chance for light to leak in when the plants are in their dark period.
Since I did not want the plants right on the floor. I build a little stand to support a small 18"X18" platform for the plants to sit on.
I lined the platform with aluminum foil also.
I used hinges on the front panel with a lockable latch on the other side to keep it closed.
I still need to add a small exhaust fan near the top of the real panel and some weather stripping around the Door to make it light proof. Just waiting on payday to finish it. I will post some final pictures once I add the fan.
I have left enought room to add a 250 watt HPS to the ceiling, once I have saved up enought for it. Even $150 for a used one is out of my reach atm.
Well, I hope that posting this will inspire others, and prove that building a growbox is not that difficult even for someone like me that is not really handy with tools.
Go Newbies 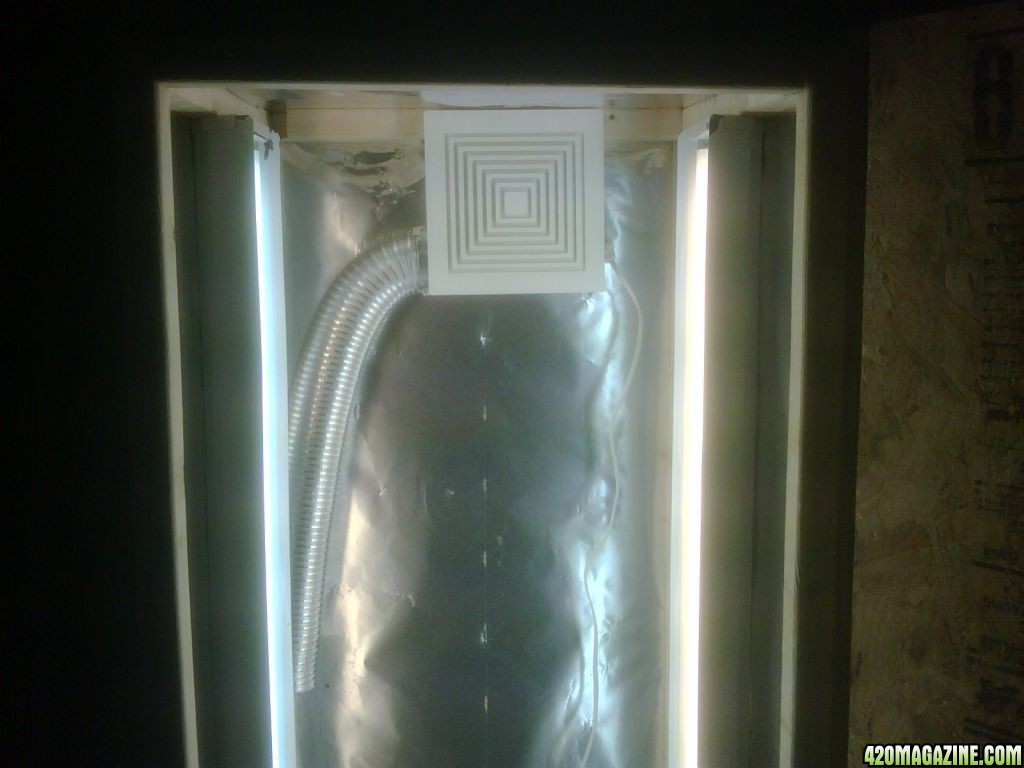


 However I was wondering are you filtering your exhaust? I read through and didn't see you mention it and i'd really like to know. If you are, what kind of setup do you have?
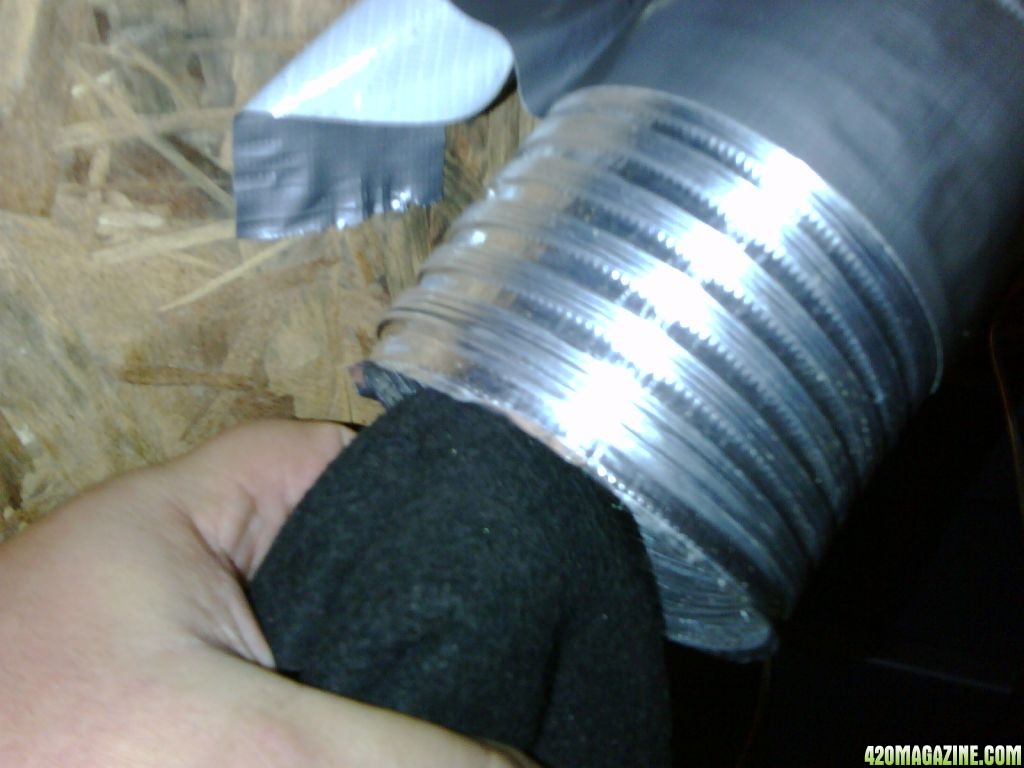
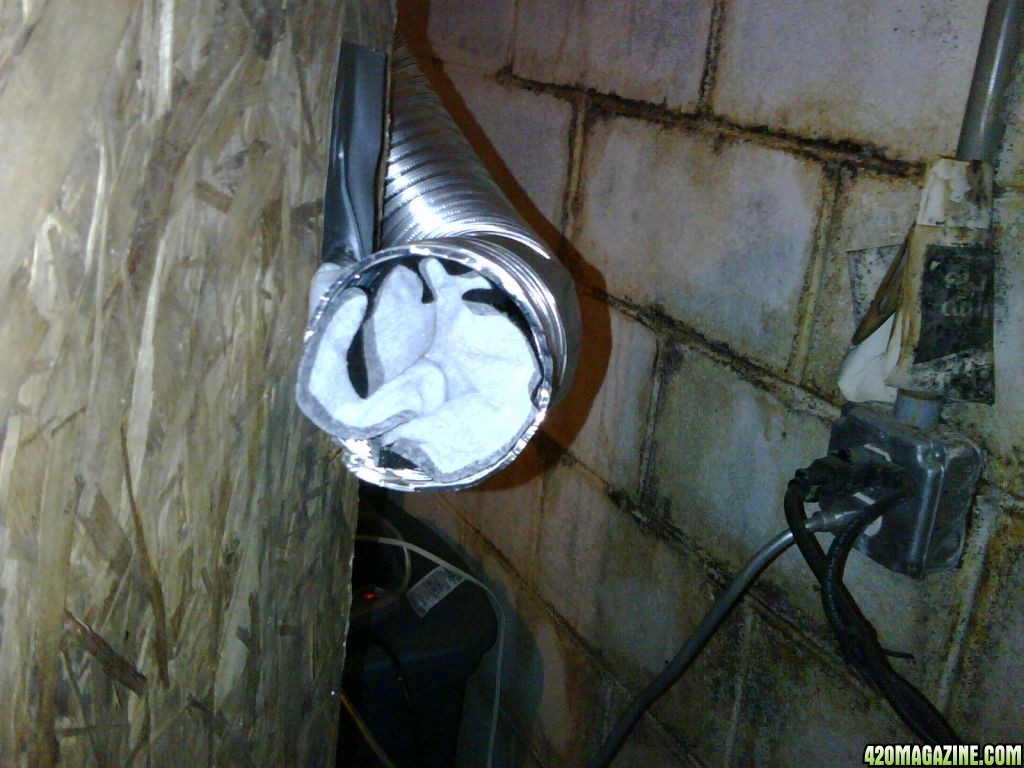
 I just wanted to post a few shots of the filter I use in the exhaust duct for odor control. I purchased a carbon filter that is for the Febreeze air filter. It is a carbon filter roughly 4 inches by 6 inches. it is a sealed filter with mesh on both sides to allow air to pass thru. For the time being I just ball up one of the filter and insert it in the end of the exhaust duct coming out of my grow box from the exhaust fan inside.
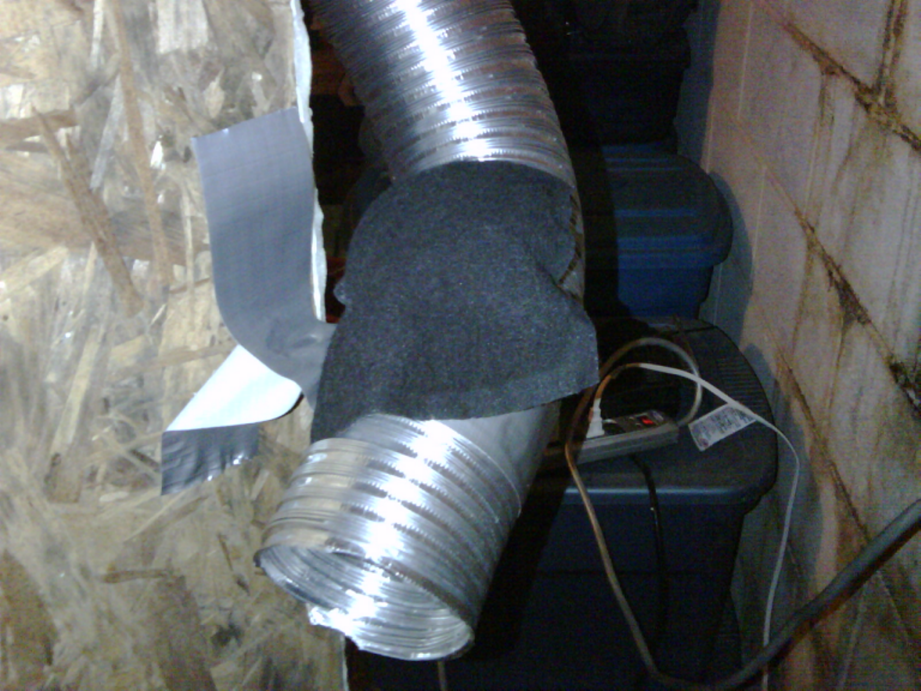

")

