Growlow
Well-Known Member
G'day Growers!
I am glad to see a lot of you well and growing like the champions you all are. I am going to share with you my approach to growing in soil organically. It involves no tilling of the soil. No bottle fertilizers. No harsh pesticides. All fertilizers and sprays are organically made and supplied with a little elbow grease and small investment. The pay off is worth the investment.
So I guess we'll start at the beginning. Making the soil!
I made up a super soil essentially a mixture of top soil, guano. rock dust and essential minerals.
4 bags x Dr Earths Organic Soil
4 bags x Fox Farms Ocean Forest (used these because I had them laying around)
Down To Earth soil amendments:
5lbs of Blood meal
5lbs of Fish bone meal
4 cups of Kelp meal
2 cups of Oyster shell
4 cups of Alfalfa meal
2 and half cups of Azomite
The only product not from Down to Earth were:
5lbs of Sunleaves Peruvian Seabird Guano 12-11-2
3lbs Rock phosphate
2TBLS powdered Humic acid
3/4 cup Epsom Salt
3/4 cup Dolomite
1/2 cup Mycorrhizae
Lava rock to help with aeration (Perlite and things of the like aren't good in these growing processes because of how they break down into a powder. You want something that will not break down. I chose lava rocks because they give something extra through slow release. So it's a win/win.).
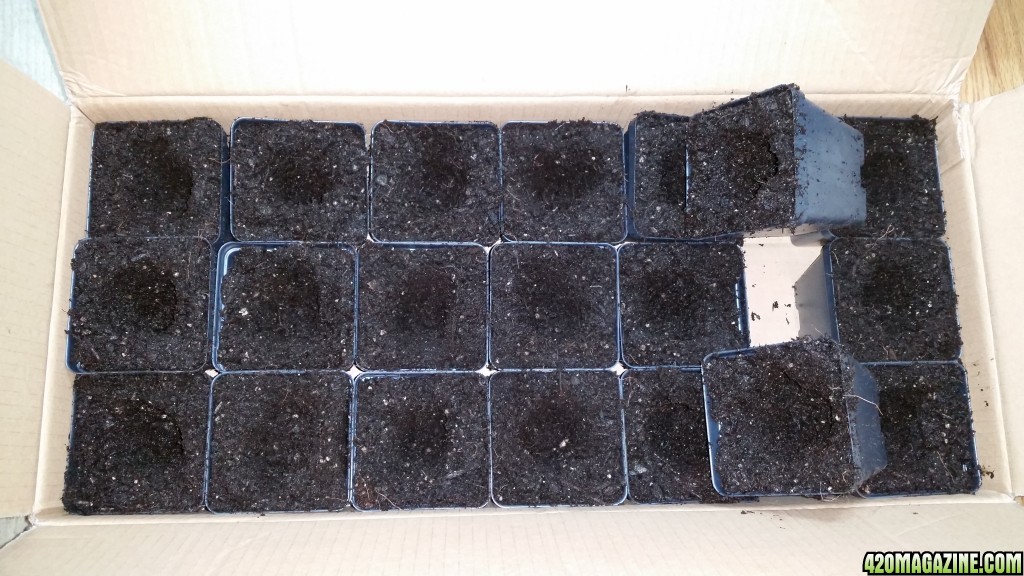
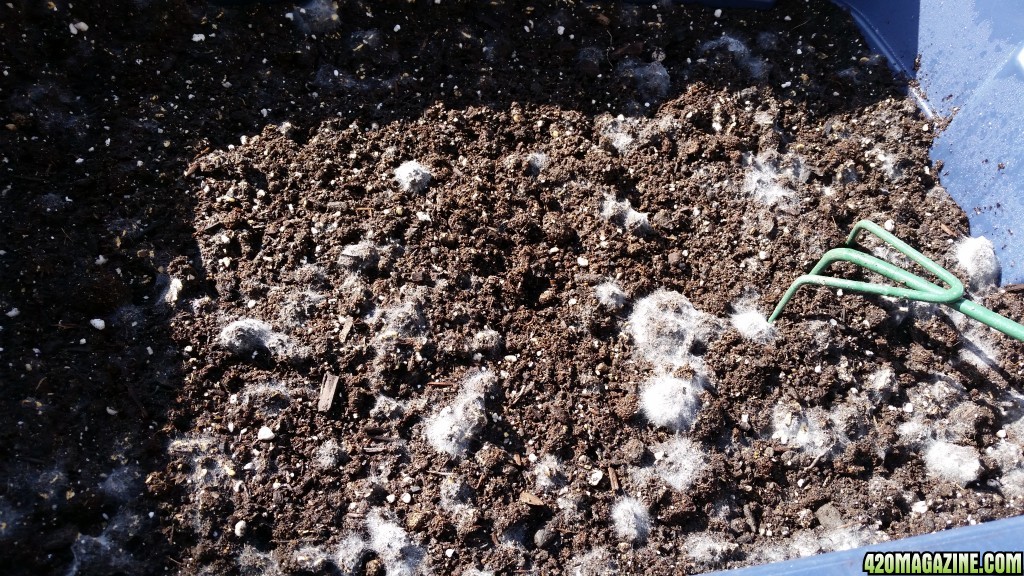
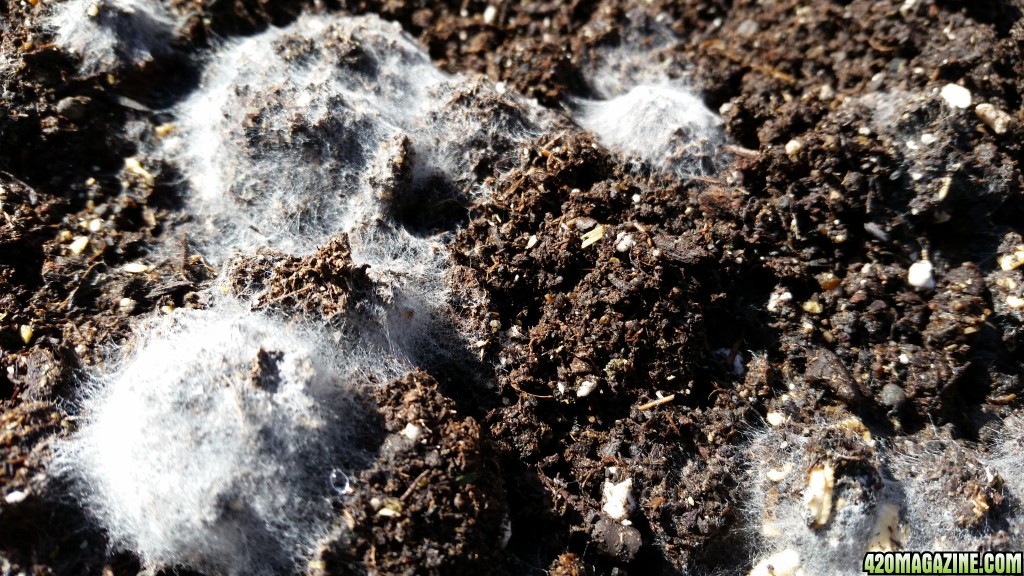
This was all well mixed then placed in 4 x 31 gallon rubbermaid totes to cook and do its things. Now by cook I don't mean heat which most people seem to be taking the term for its literal sense in regards to heating the soil. I live in the Pacific Northwest with current lows of 40 and highs of around 65. I have my totes outside in the sun and the elements (with their lids on) and they have all produced some beautiful Myco web already which I have tossed into the soil and let build back up then tossed once more. I'll repeat this process every 5 or so days over the next 40 days to thoroughly saturated the soil with a healthy supply of web.
This soil will eventually be loaded with specifically chosen beneficial instects, bacteria and fungi. To make a LIVING SOIL!!!! The concept is to build up a soil with life in it breaking down the medium and replacing it with vermacompost and more! All you need to do is top off occasionally with some nitrogen rich material for the worms and insects to break down. I'm going to get assistance from plants like White Clover, which draws nitrogen from the air and disperses it into the soil which is great for plants through all stages.
I'm going to build a DIY worm farm you can even keep in your house/appartment with it producing very little smell. It's all about how you serve them up dinner This is a great way to use up veggie and fruit scraps (minus your onions and citrus fruits) and any old newspapers laying around, your coffee grounds from your coffee in the morning (People are misinformed in thinking that used coffee grounds are to acidic. The majority of the acid went into your coffee when you drank the left over is very very low in any acid.). To Be honest my favourite food to feed them is the left over fibre from when I make a juice mixed with some dried and blitzed egg shell. I have also blitzed up old fashioned oats and some other grains into a powder. All the food is blizted to its smallest form... worms have small mouths afterall, lets help em out. Not to mention the faster they eat it the less time it sits around decomposing.. therefore reducing any smell!
I'm going to run all you guys/girls/guyirls through this process from scratch with videos and photos. Feel free to ask any questions. If you see something that could be done better feel free to share. I like to share someone elses perspective occasionally.
The strains grown in round 1 of this journal will be:
-TGA's Mickey Kush (Indica Dom Pheno).
-Girlscoutcookies thin mint cut x OG Kush Diablo cut. (This is one of my first cuts I'm sharing with the world.. I call it "The Chillz") You will see why I call it this hopefully as it goes through flower!.
-Sour Tsunami (CBD)
-Charlottes Web (CBD)
To follow are seeds being popped as speak which are:
-Jack Herer
-OG Kush
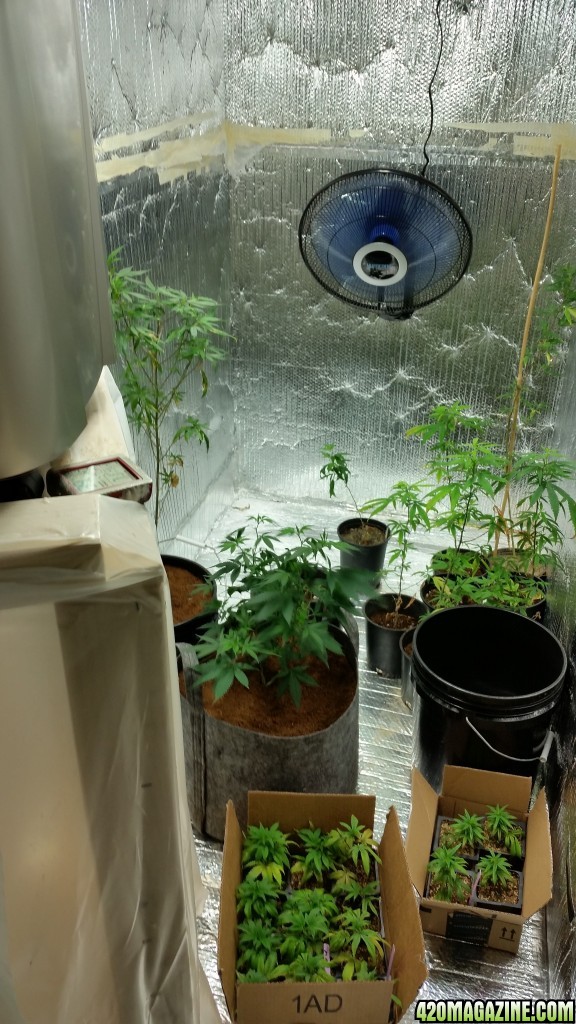
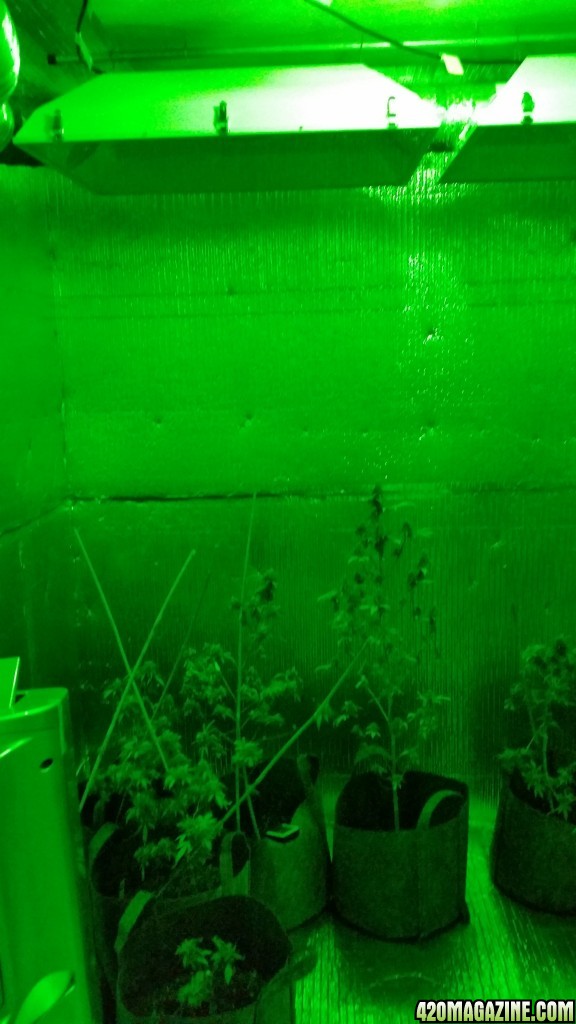
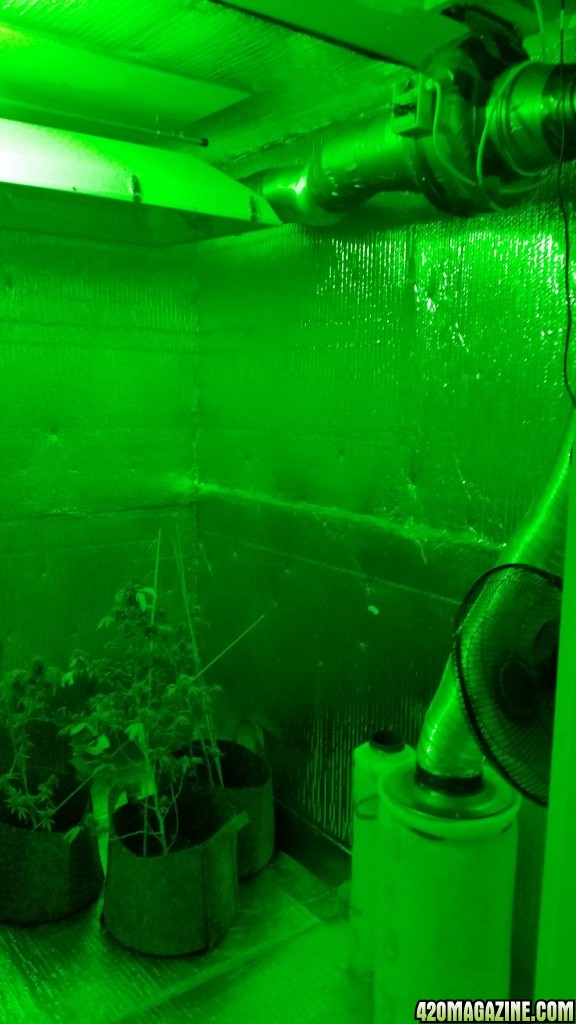
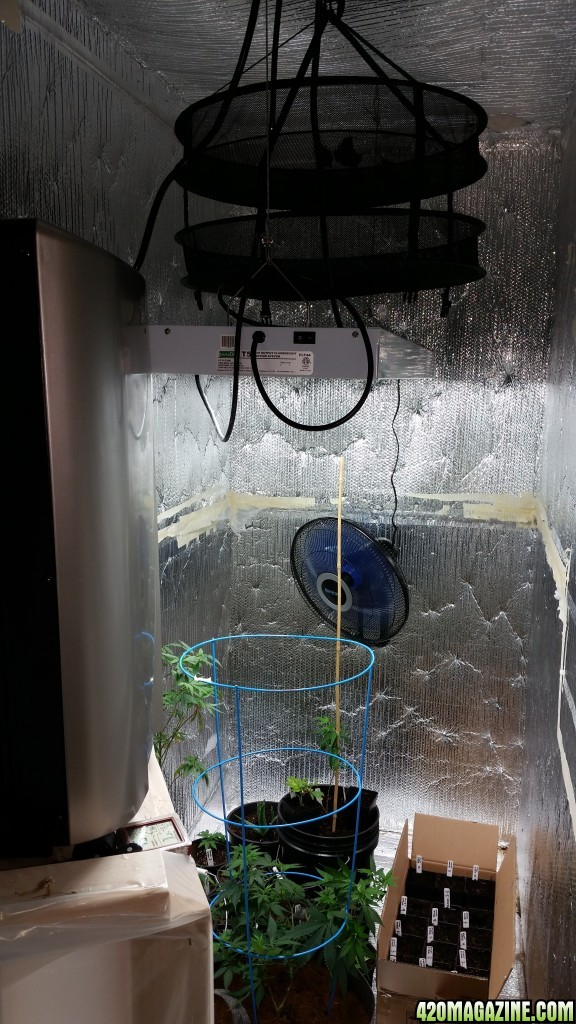
Room conditions:
8"x8"
2 x 1000 watt Super HPS
Temp 73f with a low of 62f
Humidity high of 40% low of 30%
I look forward to sharing this with you all and seeing what you think")
I am glad to see a lot of you well and growing like the champions you all are. I am going to share with you my approach to growing in soil organically. It involves no tilling of the soil. No bottle fertilizers. No harsh pesticides. All fertilizers and sprays are organically made and supplied with a little elbow grease and small investment. The pay off is worth the investment.
So I guess we'll start at the beginning. Making the soil!
I made up a super soil essentially a mixture of top soil, guano. rock dust and essential minerals.
4 bags x Dr Earths Organic Soil
4 bags x Fox Farms Ocean Forest (used these because I had them laying around)
Down To Earth soil amendments:
5lbs of Blood meal
5lbs of Fish bone meal
4 cups of Kelp meal
2 cups of Oyster shell
4 cups of Alfalfa meal
2 and half cups of Azomite
The only product not from Down to Earth were:
5lbs of Sunleaves Peruvian Seabird Guano 12-11-2
3lbs Rock phosphate
2TBLS powdered Humic acid
3/4 cup Epsom Salt
3/4 cup Dolomite
1/2 cup Mycorrhizae
Lava rock to help with aeration (Perlite and things of the like aren't good in these growing processes because of how they break down into a powder. You want something that will not break down. I chose lava rocks because they give something extra through slow release. So it's a win/win.).
This was all well mixed then placed in 4 x 31 gallon rubbermaid totes to cook and do its things. Now by cook I don't mean heat which most people seem to be taking the term for its literal sense in regards to heating the soil. I live in the Pacific Northwest with current lows of 40 and highs of around 65. I have my totes outside in the sun and the elements (with their lids on) and they have all produced some beautiful Myco web already which I have tossed into the soil and let build back up then tossed once more. I'll repeat this process every 5 or so days over the next 40 days to thoroughly saturated the soil with a healthy supply of web.
This soil will eventually be loaded with specifically chosen beneficial instects, bacteria and fungi. To make a LIVING SOIL!!!! The concept is to build up a soil with life in it breaking down the medium and replacing it with vermacompost and more! All you need to do is top off occasionally with some nitrogen rich material for the worms and insects to break down. I'm going to get assistance from plants like White Clover, which draws nitrogen from the air and disperses it into the soil which is great for plants through all stages.
I'm going to build a DIY worm farm you can even keep in your house/appartment with it producing very little smell. It's all about how you serve them up dinner
This is a great way to use up veggie and fruit scraps (minus your onions and citrus fruits) and any old newspapers laying around, your coffee grounds from your coffee in the morning (People are misinformed in thinking that used coffee grounds are to acidic. The majority of the acid went into your coffee when you drank the left over is very very low in any acid.). To Be honest my favourite food to feed them is the left over fibre from when I make a juice mixed with some dried and blitzed egg shell. I have also blitzed up old fashioned oats and some other grains into a powder. All the food is blizted to its smallest form... worms have small mouths afterall, lets help em out. Not to mention the faster they eat it the less time it sits around decomposing.. therefore reducing any smell! I'm going to run all you guys/girls/guyirls through this process from scratch with videos and photos. Feel free to ask any questions. If you see something that could be done better feel free to share. I like to share someone elses perspective occasionally.
The strains grown in round 1 of this journal will be:
-TGA's Mickey Kush (Indica Dom Pheno).
-Girlscoutcookies thin mint cut x OG Kush Diablo cut. (This is one of my first cuts I'm sharing with the world.. I call it "The Chillz") You will see why I call it this hopefully as it goes through flower!.
-Sour Tsunami (CBD)
-Charlottes Web (CBD)
To follow are seeds being popped as speak which are:
-Jack Herer
-OG Kush
Room conditions:
8"x8"
2 x 1000 watt Super HPS
Temp 73f with a low of 62f
Humidity high of 40% low of 30%
I look forward to sharing this with you all and seeing what you think


 and slow it down a gear
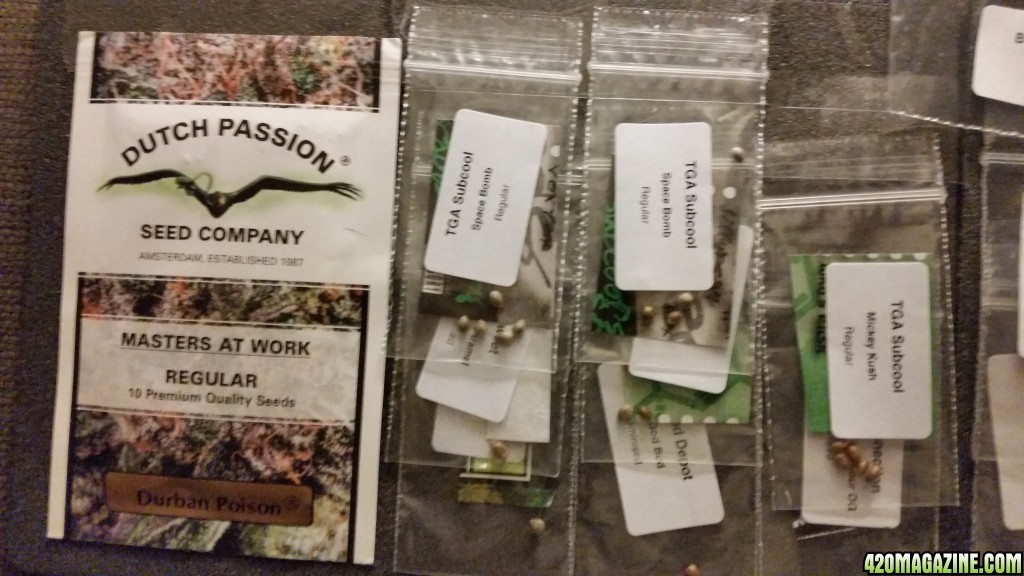
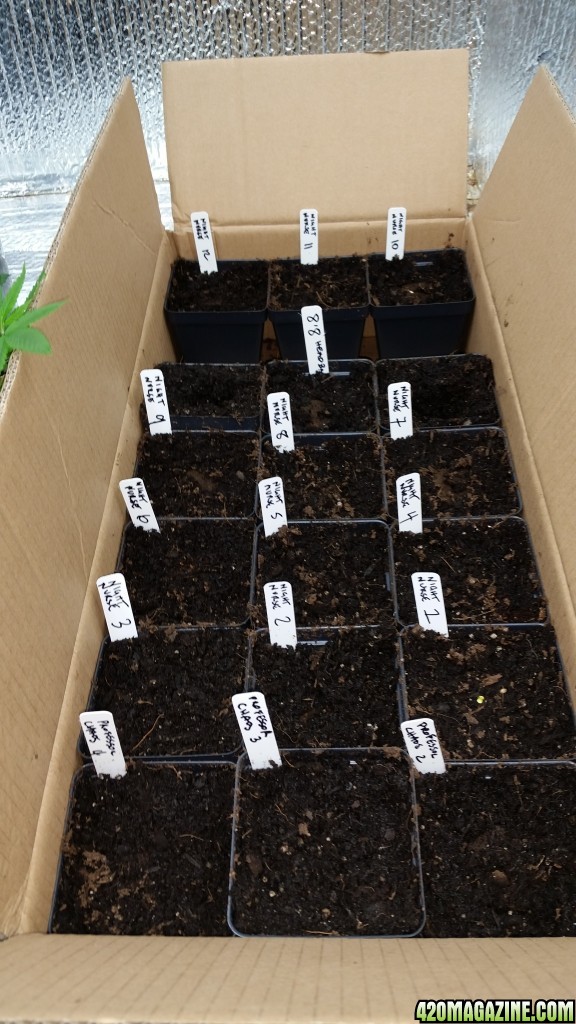
 Did you guys make it through that? Big list aye? Well it has its purposes. As far as the Micky Kush, Space Bomb, Professor Chaos, Night nurse and Durban Poison go, they are purely for exploratory purposes. I want to see all the pheno's I can in their individual field's... which is near impossible and most likely improbable to achieve for me. I will also be using two of these strains as my newest of breeding projects, which I am SUPER excited for... it's been WAY too long since I've made a new strain, since "The Chillz" and it's pheno sister "Chillzilla" almost 18 months ago. It should be a fun one but will probably be on a separate journal.