Home Made Aero - Hindu Hash - CFL Grow

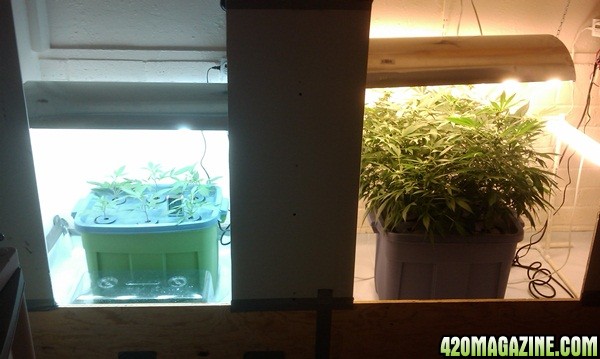
Hey Giovanni831, nice looking ladies and set up you got going there! I am a fellow CFLer based on space and power restrictions so I feel ya!

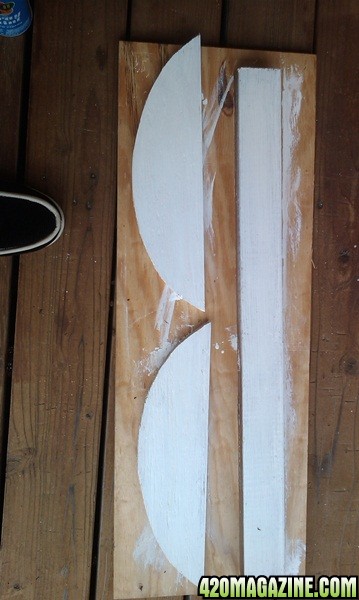
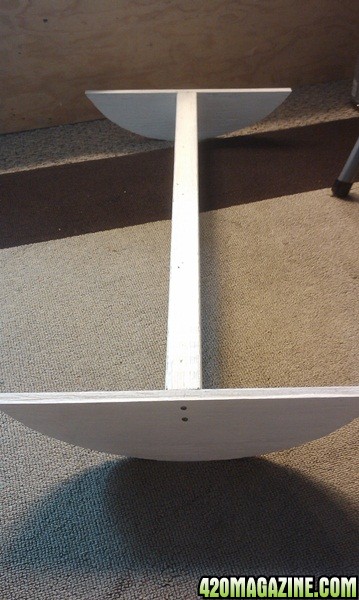
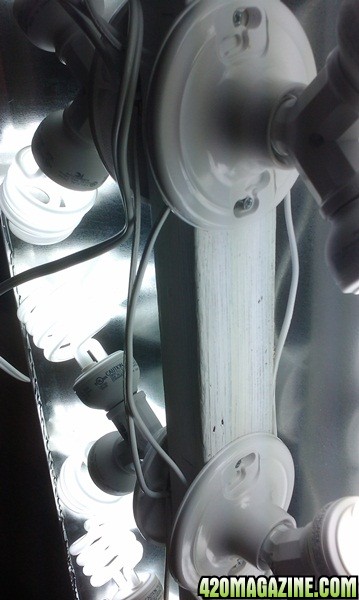
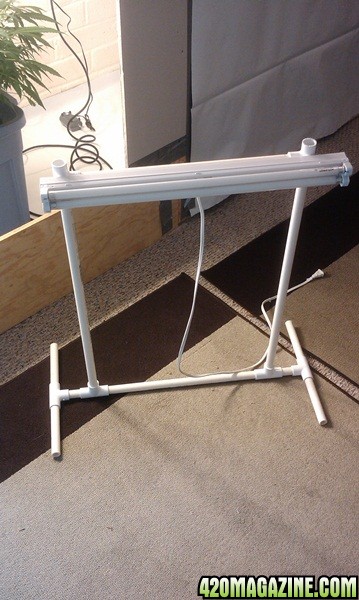
Really digging the home made aero set up too.
 
Thanks Growheart. The homemade tubs work great. I would love to build/buy a "real" aero setup, but money is not free-flowing like that. If it was I would have me a bunch of LEDs =).
 
btw my current setup looks like your propagation setup with those 3 Y splitters, just with some mylar over it thats supported by some wire hangers =/

Funnystyle... I havent forgot about that light instructions for you. I have just had a shit load of things going on that need my attention. Im fighting with the state over my disability. That kinda takes priority over my journal =). Plus I dont move as quick anymore since my surgery. I am going to try as hard as I can to get it done tonight for you. I have to post the mid-week pics of my girls too.

btw... my propagation setup now has one of those fixtures in it =). Hopefully we can get you setup so that yours will have it too. Before the weekend you will have instructions, I give you my word on that one. I am Sicilian and dont take my word lightly =).
 
Giovanni, thanks for actually tryna help man! thats real dope haha

yea i got some funds today too, but im thinking if i should spend it on the cfl light setup, or some nutes. i think my plants dont like the MG nutes one bit. i think they think like me and just take what they need from it haha.....

oh yea, hey Gio, u think your light setup would be sufficient for 5 plants thru flower? or do you think i would need to build something bigger.... hope not.... i ordered a 2 x 4 x 5 tent for my closet to use as my flower since my mom dont want me trashing the closet......

haha i will take your word dude! and hopefully i can have one made before the weekend is over. :yahoo:
 
Funnystyle - I can tell you that if you are looking to build that hood it is going to cost you $34 if you already have the lights. As far as nutes go, this kit isnt top of the line, but it has EVERYTHING in it, and is pretty cost effective. I and a few other people that I know have used them at one point or another. They are actually good products, just broken down is small portions. Especially great if you are on a budget.

Recipe-Success-Starter-Fertilizer-Kit

1667446588316.png


I can tell you that your girls will get by w/o a pretty reflector alot better than w/o proper nutes. I priced the kits in the local stores and they were cheaper than online in 2 of them. So $35 for for nutes/ $35 for the hood isnt bad, but I know what broke life is like these days so I understand completely.

The other thing was that i decided when I was sitting at the computer earlier to go ahead a dump those pics from my phone and get them online... That was a big no go, I am not able to upload pics. I tried from a windows, mac and linux machine and none of them worked. I have this issue with not being able to let things go if you cant tell. When one computer didnt work I tried a few different browsers and then more computers,........

I will hit it up in the AM and see if it changes. Im off to go design some brochures now I guess.

Oh, almost forgot..... I dont remember what you are growing, but it is probably safe to say yes that light will work for 5 plants unless they are real bushy. I have 4 under there now and it seems fine. Good bud development, you just have to keep it as close as you can. I keep mine about 2-3 inches from the tops. The mids are developing fine and the lower ones arent bad. the lower ones on my sides are ok because I have those 2ft 2bulb T5s in there. Those are from home depot btw. they are I believe $26/each. The bulbs are 3000k and come w/ it so that was cool. The output is 1350lu/bulb so its another 2700lu per side for side lighting. in the event that you are wondering what the output is for the other hood it is 1600lu/bulb w/ 23W 2700k bulbs from home depot($8/4-pk). 1600 x 12 = 19200

Sorry this post was so long winded. I couldnt find my night time bud so I smoked the sativa and couldnt stop typing.
 
HAHA thats funny! :ganjamon:

man i just like smokin kush throughout the whole damn day...... maybe some hybrid or sumn is dope too, but sativas man i get all weird and funny man.... cant stop thinking with that shit haha!

i got 30 under my name right now and that aint gona get me neither...............
umm....... there has to some cheaper nutes right???? whattya think of botanicare?

im growin a strain called well... bagseed but seeds popped from Incredible Hulk.... shit made me feel like god HAHA :ganjamon:
 
CFL Tutorial....

I am finally able to upload pics again so here is that light setup that I told you I would get you funnystyle.

SUPPLIES:

1/2" plywood - cut in a semi circle that measures 16in wide and 4.25in at the top of the arch.

wood for a cross member (2x2,2x3, or 2x4) @ 31.5 inches.

6 Leviton sockets - they are about $1.25/ea @ HomeDepot.

a 12ft. cheap extention cord - also bought @ HomeDepot (about $1.50)

6 Lightbulb "Y" splitters - (HD - $2.50/ea. but seen them online for $1.25)

3ft long 6" sheetmetal tube - (HD - $8) - I cut what I will call the male end of the tube off to make it sit flat on the wood.

A couple 6d or 8d nails for the frame, and a couple finish nails to attach sheetmetal.
IMAG02893.jpg
IMAG02902.jpg

IMAG02912.jpg
IMAG0295.jpg

IMAG0294.jpg
IMAG02962.jpg

IMAG02971.jpg
IMAG02981.jpg


1) Cut the arches in the plywood, paint everything flat white....
IMAG02883.jpg
IMAG0293.jpg


Suggestion.... when painting plywood, I use semi-gloss white before I put the flat white on it. Wood eats up primer especially plywood, plus I think that it will better protect from mold or anything else.

2) Cut the female end off of extention cord and use it to wire up the sockets - be sure to leave enough cord in between them so that you can properly space them. (I did this while the paint was drying)
IMAG02991.jpg


3) Screw the sockets onto the cross member, drop your splitters and bulbs in.
IMAG03002.jpg
IMAG03011.jpg

IMAG03021.jpg

IMAG03033.jpg

IMAG03043.jpg


4) Nail or screw the wood frame together, and nail the sheetmetal down using finish nails.
IMAG03071.jpg

IMAG03053.jpg


5) Plug that b**ch in and enjoy the light.
IMAG0308.jpg

IMAG03101.jpg


This was my solution for some side lighting...
IMAG02842.jpg
 
Now that i can upload pics again, here is an update. These were taken wed.

Day 24 Flower....
IMAG0314.jpg

IMAG0317.jpg

IMAG0318.jpg

IMAG0316.jpg

IMAG0321.jpg

IMAG0320.jpg

IMAG0319.jpg

IMAG0311.jpg
 
thanks Gio

umm quick question! so i need a 2 wire extension cord... and i just connect all 6 levitons just the way you pictured? to make like a circle or somethin? haha a little confused but i do have a slight picture in my head......

i took electrical at school for mechanics.... but man its cos i got shocked once..... that was enough =/

btw geez the buds are makin me anxious!!:welldone:
 
Pretty sweet tutorial right there- almost deserves it's own thread :D
Will reference this when I build my cloning /veg room :) - Roommate and I are already starting to plan for it in his closet...

And damn it looks like that side lighting is helping your canopy, a lot of secondary nugs popping through there!
 
thanks Gio

umm quick question! so i need a 2 wire extension cord... and i just connect all 6 levitons just the way you pictured? to make like a circle or somethin? haha a little confused but i do have a slight picture in my head......

i took electrical at school for mechanics.... but man its cos i got shocked once..... that was enough =/

btw geez the buds are makin me anxious!!:welldone:


I know what you mean, I have electrocuted myself a few times. Usually when it was raining or snowing while doing construction. A tool would break and you have to find some cover and fix it so you can keep working.


***VERY IMPORTANT***
====================
MAKE SURE THAT THE WIRES ARE ALL ONE THE SAME COLOR SCREWS.
if you cross them you will just short out your power and throw a breaker.
The wires arent color coded, but one has raised lines on it. I wire that one to the brass screw. I assume that doing the inverse wont light the bulbs.

1.) What you will do is cut the female end.(one with the holes)

2.) Strip about 3/4in of insulation on each of the two wires.

3.) Attach one to the brass screws, one to the chrome screws.

4.) Go down about a foot on the wires and cut out about a 1in piece of insulation.

5.)Wrap the wires around the the screws in a circle so the wire is already going toward the next socket.

6.) Repeat steps 4&5 for the last socket.

7.) Leave 6in - 1ft. of extra wire hanging off.

8.) Repeat the above steps for the other 3 fixtures on the other side.

9.) Strip off an end of the insulation on both of the wires that you left about a foot of.

10.) twist the wires from both sides of fixtures and one side of the remaining extention cord together.

11.) Throw a wire nut and electrical tape on them.

Then youre done brother.
 
Pretty sweet tutorial right there- almost deserves it's own thread :D
Will reference this when I build my cloning /veg room :) - Roommate and I are already starting to plan for it in his closet...

And damn it looks like that side lighting is helping your canopy, a lot of secondary nugs popping through there!

Thank you brother, I actually threw it in the DIY section as well. Theres a link to it in my signature. I like to do what I can to help people =). Im dont claim to be an expert, just good at doing research and experimenting.

I think youre right about the side lighting. I know you dont get much penetration out of CFLs so I thought that I would supplement it. I also been pulling the flowers off of the inside where the all grew together. I figure that the leaves are so dense in there that I wasnt going to get anything out of them, so I figure let the plant direct energy to cola production elsewhere.

I am planning on making the move to LED in a few months, but until then Im sticking with my CFLs. I cant drop $250/bulb x 5 right now anyway. :ganjamon:
 
:yahoo::thanks: im gona build this by the end of this weekend hopefully...... dogfood... nutes...... lights....... it will all come thru soon enough.....

:peacetwo:

No problem bro, glad I could help. It will all come together eventually. There are a lot of places in the world where bud supports whole economies of a village. I think it is pretty safe to say, growing will pay for itself.
 
Thank you brother, I actually threw it in the DIY section as well. Theres a link to it in my signature. I like to do what I can to help people =). Im dont claim to be an expert, just good at doing research and experimenting.


I think youre right about the side lighting. I know you dont get much penetration out of CFLs so I thought that I would supplement it. I also been pulling the flowers off of the inside where the all grew together. I figure that the leaves are so dense in there that I wasnt going to get anything out of them, so I figure let the plant direct energy to cola production elsewhere.

I am planning on making the move to LED in a few months, but until then Im sticking with my CFLs. I cant drop $250/bulb x 5 right now anyway. :ganjamon:

Helping others is very rewarding and people like you make 420mag better!

And damn... LED's are EXPENSIVE!!! I guess the advantage is good light, low heat ? So to save on ventilation etc, and get more punch than a CFL? Have never really looked seriously at them before. Might have to start checking out some LED journals just to see comparison.

Time for a wake-n-:lot-o-toke: then for some saturday morning reading, :peacetwo:

Thanks brother. I have been doing some research of my own on the LEDs. I have come to the conclusion that I want to get some of the Kessil lights. They are 32w and dray a total of 36w. It is enough for a 2 ft circle which is 3 sq ft. I dont know if you have seen them or not. They dont make blue ones, only purple and magenta. The purple is supposed to be a general purpose bulb that will carry it all the way from veg to flower. The magenta ones are for better flowering. I figure 1 purple in my veg room to start, and 2 for each of my flowering setups. They are pretty pricey though. They run about $250/each. The other thing about them is that they are distributed by hydrofarm. It is the first time that they have ever distributed an LED. I think that speaks pretty good for the lights.
 
LEDs look the sickest dude..... but they are freakn pricey as a mother..... i think if i won the lottery of sumn i would pick up a bunch o these and have a super burply closet hahahah! :lot-o-toke:

:peacetwo: and hope all is well bruh!

hey bro, I hear you. I figure I will start slow. There is a lot of stuff that I have to buy before LEDs. I just hate that I had a great setup and sold most and gave away the rest. I had just had my kid and figured that it would be a long while before I was growing again. So here I am 5yrs later starting all over again =).

If you dont have alot of cash, pick things up one at a time until you acquire everything that you need. Then start working on your wants. I remember there was a point when I was buying crap just to buy it.

These days Im not in it for the cash. As long as I have a steady supply of smoke and a little cash for equipment and supplies, Im good. Besides, I just really enjoy my plants. I spend a considerable amount of time with them. That was part of my motivation for moving everything to the garage. First its all in one place now. The other is, I go smoke with friends and family out there, figure my girls will like all of us out there breathing anyway.

I think I will go smoke some more. It has been a long ass day. I got up this morning and rolled out to the garage to check on things, and the temporary door that was on my veg room had fallen off. The other half that I have on the inside was still there, so it was catching alot of the light, but still I didnt enjoy that. I built me some doors out of PVC and b&w poly. I didnt get to finish with the mounting, so they are pretty much nailed on for tonight. I ran out of time before lights out. I will finish it up in the AM, and post some pics of the project. :tokin:
 
Back
Top Bottom