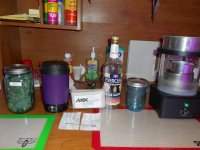
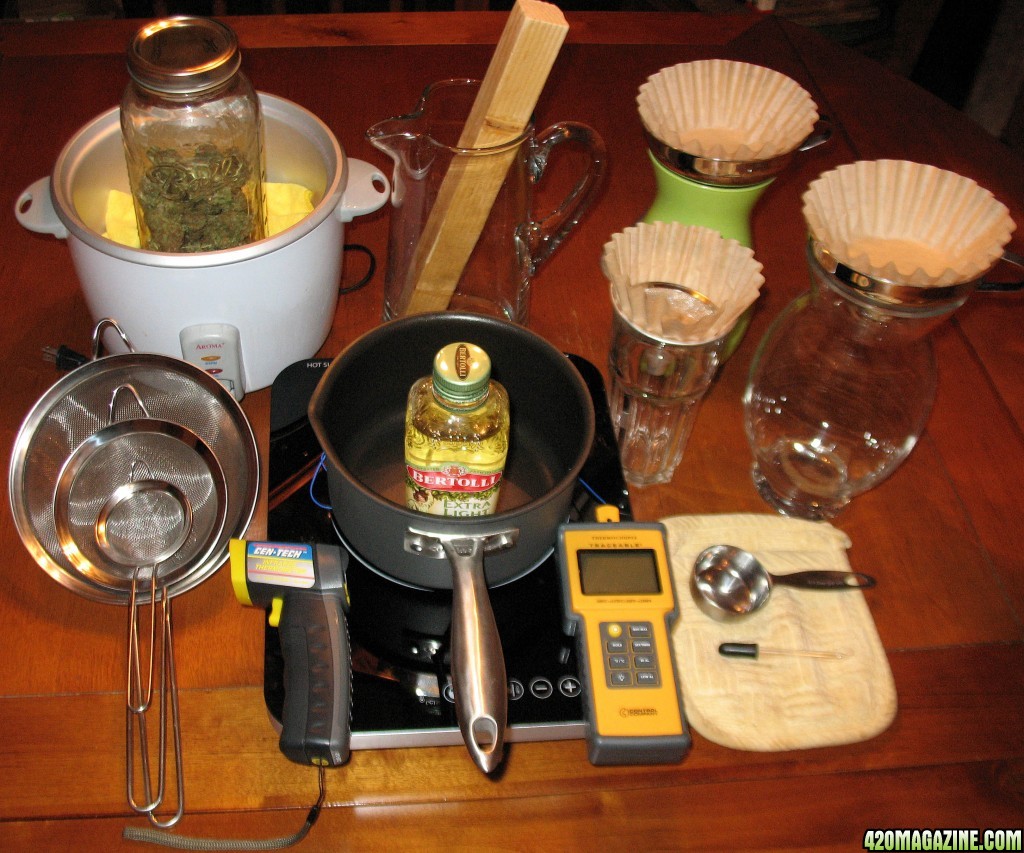
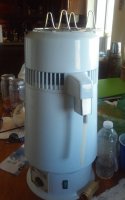
Very interesting read, I like the bubbles and the double boiler and the different outcomes of medicines. I have never decarbed but my buddy swears by it and we are looking at making good medicines for the people. I am going to go read skunk pharms decarbing process. Thanks for all the great information. I am experimenting with a water distiller for first boil off, have you tried this method yet?
Unfotunately 420 Motoco has passed on . I myself have never tried this method, but i am sure some others will chime in soon that have .
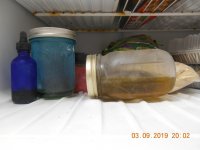
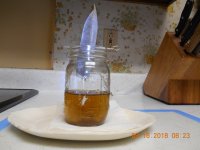
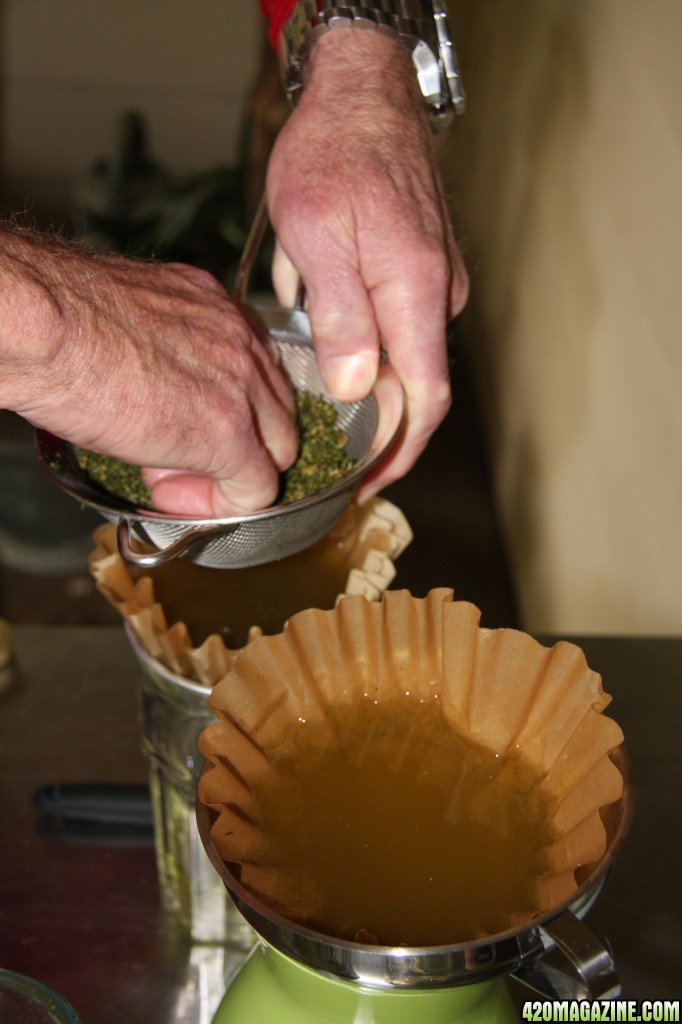
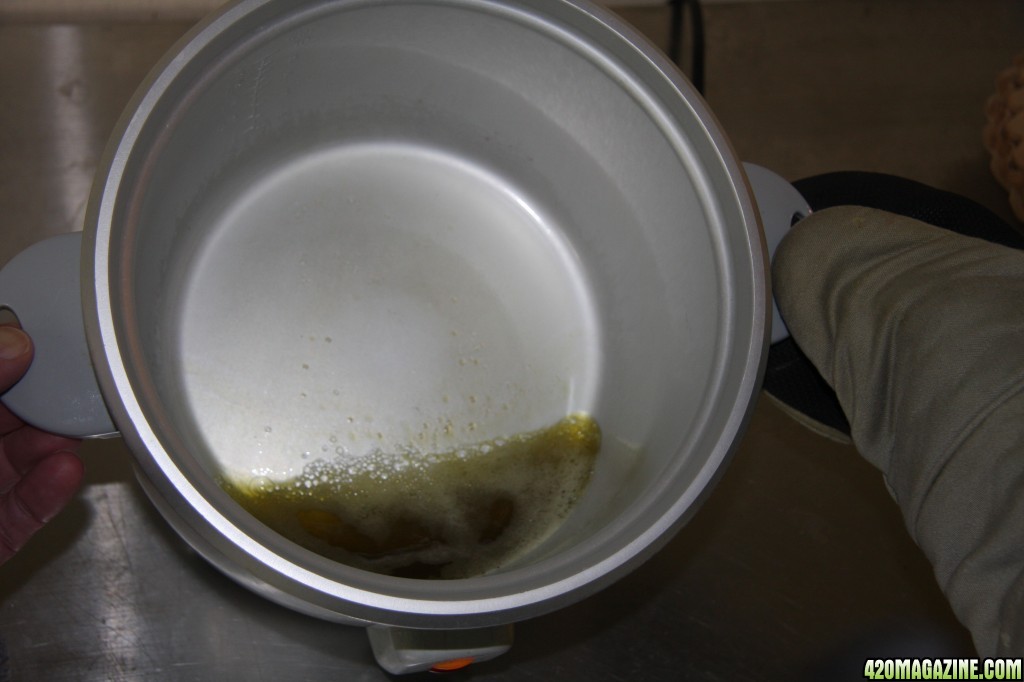
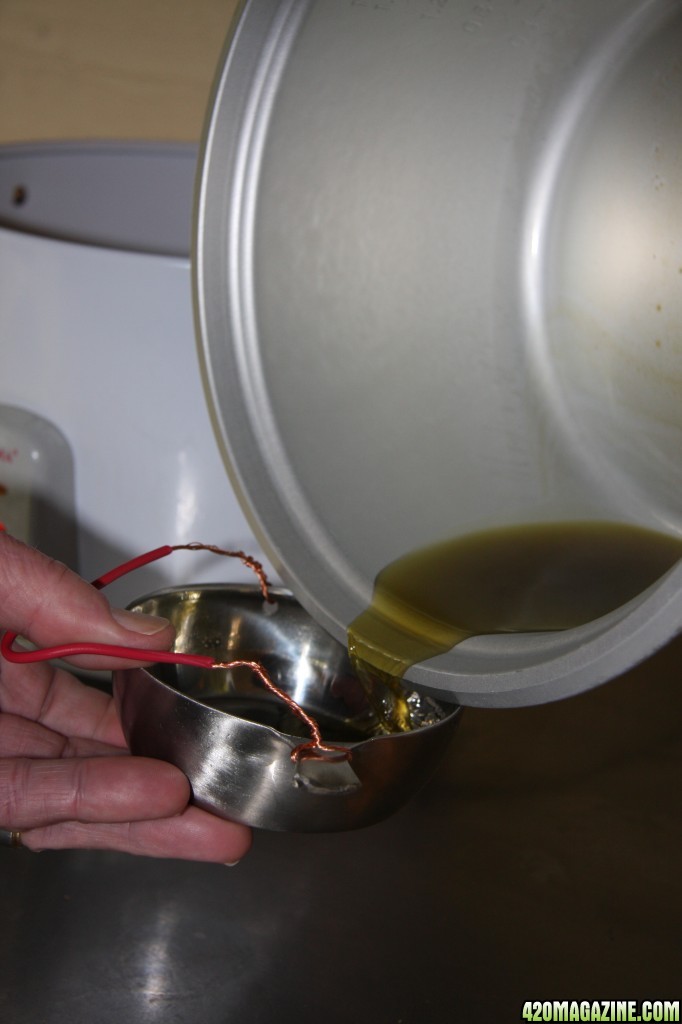
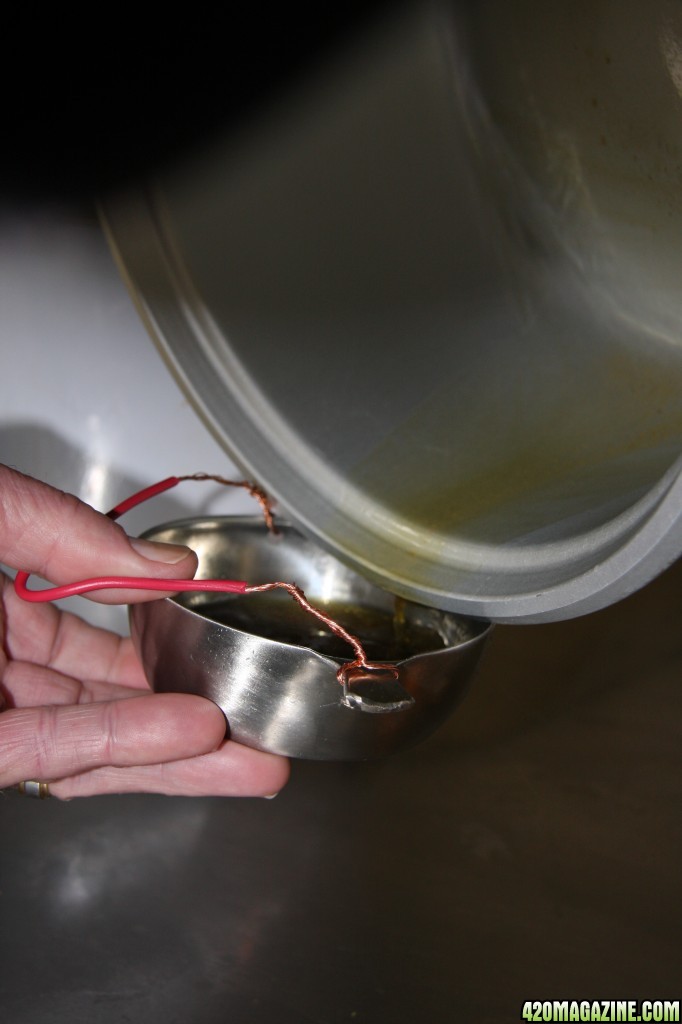
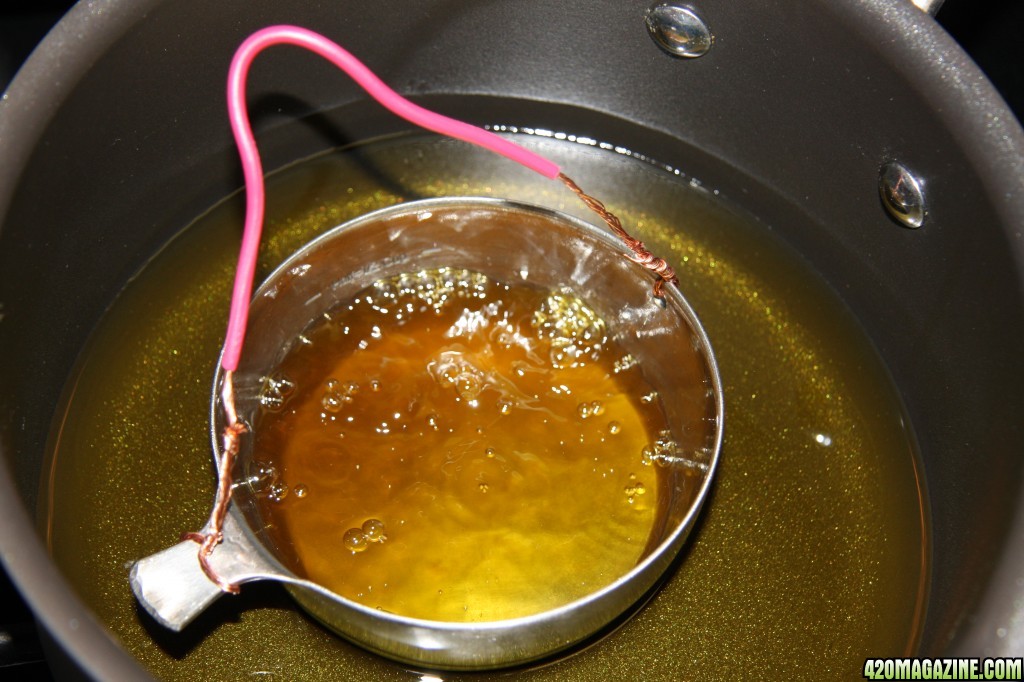
 .
.

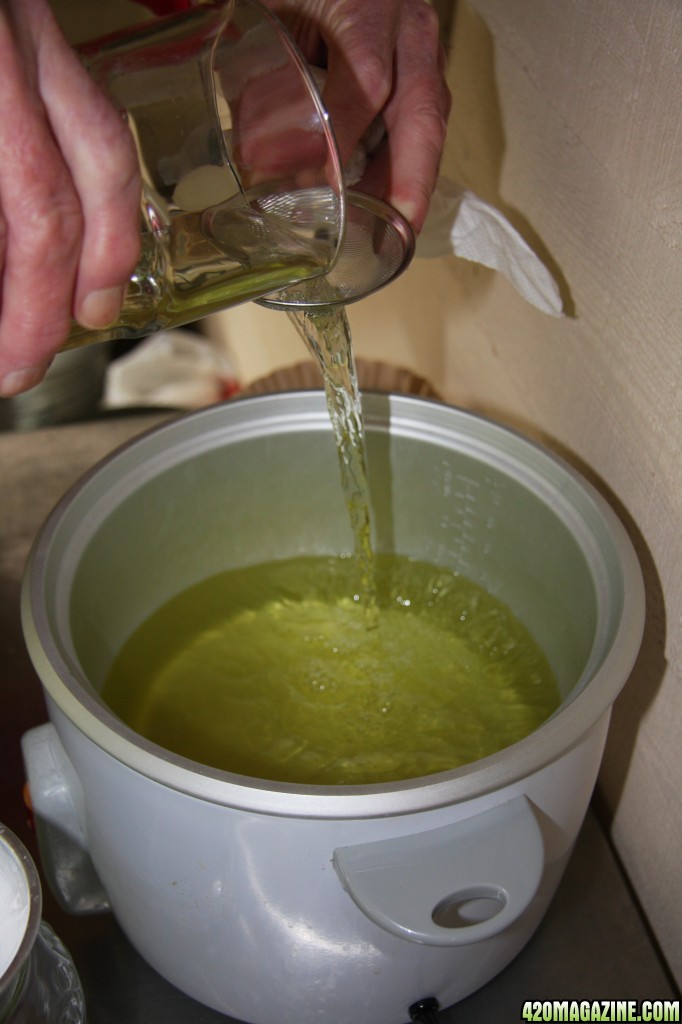
")


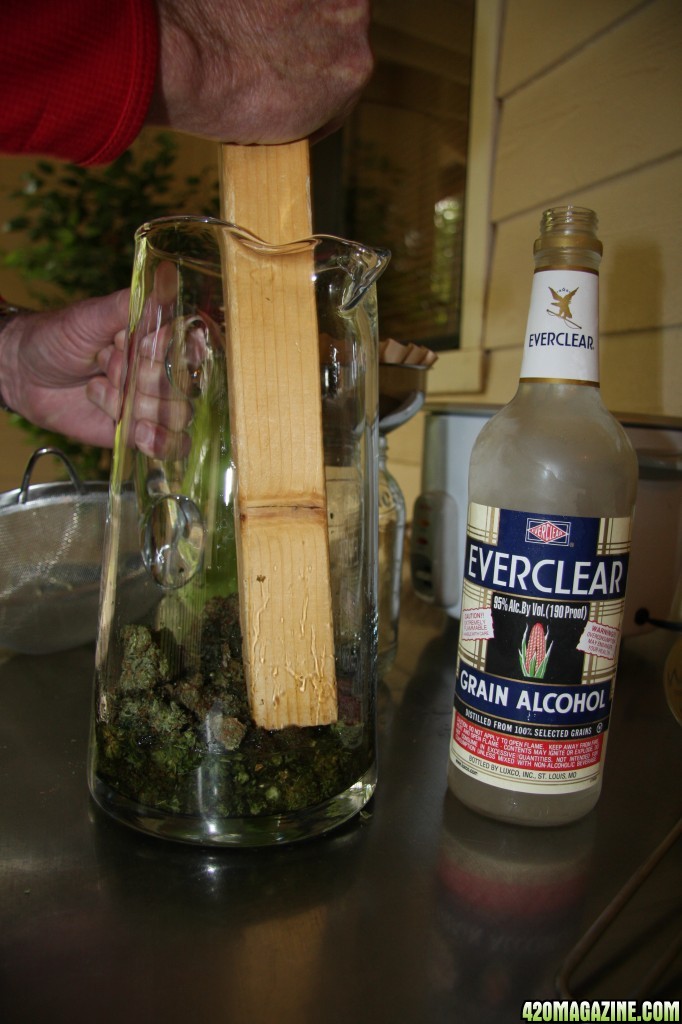
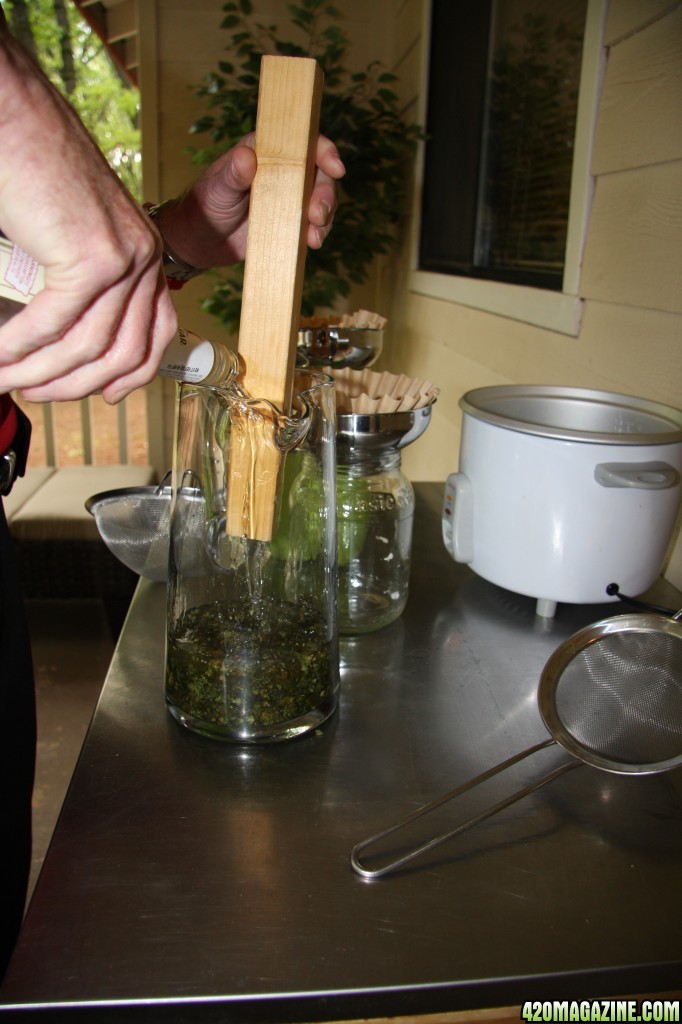
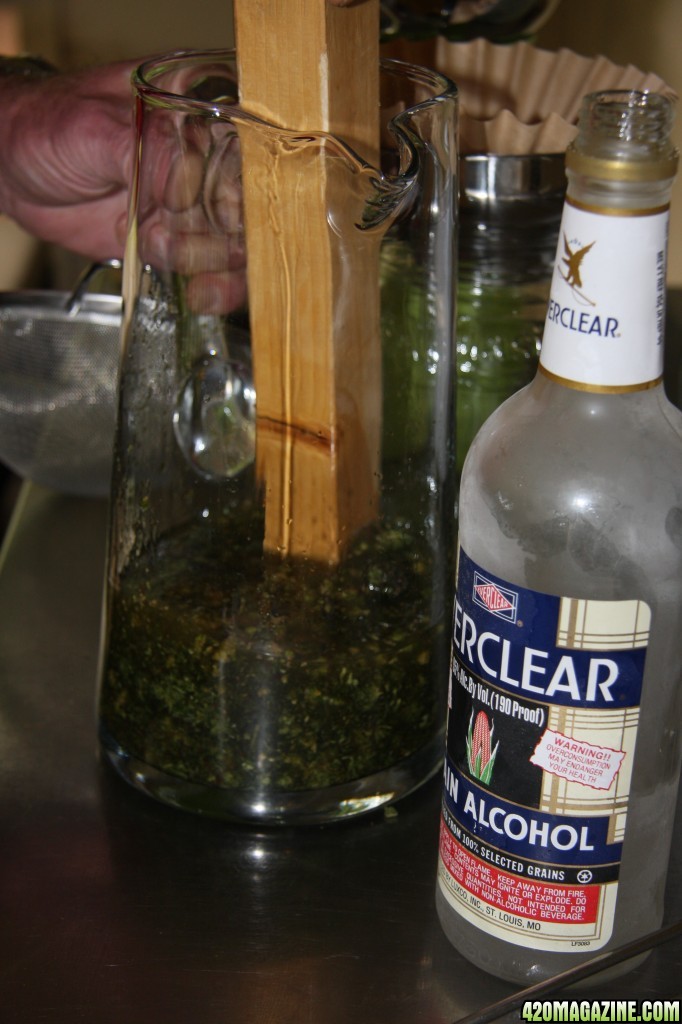
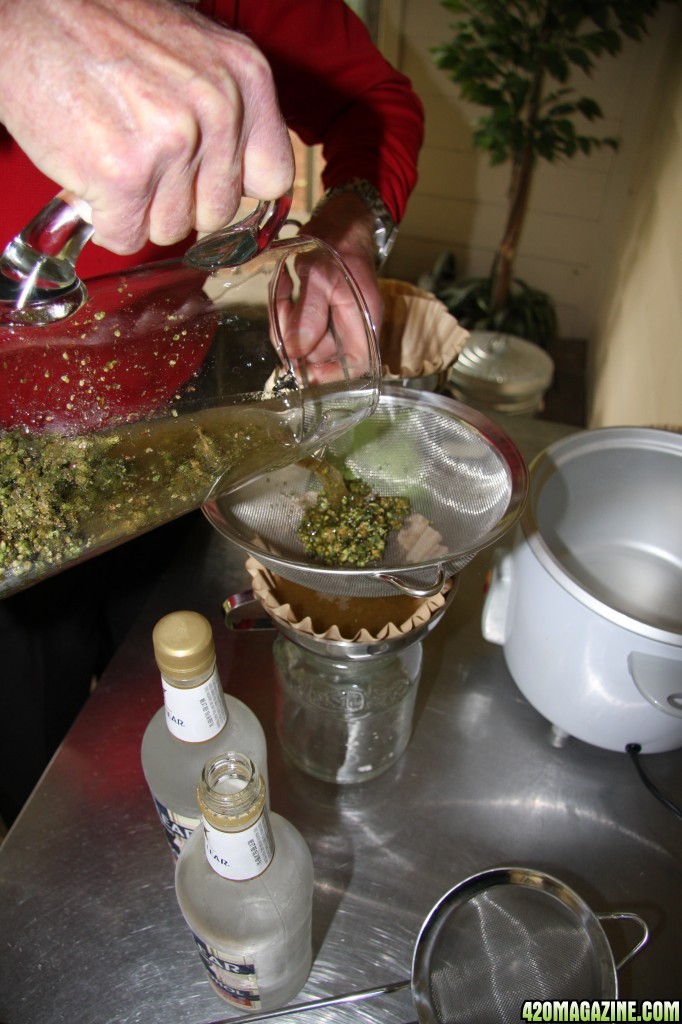
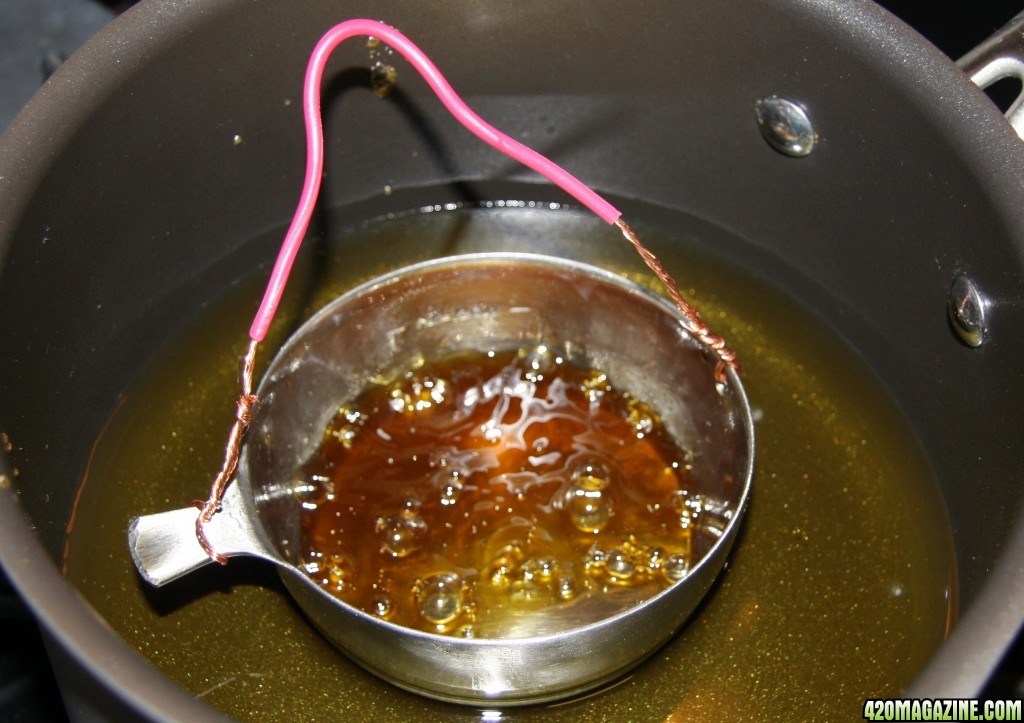
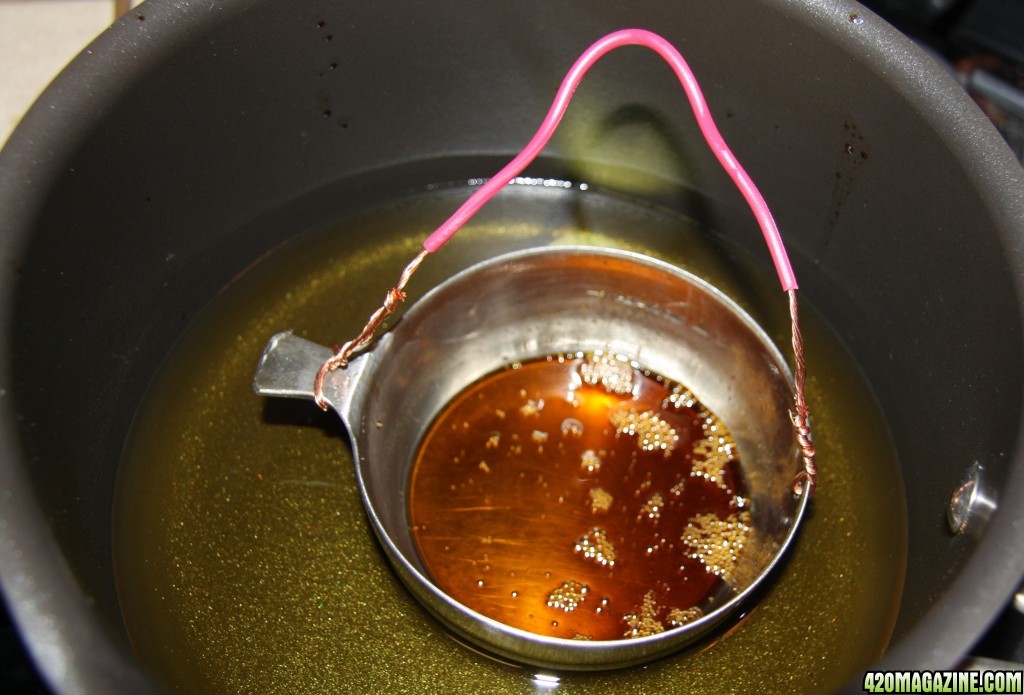
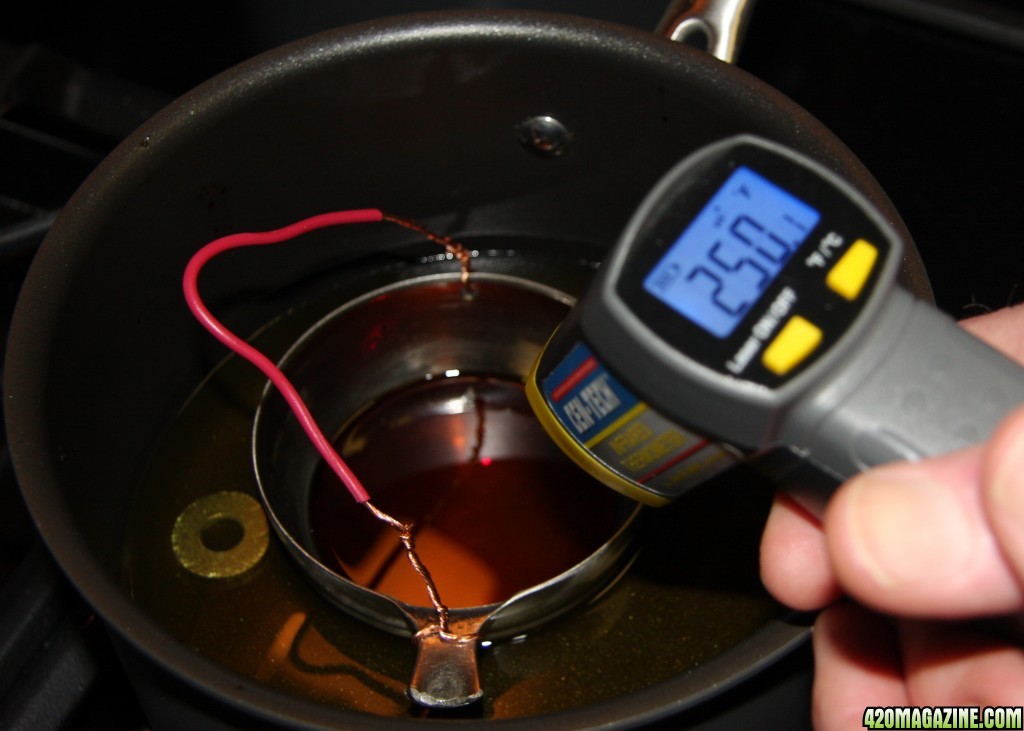
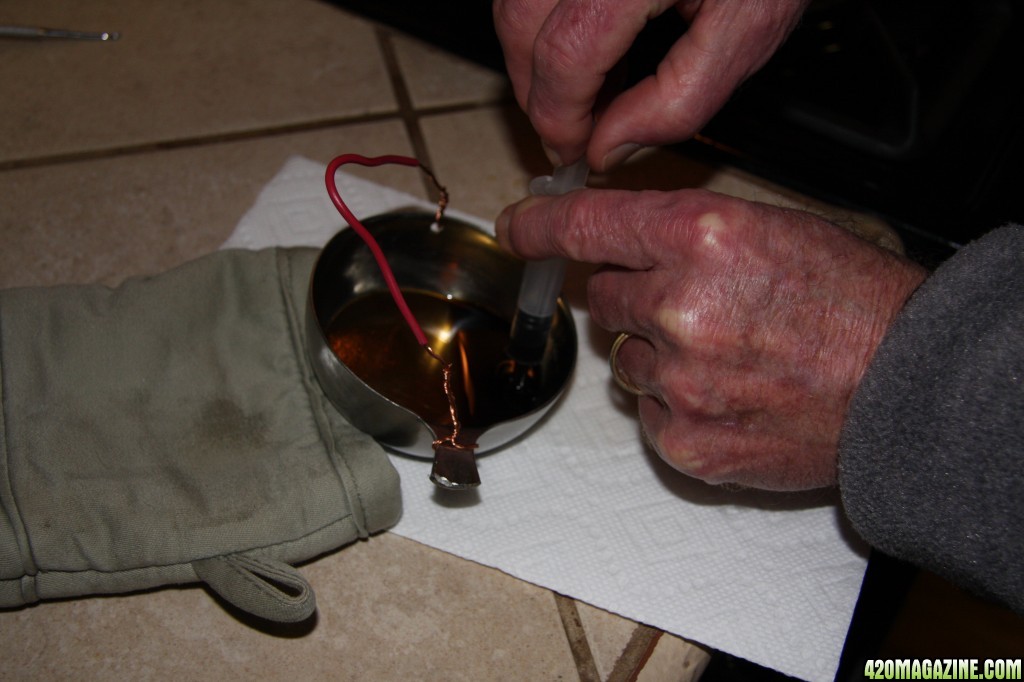
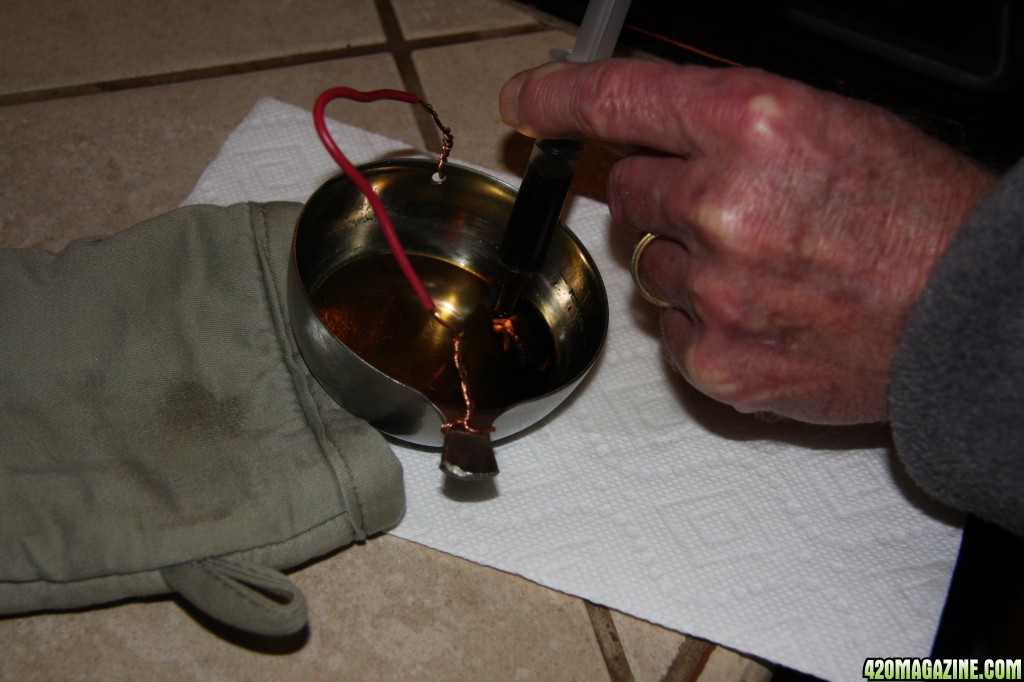
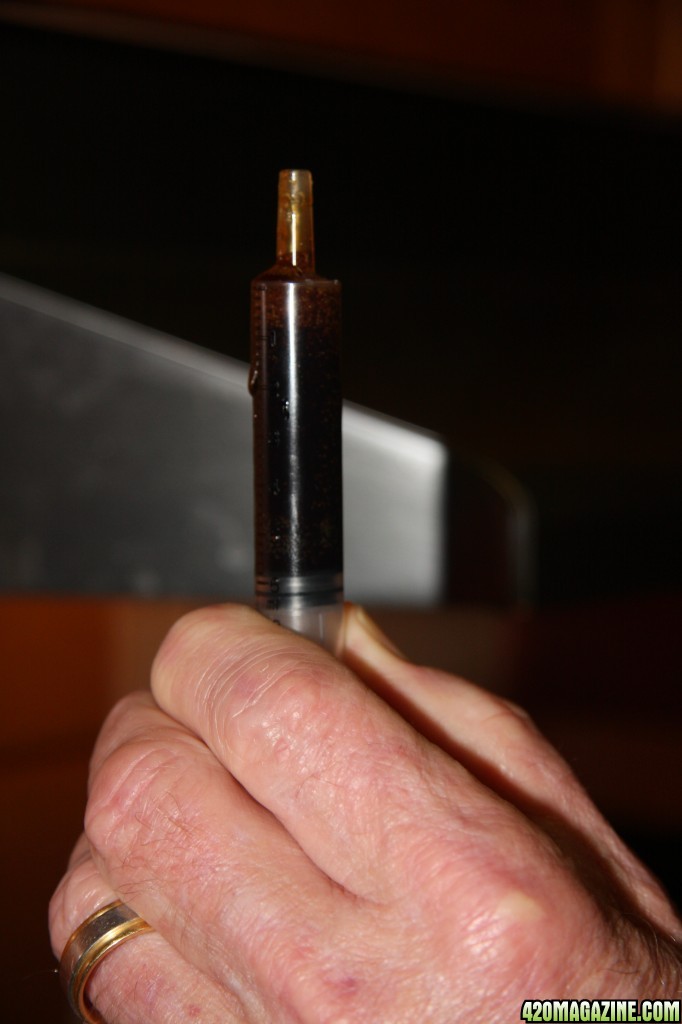
") ... And there was no noticeable difference in the quality of the medicine. Each for their own thou. This is what works best for me.
... And there was no noticeable difference in the quality of the medicine. Each for their own thou. This is what works best for me.