LadyJane420
Well-Known Member
Hello out there. You may know me as a newbie grower (1 year only) but I've gotten so much information from this site I thought I'd give some back with the details on how my wonderful hubby made this MotherHome. I'm going to start out with the first chapter and add the rest during the week:
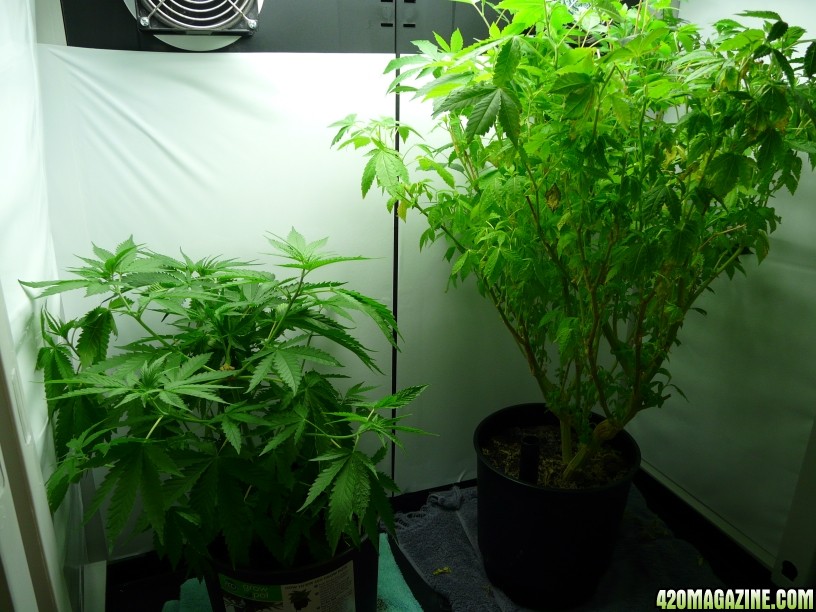
The veg chamber of our grow box has room for a mother plant — barely. There is just enough room for one plant but it towers over the seedlings blocking their light. Since our mother doesn't require hydroponics it seemed like it should be a fairly easy task to build a grow box to hold two mother plants. The main challenge was that the box would need to be made of off the shelf parts using just hand tools. A project had been born.
The first task was to locate a cabinet to use for the build. My first stop was that iconic Swedish purveyor of modular furniture who had a couple possible cabinets. Each was 18' deep — the minimum I felt was needed — and three to four feet wide and tall. This would give the cabinet about the same volume as the veg chamber of our grow box. The cabinets, however, are constructed of particle board. True the melamine finish of such cabinets is waterproof but if any water did get through the particle board would undoubtedly swell.
Some more searching unearthed modular cabinets intended for the garage or garden made of resin plastic. No water problems here! The size was about right — again 18" deep and three feet wide and tall. They are also available in a double high form which could be used to build stacked boxes.
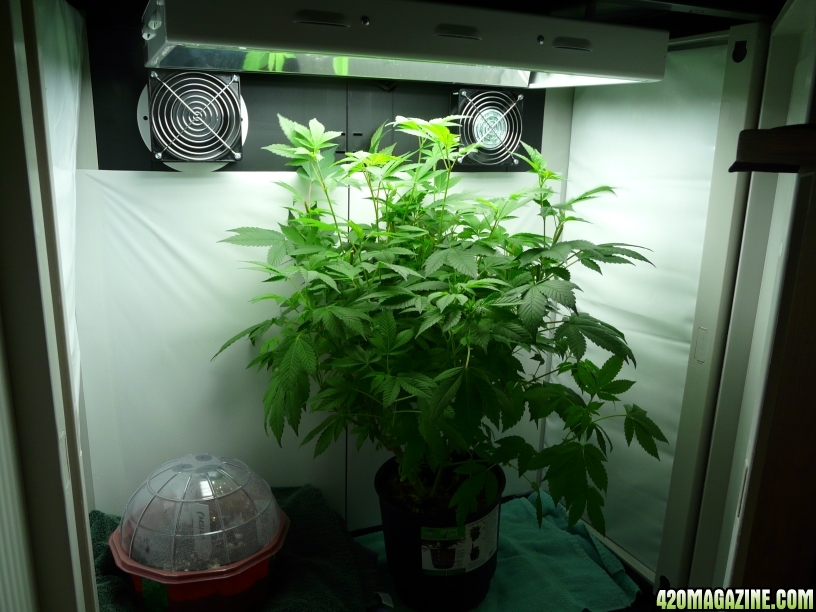
With the cabinet selected the next job was to select a light. The veg chamber of our grow box uses a single 125 watt CFL providing about 8000 lumens so I wanted similar lighting for the build. I discovered several companies that offer 2 foot long fluorescent fixtures holding four T5 bulbs which put out about 8000 lumens. This looked like an ideal solution as it was smaller than the equivalent CFL and space was at a premium in the box.
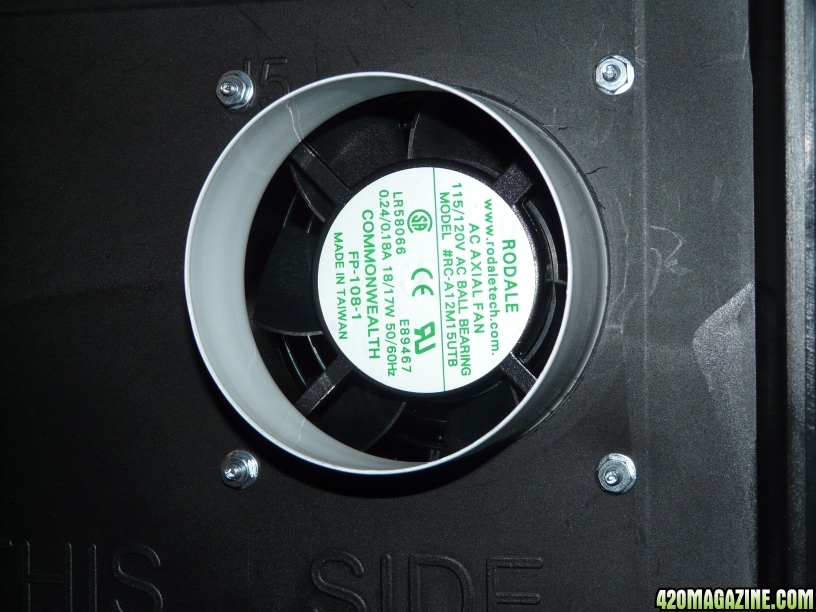
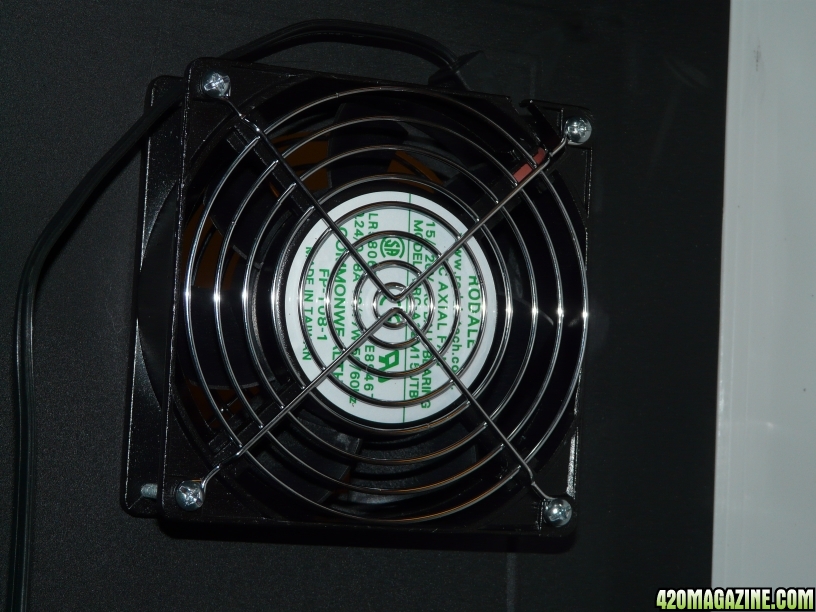
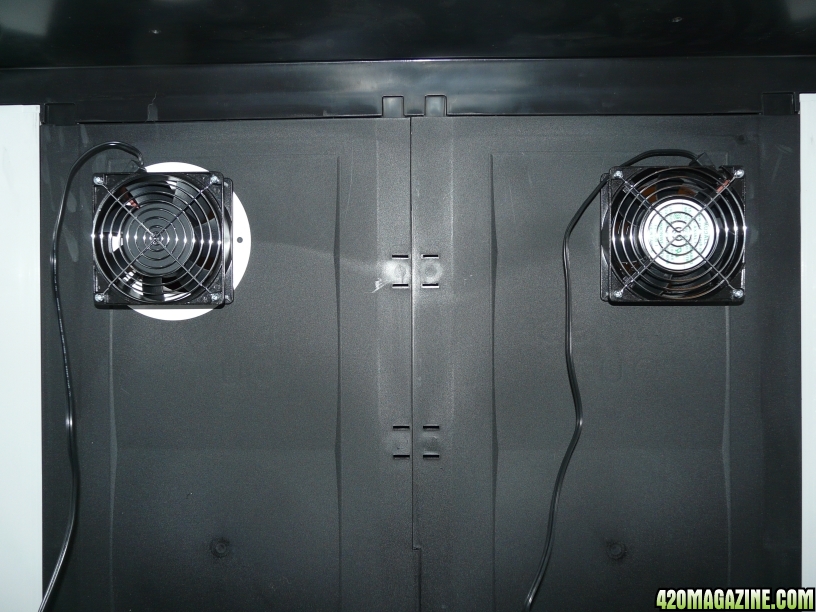
Ventilation was the final item on the list. Our grow box uses simple axial fans — one input, one output — with the output passing through a carbon filter to remove odor. It seemed prudent to follow this design so I rounded up the same axial fan — a four inch one rated at 120 CFL — and added a 4" by 8" filter.
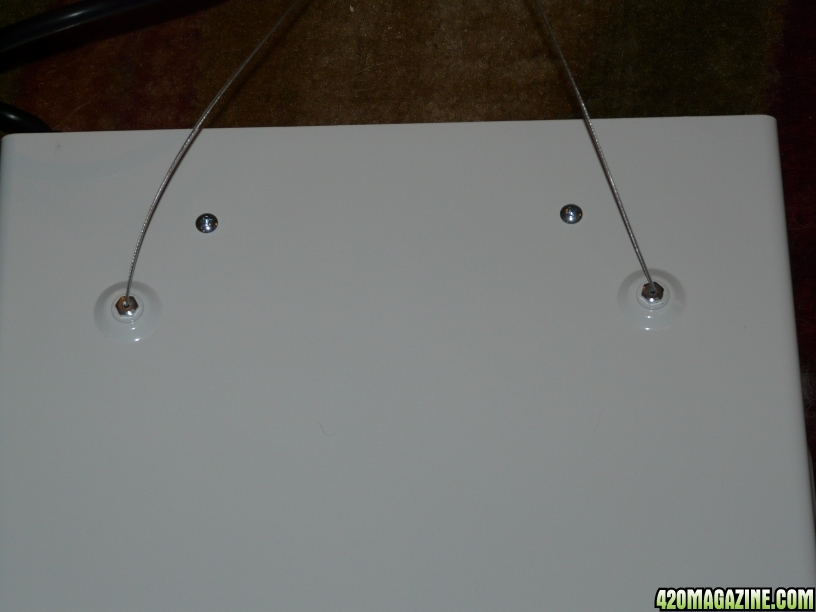
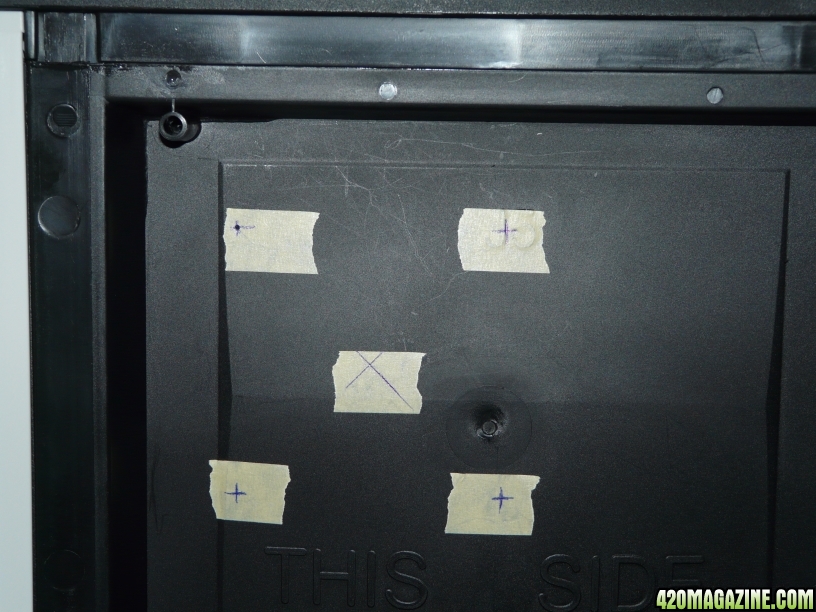
Bare cabinet and the build components:

Finished cabinet w/mother and small herb garden growing inside:
What's Next:
1. Assembling the Cabinet
2. Mounting the Light
3. Installing the Ventilation
4. Lining the Walls
Introduction
The veg chamber of our grow box has room for a mother plant — barely. There is just enough room for one plant but it towers over the seedlings blocking their light. Since our mother doesn't require hydroponics it seemed like it should be a fairly easy task to build a grow box to hold two mother plants. The main challenge was that the box would need to be made of off the shelf parts using just hand tools. A project had been born.
The first task was to locate a cabinet to use for the build. My first stop was that iconic Swedish purveyor of modular furniture who had a couple possible cabinets. Each was 18' deep — the minimum I felt was needed — and three to four feet wide and tall. This would give the cabinet about the same volume as the veg chamber of our grow box. The cabinets, however, are constructed of particle board. True the melamine finish of such cabinets is waterproof but if any water did get through the particle board would undoubtedly swell.
Some more searching unearthed modular cabinets intended for the garage or garden made of resin plastic. No water problems here! The size was about right — again 18" deep and three feet wide and tall. They are also available in a double high form which could be used to build stacked boxes.
With the cabinet selected the next job was to select a light. The veg chamber of our grow box uses a single 125 watt CFL providing about 8000 lumens so I wanted similar lighting for the build. I discovered several companies that offer 2 foot long fluorescent fixtures holding four T5 bulbs which put out about 8000 lumens. This looked like an ideal solution as it was smaller than the equivalent CFL and space was at a premium in the box.
Ventilation was the final item on the list. Our grow box uses simple axial fans — one input, one output — with the output passing through a carbon filter to remove odor. It seemed prudent to follow this design so I rounded up the same axial fan — a four inch one rated at 120 CFL — and added a 4" by 8" filter.
Bare cabinet and the build components:
Finished cabinet w/mother and small herb garden growing inside:
What's Next:
1. Assembling the Cabinet
2. Mounting the Light
3. Installing the Ventilation
4. Lining the Walls


")