

merlock661
New Member
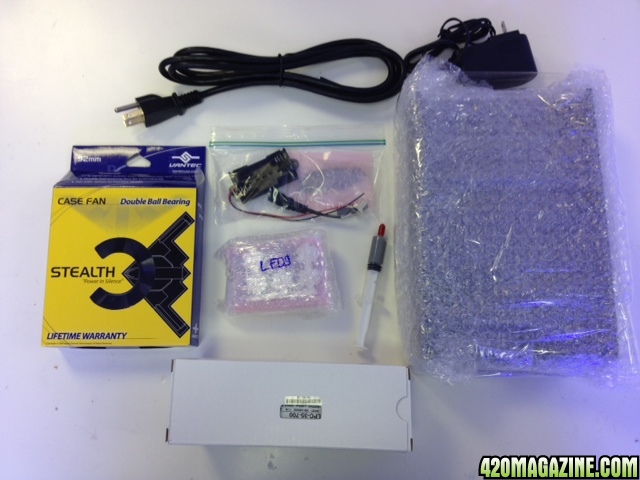
I bought a DIY LED set-up about 8-9 months ago for some sour flower clones a friend promised me and finally got around to putting it together. I did a similar build for my reef tank a while back so I figured I might as well build my own light instead of buying one of the pre-made fixtures (I personally don't care too much about the aesthetics, within reason). Here's what I got:
6" x 9" Heatsink with hanging kit
Two drivers LPC-35-700
One fan Vantec 92mm
One 12 volt adapter
One cord for my drivers
One thermal compound
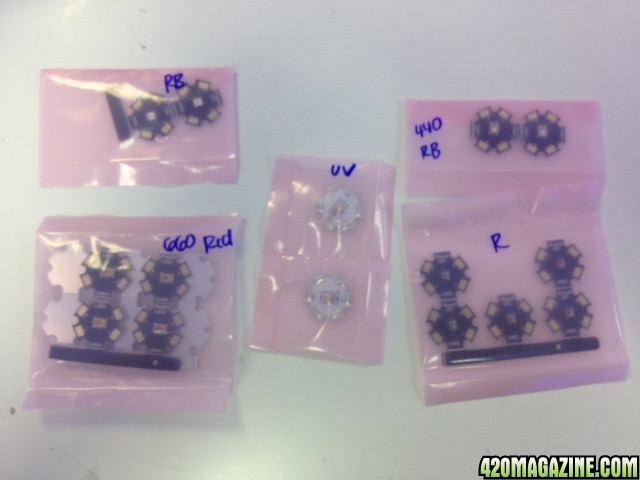
5 types of LEDs:
-2 x 460nm CREE royal blue
-2 x UV/Violet
-2 x 440nm royal blue
-10 660nm Philips red
-5 630nm CREE red
Total cost: ~$170 shipped
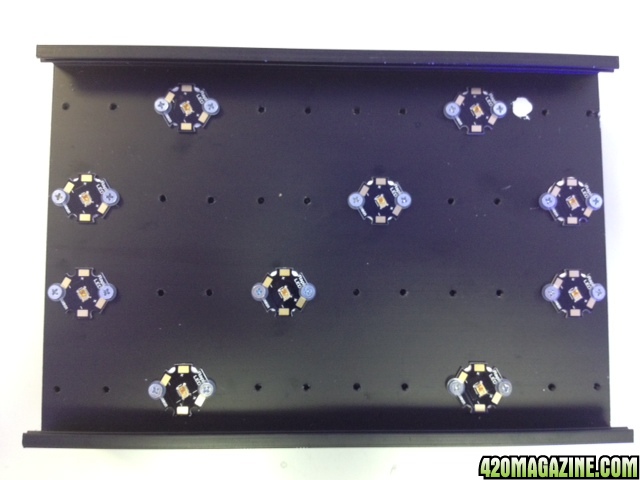
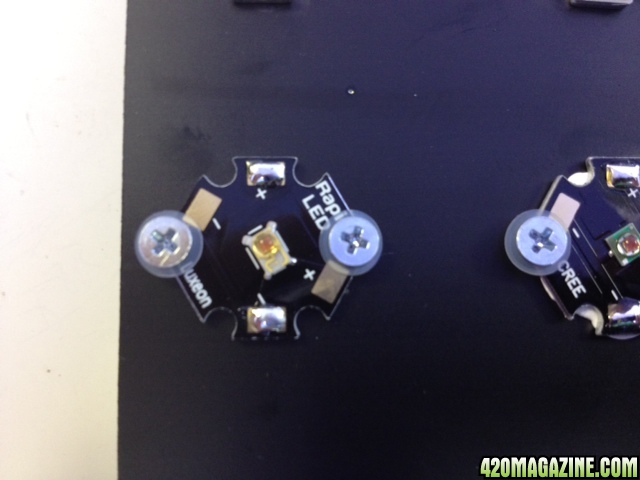
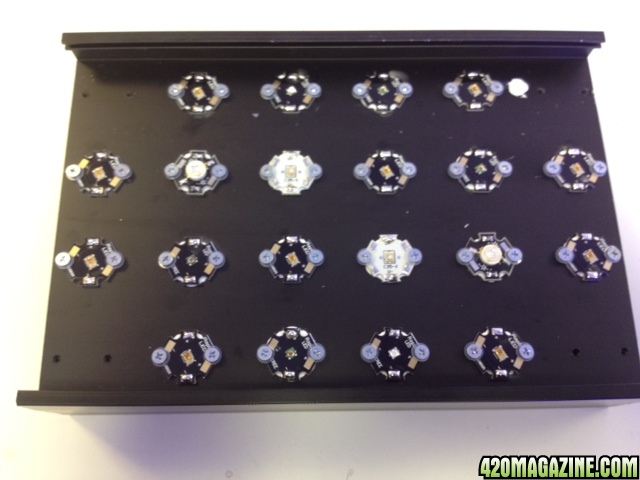
First thing I did was lay the LEDs out on the heatsink, to me the easiest way is just to spread them as evenly as possible. You'll screw the LEDs onto the heatsink with some small screws, with a dab of the thermal compound underneath. Here's a picture of just the red LEDs:
In the past I always had trouble from "grounding", where my soldering basically wasn't very good and the LEDs wouldn't light up correctly. This time they included washers to go on top of the LED which helped a lot:
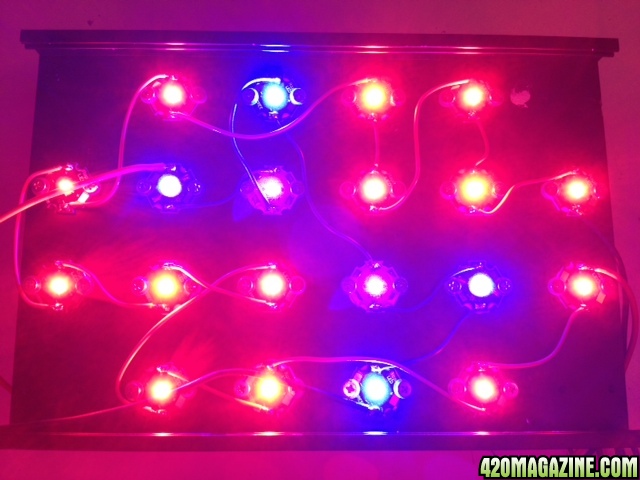
I laid out all the LEDs including the royal blue/violet ones as well, all evenly spread out as best I could:
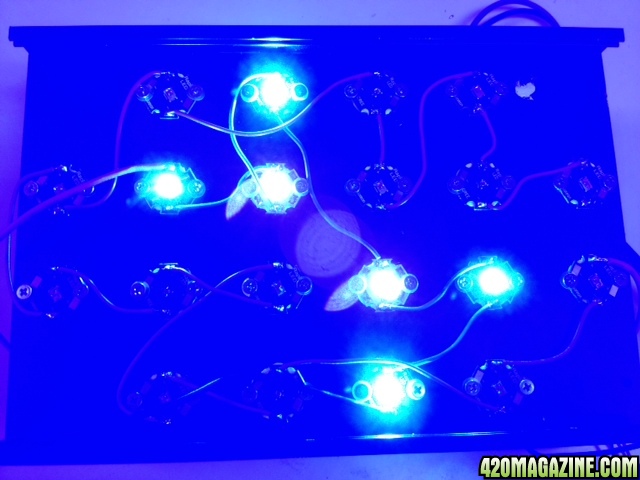
From there I wanted to keep my blue and violet on the same channel, and the reds on another channel so that's how I wired them. I'm using a LPC-35-700 driver which I was told can go up to 14 LEDs when daisy chaining your LEDs together, + to - all the way around. If you've never soldered before the first time can be a drag, but you get the hang of it pretty quickly. Much much easier this time as it was my second time around. I wired the blue/violet LEDs with blue wire and the red string with red wire:
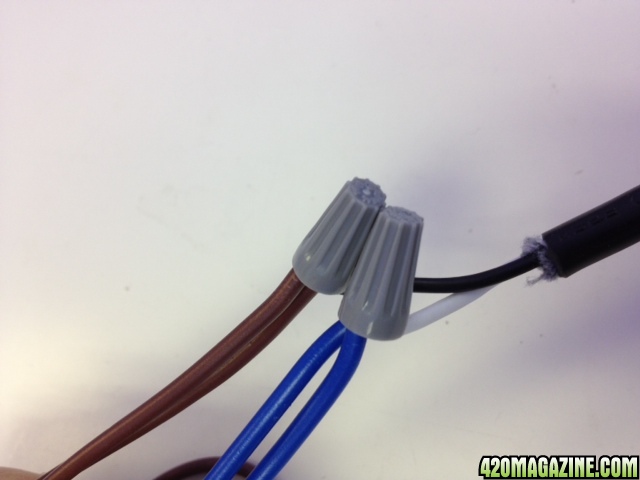
Once you've done that you just need to connect the driver to the wall/power cord, I used wire nuts for this but will change to heatshrink tubing once I go get some:
Once you double check all the wiring it's leap of faith time, plug the cord in and hope for the best!
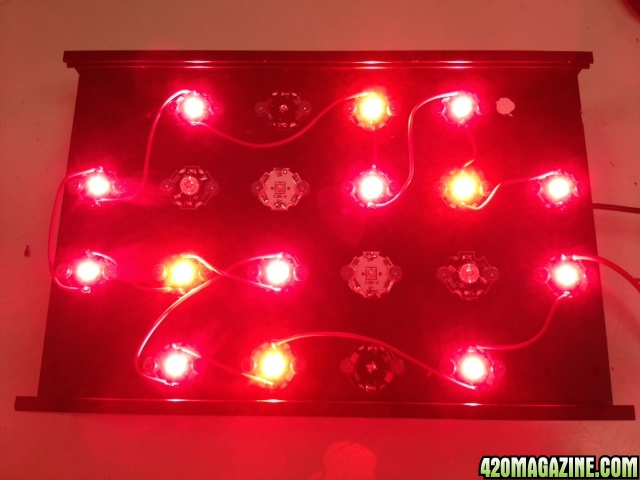
Since both my colors worked I then tied them together on the same power cord so I could save outlet space since I'll be running all the LEDs on at the same time anyways.
In my opinion the problem with DIY builds is how the lights look, you always seem to have loose wires and drivers in the way. What I did was put the drivers on top of the heatsink, I figured since I'm running a fan that it wouldn't add too much heat to the actual heatsink:
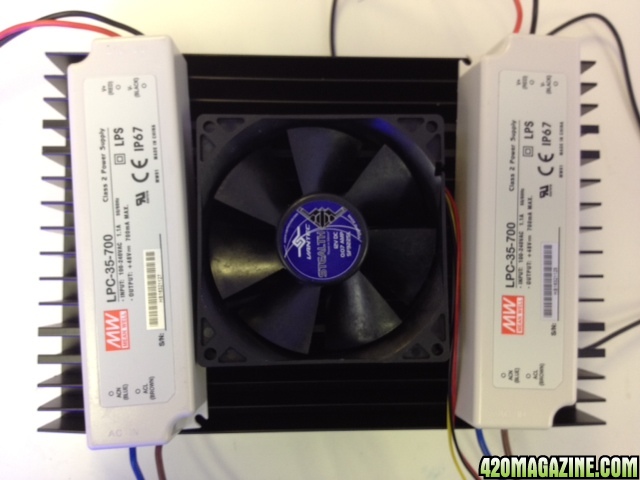
I forgot to take pictures but the fan wires up to the 12V adapter directly, just wire + to + and - to -.
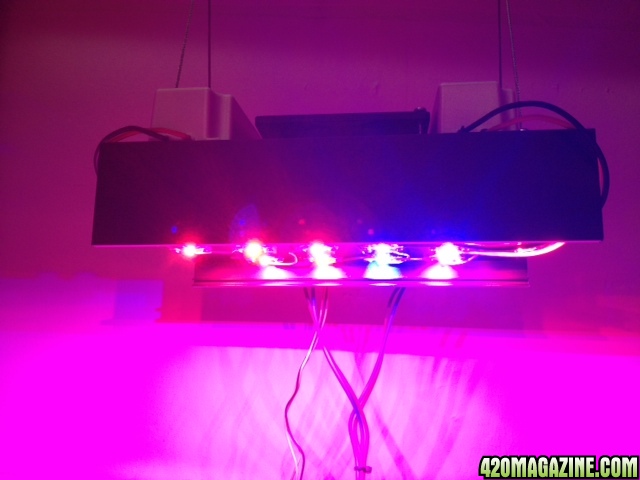
I chose not to use lenses for the time being, I feel like the LEDs are already running at about 2-3W each and are PLENTY bright already. They actually hurt my eyes for a while after the build. I can always adjust the height of the lights closer to the plants if I need more intensity anyways, plus I hate gluing the small lenses on.
I think it took me about 2 hours for the entire build but only because I've done it before. If it's your first time I think it'll take double that, and order a few extra LEDs as spares because these suckers can burn out quickly. Overall I really like the quality of the LEDs compared to some lower wattage units I've seen. To me the cost savings, quality of the LED, and customibility of being able to choose your own ratios and color make it totally worth it to DIY.
I'll update with pics of the grow as much as I can.
6" x 9" Heatsink with hanging kit
Two drivers LPC-35-700
One fan Vantec 92mm
One 12 volt adapter
One cord for my drivers
One thermal compound
5 types of LEDs:
-2 x 460nm CREE royal blue
-2 x UV/Violet
-2 x 440nm royal blue
-10 660nm Philips red
-5 630nm CREE red
Total cost: ~$170 shipped
First thing I did was lay the LEDs out on the heatsink, to me the easiest way is just to spread them as evenly as possible. You'll screw the LEDs onto the heatsink with some small screws, with a dab of the thermal compound underneath. Here's a picture of just the red LEDs:
In the past I always had trouble from "grounding", where my soldering basically wasn't very good and the LEDs wouldn't light up correctly. This time they included washers to go on top of the LED which helped a lot:
I laid out all the LEDs including the royal blue/violet ones as well, all evenly spread out as best I could:
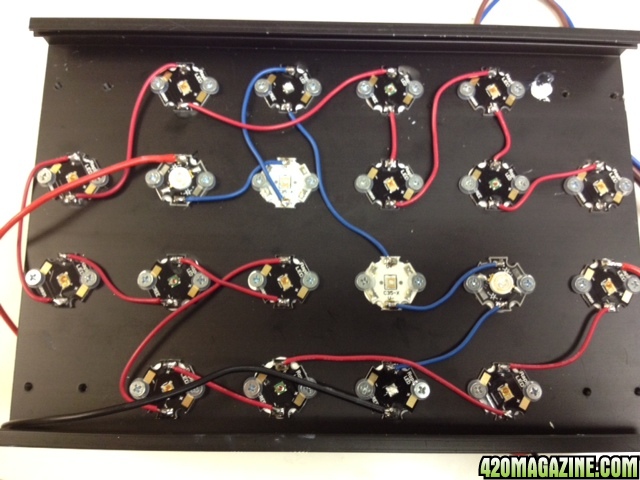
From there I wanted to keep my blue and violet on the same channel, and the reds on another channel so that's how I wired them. I'm using a LPC-35-700 driver which I was told can go up to 14 LEDs when daisy chaining your LEDs together, + to - all the way around. If you've never soldered before the first time can be a drag, but you get the hang of it pretty quickly. Much much easier this time as it was my second time around. I wired the blue/violet LEDs with blue wire and the red string with red wire:
Once you've done that you just need to connect the driver to the wall/power cord, I used wire nuts for this but will change to heatshrink tubing once I go get some:
Once you double check all the wiring it's leap of faith time, plug the cord in and hope for the best!
Since both my colors worked I then tied them together on the same power cord so I could save outlet space since I'll be running all the LEDs on at the same time anyways.
In my opinion the problem with DIY builds is how the lights look, you always seem to have loose wires and drivers in the way. What I did was put the drivers on top of the heatsink, I figured since I'm running a fan that it wouldn't add too much heat to the actual heatsink:
I forgot to take pictures but the fan wires up to the 12V adapter directly, just wire + to + and - to -.
I chose not to use lenses for the time being, I feel like the LEDs are already running at about 2-3W each and are PLENTY bright already. They actually hurt my eyes for a while after the build. I can always adjust the height of the lights closer to the plants if I need more intensity anyways, plus I hate gluing the small lenses on.
I think it took me about 2 hours for the entire build but only because I've done it before. If it's your first time I think it'll take double that, and order a few extra LEDs as spares because these suckers can burn out quickly. Overall I really like the quality of the LEDs compared to some lower wattage units I've seen. To me the cost savings, quality of the LED, and customibility of being able to choose your own ratios and color make it totally worth it to DIY.
I'll update with pics of the grow as much as I can.