MrPeab's Outdoor Grow Journal - 2013

MrPeab

Active Member
grow2.png


Central Valley of California
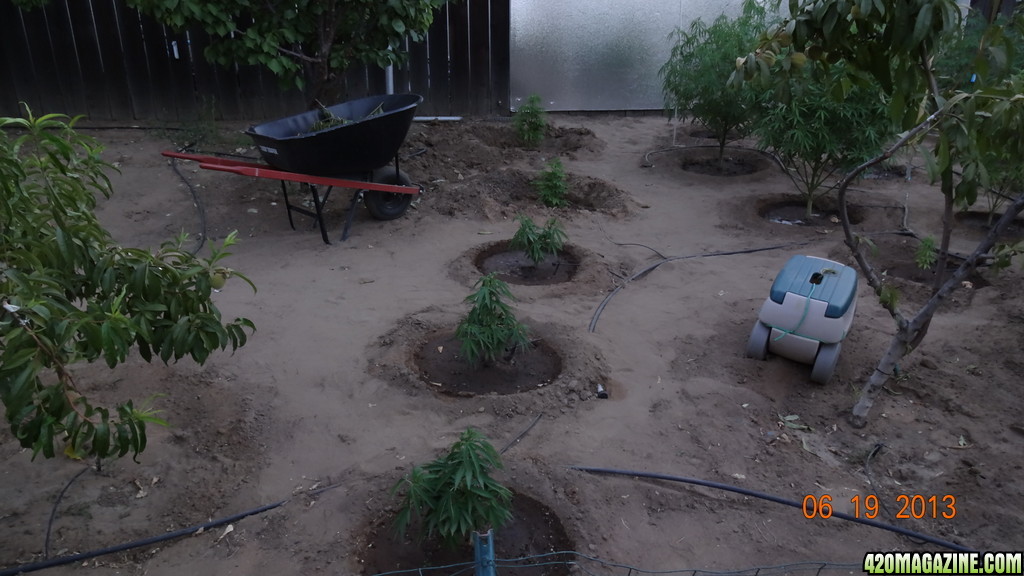
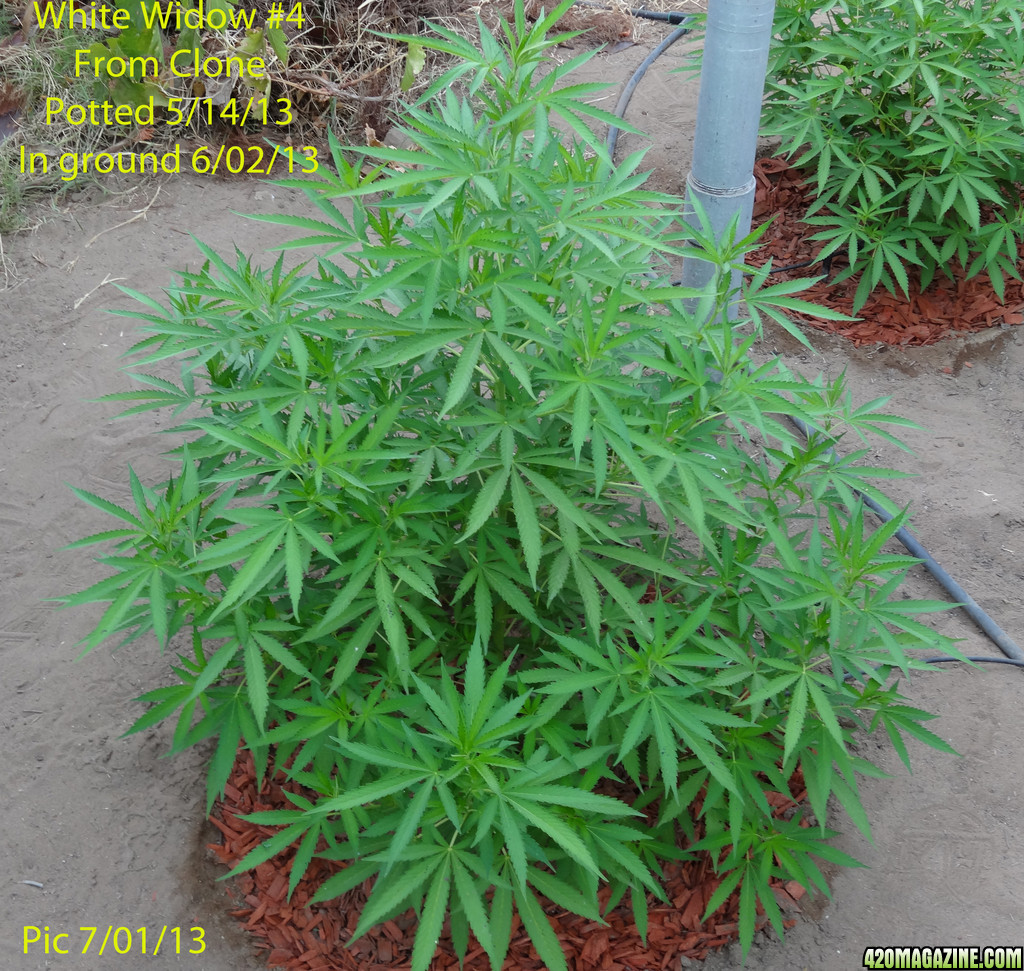
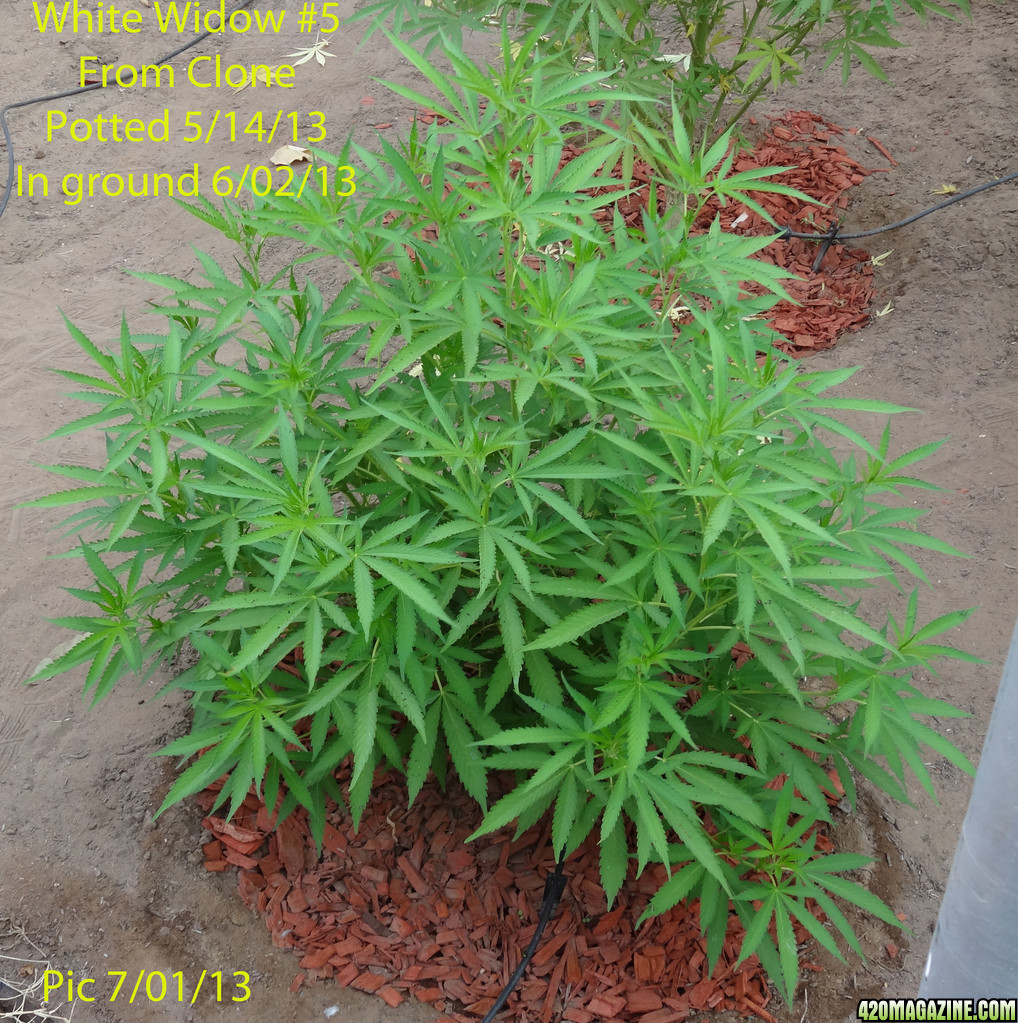
Soil is Sandy Loam with Black Gold Waterhold used when plants were put into the ground.
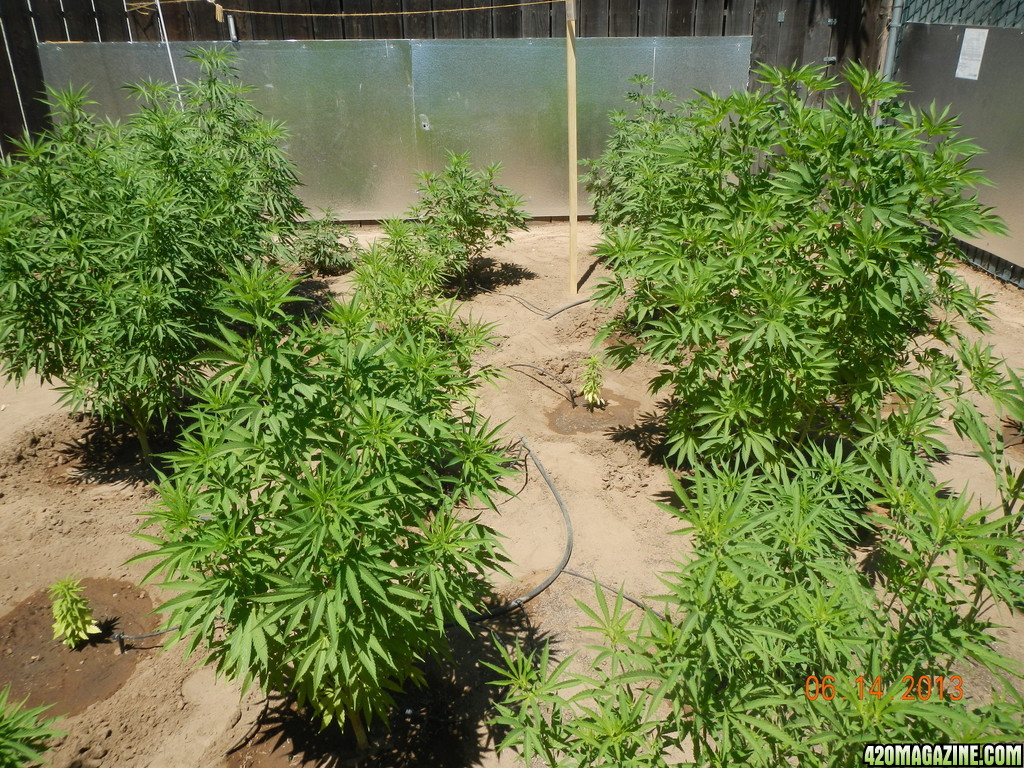
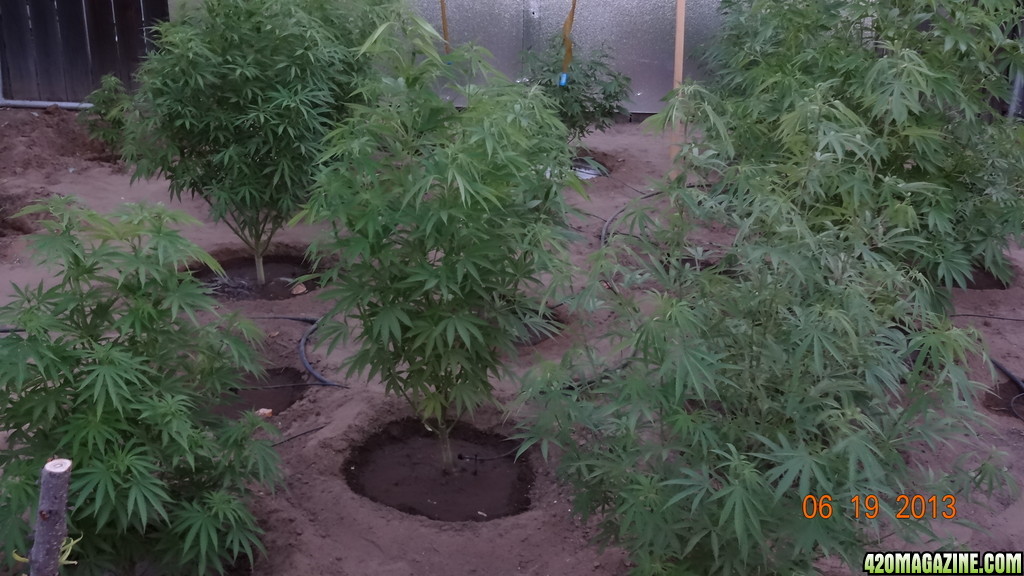
Currently 28 Plants
14 Sour Diesel (feminized seeds germinated by me starting last week of March)
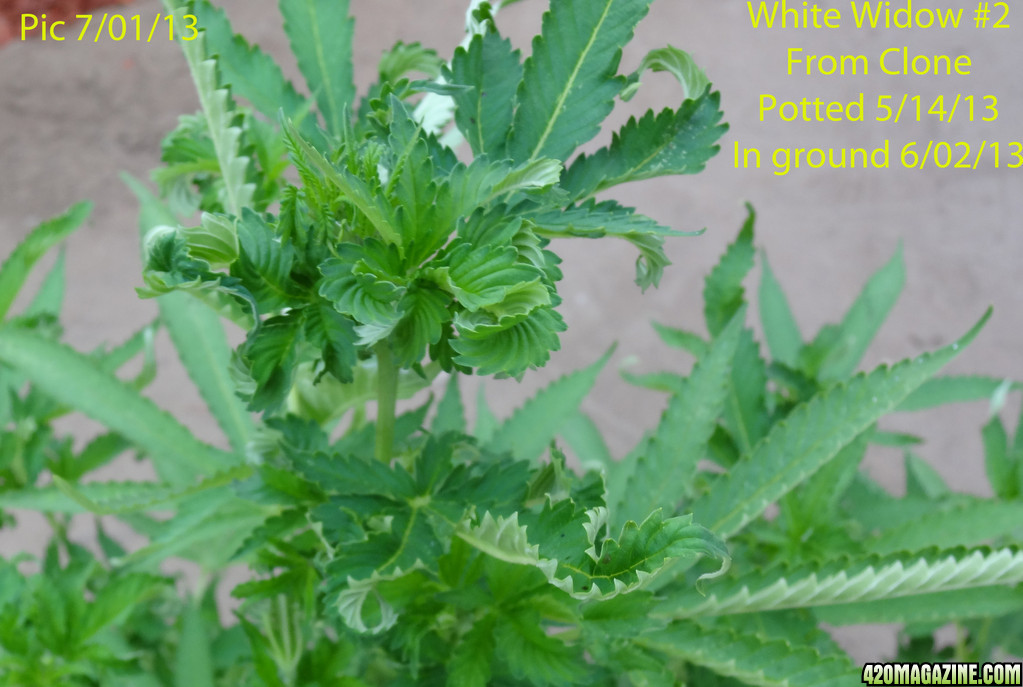
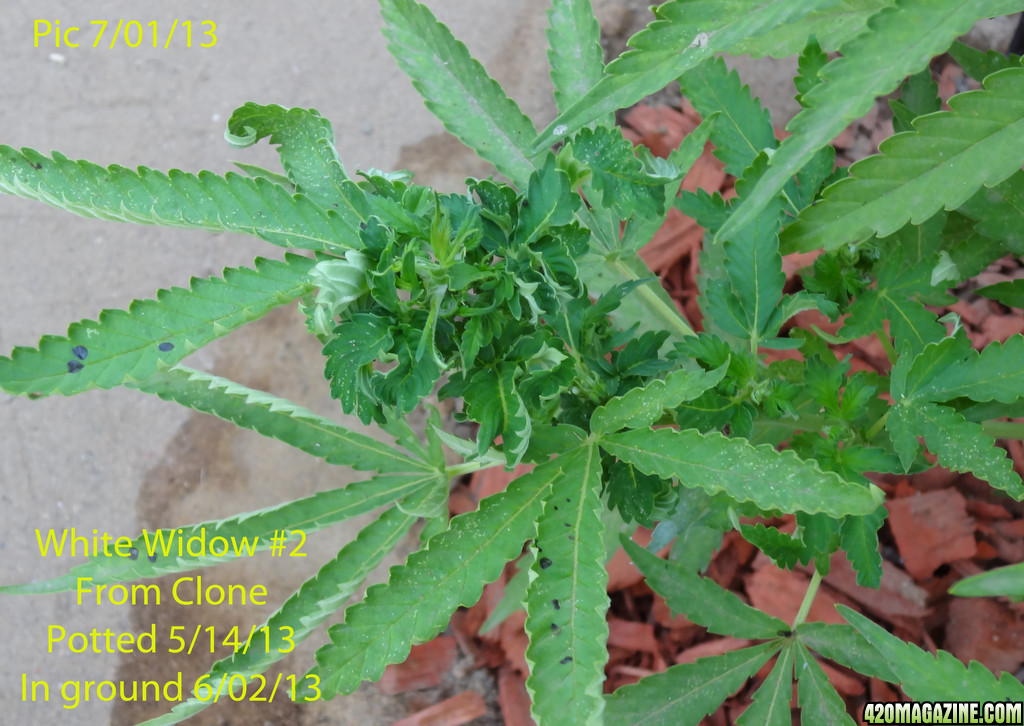
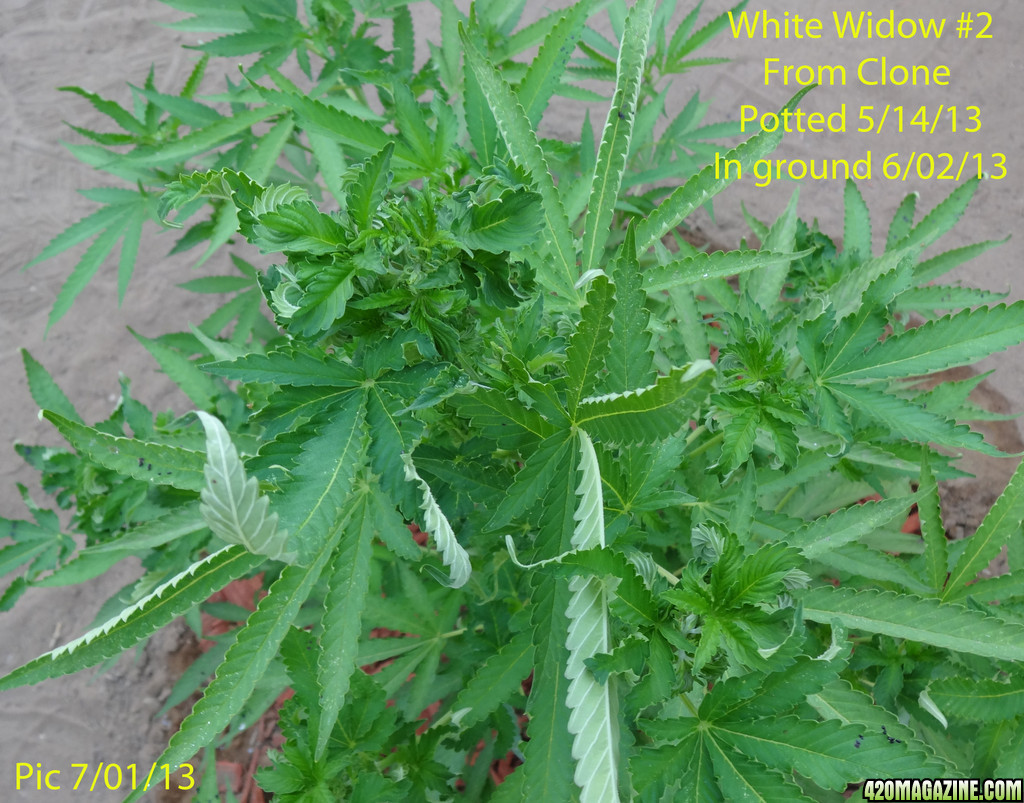
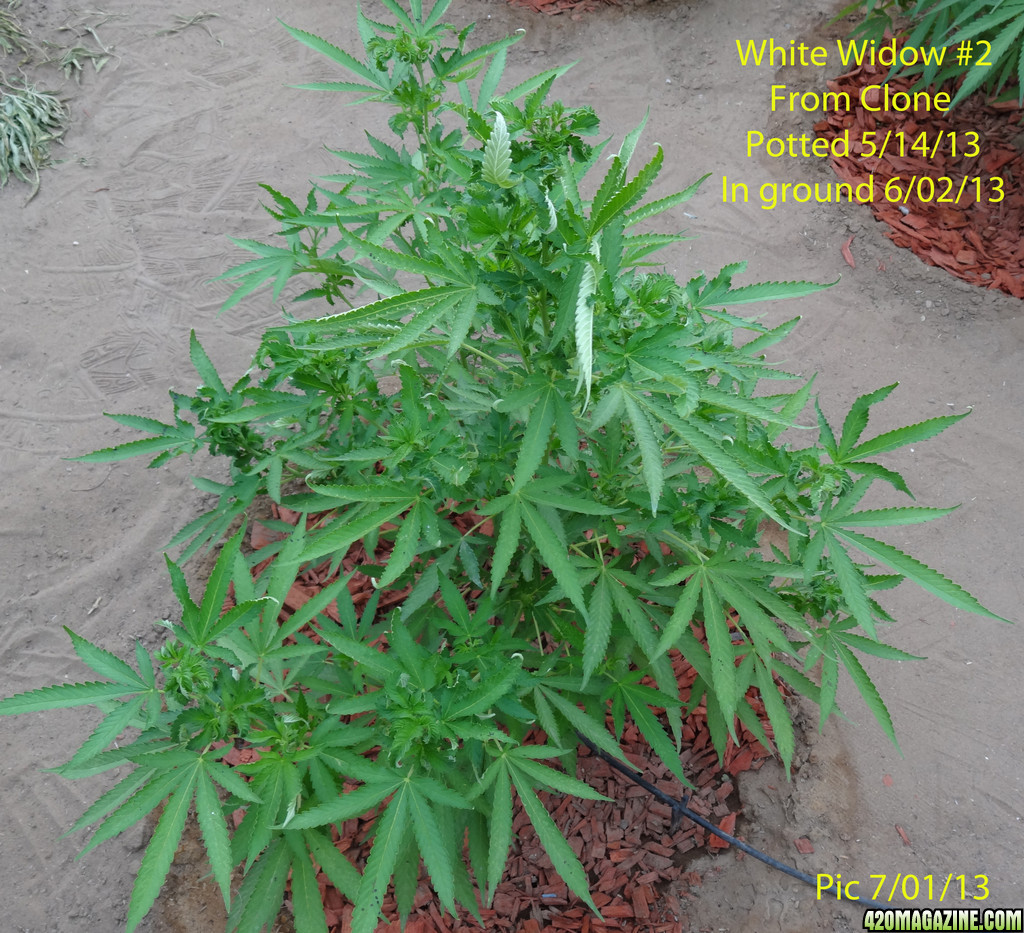
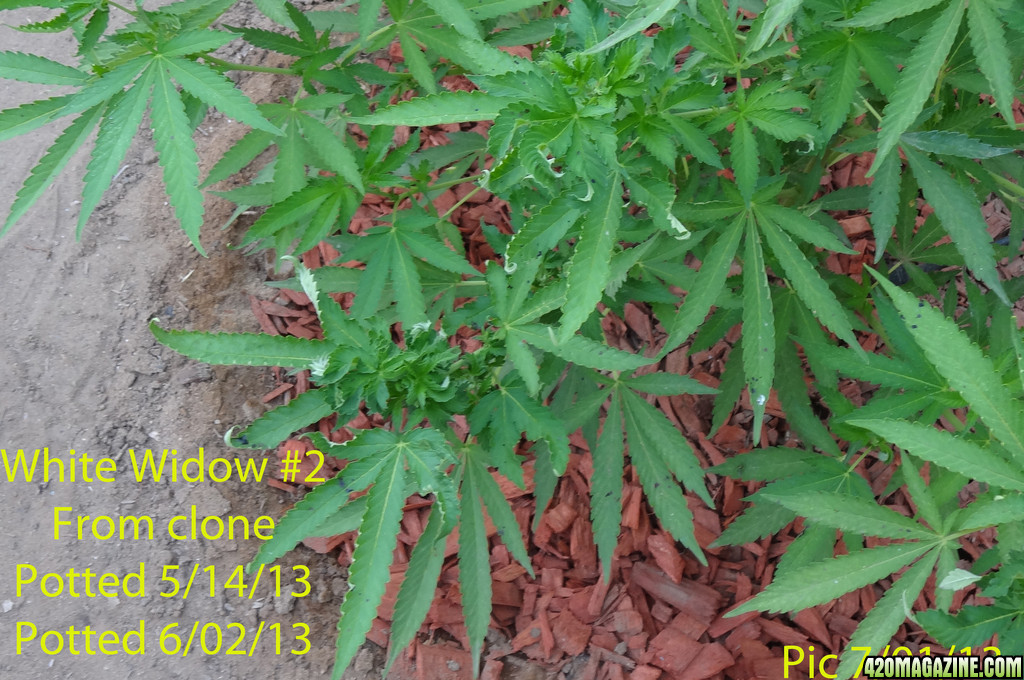
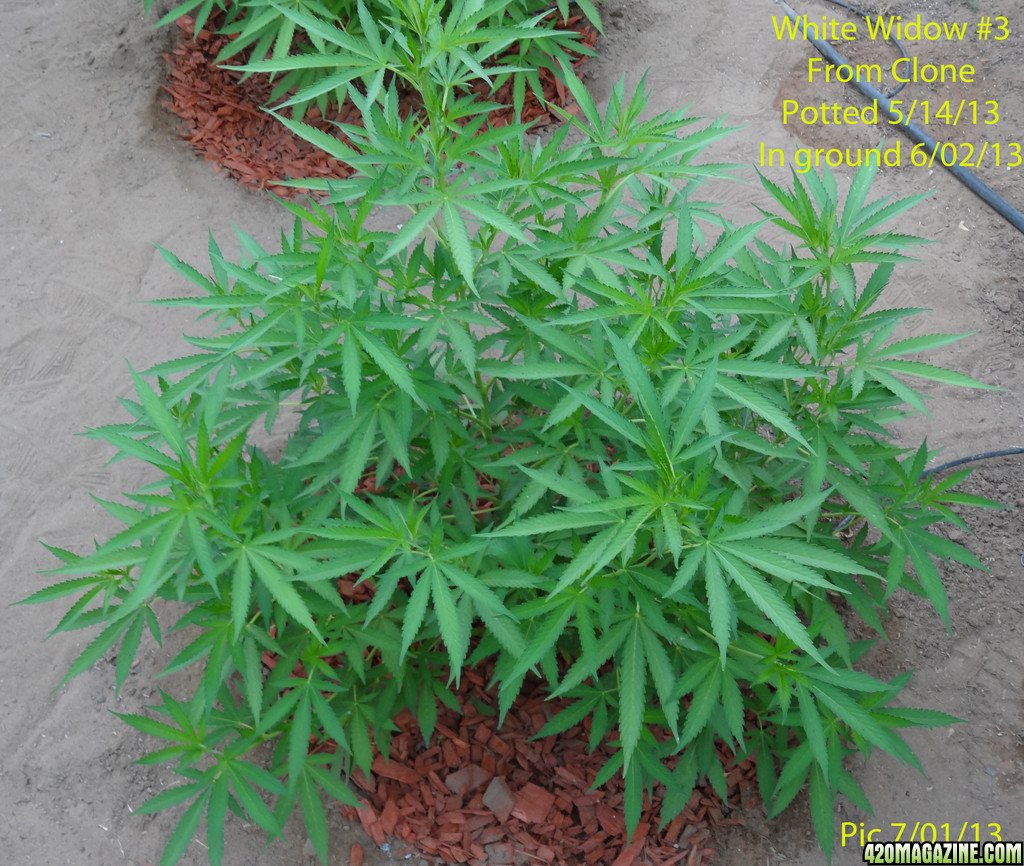
5 White Widow (cloned by close friend)
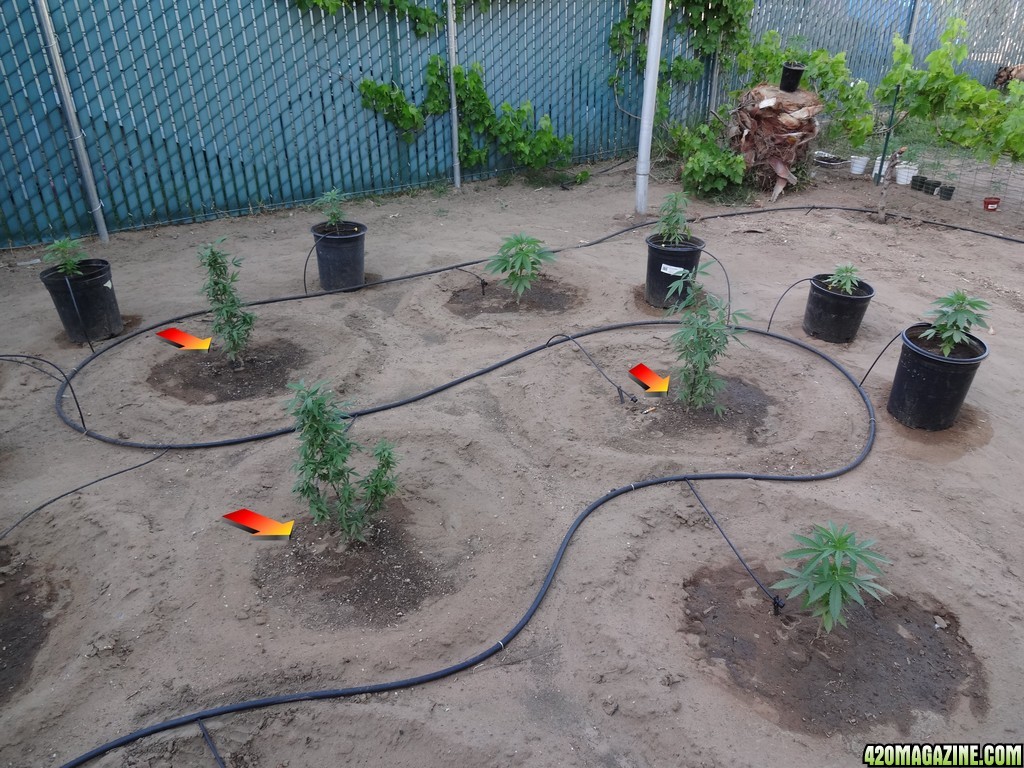
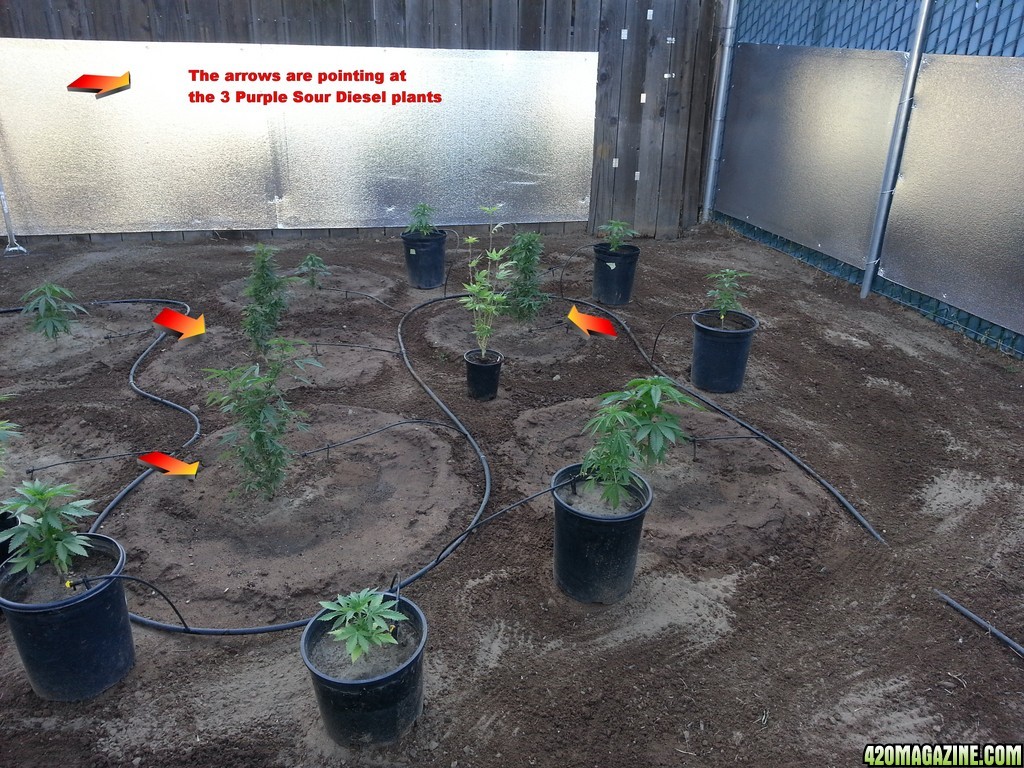
3 Purple Sour Diesel (Supposed clones obtained via a trade with guy on Craigslist)
3 Platinum Bubbah (Clones I purchased)
1 Bannana Goo (Gift from friend)
1 FOG "Fresno OG Kush" (Gift from friend)
1 Unknown (Beautiful fat seed I found in a unknown bud)

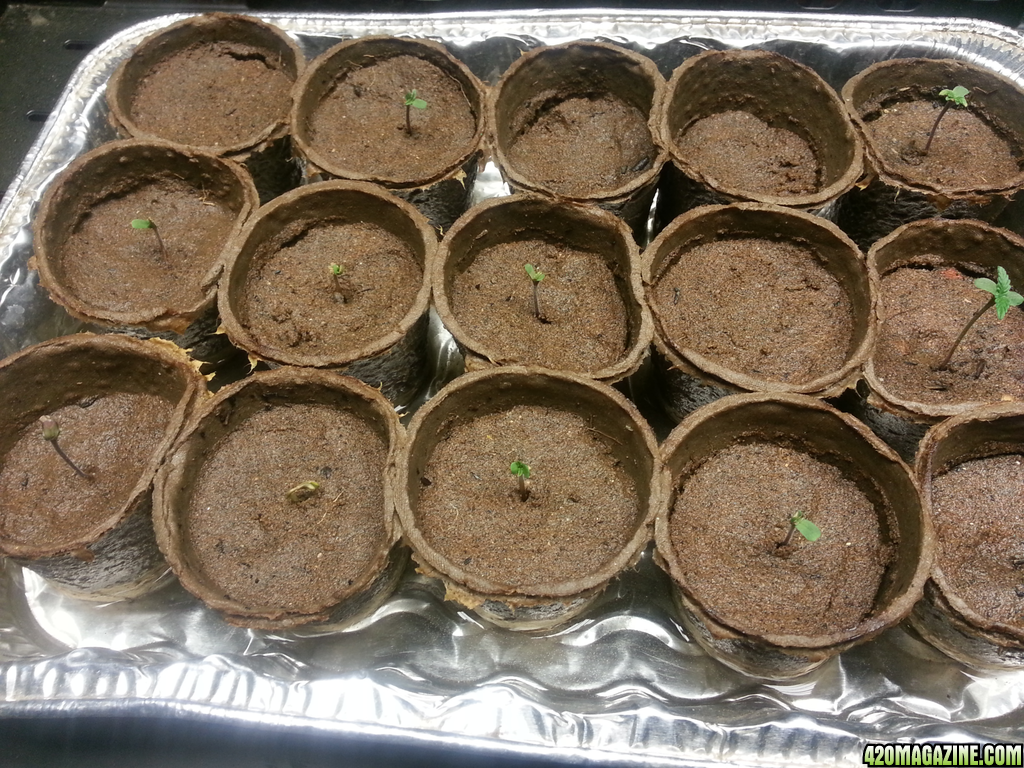
March 2013 I started germinating approximately 50 seeds. 20 seeds using the old paper towel method. I also germinated 30 of the seeds using the all fiber seed starter pots from the 99 cents store. I filled the pots with soil and placed a seed in each pot about 1/4" deep. I placed the starter pots into a foil cooking pan and kept adding water to the foil pan so the starter cups could absorb the water. I placed the foil pan into a folding fruit case and suspended it directly under a fluorescent light fixture with 24 hour light. I placed the paper towels between two plates to keep it dark and maintained the moisture for approximately 2 days and then the seed began to sprout.

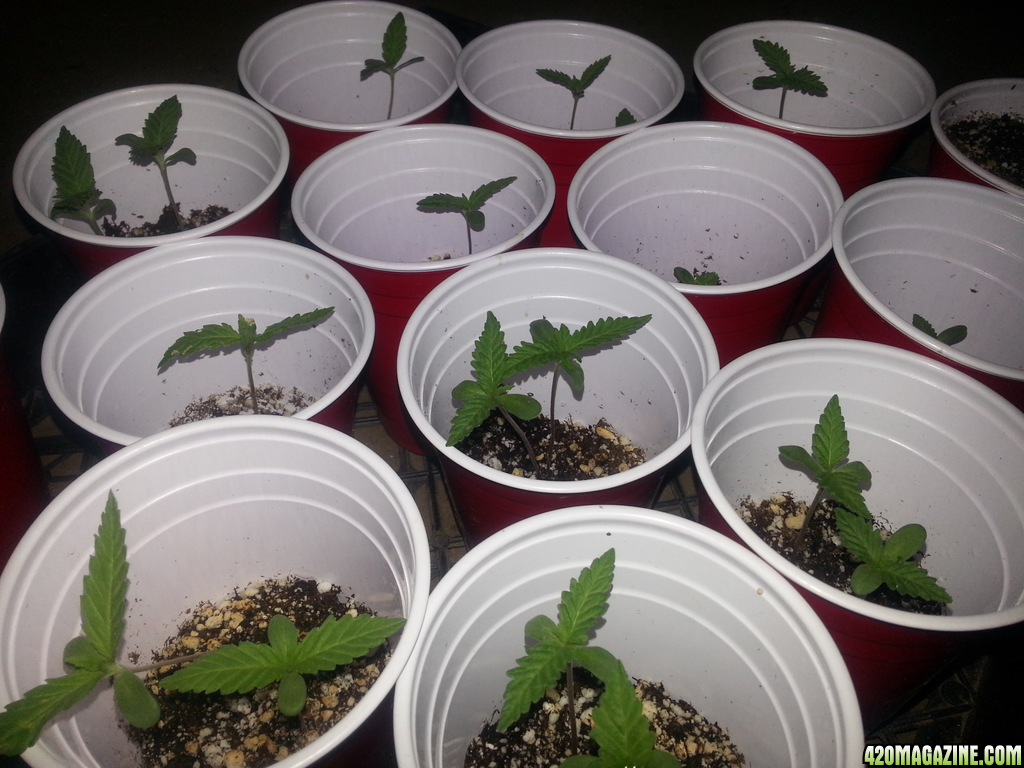
When the seeds in the paper towels were ready I used tweezers to put them into a Solo cup with soil. The next day I moved them outside so they could acclimate to the sun and weather. The starter pots took a few days longer to show but when the sprouts began looking like plants I put them outside also to acclimate. When I felt they were ready I cut away the fiber pot and put them into small pots with Happy Frog soil.


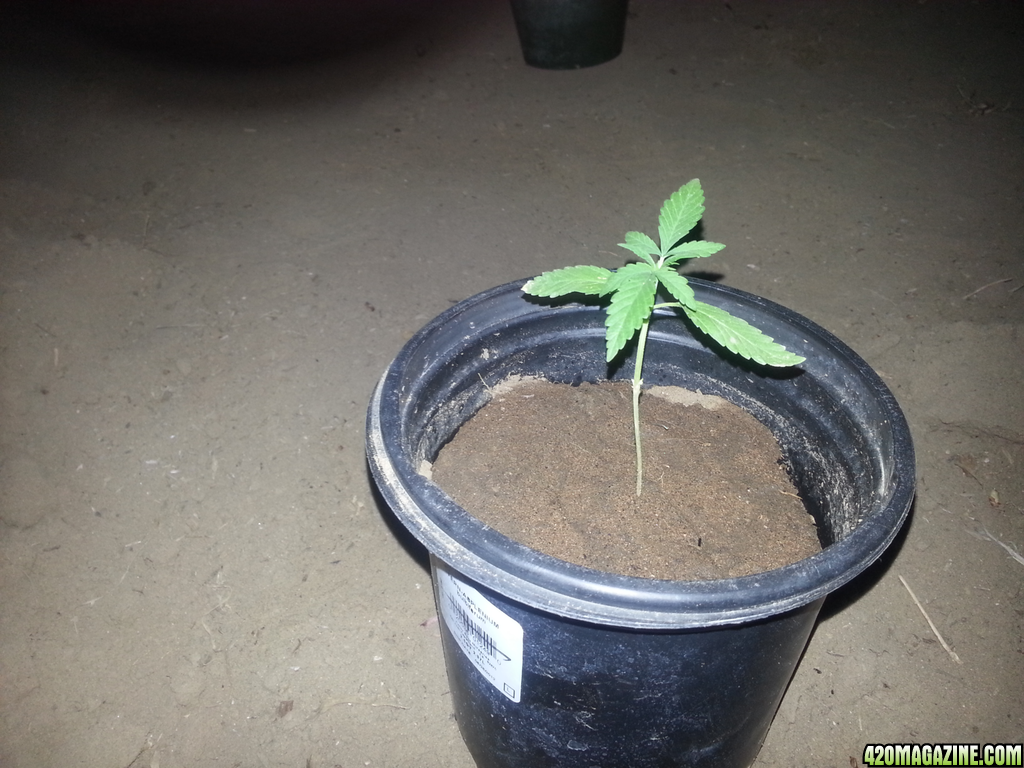
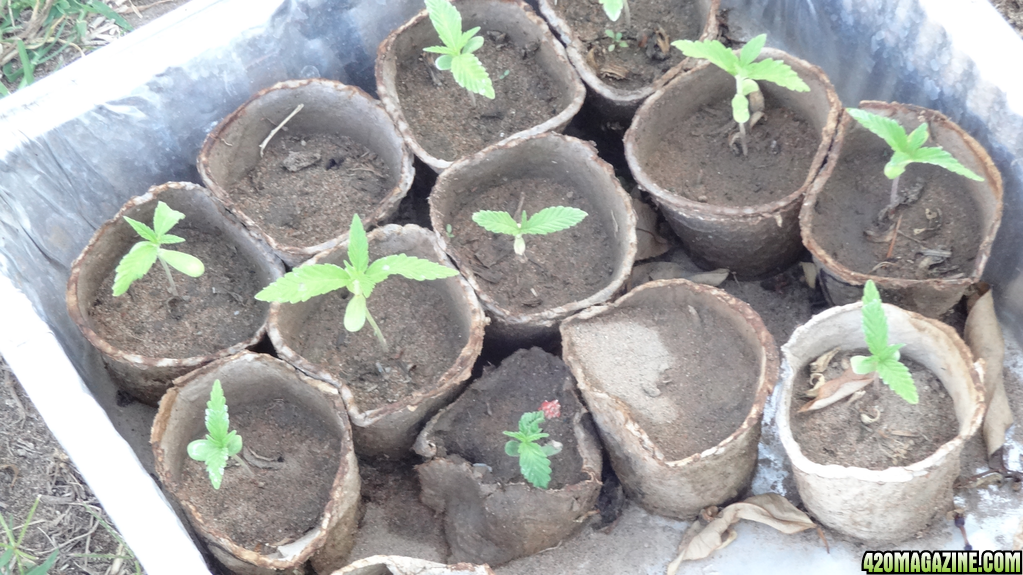
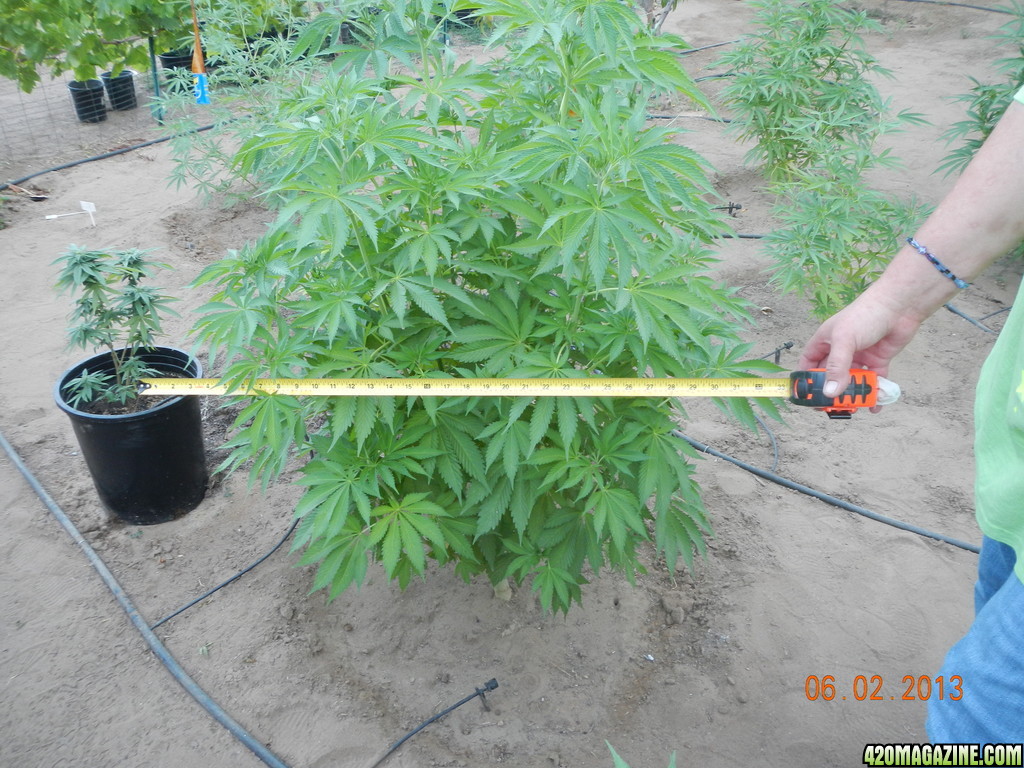
The reason for using the two different methods for germinating; I read where when you germinate with a paper towel and the root sticks to the towel you damage the roots and can shock the seedling before it becomes established. When putting the seed directly into soil you do not have to touch the root, it is in the correct position for perfect growth. After doing both of these methods it appears that the seedlings that were germinated directly into the soil in fiber pots produced plants that now after having been put into the ground on April 20th (4/20) these plants are much bigger and much healthier looking than the seeds germinated in the paper towel.


PLANT5.png


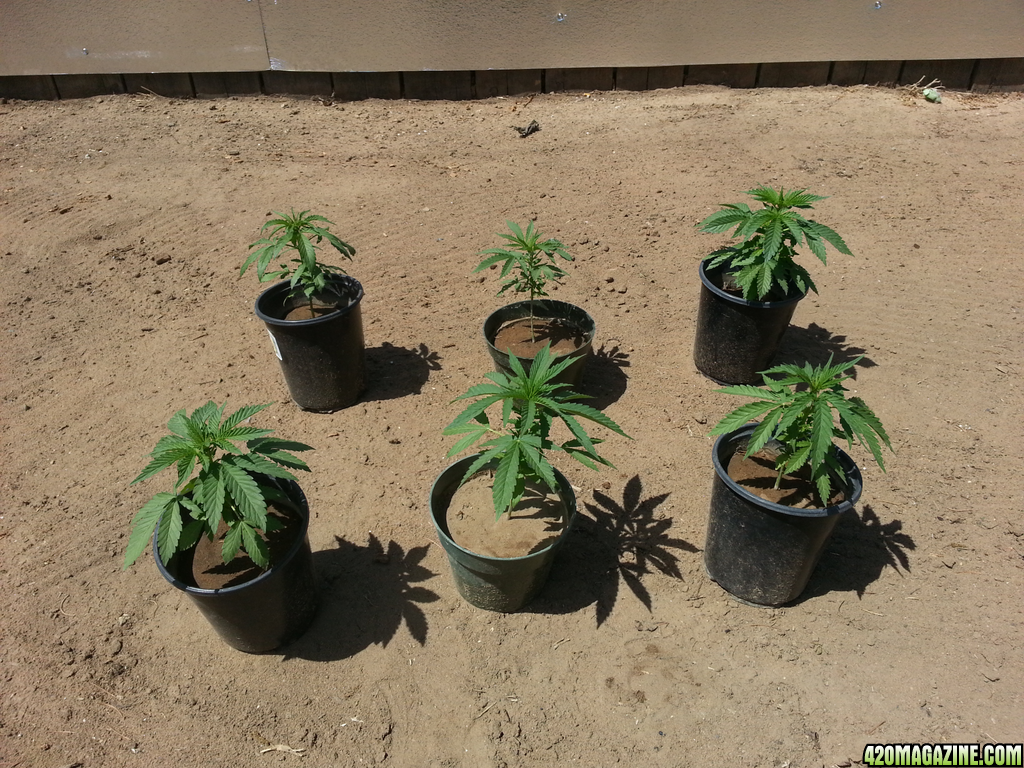
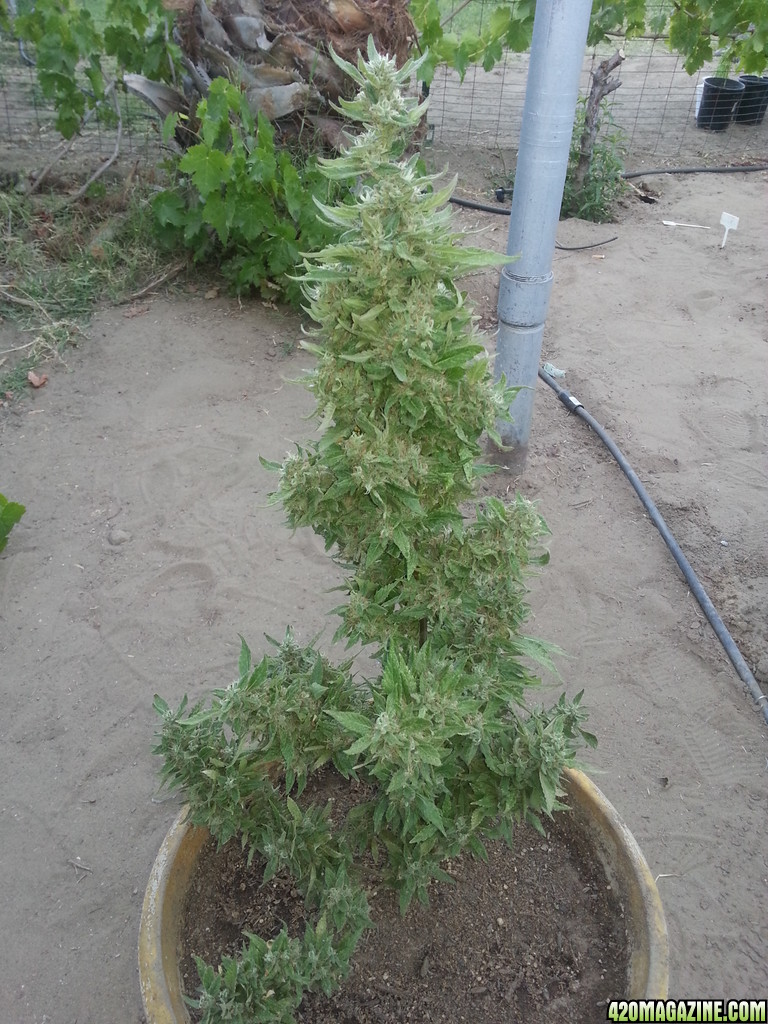
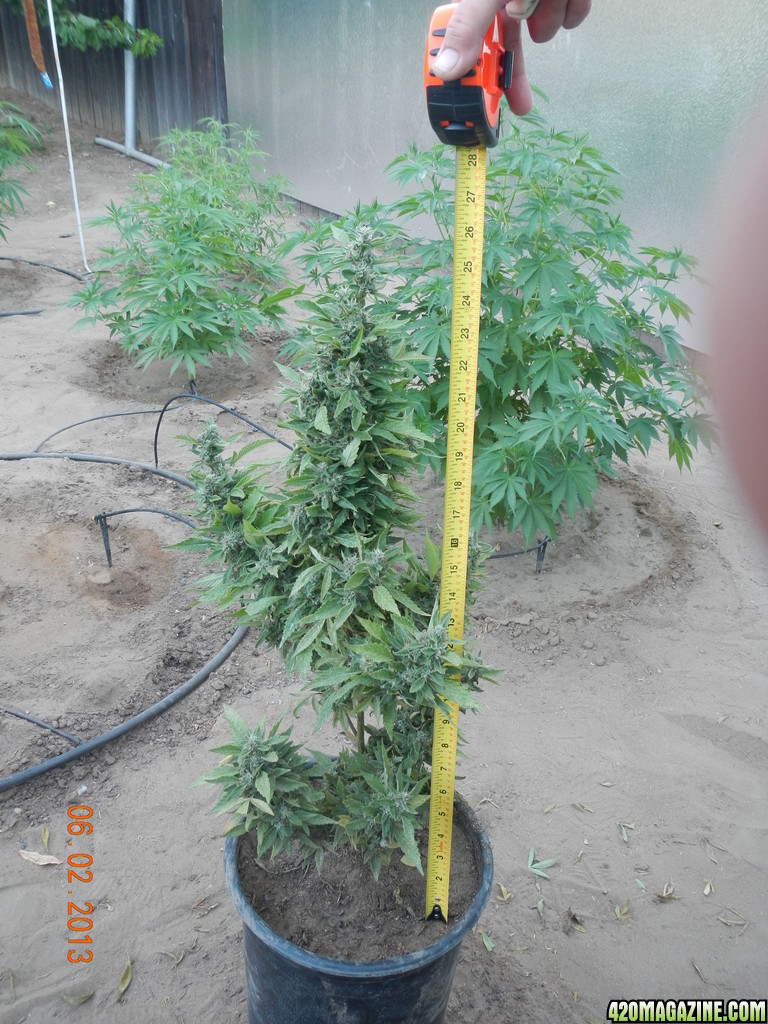
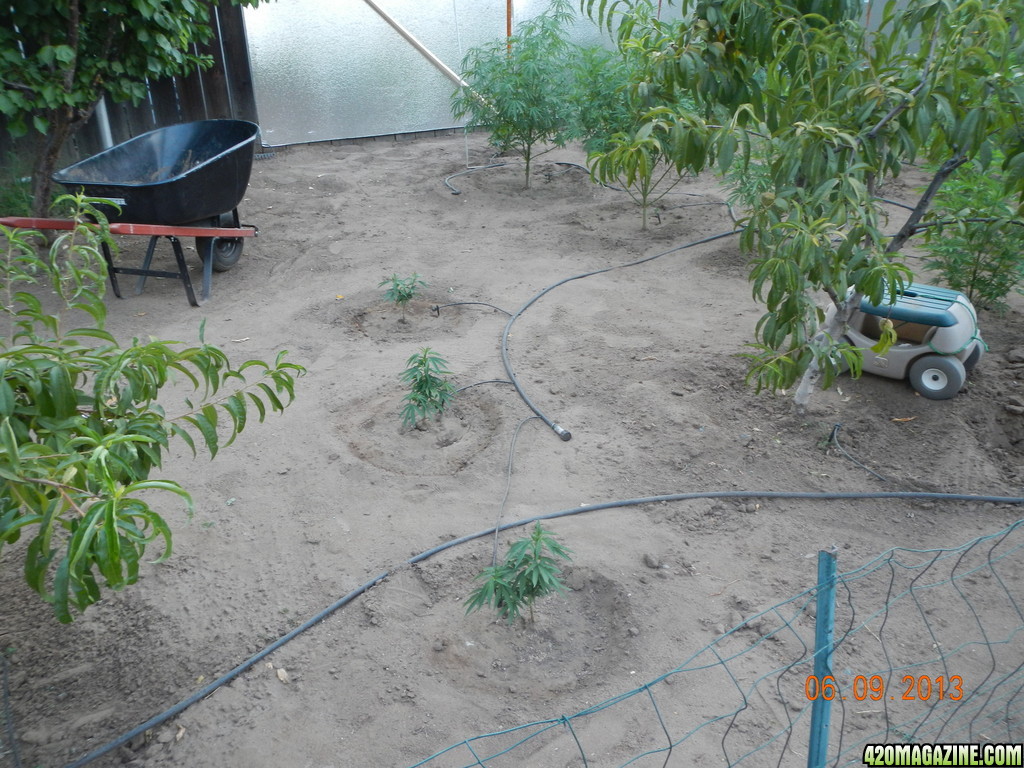
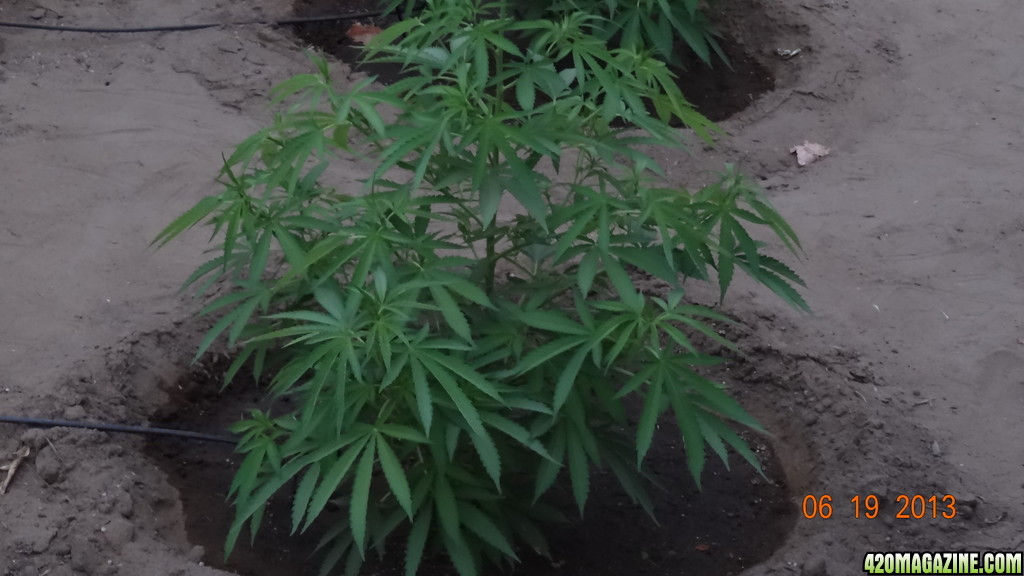
The plants were looking healthy and the weather seemed perfect so I decided to start planting the following week on April 20, 2013. Symbolic of 420

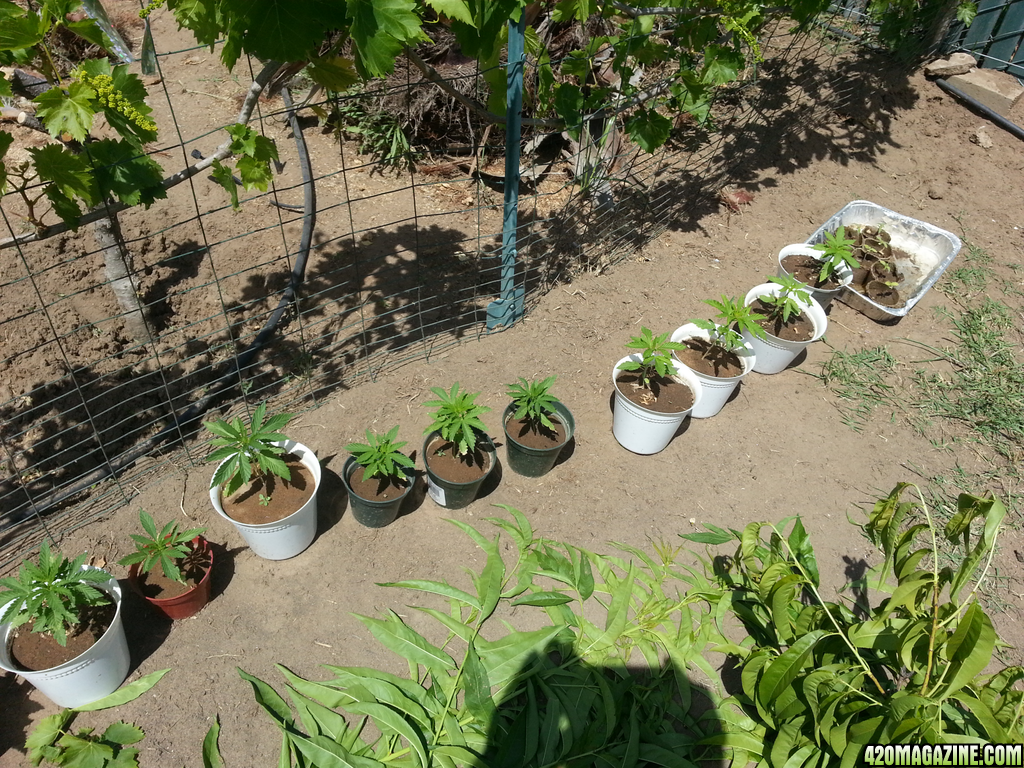
I started by planting 3 Purple Sour Diesel clones and 5 Sour Diesel I germinated. I started also staging pots with plants in them waiting until I felt that the stalk was of good size and the plants were close to a foot or taller.


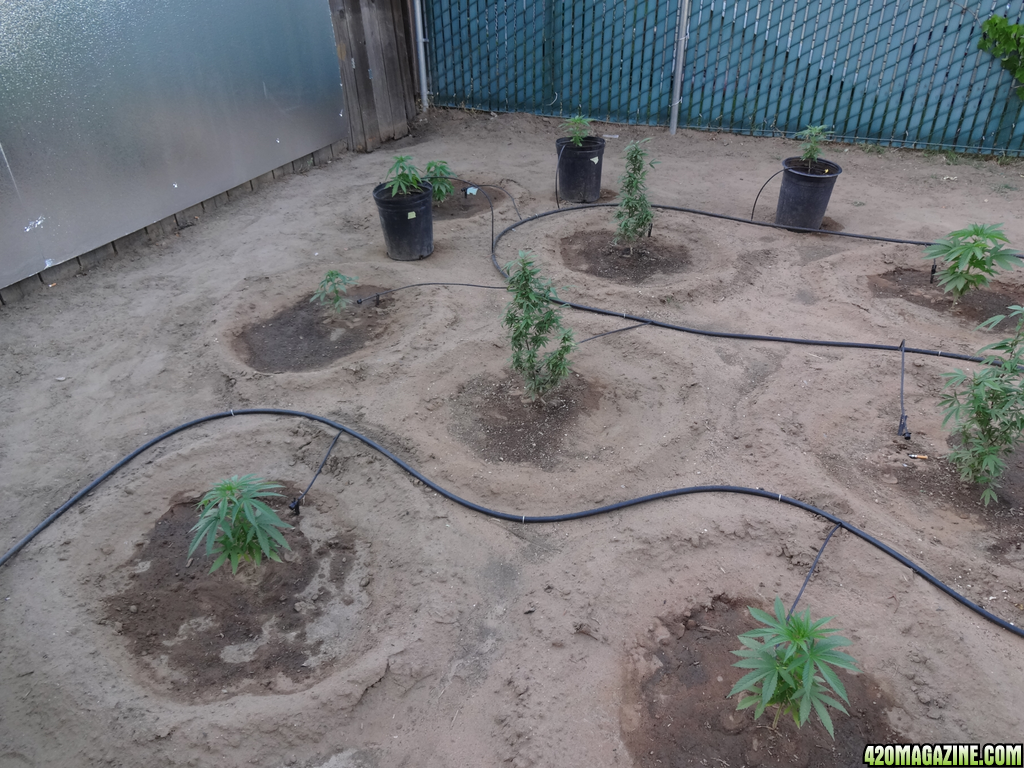
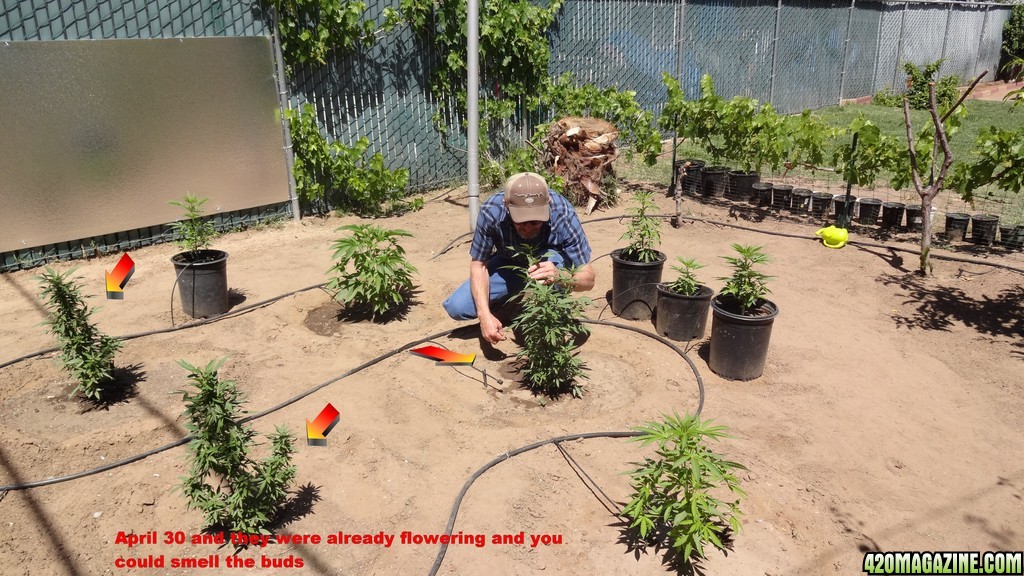
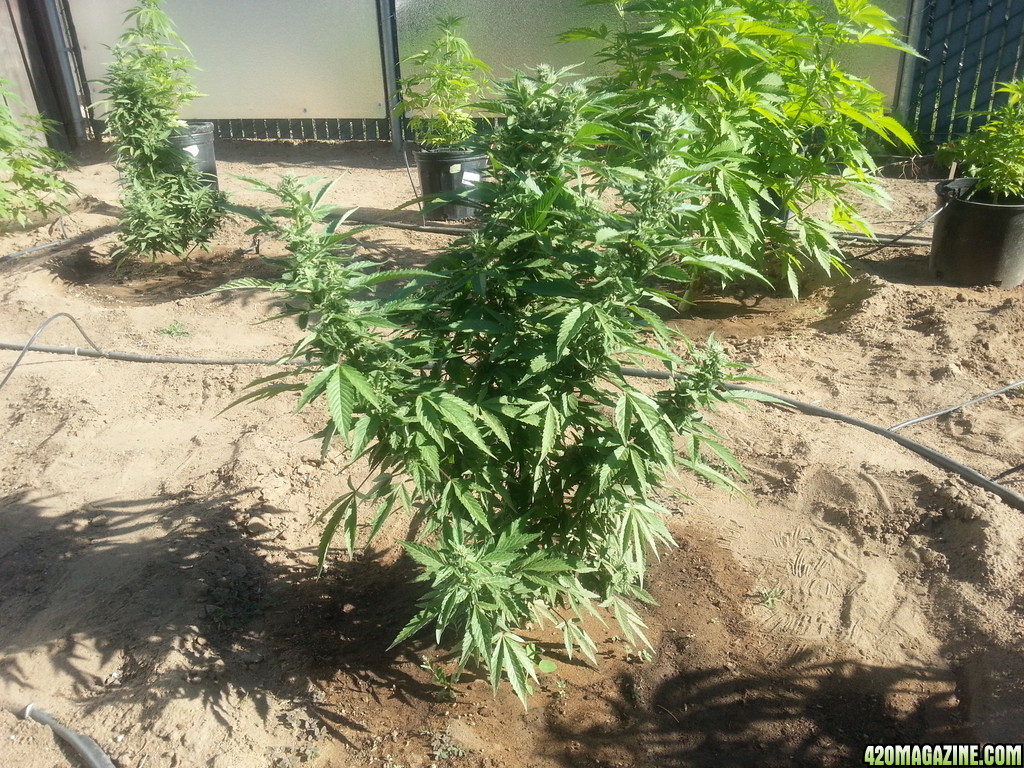
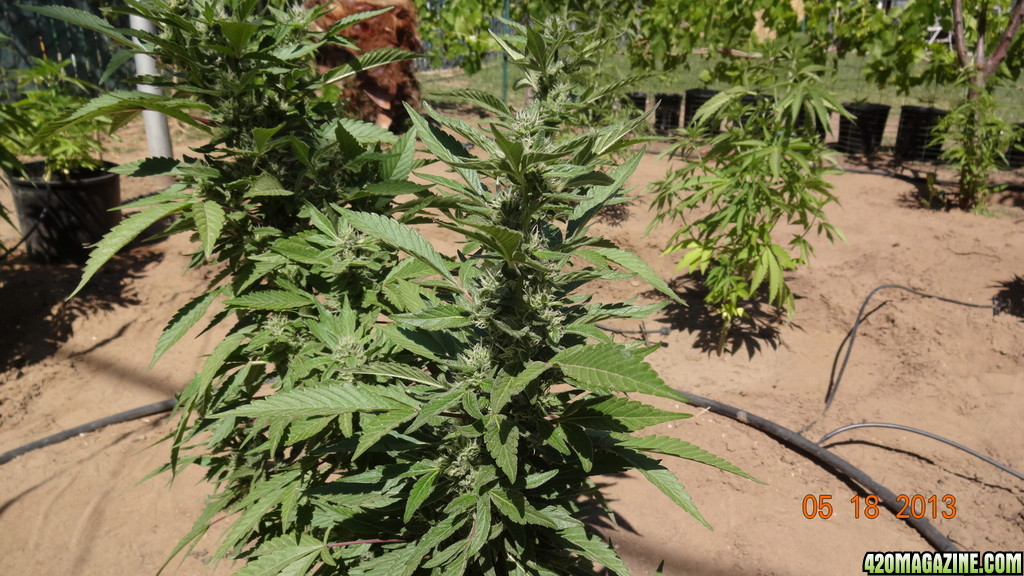
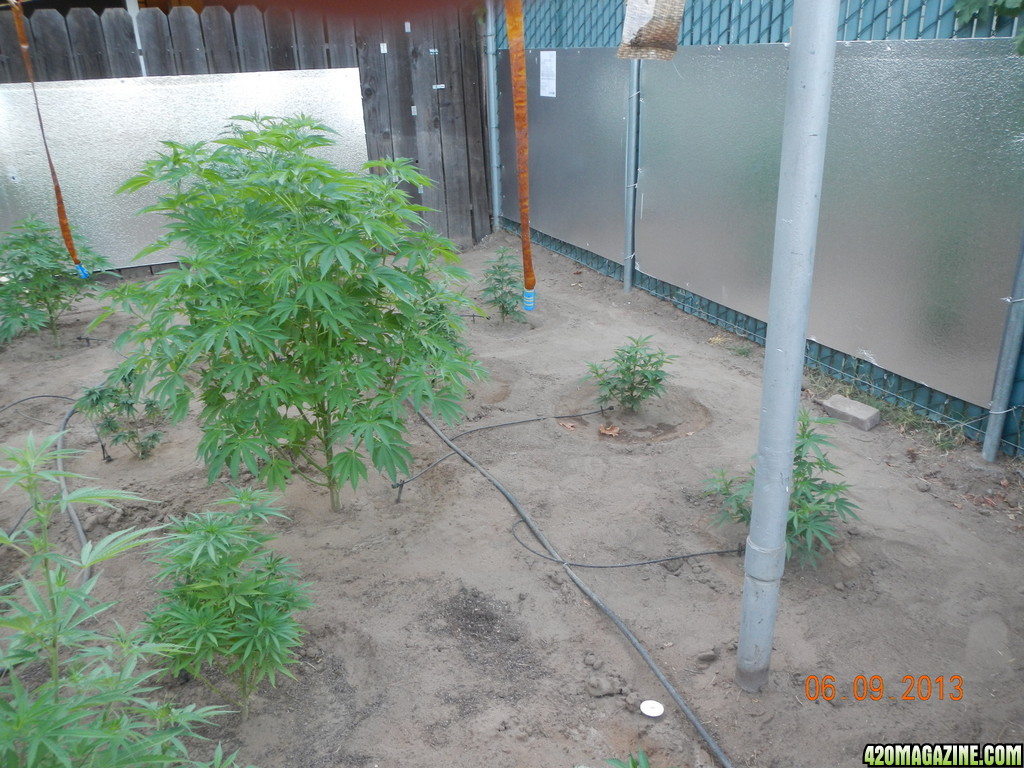
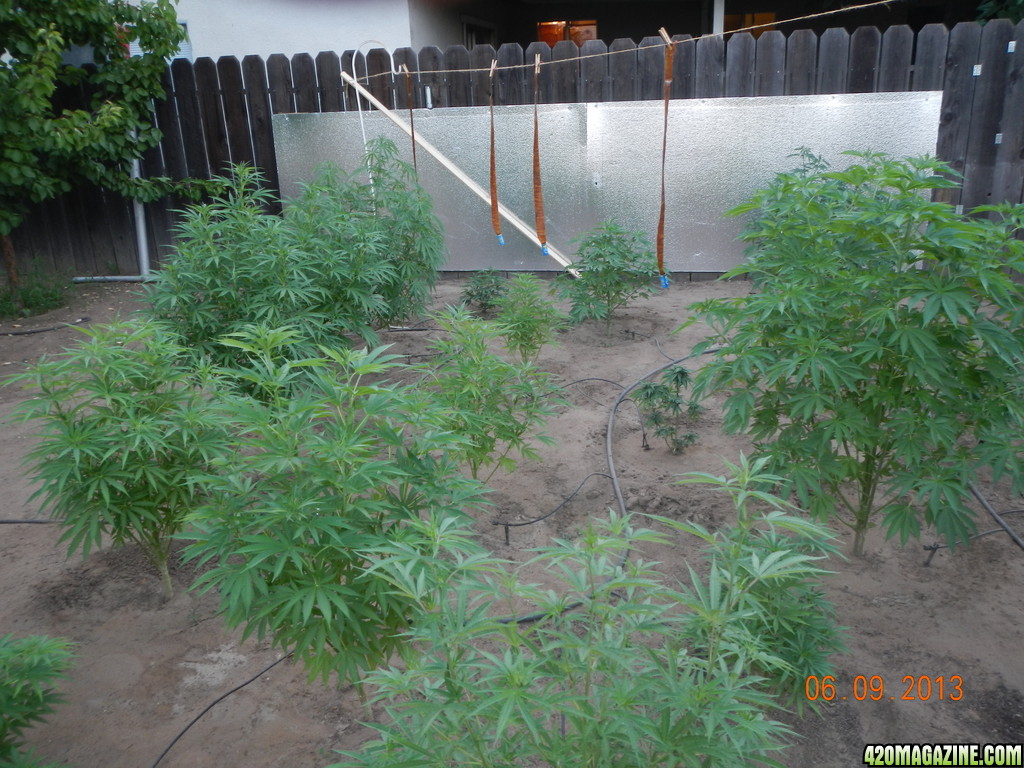
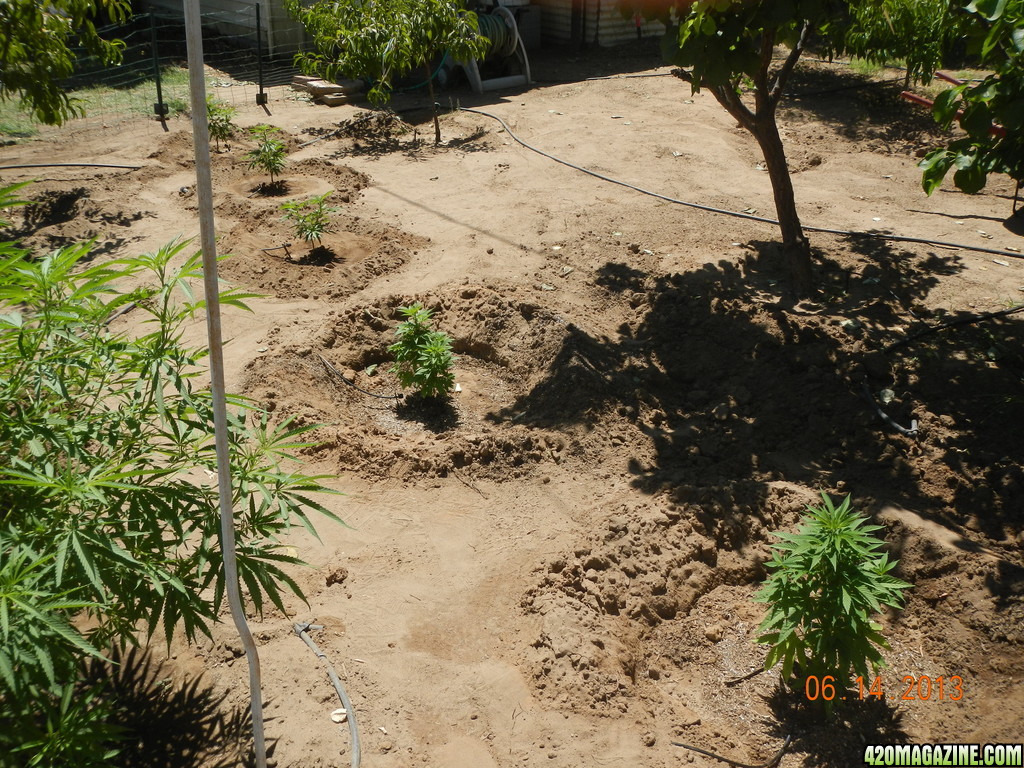
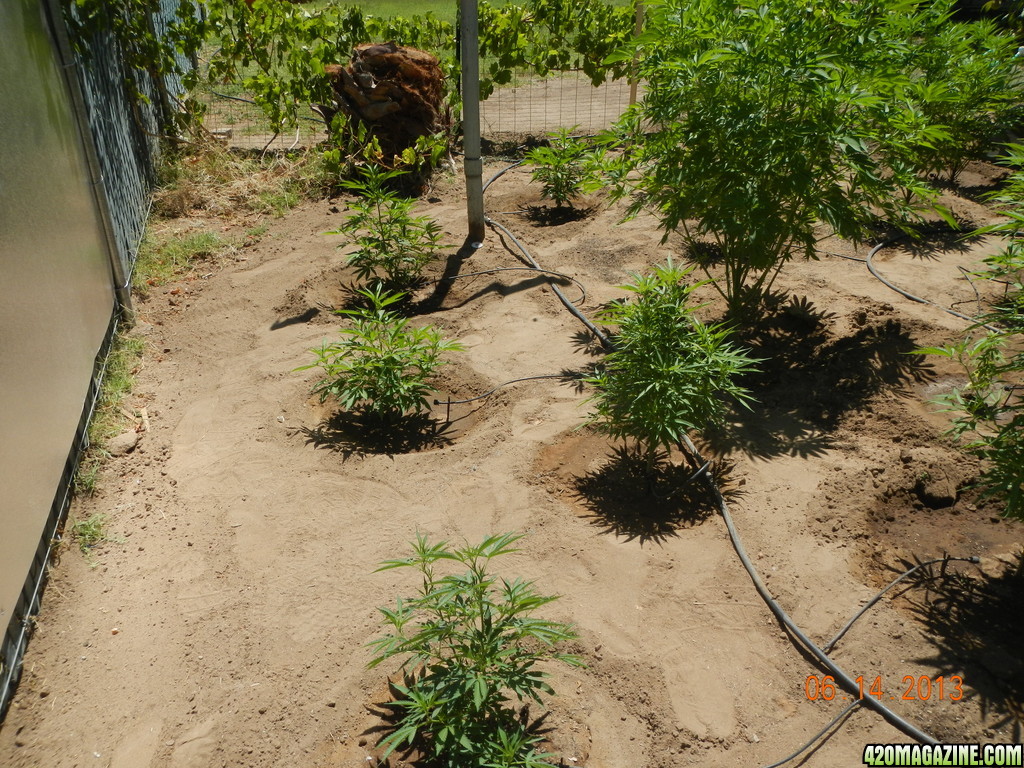
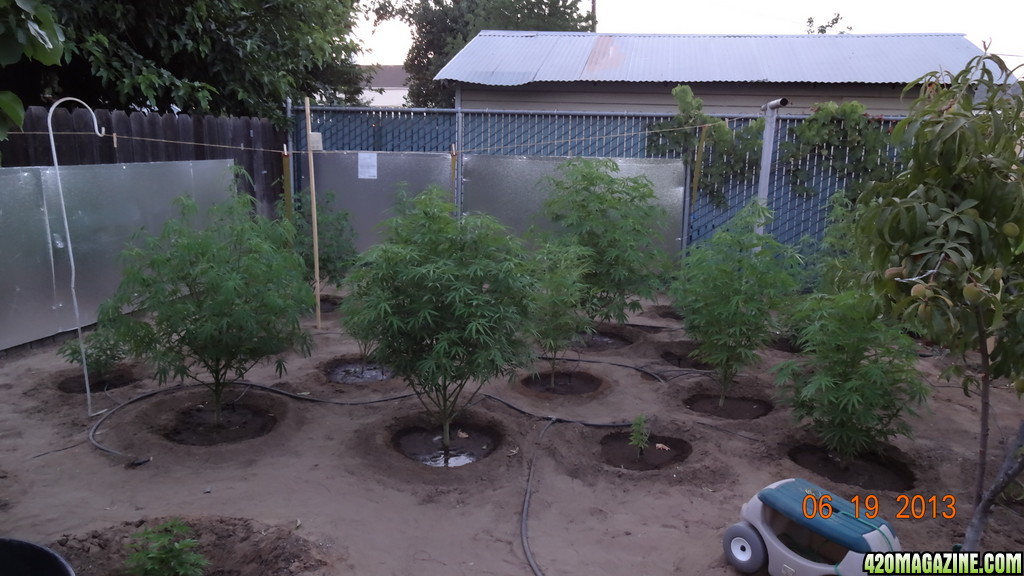
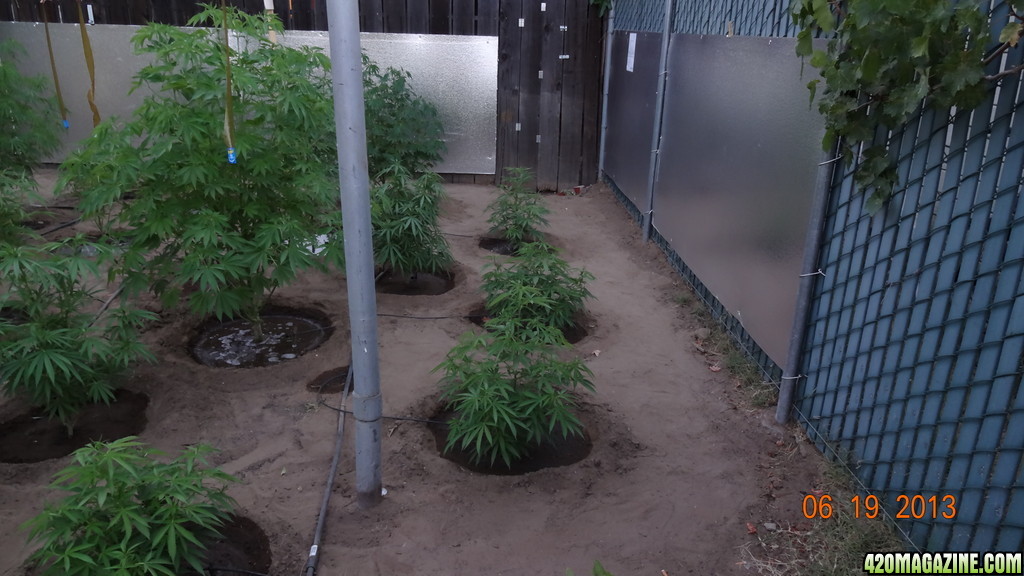
Last year the house behind my garden had a tree that blocked all of the late afternoon sun from my plants. This year I had the idea to add some of the foil insulation used in indoor grows to my fence. It seems to be working great and serving it's purpose. The morning and early afternoon sun reflects off of the foil thus giving that side of the plant more light than it would get naturally.

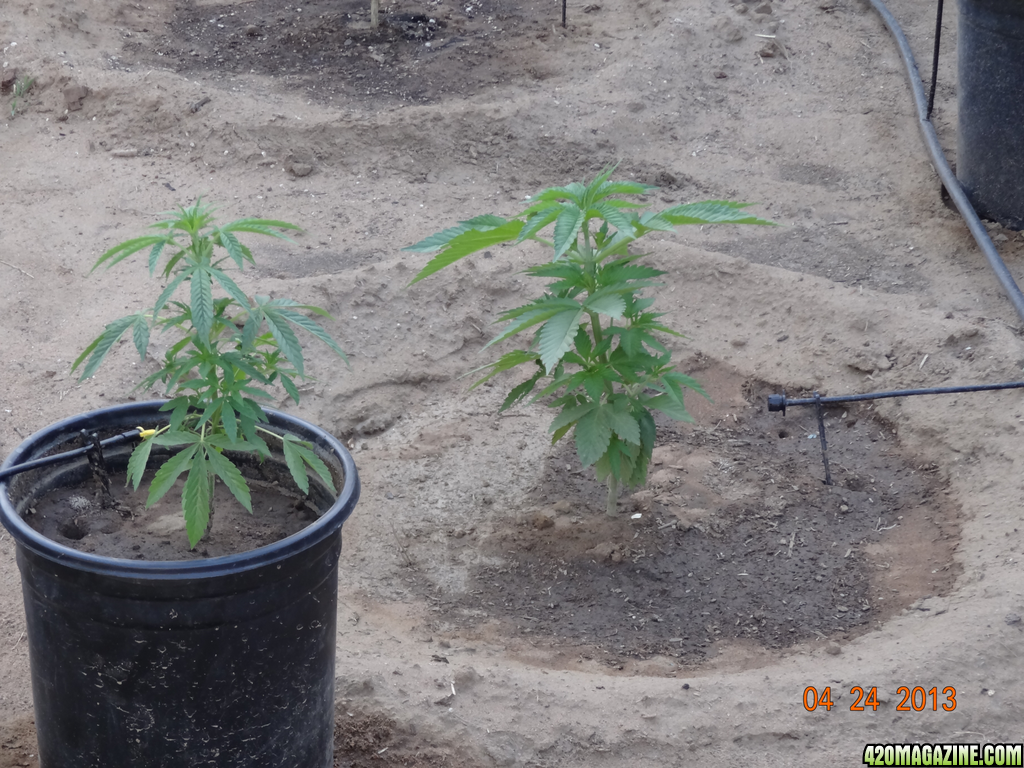
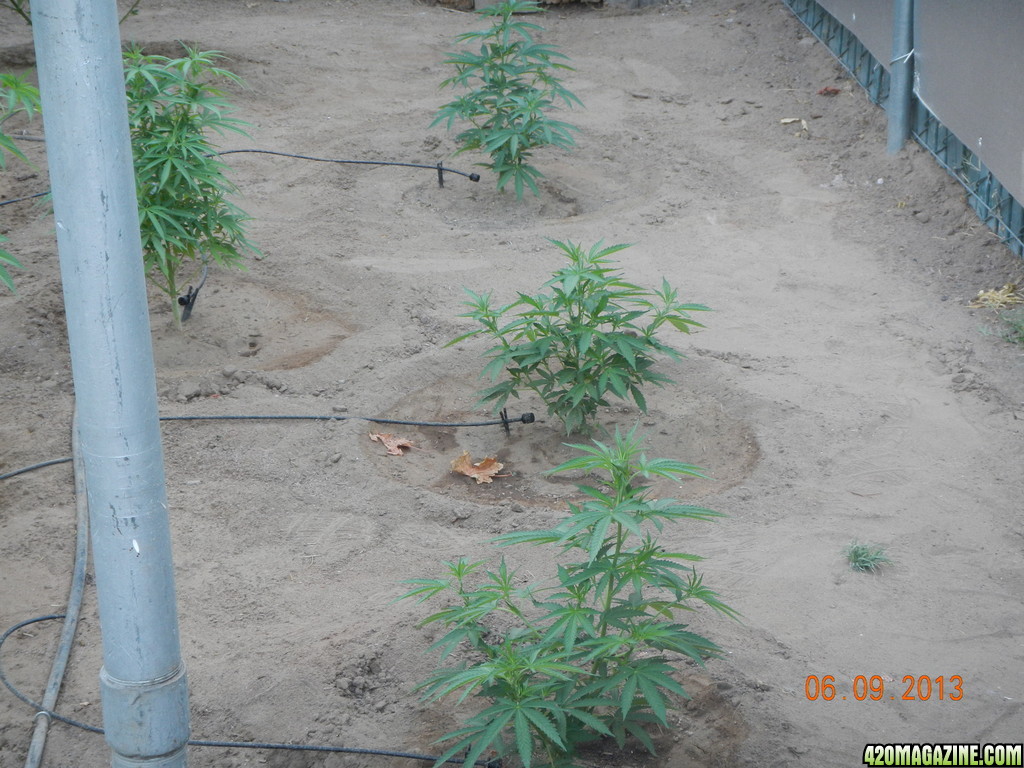
With the seedlings planted in the ground I gave them their first taste of some nutrients and used General Hydroponics FloraNova one part Grow. I used it for a few weeks one day per week. I than switched to the nutrient package I plan on using all season long.
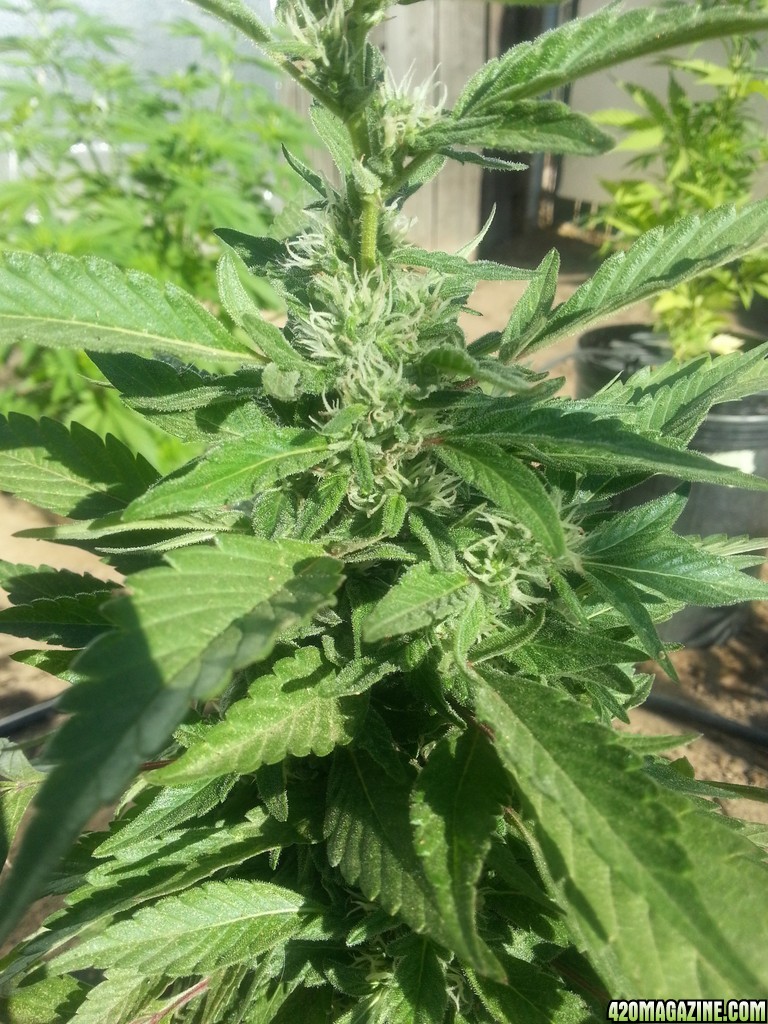
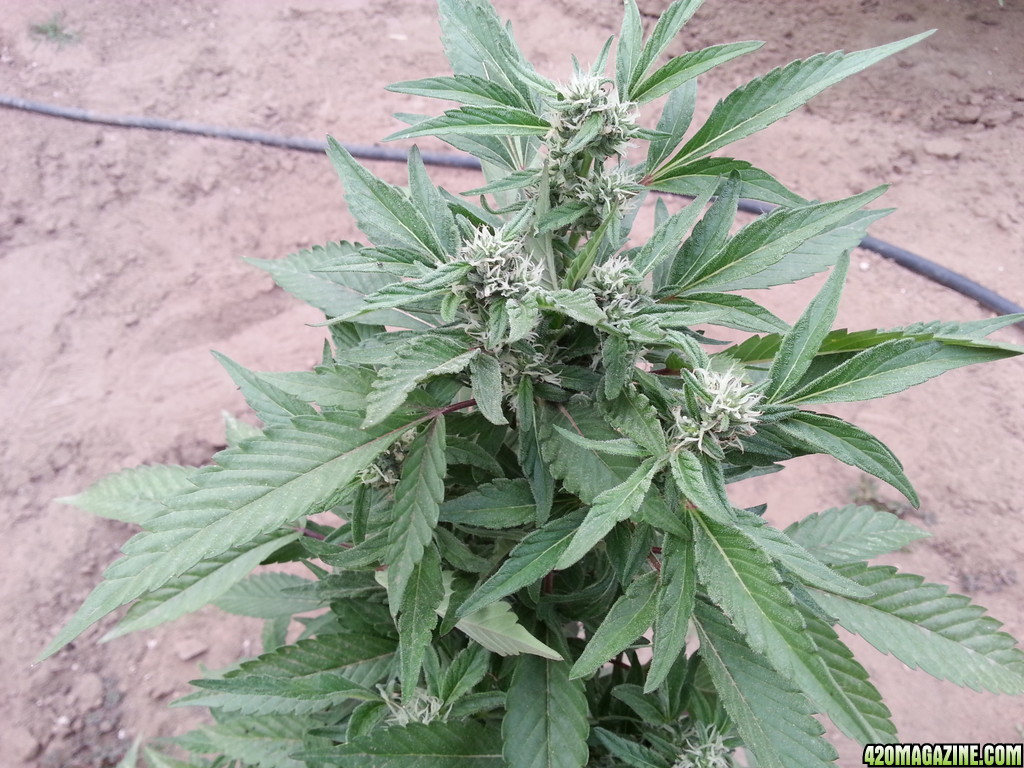
Humboldt Nutrients 3-part Micro-Grow-Bloom. So far they seem to be doing well and I have purchased additional nutrients to add when they get into the bloom schedule. I have Honey ES, and Ginormous.

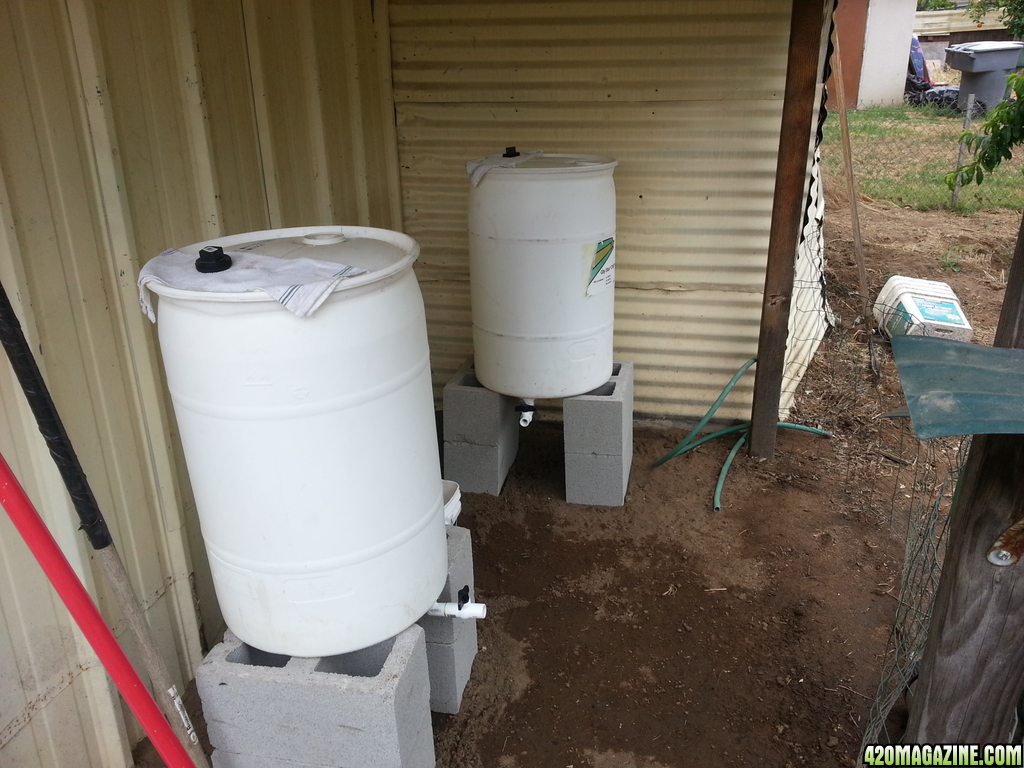
I have been de-chlorinating my water using barrels of water and letting them stand for a few days and agitating the water. I have 2 barrels in this picture but have since added 4 more barrels.


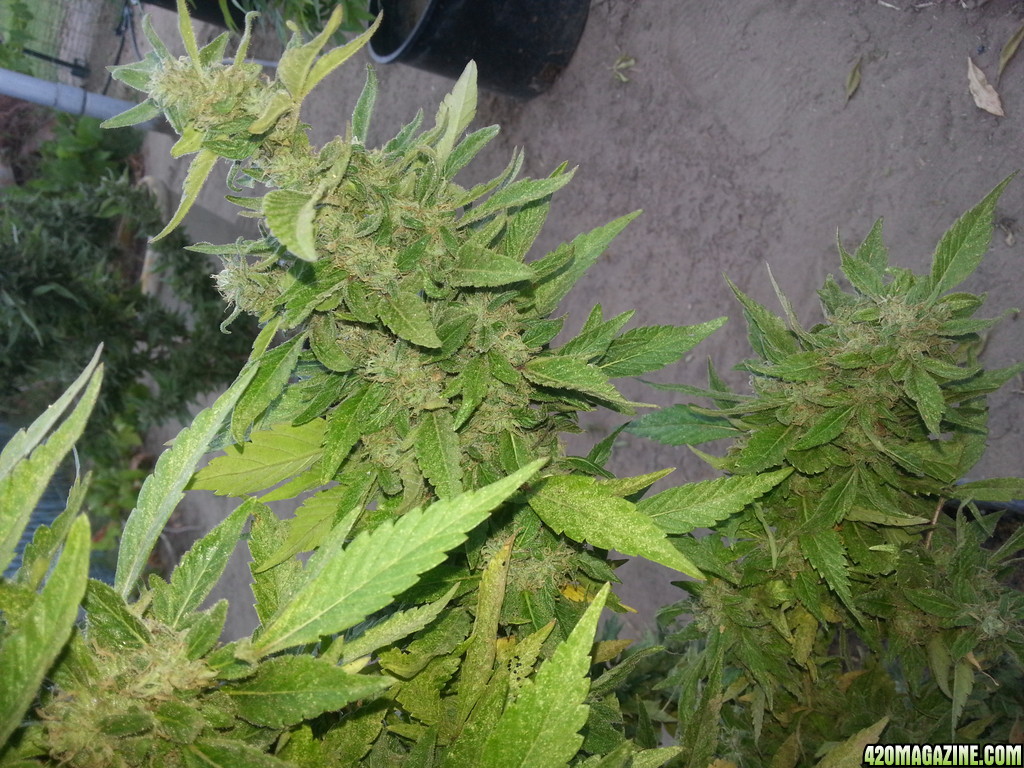
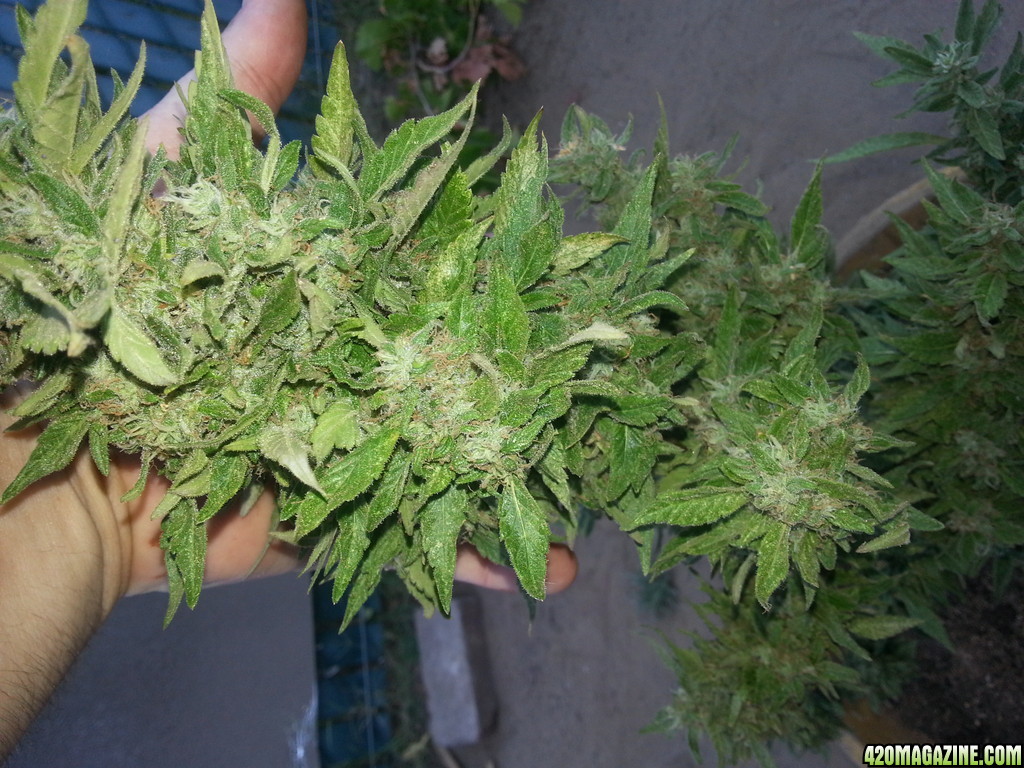
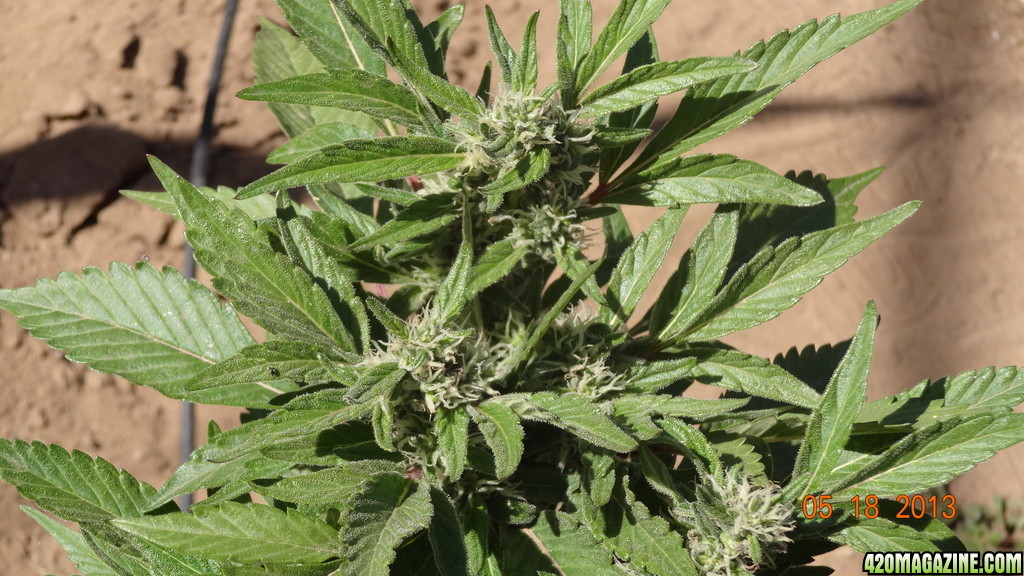
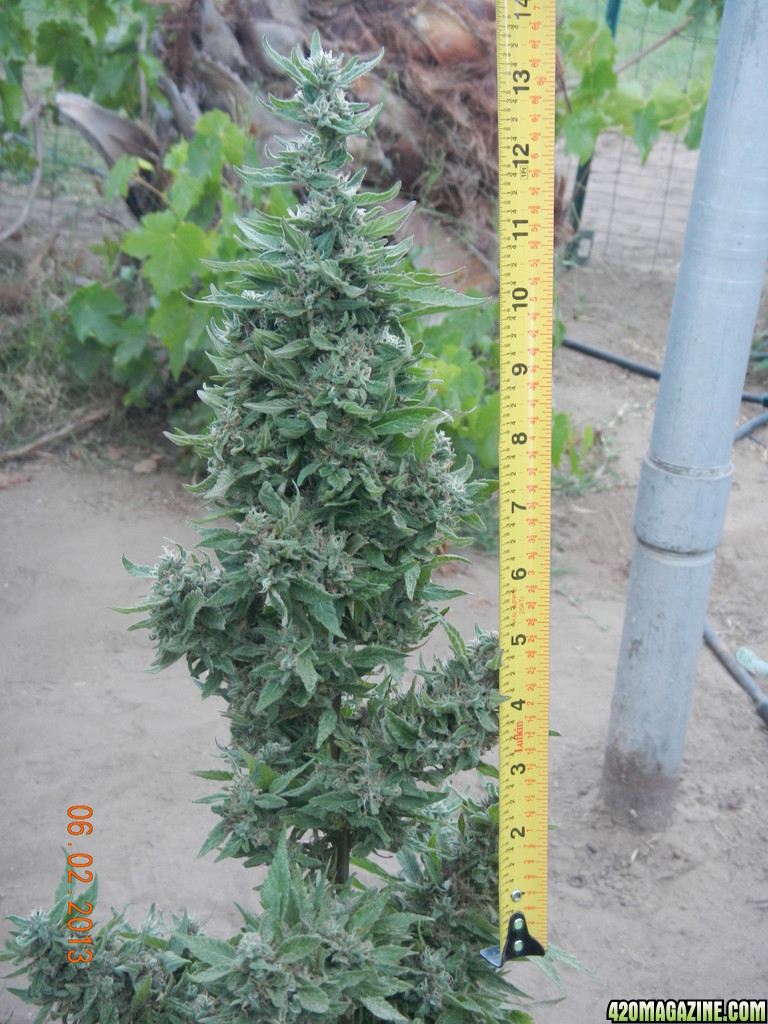
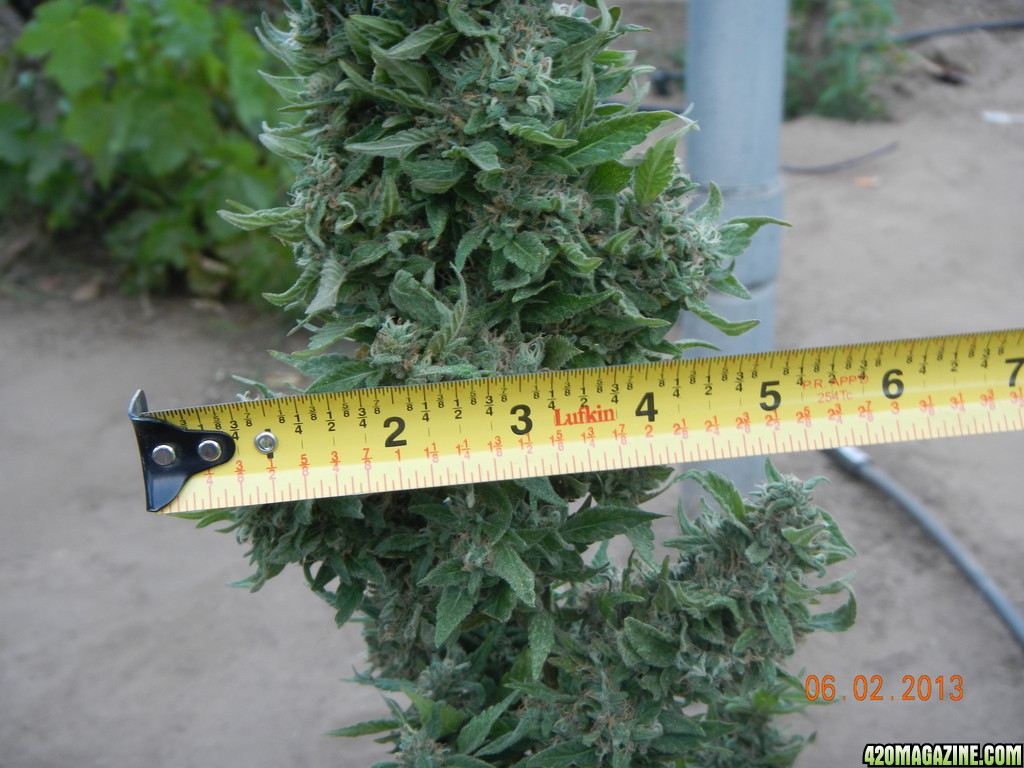
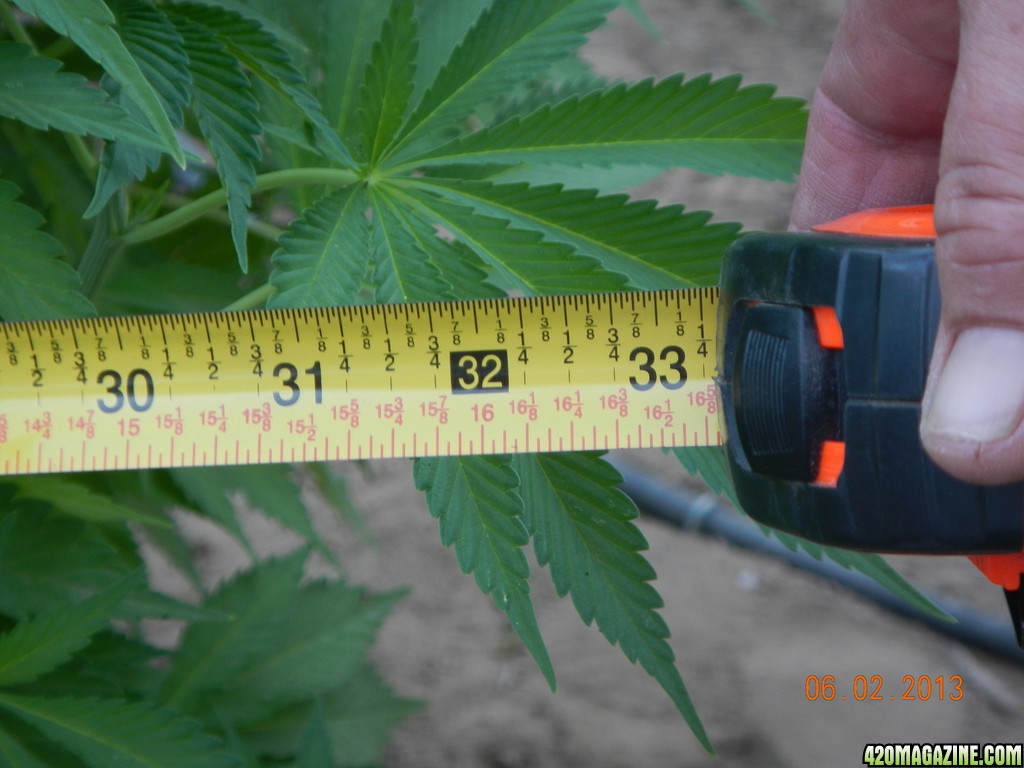
Taking a brief break for the night. The plants have done wonders over the past 50 or so days and with 5 months left to grow. I have lots left to post. I have plenty of photos to add right away
 
subscribed. here is everything you should need to know to post full size photographs in your journal.

Photo Gallery Guide: How to Resize, Upload & Post Photos

KingJohnC

Thank you for stopping by and subscribing to my first ever Grow Journal. From your comment, (and thanks again for being the only comment from 326 plus views.) do you think I should be showing full size images or even medium sized images and not using the thumbnail option? I figured that more people would prefer to click on a thumbnail to see a larger version of a picture than having lots of large pictures that you have to scroll past before you find the rest of the story that details the grow? I guess I should go look at more grow journals to see what others did and maybe some people would comment here as to what they prefer in looking through grow journals. I plan on showing lots of pictures so I felt that the thumbnail option would be less intrusive and more confusing to the journal.

Thanks for your post and information.
 
please post full size images in your journal! i believe others would rather not have to take an additional step just to see your plants, that may have more people corresponding in your grow journal as well.
 
i'm in love outdoors. welcome. i'm on my second journal, so I know what your going through.You have a better start than me .So your on your way. I say big pictures. Its all about number of pages.LOL.welcome And I'll be around:peace:
good trial on seeds.It's right into the dirt from now on. All 3 of my seeds went male, So I clone only .But its good to know
 
So sorry for my lack of knowledge in the forums here, I was unaware that I only had 7 hours to come back and edit my grow journal in it's original post at the top. So I guess I will just do updates as the grow progresses and post them right here in the middle of the thread.

1st I will Re-Post the images from the earlier section. Than I will continue with updates and pictures periodically or if something significant occurs.

225.png
49.png
313.png
55.png
128.png
9a.png
93.png
83.png
72.png
64.png
1111.png
151.png
PSD_4_19.jpg
143.png
134.png
https://www.420magazine.com/gallery/data/500/129.png[/img


The plants have been on a steady growth rate getting larger every day. You can clearly see the difference each day. With May I learned some things and they were things other than doing an outdoor grow is a ton of work daily.

One thing I learned is how to have an early crop so you can have some fresh chronic nugs to tie you over until the main harvest come fall.
The three Purple Sour Diesel plants I traded an item for were actually 3 plants a guy pulled from his indoor grow and in the veg state. These plants were nice and about 18" tall. When I put them in the ground on April 17th I never gave thought to what the light schedule was or anything. I just figured that my seedlings were good enough to go into the ground and the weather was warm enough. Well looking back at the weather channel for April 17 the sunrise and sunset were 12:15 and 11:45 and that this explains why those 3 plants began to flower and gave my garden an aroma that was not supposed to be for several months. Well over the next 47 days the plants produced some amazing bud and it was extremely sticky, covered with THC, and amazingly dense. By June 2 less than 50 days the trichomes showed in my microscope that they were all milky and a large percentage amber. The 3 plants were harvested and gave me just under 7 ounces manicured and in the jars curing.

[img]https://www.420magazine.com/gallery/data/500/PSD_4_19.jpg
PSD_4_24.jpg
PSD_4_26.jpg
PSD_4_30.jpg
20130517_082347.jpg
PSD_5_18.jpg
PSD_5_17a.jpg
20130516_190636.jpg
PSD_6_2.jpg
20130602_190905.jpg
20130602_190818.jpg
20130602_191023.jpg
DSC004807.JPG
DSC004826.JPG
PSD_6_2b.jpg
DSCN14497.JPG
DSCN14477.JPG


I found a couple of caterpillars in the buds so after further inspection and looking with the 420 Microscope I decided to harvest the 3 plants. I am glad that it happened this way. It was definitely a lesson that I needed to learn and I am fortunate that it did not happen at the end of the grow but rather 50 days into the grow. This way I have taken steps to watch and hopefully prevent it from happening. As I mentioned earlier on I did not have a neighbor behind me last year and there was no patio with a light bulb to attract moth's to my garden. After a talk with my neighbor the bulb has been switched to a yellow bug lamp and they have almost eliminated the time they spend on the back patio with the light on at night. That and I have BT Caterpillar killer and educated eyes to watch for them.

THE MONTH OF JUNE

The Month of June has been a very good month. It started with 7 ounces of excellent bud and the garden has grown wild. I also added additional plants into the soil. I had purchased some clones but potted them until I felt they were big enough and ready to be transplanted. I added 5 White Widow, 3 Platinum Bubba, 1 Cheesus, and a OG Fire. Have a look at the plants as they are growing daily.

June_2b.jpg
June_2a.jpg
June_2c1.jpg


June_9b.jpg
June_9c.jpg
June_9d.jpg
June_9f.jpg
June_14c.jpg
June_14d.jpg
June_14e.jpg
June_14f.jpg

June_19e.jpg
June_19f.jpg

June_19b.jpg
June_19c.jpg
June_19f.jpg
June_19d.jpg
 
UPDATE JULY 1, 2013

Hi there everyone, thank you all so much for the time you spend on here helping out those that are less knowledgeable and wouldnt be able to get through a grow without some help from you.

I have an outdoor grow going in Central California. I have a journal of my grow available, right here:
MrPeab's Outdoor Grow Journal - 2013

I have 5 White Widow clones growing. They came from the same person they came from a friend of 35 years so I seen the plants and grow they came from. The clones were delivered to me on 5/12 and on 5/14 I potted them in 2 Gal. pots with Happy Frog. They sat in the grow area in pots with the other plants until 6/02 at which time they were big enough to be put into the ground. They have been coming along very nicely and growing rapidly. Last week I noticed something wierd with the shape and look of the leaves. They have gotten even stranger and I think I noticed a few places where it felt like a bud. The other 4 are not acting like this so I am really confused with what is going on with them so I took some pictures to see if you can possibly help me.


As you can see #2 is looking real wierd, nothing different has been done to it. When they get Nutrients, I mix them in a 30 gallon barrel and than use a bucket to feed each plant the same.
 
Subbed mate, I'm liking this journal. Nice garden, reps to ya. And for the oddity, it does seem like a reaction to some kind of stress, high/low temperatures, or maybe the roots hit a pocket of funky earth, or something is inhibited in the stem. Also, maybe since it's a clone it is slightly less hardy than a full on mother.

Great grow, keep em green :thumb:
 
Need some help please.

My outdoor grow has been really going great all season so far. All of the plants have been nice and green, growing fast, and to those close to me who have walked in my garden they are amazed how I have been lucky to keep any infestation so far to just a few moths and worms in those early 3 plants. The roots on a couple plants I pulled looked unbelievably healthy. You can look under the leaves and around them and find no signs of any bugs. I have sprayed Monterey as a regular routine. Over the last two weeks though I have seemed to lose control somehow and I am finding that a few of my plants have had many leaves turn yellow and even a few of the plants have gotten a light yellowish green when they used to be dark green.

I have a drip system and use flood bubblers on each plant. I have watered almost every night for about 8 minutes and that seems to fill the burms around the plants. When it started getting over 100 degrees I seen them start to wilt a little at the end of the day so I started to run the drippers 20 minutes and even 30 minutes. With the sandy loam soil the burms would never overflow. But when they started to show yellow leaves and even lighten up in color I started monitoring the soil for moisture with a Ph/Light/Moisture probe and although they were closed to dry and not in the center or wet to the right I cannot seem to get the color back and I am still getting a few yellow leaves. I am lost and looking for some help please. Is there something I can give them to maybe give them a boost of Nitrogen maybe to get them back to the right color?
 
My favorite product for this is a nitrogen dominated probiotic bat guano, I use it for all kinds of things and I apply it as a liquid feed (tea), especially if my lettuce isn't as green as I want it, seems to work wonders for my ladies too. The brand I use is "Dr. Earth", it's a norcal brand and they have a lot of great products. :peace:
 
I'm going to have to second Les's info on Dr. Earth guano, Added a nice top dressing of about a tbsp on each girl that was showing issues, week later they are looking killer and already back over the fence again after some more bending, yeeeehaww! :morenutes:

Subbed up MrPeab! Best of luck throughout the grow :peace: CA215
 
Aha! :) I see they are doing fine!
I wish my garden looked something like yours.. I have to resort to guerilla growing myself.
Nice work!
 
How did this grow turn out?

We would love to be updated with some pictures and info.

How about posting a 420 Strain Review?

If you need any help with posting photos, please read the photo gallery tutorial:
Photo Gallery Guide: How to Resize, Upload & Post Photos

I am moving this to Abandoned Journals until we get updates.

Thanks and hope all is well in your world.

Love and respect from all of us here at 420 Magazine.

:Namaste:
 
Back
Top Bottom