

Lemon Paradise
New Member
Just thought I'd share. I am about 4 weeks into flower for 1 plant,,, Soniq said it was addicting..lol
So, I am already restless and finally convinced the wife to let me build a small room in the basement
I am building a 8 x 8 room, and will put in a 2 x 3 cabinet for veg later
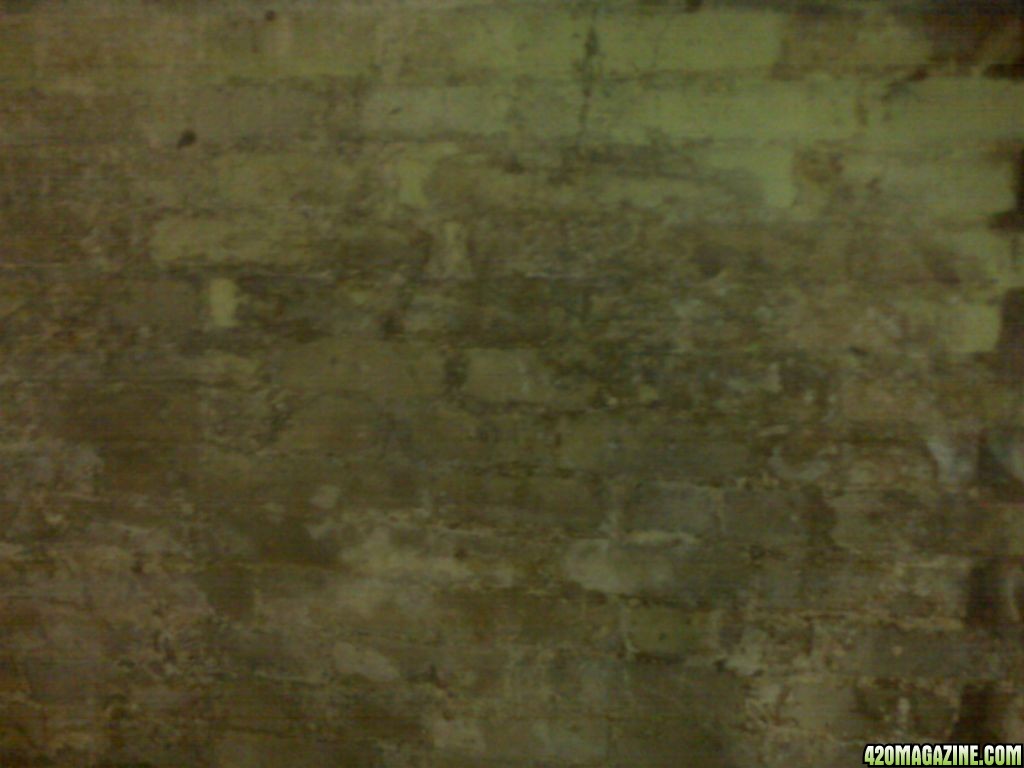
the basement is dirty, musty, wet, and dirt floor, so I got alot to do to work with it.
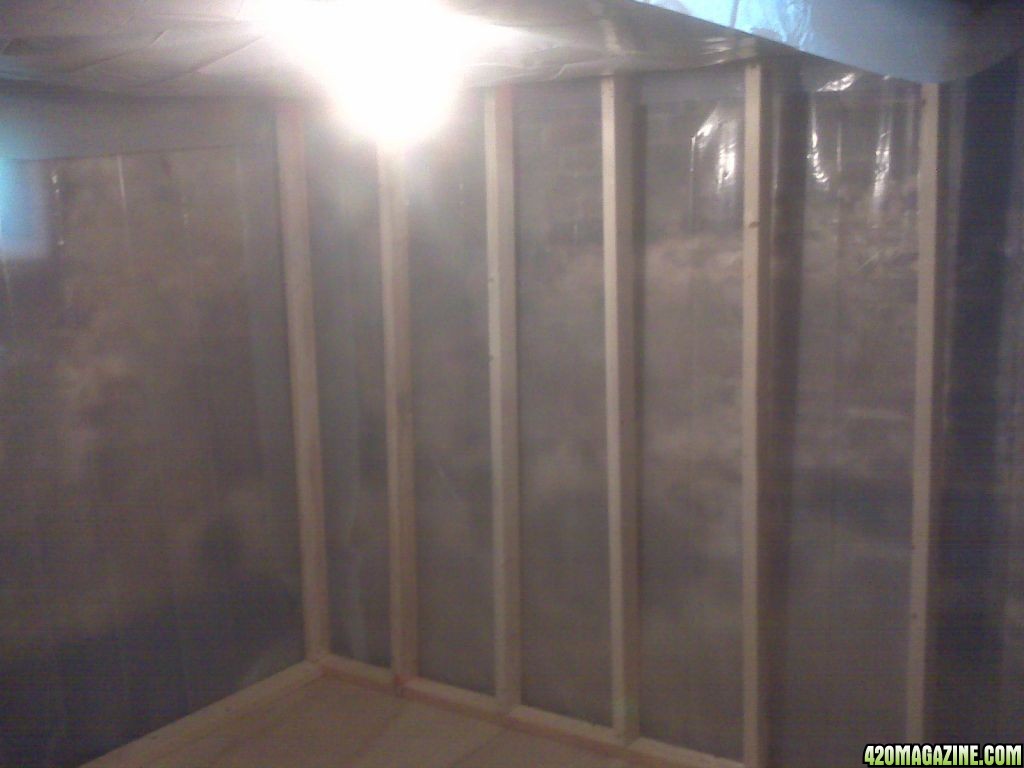
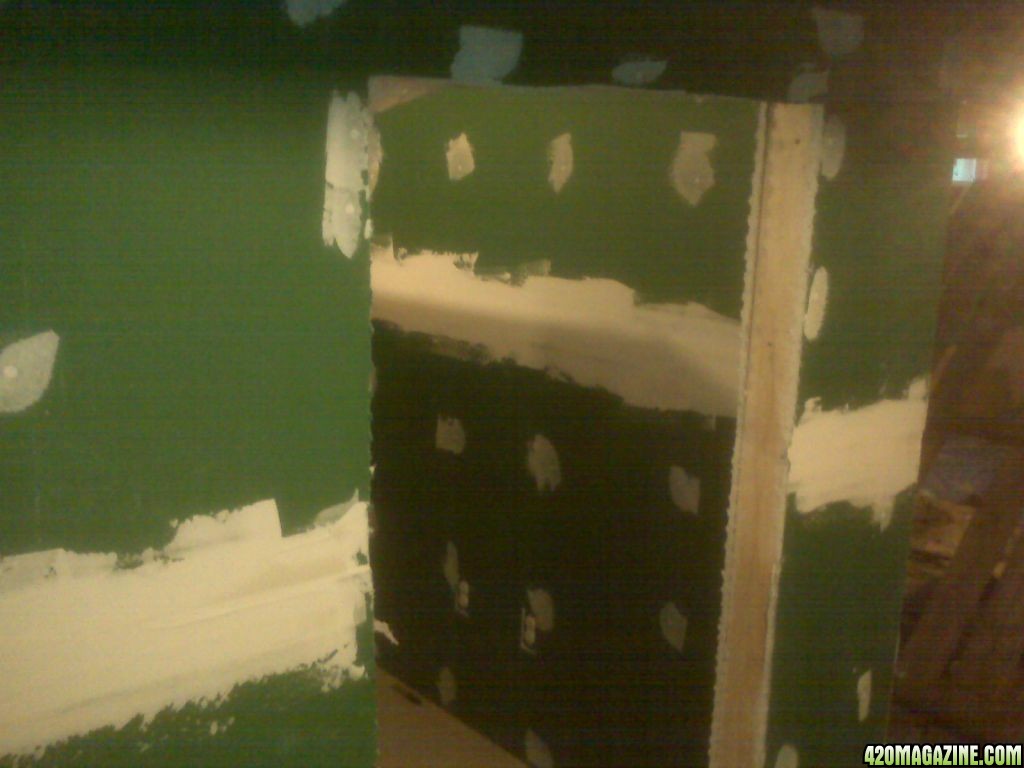
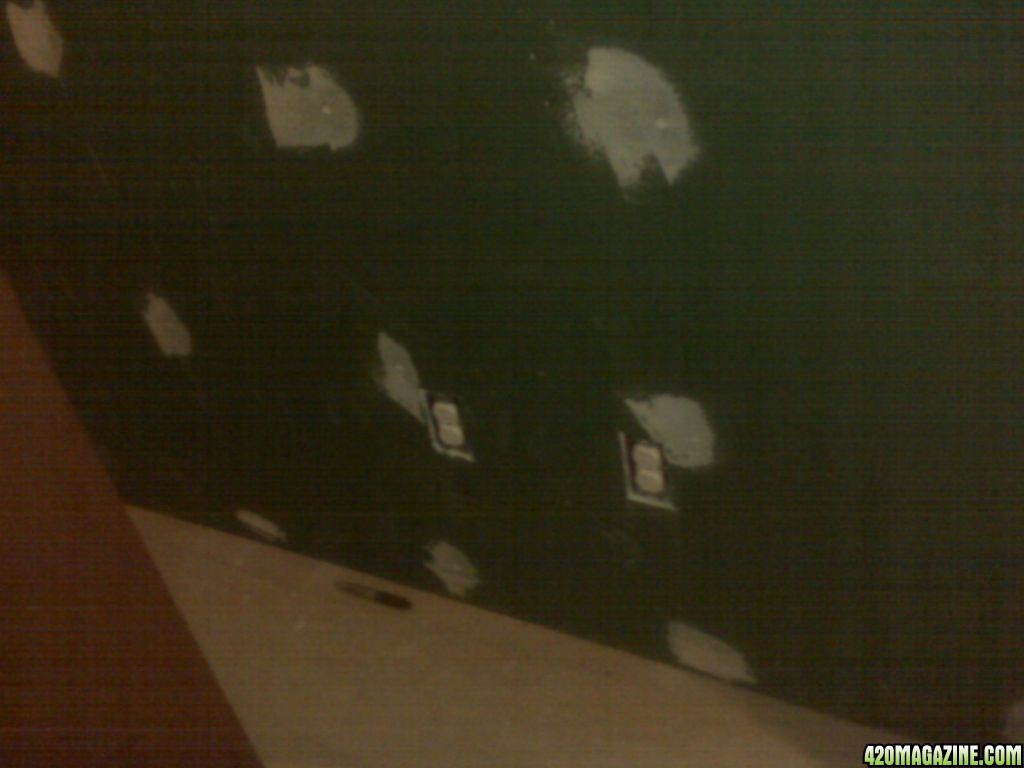
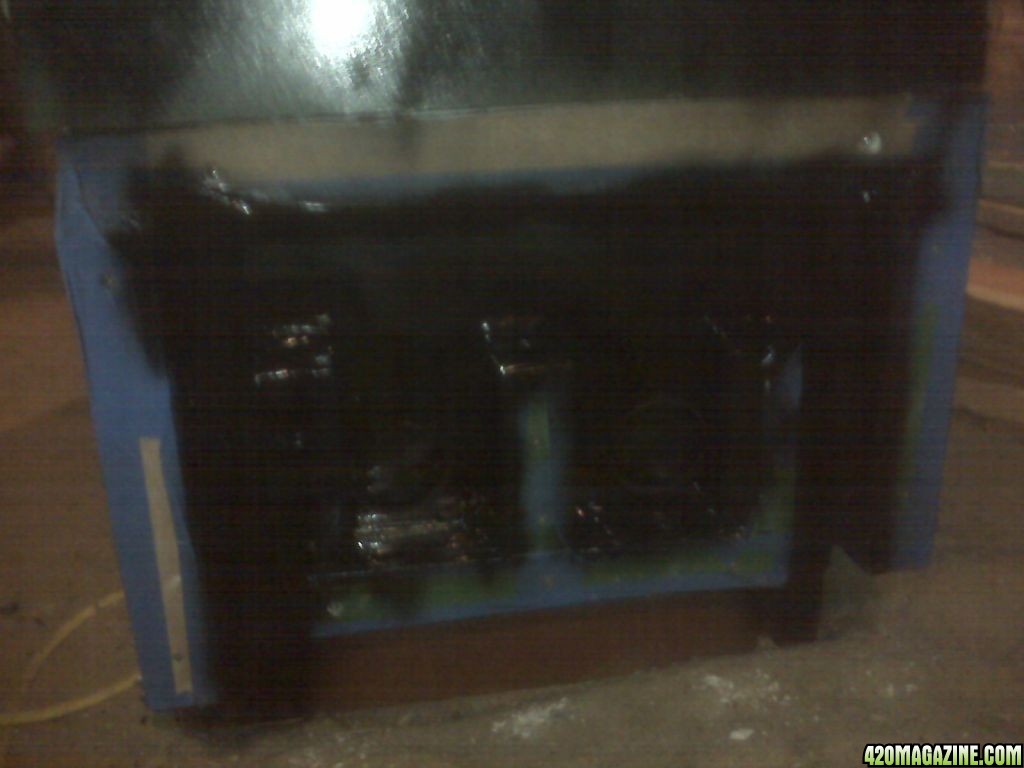
I sprayed all the walls down with bleach and then put up 6 mil plastic.
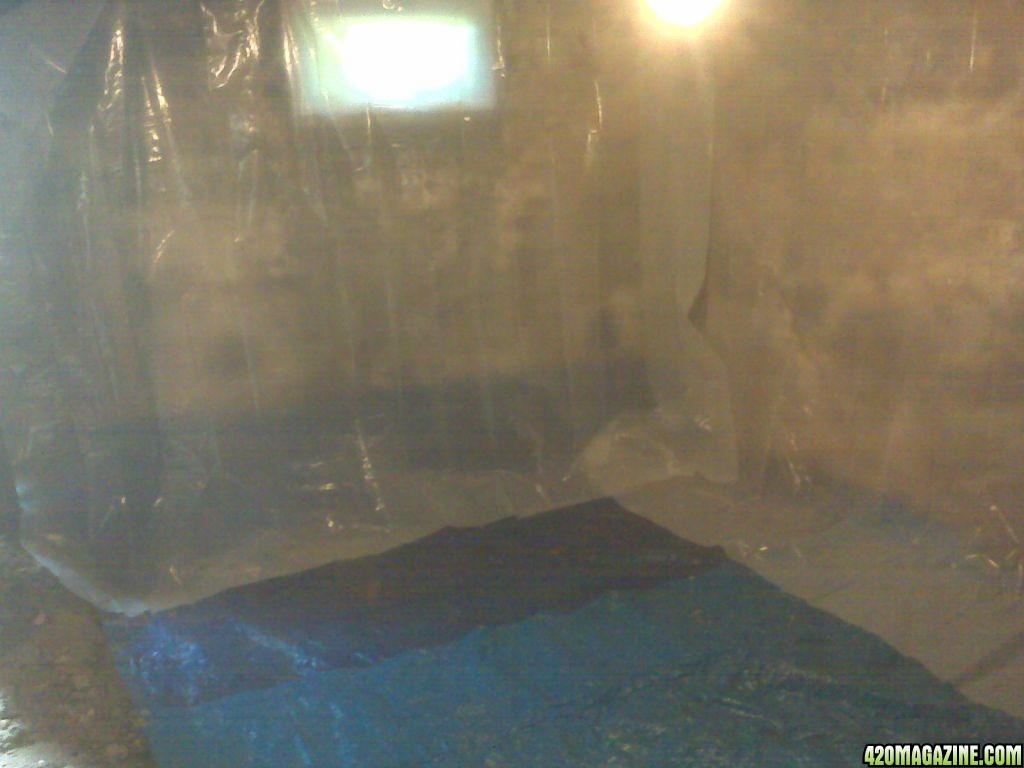
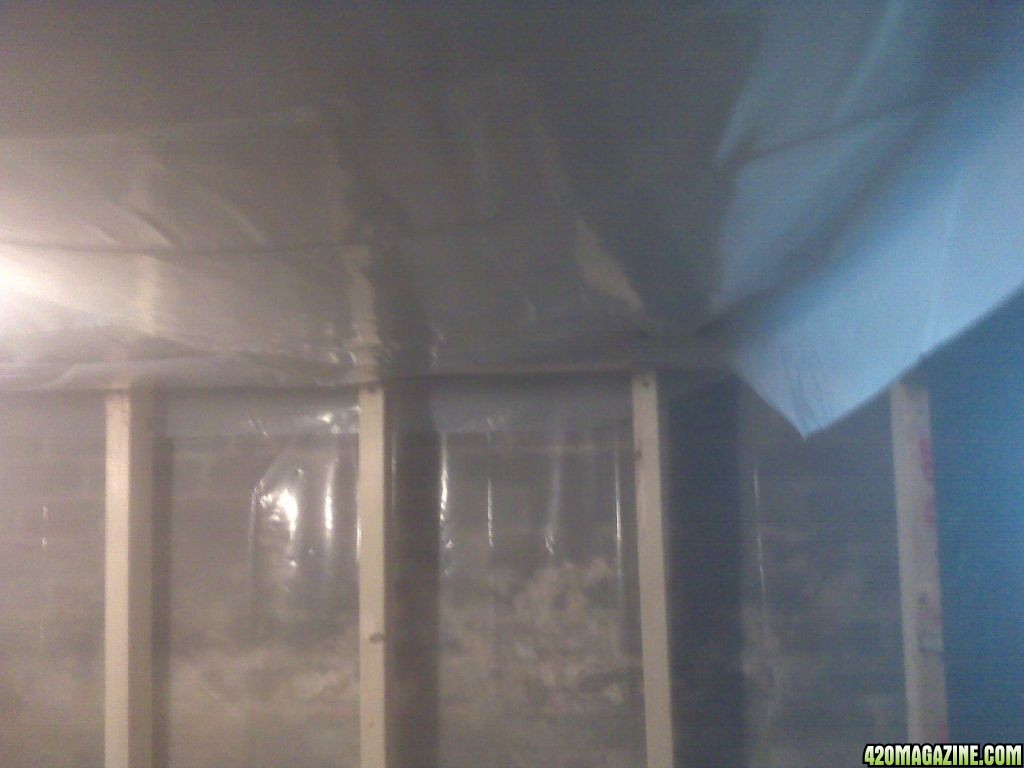
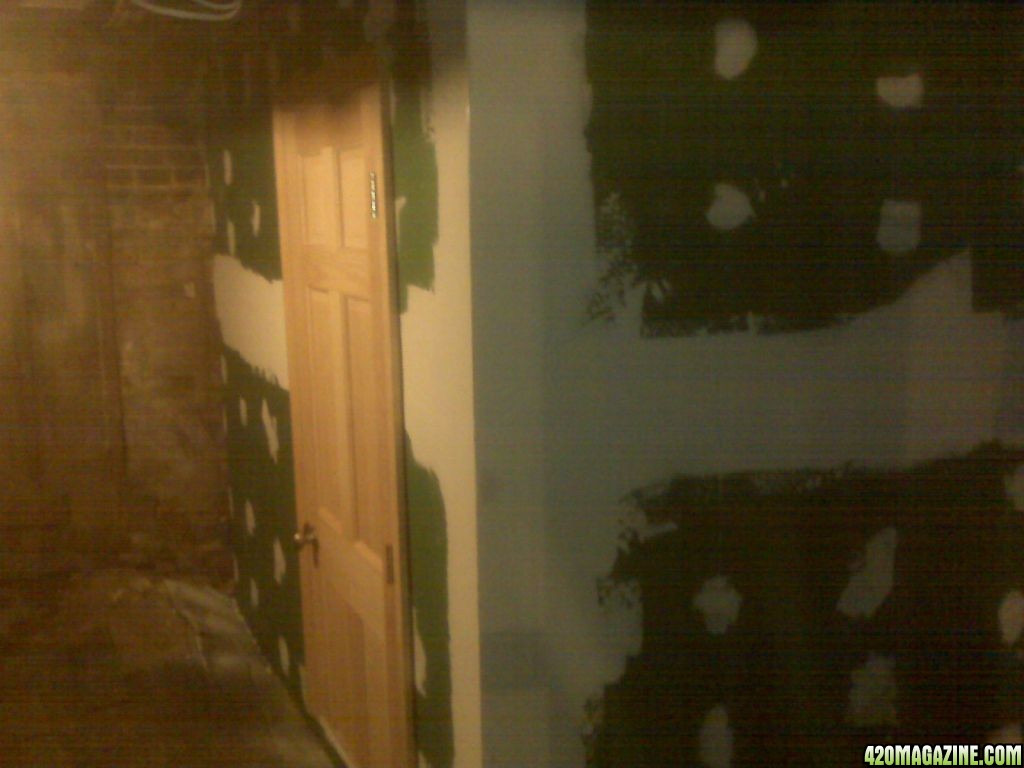
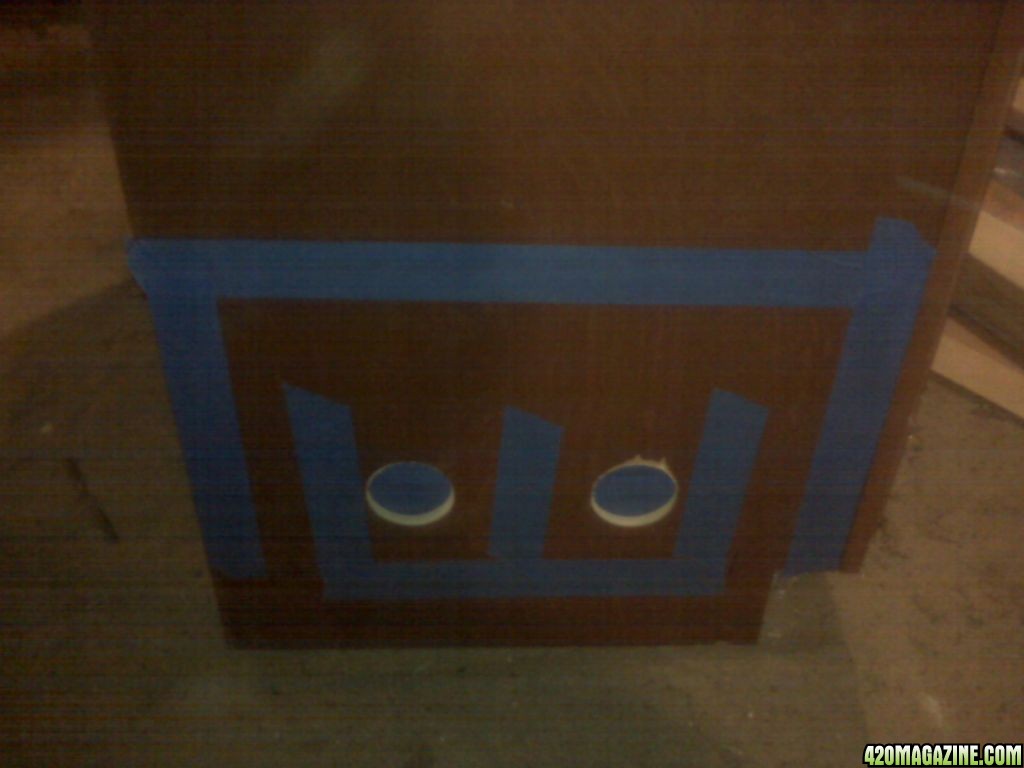
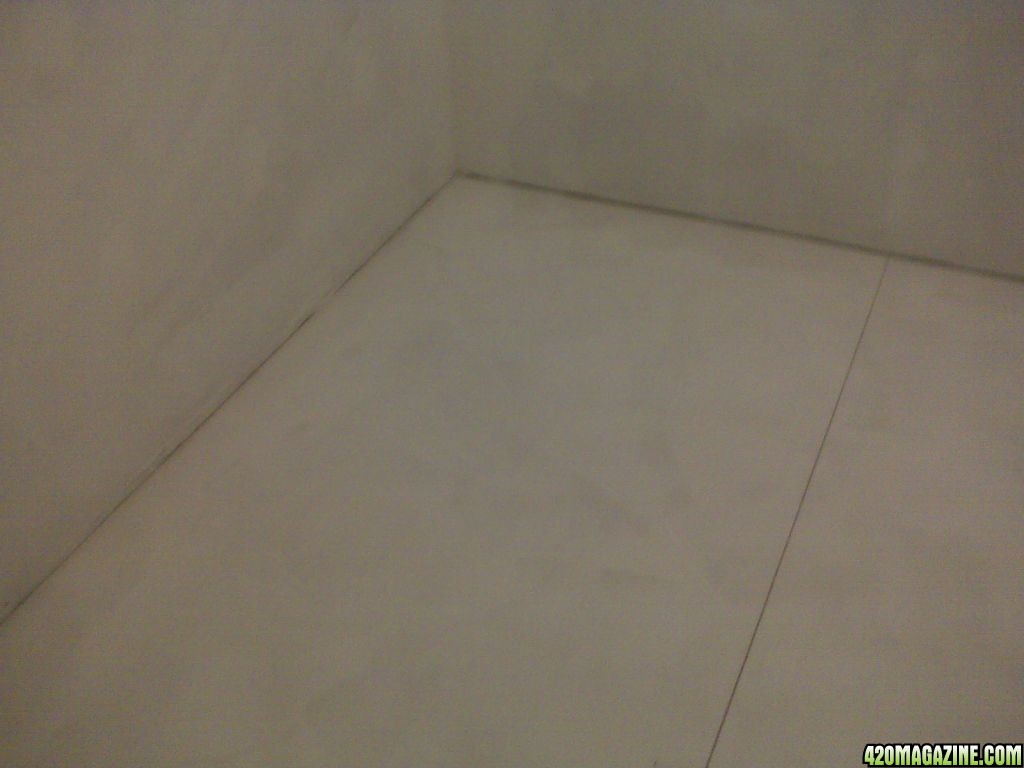
I put 2 8x6 blue tarps on the floor, overlapping about 2 feet, and foung up the wall about 1 1/2 feet. Then put down 6 mil plastic over that, and used pressure treaded 2x4 for the floor framing. the plastic on the walls and ceiling all overlap about 1 1/2 feet on all sides to keep all the nastiness from the basement walls from getting in.
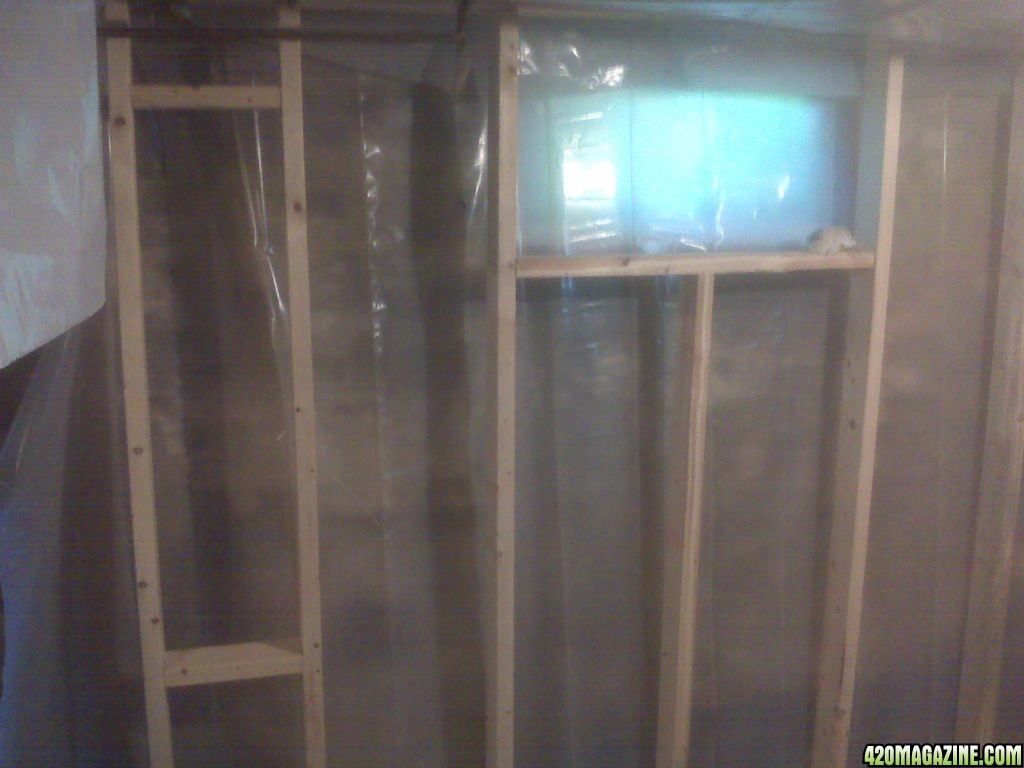
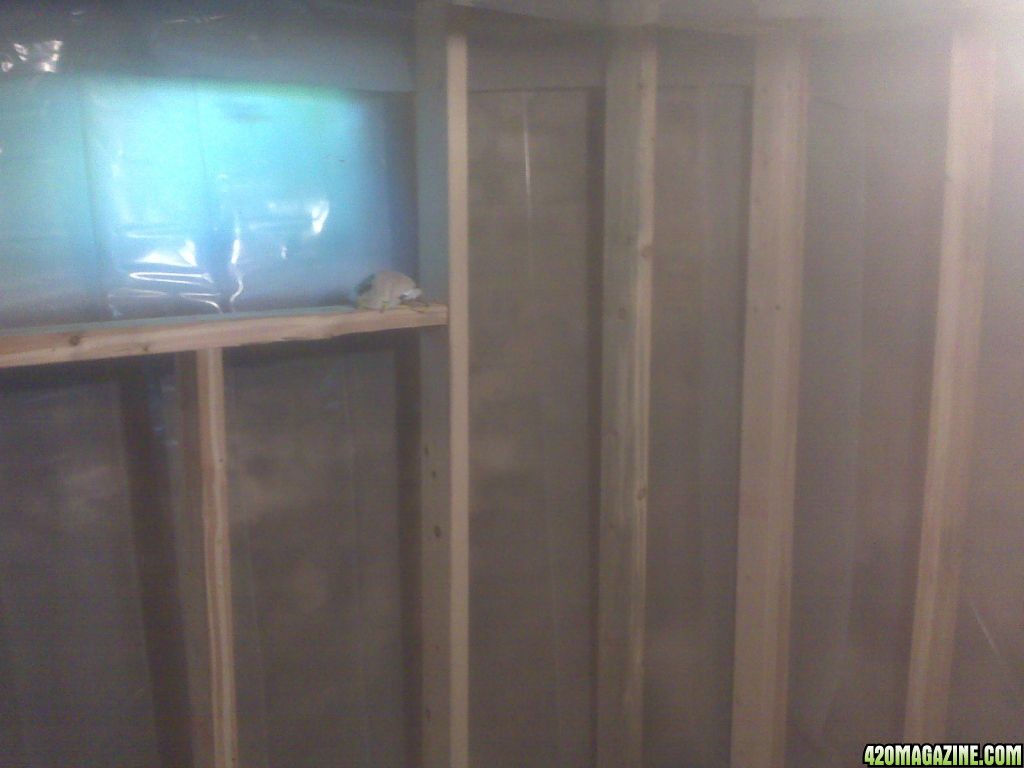
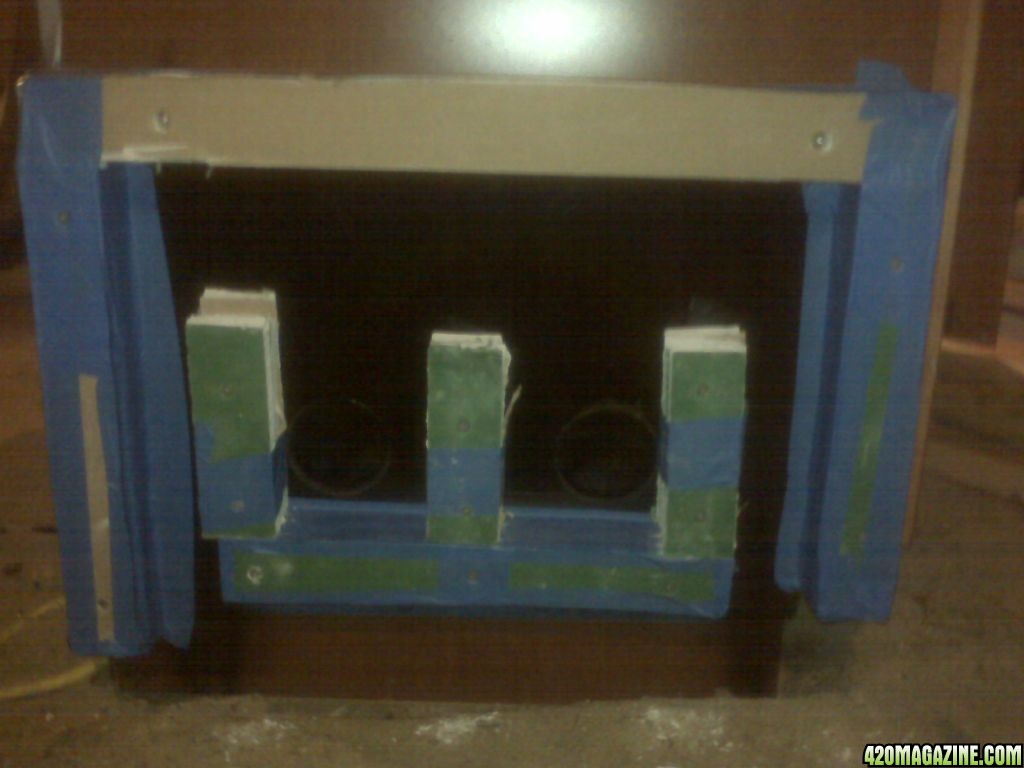
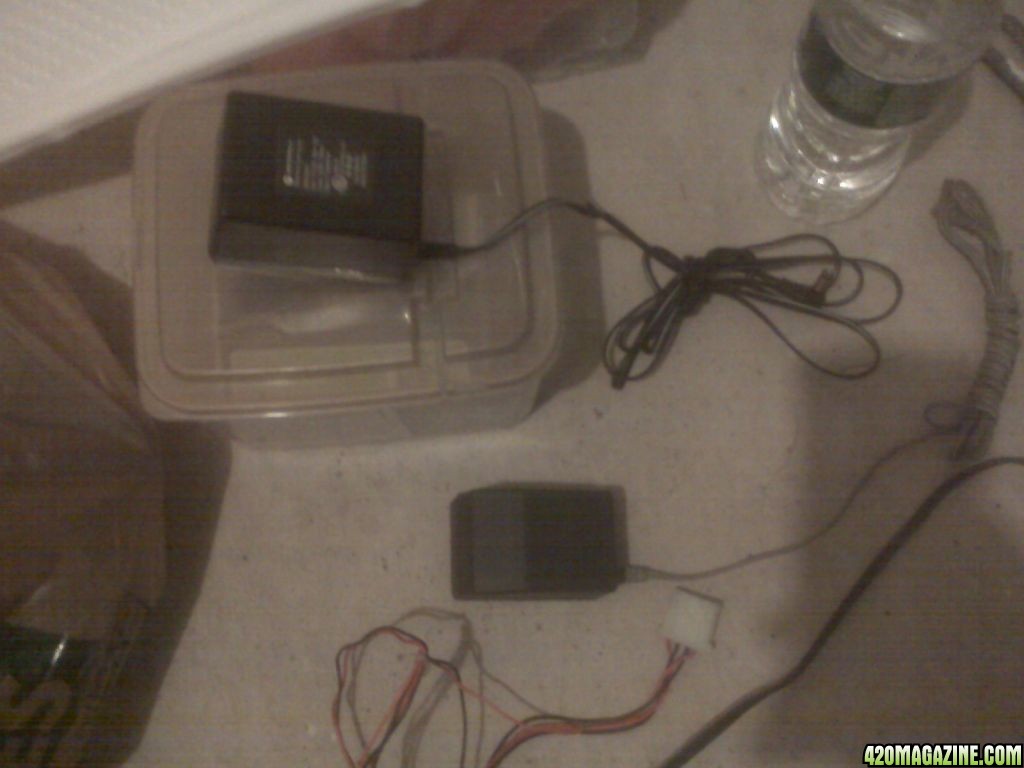
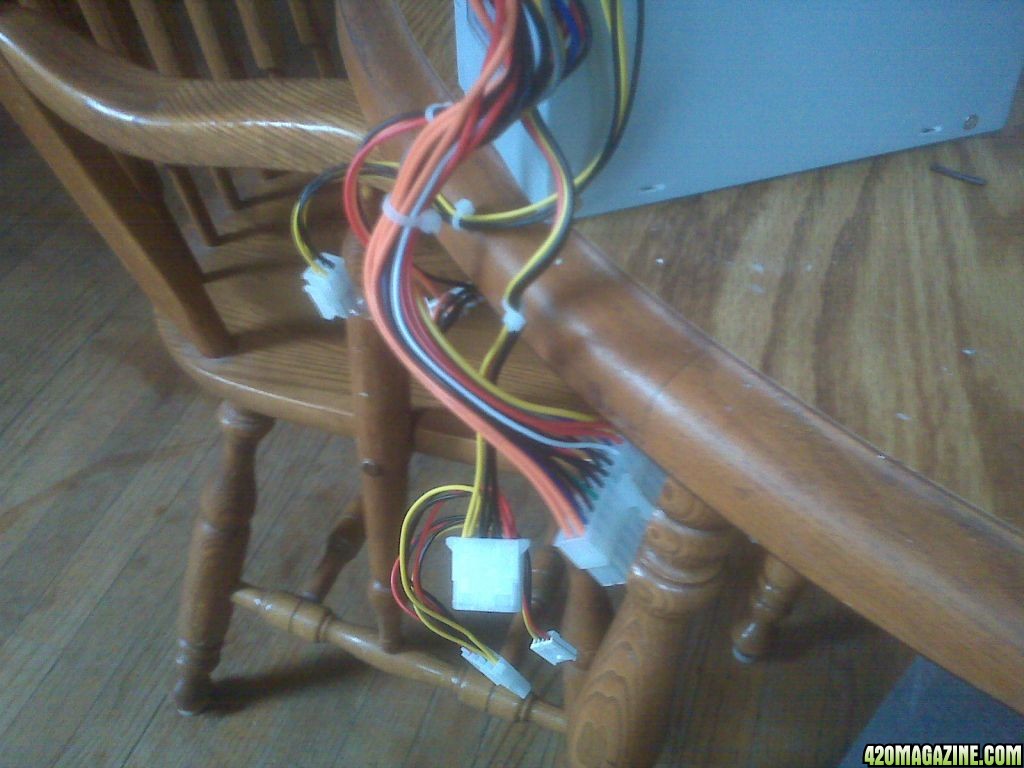
Last weekend I put up the plastic and started framing. This weekend I finished the framing, roughed in some wiring, and starting to drywall. I will get some pics up ffrom this weekend,,, but here are some pics of last weekends progress...
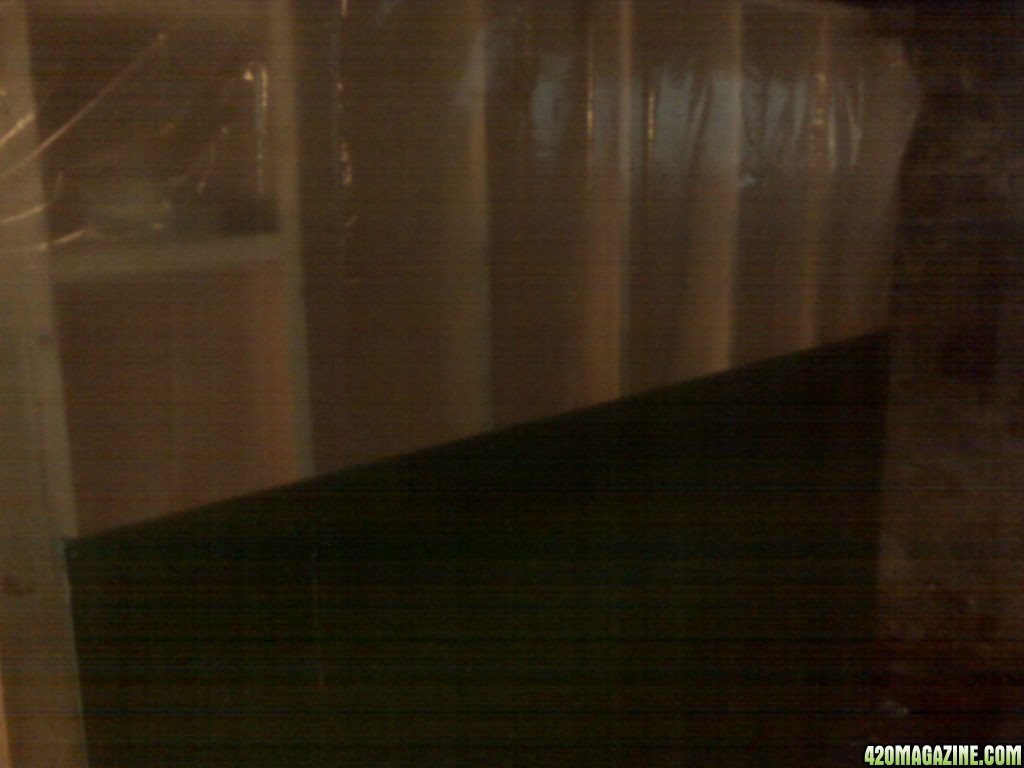
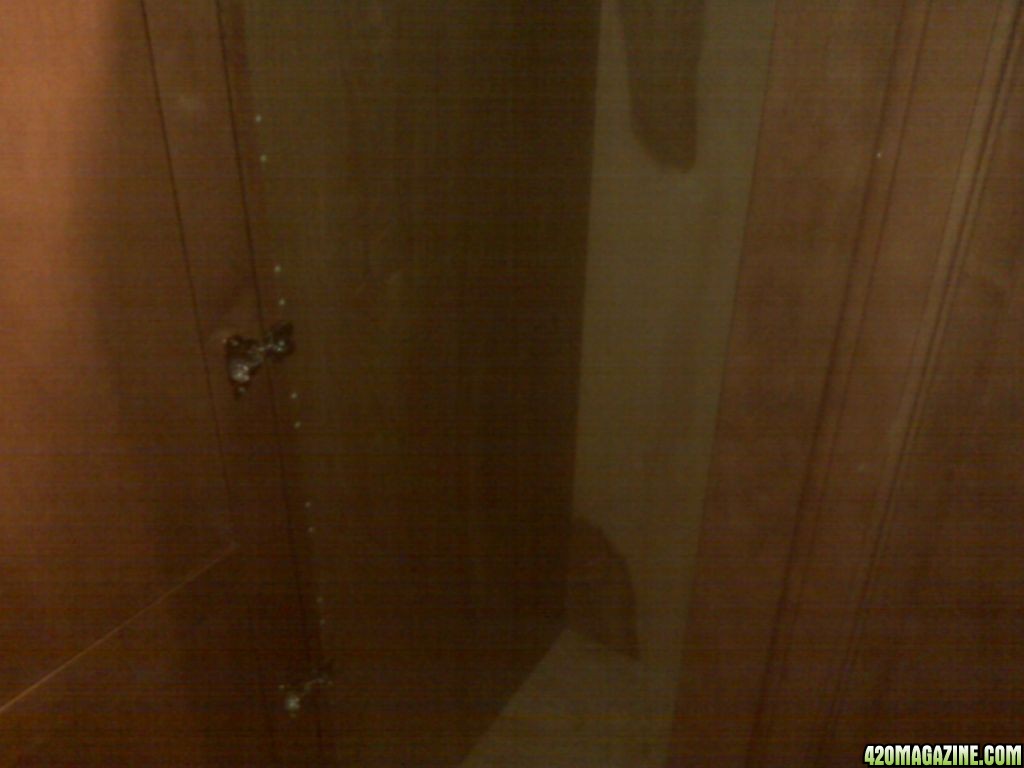
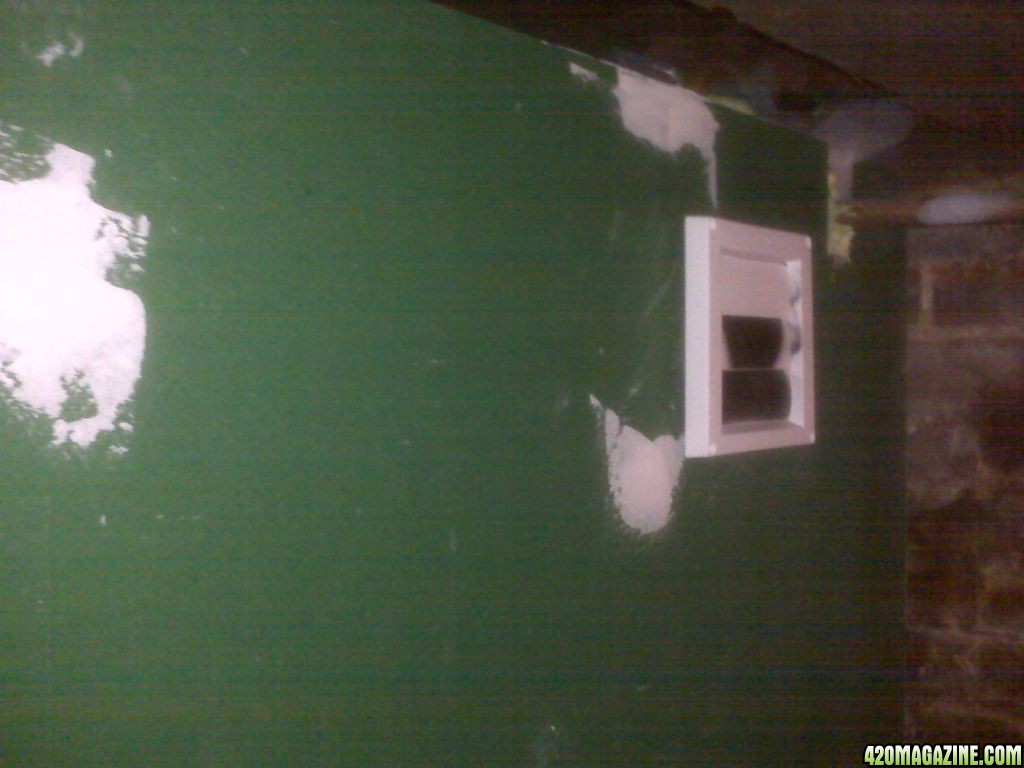
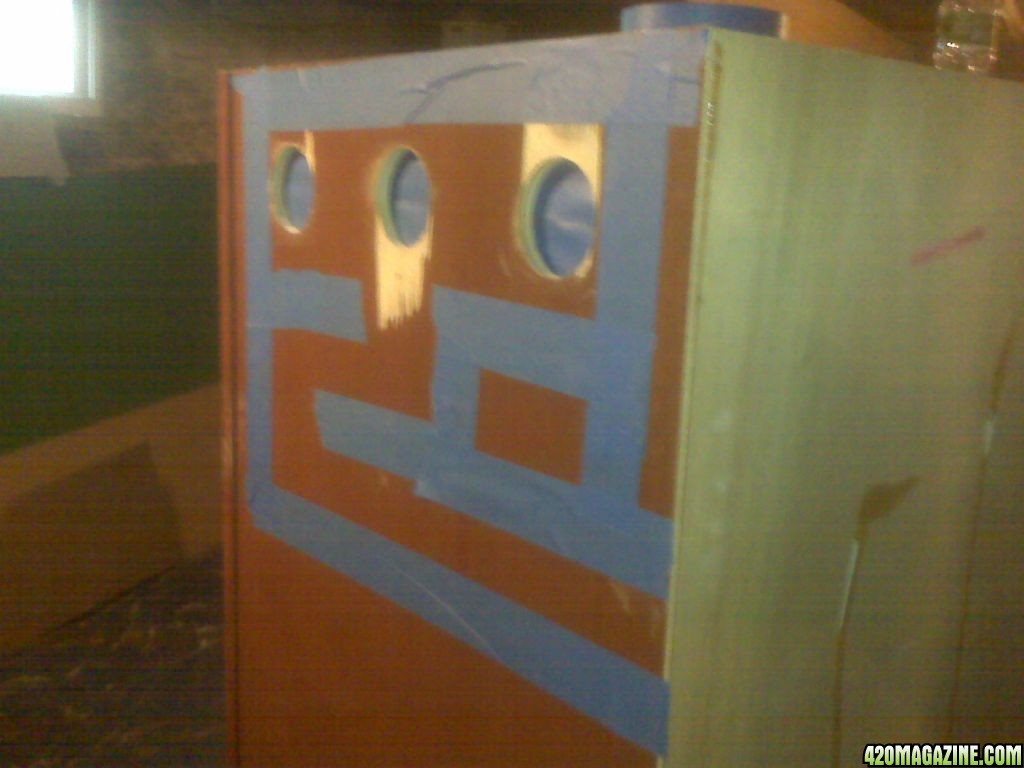
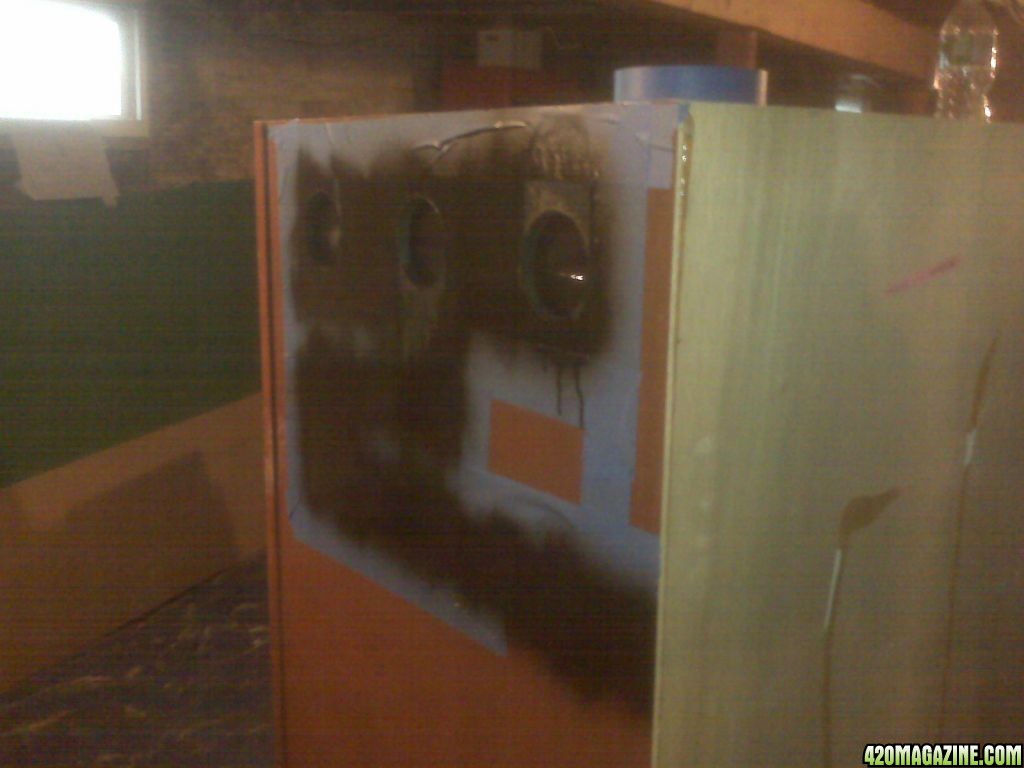
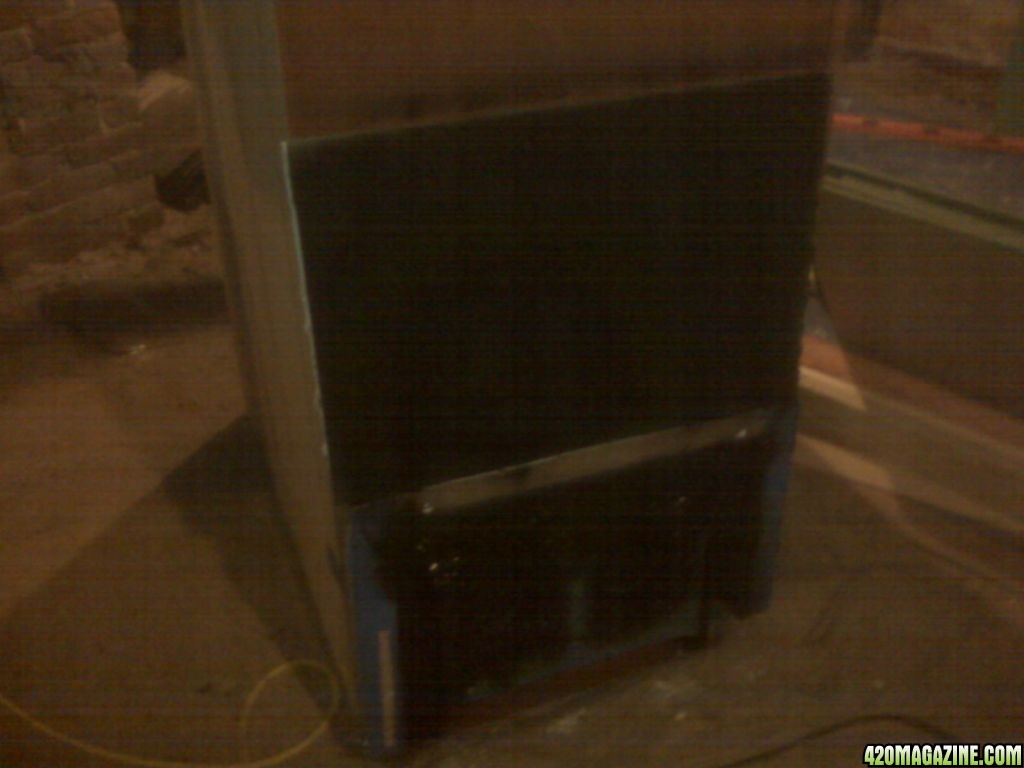
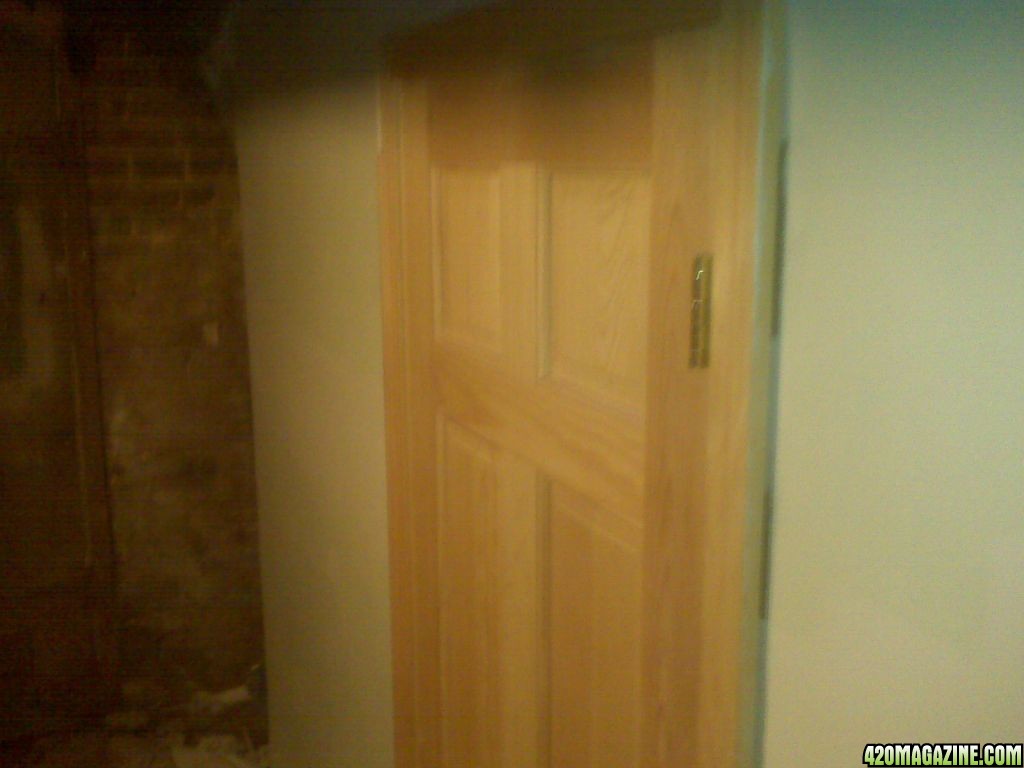
Pic of the wall
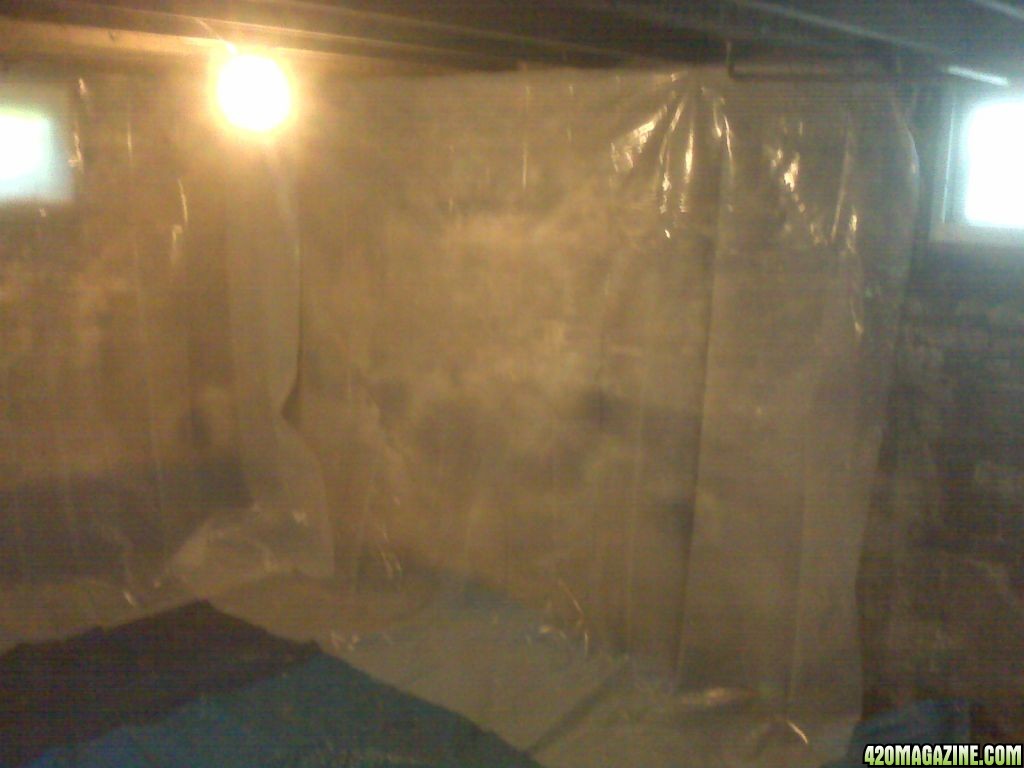
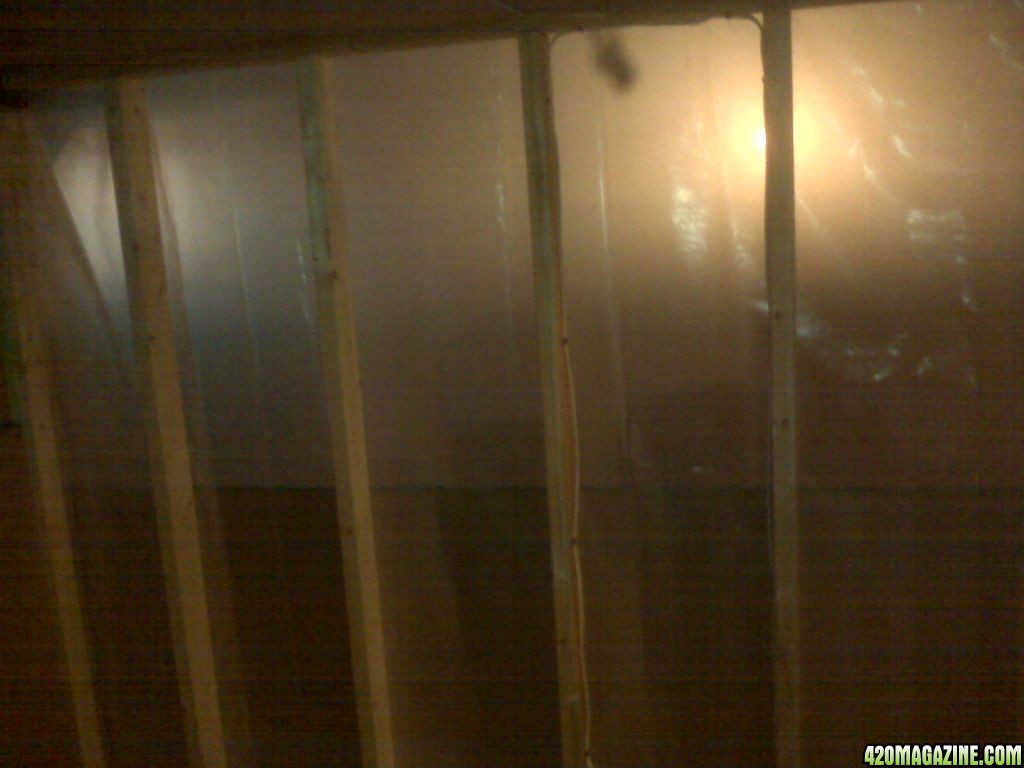
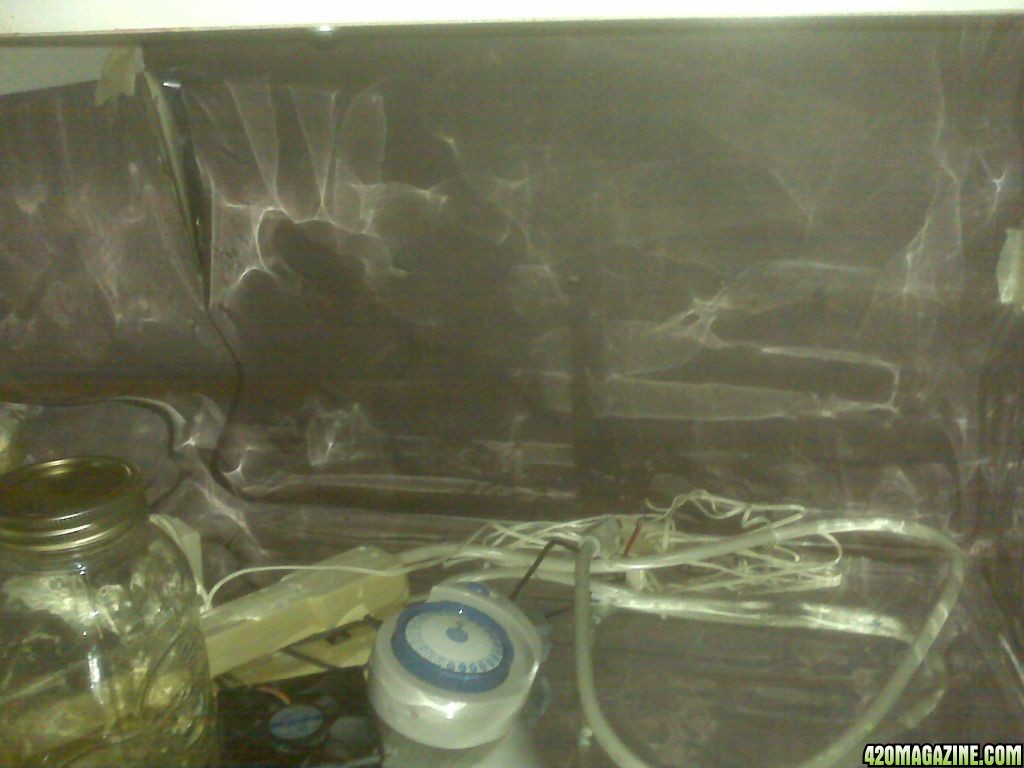
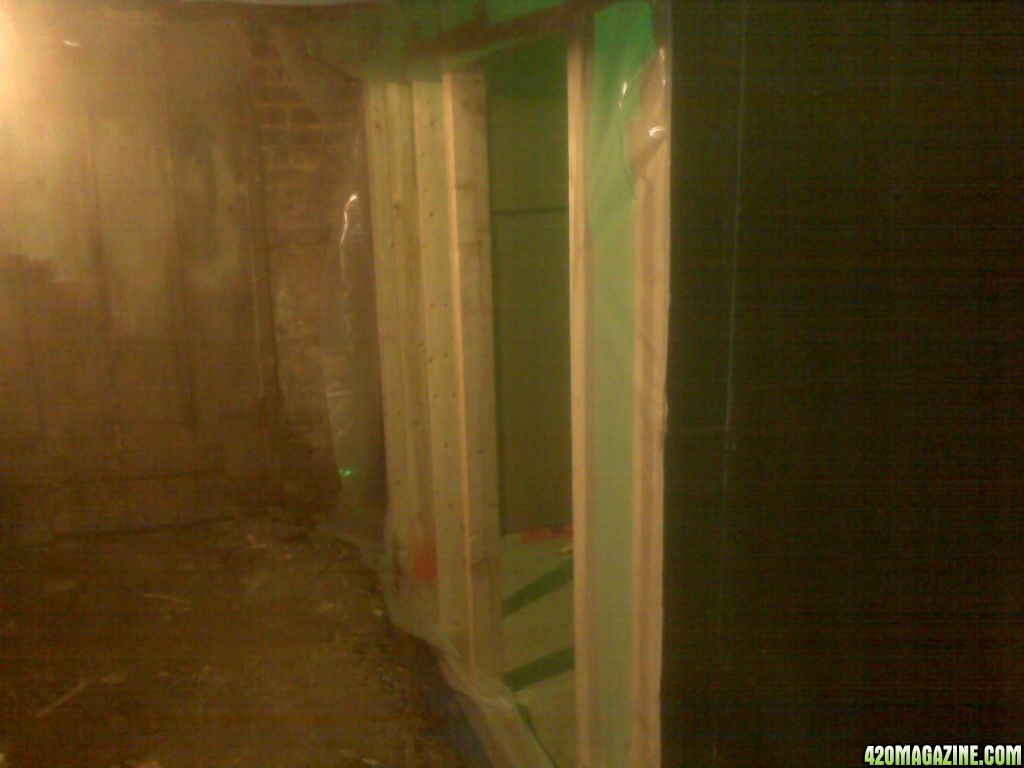
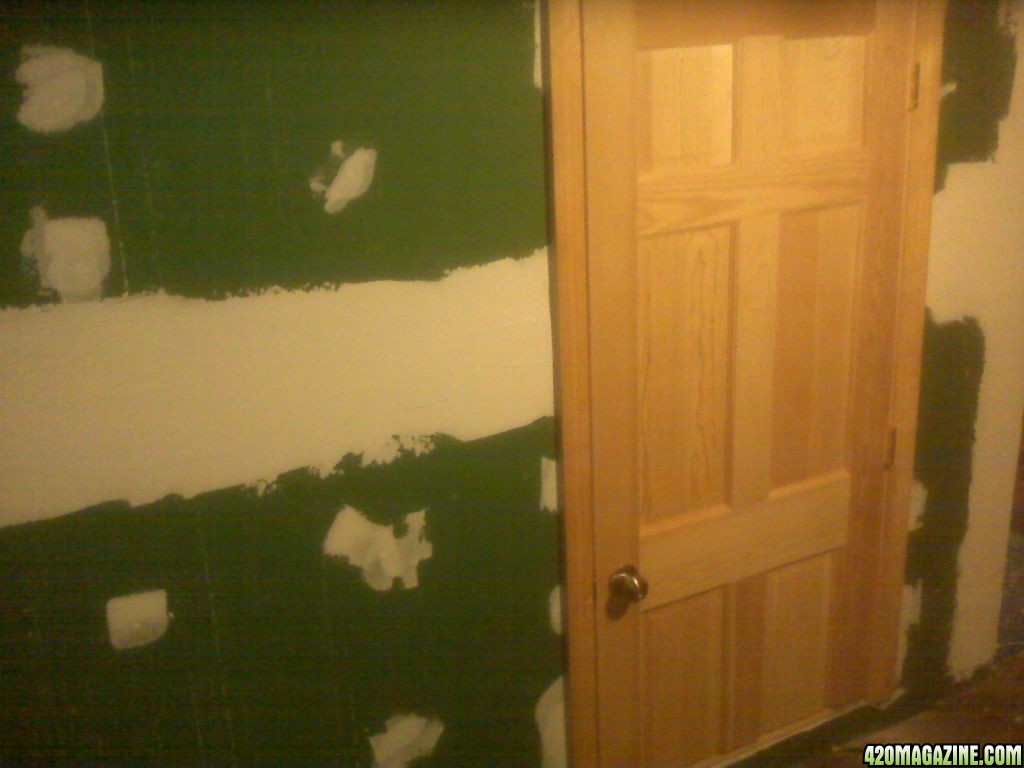
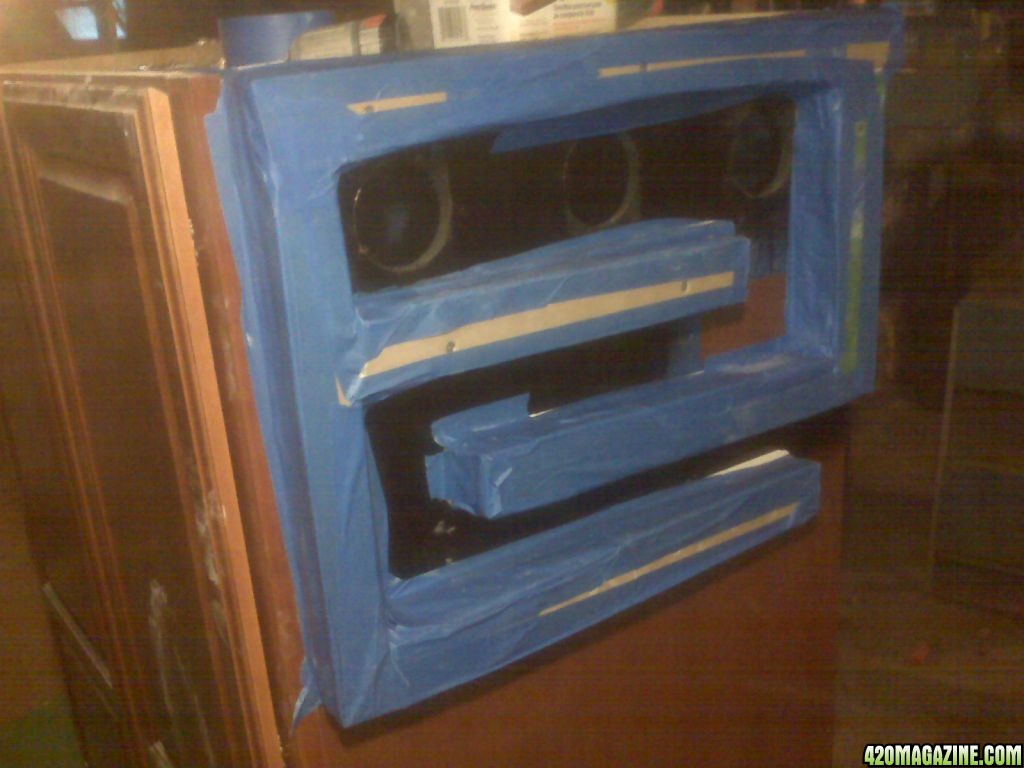
plastic going up on the walls, and floor
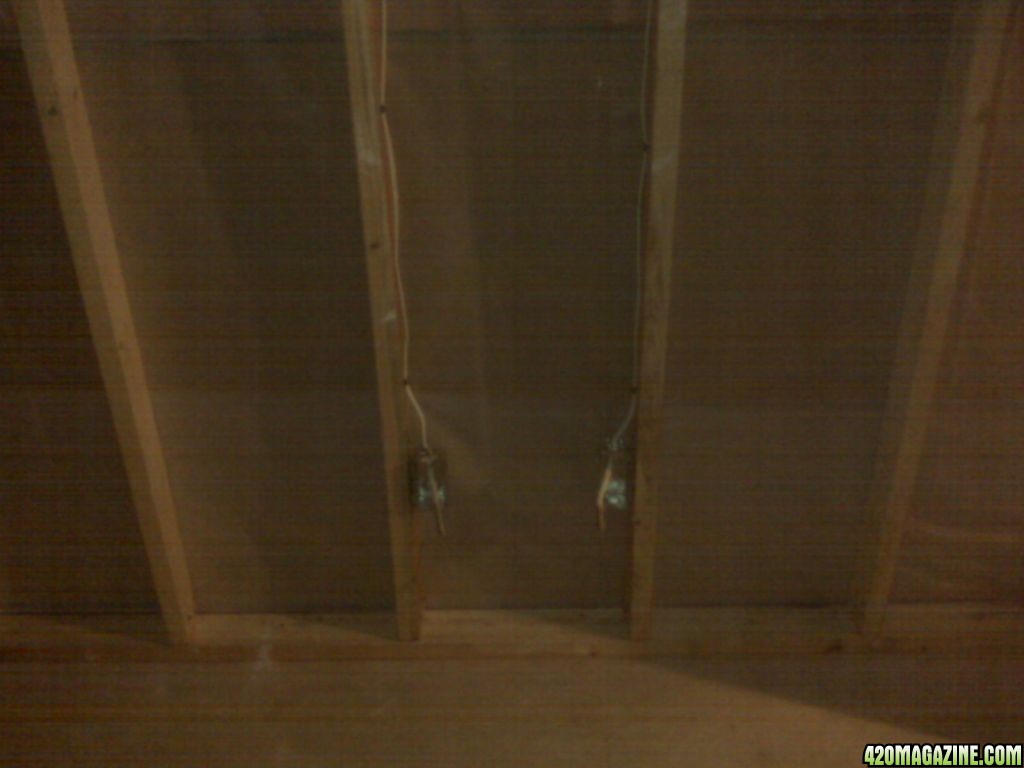
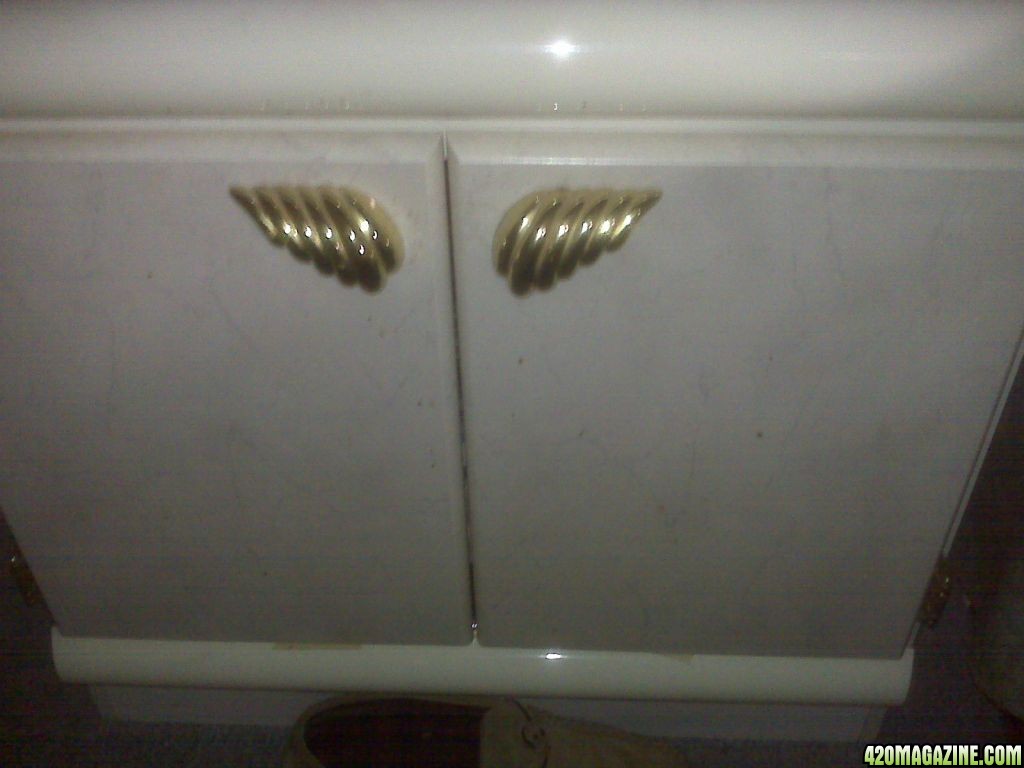
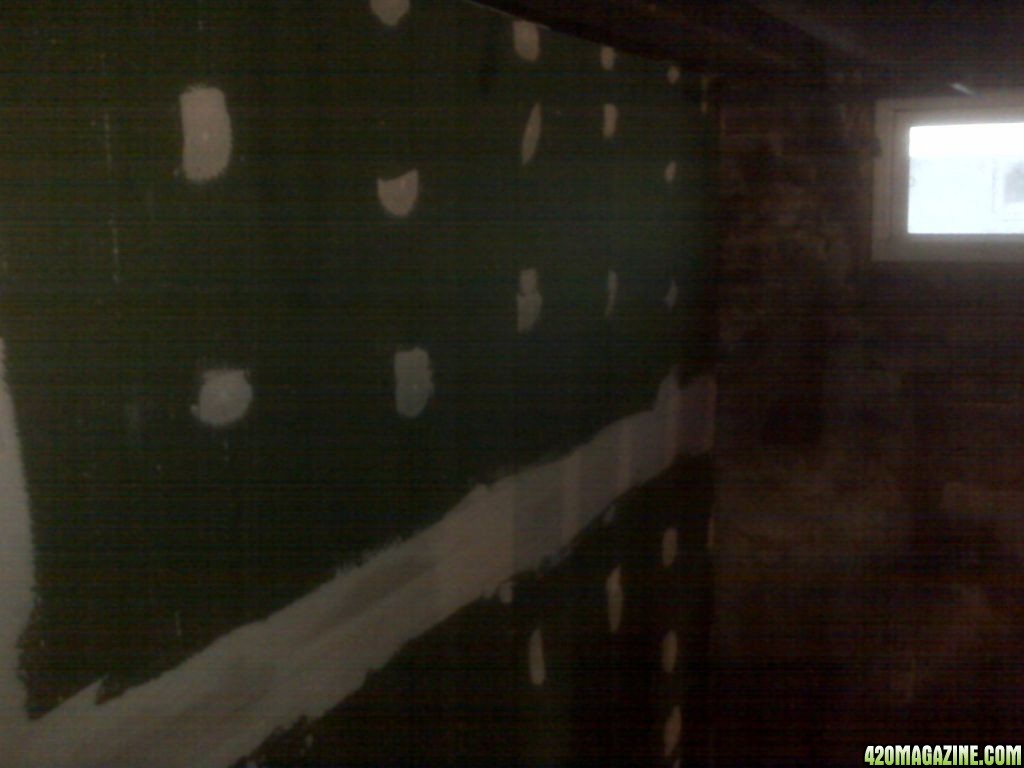
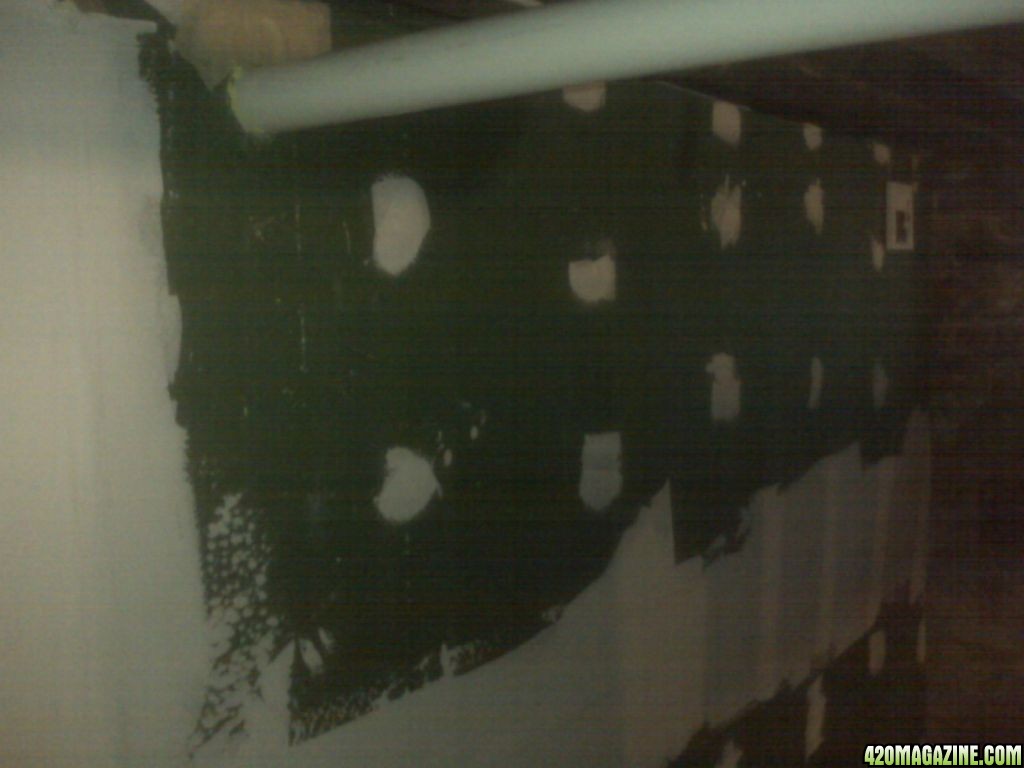
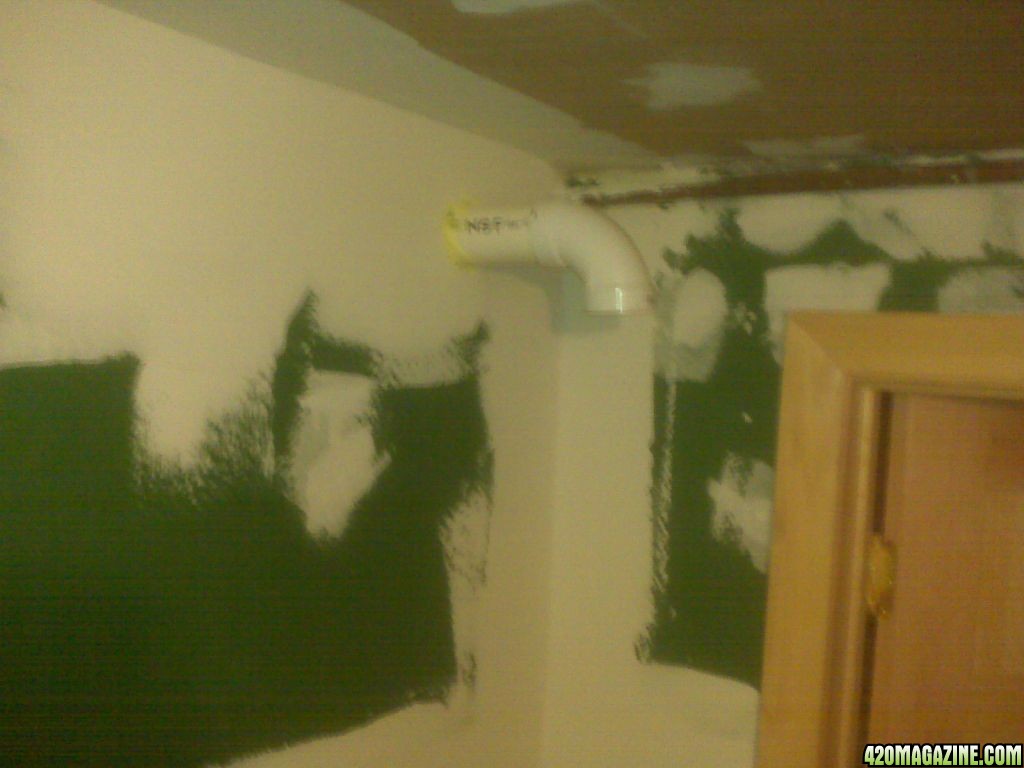
old wall I tore down
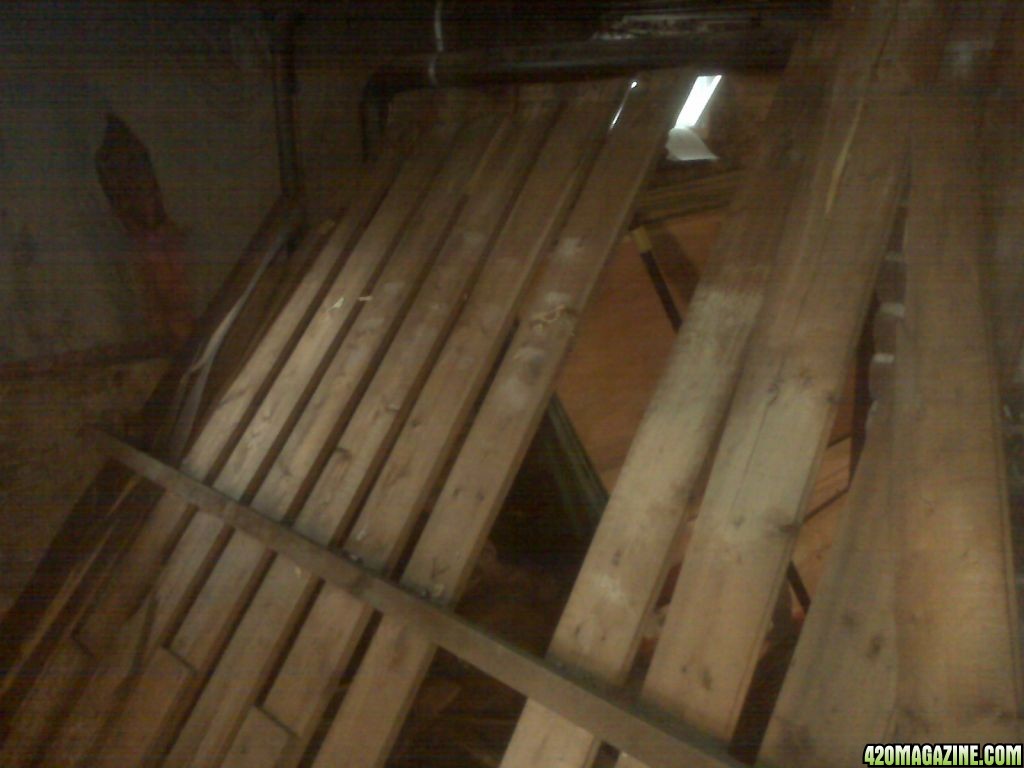
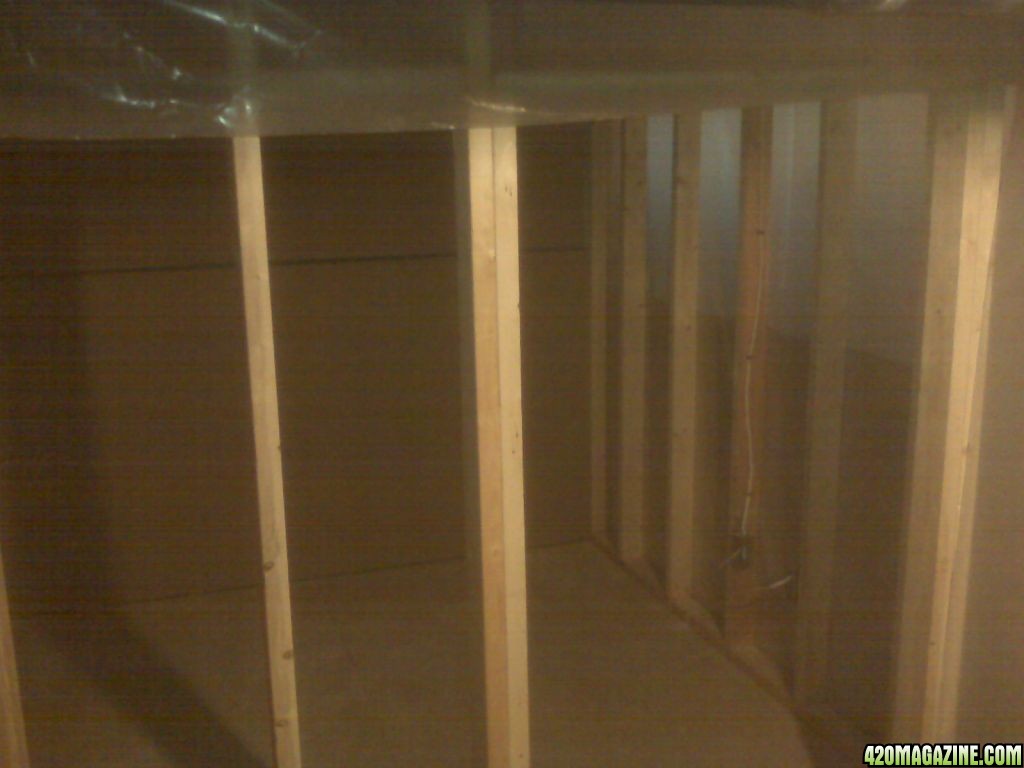
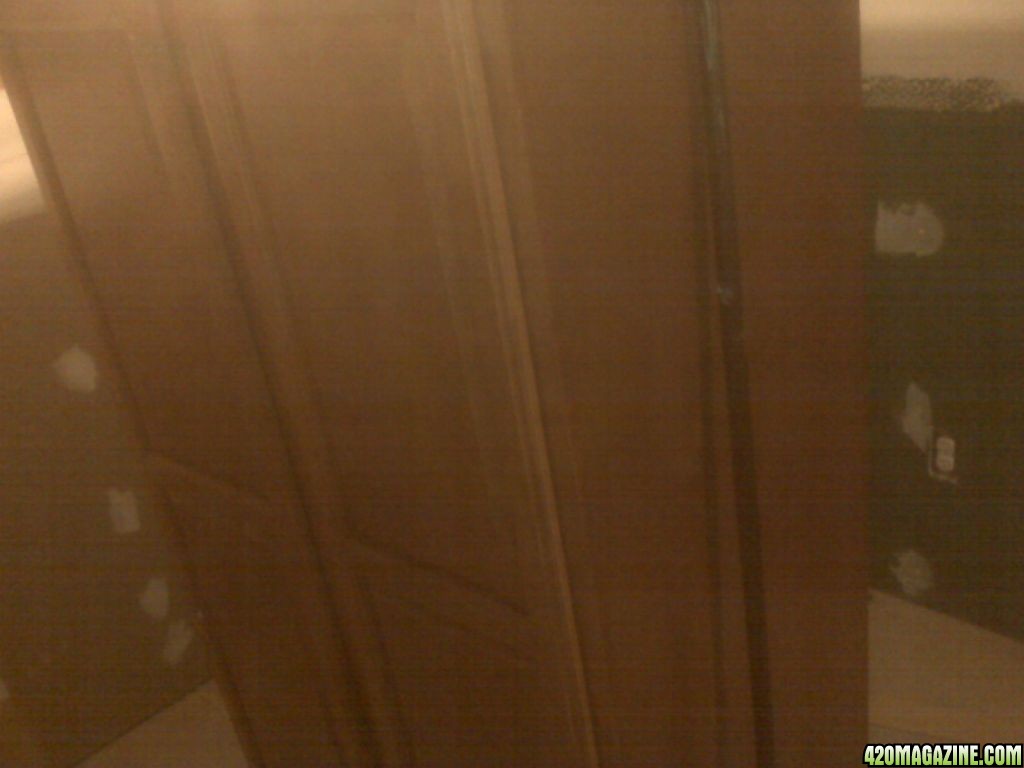
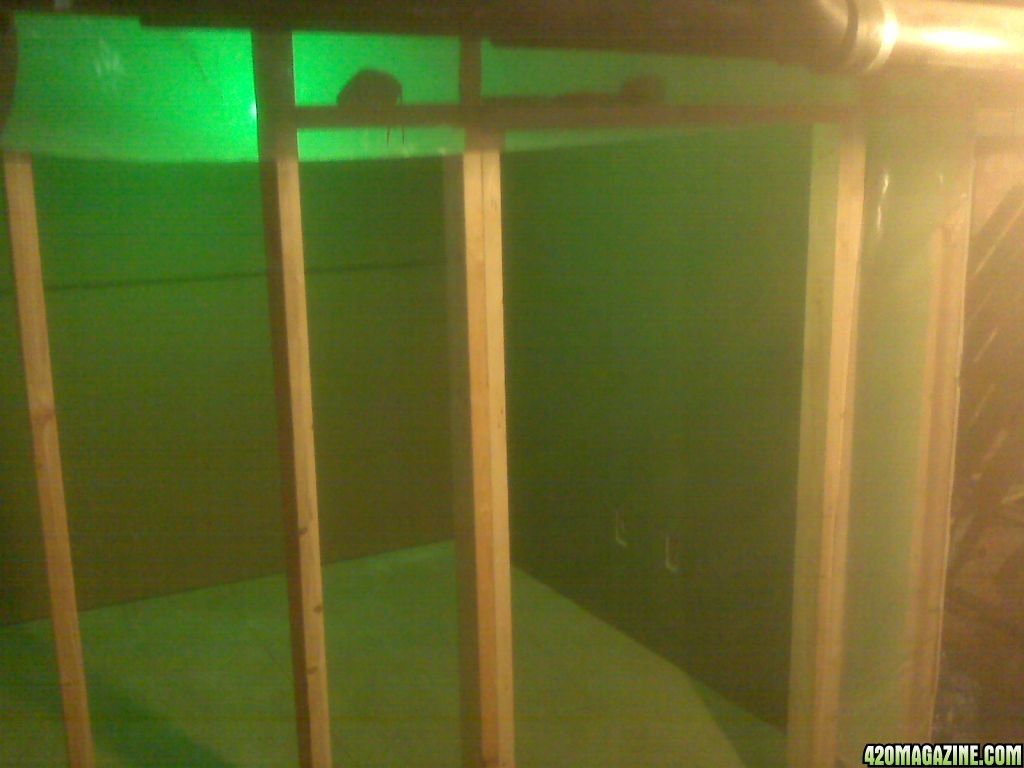
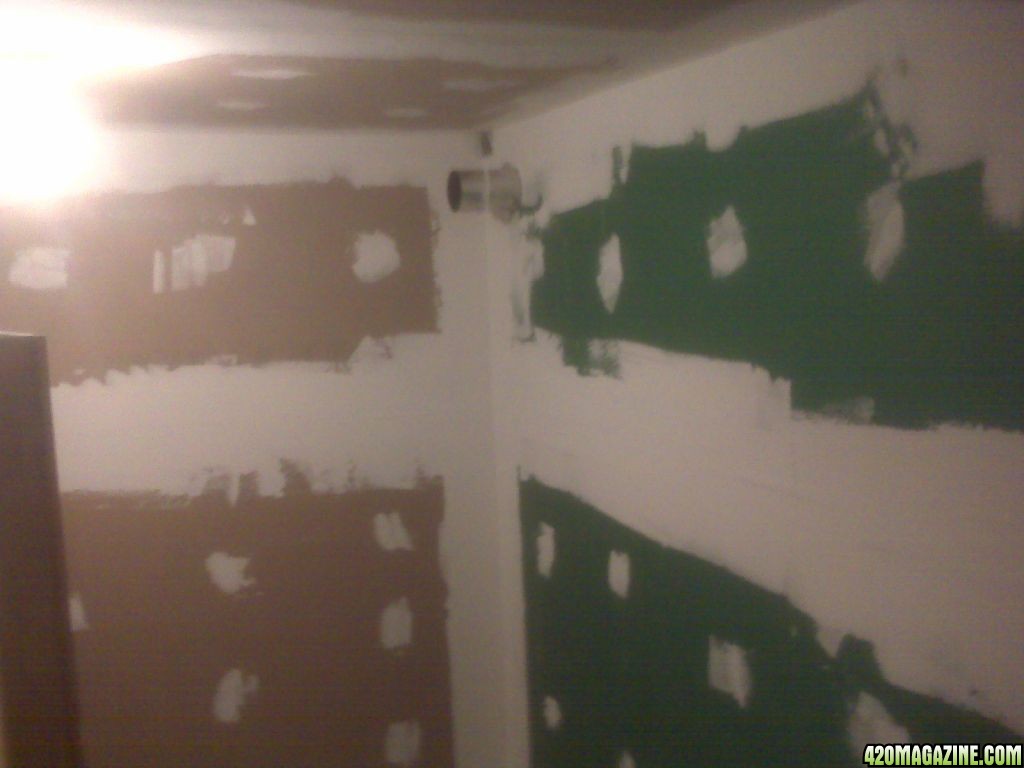
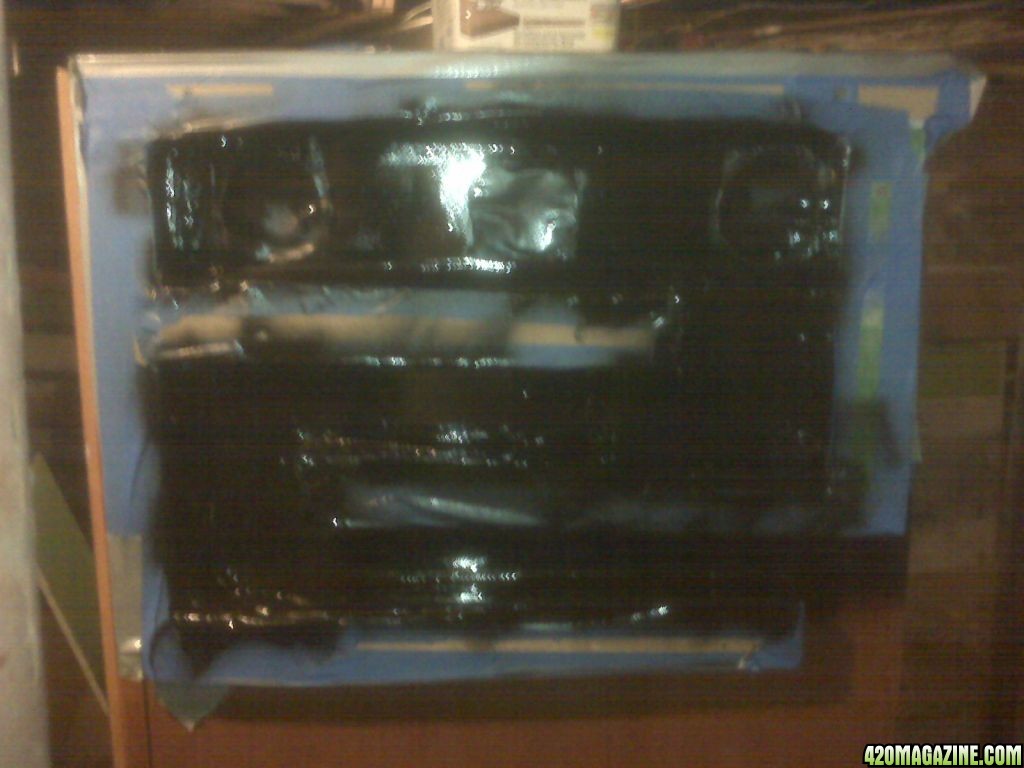
and the start of framing
So, I am already restless and finally convinced the wife to let me build a small room in the basement
I am building a 8 x 8 room, and will put in a 2 x 3 cabinet for veg later
the basement is dirty, musty, wet, and dirt floor, so I got alot to do to work with it.
I sprayed all the walls down with bleach and then put up 6 mil plastic.
I put 2 8x6 blue tarps on the floor, overlapping about 2 feet, and foung up the wall about 1 1/2 feet. Then put down 6 mil plastic over that, and used pressure treaded 2x4 for the floor framing. the plastic on the walls and ceiling all overlap about 1 1/2 feet on all sides to keep all the nastiness from the basement walls from getting in.
Last weekend I put up the plastic and started framing. This weekend I finished the framing, roughed in some wiring, and starting to drywall. I will get some pics up ffrom this weekend,,, but here are some pics of last weekends progress...
Pic of the wall
plastic going up on the walls, and floor
old wall I tore down
and the start of framing


") that's why I am in IT now.. hehe
that's why I am in IT now.. hehe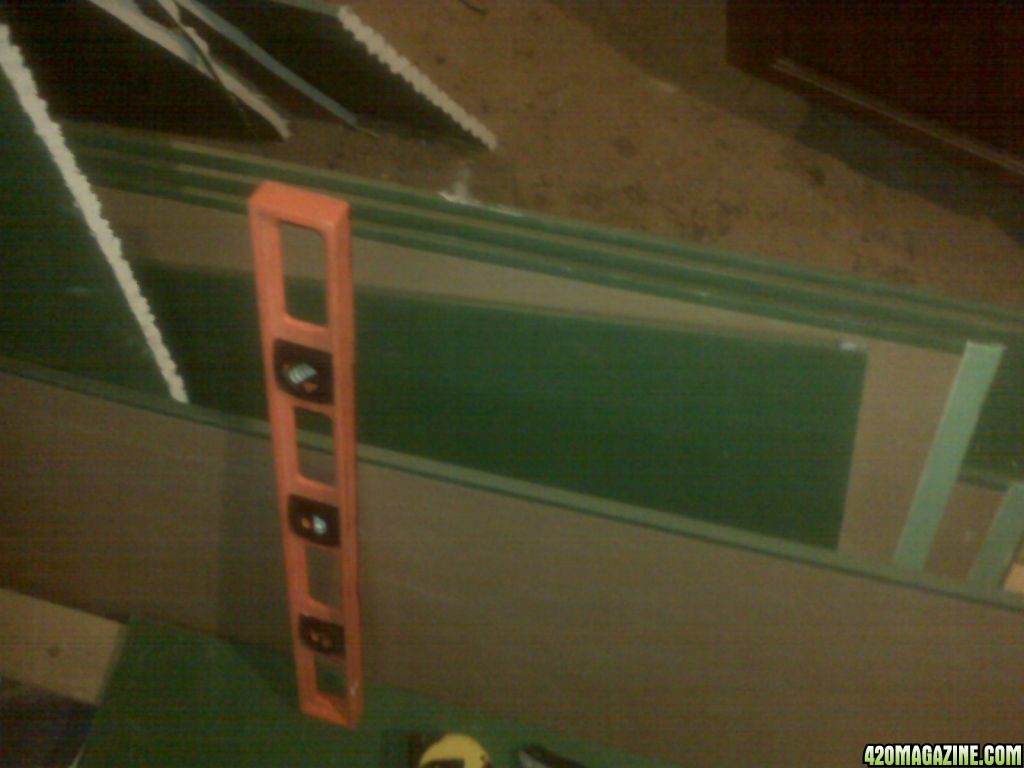


 and too much violence and sex on tv
