Outragedpluto
New Member
Hello everybody and welcome to my True Living Organic soil thread. Im going to document and let you all follow along with my creating of The Rev's Master Soil Mix 2.1. So without further ado lets get started!!!!!

To start off here are the ingredients i have used in my soil. Some of these ingredients were bought in a pack from the website True Living Organic Soils. Really good product but iffy on the customer service. I got everything i ordered and its great quality but they have never responded to any of my emails with questions about using their product. Any ways good stuff.
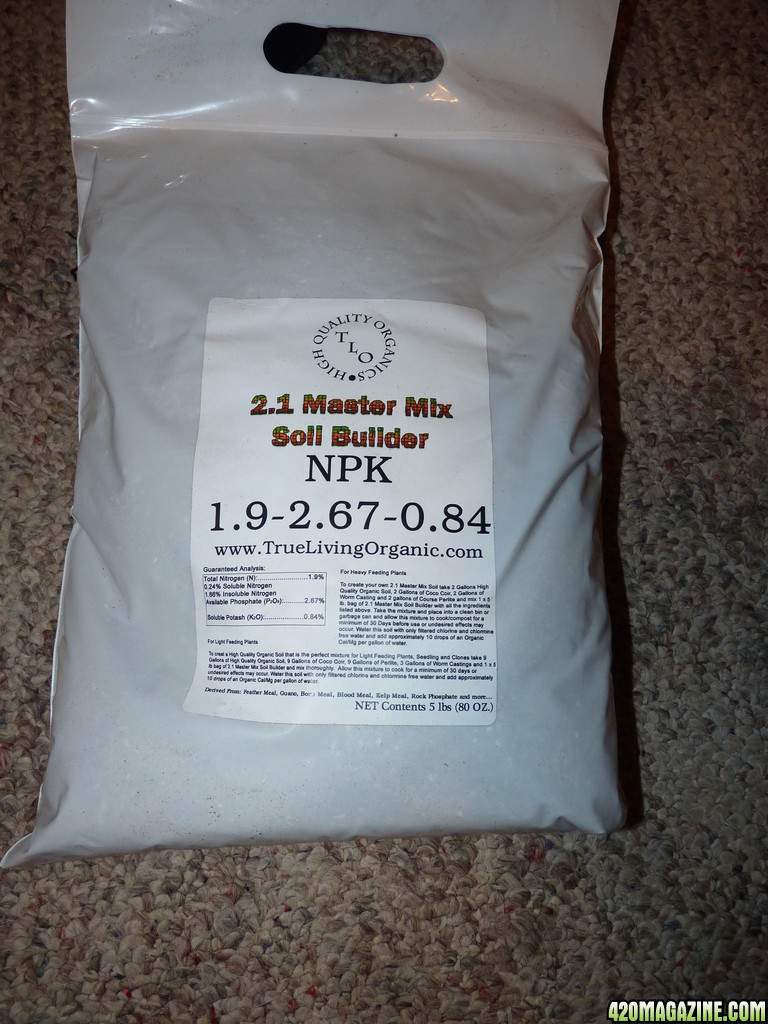
You are able to buy the base mix of amendments for The Revs Master Soil. This 5 pound mix includes Feather Meal, Bone Meal, Bat Guano, Blood Meal, Kelp Meal, Mineral Rock Dust, Alfalfa Meal, Humate, Rock Phosphate, Oyster Shell, Greensand, Dolomite Lime and a High Quality Organic Rice. All of these ingredients can be kinda pricey to get. Especially when you only need 1/2 cup but can only buy a 5 pound box of it. This mix will make up to 30 gallons of soil if you make it a less potent blend. The mix i am going with is 3/3/3/3 ratio where as 2/2/2/2
is the full strength Master Soil Mix. I am going for a slightly less strong blend that will give me a little more soil too.
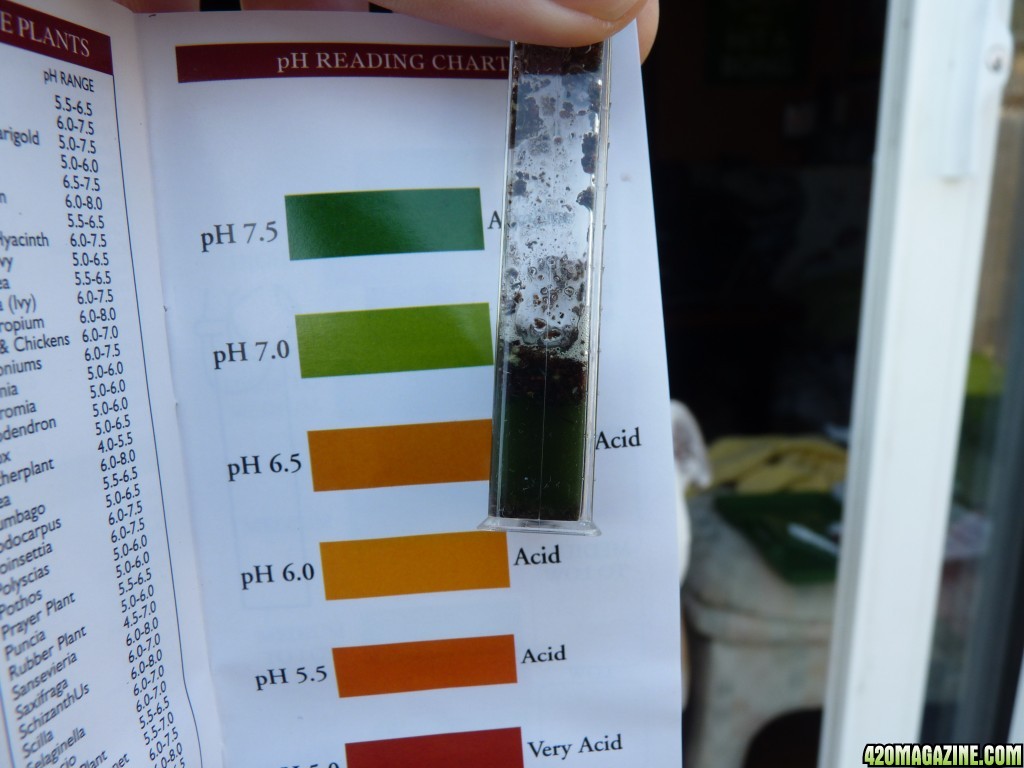
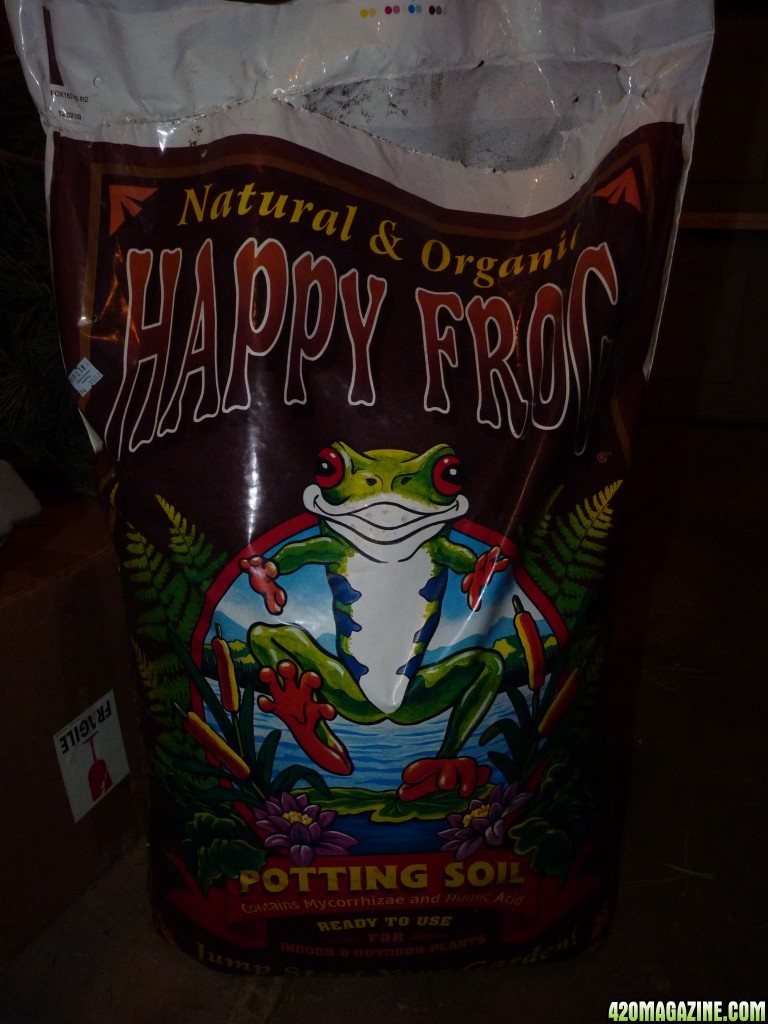
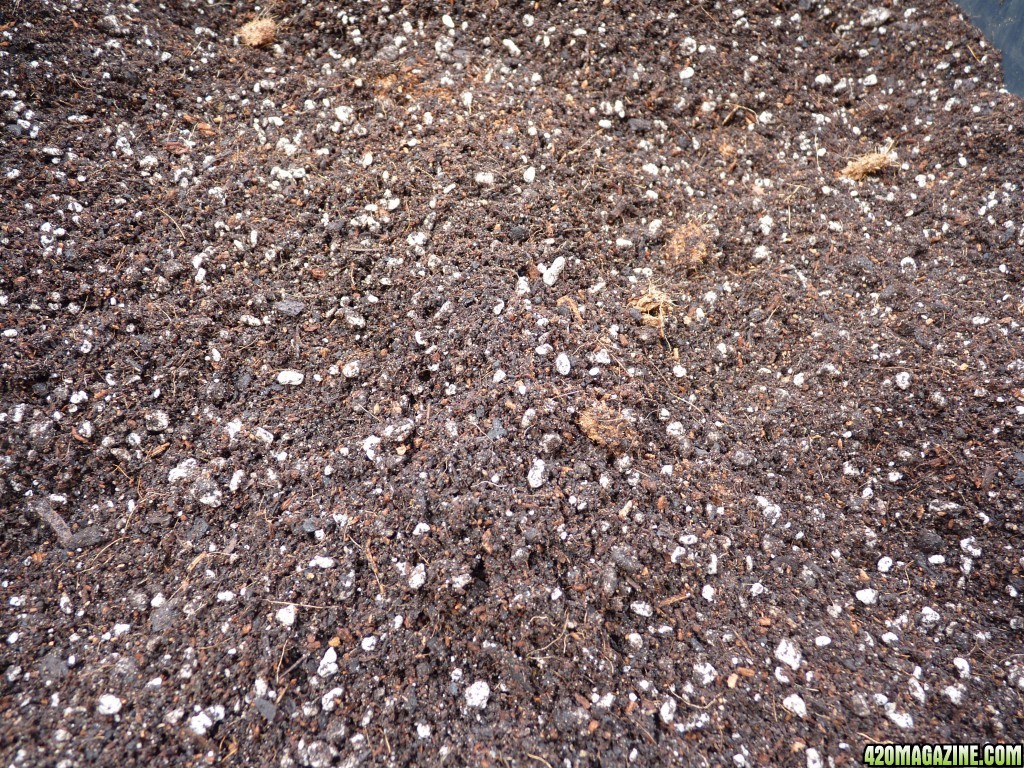
I then bought Fox Farm Happy Frog soil as my base soil mix. The only little problem with this is that you do not want to use things with spaghnum peat moss because it will make the ph drop a bit more during composting. Luckily there are a lot of ph balancers in the soil builder mix. Added 3 parts this
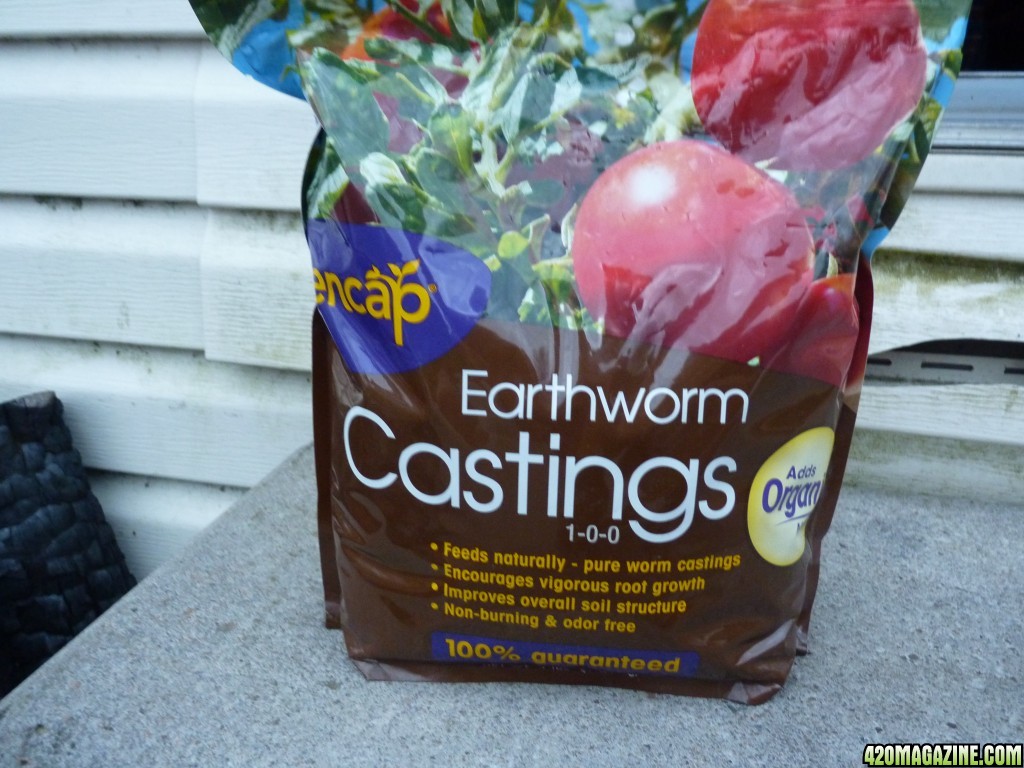
Next i mixed in earthworm castings. Got these from a local nursery. 3 parts this.
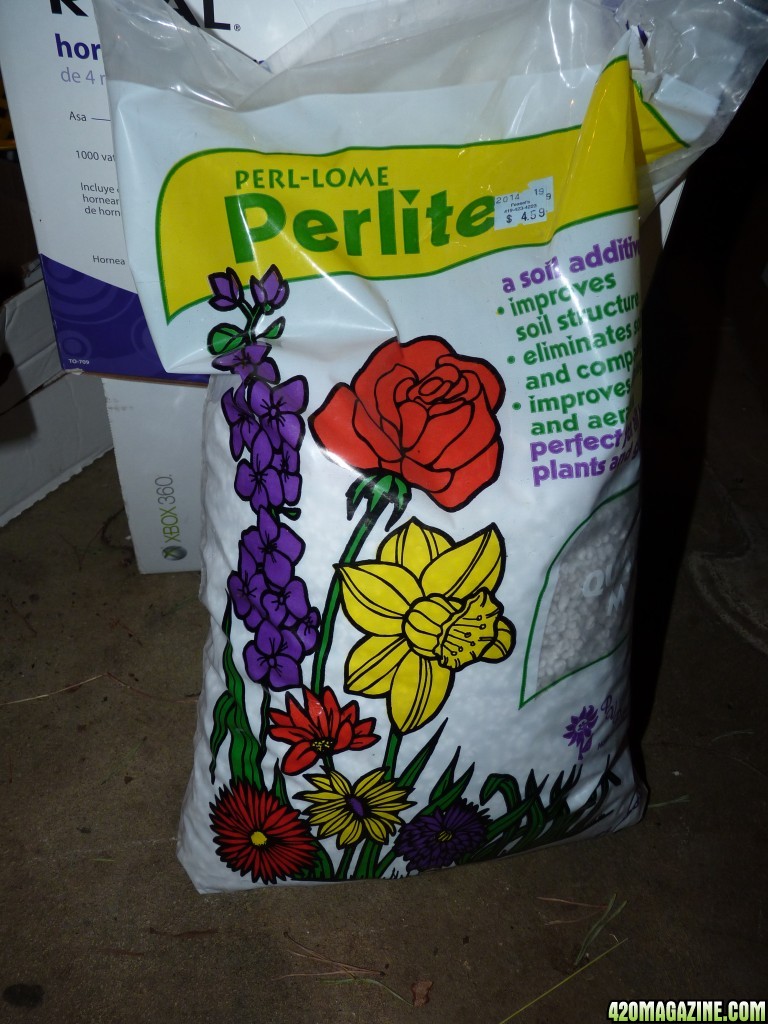
Added 3 parts perlite to the mix.
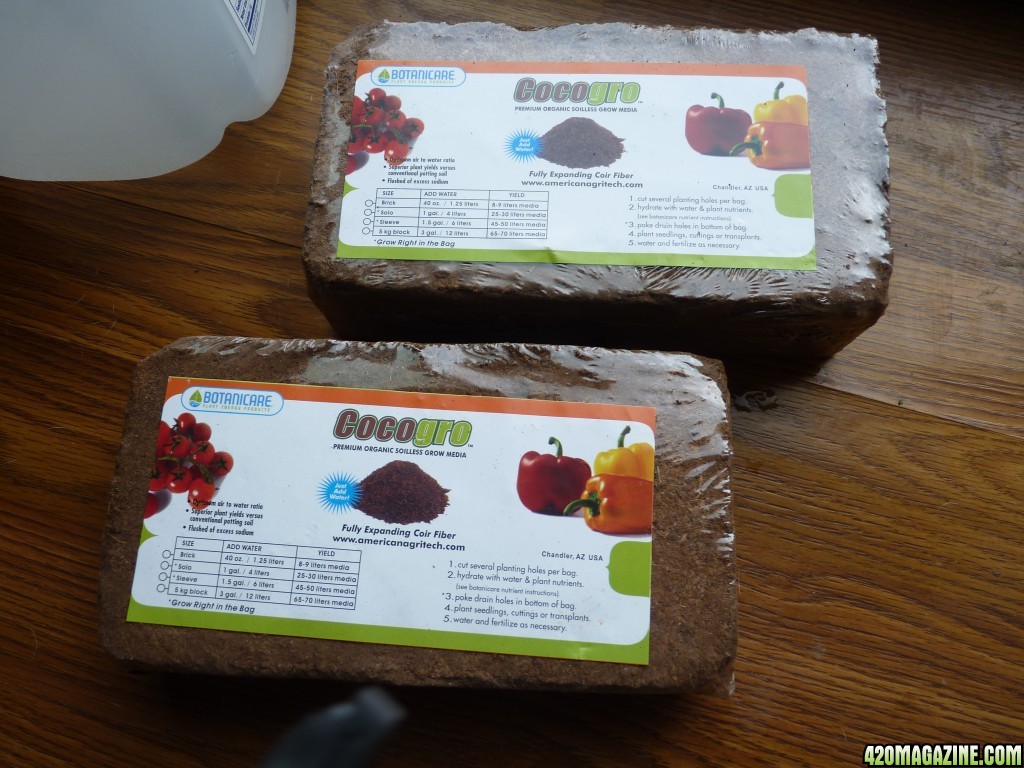
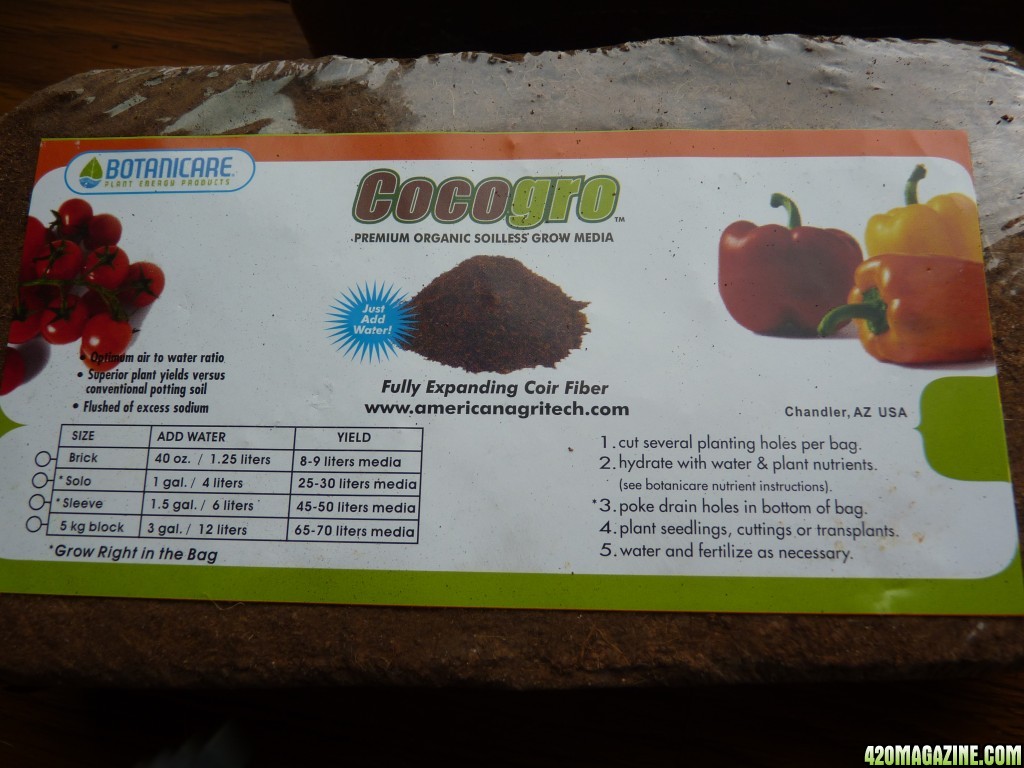
I got some Botanicare CocoGro coco coir. You want to make sure to get well rinsed coco coir. The excesive sea salt in fresh coco coir can do some damage to a TLO garden. This brand is at least rain rinsed for 2 rain seasons ensuring low salt content. Added 3 parts this.
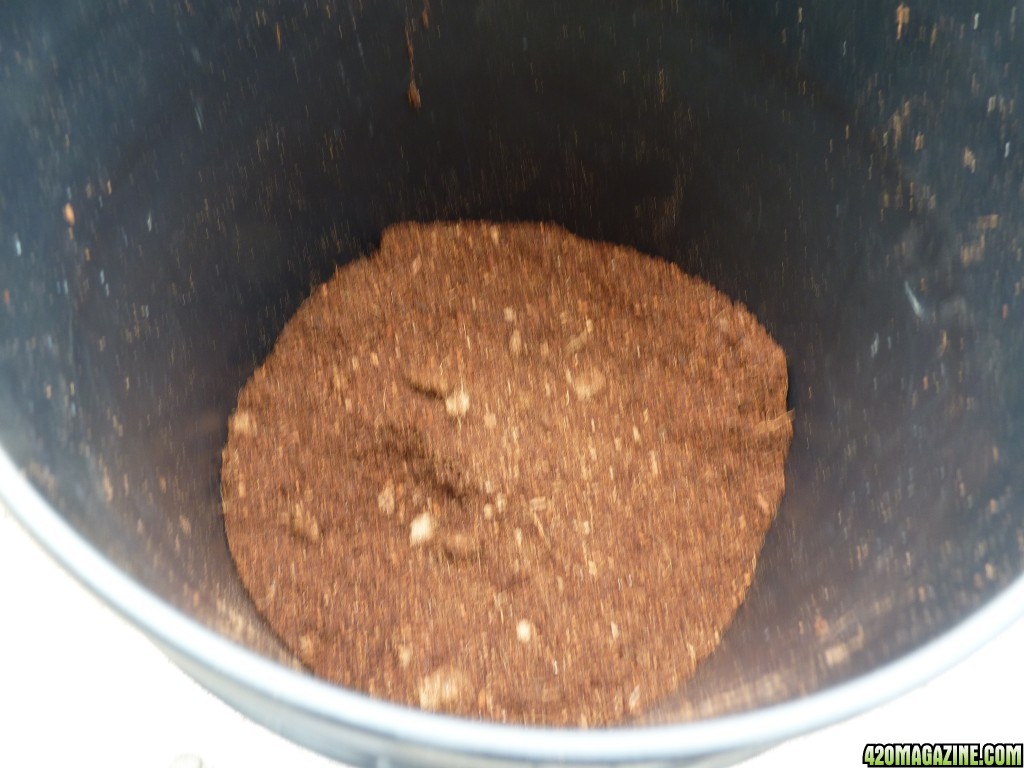
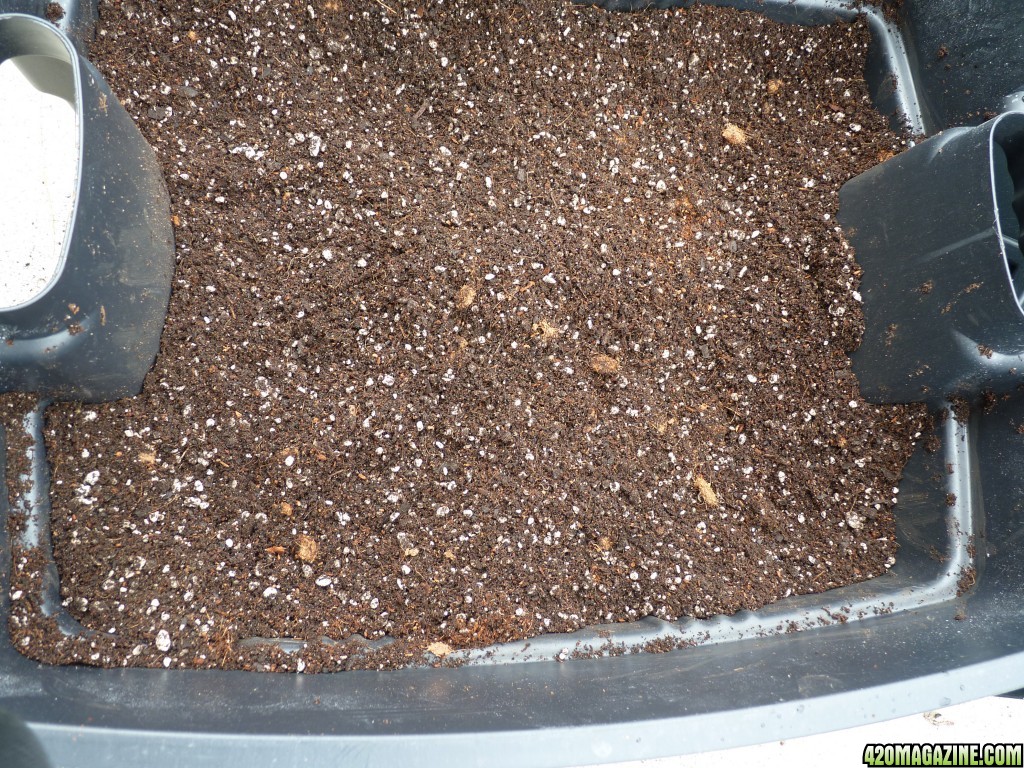
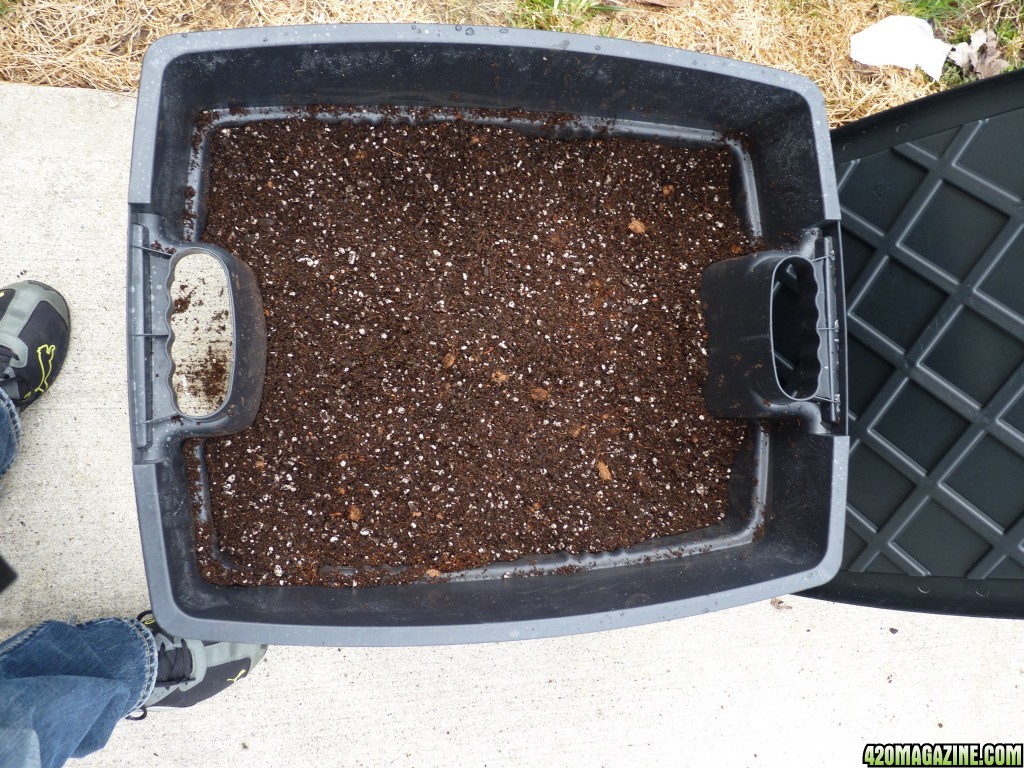
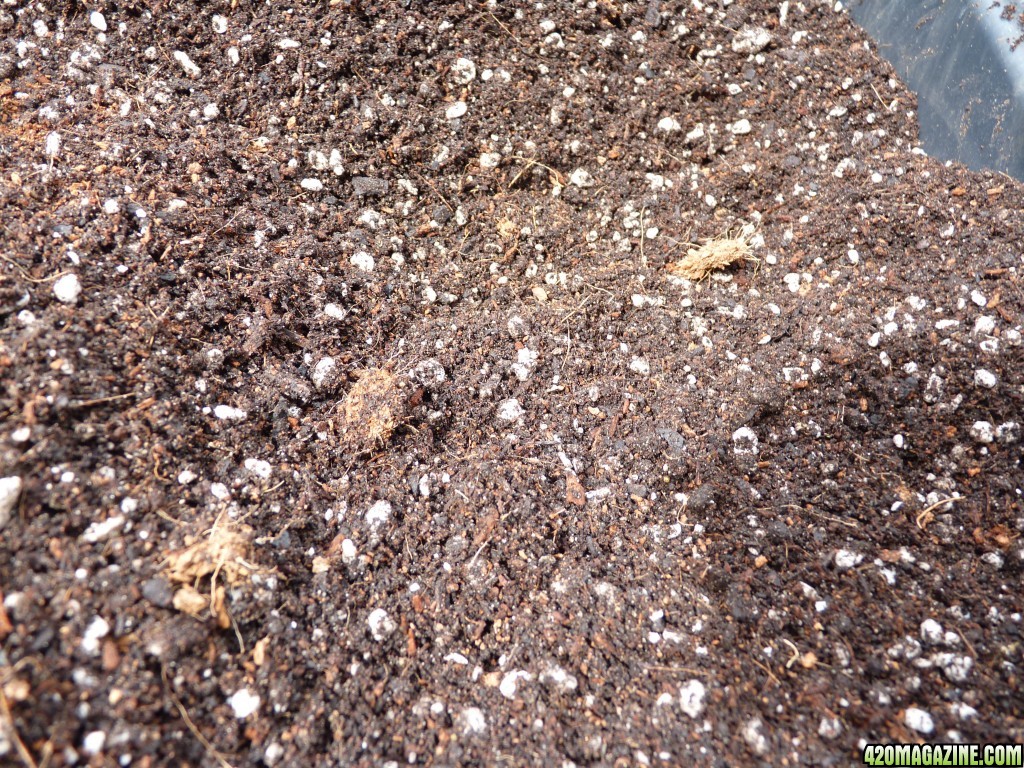
I mixed this up in a tough bin that i added some drain holes in the bottom to let excess water escape so i do not get any anaerobic bacteria. I had a 5 gallon bucket setting outside collecting rain water. Sprayed the mix with this to get things going. I have the bins setting outside where it gets about 6 hours of sun a day to get things warm without baking the hell out of it lol. I am going to let this cook at least 30 days to get things nice and composted. I will mix up the mix every couple of days adding rain water when needed.
So to break this all down here is the mix i did:
3 gallons Happy Frog soil
3 gallons Perlite
3 Gallons CocoGro Coco Coir
3 gallons Earthworm castings
1 x 5 pound Bag of Master Soil Mix 2.1 Soil builder
Thank you everyone who has stopped by
I will continuously update on the soil adding some pictures soon and lots of TLO information.
To start off here are the ingredients i have used in my soil. Some of these ingredients were bought in a pack from the website True Living Organic Soils. Really good product but iffy on the customer service. I got everything i ordered and its great quality but they have never responded to any of my emails with questions about using their product. Any ways good stuff.
You are able to buy the base mix of amendments for The Revs Master Soil. This 5 pound mix includes Feather Meal, Bone Meal, Bat Guano, Blood Meal, Kelp Meal, Mineral Rock Dust, Alfalfa Meal, Humate, Rock Phosphate, Oyster Shell, Greensand, Dolomite Lime and a High Quality Organic Rice. All of these ingredients can be kinda pricey to get. Especially when you only need 1/2 cup but can only buy a 5 pound box of it. This mix will make up to 30 gallons of soil if you make it a less potent blend. The mix i am going with is 3/3/3/3 ratio where as 2/2/2/2
is the full strength Master Soil Mix. I am going for a slightly less strong blend that will give me a little more soil too.
I then bought Fox Farm Happy Frog soil as my base soil mix. The only little problem with this is that you do not want to use things with spaghnum peat moss because it will make the ph drop a bit more during composting. Luckily there are a lot of ph balancers in the soil builder mix. Added 3 parts this
Next i mixed in earthworm castings. Got these from a local nursery. 3 parts this.
Added 3 parts perlite to the mix.
I got some Botanicare CocoGro coco coir. You want to make sure to get well rinsed coco coir. The excesive sea salt in fresh coco coir can do some damage to a TLO garden. This brand is at least rain rinsed for 2 rain seasons ensuring low salt content. Added 3 parts this.
I mixed this up in a tough bin that i added some drain holes in the bottom to let excess water escape so i do not get any anaerobic bacteria. I had a 5 gallon bucket setting outside collecting rain water. Sprayed the mix with this to get things going. I have the bins setting outside where it gets about 6 hours of sun a day to get things warm without baking the hell out of it lol. I am going to let this cook at least 30 days to get things nice and composted. I will mix up the mix every couple of days adding rain water when needed.
So to break this all down here is the mix i did:
3 gallons Happy Frog soil
3 gallons Perlite
3 Gallons CocoGro Coco Coir
3 gallons Earthworm castings
1 x 5 pound Bag of Master Soil Mix 2.1 Soil builder
Thank you everyone who has stopped by
I will continuously update on the soil adding some pictures soon and lots of TLO information.
")