Pineapple Chunk Hydro Grow From Seeds

Dontscrewup

New Member
Hi,
This is my third grow. I was pretty successful in my previous grows (Blueberry, GS Cookies) over 700 grams in each grow from a 4x4 Tent using clones. This time I will be starting with seeds obtained from a 420 sponsor True North Seed Bank. Pineapple Chunk from Barney Farms 25% THC 1.1% CBD for the couch lock effect!

What strain is it?
Is it Indica, Sativa or Hybrid? Indica 100%
Is it in Veg or Flower stage? Germinating

Future:
Indoor or outdoor? Indoor
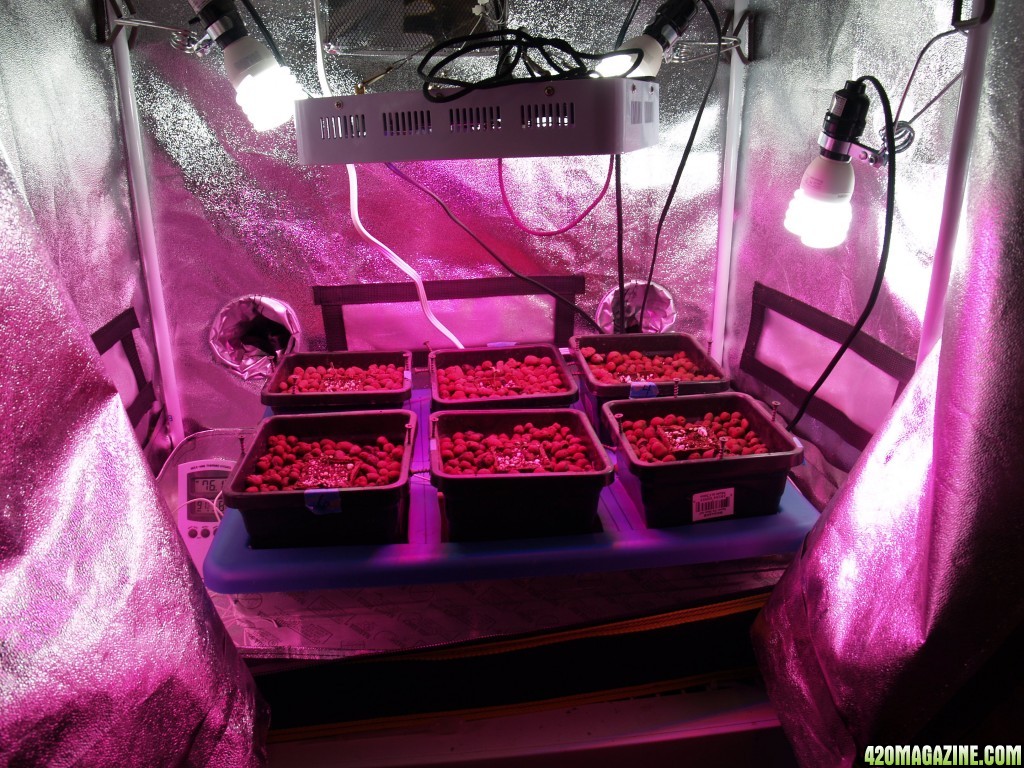
Soil or Hydro? Hydro - Hybrid ebb and flow with top feed 6 Pots
Size of light? 1000W HPS, 300W Full Spectrum LED
Is it aircooled? Yes
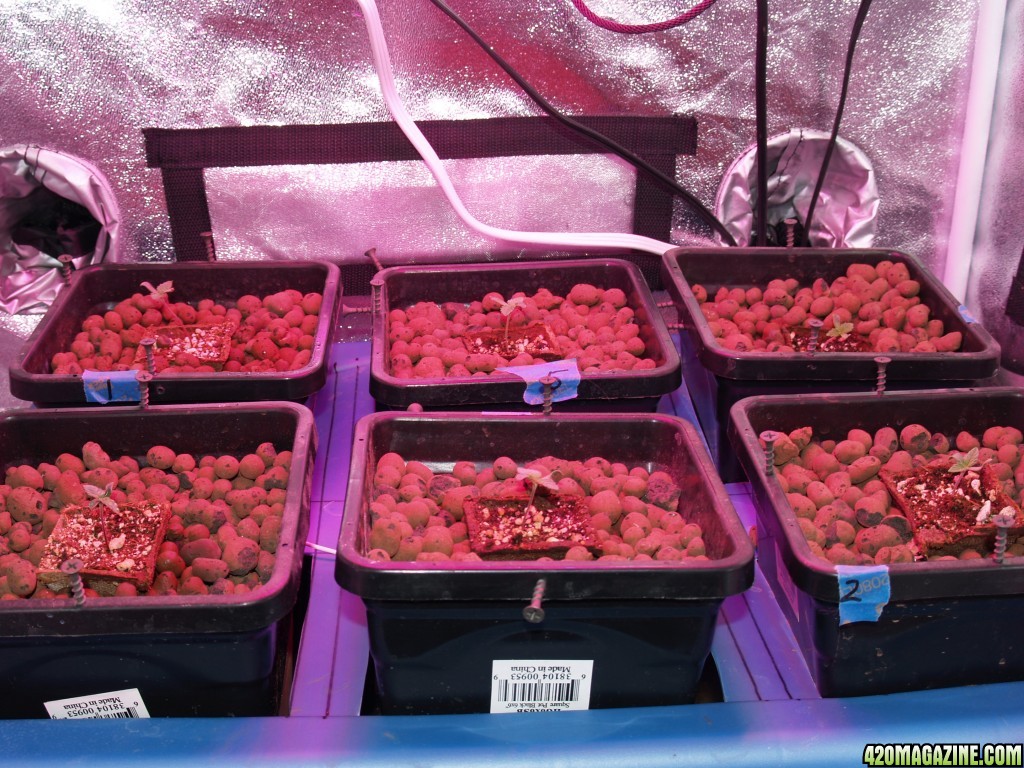
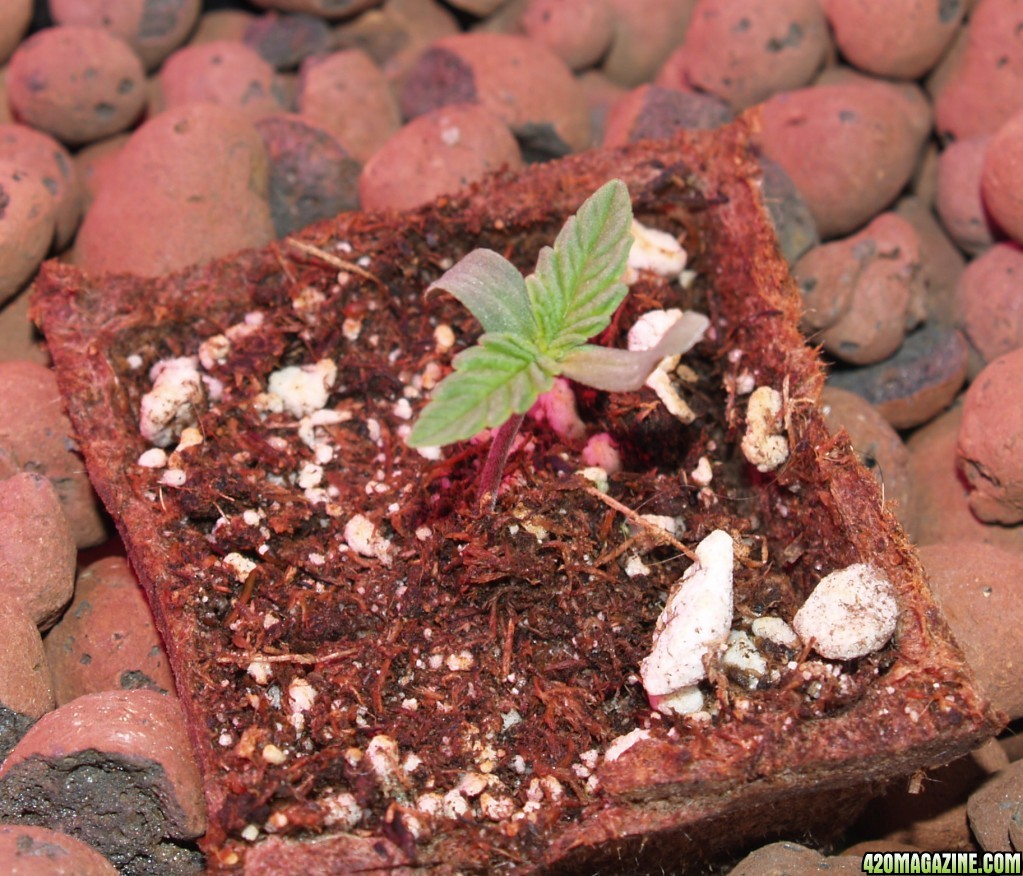
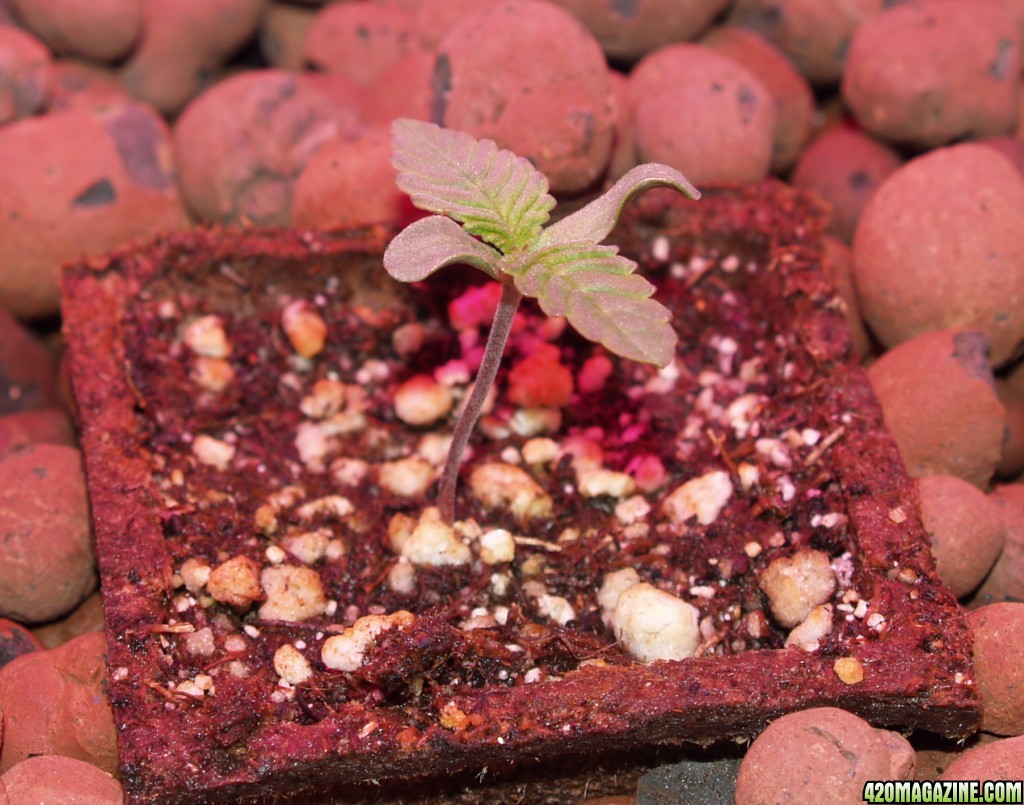
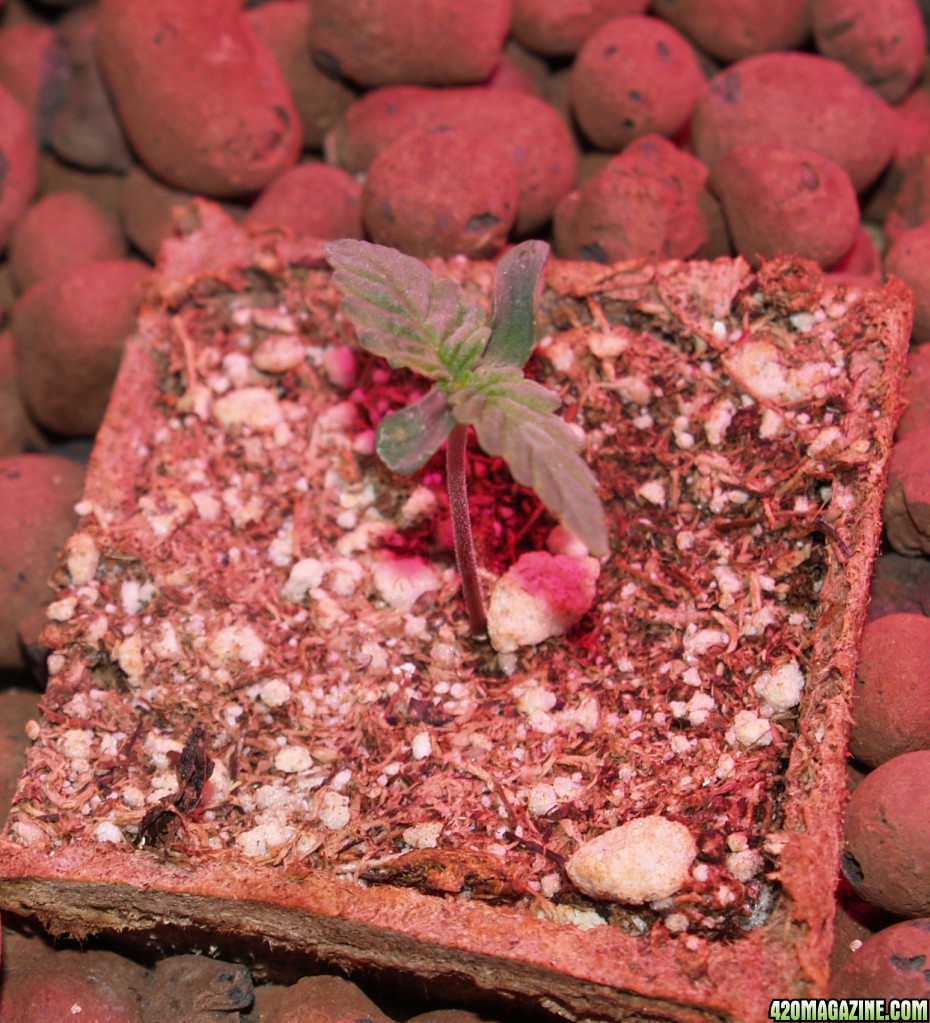
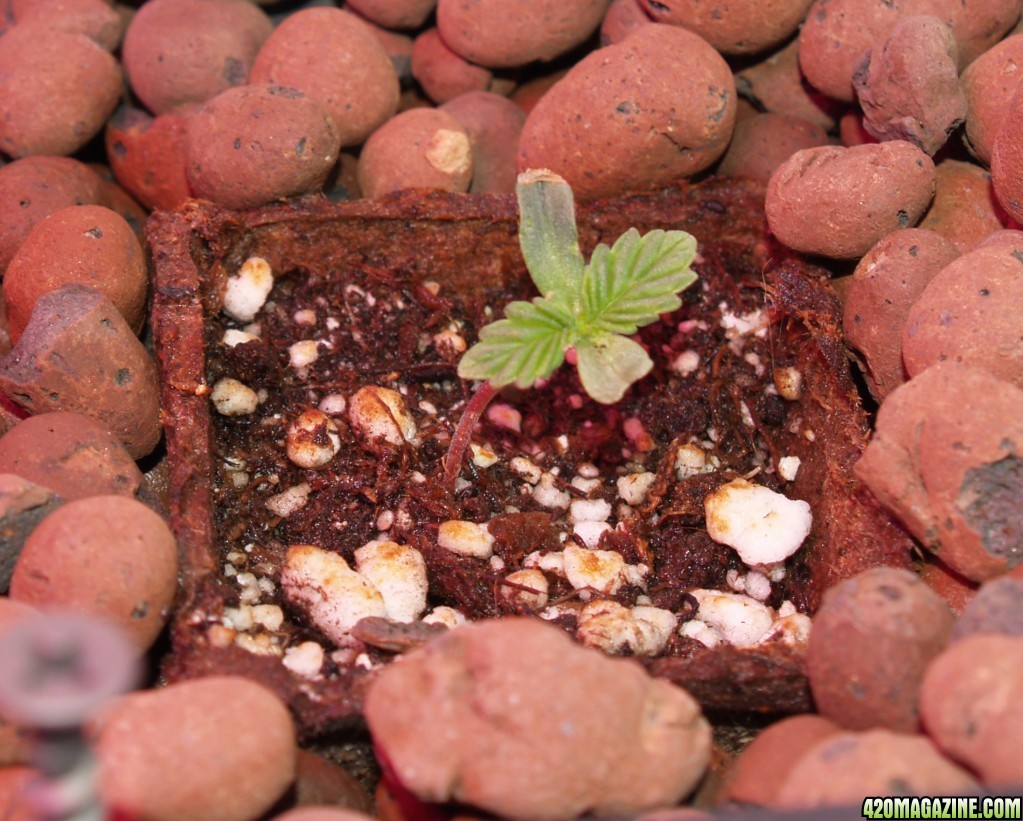
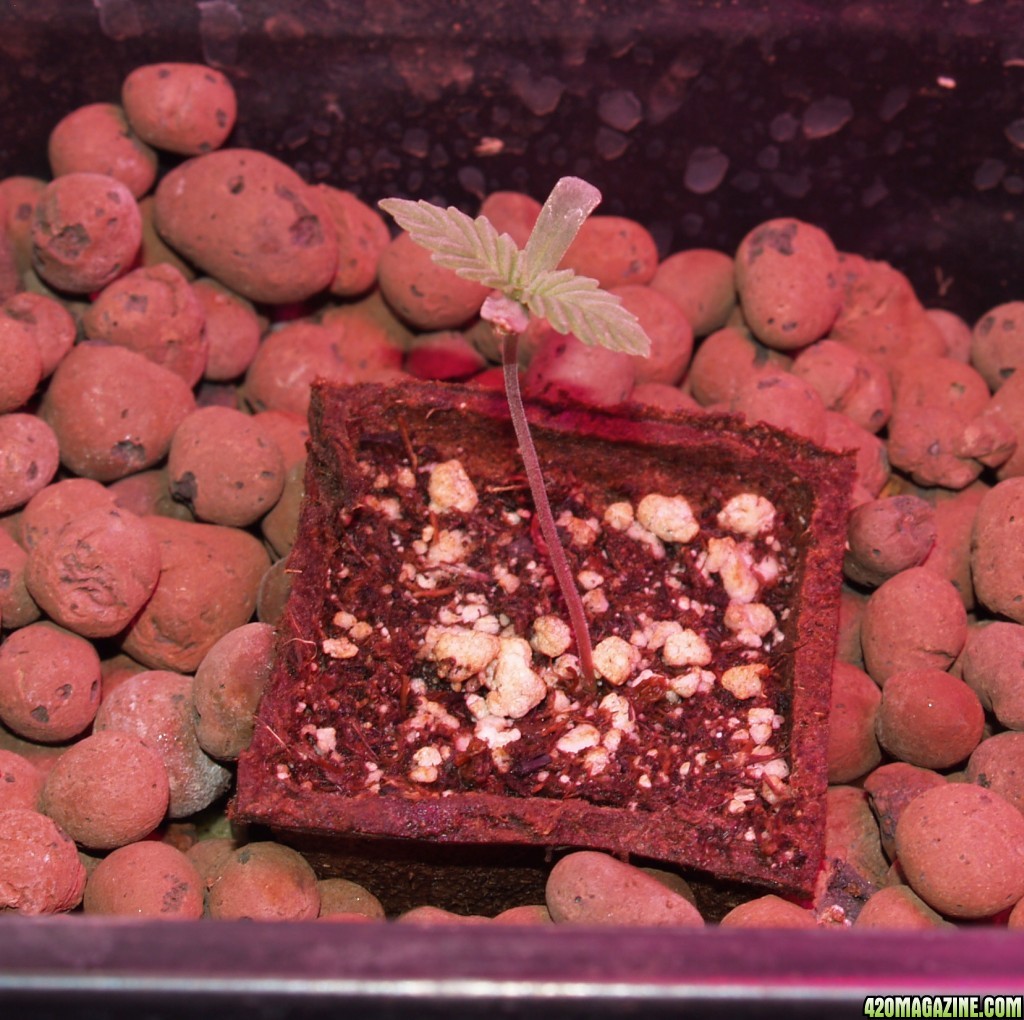
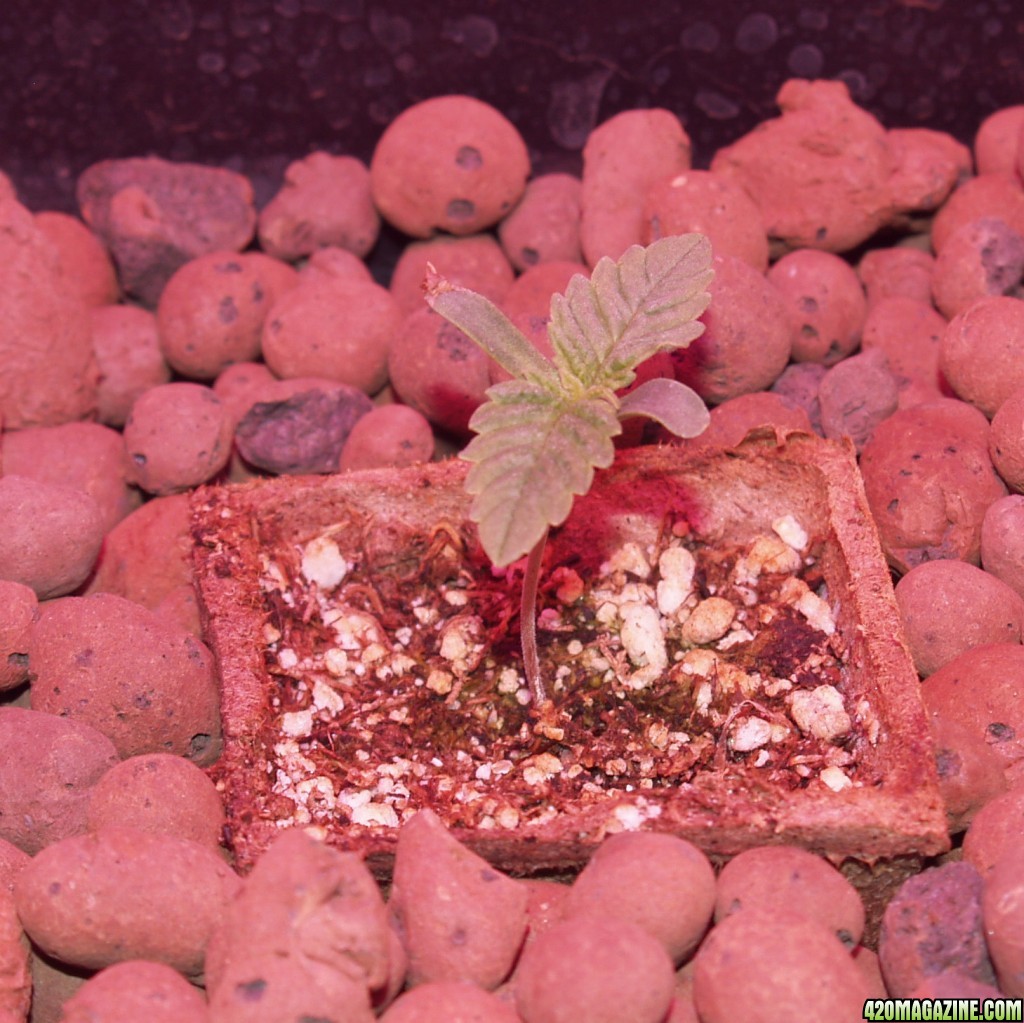
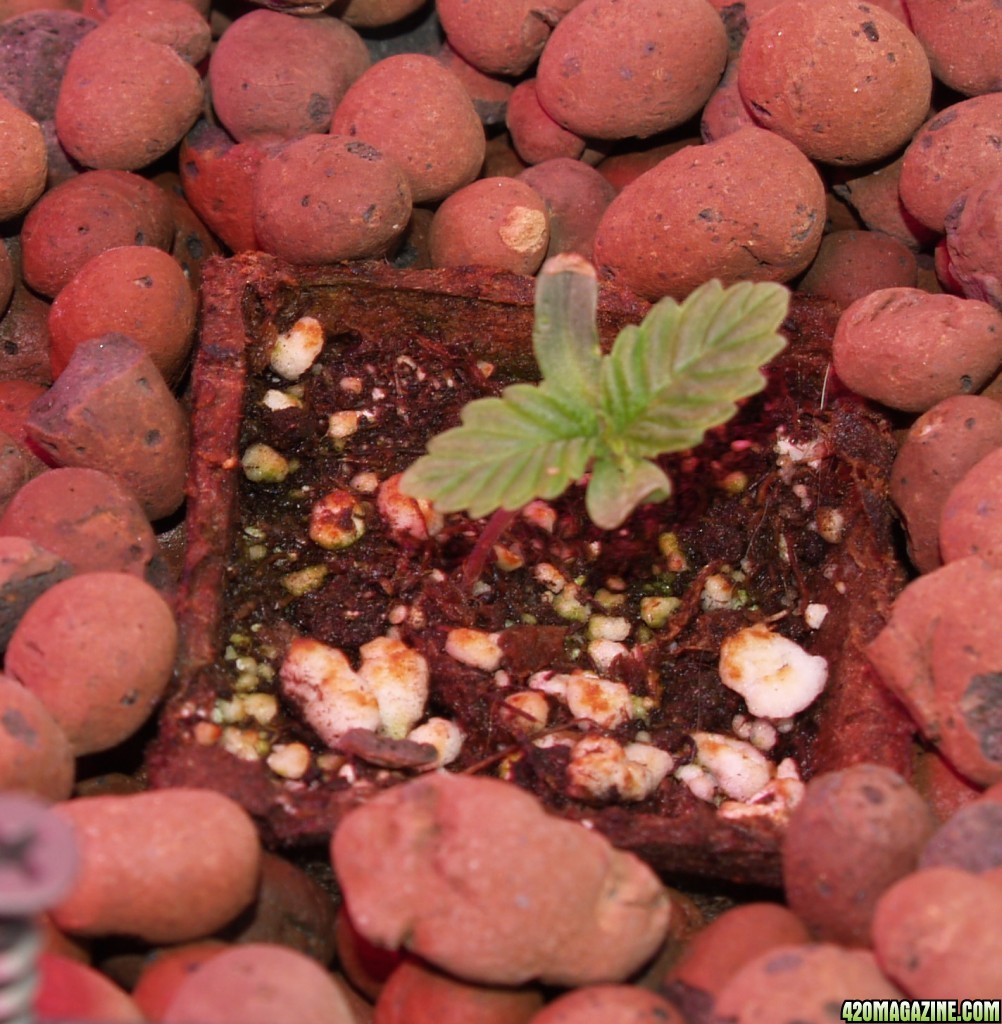
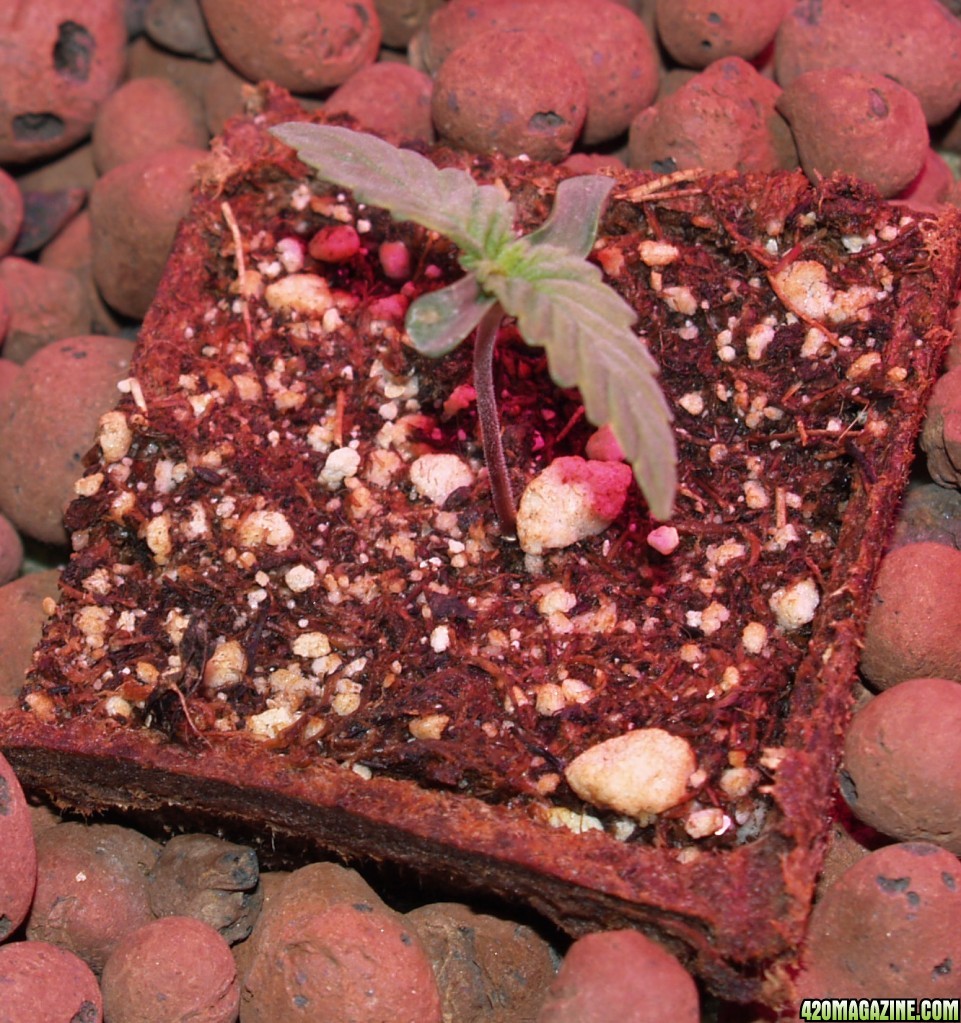
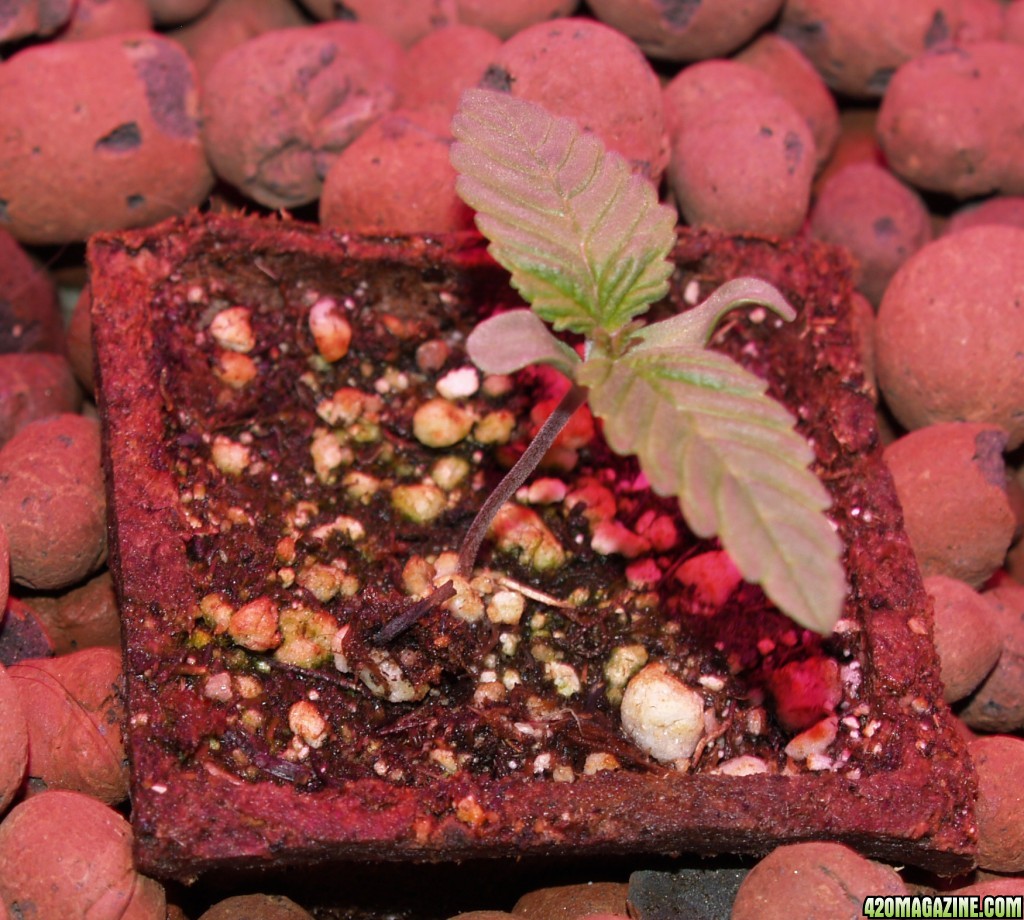
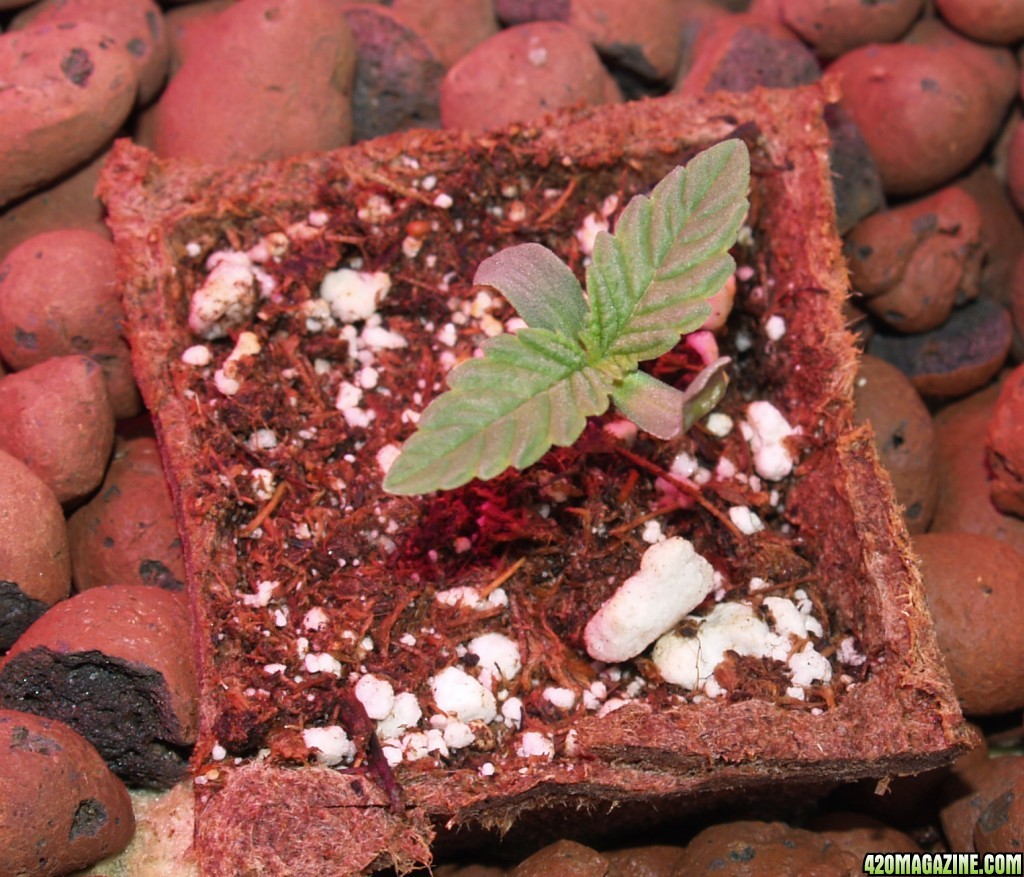
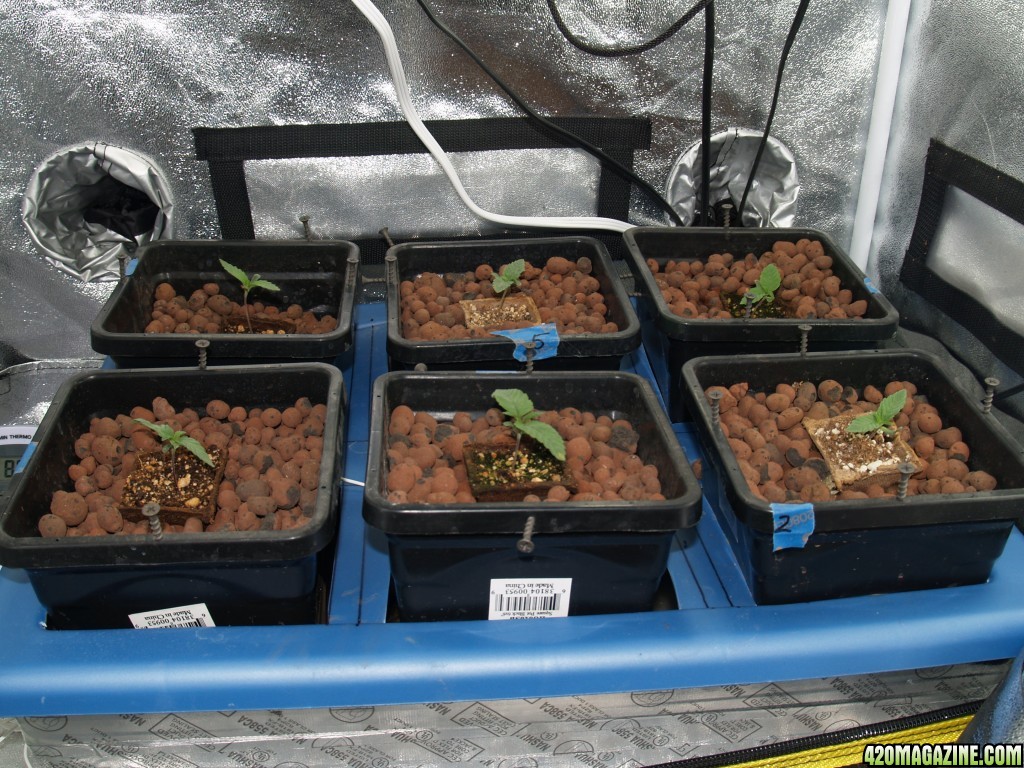
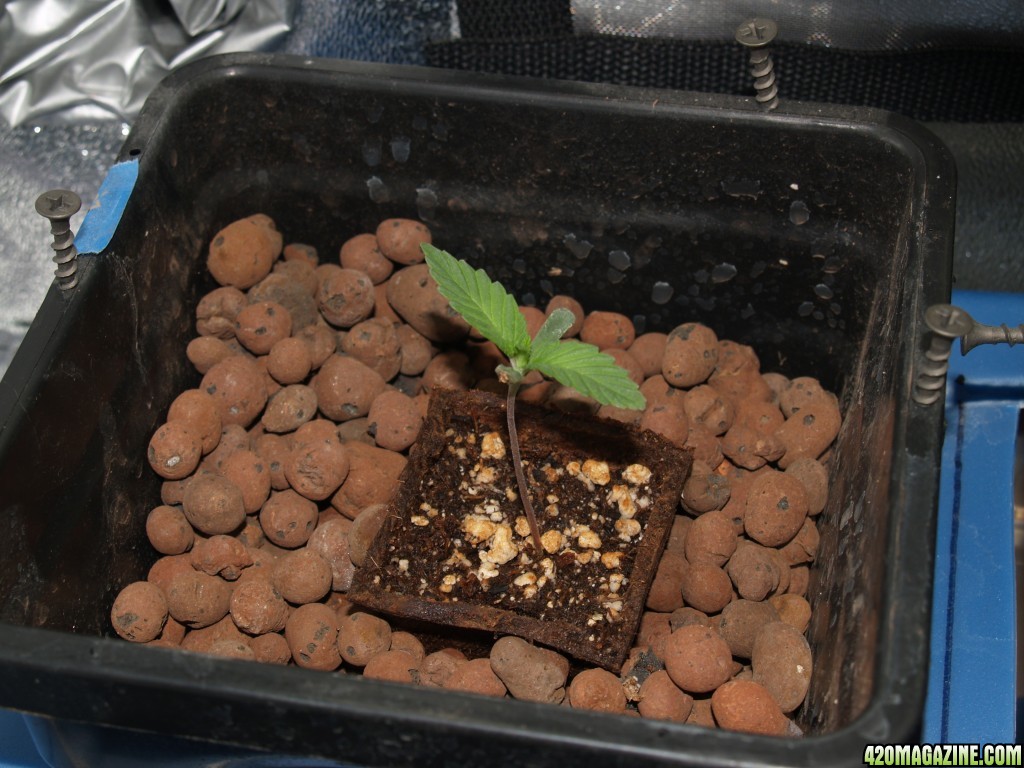
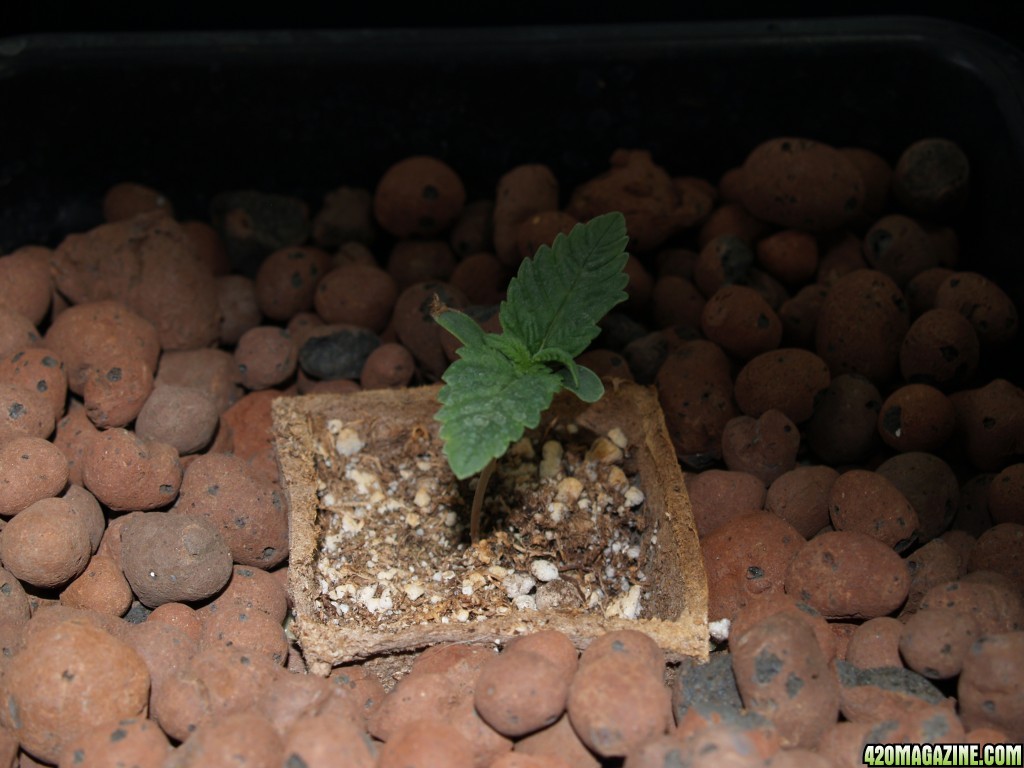
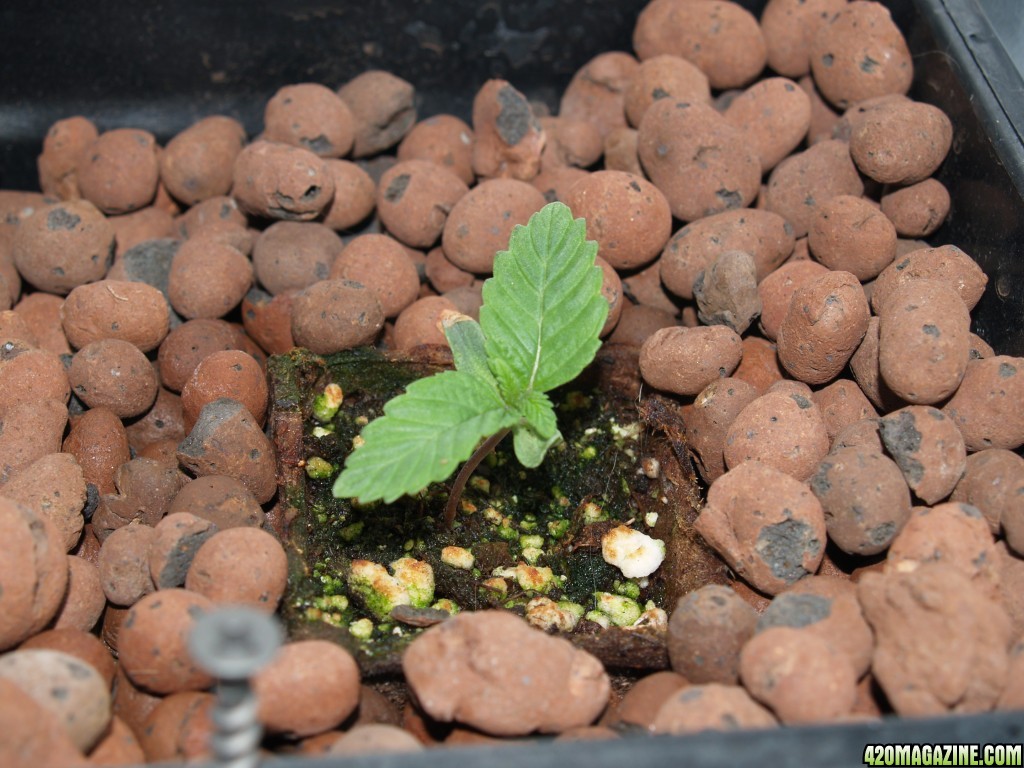
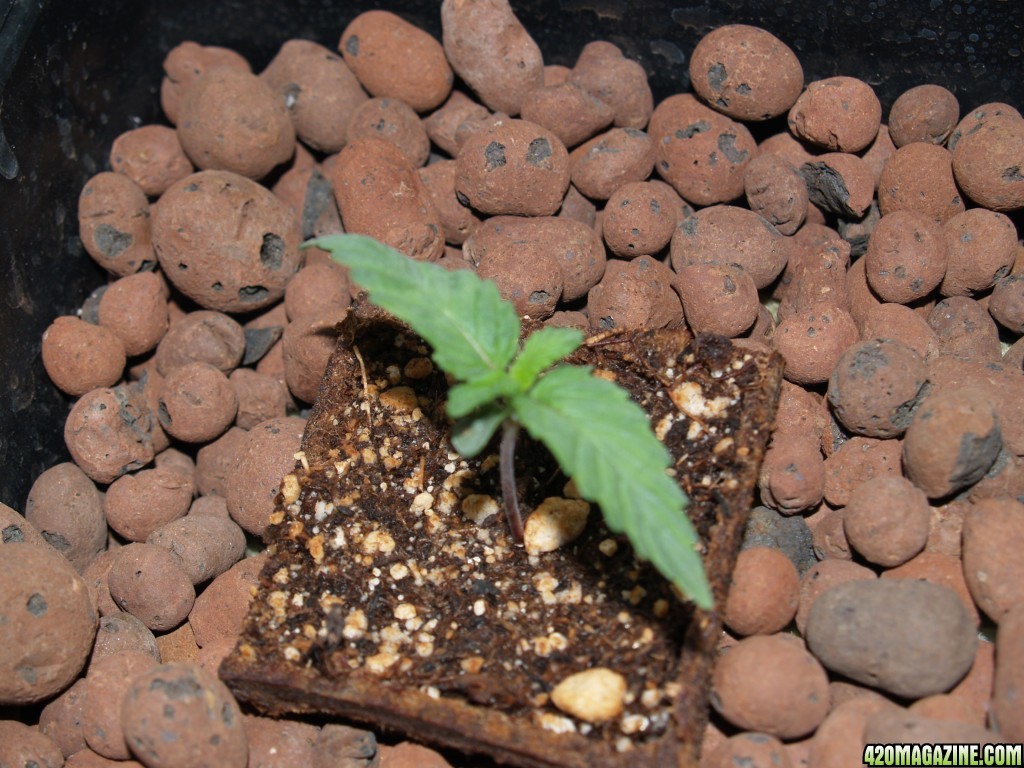
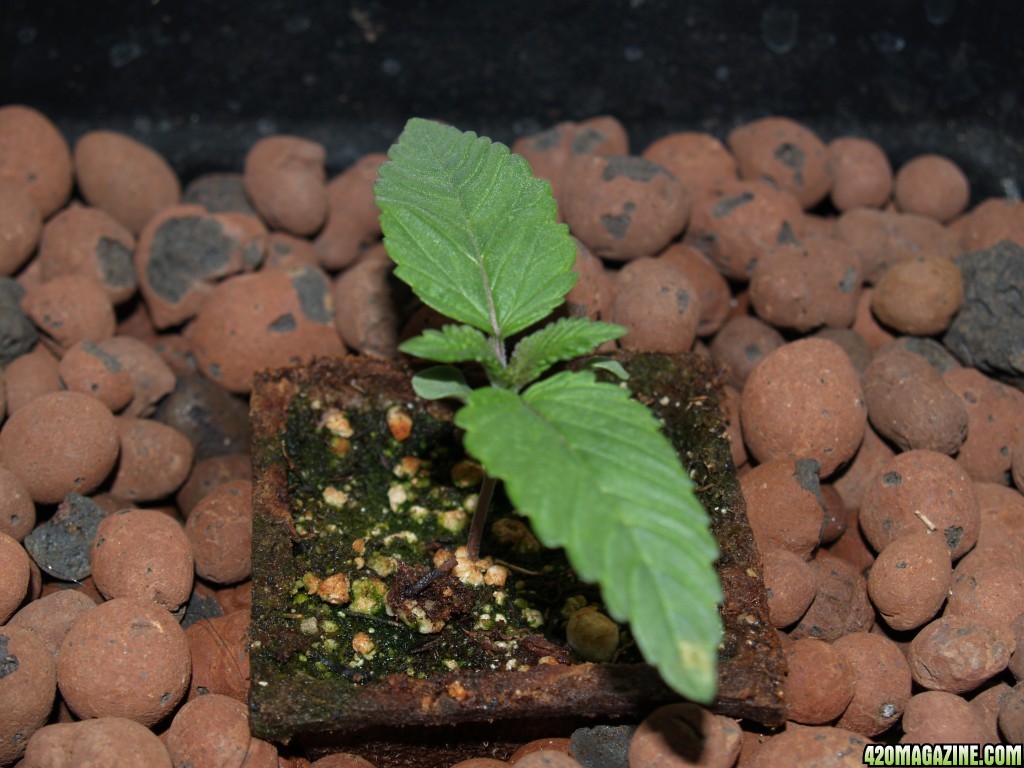
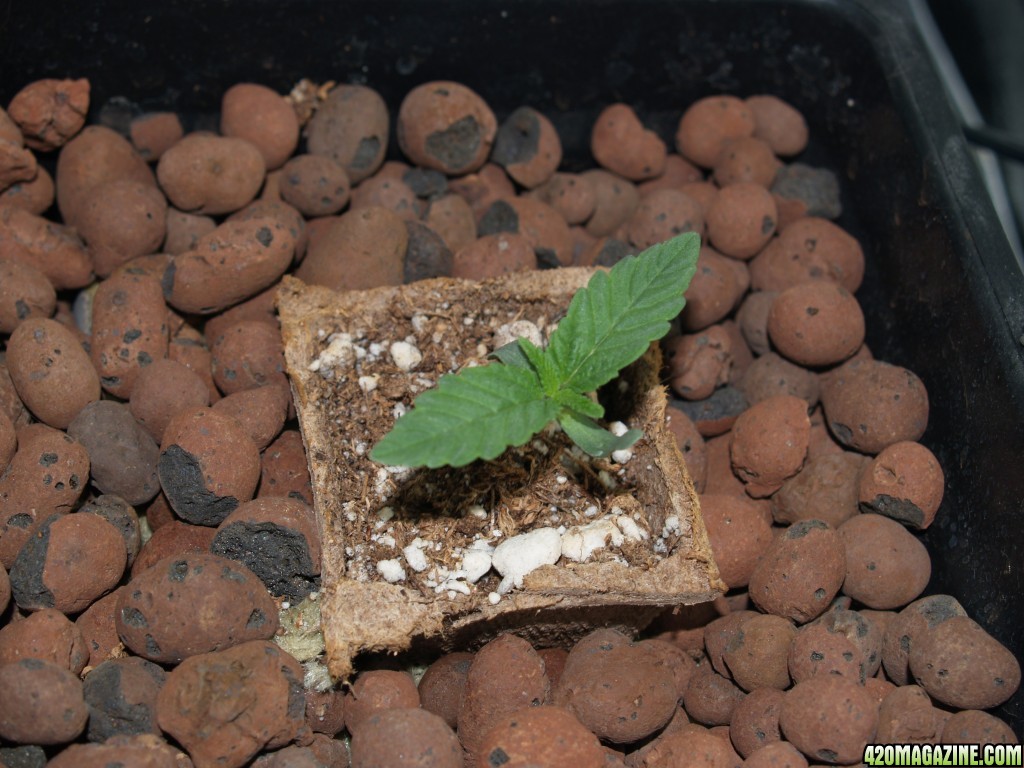
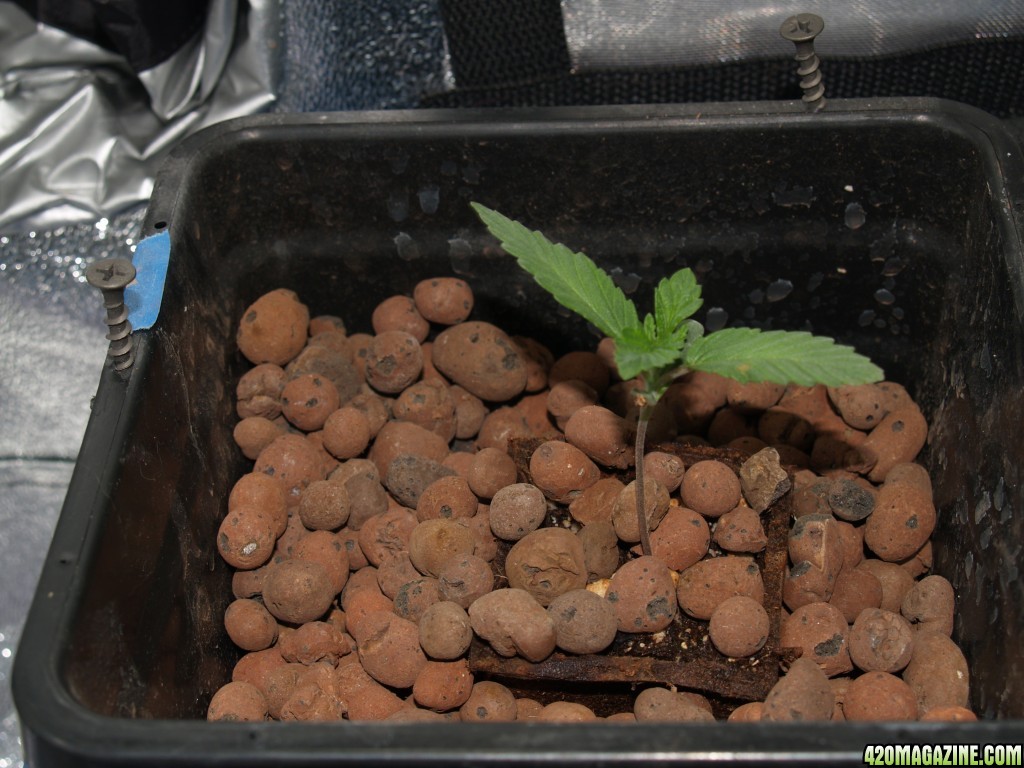
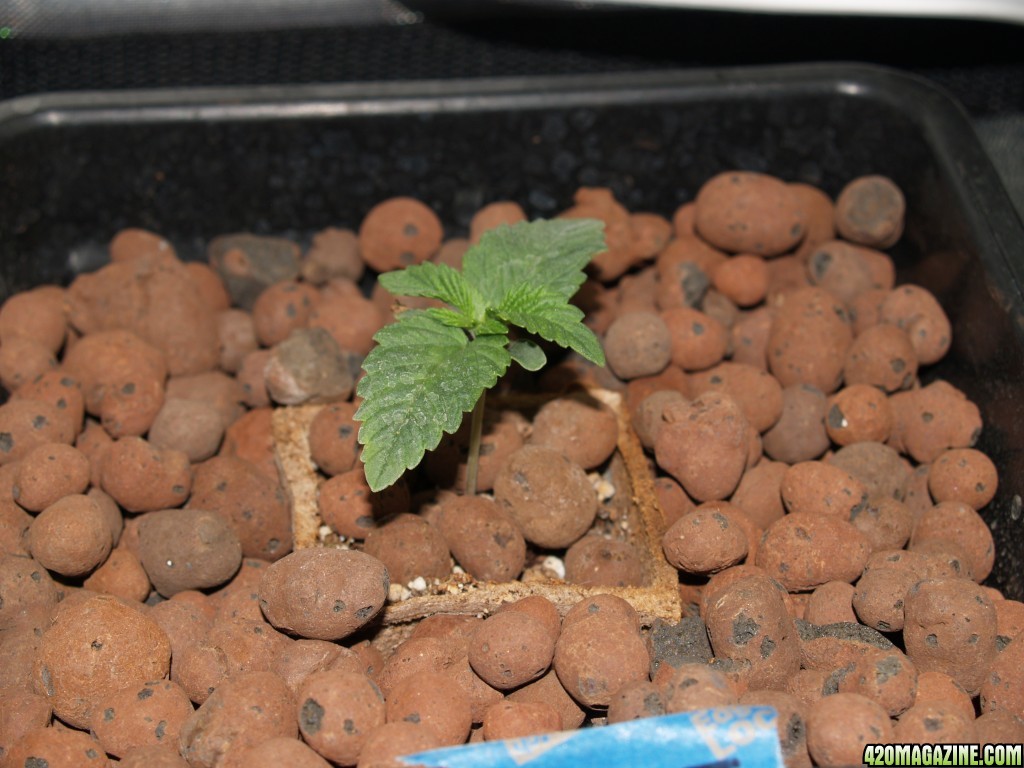
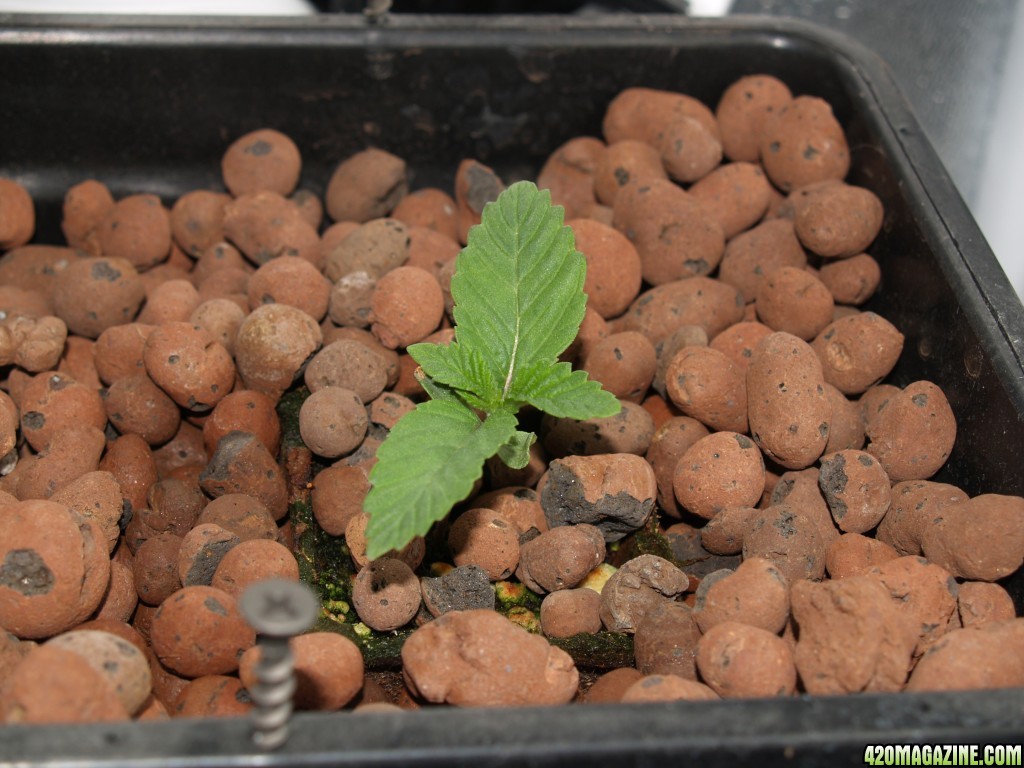
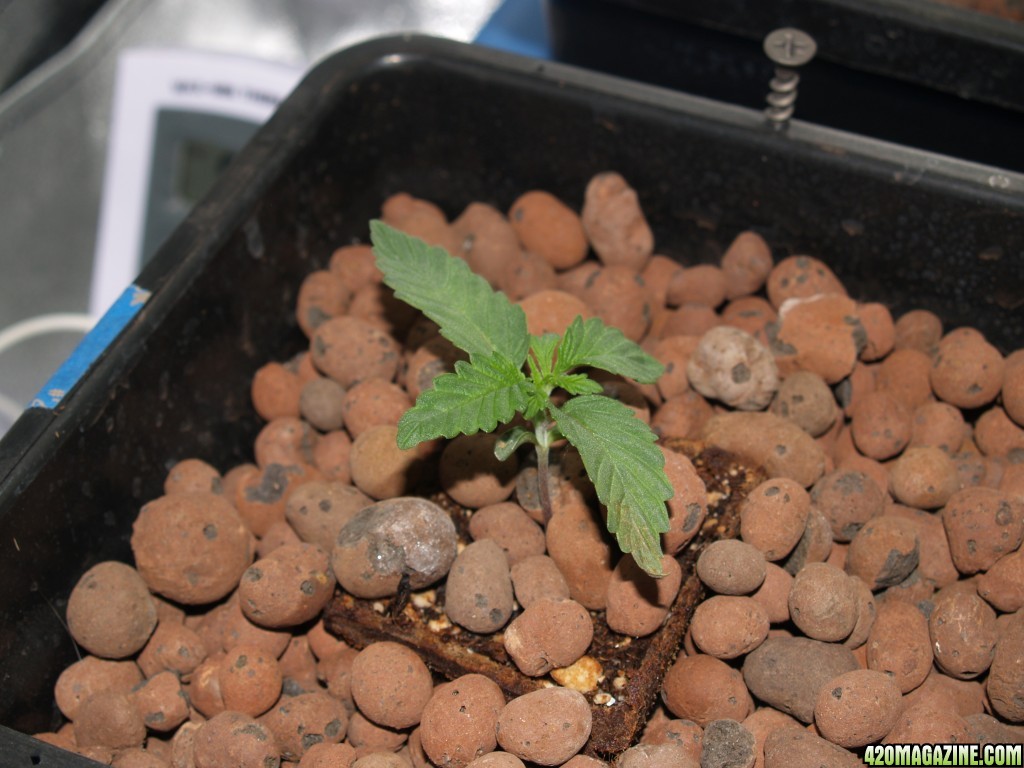
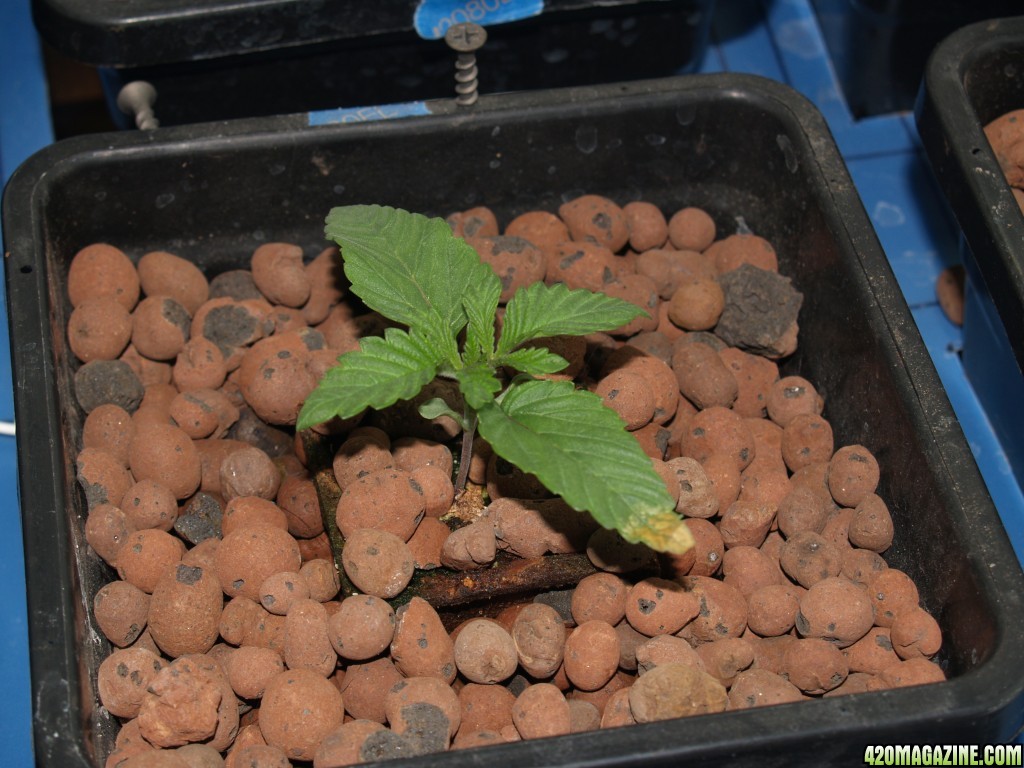
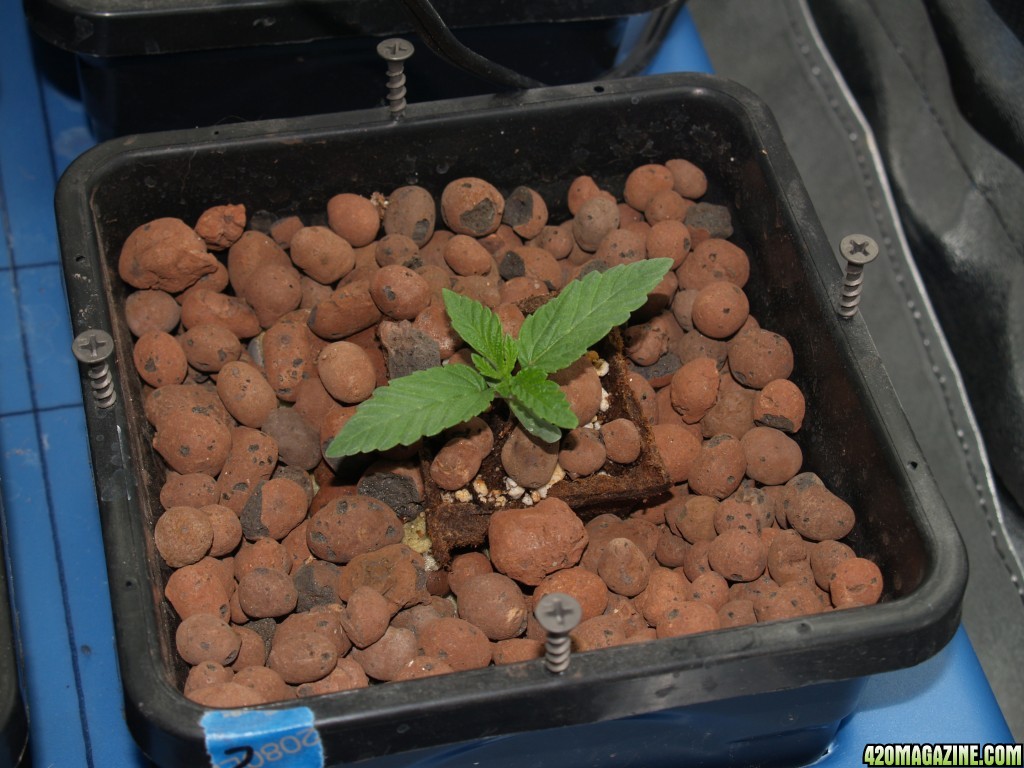
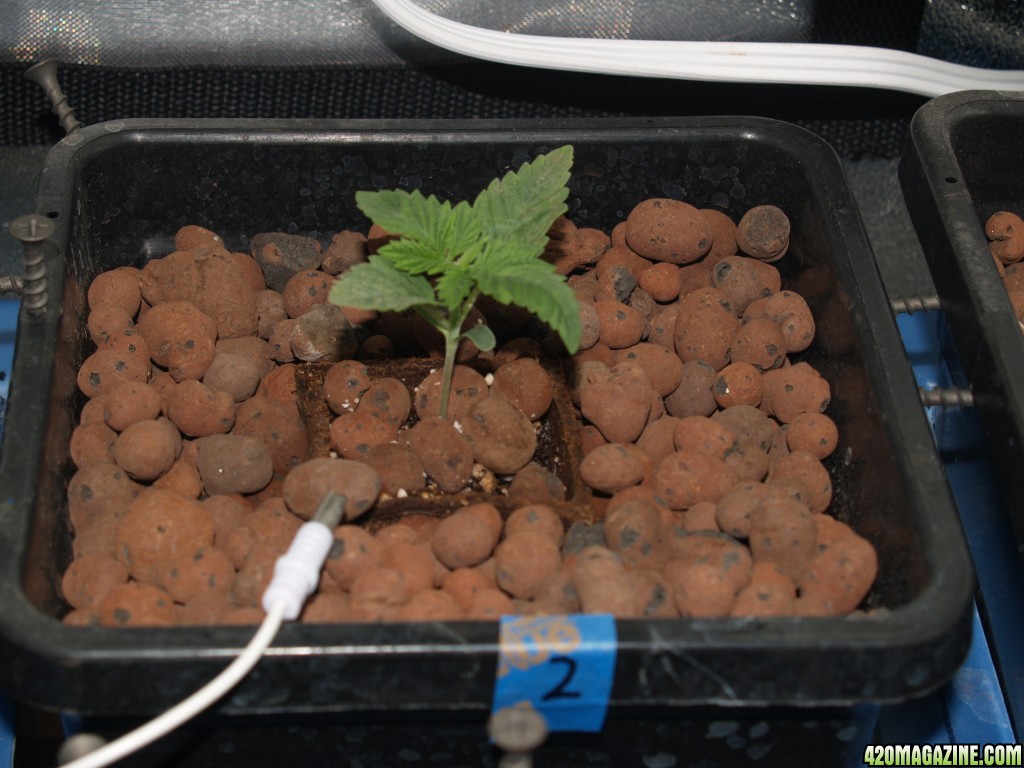
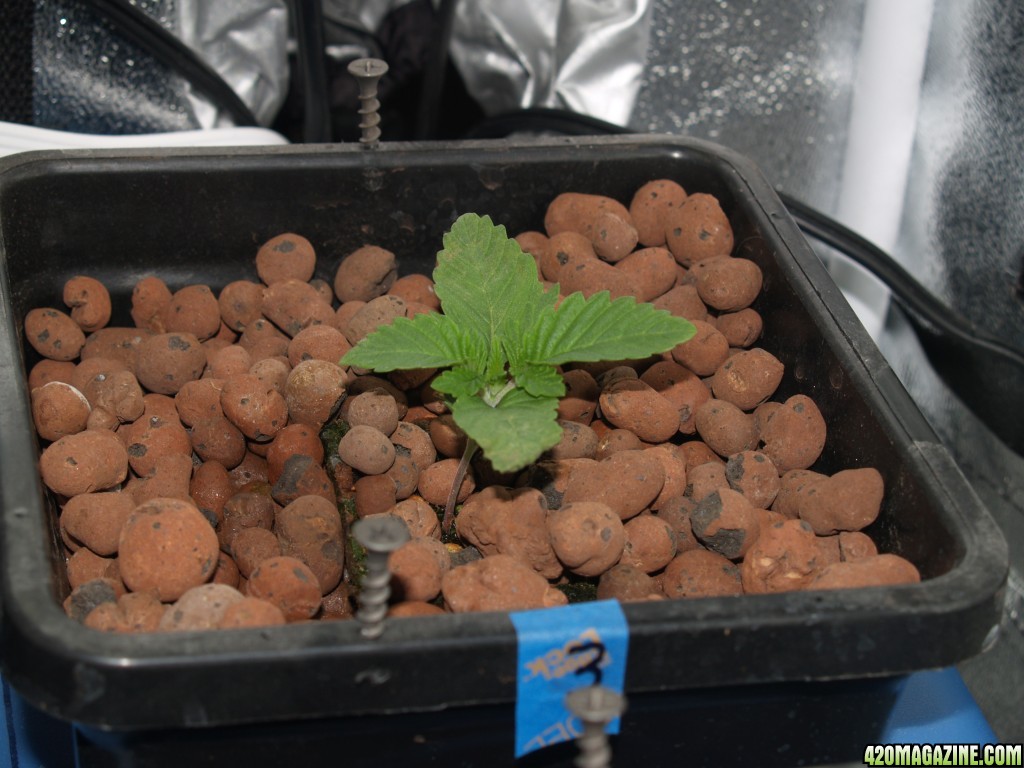
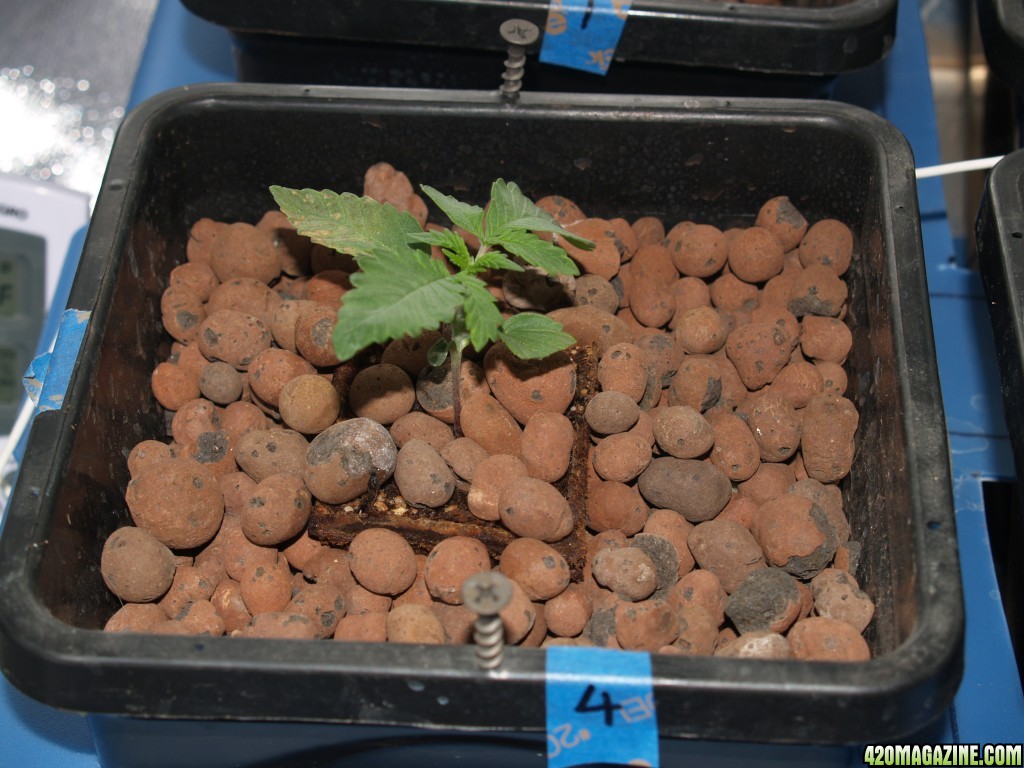
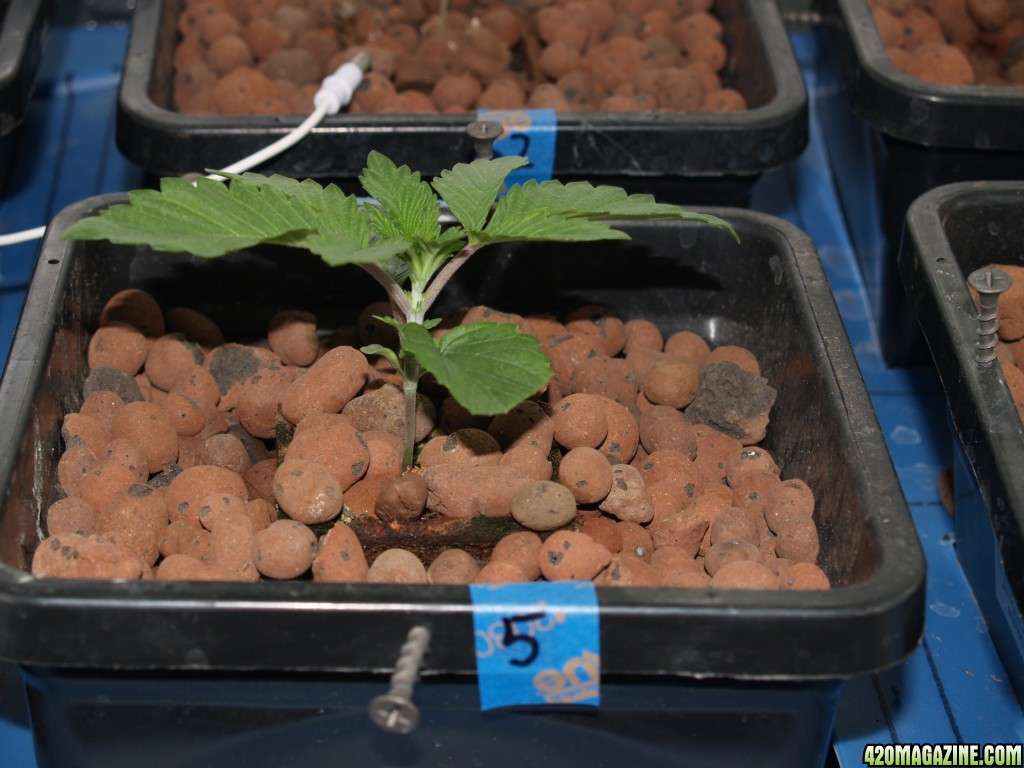
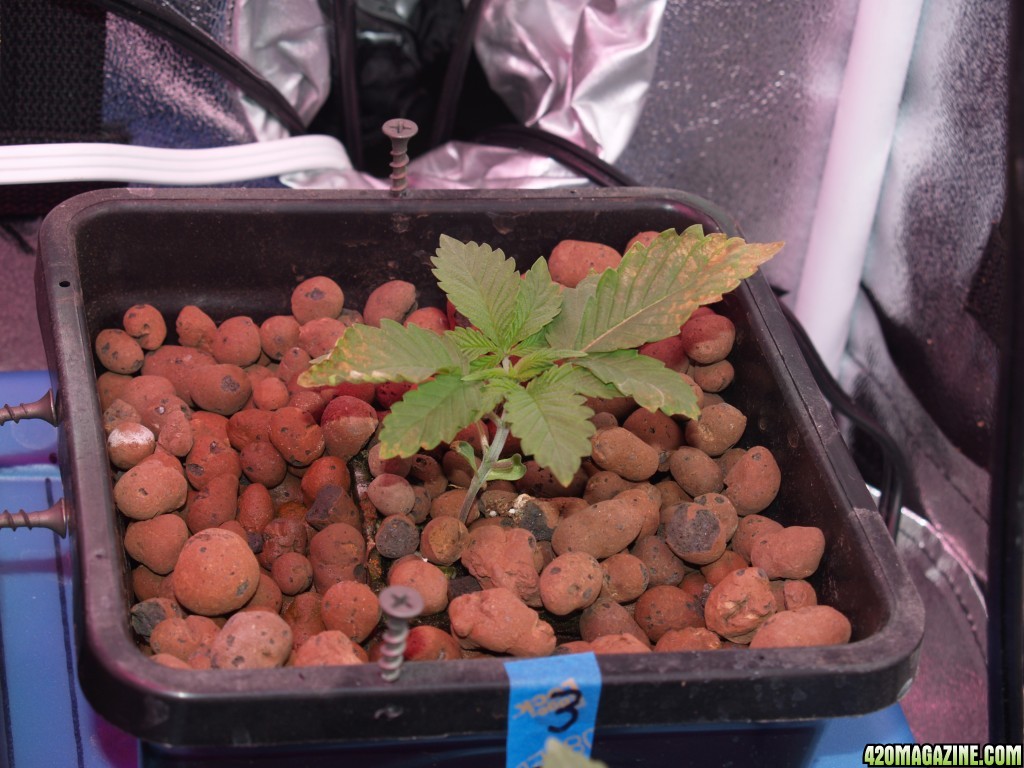
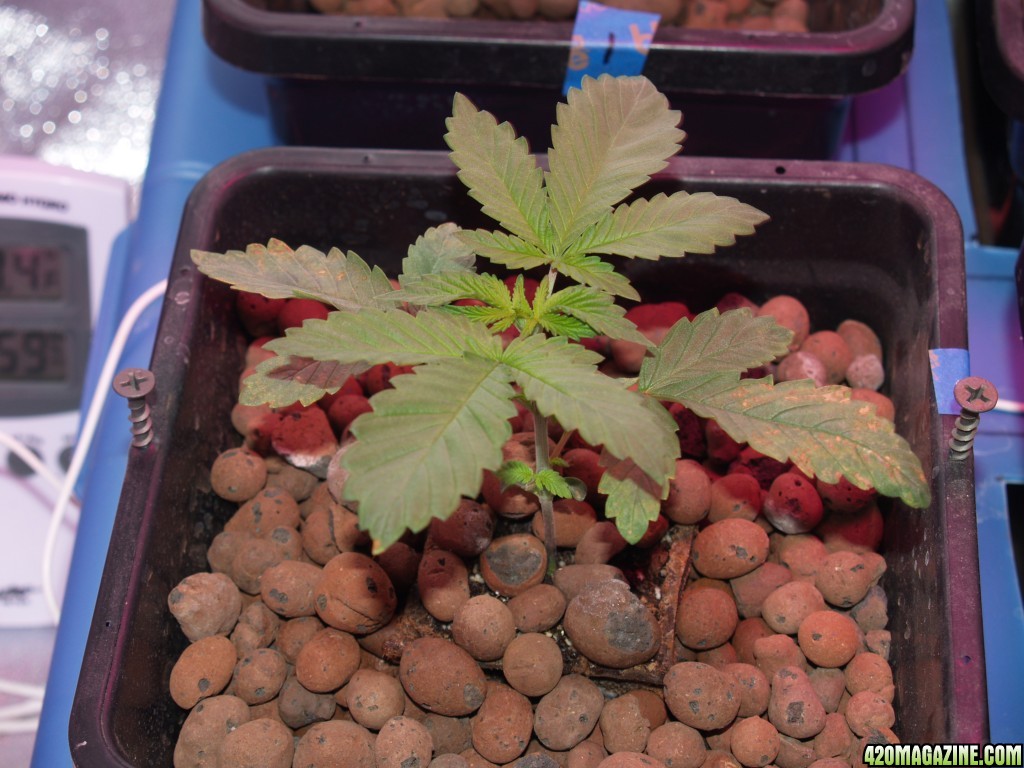
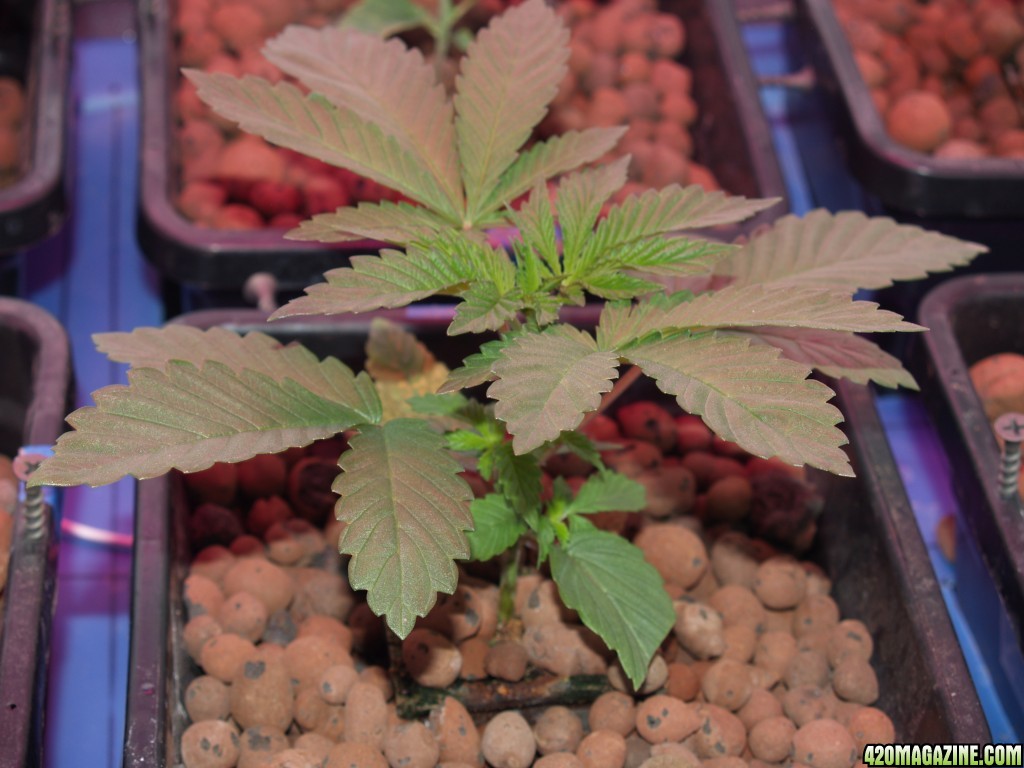
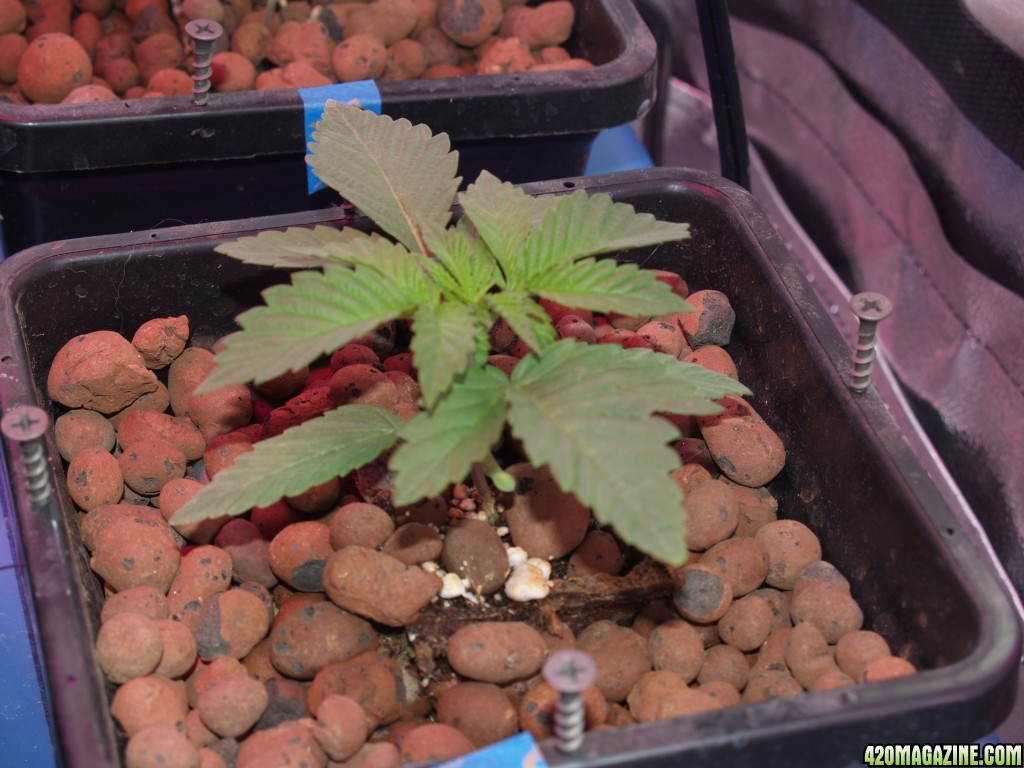
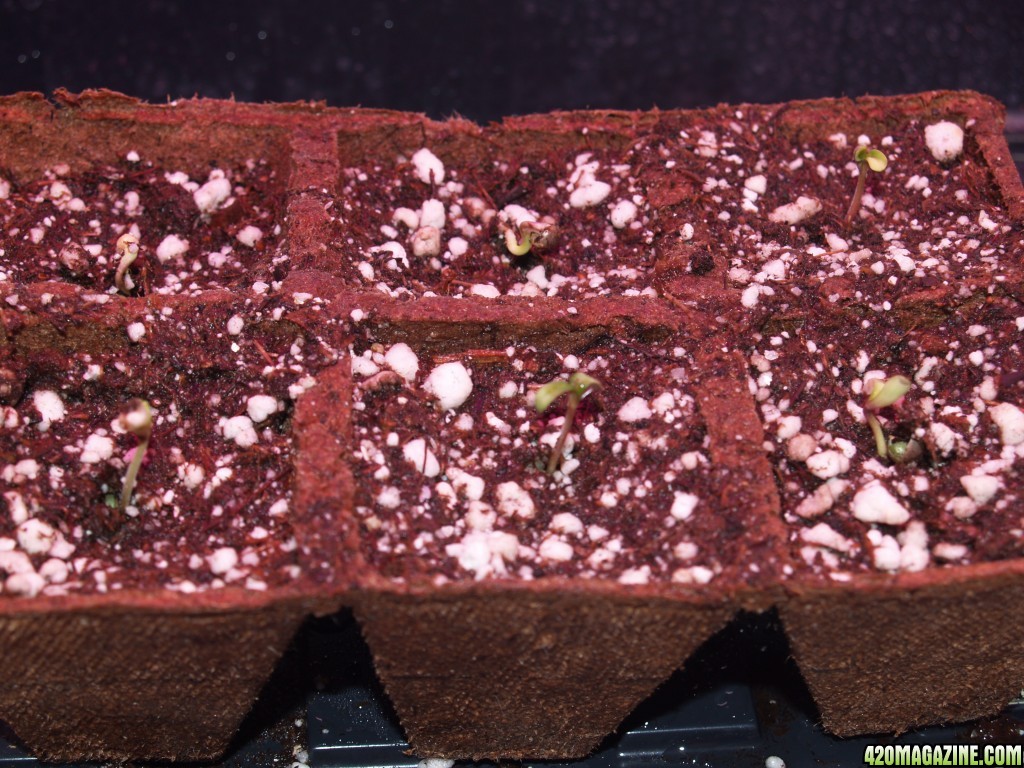
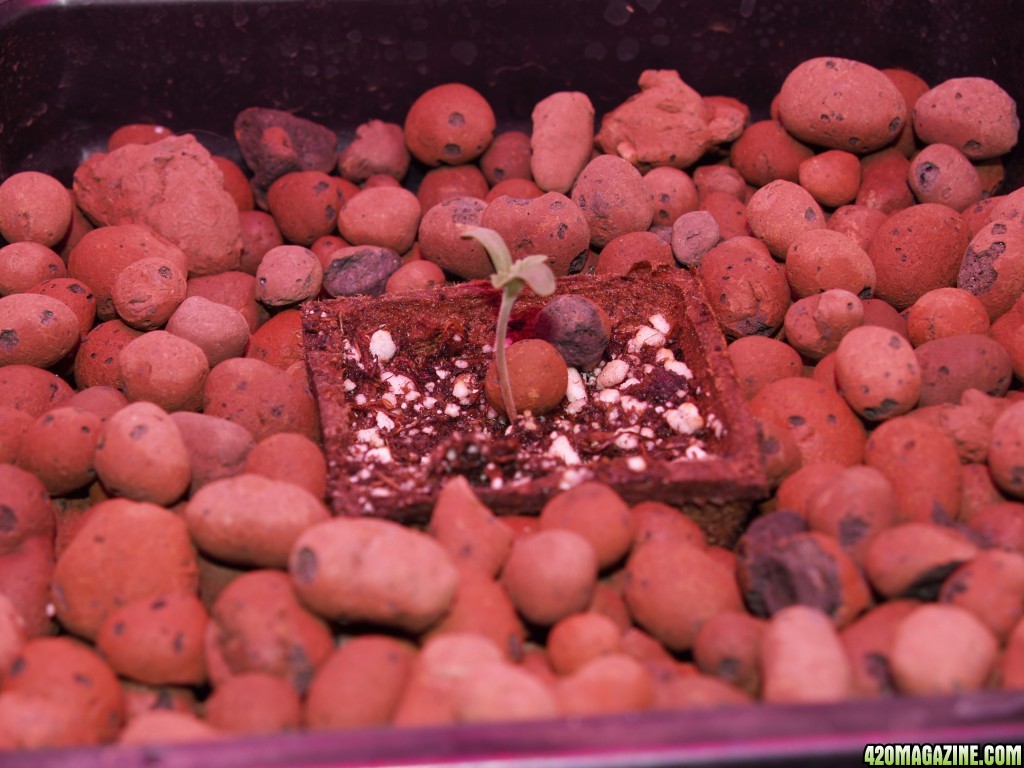
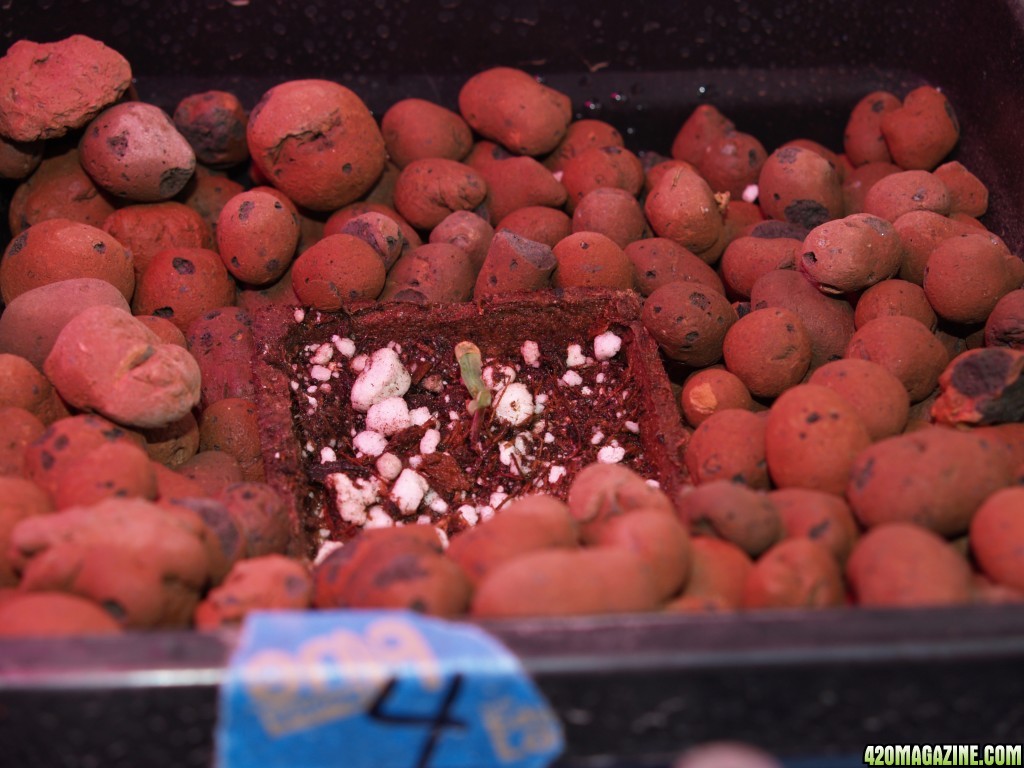
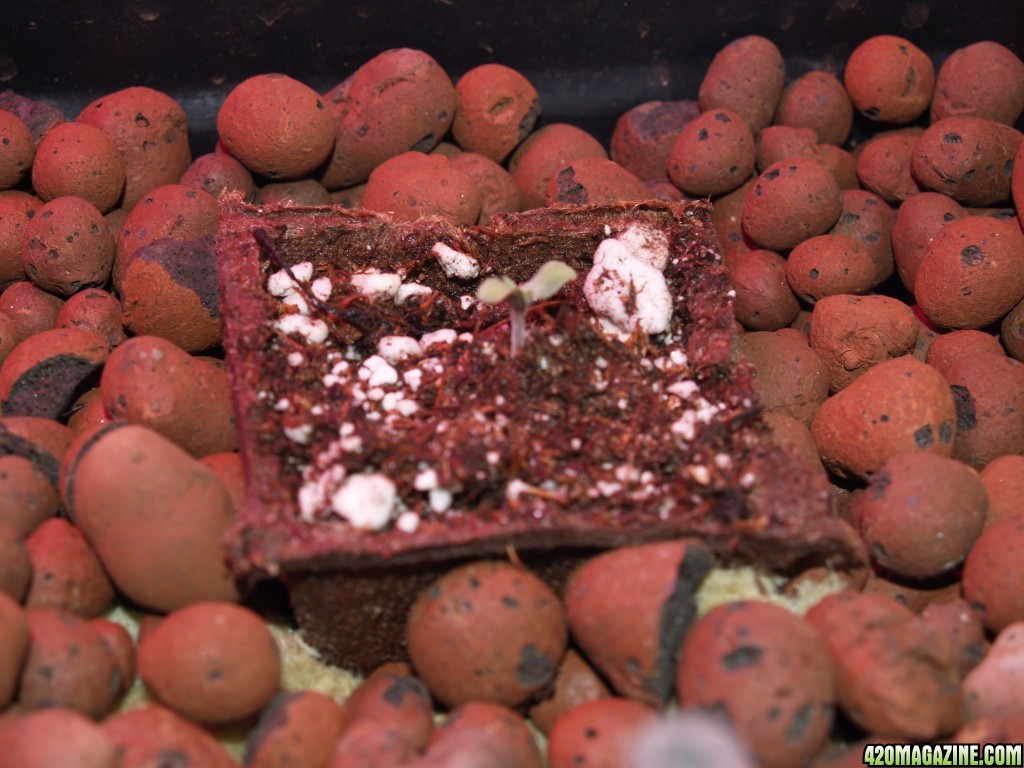
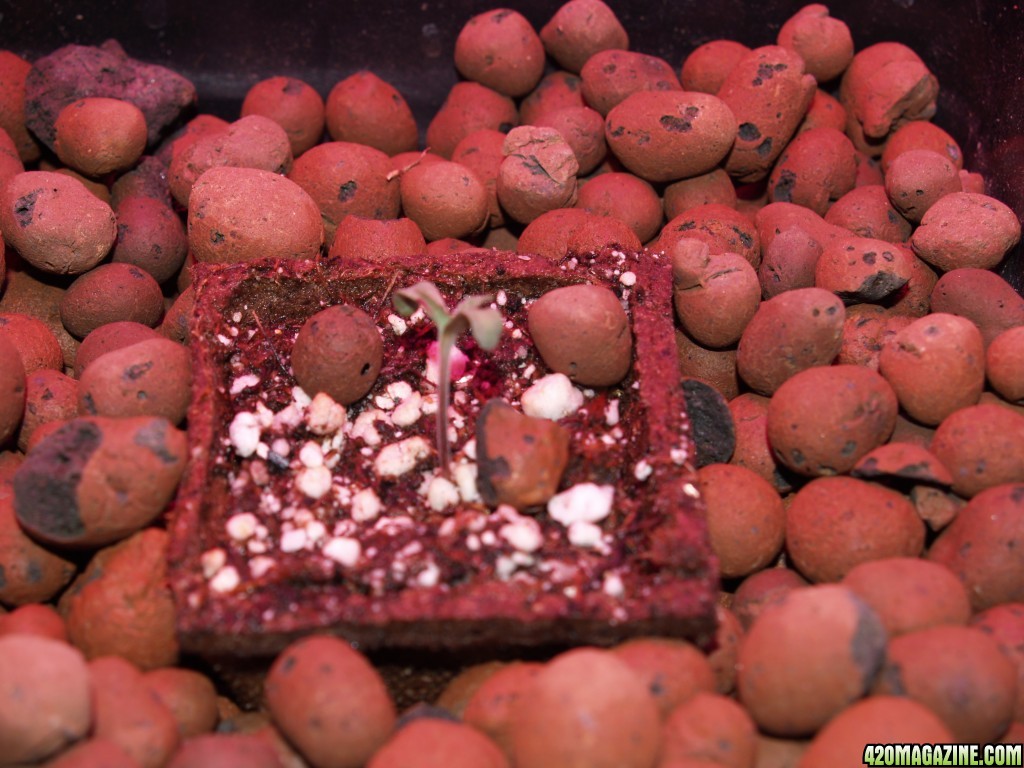
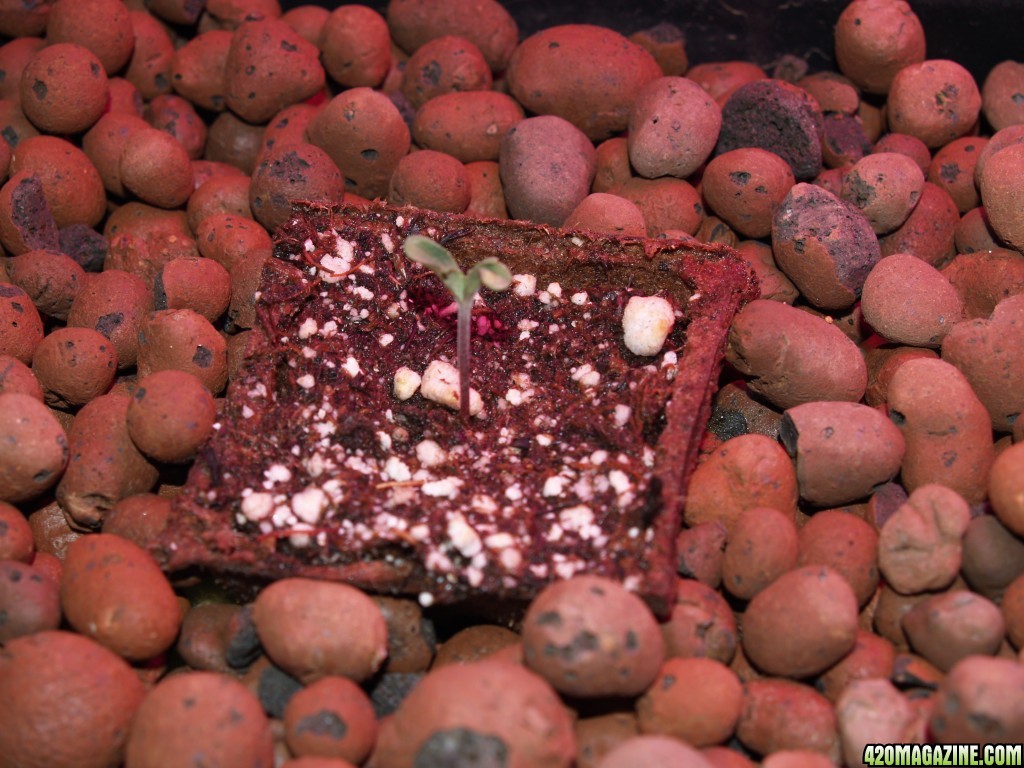
Day 1: Germinating
P1014805.JPG


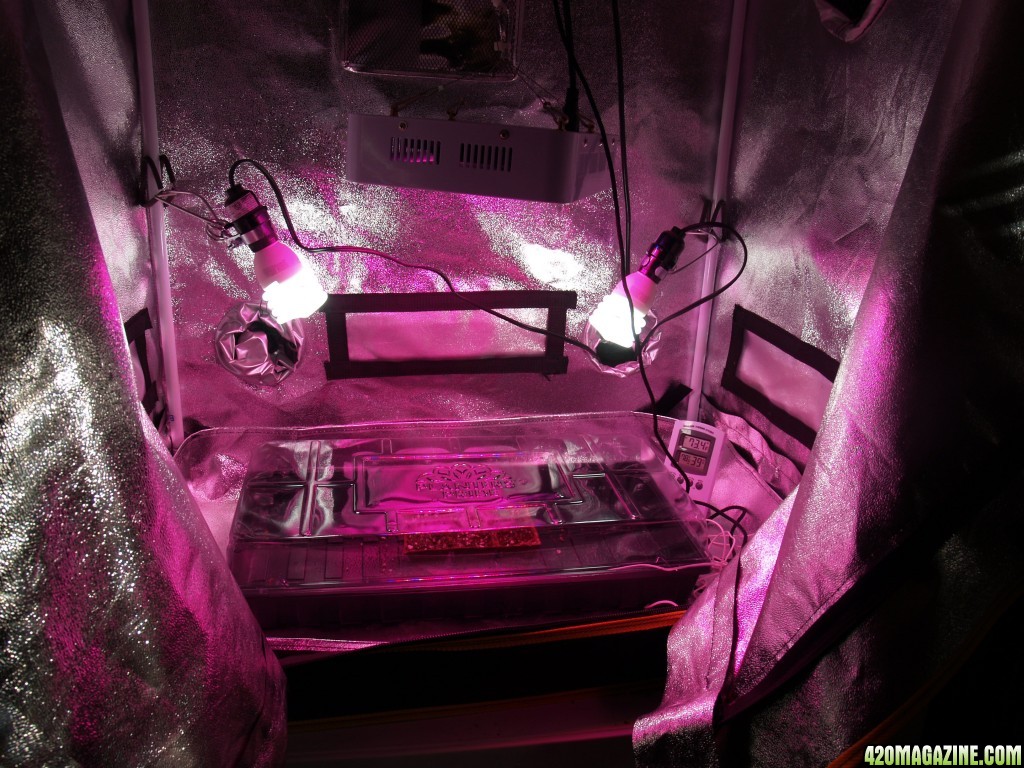
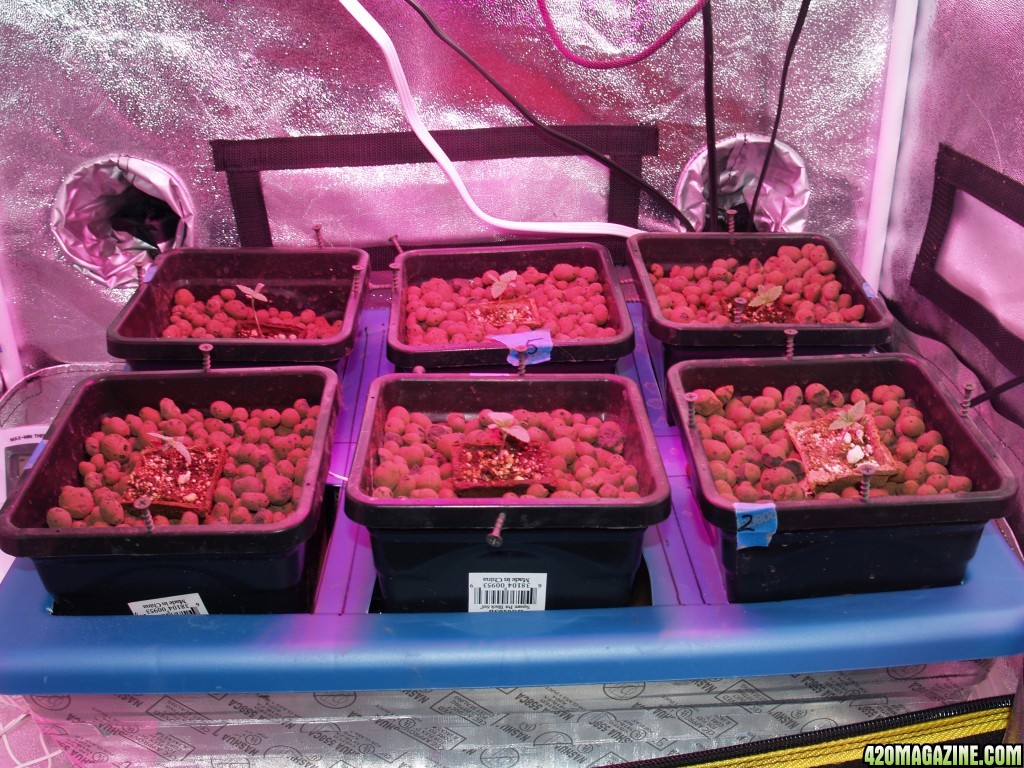
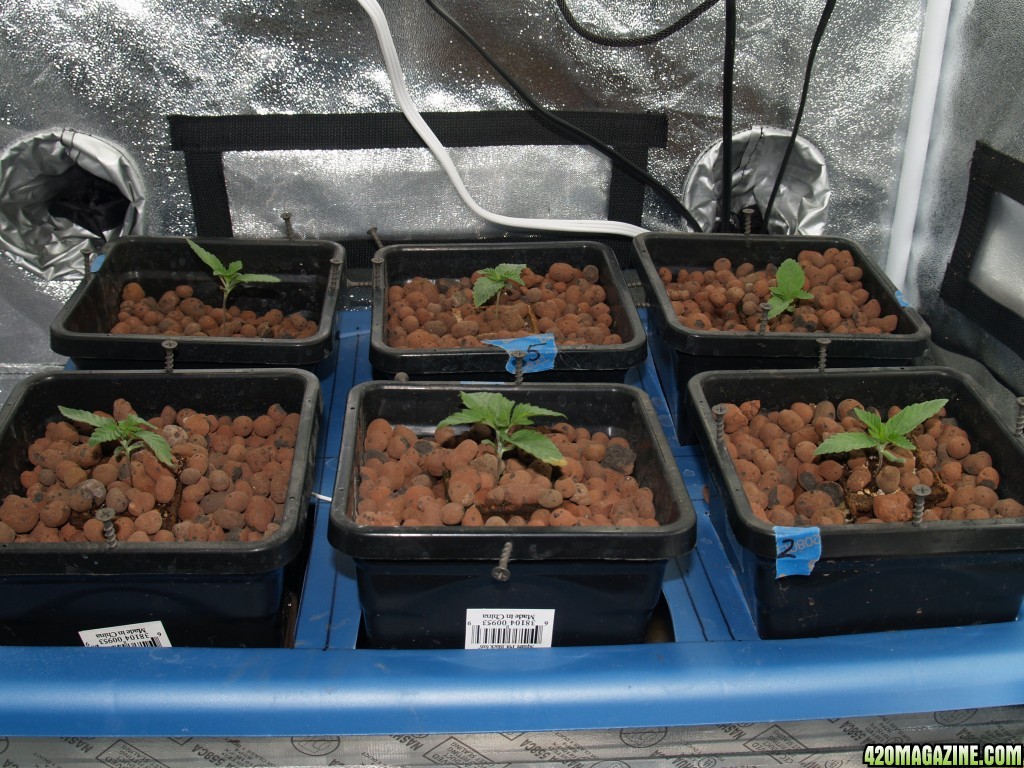
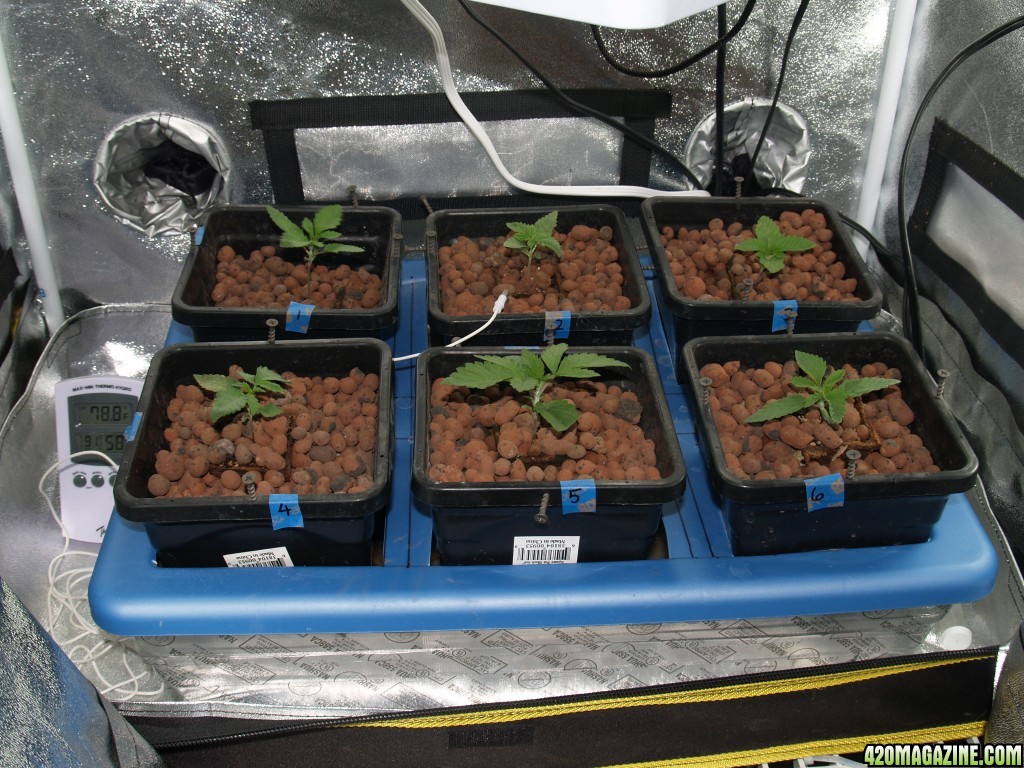
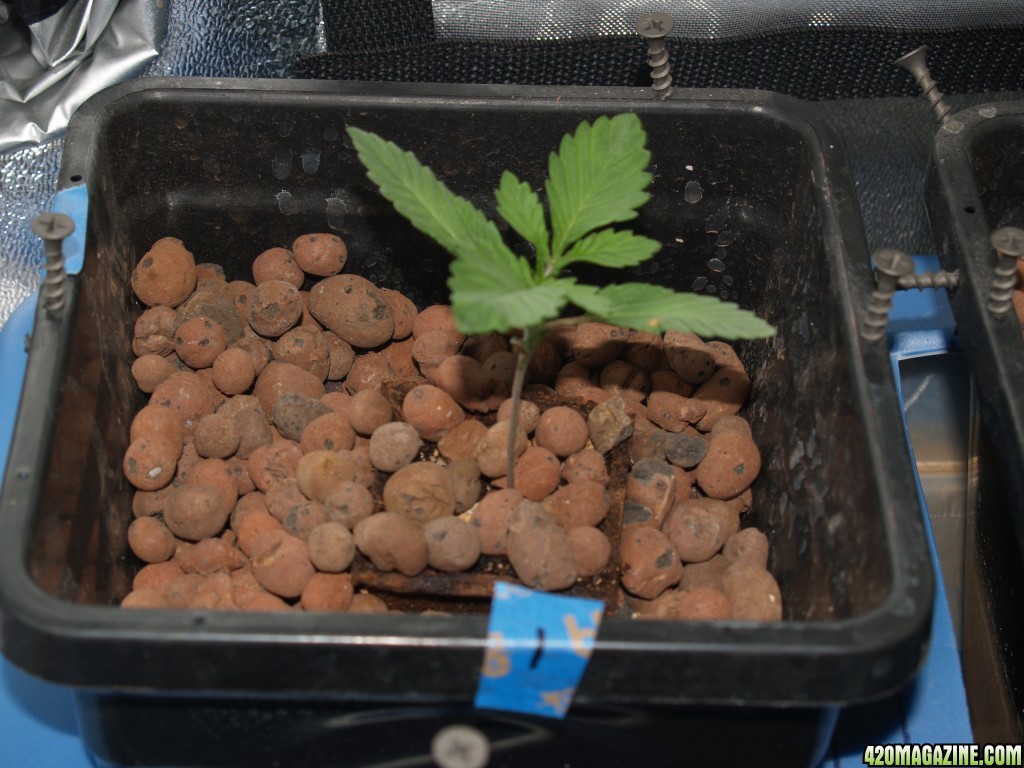
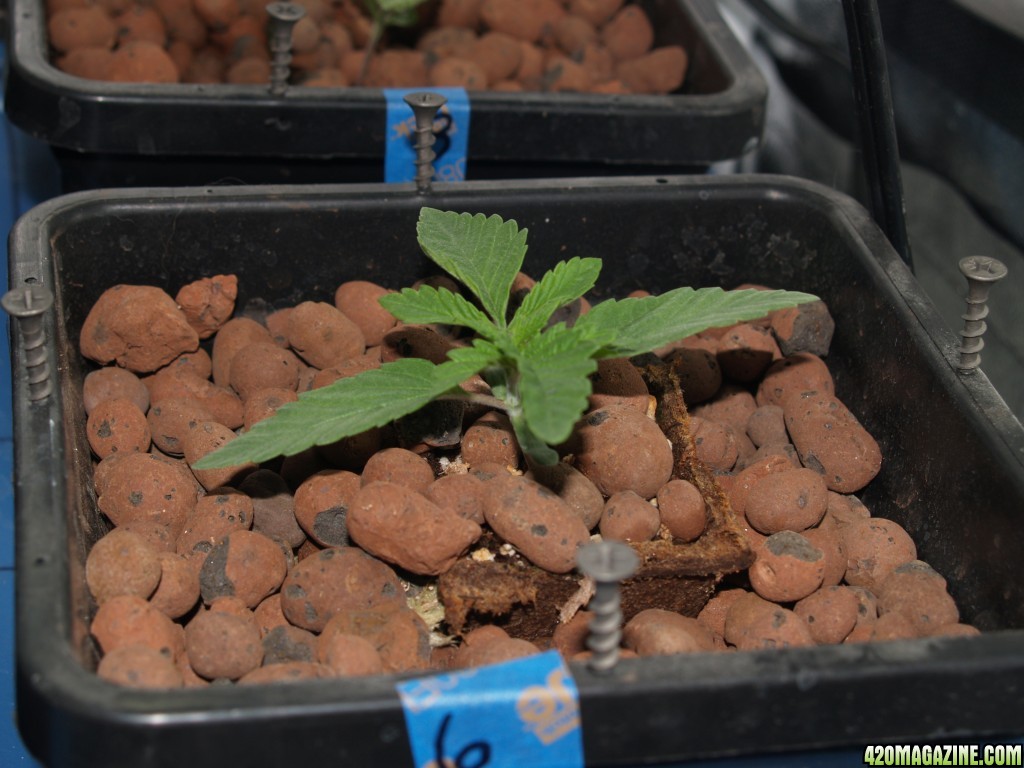
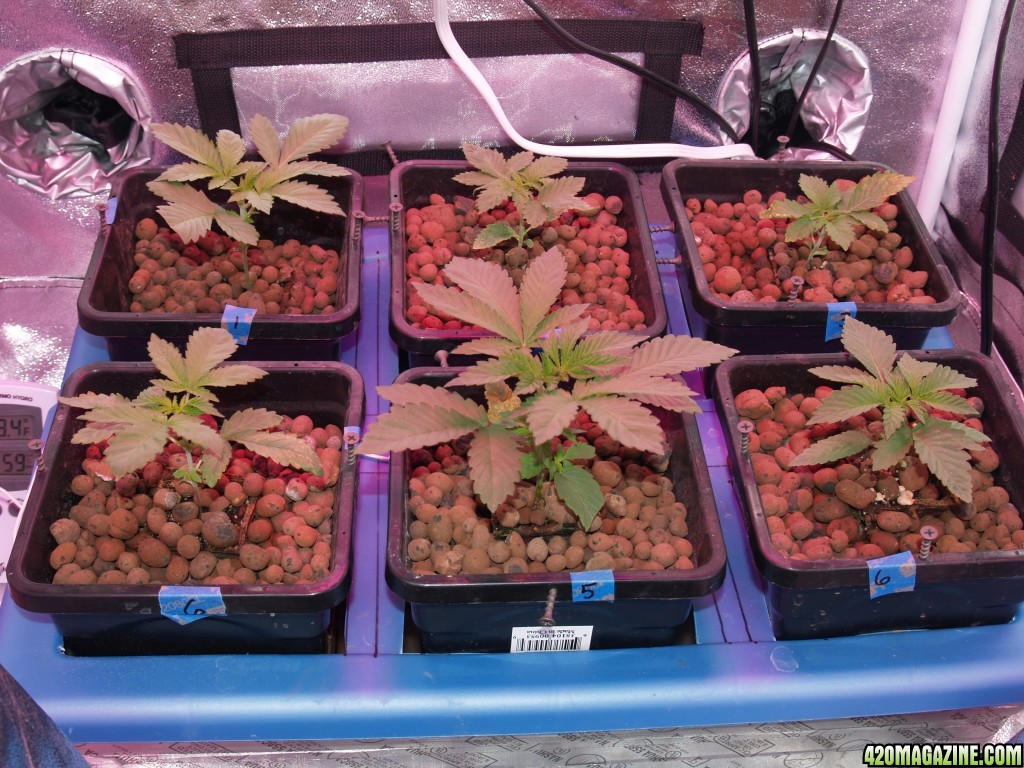
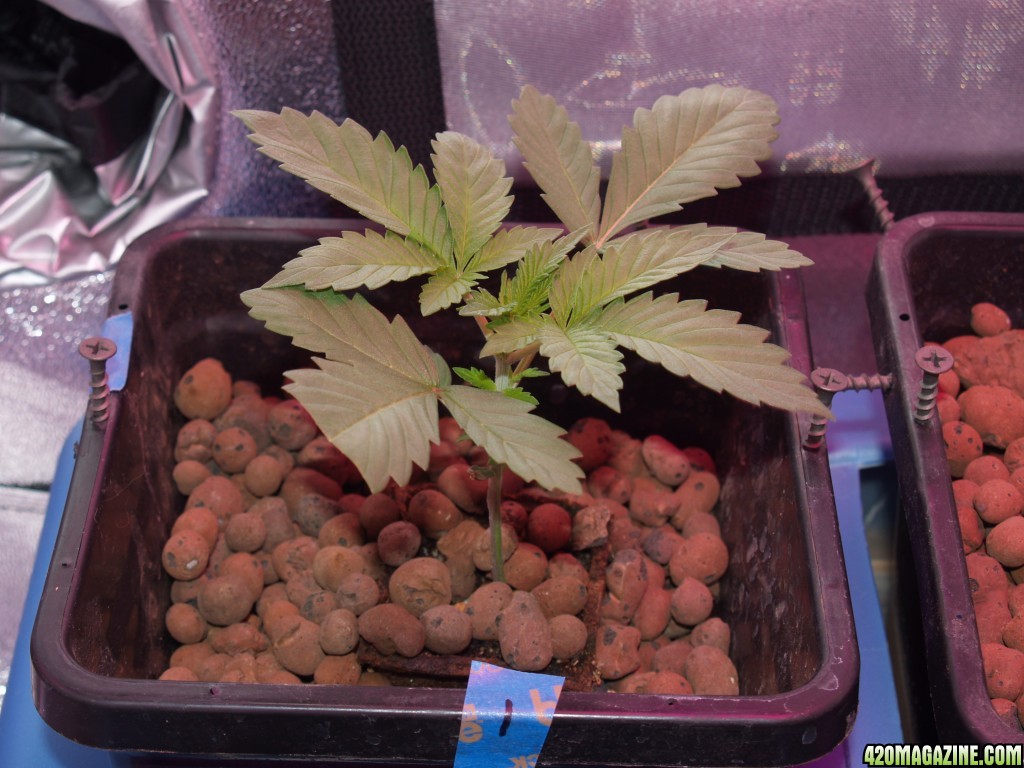
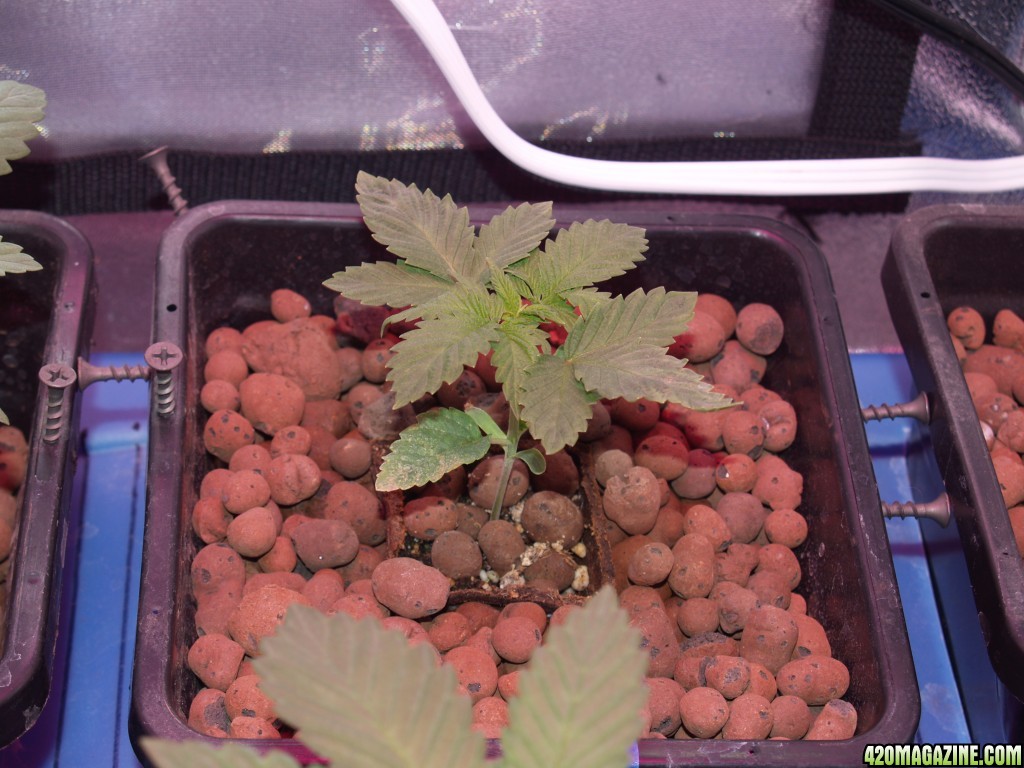
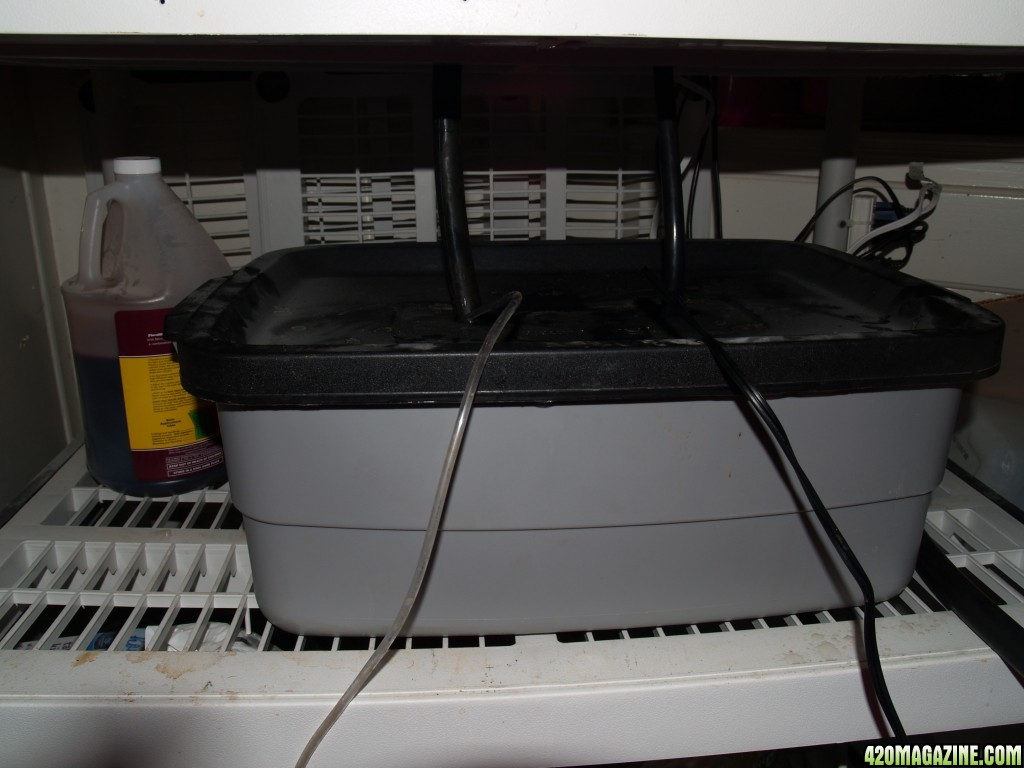
This is my small Veg tent. I have built a small DIY Ebb and Flow Hydro System that I will use to veg these plants once they have sprouted.

P1014806.JPG

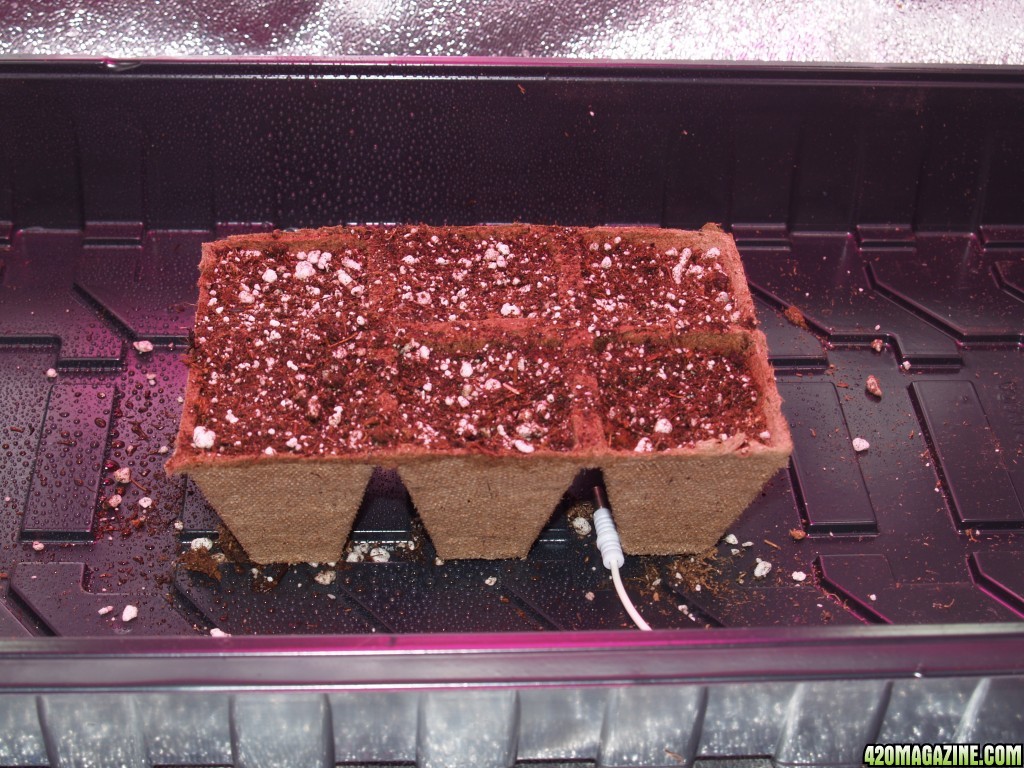
Not much to see yet hopefully these will all sprout! They are feminized so I hoping I can get away with germinating just the minimum I need for my grow of 6.
 
Day 2.5: We have Sprouts!
All six have now sprouted, keeping an eye on them because in the past this is where I had problems with seeds. Last time the sprouts started to wither in the middle of the stalk and fell over and died. I was told this could be due to a bacterial problem so I have sprayed the entire area with Serenade Anti-Bacterial spray. Also I feel it may have been caused by too much humidity as I used the humidity dome for too long. This time once they stand up I am taking the dome off. Here is their 2.5 day picture.
P1014808.JPG

I'm very happy all six have popped and I didn't need to use any extra of the expensive seeds.
 
Day 3:
Was getting impatient and worried that the little coco pots were drying out too quick, I decided to transplant them into the Veg DIY Hydro setup to keep them moist and fed.

P1014817.JPG


Transplant method:
I first filled the bottom of the pot with hydro pellets to about 1/4 full. Then I took three 4" Rockwool cubes and cut them in half. Hollowed out the holes so the coco pots would fit in them snuggly with a little of the pot still sticking up out of the cube. Placed them inside the pot on top of the pellets, and then filled in around the rockwool and coco pot so that the rockwool was completely covered. This is important, rockwool exposed to light can develop algae. The rockwool will transfer and hold moisture for the coco pots and have a nice moist place for the roots to start. When these are about 12" to 16" tall I will transfer them to my main tent and light for flowering. I have limited vertical space so I need to keep them short, plus using some training.

Close up of the Seedlings:
P1014818.JPG

P1014819.JPG

P1014820.JPG

P1014821.JPG

P1014822.JPG

P1014823.JPG


The Res.
P1014824.JPG


My DIY System cost less than $50 and it works great. If anyone is interested I'll make a quick post on it.

Some info on the process:
The Res is a 10 Gal Tub filled with 6 gal of nutrient. I generally use GH 3 part Nutrients as I don't grow enough to experiment, I go with the tried and trued stuff I know. I use their general guidelines using this chart: Feedcharts

This time around I am using per Gal. 2ml Micro, 1 ml Bloom, 1 ml Grow and 1.5 ml Flora +. PH set to 6.
Feeding in 8 hour intervals for 15min.
 
Project Day 5: Sprouts are doing nicely, they have grown a little in height but the new leaves have come in nicely and it might be my imagination but look a little frosty already. Here they are on day 5 since putting the seed into the ground.

Group Shot:
P1014841.JPG

Individual Close ups:
P1014855_edited.jpg
P1014854_edited.jpg
P1014853_edited.jpg
P1014852_edited.jpg
P1014850_edited.jpg


I am very happy with the germination and the sprouts so far. They are looking strong and the stalks are firm and a nice color. I used a method recommended on :420:. I used Foxfarms Light Warrior Seedling Starter Soil and water in peat cups. I do it this way to make the transplanting easier into this setup. There will be one more transplant when they get moved to my main Hydro System and Tent for Flowering and it will be just a matter of plucking these out of the pots and using the Hydroton in this step will make that easy.

I'm trying something new this year with it also. I purchased my Hydro System it is a Multi-Flow 6 pot Ebb & Flow System. It has worked flawlessly in my first two grows, but now I am going to covert it from a bottom fill and hold to a top fill and hold. I think I can get the best of both worlds, top fill to help flush salts down to the bottom and a set time for the roots to be completely immersed in nutrient. I believe that the immersion is important to ensure that all the roots are fed equally and its more consistent feeding allows for all the plants to react the same amount of nutrients. IMHO only. I will take some pictures when I get to that stage.
 
Yes, they'll have trichomes but it's like soft puppy fur to start with and the sticky heads develop as it flowers.

Hope some others will chime in soon...us hydro growers have to stick together as we seem to be low in numbers round here :)
I am looking for real frosty buds in this grow which is why I picked this strain, that and its advertised THC level.

Hydro grows take extra effort to do right, with constant monitoring of the process. Then there's the changing of the Res each week which can be a PIA. But I feel Hydro gives you the best yield. I primarily just grow for myself a small group (4 or 5) friends and a single crop can keep us all happy for a year.

I'm pretty confident in my ability to grow, primarily thanks to the folks here at :420:. I was quite active a couple of years ago and learned a lot. Just started a new grow and I like documenting it here, and all the folks here are very nice and helpful. I'm retired so I have lots of time, so I will probably do a post a day on the progress, which should help the new Hydro growers with some info. I am not professing to be an expert or anything, just a competent grower.

If you want to discuss hydro growing techniques here, or have questions, please post here, as I said I'm retired and have lots of time and its one of the things I enjoy discussing and it could be helpful to others.
 
I am very much looking forward to watching this grow!
I've been very curious about this strain so if it turns out the way it says it's supposed to I'll be getting some of those seeds to lol! :goodjob::thanks:
 
Good stuff. Can't wait until I'm retired too as trying to monitor a hydro grow when working varied shifts was a headache when it got to 12/12 so that's one of the reasons I'm running autos just now.

Do you do much training on your plants or do you manage to avoid fiddling even with all that time on your hands? :)

Retired is nice, but more money would be nice also. The plants are a nice diversion, they are close so I can check them frequently. The seedlings are fed three times a day so I check the PH before each feeding. With a small res PH changes can happen with each feeding so you have to be on top of it. Once they go to bloom twice a day has worked for me but still you need to watch the PH. I'm also keeping a close eye on the temp. I growing at this time of year, hoping it will help control my power usage. Summer grows for me require me to run an AC all the time and its too expensive. I hoping for end of March Harvest maybe sooner as I am going to try to go to flower a little earlier than I have done in the past to control height. My last two grows turned into a 4x4 Jungle and it was hard to work on it as I have little space in my Grow Room.

Yes I do bend them over (supercrop) to expose more bud sites for growth. And I will FIM them also.
 
Day 6 Update

Six days from pushing the seeds under the dirt to now and things are proceeding to plan. Most of the seedlings now have a second set of leaves developing.

I did have one scare, which I was able to correct. Seedling number 1 was not getting enough nutrient and had fallen over. I had checked them just before entering night cycle and they were fine. I checked again 6 hours later when the lights came back on and #1 had fallen over. I had been eyeing that one for a while and I should have just plucked it and replanted it to make sure it was getting fed because I could tell it was drying out faster than the others. But its a fine line at this stage between root development and feeding. Too much feeding and the plant won't extend its roots as much. This is the benefit of constant monitoring, I was able to save my expensive little seedling. I did not take pictures of this because I was in emergency mode to fix the problem. I believe when you have a problem you fix it now, not in a minute, but now. Anyway, I plucked the pot out of the hydro, plucked the little coco pot out of it. I was happy to see some small white roots (1/4" long) coming out of the bottom of the coco pot. I removed some of the hydroton from the bottom of the pot to lower the rockwool plug, I replace the little seedling into the rockwool and surround it with the hydroton. I did a quick fill to make sure everything is working and back to normal.

So here are the day 6 photos:
Overview
P1014856.JPG


Individual close ups:
P1_edited.jpg

Plant 1 is sitting lower in the pot now and has recovered nicely.

P2_edited.jpg

P3_edited.jpg

P4_edited.jpg

P5_edited.jpg

P6_edited.jpg


You can see the new leaves coming in! Love you little babies!
P5_Note.jpg
 
Maybe on my next grow I will try an auto feeder. But for now I'm going to be hand watering my girls once they pop up.

I hand watered mine until they had grown their first set of leaves. But the little pots I was using for the germination were so small I was having to water them every couple of hours. I used a sprayer of PH's water for the germination process. In the past I have always germinated seeds using the wet paper towel method. This always worked but handling the sprouts always made me nervous. So this time following a :420: tip, I just stuck them in some soil and kept them moist and warm. Worked Great!
 
Internet issues made me miss a day's post. Had to get up at 7am to meet the technician, OMG that's early when you've been retired for two years. All fixed in 5 min.

Here are Day 8 pictures, I took Day 7 but not a lot of change. Day 8 has show some significant growth (relatively).

I also turned of the 300W LED light panel for these shots.

Overview Day 8:
P1014871.JPG


Individual Seedlings
P1014872.JPG

P1014873.JPG

P1014874.JPG

P1014875.JPG

P1014876.JPG

P1014877.JPG


A couple of shots look like there might be some algae growing, so I have covered the dirt with Hydtron pellets to reduce the light getting to the wet soil. Also possible indication of over watering although it may be a lighting condition as I don't really see any algae with my eyeballs. And they don't look overwatered.

#5 seems to be doing the best, if I take clones she looks to be a good candidate.
 
Pineapple Chunk Day 12

We have some nice progress today. I am very happy with how they are looking. It might be too early to tell but it looks like this strain will have big broad leaves. Not much else happening, will do a res change soon and up the nutrients a little. I have recently added some Roots Accelerator to the reservoir to help with root development. I'm thinking two weeks from now is a good target for them to go to bloom. Here are the pictures.

Overview:
P1014878.JPG


Individual Pictures:
P1014879.JPG

P1014880.JPG

P1014881.JPG

P1014882.JPG

P1014883.JPG

P1014884.JPG


I still have 4 more seeds of the Pineapple Chunk, and the free seeds I got from True North Seed Bank a Feminized Jack Herer, and 2 regular White Widow seeds which I hope one will be female. Not enough for a full crop probably and I won't do another full crop for a year. But I am considering the JH for a micro grow once the small tent is free.
 
Day 14 Update:
Can't call them seedlings anymore, they are now well on their way. Today is reservoir change day. I will be upping the nutes to a week 2 schedule per the GH guidelines. Feedcharts
I have always followed this schedule and its hasn't let me down. And I am averaging .75 grams per watt using this method. I know the Ideal is 1 but 700+ grams dried for six plants ain't bad.

I will also add Roots Accelerator.

Here are the pictures:
Overview Day 14:
P1014885.JPG


P1014886.JPG
P1014887.JPG
P1014888.JPG
P1014889.JPG
P1014890.JPG
P1014891.JPG
 
Day 19 Update.
Having just grown clones in the past I was used to uniform growth of the plants. Growing from seeds though has brought me 6 plants that aren't progressing at the same rate. I can see that #5 looks to be the prime plant, but the others are starting to come on.

Been fighting some nutrition issues that I believe are all related to PH. One plant looks like it has Nitrogen deficiency and couple others look like its calcium. I had been running my PH in the high 5's and now have dropped it to the 5.0 I also added a little cal mag. Would like some other opinions on them please. Here are the pictures:

Day 19 overview:
P1014892.JPG


Individual shots:
P1014893.JPG

Plant 1 seems to be progressing fine, not noticing any issues.

P1014894.JPG

Plant 2 appears to have a nitrogen def.

P1014895.JPG

Plant 3 appears to have a calcium def.

P1014896.JPG

Cal Def again for Plant 4

P1014897.JPG

Plant 5 seems to be thriving although there appears to be a little leaf curl.

P1014898.JPG

Plant 6 might have some Nitrogen def.

In the past I have found this post on 420 Mag to be very helpful.
Cannabis Plant and Pest Problem Solver - Pictorial

If anyone has any ideas or suggestions I would welcome them.
 
Back
Top Bottom