

stratlogic
Well-Known Member
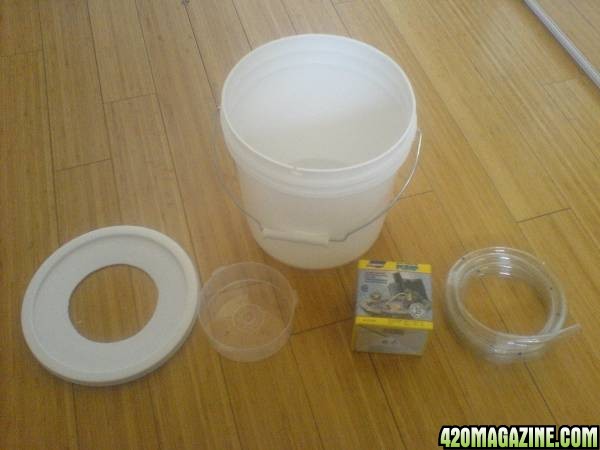
Here is a guide to an ebb and flow propagator I made one day that has worked out pretty well for me. All that is needed is a 2 gallon bucket w/ lid, a sub pump with tubing, a CD spool lid and a 15 minute timer. The total cost is less than $20 to construct this. I got the pump and timer at Petsmart, everything else at Home Depot. Look in the Pond Care area at Petmart and not the Fish area when looking for the pump. You can get away with using the smallest pump you can find for this project.
First off, I trace the spool lid on the bucket lid then cut a hole so the spool lid will rest inside the bucket lid. This is the hardest part so I do it first. It's not really that hard which is the nice part.
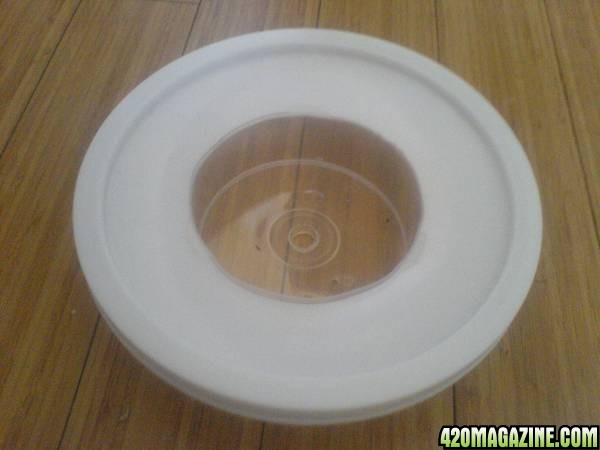
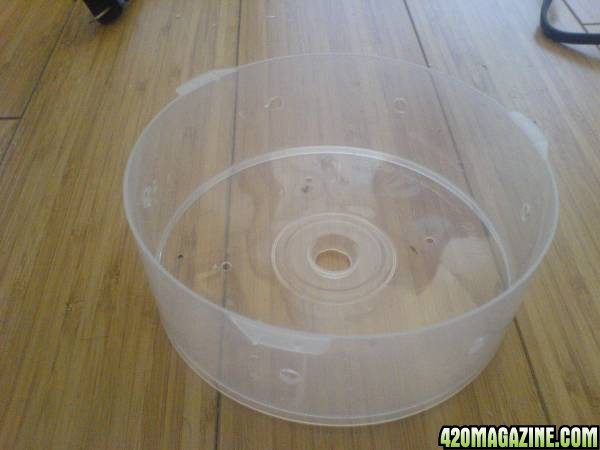
Next, I drill the holes in the CD spool lid to control the water level. I drill enough holes along the sides so the water drains faster than the pump can fill it. This will prevent the propagator from overflowing. I also drill a couple smaller holes on the bottom of the spool lid so when the pump turns off, the water will drain. You also need to drill a hole in the center of the spool lid for the pump tubing to come through.
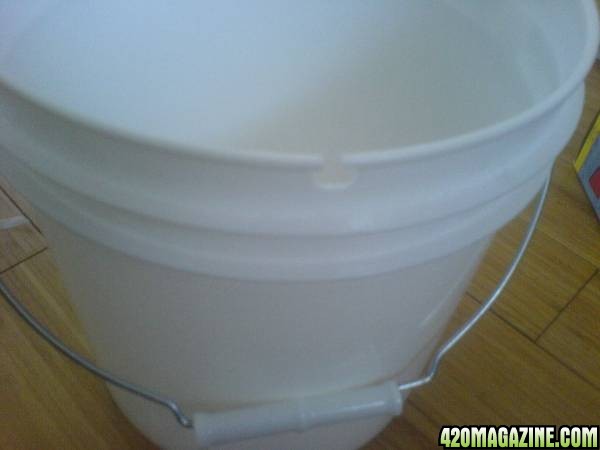
I always like to make room by drilling a hole for the power cable to hang off the side of the bucket without interfering with the bucket lid closing properly over the bucket.
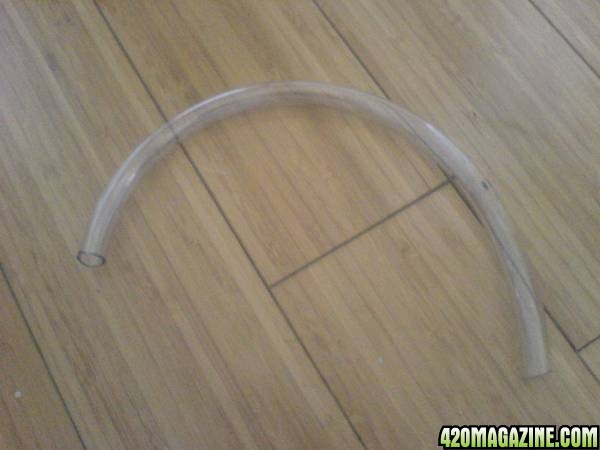
Now lets set up the pump. One problem I always run into is the tubing always looks like this because of the way it is packaged.
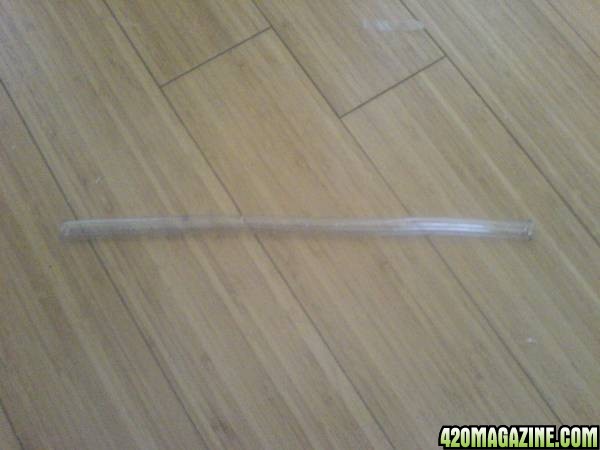
To fix this, I hold the tubing over the stover burner of a lighter to soften it up so I can make it straight again. Once it is straight, I run the still warm tubing under cold water to make it stay. It should look like this:
Insert the tubing into the center hole of the spool lid and attach the pump.
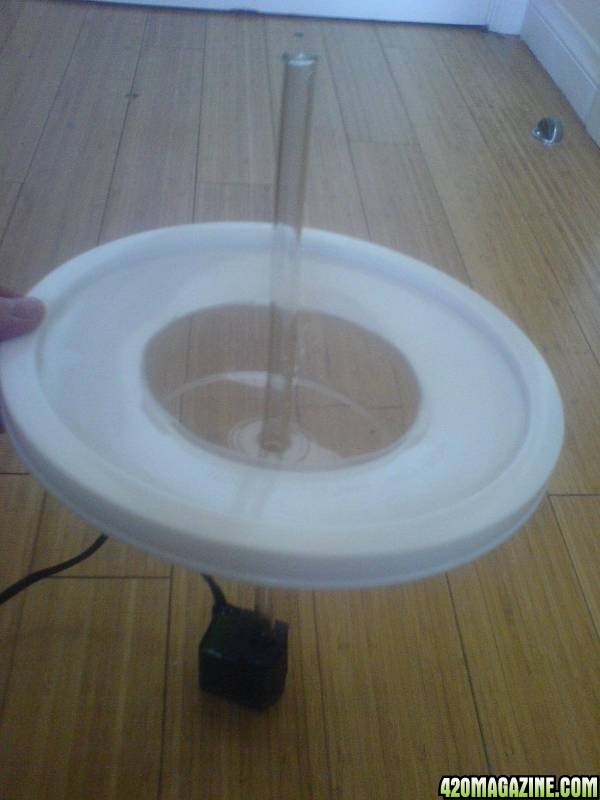
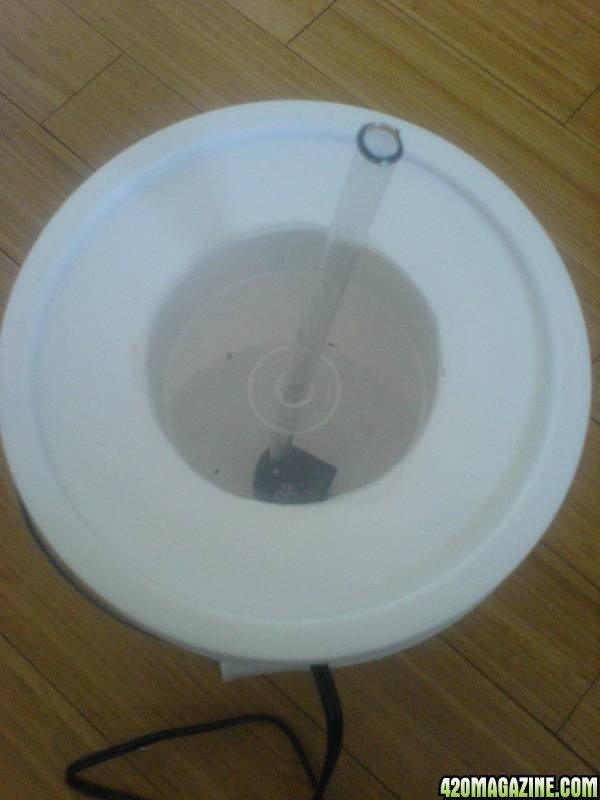
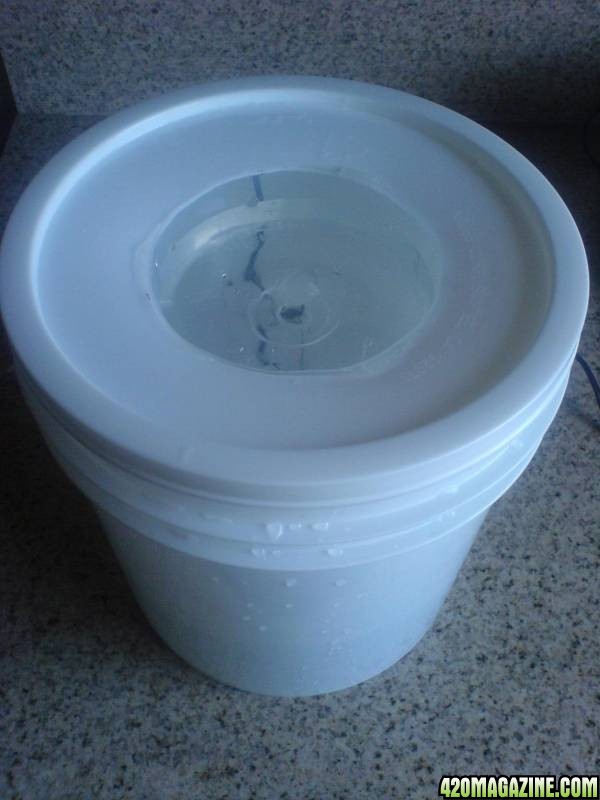
Place the the bucket lid with the spool lid inserted and the pump and tubing connected into the bucket. Push or pull the tube through the spool lid so the pump is securely resting on the bottom of the bucket. Then trim off the excess tubing.
Hook up the timer and fill with water and your done.
I water 15 minutes on and 15 minutes off. Also, I use the bottom of a 2-liter bottle as a humidity dome. After I germinate the seeds, I place them into a root plug and put that into a a small net basket that is just big enough to hold the plug. I then poke a toothpick through the side of the basket and plug because the plug will float when the water rises.. Once I see roots coming out of the plug, thats when I transplant into my medium (Hygromite) and into my hydro bucket. I will be posting the plans for my hydro bucket shortly. I have not had any problems with algae and the white bucket because in this stage, I just use purified water. Roots are supposed to be kept in the dark too, thats why, at first sight of roots, I move the plug into the Hygromite and strat vegging. It may seem a bit over-elaborate, but it has worked great for me and is fun to make.
Question, comments, and suggestions? I would like to hear so give me a shout.
First off, I trace the spool lid on the bucket lid then cut a hole so the spool lid will rest inside the bucket lid. This is the hardest part so I do it first. It's not really that hard which is the nice part.
Next, I drill the holes in the CD spool lid to control the water level. I drill enough holes along the sides so the water drains faster than the pump can fill it. This will prevent the propagator from overflowing. I also drill a couple smaller holes on the bottom of the spool lid so when the pump turns off, the water will drain. You also need to drill a hole in the center of the spool lid for the pump tubing to come through.
I always like to make room by drilling a hole for the power cable to hang off the side of the bucket without interfering with the bucket lid closing properly over the bucket.
Now lets set up the pump. One problem I always run into is the tubing always looks like this because of the way it is packaged.
To fix this, I hold the tubing over the stover burner of a lighter to soften it up so I can make it straight again. Once it is straight, I run the still warm tubing under cold water to make it stay. It should look like this:
Insert the tubing into the center hole of the spool lid and attach the pump.
Place the the bucket lid with the spool lid inserted and the pump and tubing connected into the bucket. Push or pull the tube through the spool lid so the pump is securely resting on the bottom of the bucket. Then trim off the excess tubing.
Hook up the timer and fill with water and your done.
I water 15 minutes on and 15 minutes off. Also, I use the bottom of a 2-liter bottle as a humidity dome. After I germinate the seeds, I place them into a root plug and put that into a a small net basket that is just big enough to hold the plug. I then poke a toothpick through the side of the basket and plug because the plug will float when the water rises.. Once I see roots coming out of the plug, thats when I transplant into my medium (Hygromite) and into my hydro bucket. I will be posting the plans for my hydro bucket shortly. I have not had any problems with algae and the white bucket because in this stage, I just use purified water. Roots are supposed to be kept in the dark too, thats why, at first sight of roots, I move the plug into the Hygromite and strat vegging. It may seem a bit over-elaborate, but it has worked great for me and is fun to make.
Question, comments, and suggestions? I would like to hear so give me a shout.