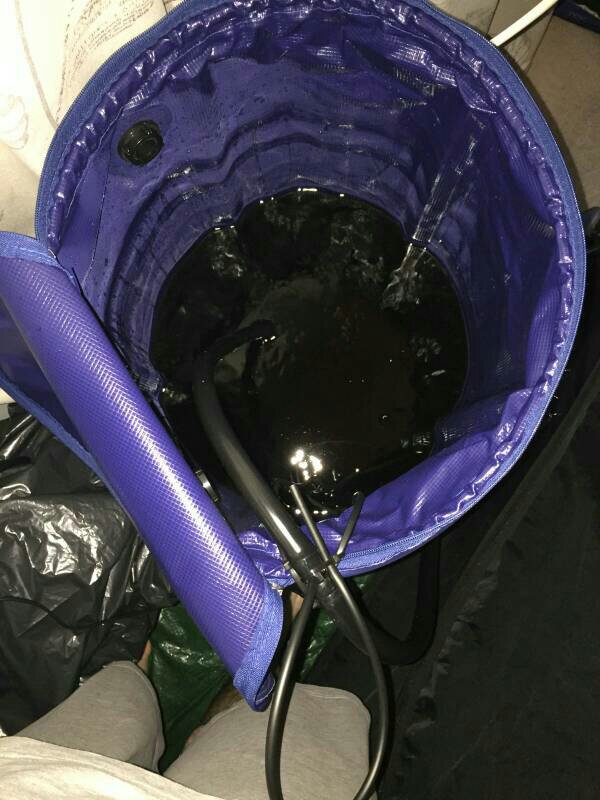
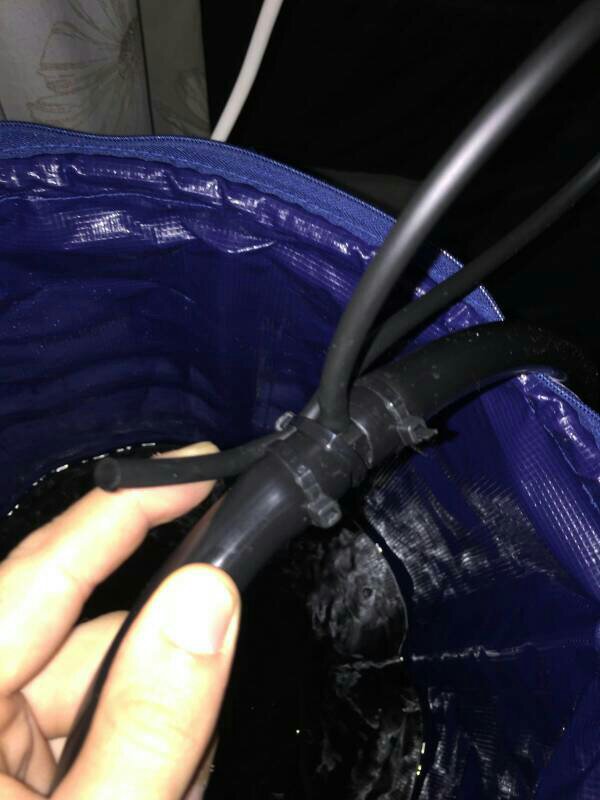
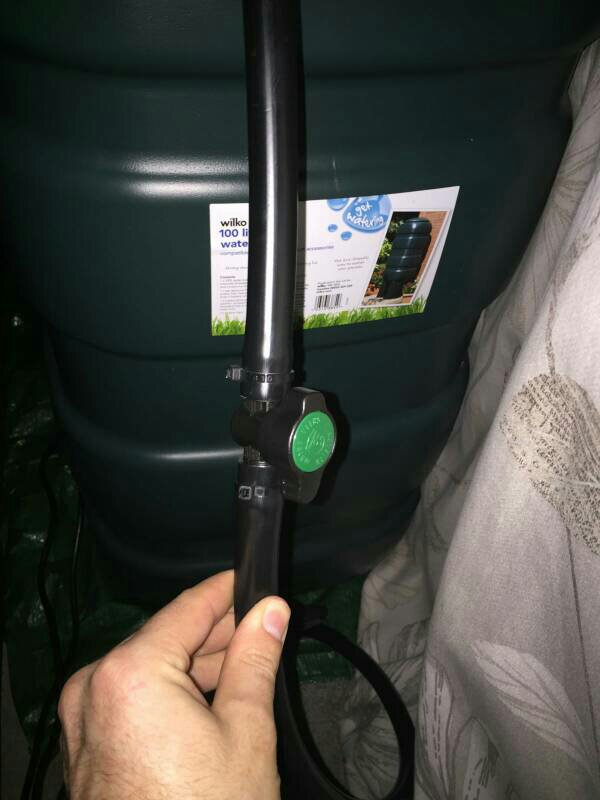
Simple drip system

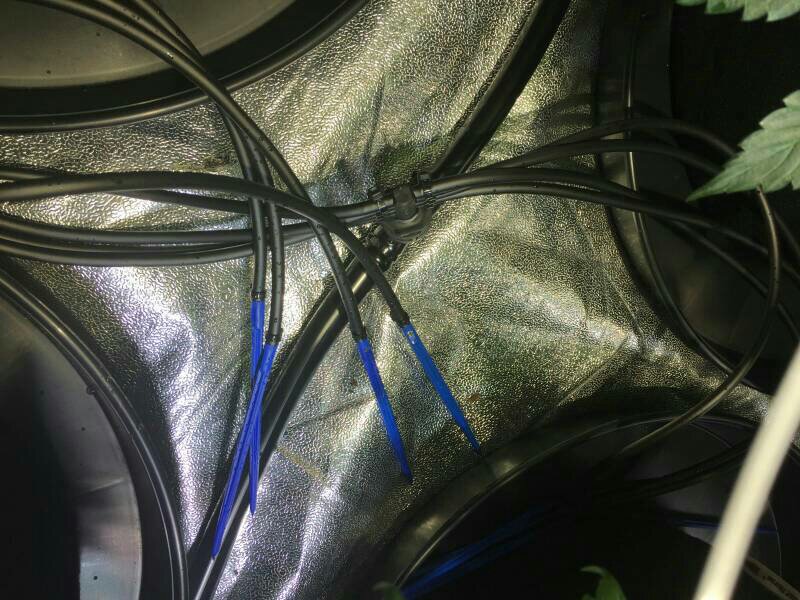
If you wanna paint plastic youll simply need an adhesive layer before you spray the paint.

1st use wet sanding paper 800
2nd apply dish soap to water removing fat or best use silicone remover to clean surface. Dry the surface
3rd use spraycan adhesive like written on the can
4th spray paint

Both products in several thin layers

Do this while the object is about the temp it will be most of the time


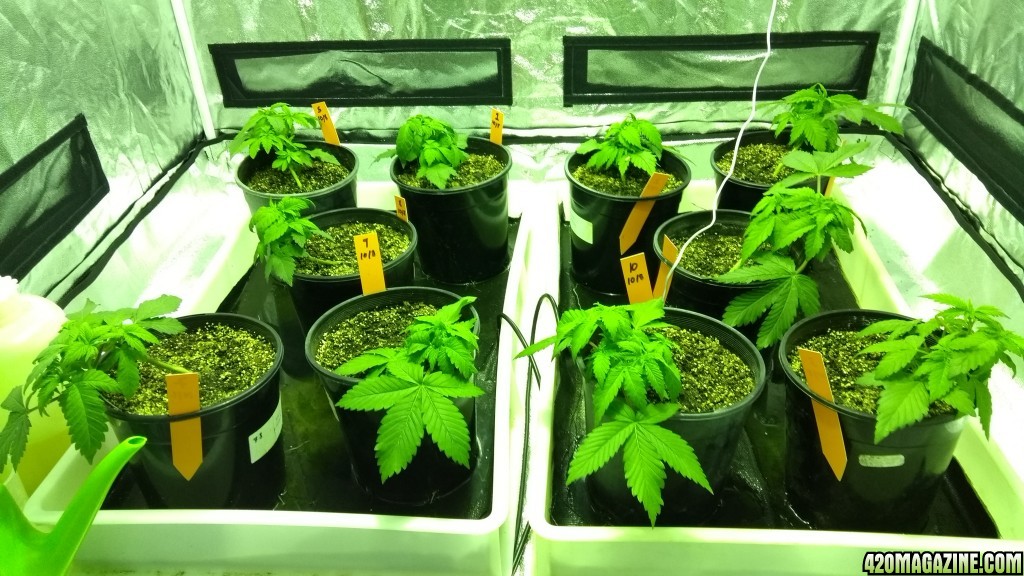
My first journal What's That? - White Light - What Does It Do? - It Grows

Using that light My very first DIY COB fixture
 
Is the pH in the res stable over a week or so when you keep pumpin air in the nute solution?

It does drift a bit but not too wildly. When I add water to offset evaporation I calculate the pH and EC needed to bring the reservoir back to the baseline.


Sent from my iPhone using 420 Magazine Mobile App
 
Just a Shout out to Bedroom Farmer.

He is THE MAN when it comes to a drip system like this. He knows his stuff and is a great asset to this forum. He has helped me understand this type of system and is a very patient person.

Thank You BedroomFarmer.
I second that !! He's always there for me too !! Thanks Bedroom farmer.:thanks:
 
Allways keeo your airstone running it wont evect your water chemistry, also it helps to keep nutrients in suspension and keep water temp constant.

Sent from my SM-G360H using 420 Magazine Mobile App
 
I'm a firm believer in RDWC systems. Only one main reservoir to deal with and you don't have to disturb your plants. Plus, with the larger quality of water the solution pH is more stable. The drip system is really only needed when rooting seedlings or clones. After the roots establish below the net pot you can forego the drip.


Sent from my iPhone using 420 Magazine Mobile App
 
This was in the coco section and that's what I use it for coco coir. I like drain to waste because if something happens to one plant I don't loose my whole harvest. Drain to waste has produced some excellent buds for me and I personally wouldn't switch it up for anything Sept maybe aero. I'm interested in that
 
I did something similar with my RDWC. 2GPH drippers to flow water over the roots and to augment the aeration stones in adding oxygen.

FullSizeRender_4_31.jpg

I'm leaving state several days and am quite excited by seeing this picture. I admit I got scared when I saw all the work BF put into the plumbing stuff. That's way-way beyond me. Sorry--- it isn't for everyone to understand as readily as it is for others. But this one looks doable!!!! Was this particular setup done in a sink or shower or tub? Just trying to figure out how the setup you did obtained water. Forgive my dense questions. I'm desperately wanting to grow even though I have to fly out early Mat and so forth.
Oh.... OT: not sure if you've ever grown herbs like basil, rosemary, etc... But with basil you must pinch the (another word I don't know... Sigh) but it's not leaves, it's like a small bulbous growth... That must be pinched off in order to grow bushier... Does one need to do this with these plants? In my case WW.


Bubbi
The person who asks a question is a fool for a minute, the person who does not ask is a fool for life. ~Confucius
 
Just be careful with button or pressure compensation drip emitters. Our fountain pumps may not be able to push enough pressure for those and they will clog. They are made to be ran on your house sprinkler system. What ever you put together please post it here. I thought my setup was pretty simple but if your scared off I'm sure others are too.

If you want your plant to Bush out you have to train them. Look into lst or topping. Most you a combo of both but it takes work and constant manipulation until it's where you want it to be.

Good luck
 
Ok BF, here is a simple how to guide to my watering system as requested.

First we start off with the 100 litre flexitank. I chose the water butt version with the tap at the bottom, not the IWS one as they have two holes two thirds of the way up the tank for the IWS pipes to come out of and no way to block them up so you can't fill it all the way up to 100 litres.
420-magazine-mobile860228881.jpg


From the reservoir we use 19mm flexi pipe with a 1000 litre an hour Newa water pump. You need to make sure you can provide enough power to send the nutrients from the bottom up and over the top of the res, you also want to allow at least 50 litres an hour of your pumps max power for each drip line you want to use. I would recommend getting a pump which is slightly more powerful than you need. I think it's very important to getting an even flow of water out of each dripper.

The water pump simply pushes straight into the 19mm flexi pipe like this
420-magazine-mobile1192527409.jpg
.

From this bit of pipe we run up to a T connector with a single dripper feed connection. This is to create an intake for air so that after the pump stops running water doesn't continue to siphon from the res and out of the drippers. Make sure the end of this pipe is inside the flexitank as water will come out of it when the pump turns on. I connect a small amount of dripper tube to the single dripper connection on the T and aim it inside.
420-magazine-mobile1506118353.jpg
420-magazine-mobile1948564531.jpg
420-magazine-mobile1259224454.jpg
420-magazine-mobile1305975928.jpg


From this T connector we run another bit of flexi pipe out of the res and into an inline valve, this is so I can stop water from the pump for any reason which may occur.
420-magazine-mobile1353922819.jpg
420-magazine-mobile1159202908.jpg


From here we run another length of flexi pipe which leads into the tent and down the middle of the plants from one side of the tent to the other. Once I made sure I had enough pipe to get to the furthest end of the tent I cut it down to size then placed a stop connector into one end of the flexi pipe.
420-magazine-mobile1920892634.jpg
420-magazine-mobile633675230.jpg


I then cut the pipe again in two places which I chose to do in between 4 plants on each side of the tent so I could easily run 2 drip lines to each plant from each 8 way dripper manifold.
420-magazine-mobile2090951279.jpg
420-magazine-mobile139355057.jpg
420-magazine-mobile228779694.jpg


I made sure to soak the pipe in boiling hot water from a kettle in a bucket to make the pipe more pliable and easy to work with. It also made it far easier to push the connectors inside of the pipe, I also believe as the pipe cools down it molds around the connector to make it very water tight. You need to make sure each dripper line is of the same length otherwise you won't receive even water distribution from each dripper. I then went around and placed cable ties around each connection to make them even more secure and to stop the dripper feed lines from easily falling off. I have another 1000 litre an hour pump which is in the bottom of the res to keep the nutrients circulating at all times.

It was very, very simple to make and seems to be working for me very well so far. Hope this helps and is clear enough BF, please let me know if any question!

Terpking!
 
I will definitely try my best to get my hands on that manifold!

Very nice system ... I used your DIY instruction's and going to install mine this weekend ... I think I'm going to add a automatic water timer to mine. I am a little concerned about adding the Nutrients to the reservoir ... I'm setting the timer to feed every two days due to my work schedule. Any Ideas?
 
Yeah I use a timer for my drip system. I'm not sure the brand but it's just a digital minute timer and wasn't very expensive.

Why are you concerned with adding nutrients? Add an airstone to your rez and z7. The z7 is optional but I like it a lot for my rez, aero, dwc, and organic grows but the airstone is not optional as it keeps the nutrients suspended.

In my aero grow I'm finding I have to add a drop of ph down every day so just check your rez for ph swings.
Hope I answered your questions?
 
Terpking, I'm pretty late on this one, but that dripper system looks so much easier than the PVC systems I've seen made for other coco applications. I'm definitely going to have to give it a go. Through all the reading I've been doing I've realised just how much bigger my yields could have been had I had a system like this on a timer. I treated coco like soil. It still gave me amazing bud, there just could've been a lot more of it.

It doesn't look too hard to construct, but then again I'm pretty sure I was dropped at birth so there might be a bit more trial and error for this guy!
 
Interesting the ways people water for thier own situations :) No right answer for everyone, lots of options. I thought a lot about automatics setting up my tent as i wanted to be able to walk away and leave it for a few days at a time. Got interested in the SmartPot thing which i used an early version of years ago......but made it simpler and cheaper.

Settled on a gravity feed system as i am lucky enough to have a high, very robust shevling setup next to the grow tent. Have a 20l plastic jerry can elevated on a shelf next to the tent. Off the bottom outlet i have a 19mm poly tap valve, and below that a simple dial type tap timer. The crucial thing is that it is a ball valve version so will work at low pressure. solenoid typed require more pressure than the gravity feed will provide.

That is set to run for 3 mins every 48 hrs at the moment and i refill the jerry can about every week and a half.

As the plants get bigger i'll adjust the timing.

My plants are in pots that are designed to be used with watering mats on a GH bench. The drain holes are on the bottom so the soil is n contact with the watering mat and the water gets into the pot by capillary action. By mat, i mean the commercial sandwich style stuff which is a layer of black plastic on a flat surface (we use polystyrene sheet on the GH bench) that has a layer of "felt" (you can buy this by the roll at some hydroponics suppliers) on top, and a layer of permeable woven plastic "weedmat" on top of that.

Anyhow, from the tap timer the water flows down 4mm tubes into trays, that have a section of watering mat in them to hold and distribute the water that soaks the felt. The pots sit on that and take up as much or as little water as they need. Its sort of flood and drain, but very moderate. Roots growing out of the bottom of the pots seem nice and white, healthy...so think is all good for oxygen in the root zone and have had no over watering issues or wilting.

3_20170906.jpg


You can see the trays, 4mm tubes and watering mat in the above image.

Can all be reused next grow just by cleaning the watering mats and trays with bleach, and changing the AA batteries in the timer. :)

Think i have kept simple, cheap, and reliable. Seems to be working well for the moment.
 
Back
Top Bottom