SkooterClowns with power tools

SkooterClowns

Well-Known Member
This could get ugly real fast! :smokin:

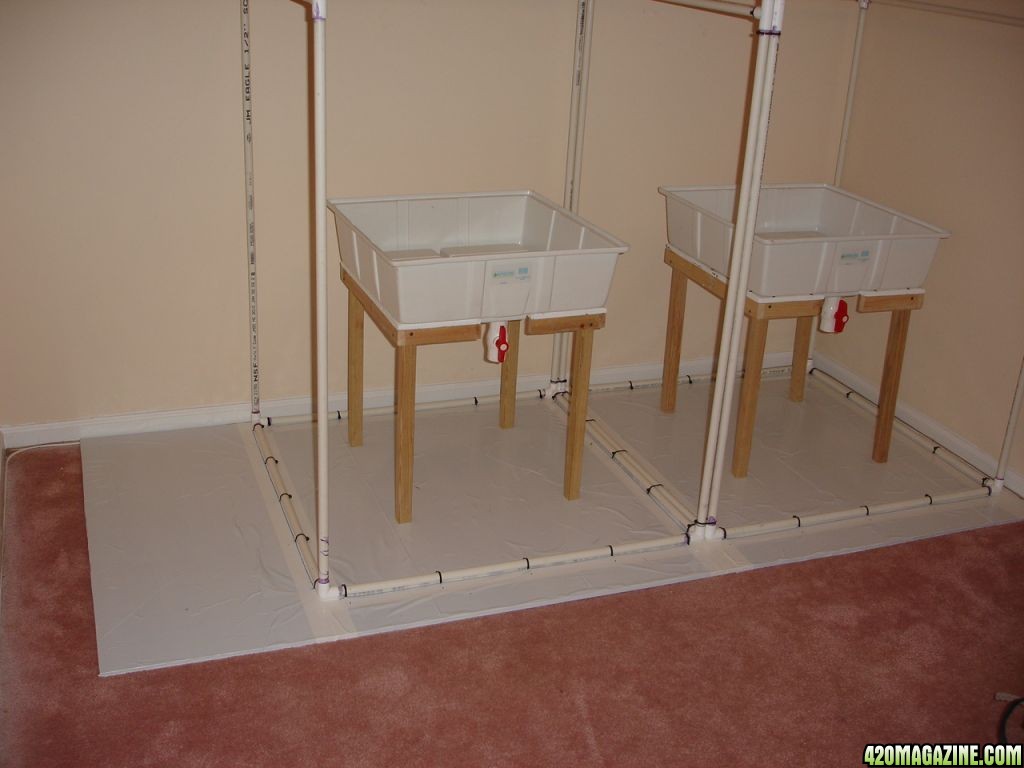
Moving into a new place April 1. Starting to put together 2 grow tubs and a DIY Cloner.

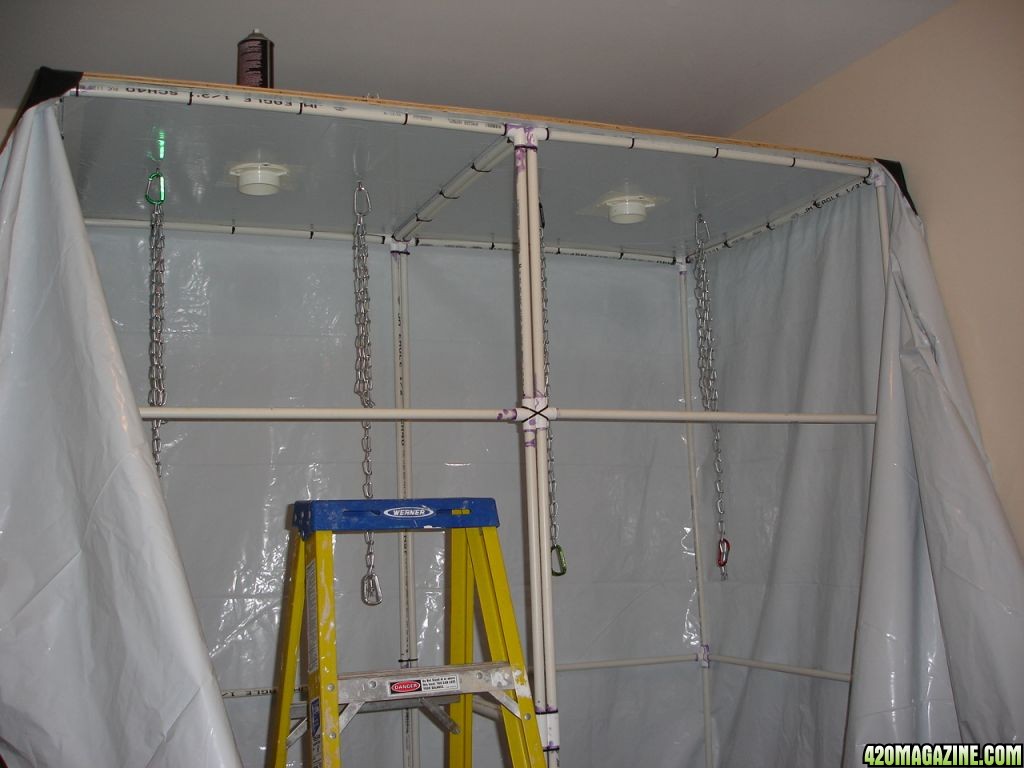
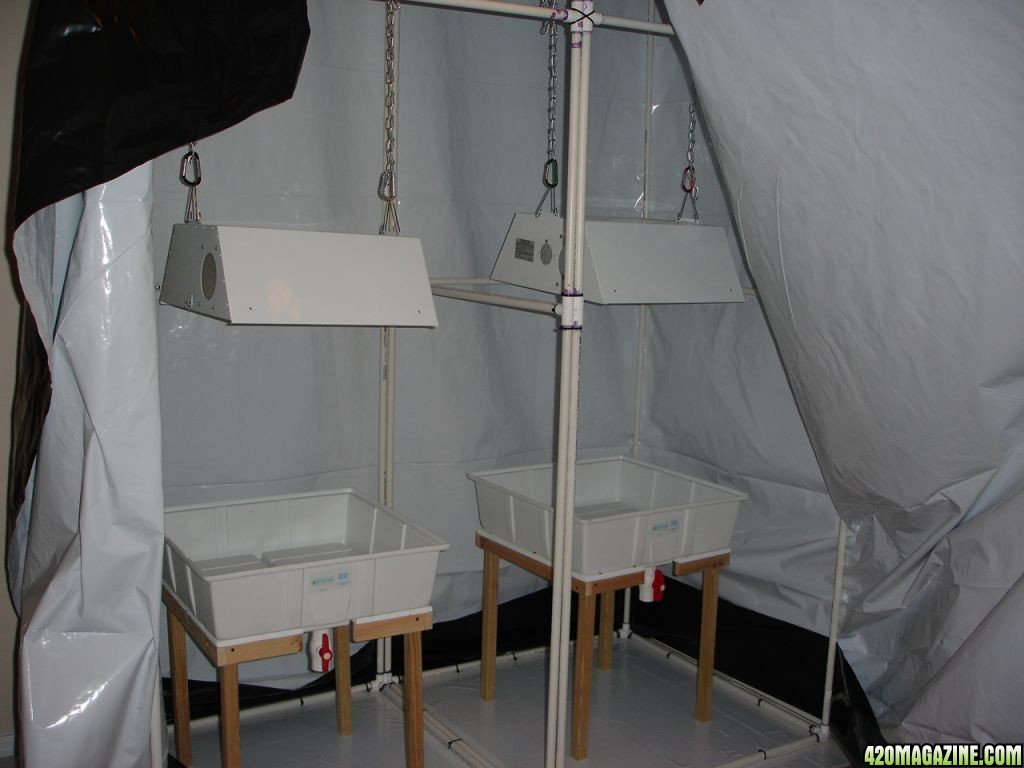
We will be documenting our DIY grow tents and room build. This journal will also document the conversion of our current grow box to a clone/mother box.

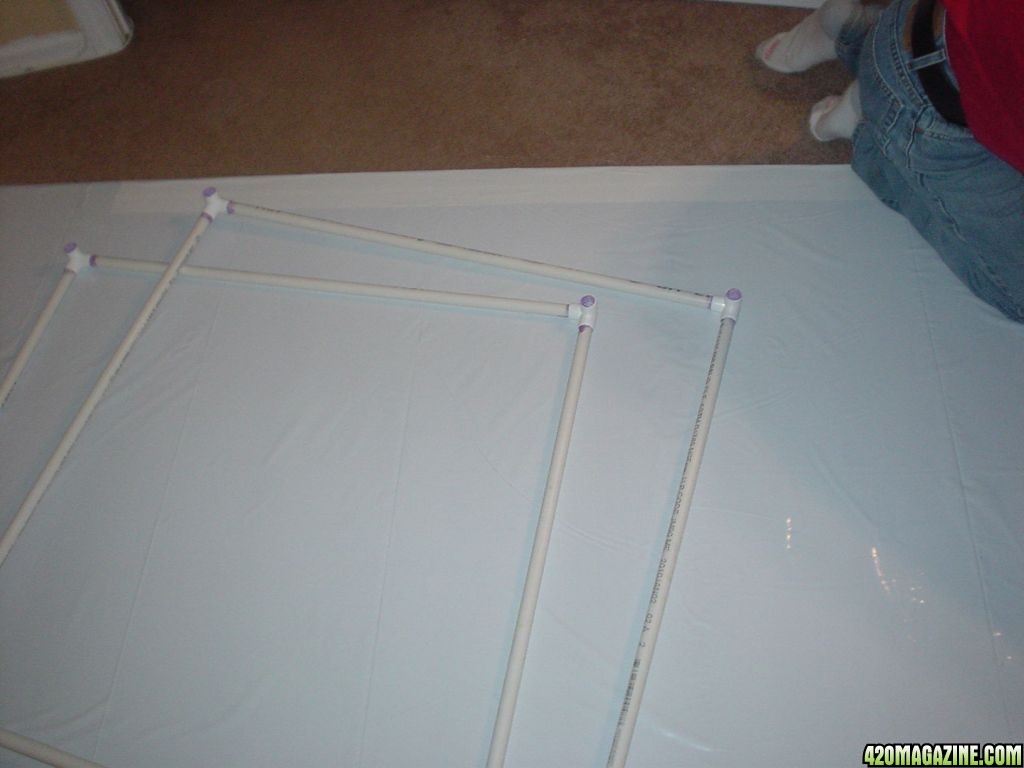
And so it begins...this is how we dozit!

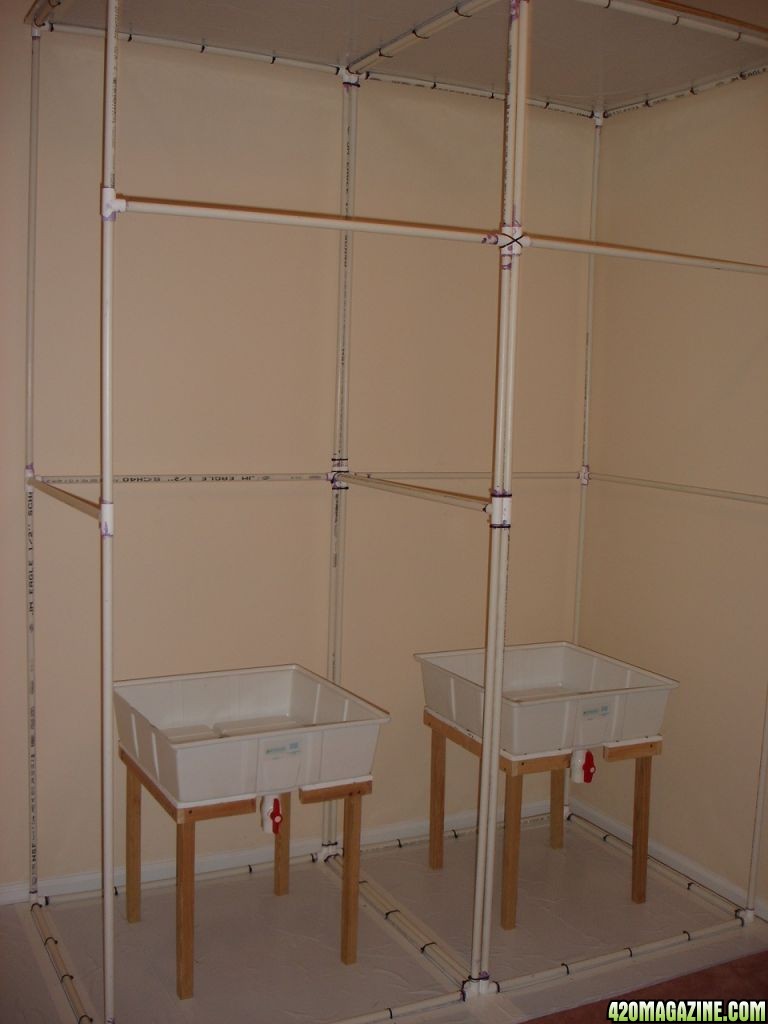
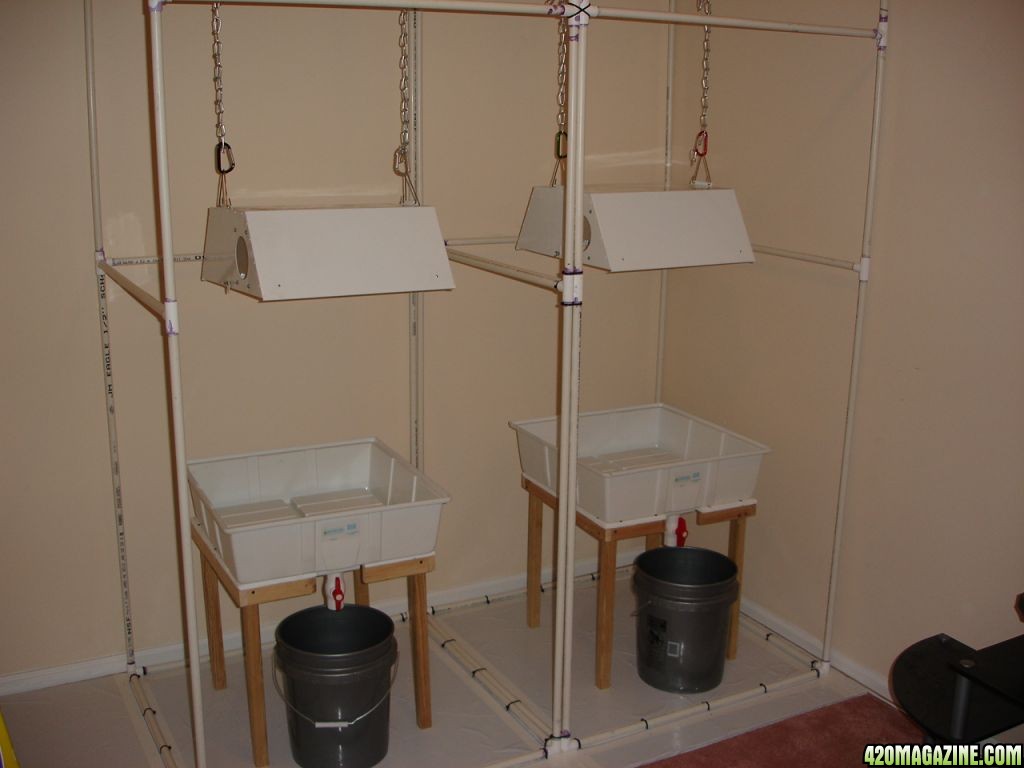
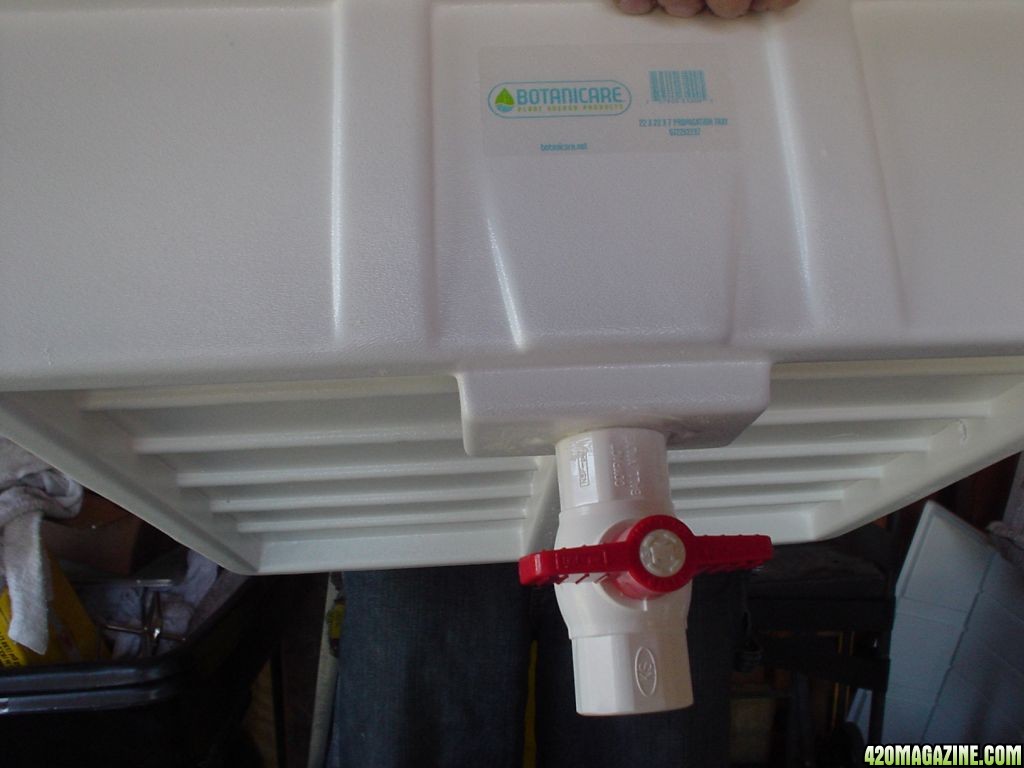
Keeping our budget in mind we shopped around for grow tubs and finally decided on getting 22"x22"x7" tubs by Botanicare. They are excellent quality and decided to splurge a bit.

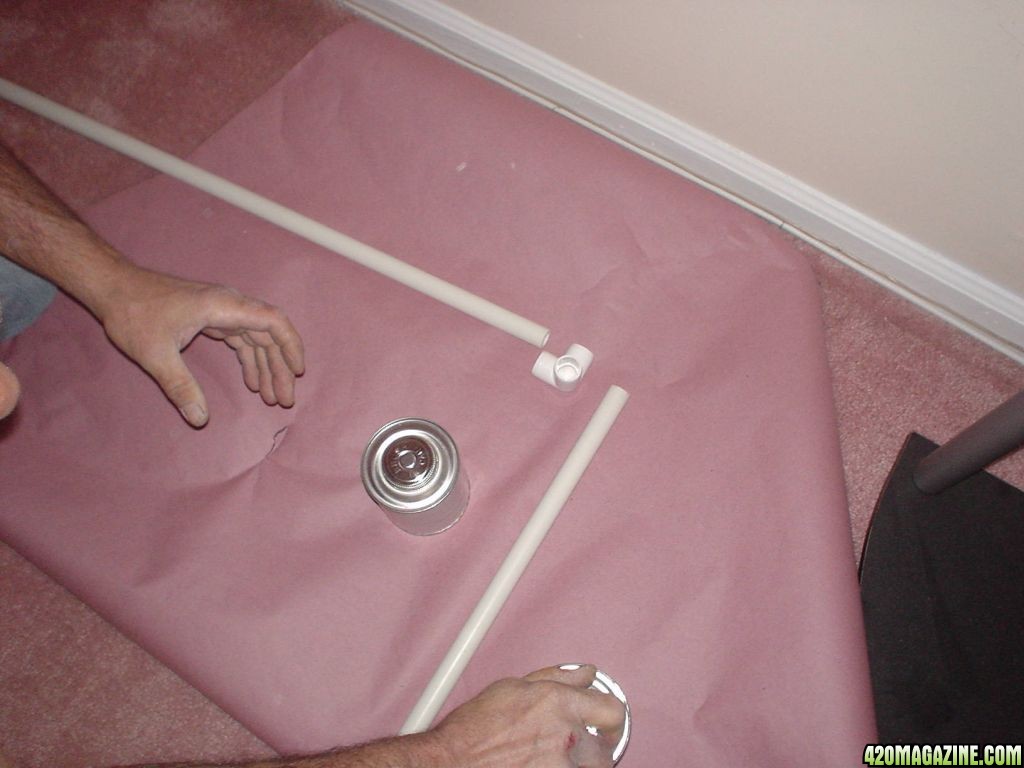
They have a nice area for us to cut for our drainage setup.

DSC01282.JPG

DSC01284.JPG

DSC012853.JPG

DSC012871.JPG


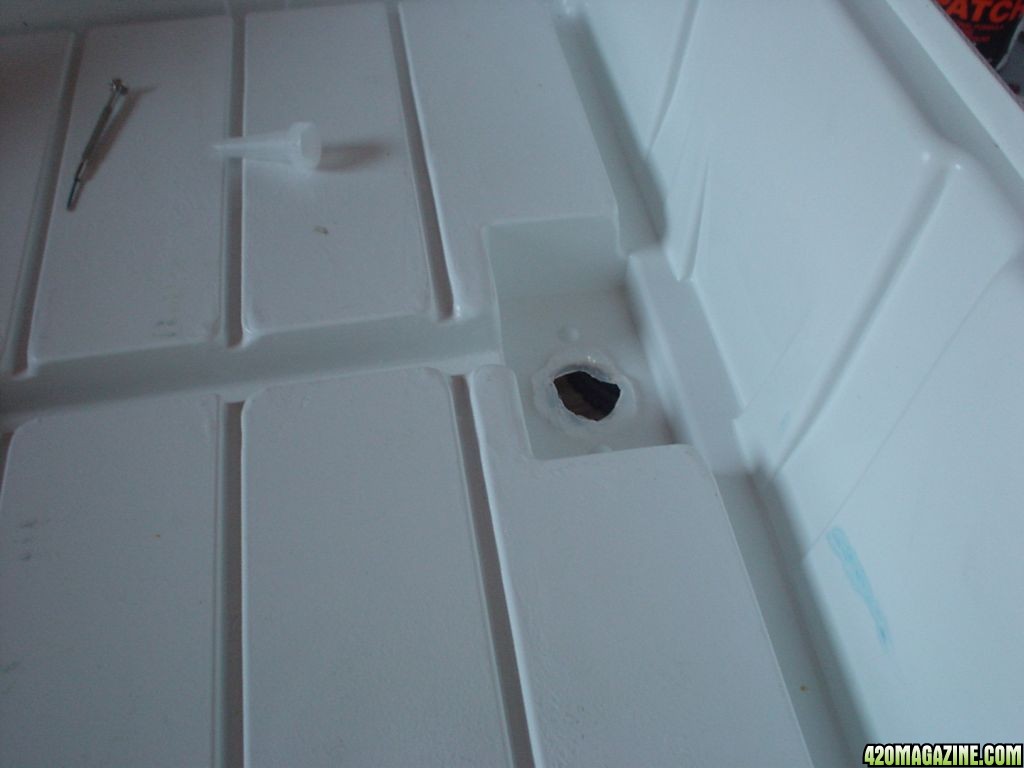
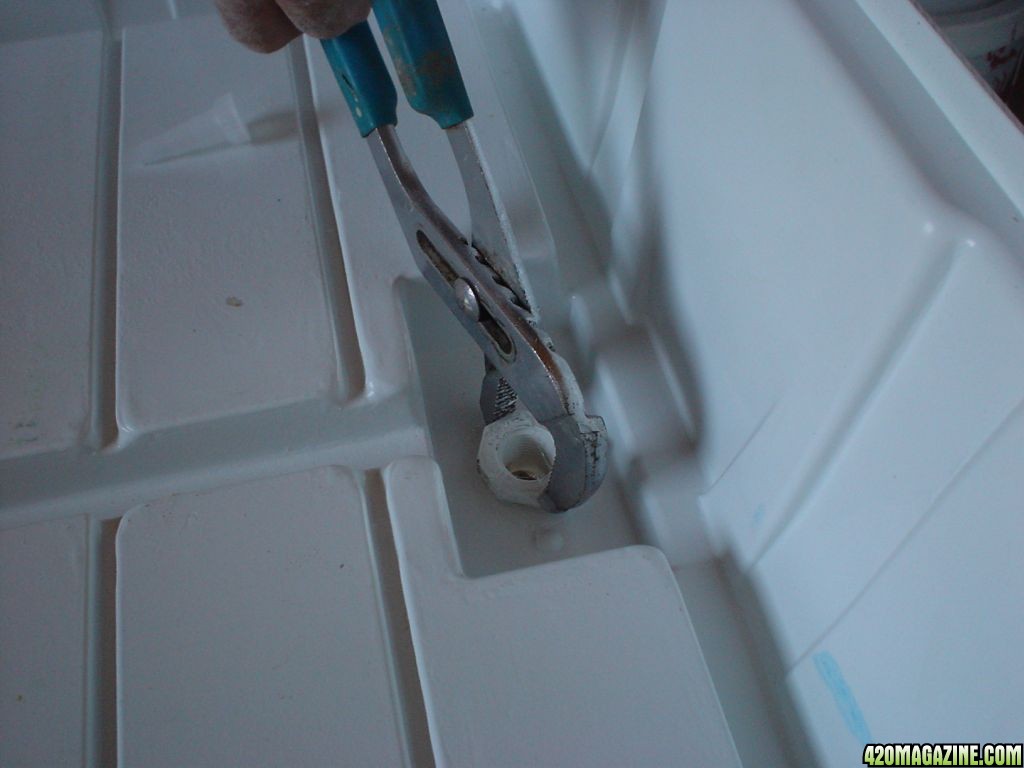
The right RTV will keep things nice and dry. We highly recommend you do not use painters caulk! :smokin:

This size valve will guarantee quick drainage.
 
Re: SkooterClowns with power tools...

Looks good man good luck on the new grow!!! Love to see some DIY work!!! Lol yeah painters caulk is water soluble so not so great for that application... i use 3m 5200 take about 48hrs to tack but... will tack/dry underwater and it is well permanent bonds to anything and will not come off anything...be careful but it worth it weight in gold!!!!
 
Re: SkooterClowns with power tools...

Nice start Skooter. I have just put together a similar closet out of a Rubbermaid storage unit. I did not plan on an additional fan other than an oscilating one. Did you have heat problems before you hooked up your exhaust? :peace:
 
Re: SkooterClowns with power tools...

Nice start Skooter. I have just put together a similar closet out of a Rubbermaid storage unit. I did not plan on an additional fan other than an oscilating one. Did you have heat problems before you hooked up your exhaust? :peace:

Are you referring to our cabinet grow box? If so the only heat problem we encountered in that box was eliminated when we attached the 4" exhaust ducting to our DIY light box. Fortunately the 5 CFLs don't generate as much heat as our HIDs (which we'll be using in the new tents...stay tuned) and we were able to eliminate that problem easily.
 
Re: SkooterClowns with power tools...

Looks good man good luck on the new grow!!! Love to see some DIY work!!! Lol yeah painters caulk is water soluble so not so great for that application... i use 3m 5200 take about 48hrs to tack but... will tack/dry underwater and it is well permanent bonds to anything and will not come off anything...be careful but it worth it weight in gold!!!!

Thanks unknown. BTW the painters caulk line was aimed at a buddy of ours that reads our journals and is an inside joke. The Skoots wouldn't dream of using painters caulk in any, water adjacent, situations LOL. Our sealant of choice was NAPA Clear RTV. 24 hour set time and leak free.
 
Re: SkooterClowns with power tools...

Nothing new to report yet. The move back into my place was a lot of work for slappy and me (and a good friend of mine). We worked hard and with all the unpacking I need to do etc. we haven't done anything yet in the new grow room.

Slappy and I put the order in for all the fittings we'll need for our 2 DIY grow tents. He'll be starting to bring all the equipment over soon. We have a mom that we will be getting on or about April 15 that will be a nice start for cuttings for the new space.

More to come here so stay tuned.
 
Re: SkooterClowns with power tools...

The plan...
I have a "bonus room" in my place that is hidden deep and no one knows exists. The room is 8.5' x 12.5' with a 9.5' ceiling.

There is only one source of electricity to the room (switched light in the center of the ceiling...switch controls the ceiling light in the grow room and the ceiling light in another room and the switch is in the other room (sigh). There is no direct source for water to this room.

We had used this room in the past for growing and had tapped off the light and put some chases in and supplied electricity to the room that way. It wasn't an ideal set up as I had to keep the switch on at all times which meant I had to remove the light bulb in the ceiling in the other room and having no light in there was a bit of a pain.

We have plans to run a line to that room and put a new circuit in the main box to power the room separately.

BTW the room is also basically sound proof as all the walls are sheet rock covered cinder block.

We will be re-cutting a hole in the ceiling to reveal the duct work we put back in the ceiling when I moved out and rented the place to tenants. The ducting is connected to the bathroom vent system with a butterfly valve that will open when the grow room exhaust fan is turned on. It is a sweet set up that had worked great in the past.

The grow tents are going to be 3'x3'x8' tall and there will be 2 separate tents only connected via the exhaust ducting thru the top of the tents. We may decide to put in a "shared panda film wall" connecting the 2 but that remains to be decided.

We will be going back to our 400 watt HID lighting. Oh and the room also has AC venting as part of the central air system.

Tents are going to be made from PVC piping and fittings and 5.5mil panda film.

We will be raising the tubs off the floor (which will be panda film covered plywood) high enough to put a bucket under the spigot for easy draining.

We will also be constructing the "ceiling" of the grow tents with panda film covered plywood with holes cut for the exhaust ducts and to give us something solid to hang the light fixtures from.

Slappy and I are pretty detail oriented people and we must have each built this room and tents in our heads a thousand times so it should go pretty smoothly once we get all the material in place and start construction.

We are planning on beginning the build out on the weekend of April 17 so be on the look out for pictures and progress reports in this journal starting then.

I'm getting pretty excited about this and can't wait to see it all come together.

:peace:


wow....that sounds complicated....:roorrip:
 
Re: SkooterClowns with power tools...

We started getting the material together to start building the two rooms...we got all the PVC tubing (1/2" ) cut to length and bundled for transport....we basically built two "kits" and they should go together pretty quickly.(pics will follow when we actually do the build...)

This is all alot of fun at this point as we actually have a plan...

also got our new 185/cfm exhaust fan and can't believe how quiet it is..

Our new heavy duty air pump, not so quiet but puts out a ton of air.

here's our kits and new fan.
DSC012951.JPG

DSC013002.JPG

DSC013022.JPG
 
Re: SkooterClowns with power tools...

It's building day!


DSC013435.JPG

DSC013442.JPG

Well...we dry fitted the "kits" with the fittings and had to make a couple of small cuts of 4 pieces of the piping. You get a good idea of the height of these bad boys. They are 8' tall!


DSC013462.JPG

DSC013472.JPG

Then it was time to play with glue!


DSC013502.JPG

Then measured and cut the 1/2" plywood for the floor and ceiling.
Measured, cut and applied the Panda film on the floor and ceiling.
Next came securing the framing for the floor and ceiling to the prepared plywood. These bitches ain't gonna separate from the floor and ceiling thanks to the liberal use of zip ties!


DSC012623.JPG

DSC012602.JPG

DSC012611.JPG

Look what we did!


Now the hole in the ceiling is ready for us to put the flex venting to the ducting we have used before and is still in place above the ceiling.

You can see that Slappy went the extra mile in making the tables for the grow boxes (notice the notches cut out for the spigots).


While these are built as 2 separate "tents" they are zip tied together in the middle to add stability to the structure. We plan and putting in 2 interior walls (one for each tent) and give them the ability to roll up to make one big room if it's needed.

Ok..so tomorrow we wrap the whole shebang in panda and cut the 4" holes in the ceiling and put in the quick clip flanges. We also will be cutting the vent holes in the light reflectors, moving it from the side of the reflector to the top. We will also be hanging the lights etc.

We will be trying to run a line to the circuit box and put everything on it's own circuit. We may not be able to get power to the room tomorrow but we'll see how it goes.


Questions and comments are welcome...
Oh...I gotta say...that pvc glue will kick your ass in an unvented room! Ironic as we plan on having massive ventilation when we are done...but until then WOW what a buzz!
 
Re: SkooterClowns with power tools...

crazy clowns.....:yahoo:
 
Re: SkooterClowns with power tools...

here we go again, working on the light vents, hanging the lights and wrapping the tents as well as started running the electrical...everything is moving along well and we hope to have it finished in about another weekend...

DSC012655.JPG

DSC01268.JPG

DSC012723.JPG

DSC012737.JPG

DSC012744.JPG
 
Re: SkooterClowns with power tools...

Those look sweet
Im fired up for you guys:yahoo:
I noticed your duct work looks good but a bit out of balance. A tin knocker told me to always make a balanced loop and it will always be balanced. HuH that sounds screwed up. Any ways If you make a complete circle or to be more realistic a rectangle and tap the fan in the middle of the long side. I can try to explain better if you wanna try it. I use all hard pipe to make loop it will keep the air smooth and quiet and get the max out of you fan. I hope I helped and not confused the set up.
Cant wait to see the next grow in there.
I love how it is all very comfortable to work on and maintane plants:thumb::welldone:


:peace:

Thanks Sparky...I'm not sure I understand what it is you are saying about the duct work. It's not finished yet. We will be connecting directly to the top of the lighting fixtures to the ceiling flanges and then the other end directly to our exhaust fan.
Because they are short connections, and the location of the room, noise is not that much of an issue...besides our exhaust fan is very quiet.

Slappy and me were able to run some string from the circuit box location over to the hole in the ceiling you see in the pictures. We are now all set to connect a dedicated circuit to that room and to put a outlet box in the wall. Things are looking good.

Glad to see you are back!
 
Back
Top Bottom