PopoPipo
420 Member
HELLOOO weed lovers! 
I am back with another grow and things are a bit different this time, but we'll get to that.
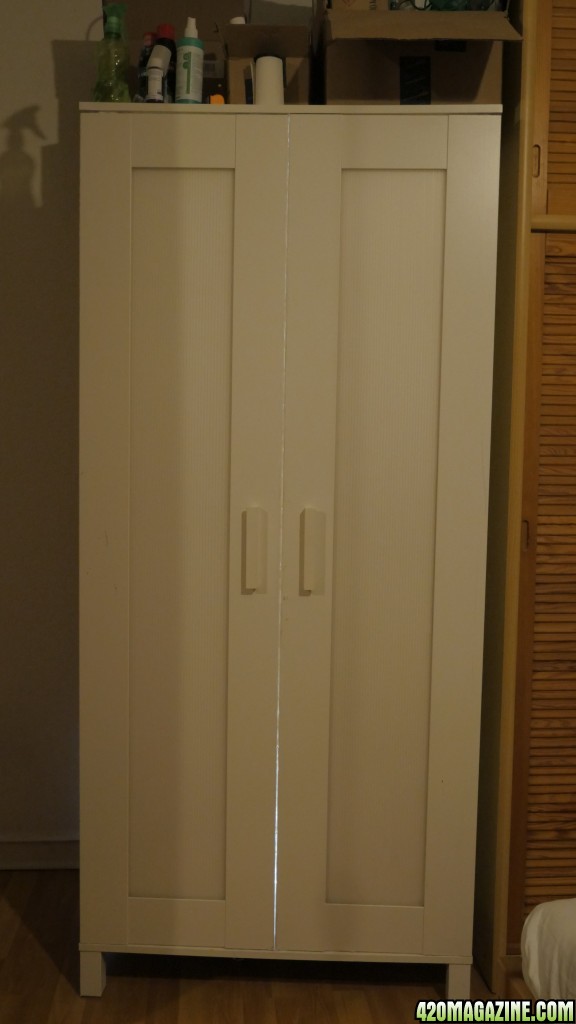
First of all, if you haven't seen my other two grow journals, please check them out. I documented the whole preparation of my grow closet, and in this thread I will just talk about the upgrades I made.
300W LED - Hydroponic - Moby Dick - First Grow - With Love
300W LED - Northern Lights & Pineapple Express - Auto - Hydro - 2nd Grow - With Love
Alright alright, Day 1 - Germination
The last times I had always gotten three seeds at once, so I had some "old" ones laying around, that I didn't want to go to waste.
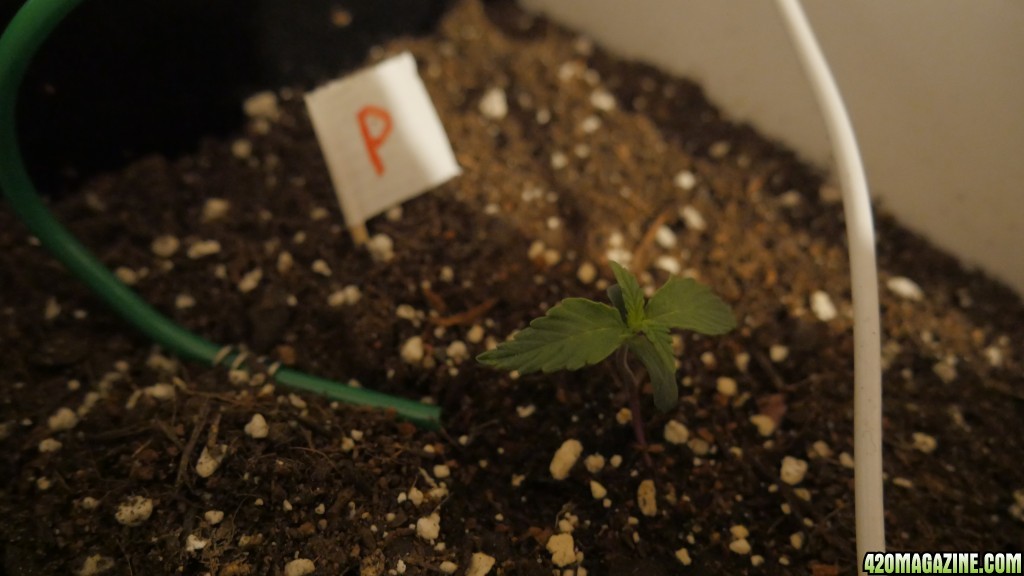
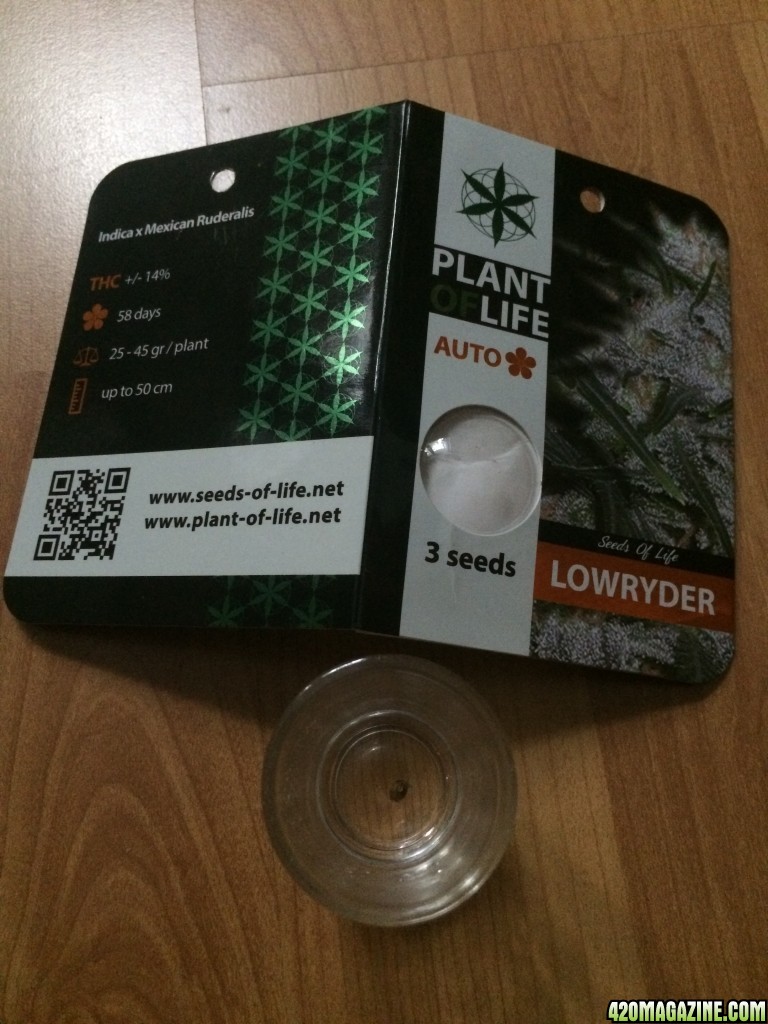
Moby Dick, Pineapple Express, and a gift from a friend Lowryder. All Autoflower.
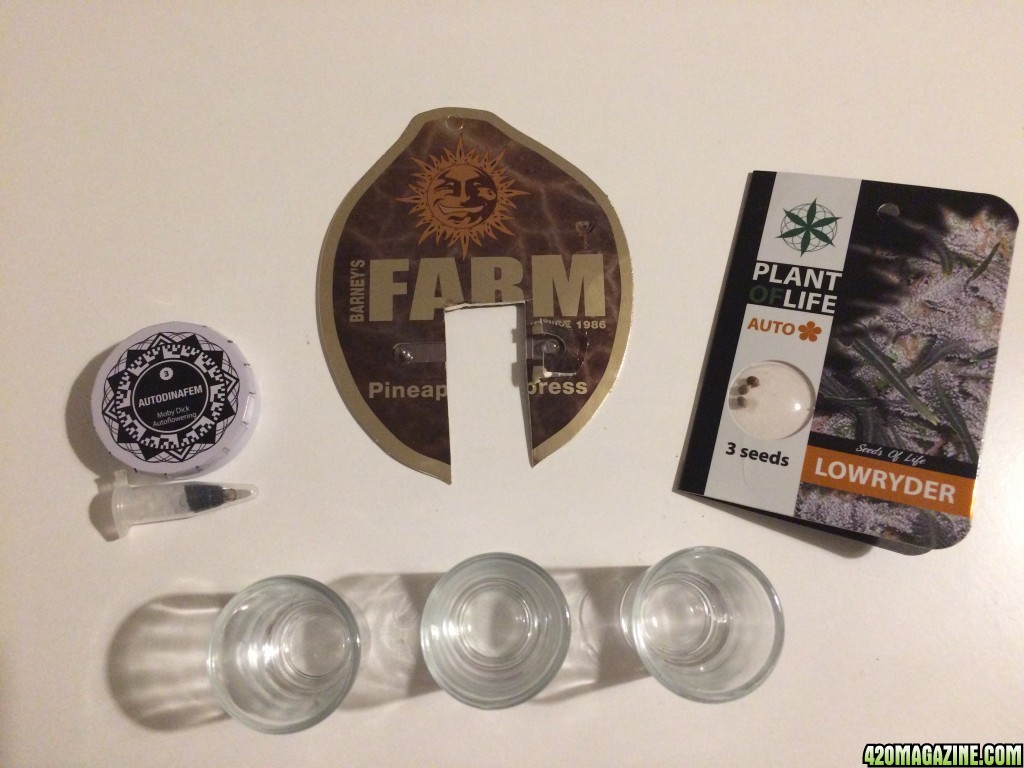
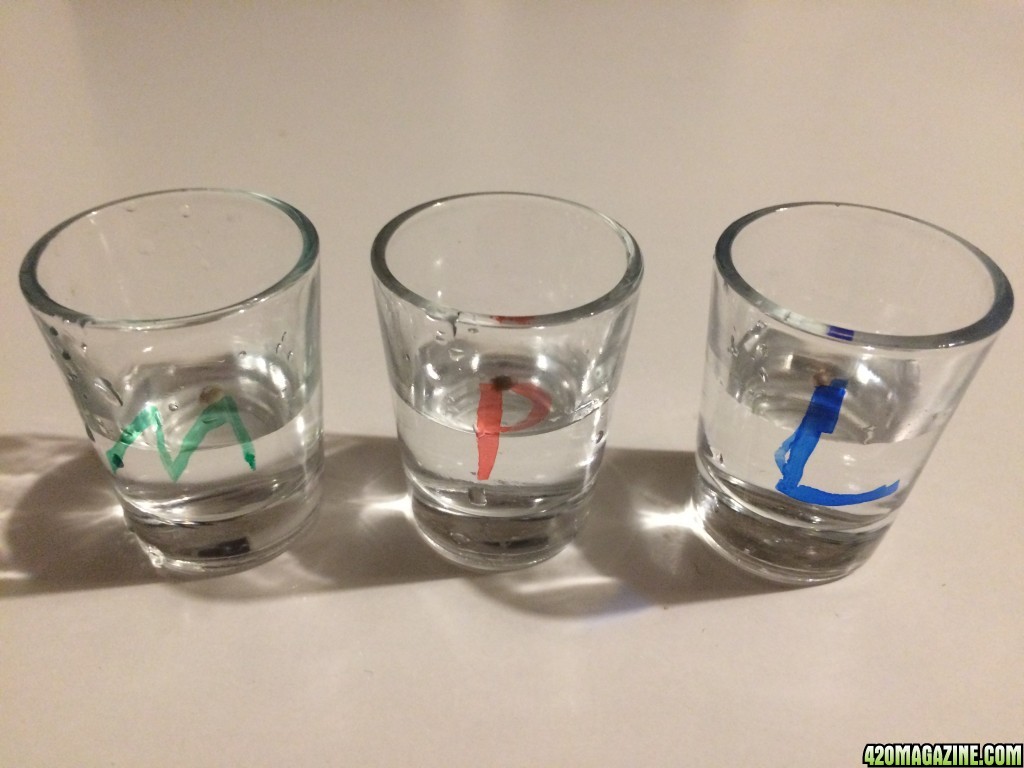
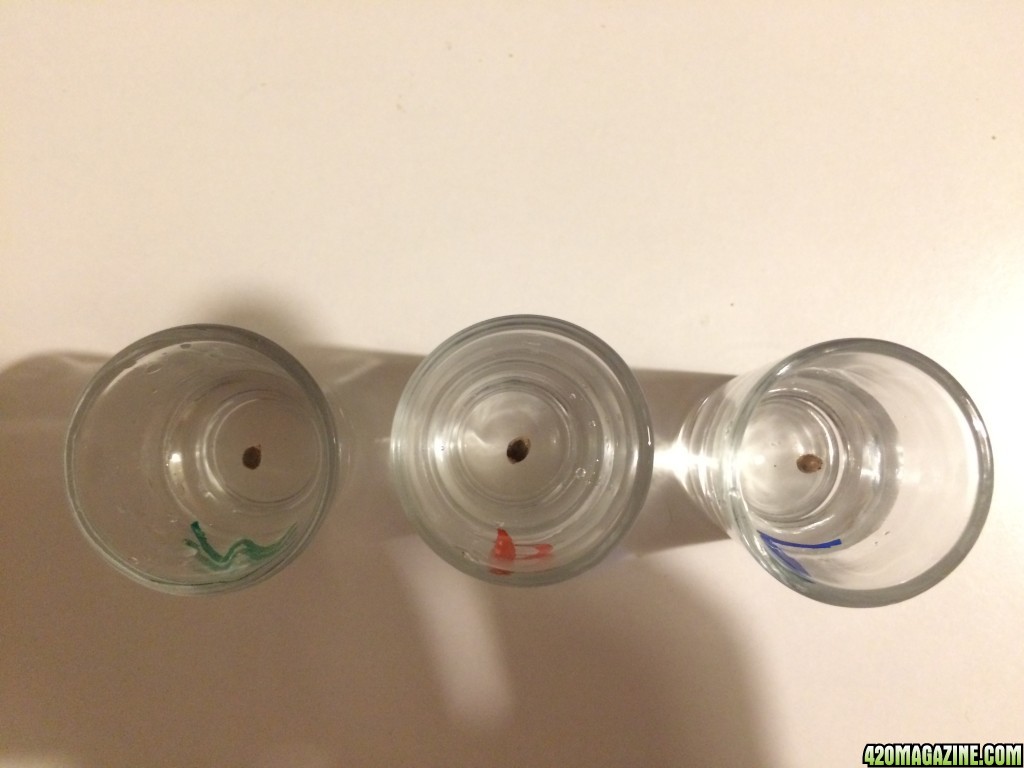
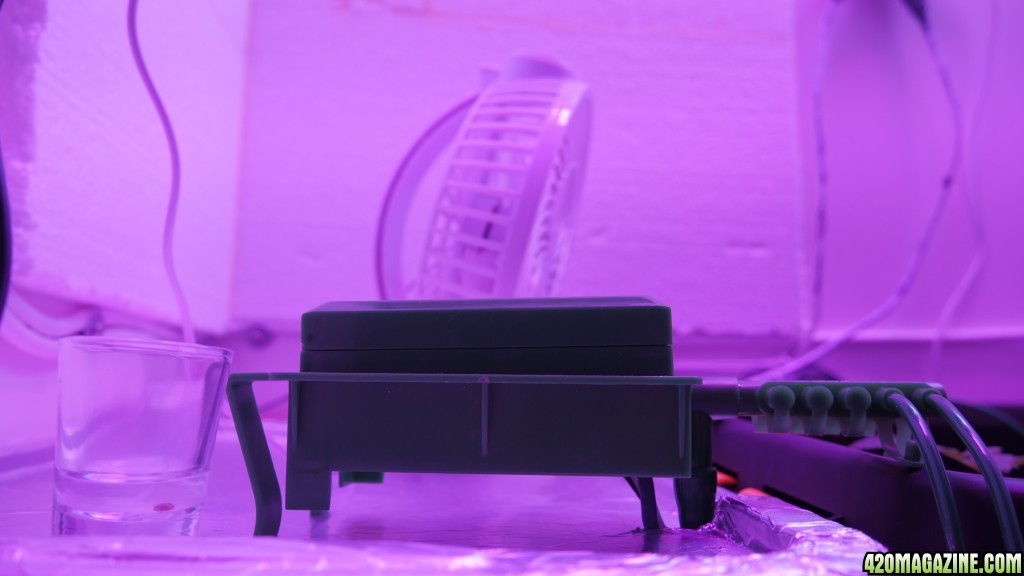
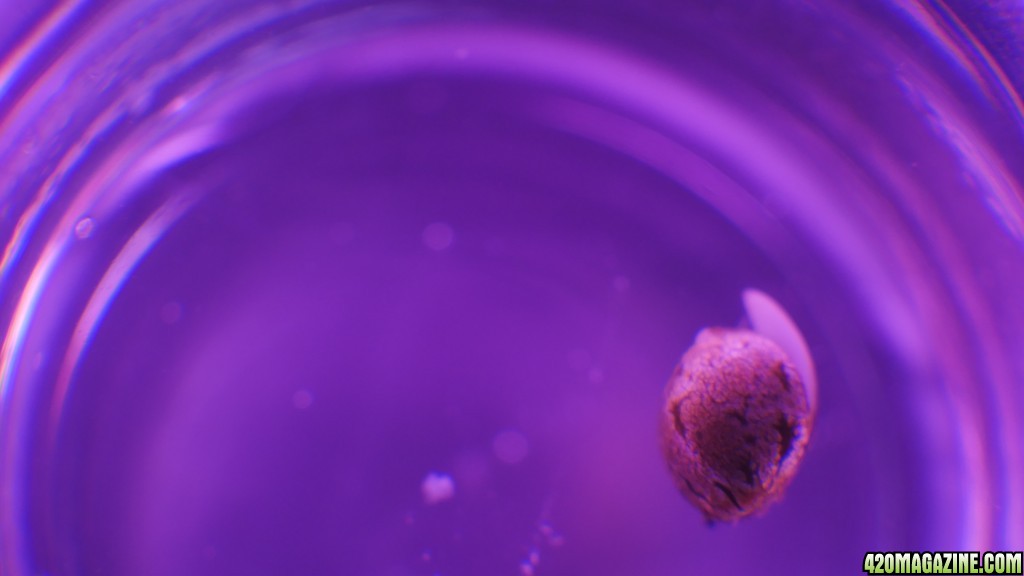
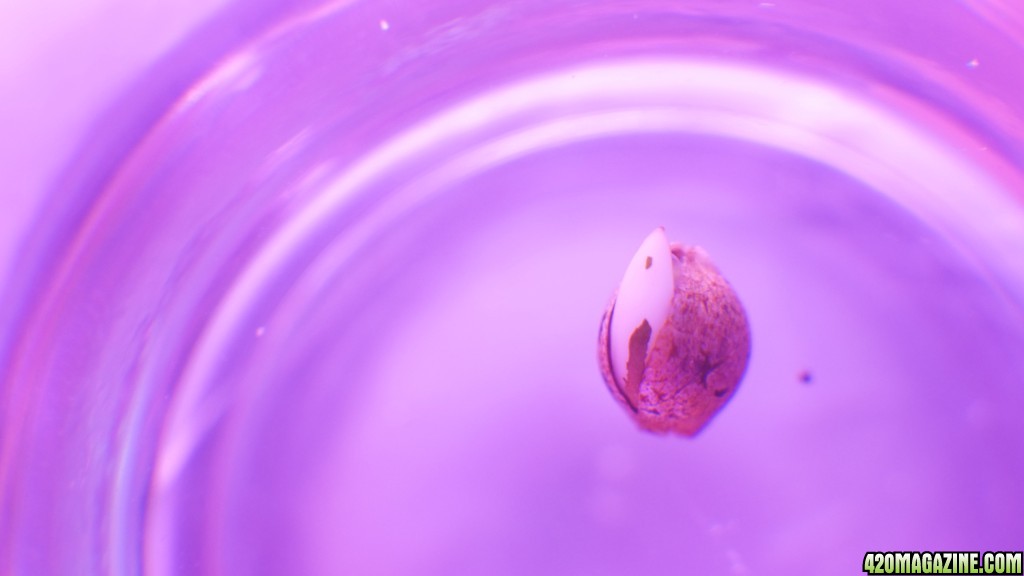
The beginning is never that spectacular. Just three tiny seeds swimming in their own shot glass, filled with water.
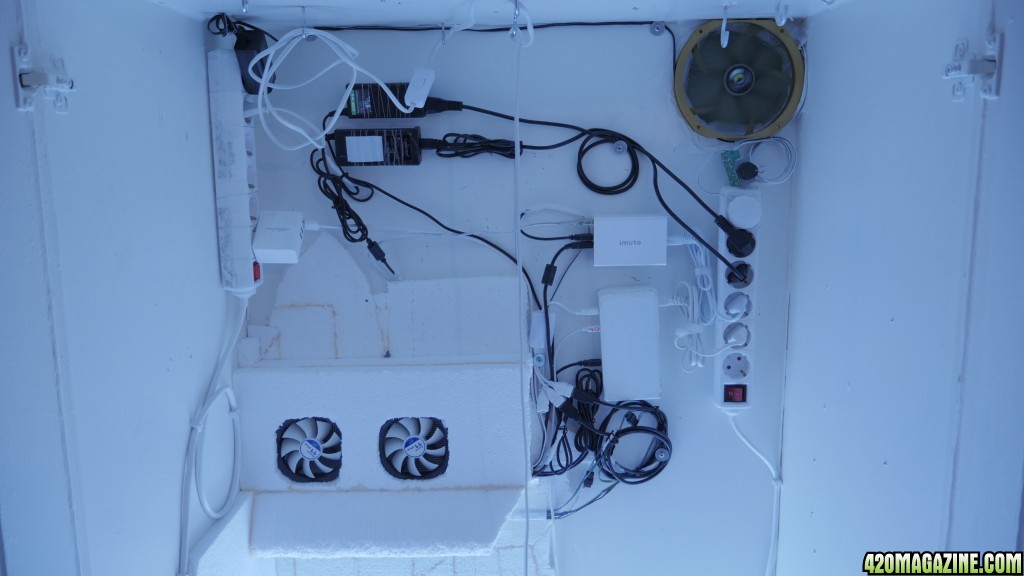
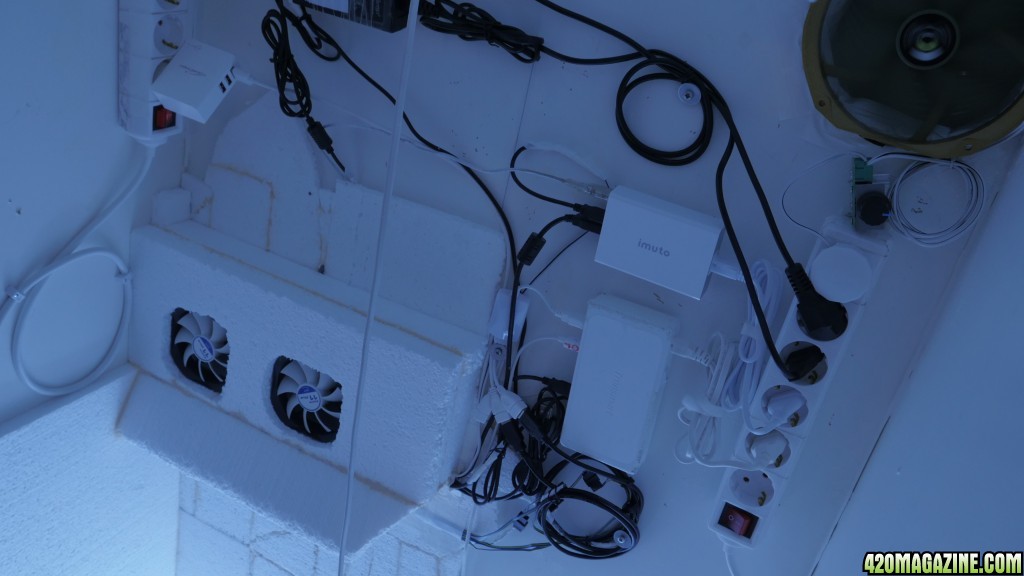
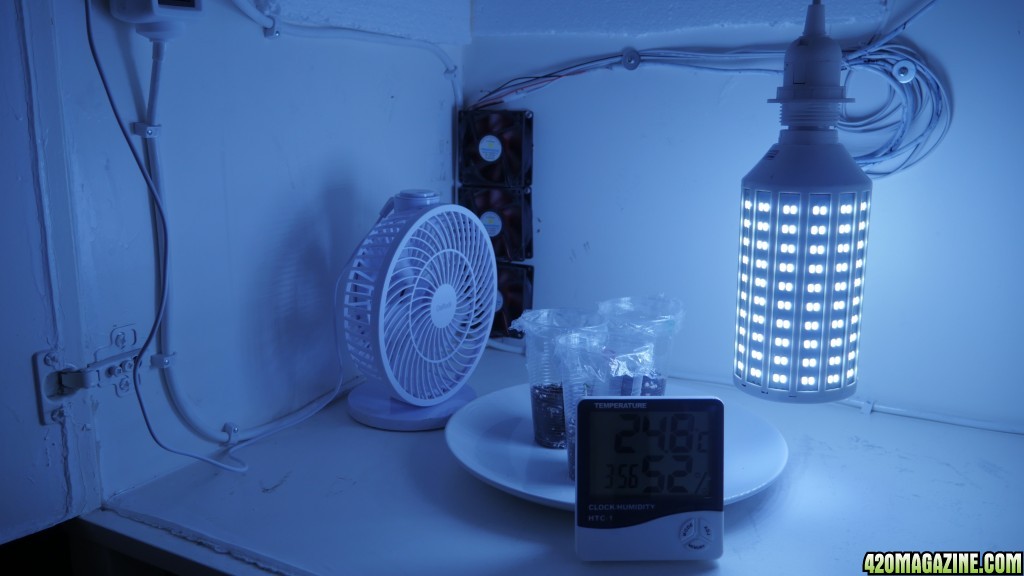
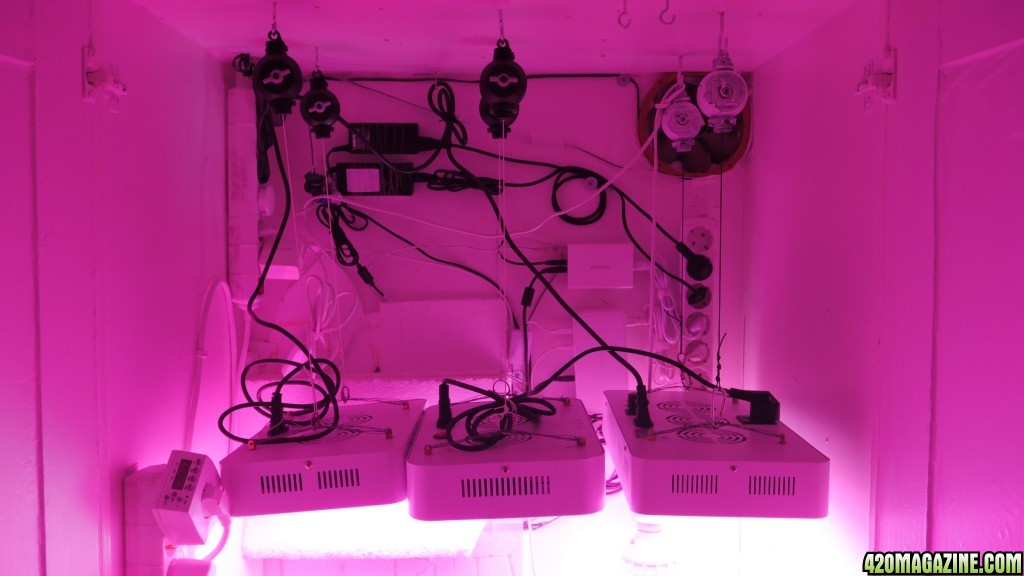
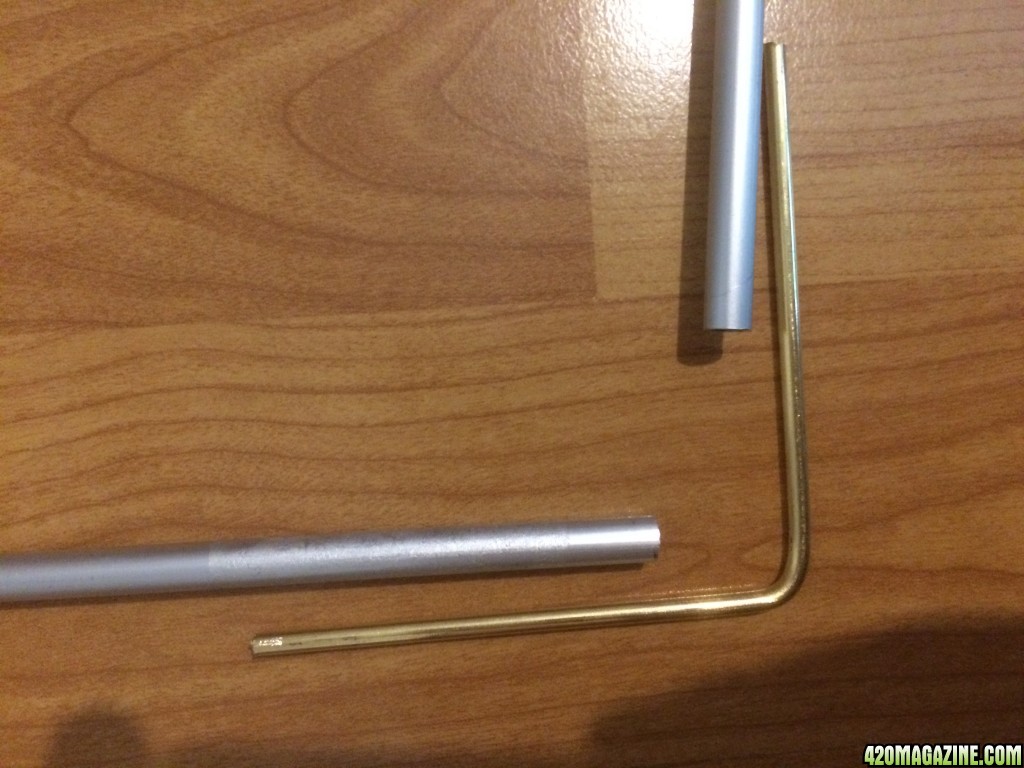
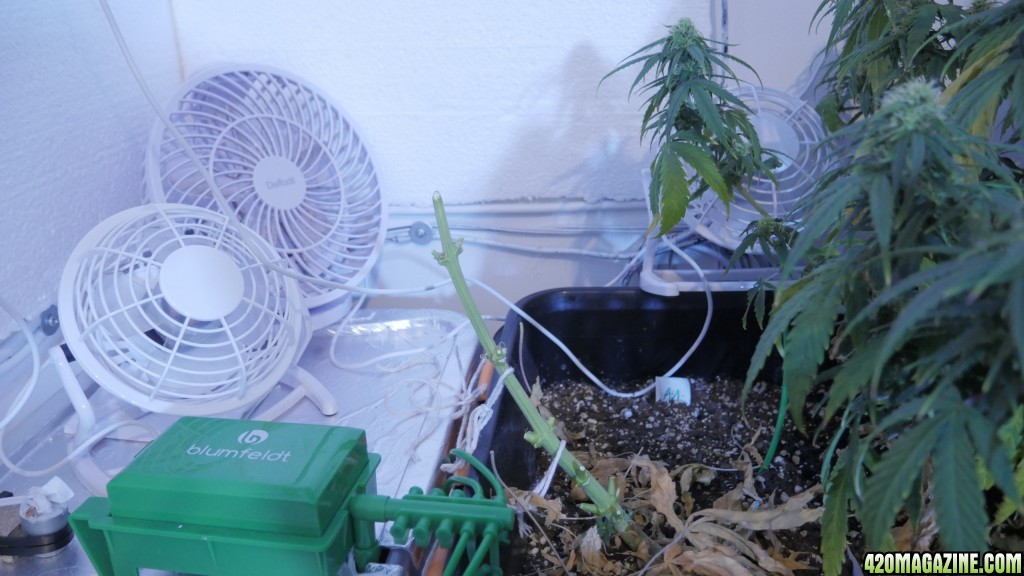
While they were busy coming to life, I could focus on my biggest pain in the neck. - cooling -
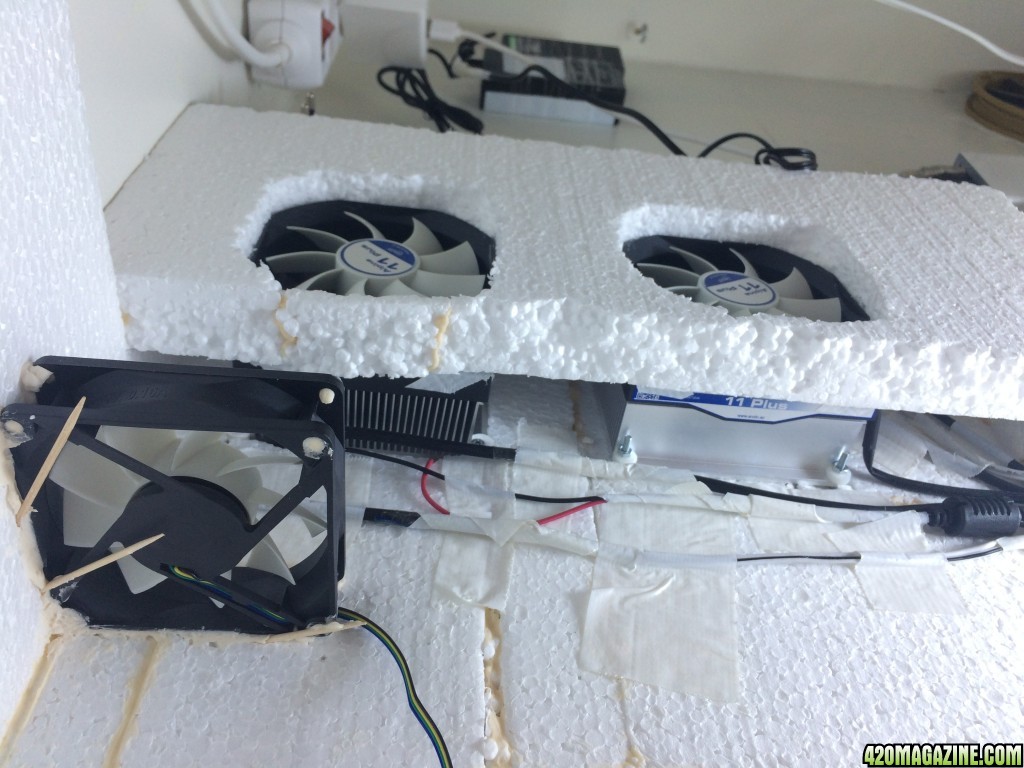
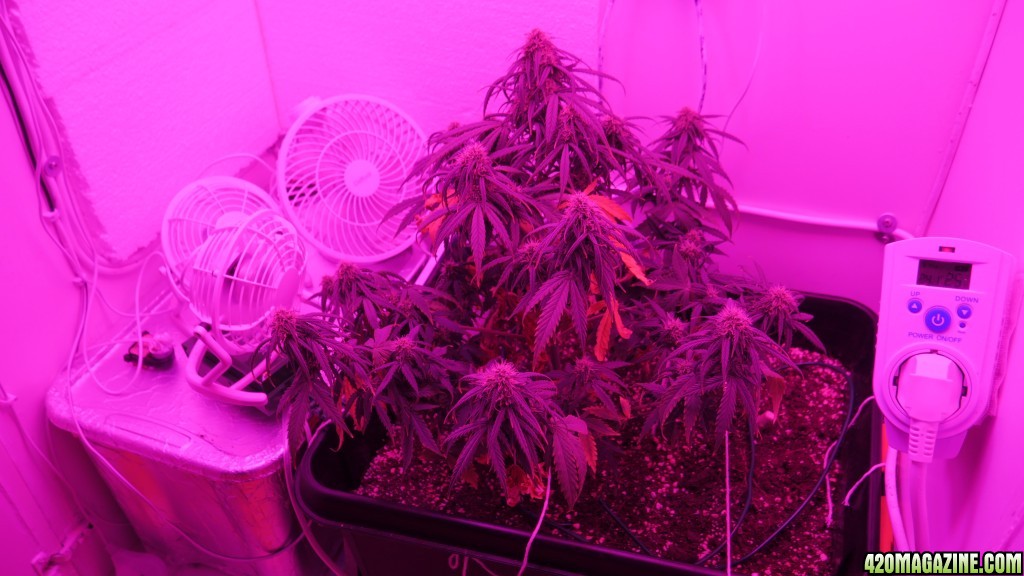
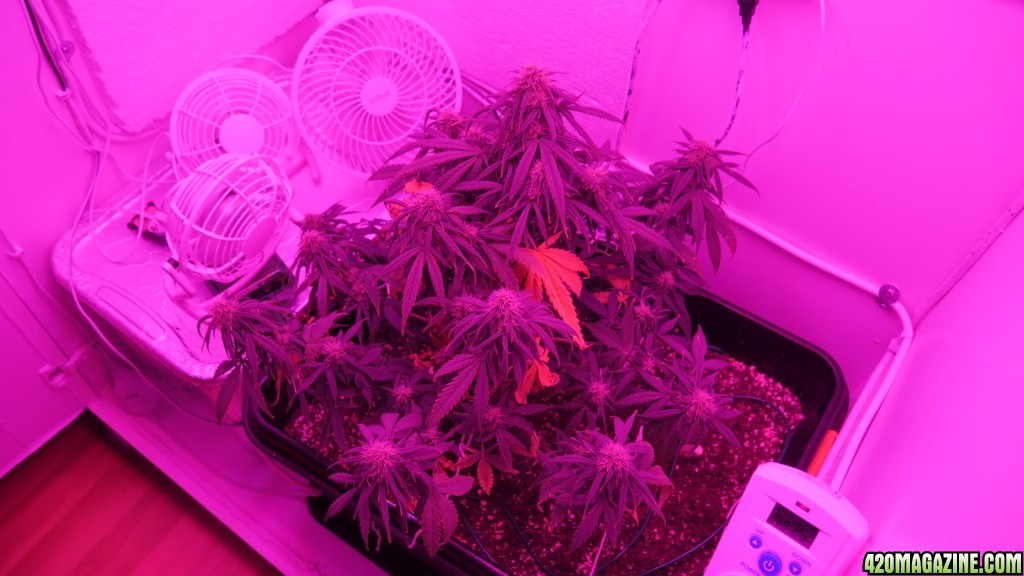
The attentive reader will remember what troubles I've had and all the things I have tried to combat high temperatures around my planties. Lastly I had split the upper hotter airflow at the lamps, from the lower cooler growing area and by also adding two Peltier coolers, I was finally able to have somewhat stable temperatures, around 24°C/75°F.
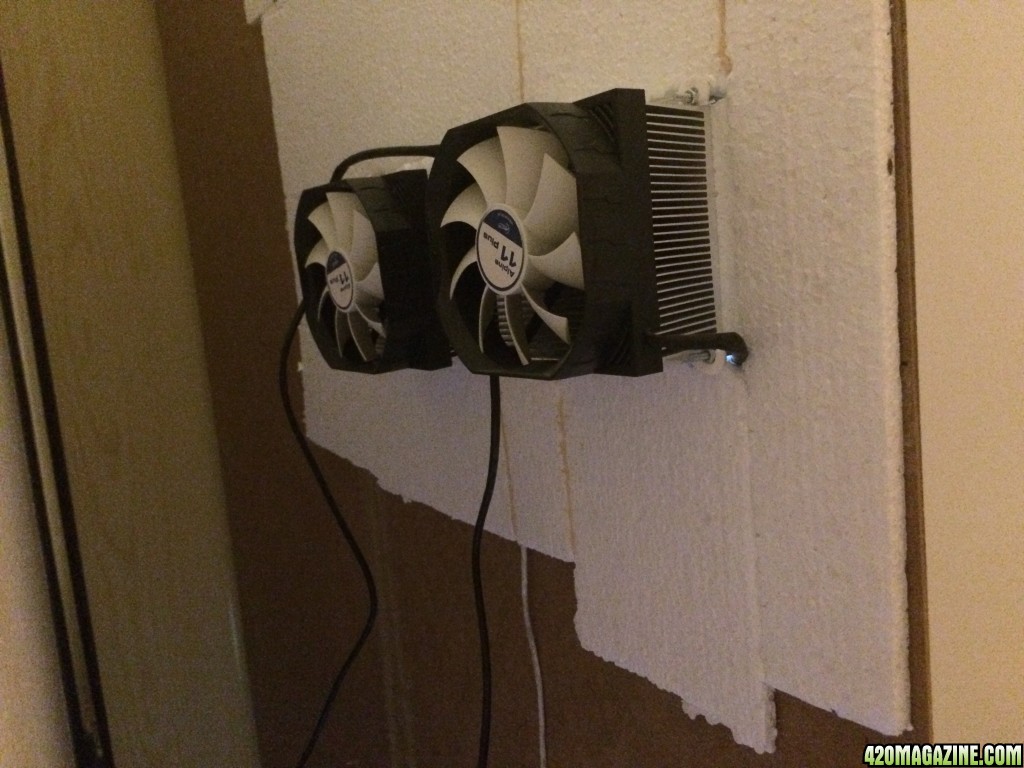
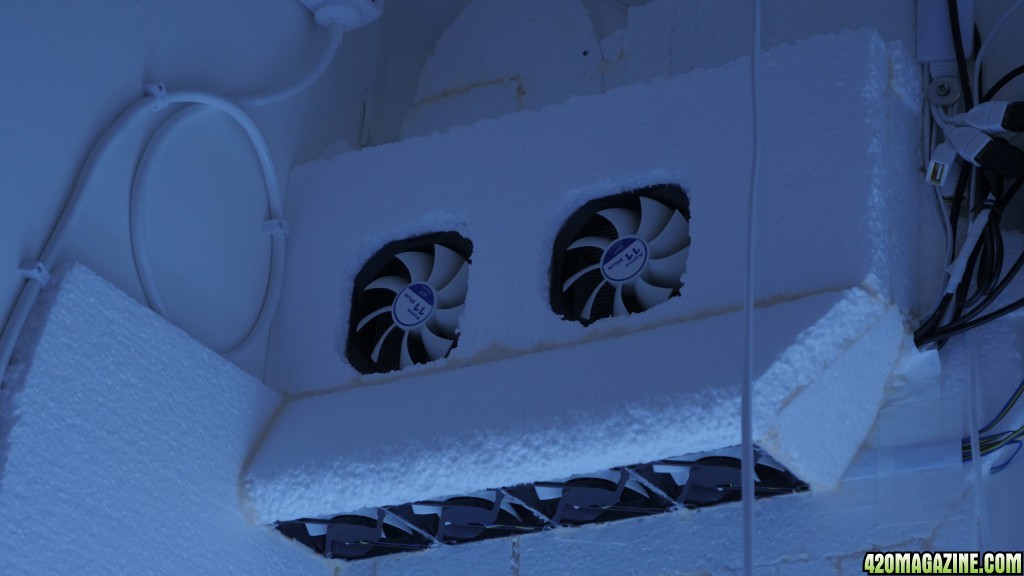
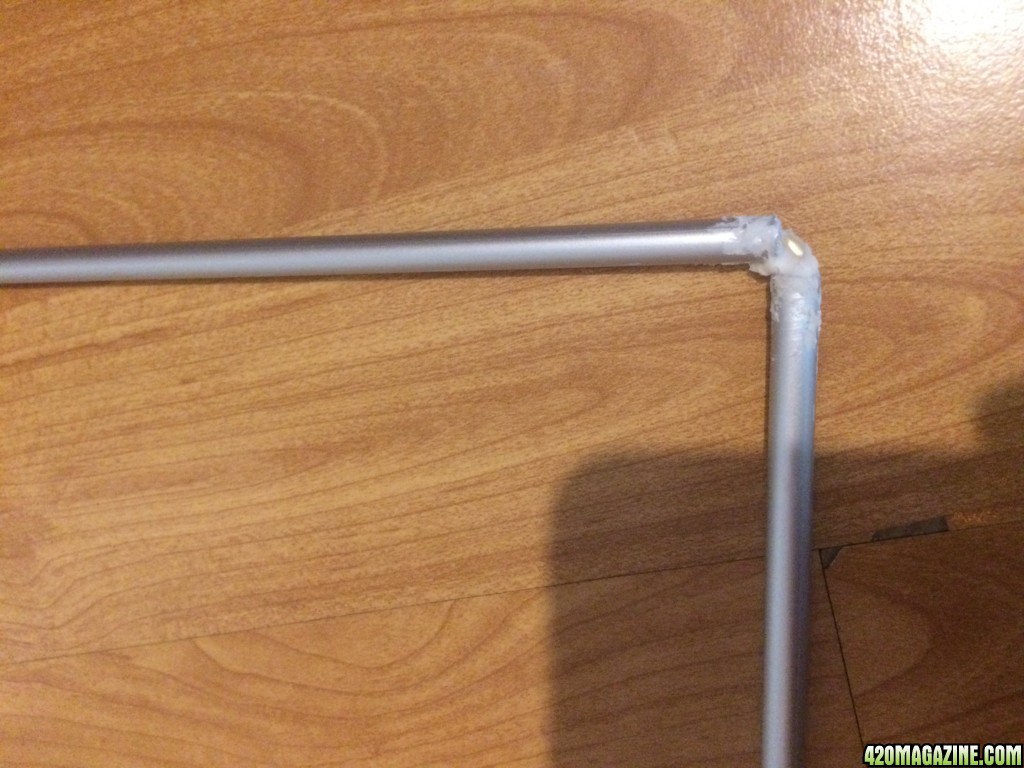
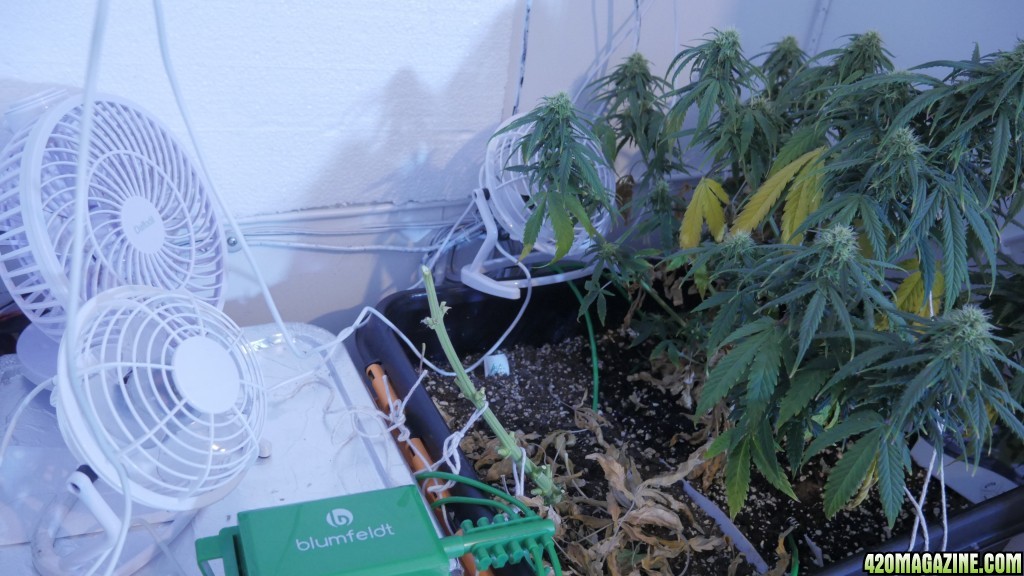
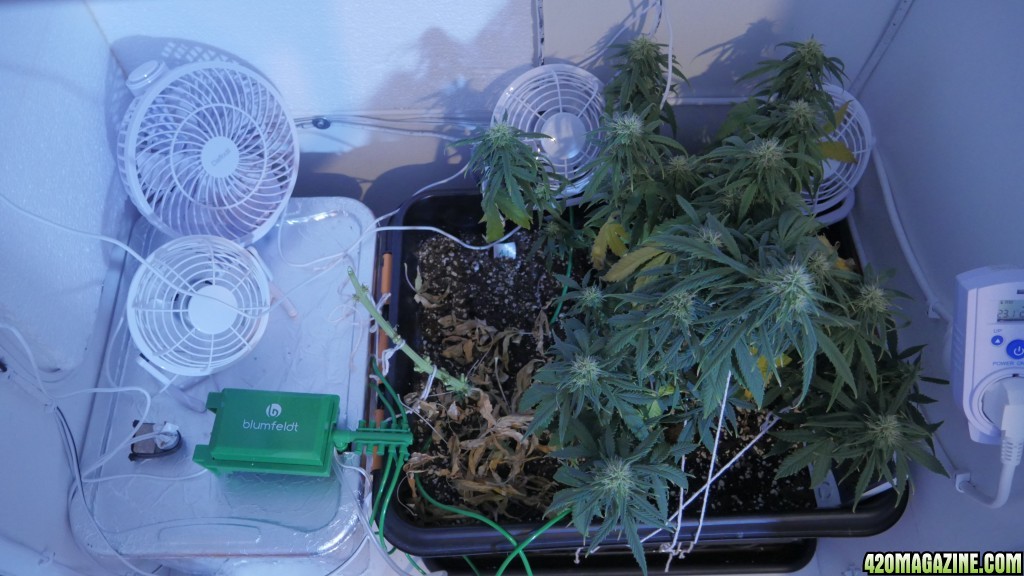
A big problem with the coolers was that they would recirculate the same air into the system, which reduced efficency and raised electric consumption. Hence I isolated the air intakes and added fans at the exhaust, to support a directed airstream through the system.
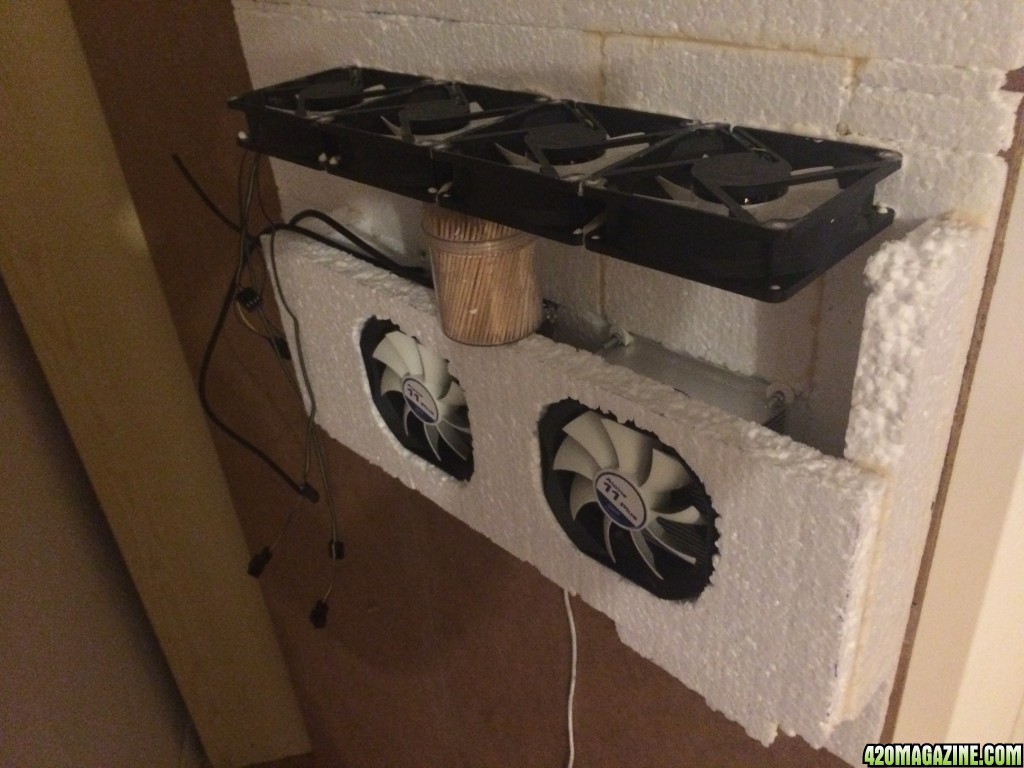
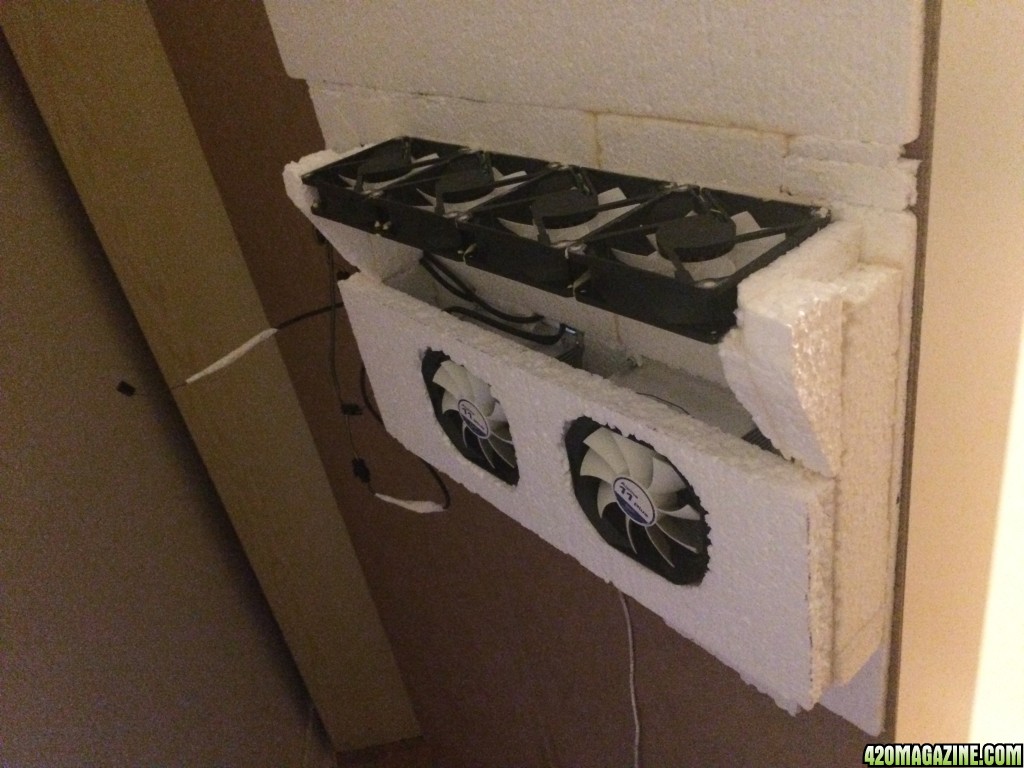
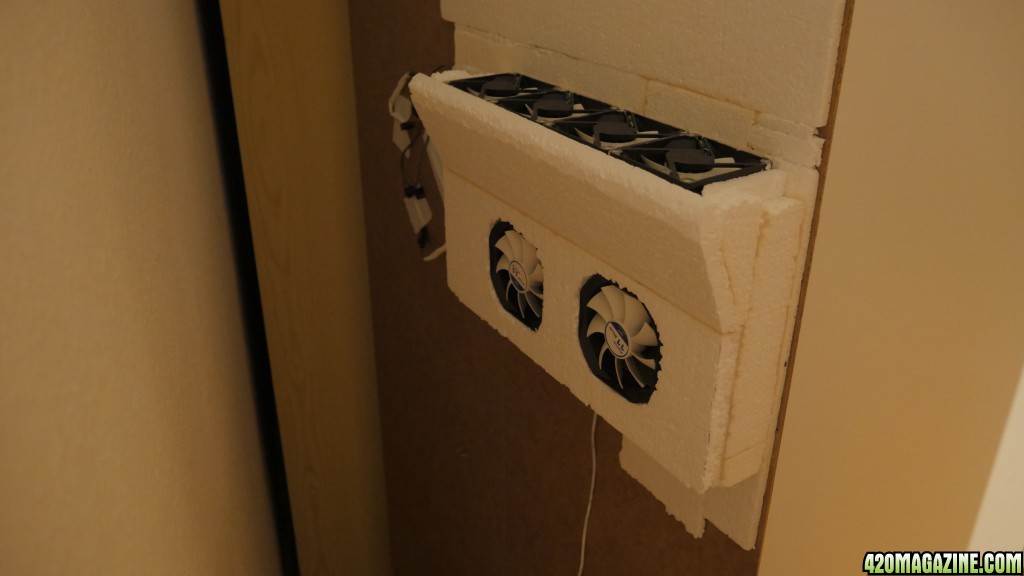
Doing this on both sides (out- and inside) really ramped up the effectiveness and will keep the power supplies from overheating.
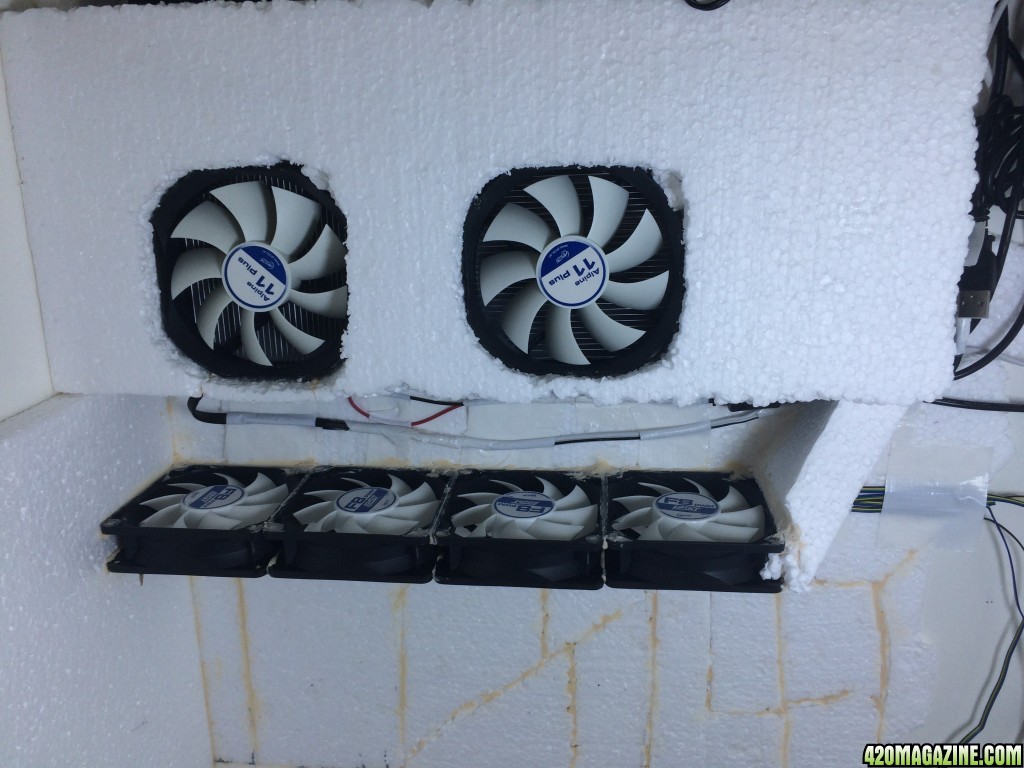
Oh, and it looks cool as shit!
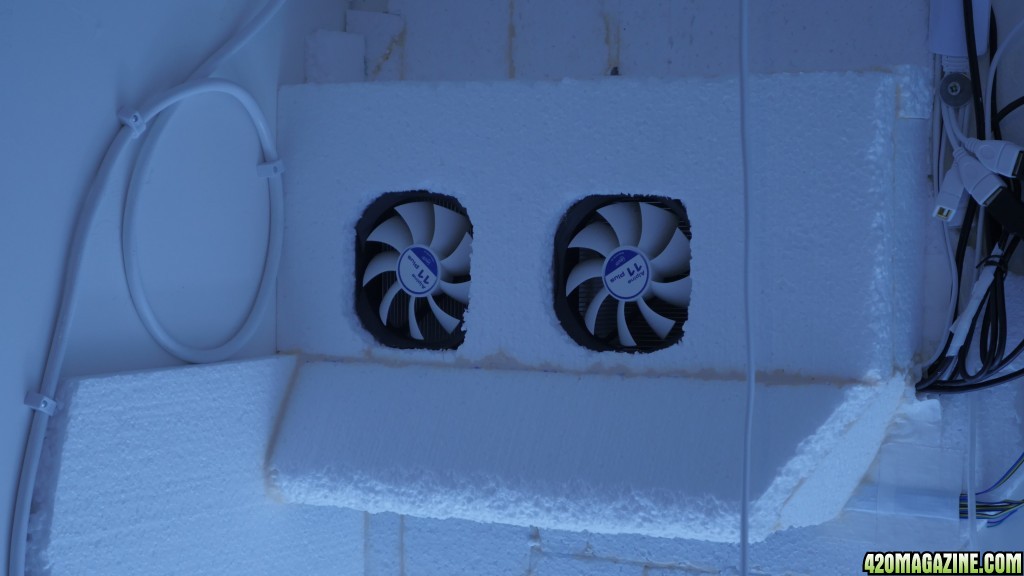
I can only recommend styrofoam to anyone thinking of making this. It's cheap, easy to process and you end up with something sleek and costum designed.
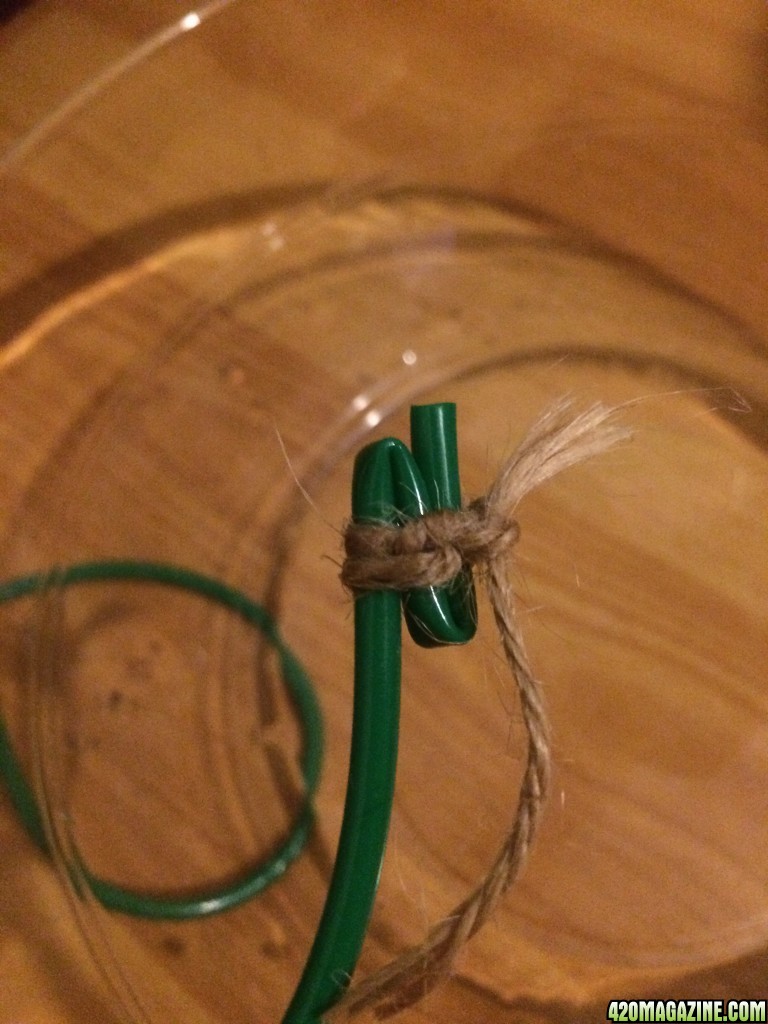
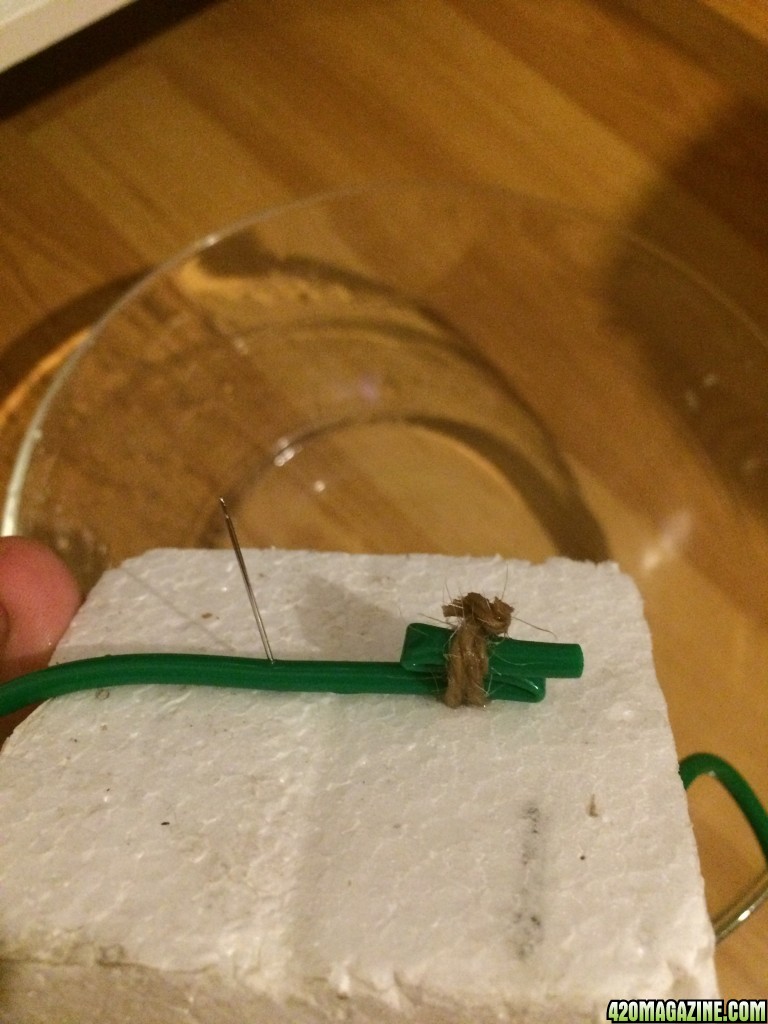
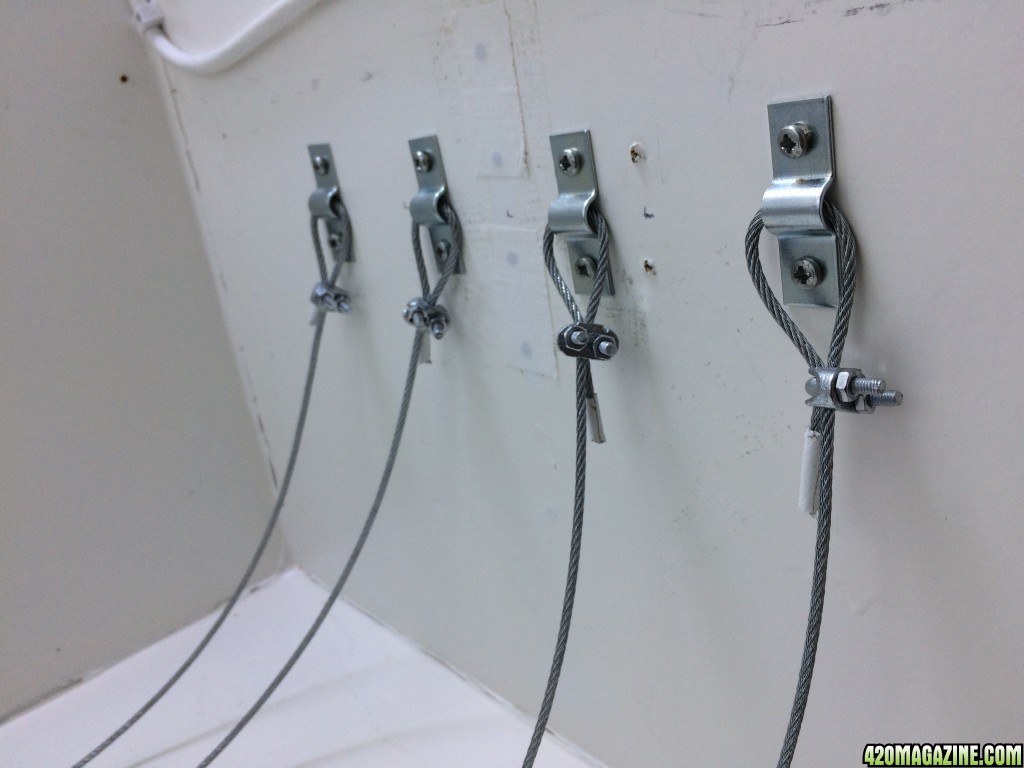
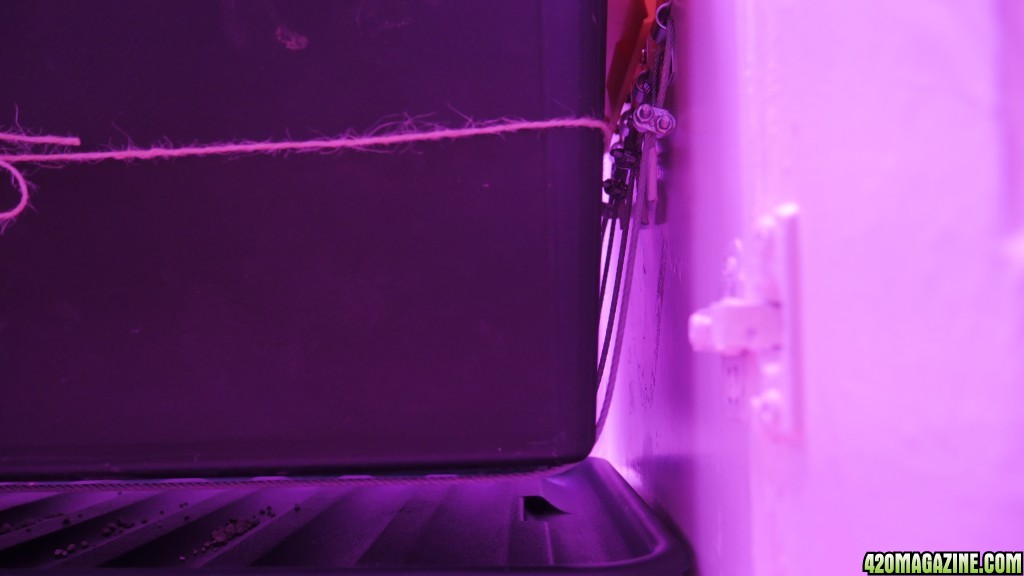
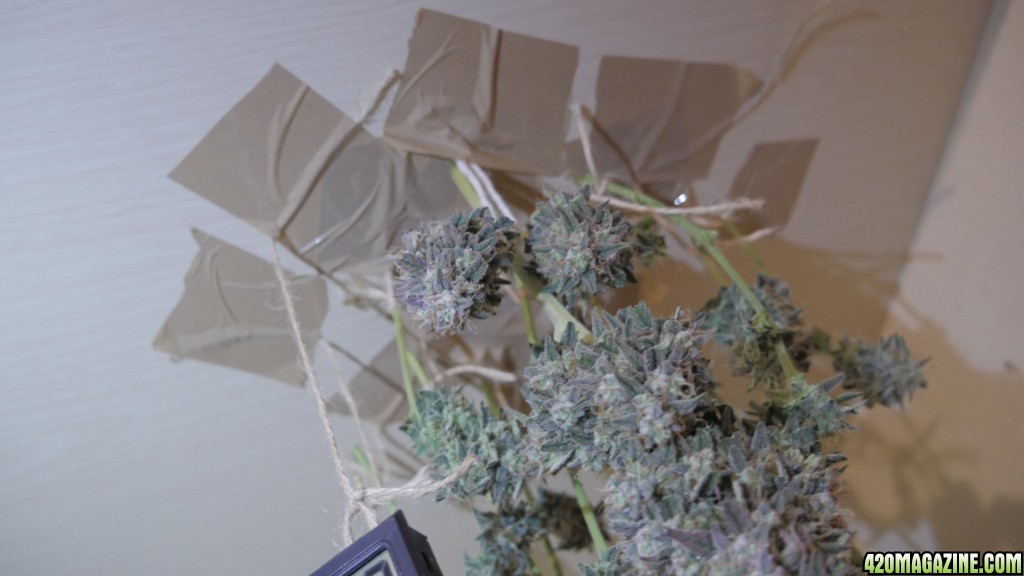
I also got rid of most of the tape which held the electronics in place. It sticks well and all, but especially if you're dealing with fluctuating temperatures and intense light, sooner or later it will come off and drop whatever it was holding up. I came up with this simple solution, of adding wire to sticky velcro strips and stapling the counter parts to the walls of the closet.
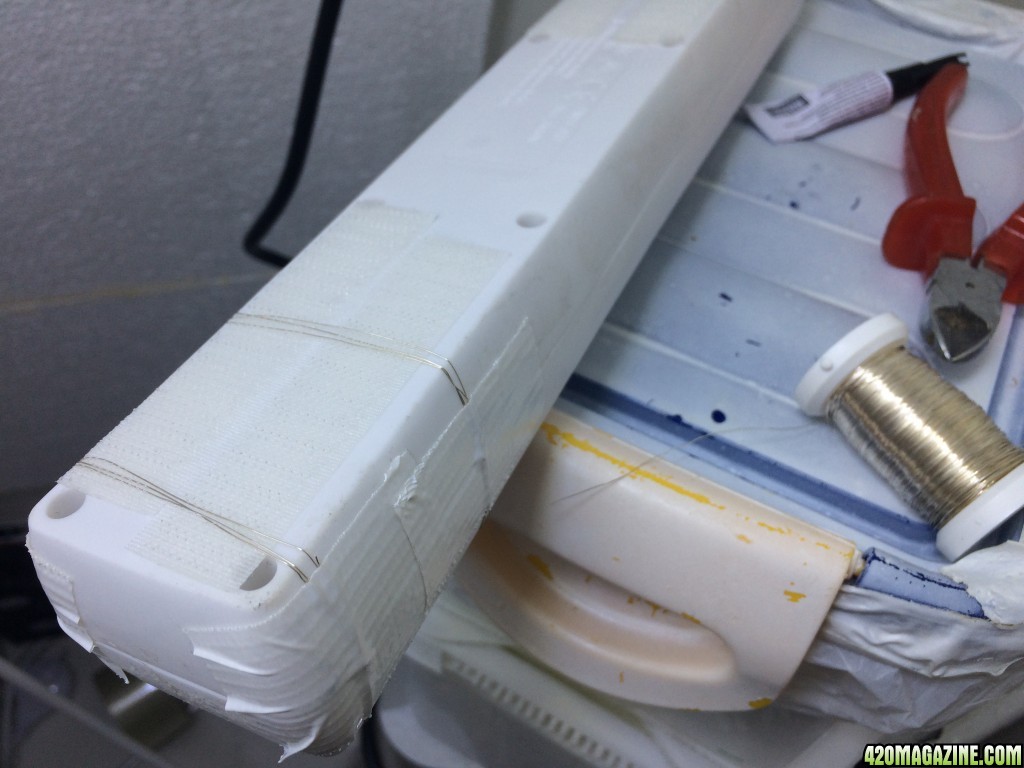
Screws with big washers hold the cables in place and I never have to worry about bits of my setup falling apart ever again! ^_^
Looks way cleaner too.
OK! With the annoying part out of the way I could get back to my babies.
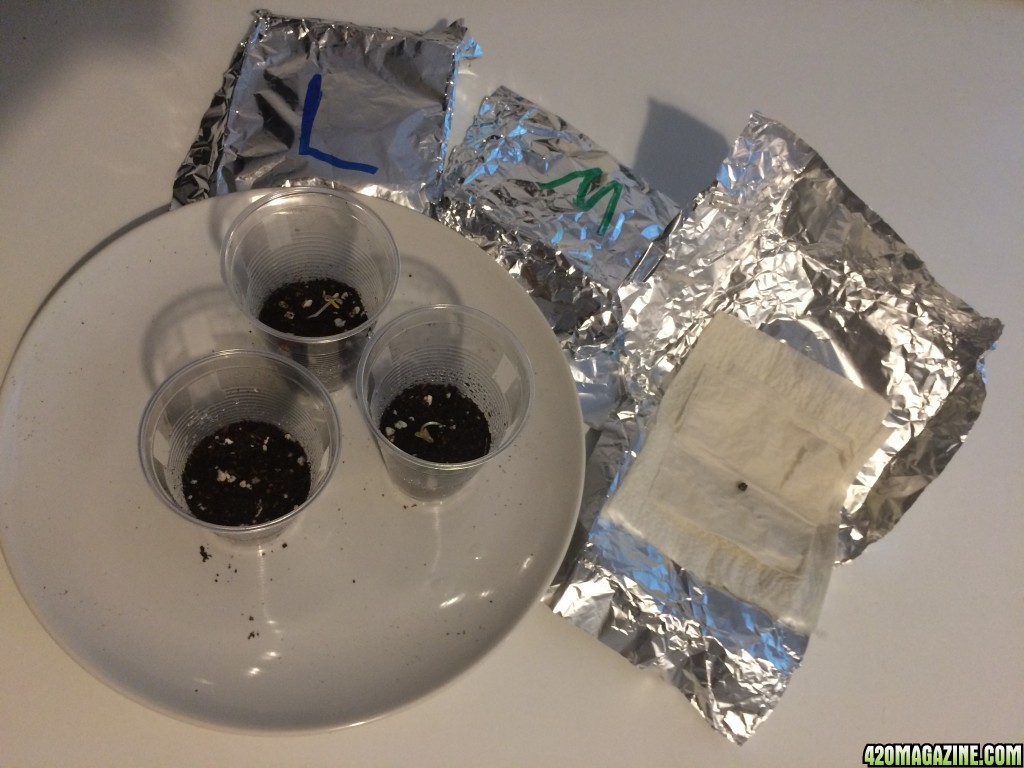
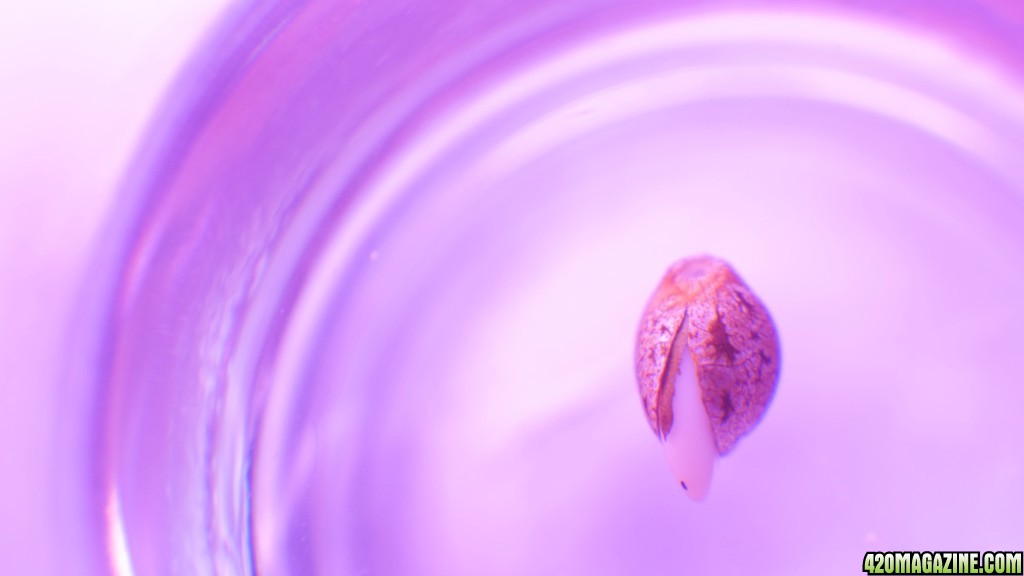
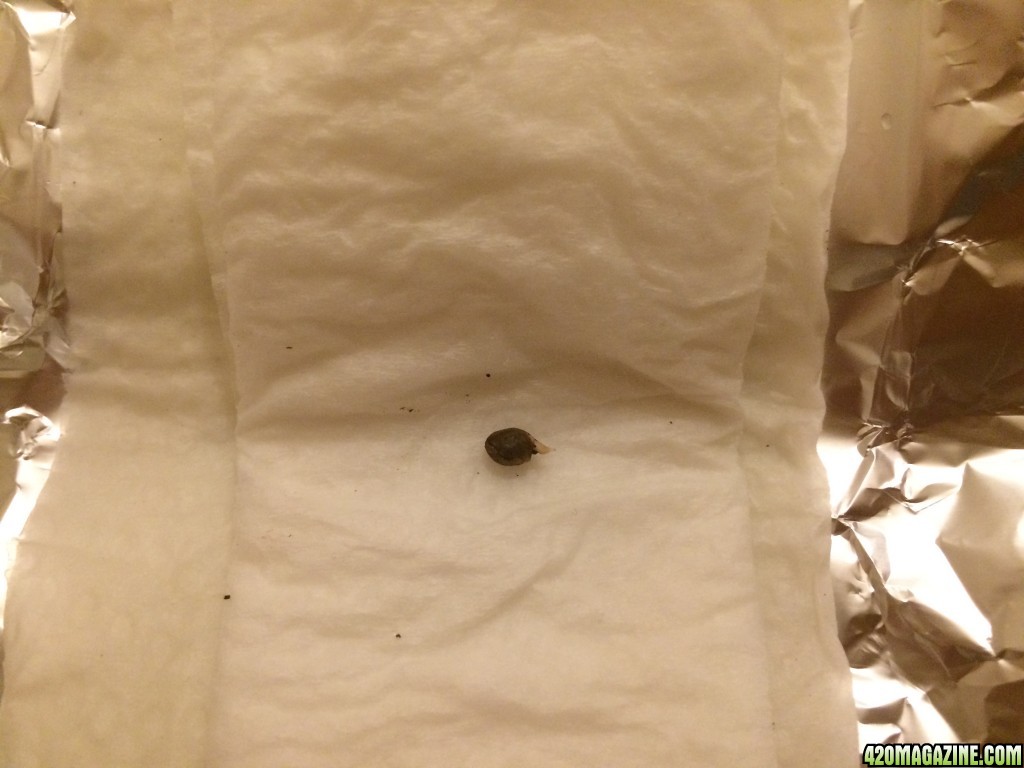
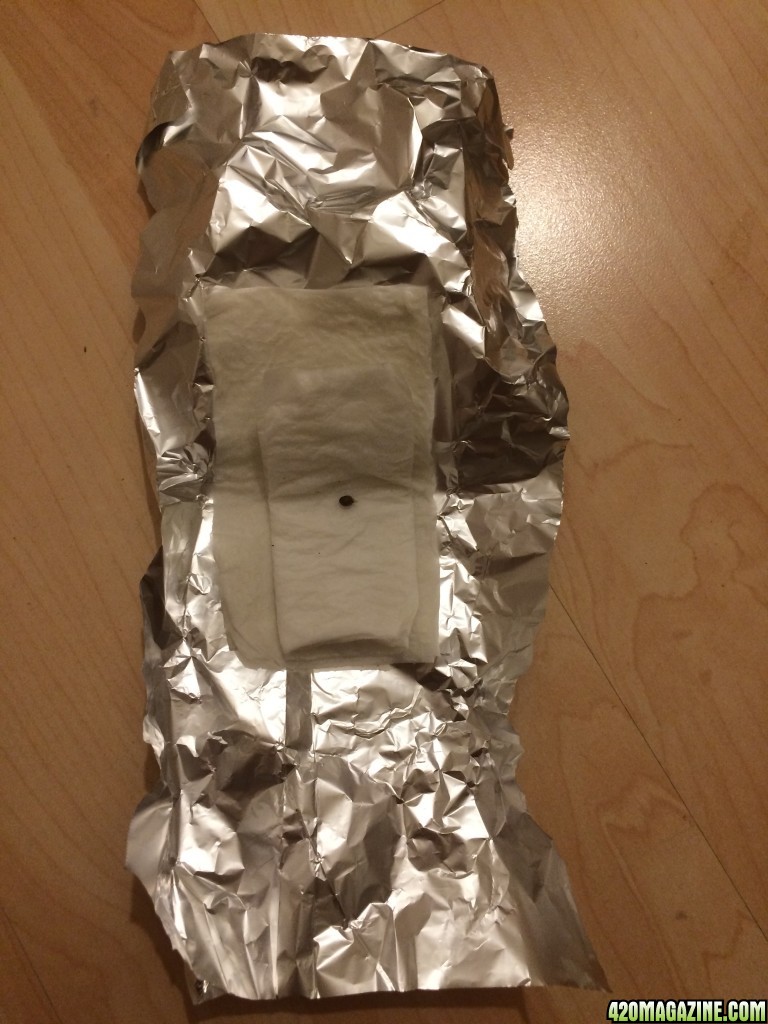
After they had sprouted I put them in a demp napkin and enclosed it in a layer of aluminium foil. 5 days had passed and they were big enough to be transfered into soil.
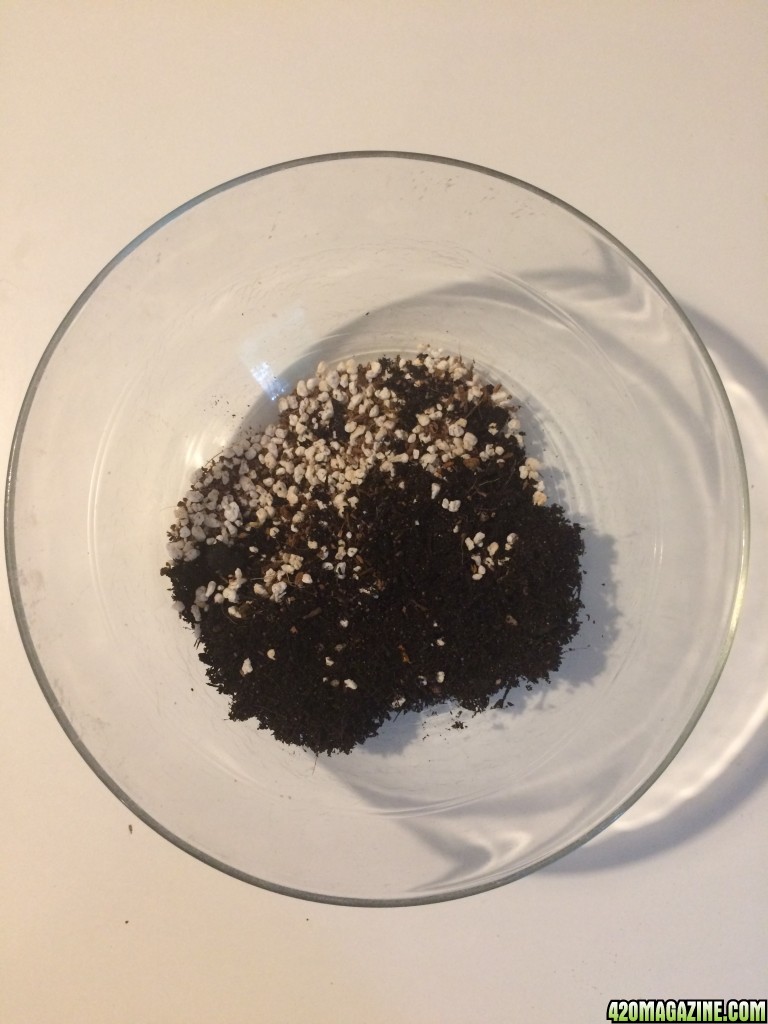
Day 6
I mixed a bit of perlite, coco coir and soil...
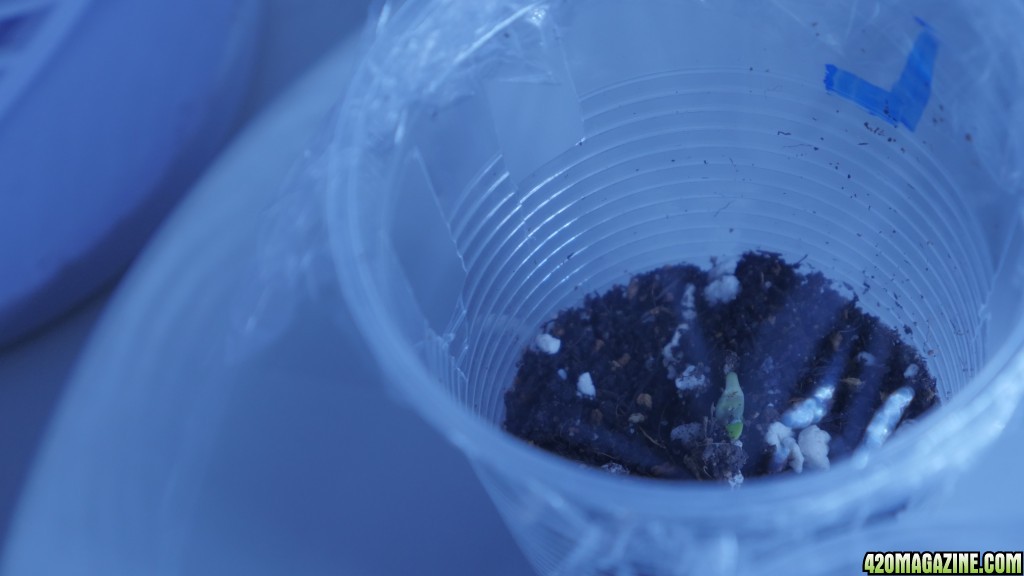
... cut slits at the top plastic cups for air exchange and on the bottom for drainage...
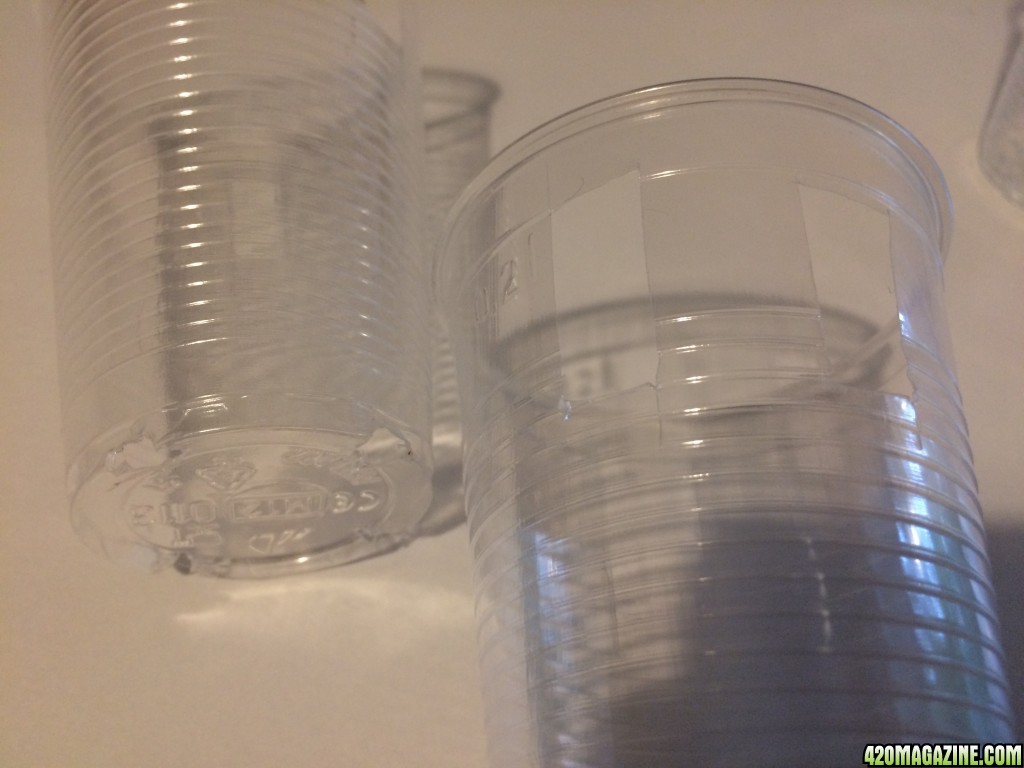
and put it all together.
They were more than ready for it.
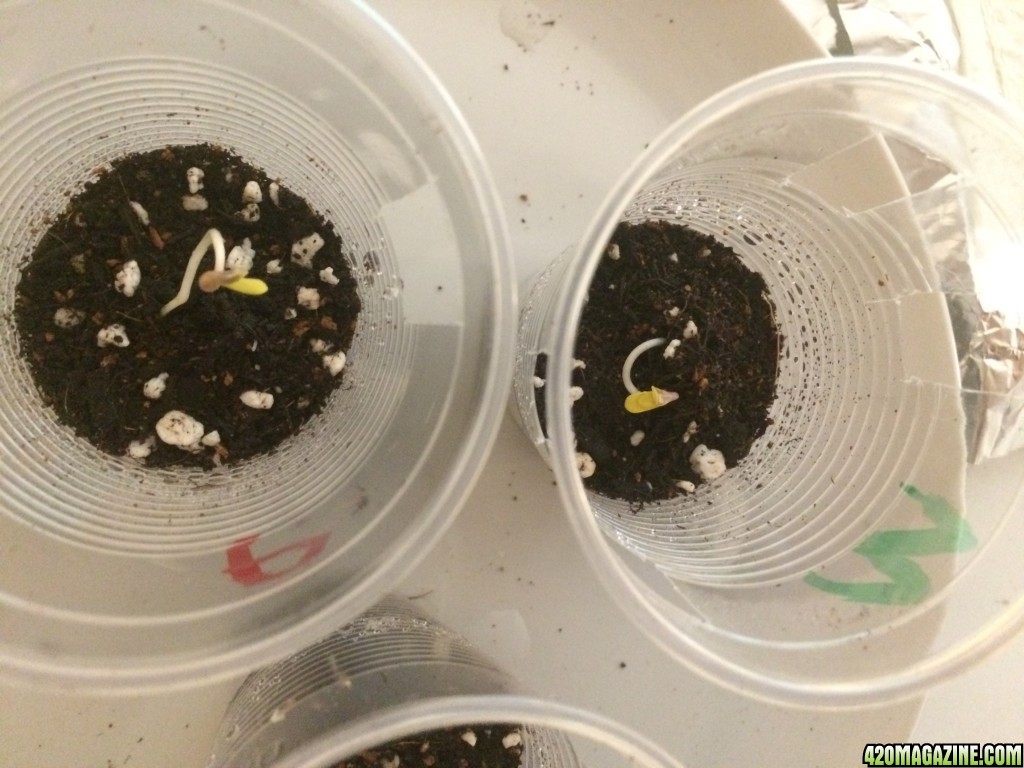
Then they said hello to their new and final home of three months.

This is always a memorable moment for me =)
Almost birthlike.

Look at the little things doing their first streches.
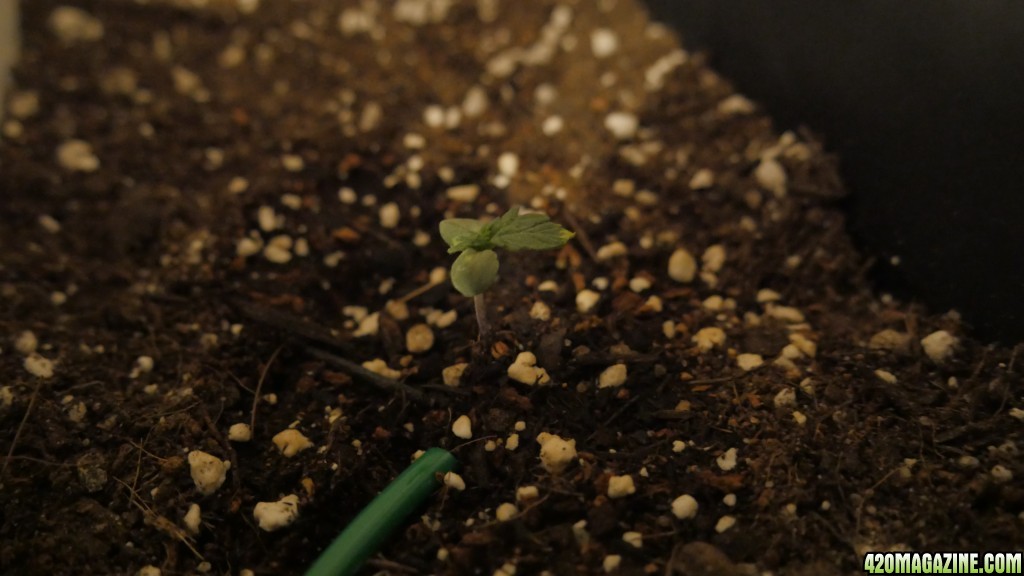
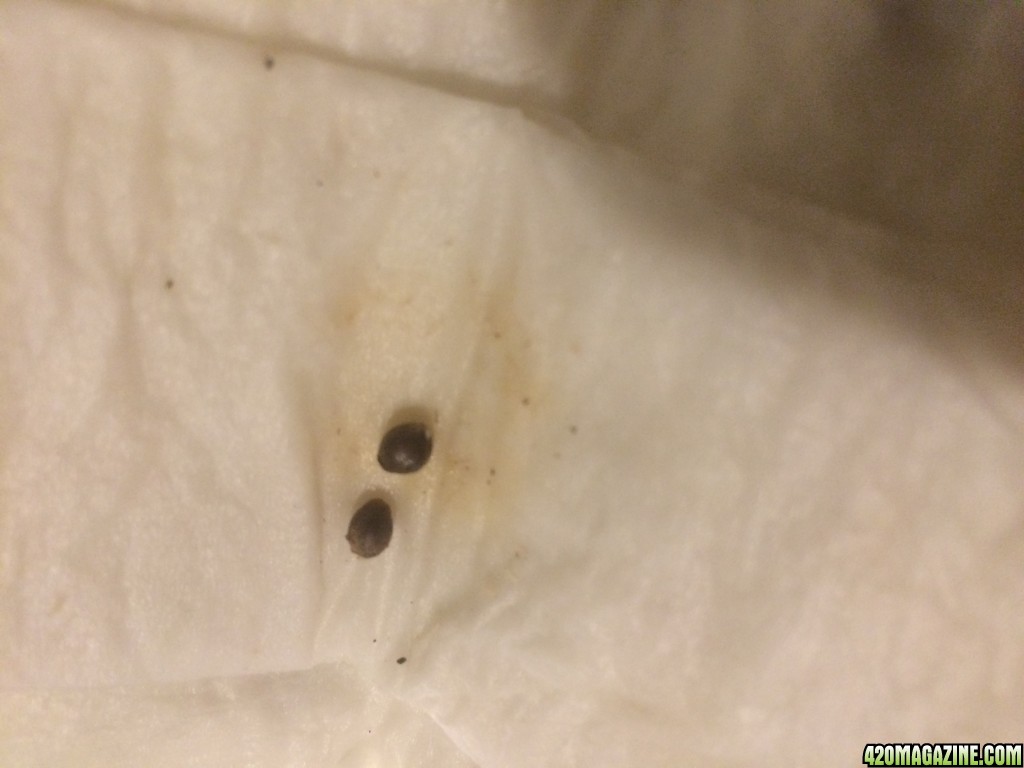
The Lowryder had taken two days longer to sprout. For some reason she was, from the very beginning weaker than the other two.
With the dynamic trio hanging out at their favourite spot, I could get back to further improofments.
I already had a water pump with a timer, but it was powered with batteries, which I found suuuper annoying. So, I did some googling and came up with this fantastic little trick, which I am pleased to share with all of you guys!
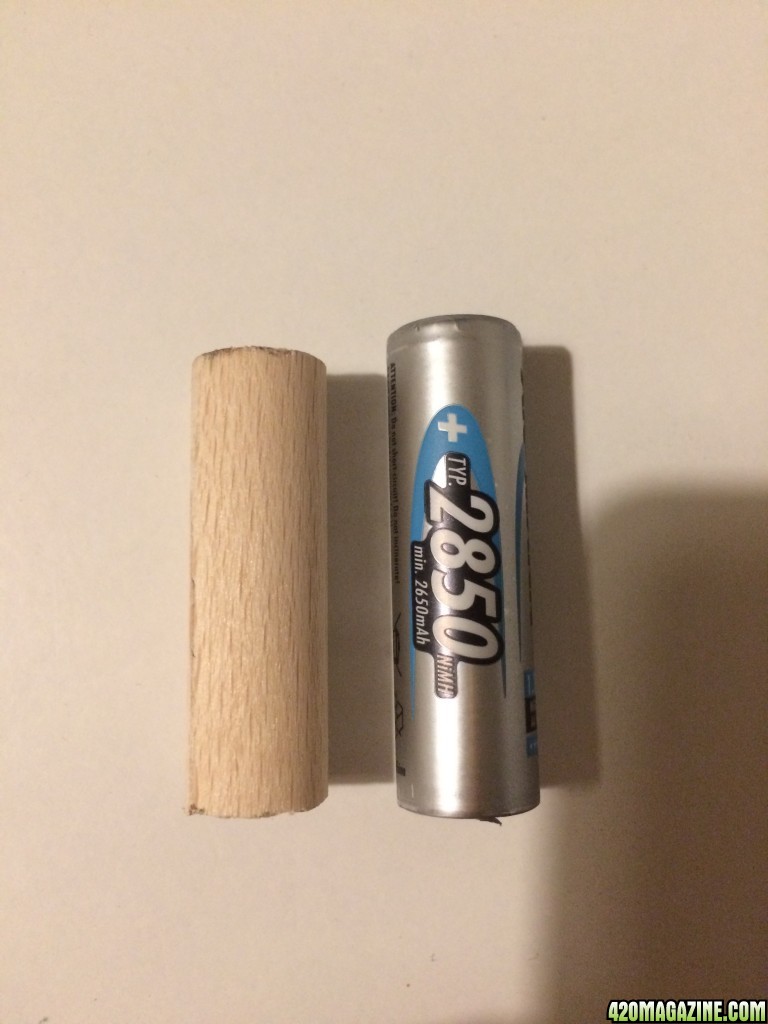
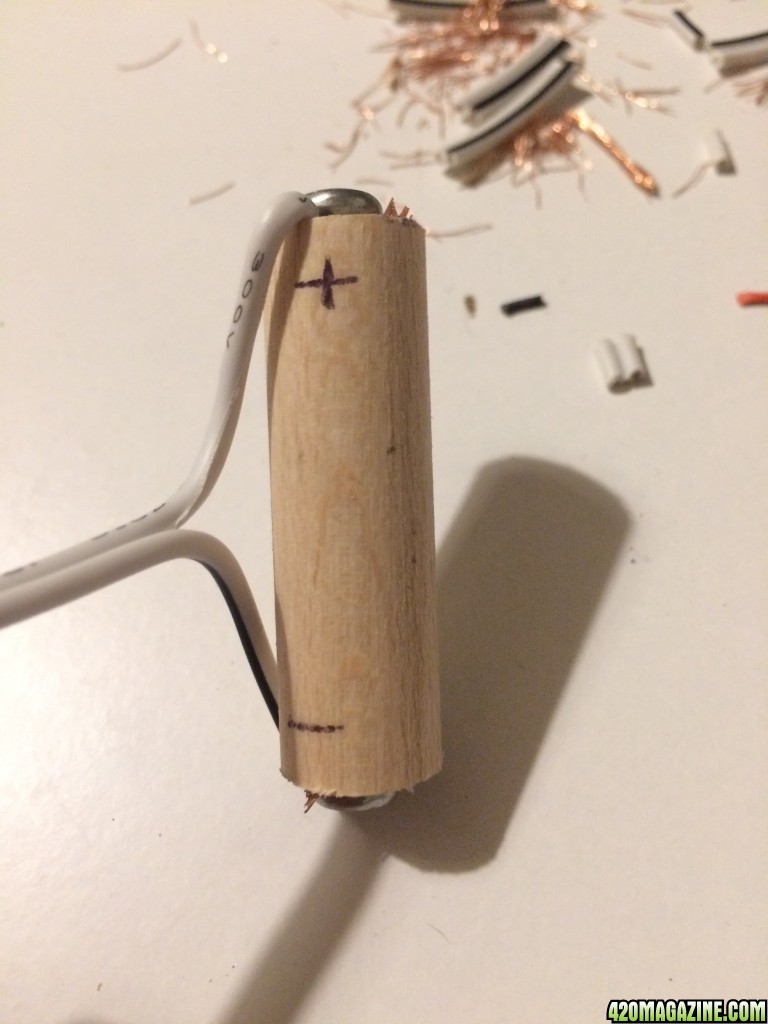
You cut wooden pieces, a little bit shorter than the batteries you desire to get rid of.
AAs are 5cm/2in, so I cut mine 4,6cm/1,8in
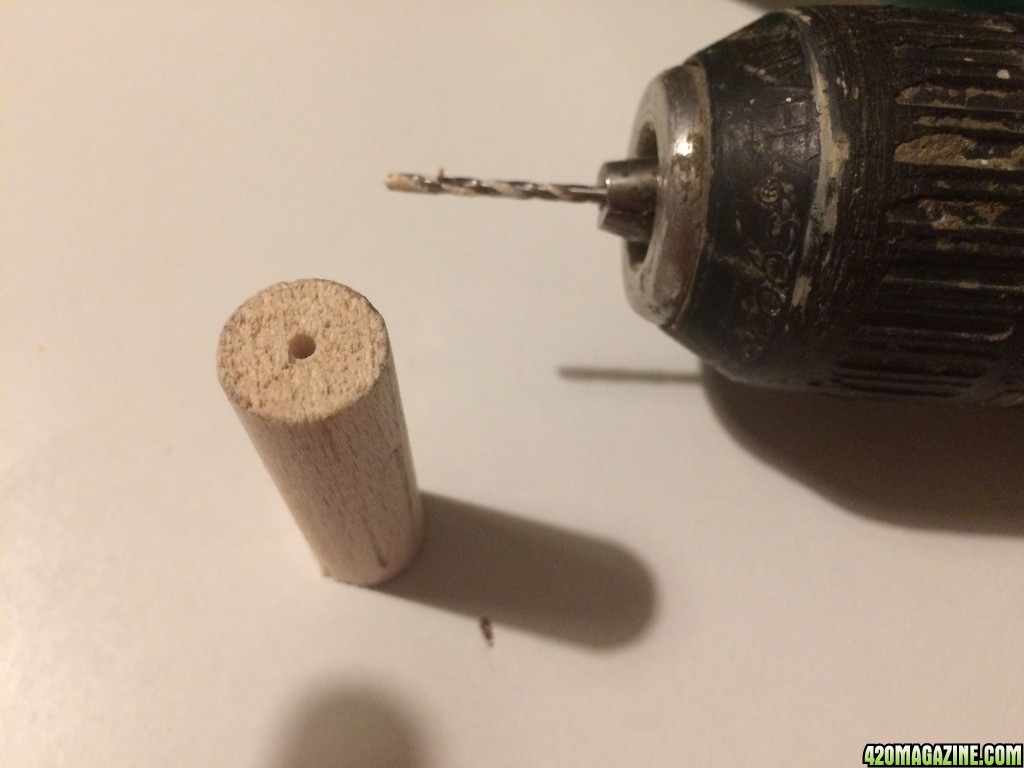
Then you drill a hole in the center of each side.
Now you screw in two screws which you connect with a wire. Make sure the actual cable touches the metal and that you trim the overlaying wire bits thoroughly.
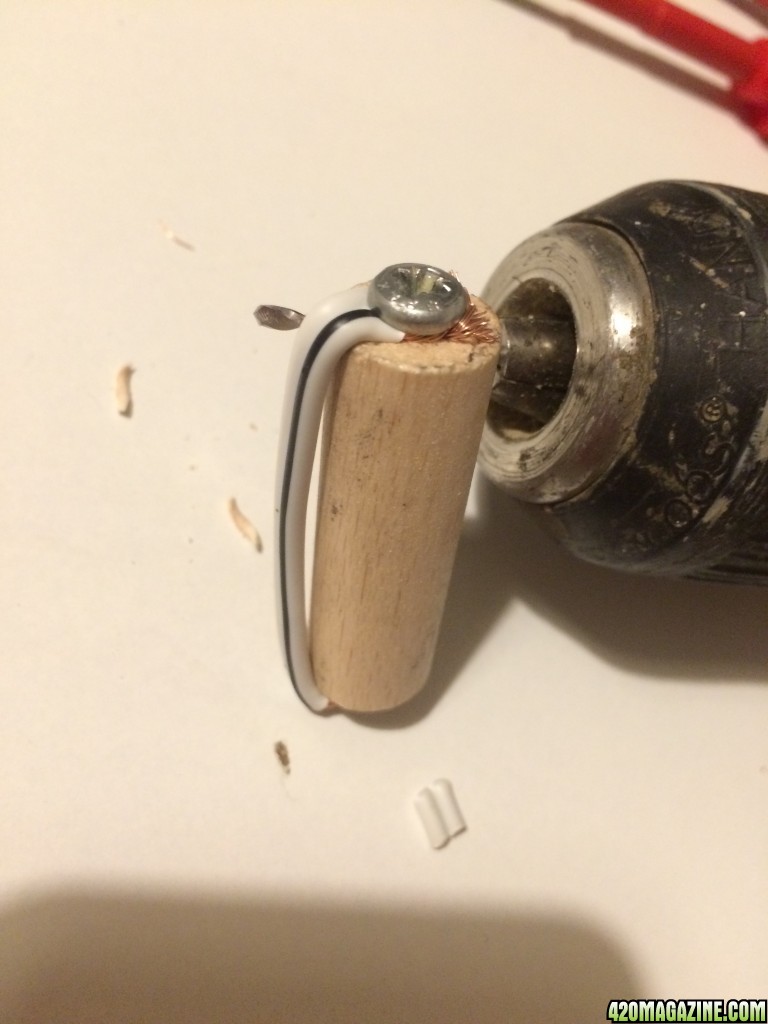
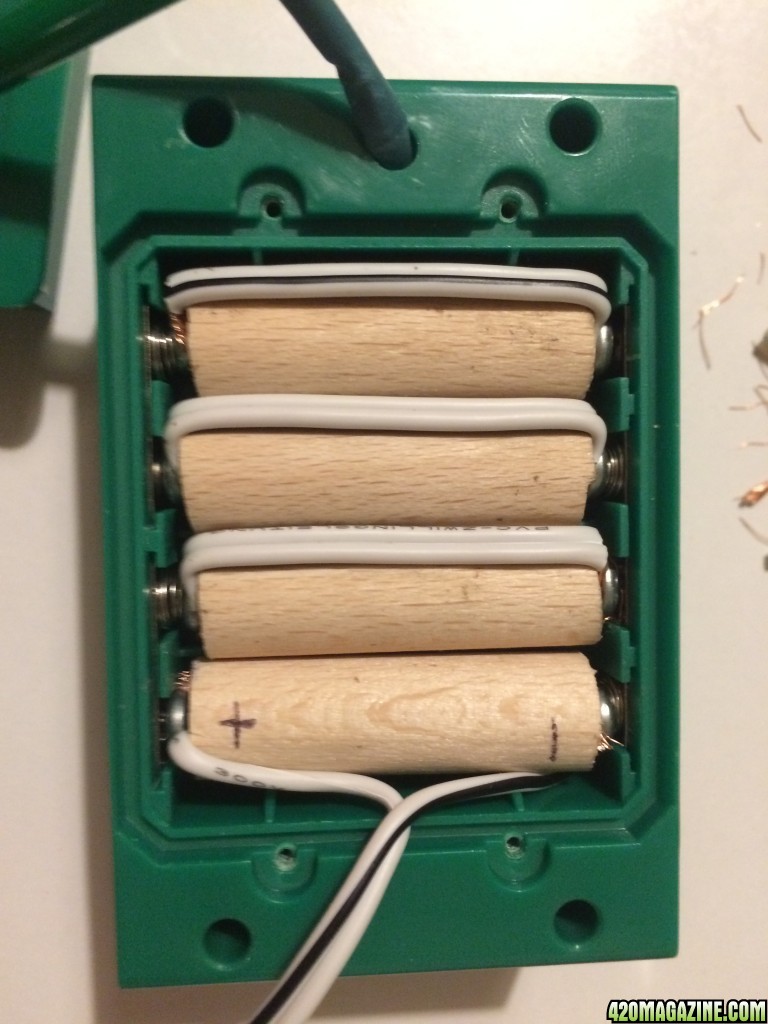
That's your first dummy battery. I needed three of those and one to which I connected the actual power supply.
The pump runs on 6 Volts, so I got me a 6v power supply and connected its wires to the ends of the dummy.
(Important: Black is negative. More important: Handle wiring and electricity with extreme caution!)
Now I just had to fit it all in the compartment...
... and make a gap in the cover, for the wire to go through.
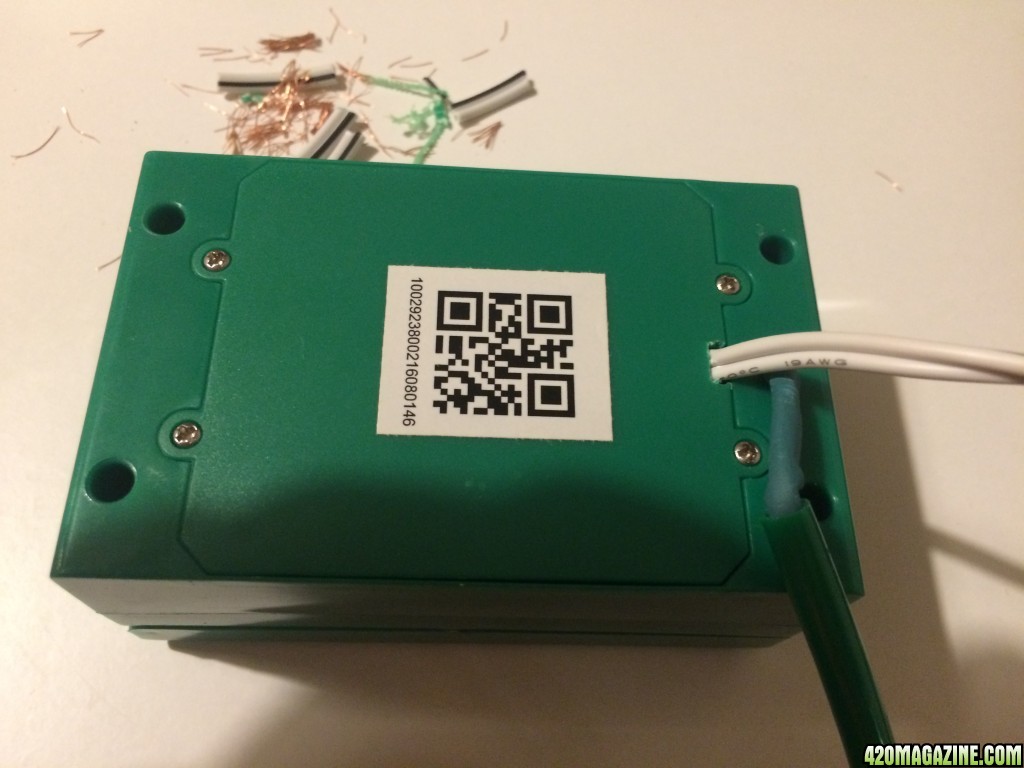
Et voilà ! A timed water pump that runs on AC power.
Four more days had passed and I decided to make the next big step.
Day 10
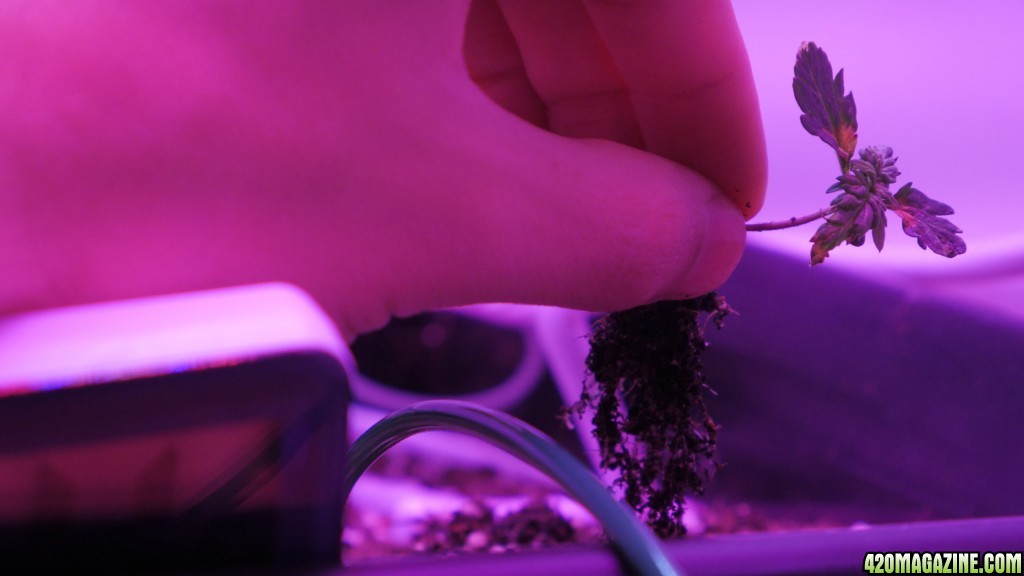
My seedlings were loving the light, but the clear cups and especially the little amount of soil were a problem for the roots, which had already grown to all sides of the enclosure.
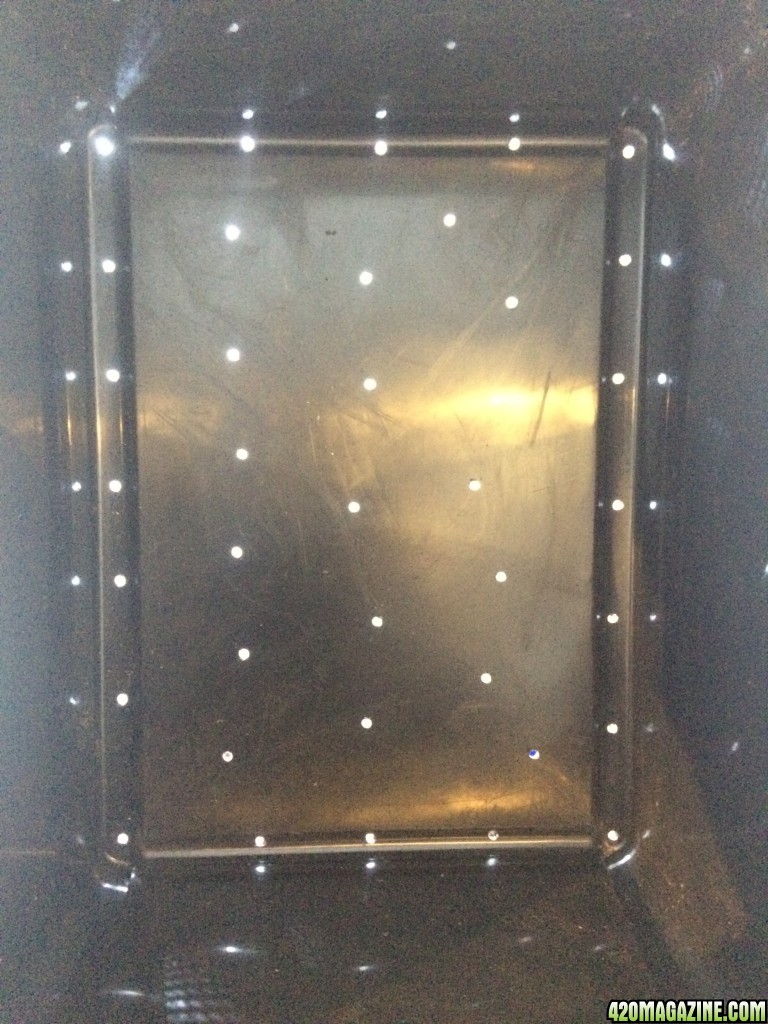
Because I don't have much space to work with, I decided against the regular round shaped flower pots, in fact against flower pots all together. I got me a Heavy duty storage box from the hardware store and drilled holes in the bottom, for drainage.
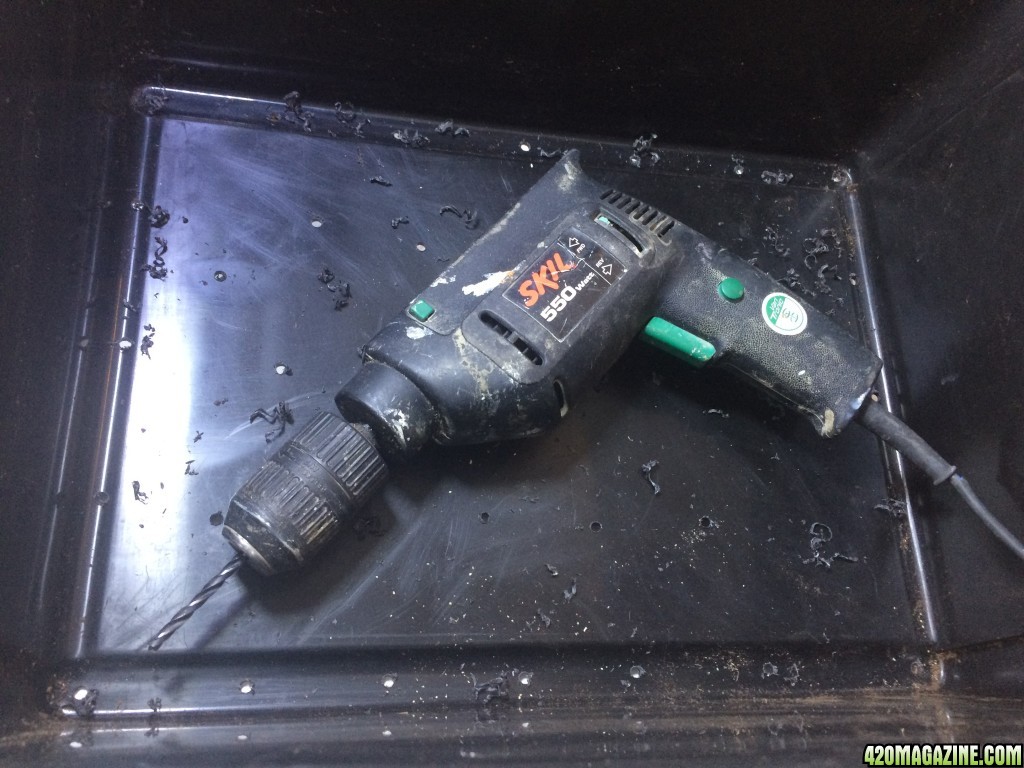
The internet advised, not to put the holes closer than 5cm/2in, which I stuck to.
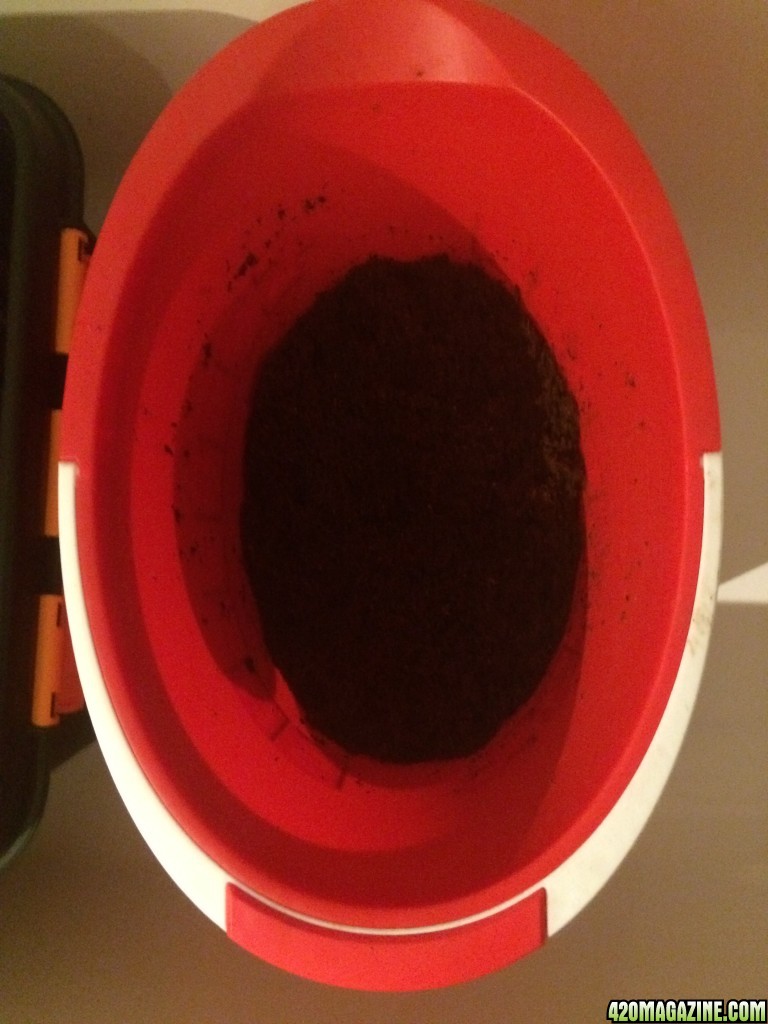
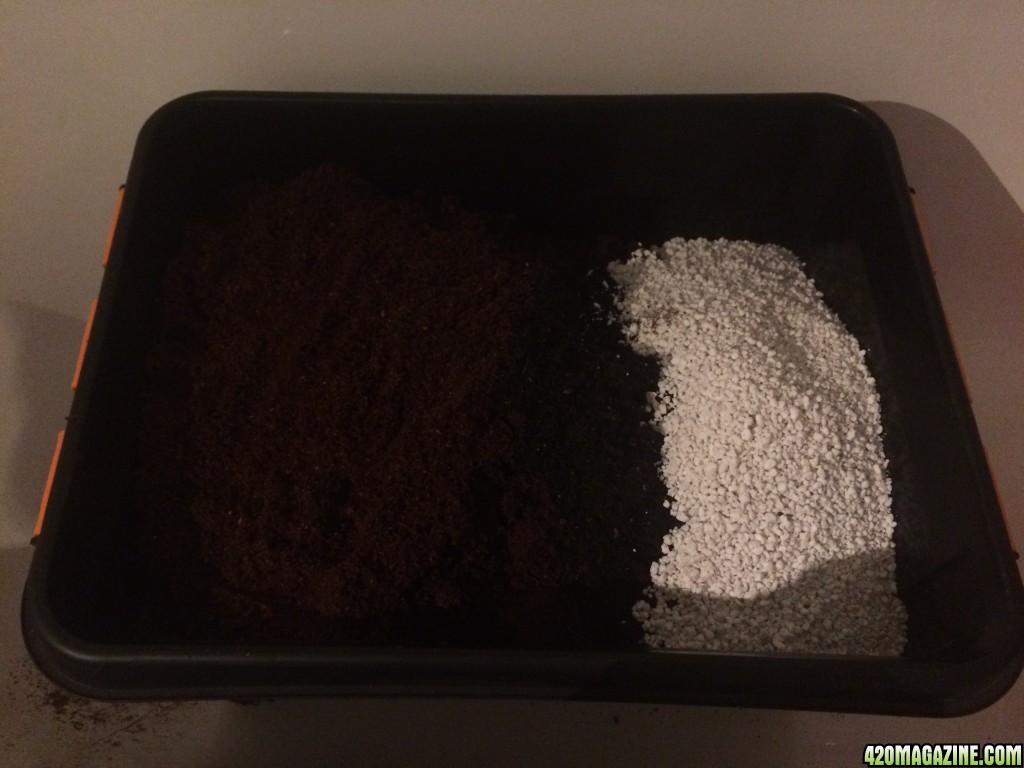
Now it was time to mix the content. I used 18 litres of vegetable/tomato-soil, that I had left since spring...
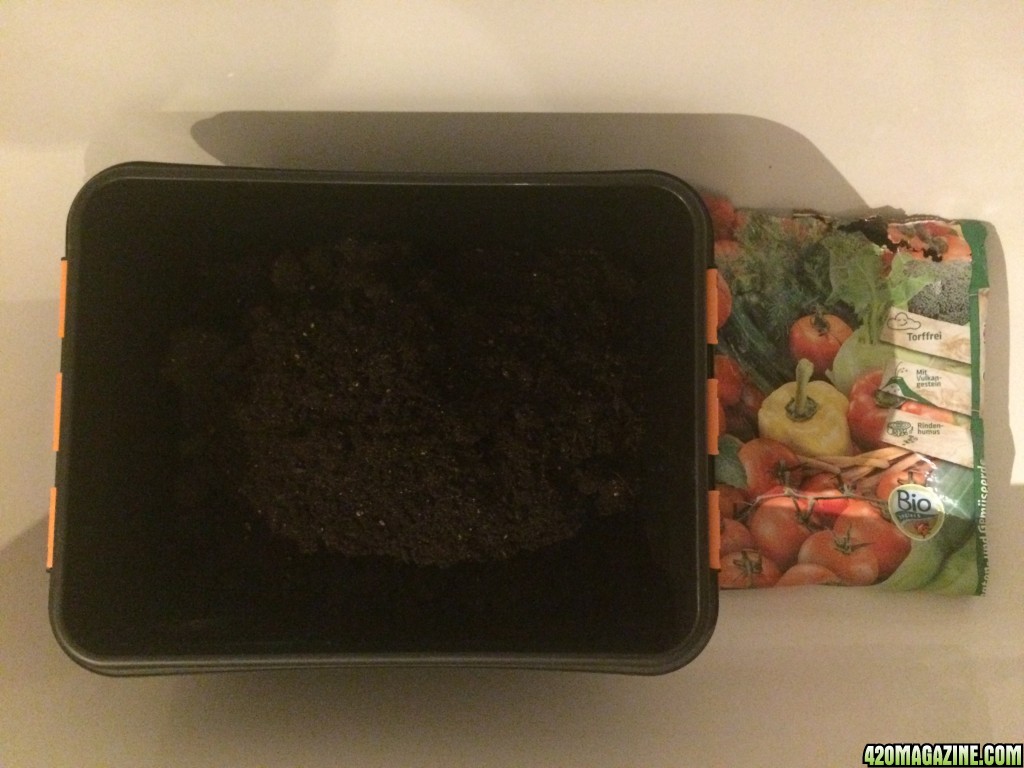
... 6 litres of coco coir...
... and about 3 litres of perlite.
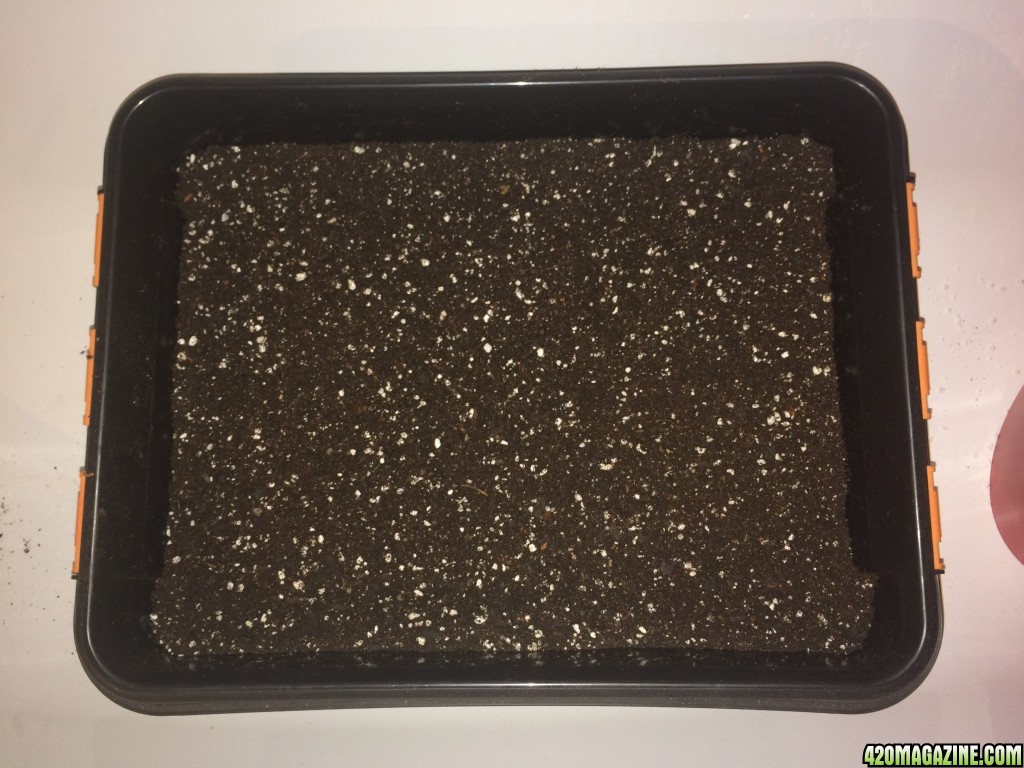
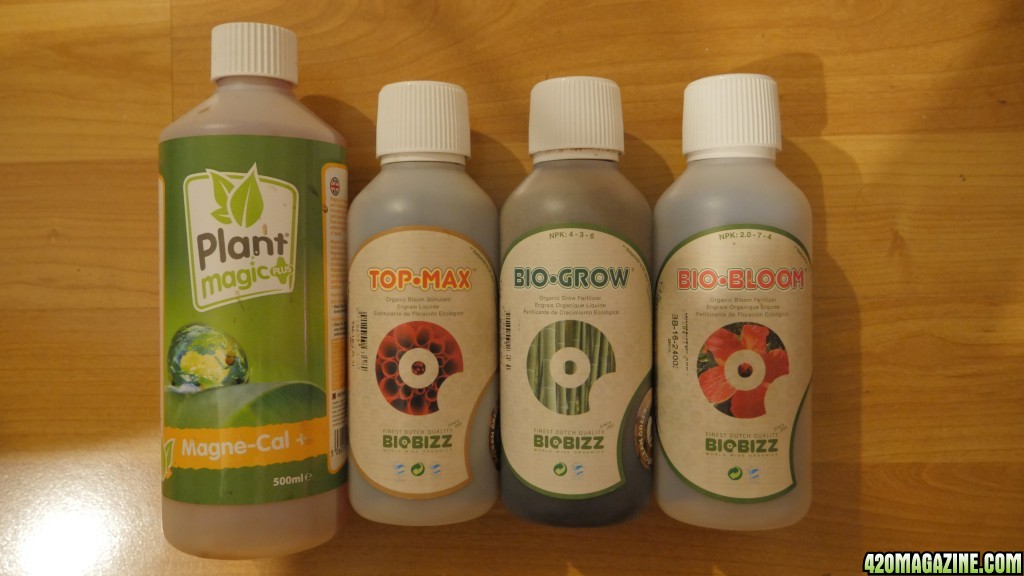
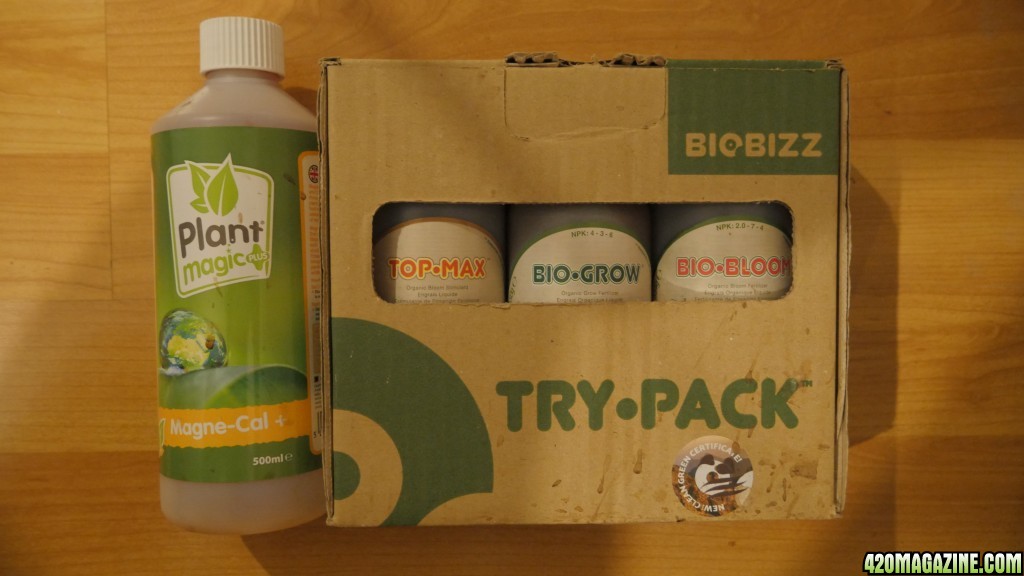
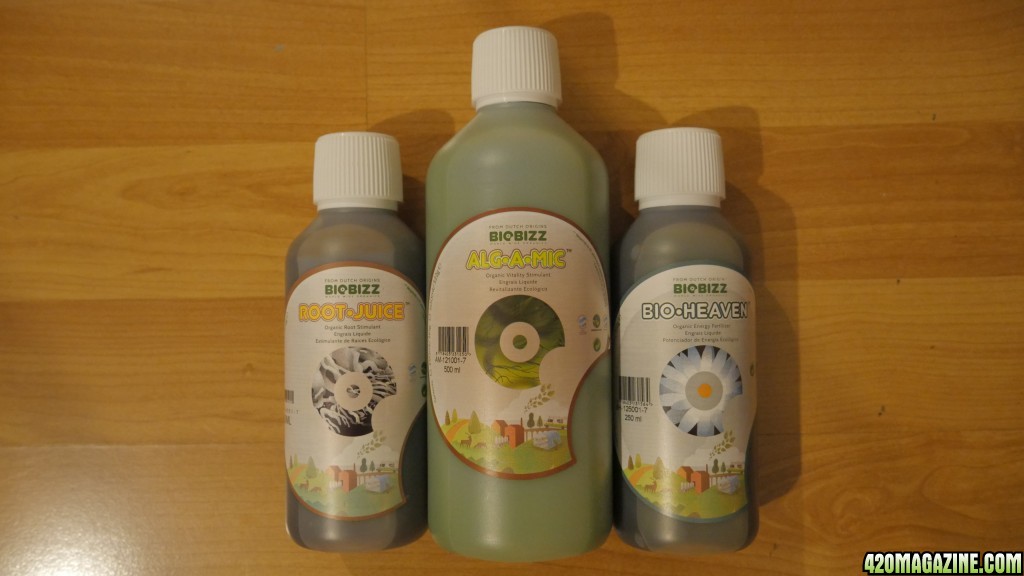
I am planning on using the nutrients that I still have from my hydroponic grows, which means I don't need the most nutritionous soil for my undertaking. All the growing medium needs to be, is nicely loose for the roots to spread quickly in.
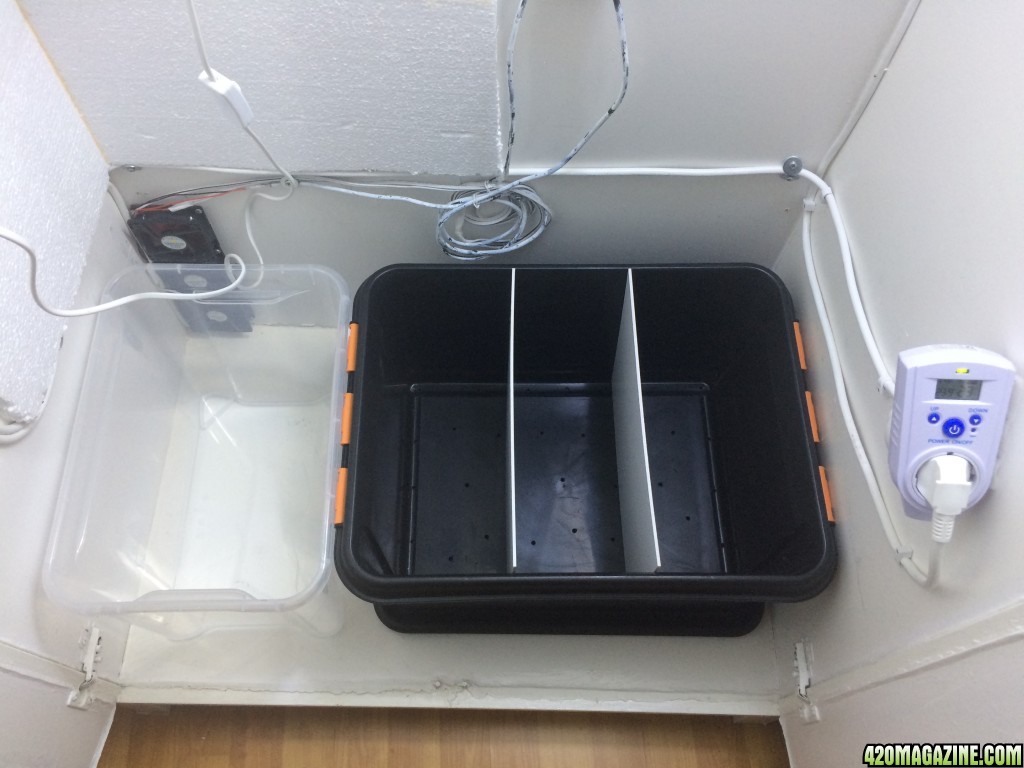
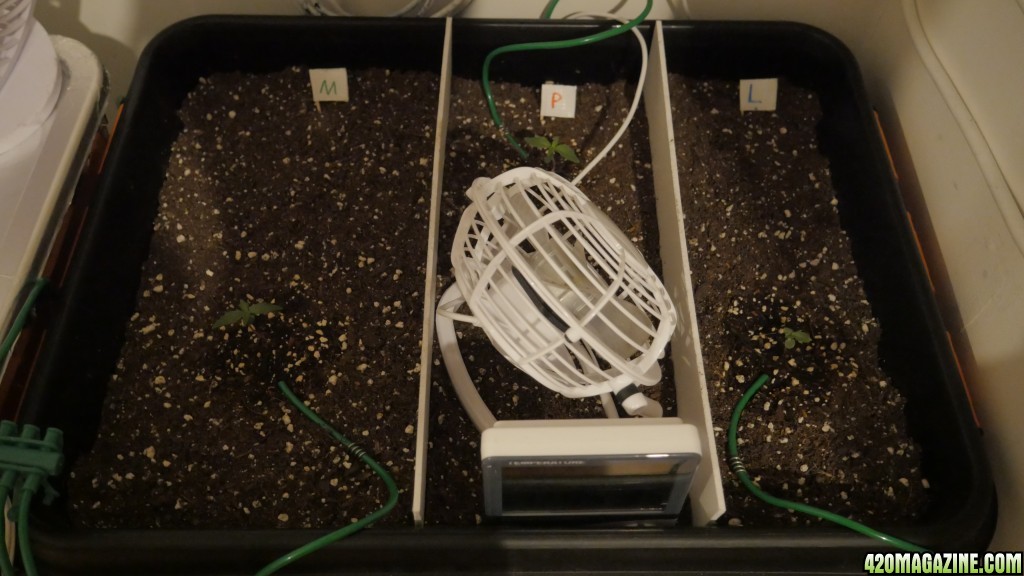
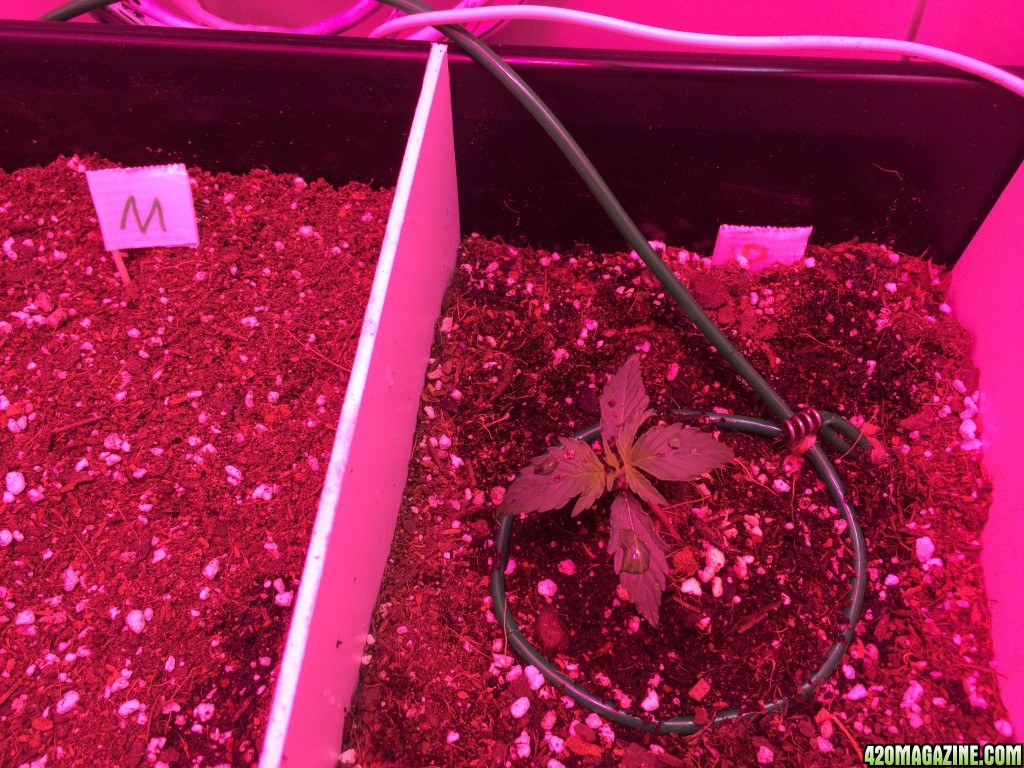
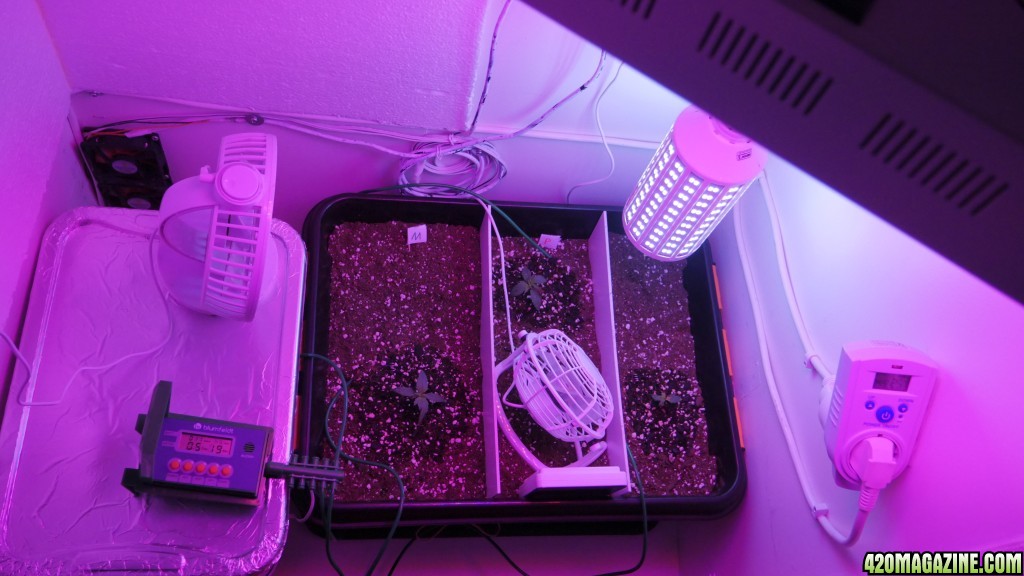
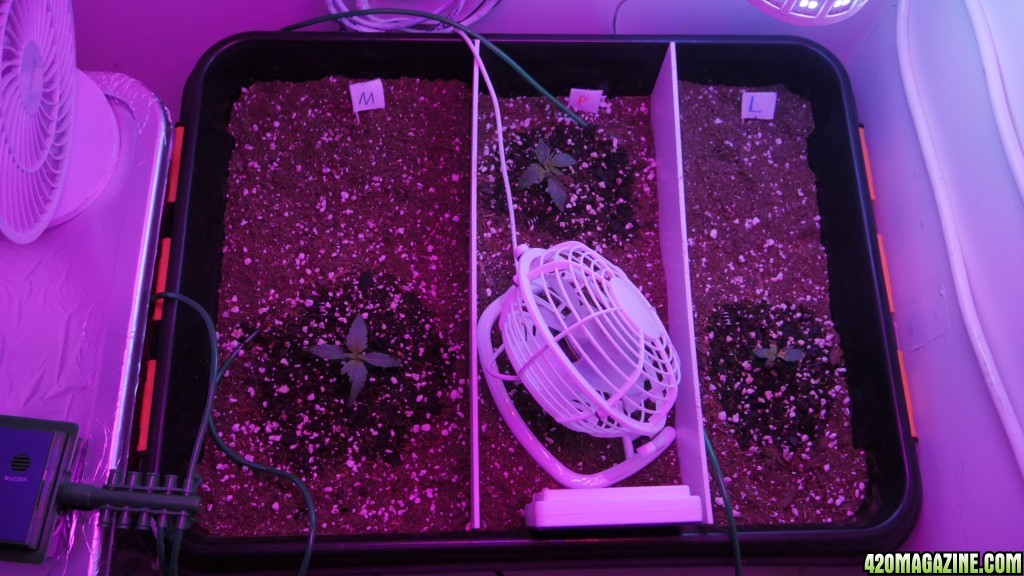
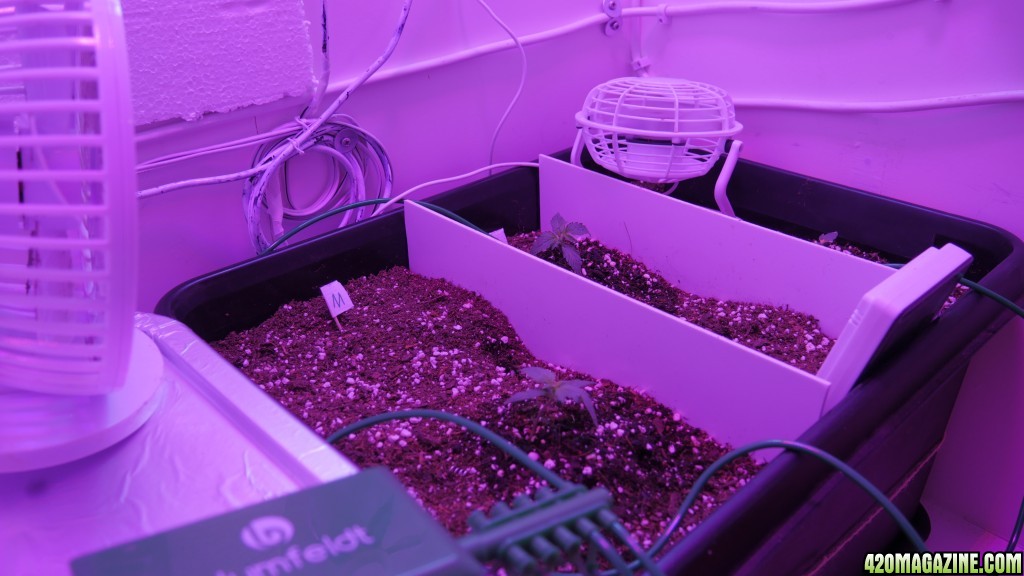
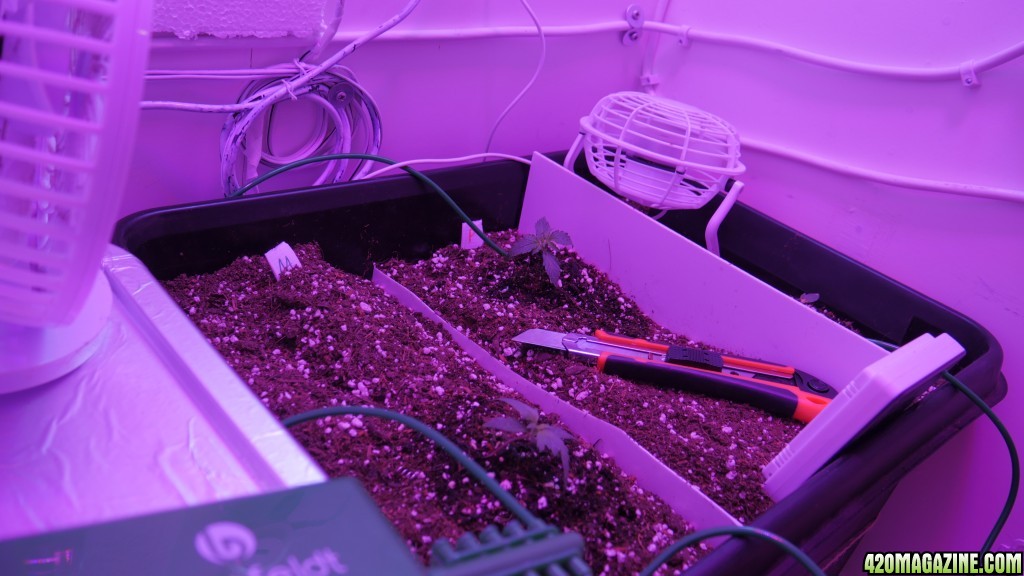
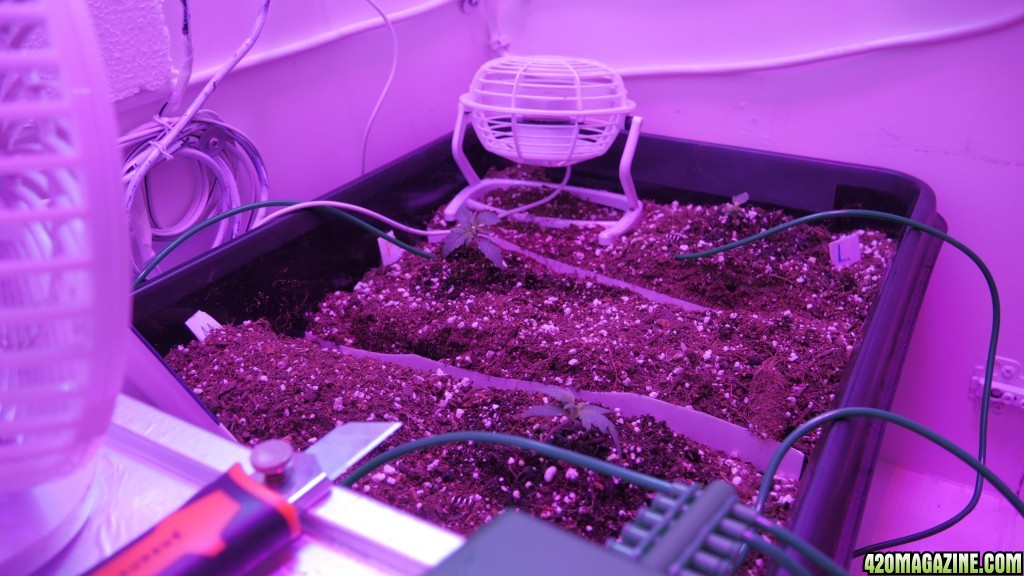
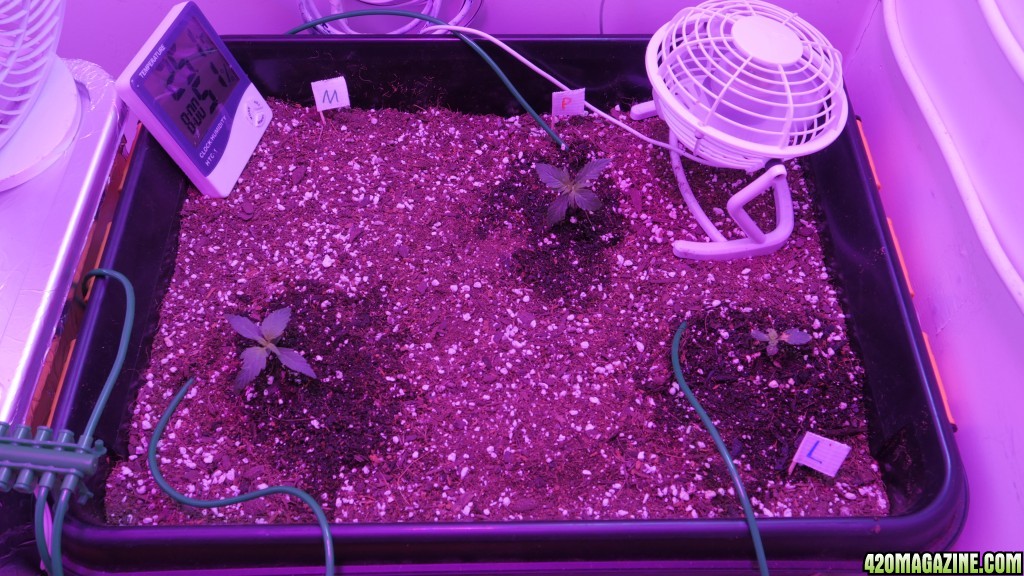
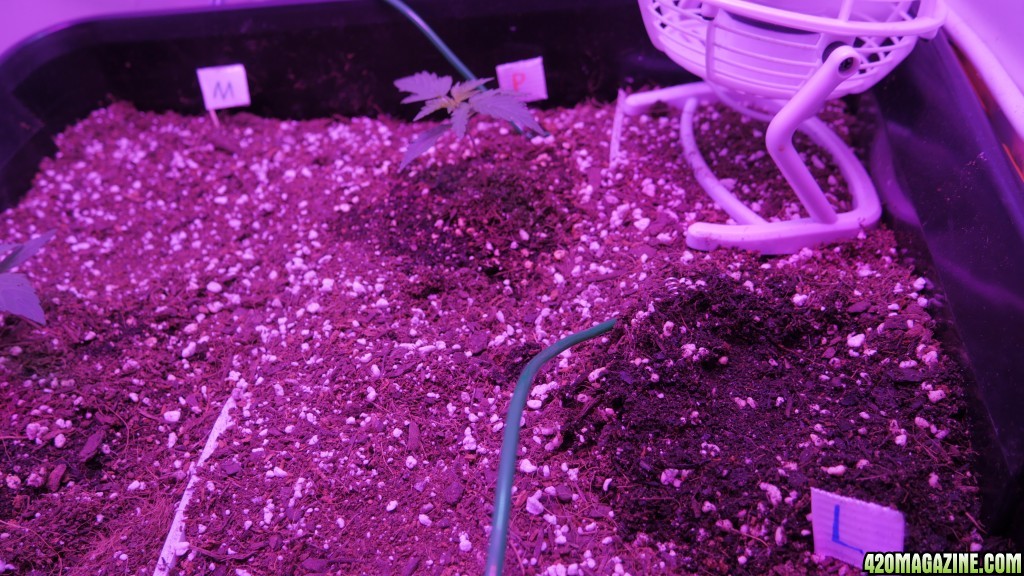
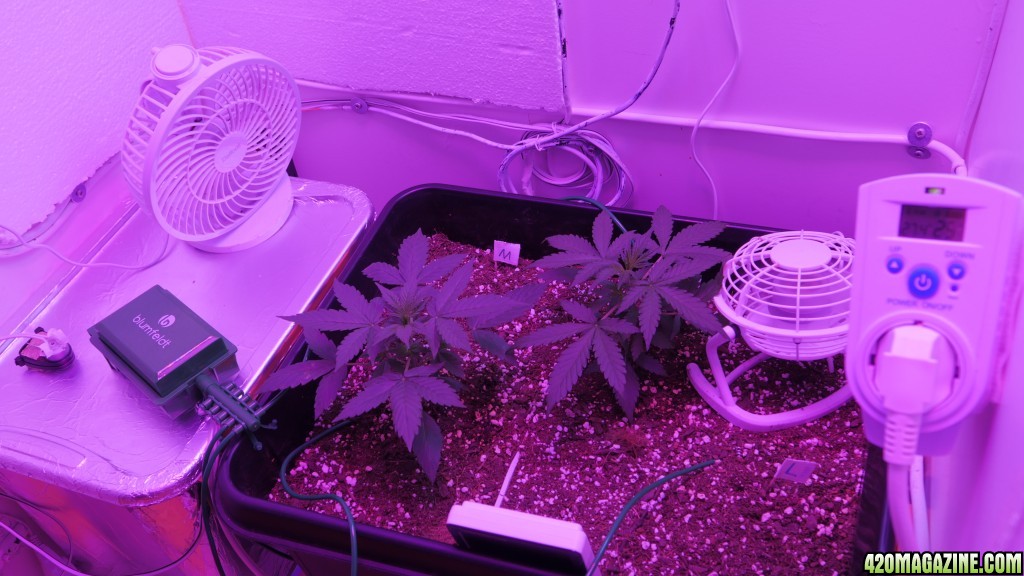
My idea was it, to have one container, with seperating boards, so that the roots won't fight for space, or nutrients and I use all of the room available too.
Then I put 1cm/0,4in of perlite at the bottom of the box, because I am not fully confident in the holes to properly drain the huge container and I don't want to have to deal with root rot later.
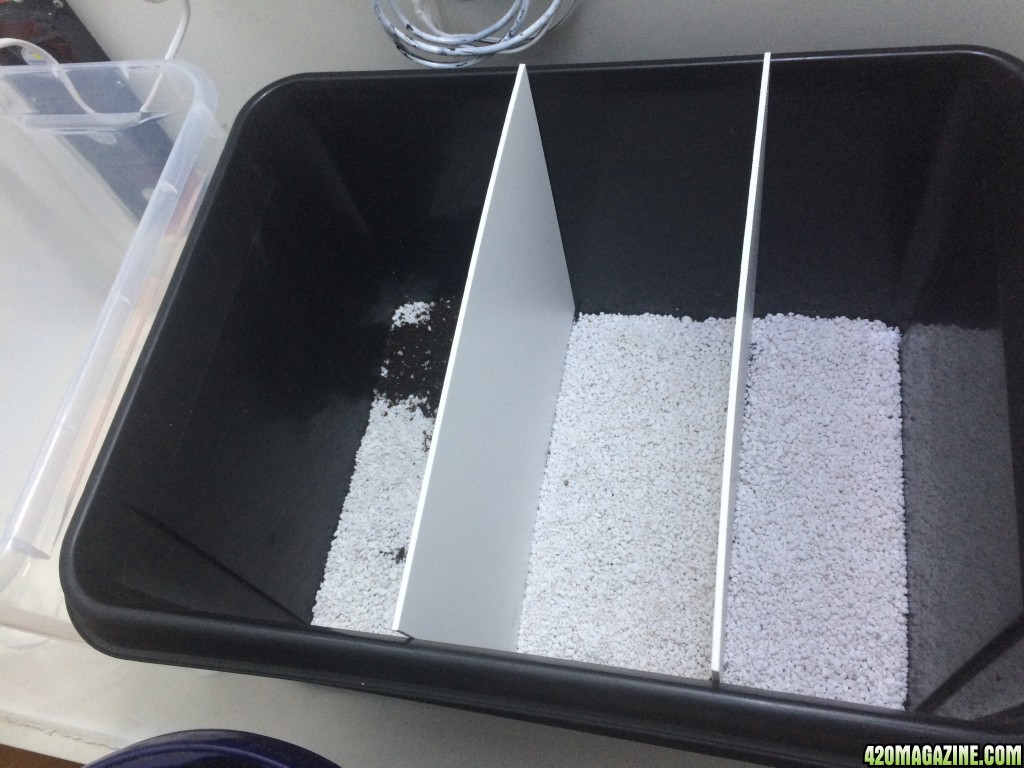
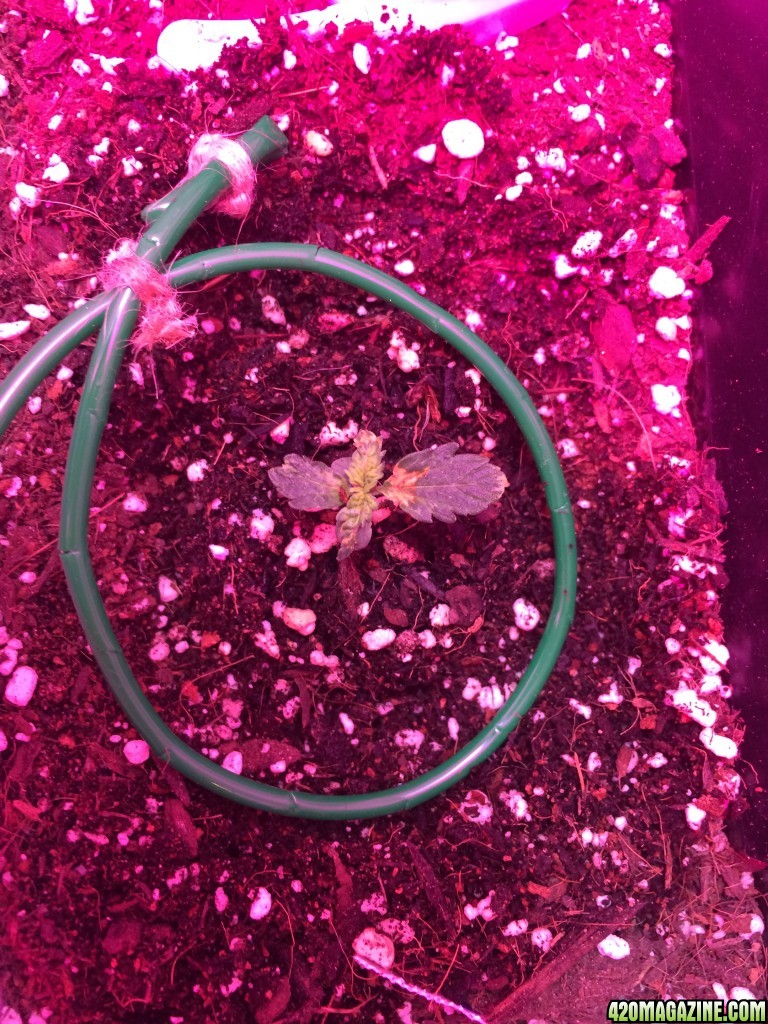
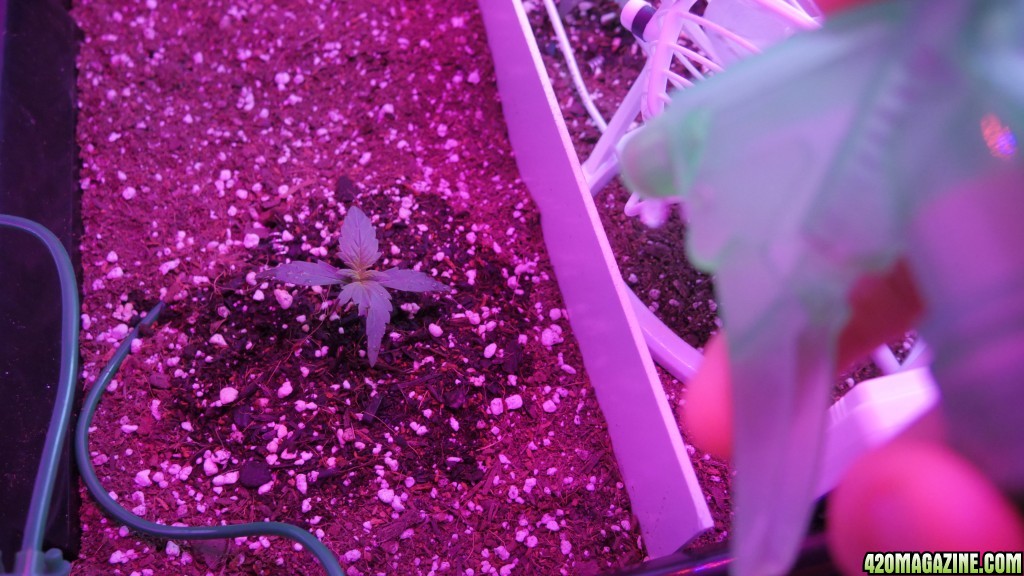
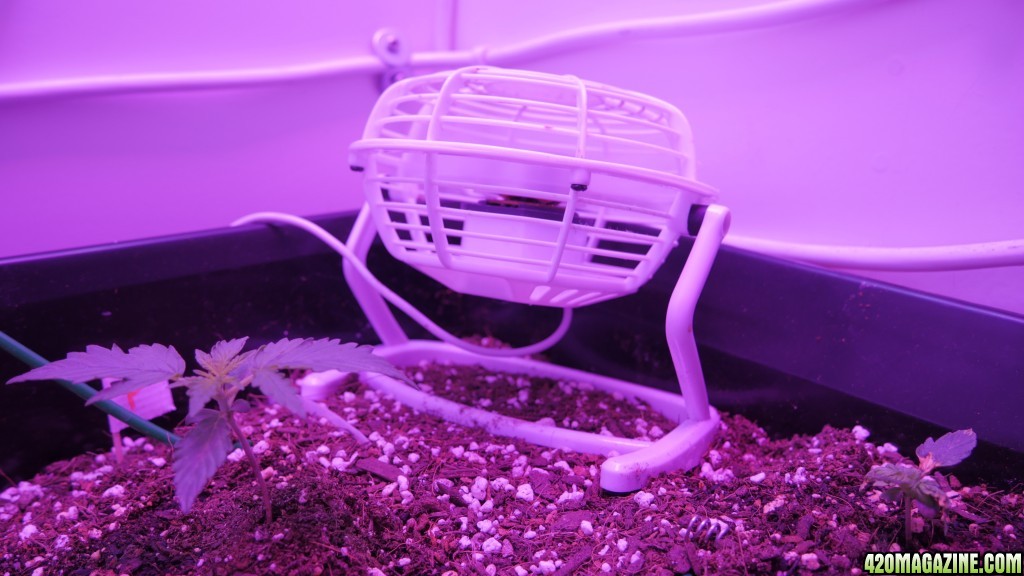
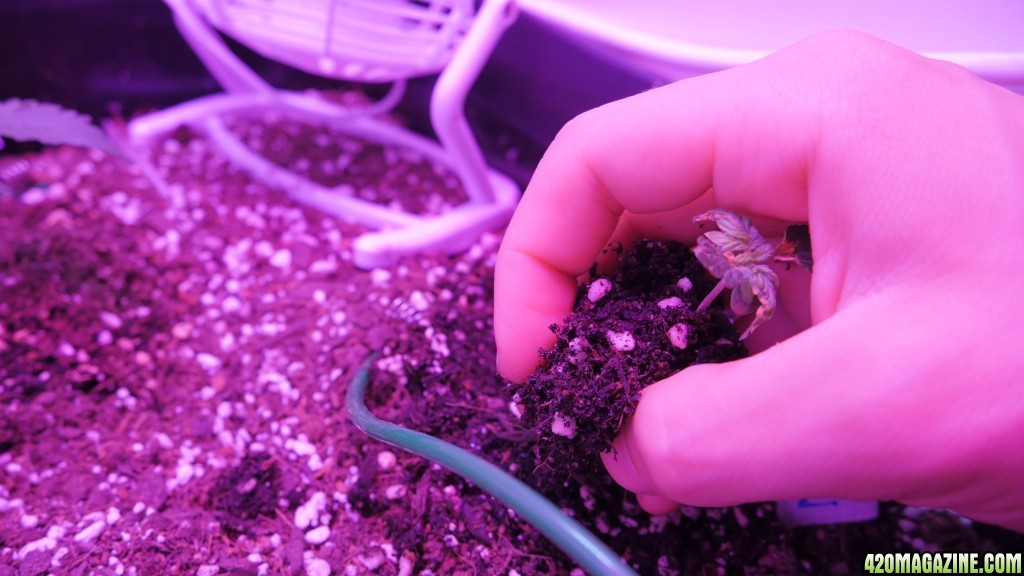
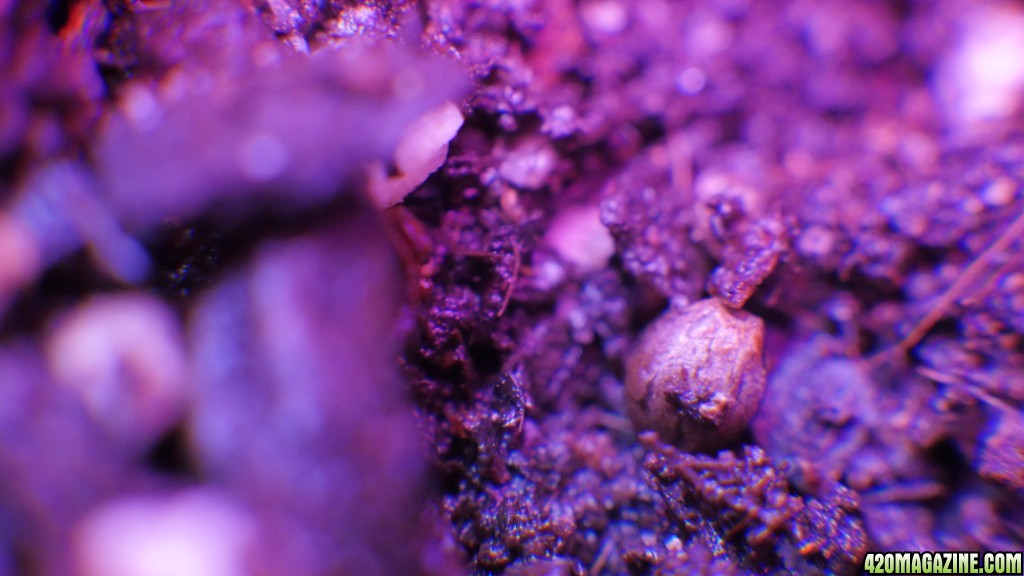
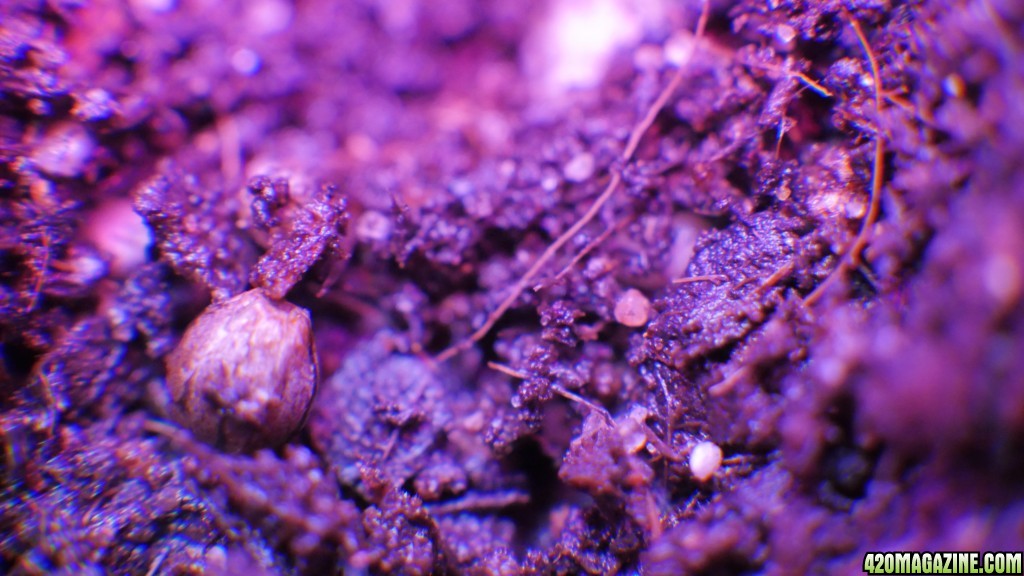
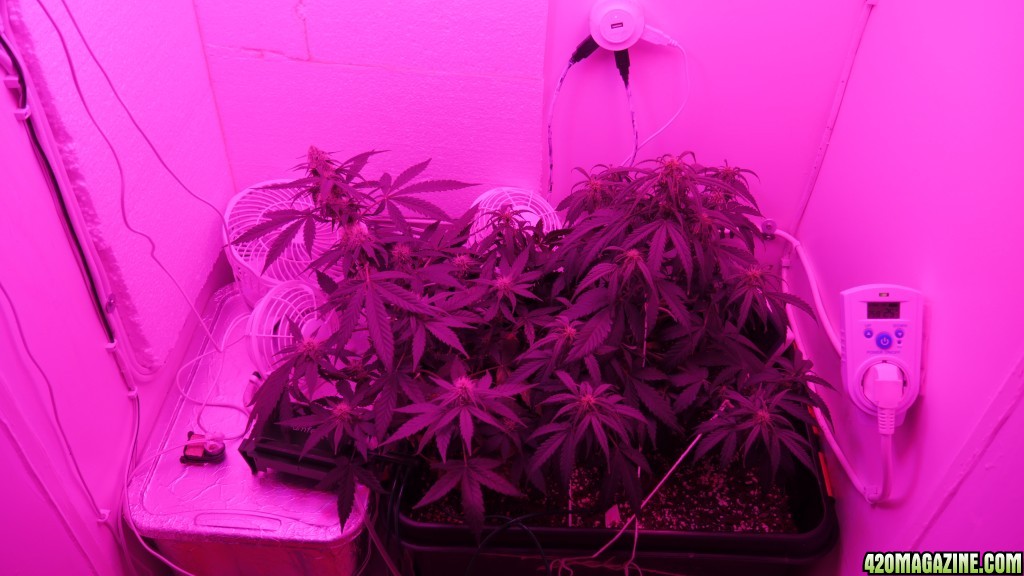
After filling the soil back into the tank, the little ones were planted carefully into it.
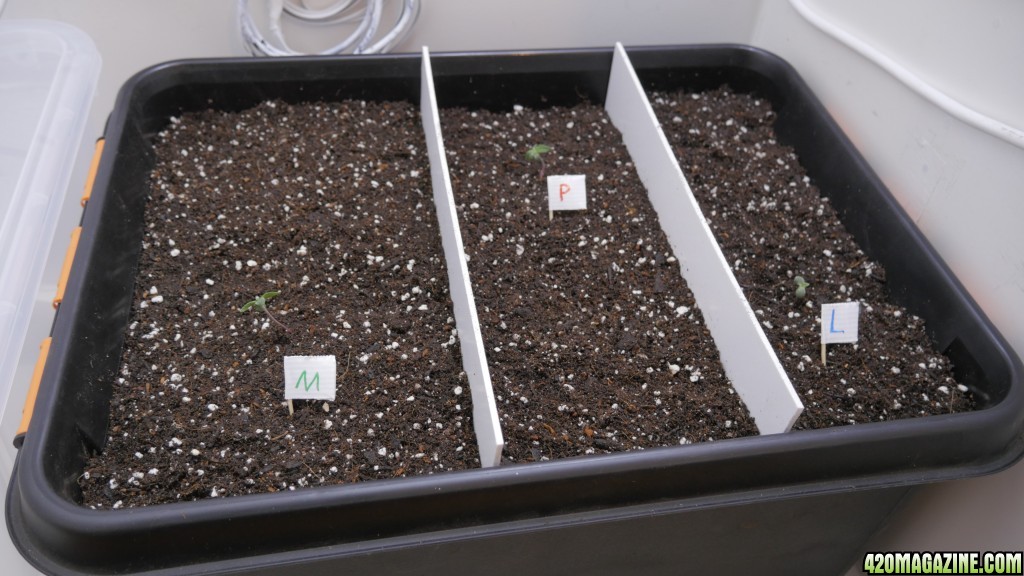
I left more space for the moby dick, because she is expected to grow the tallest. Not just because of her genetics, but also because of all the empty space she has all to herself on the left.
But we'll see if that was the right thing to do.
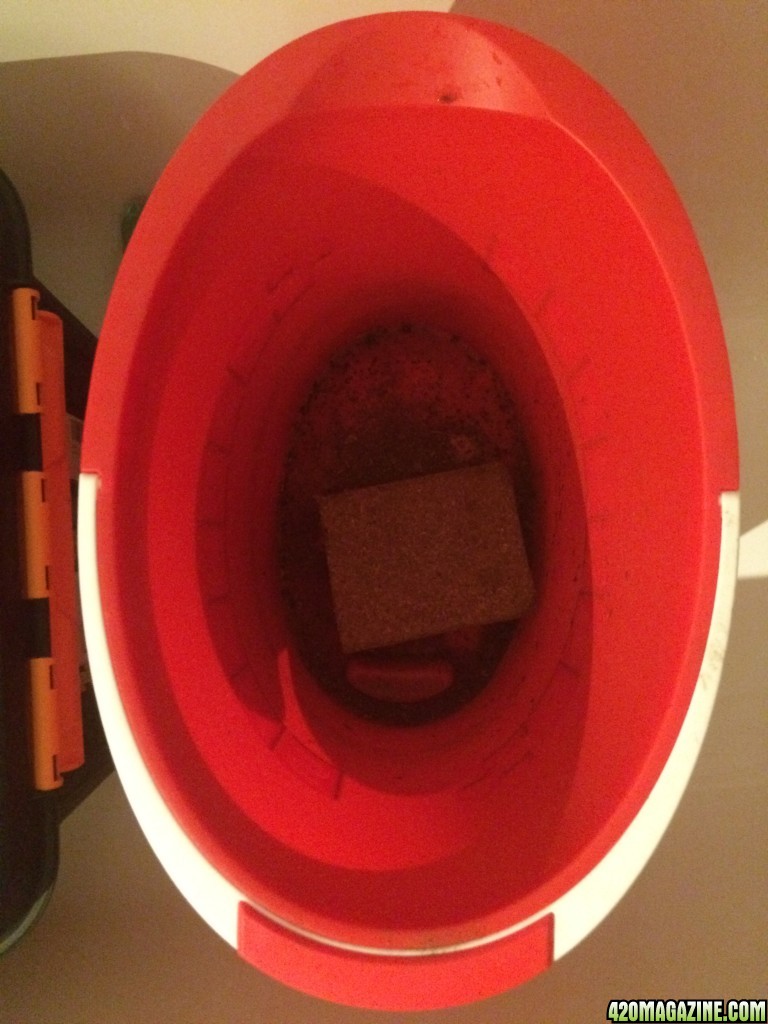
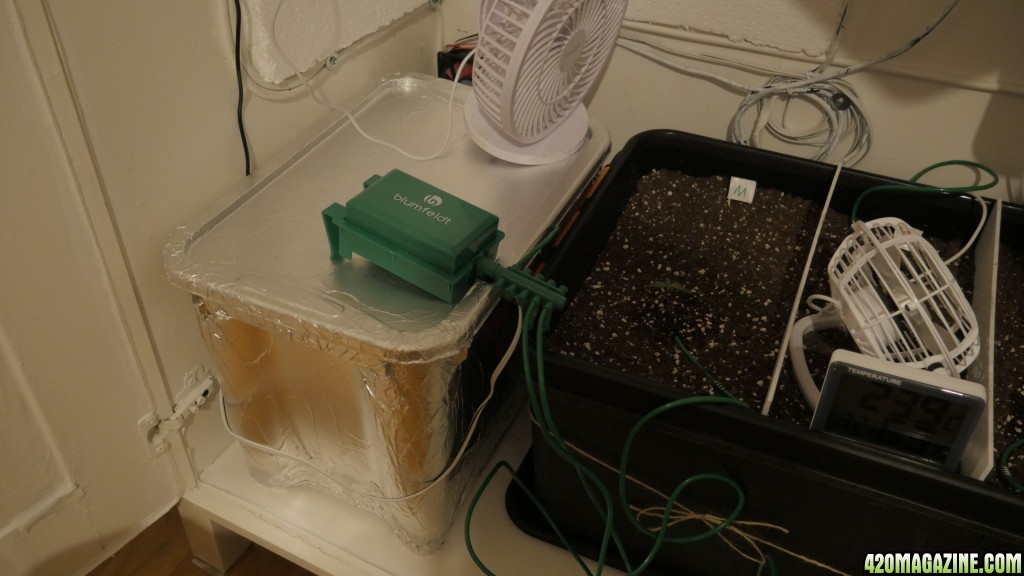
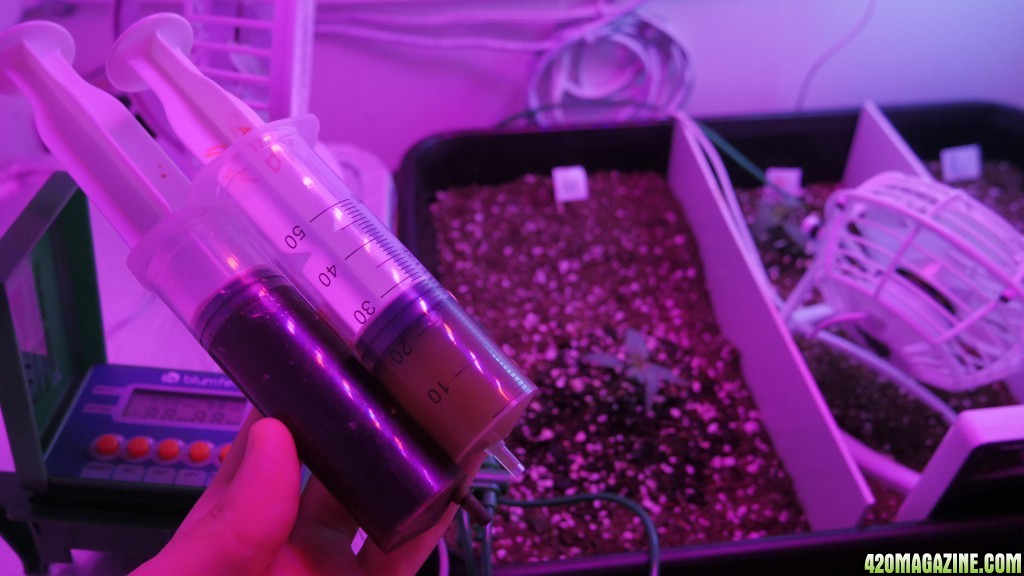
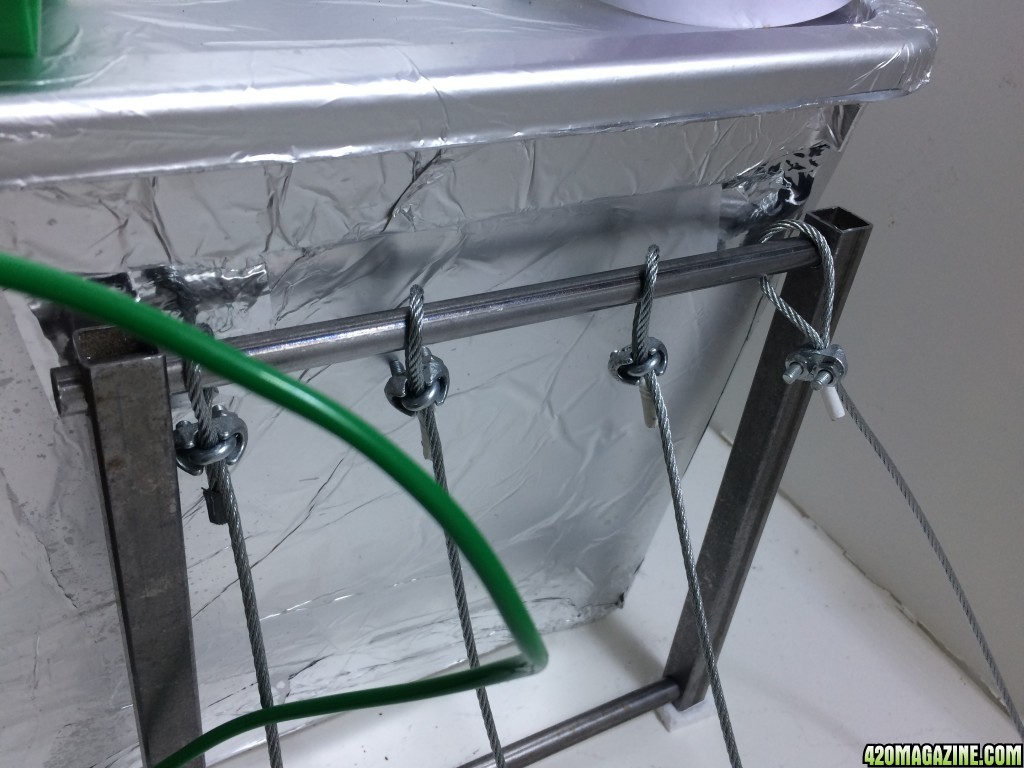
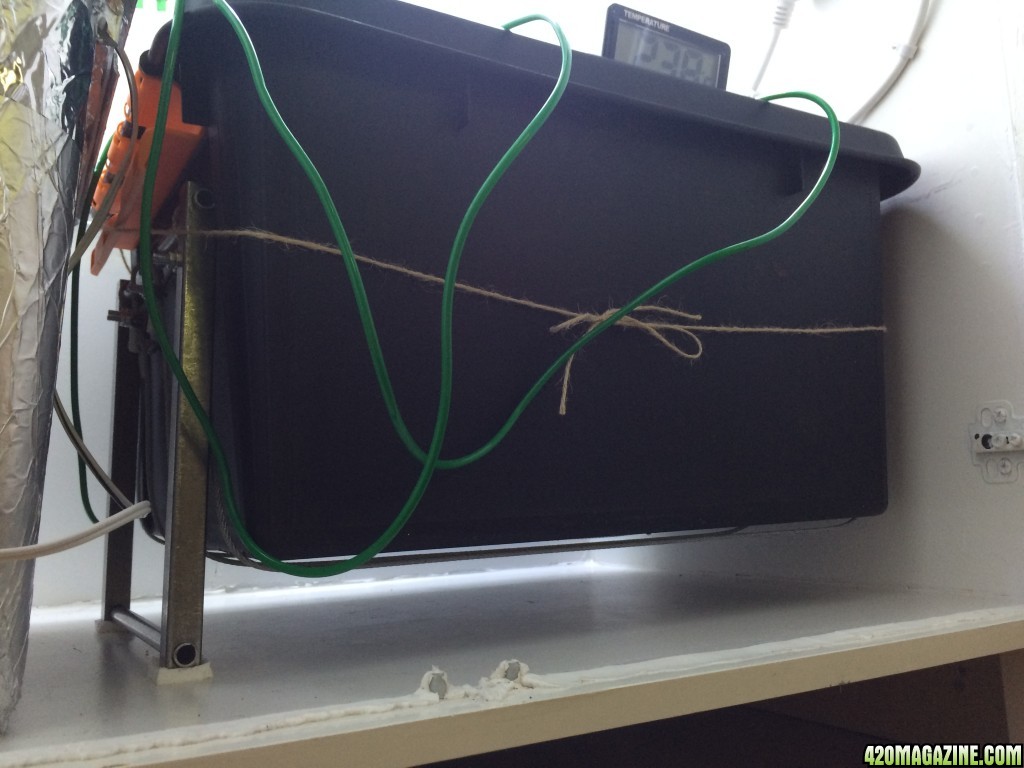
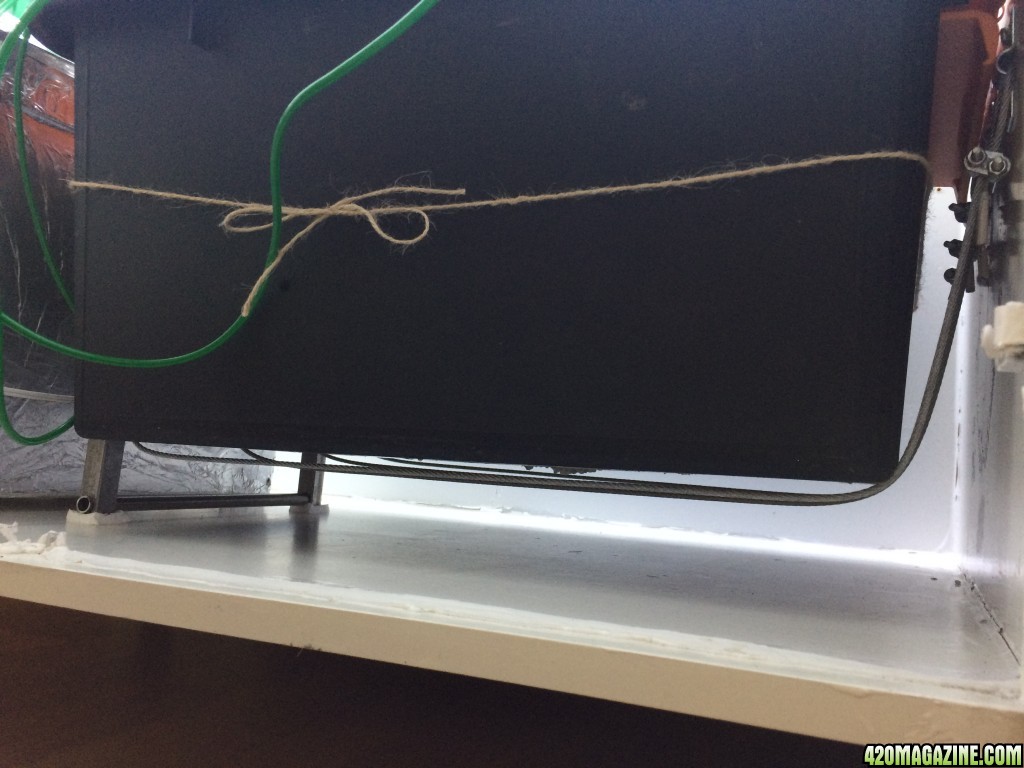
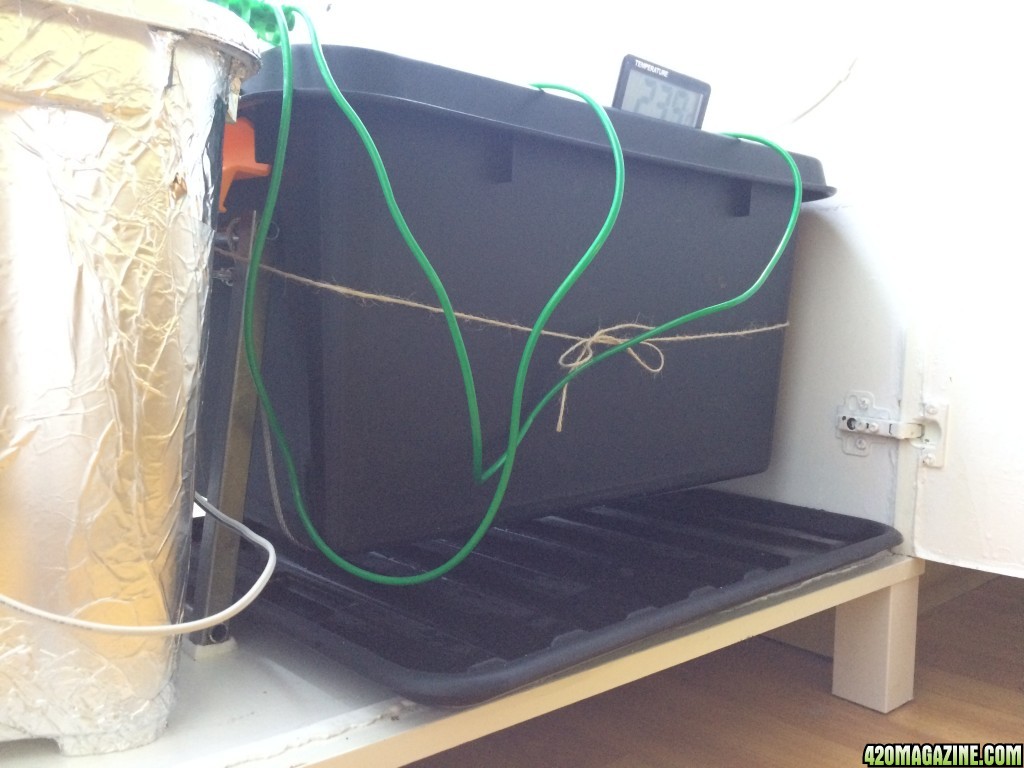
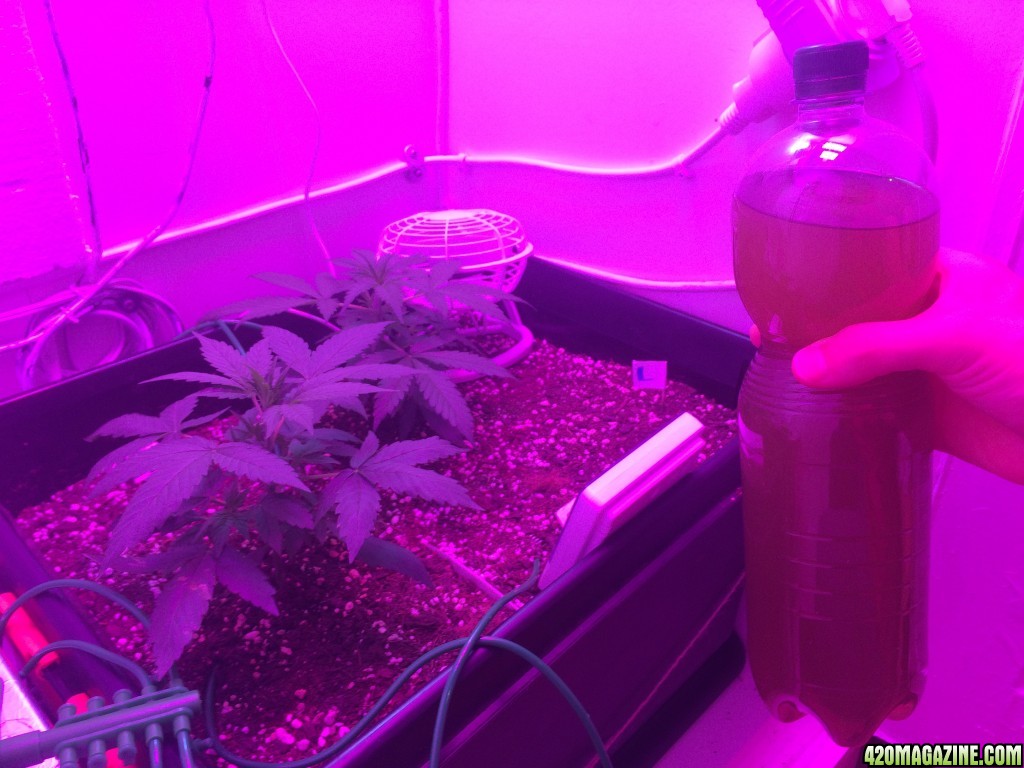
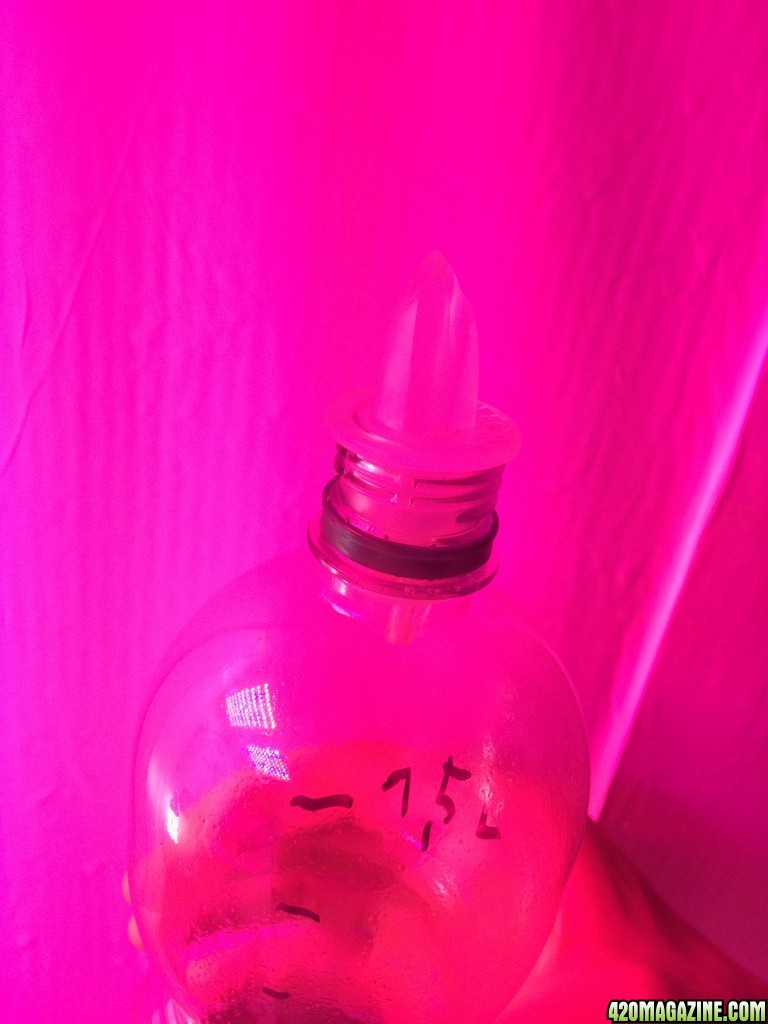
Lastly, I only had to prepare the water tank. In the future I will add the nutrients directly into the water, so to keep algea from growing inside the tank I layered container and lid with aluminium foil.
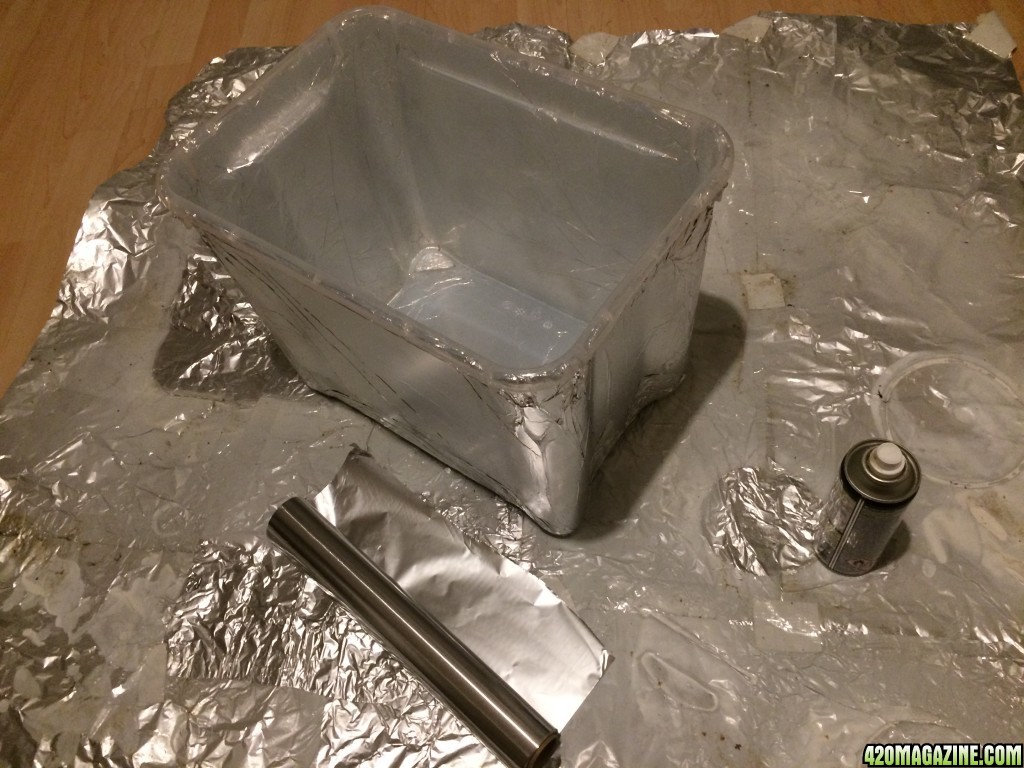
The lid also got a slit, for the tube of the water pump.
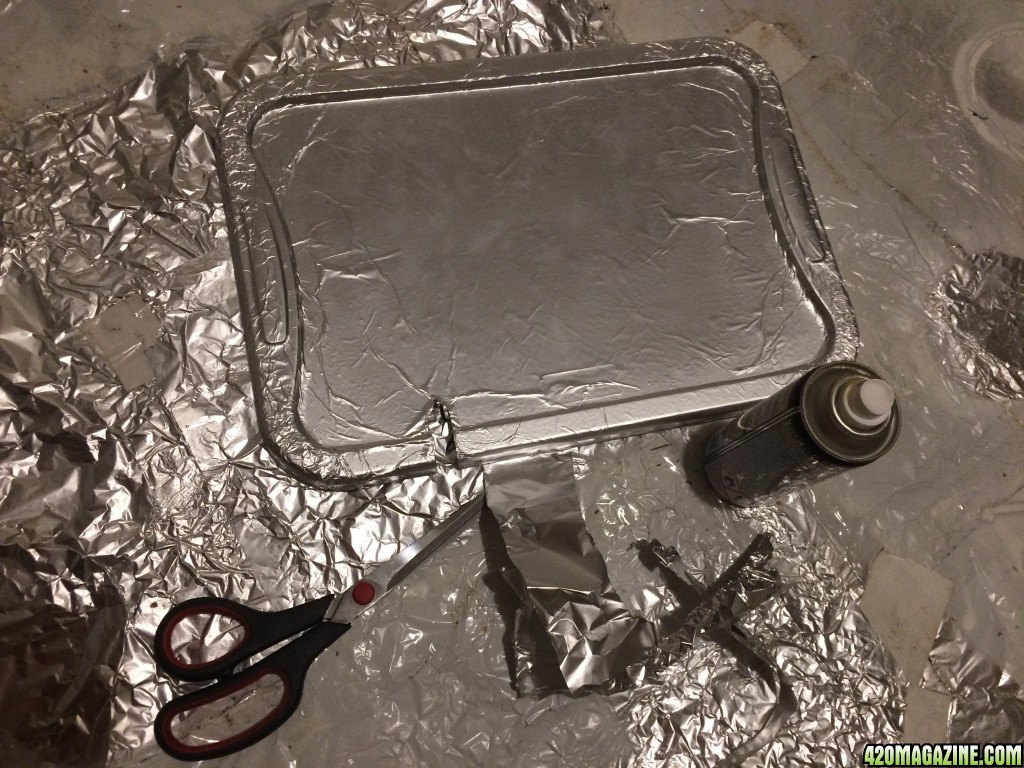
Then I had a bucket of tap water out in the sun for a day, to get rid of the chlorine and adjusted the PH to 6. Filled it into the tank and put it all in its designated place.
By now, two more days had passed,...
Day 12
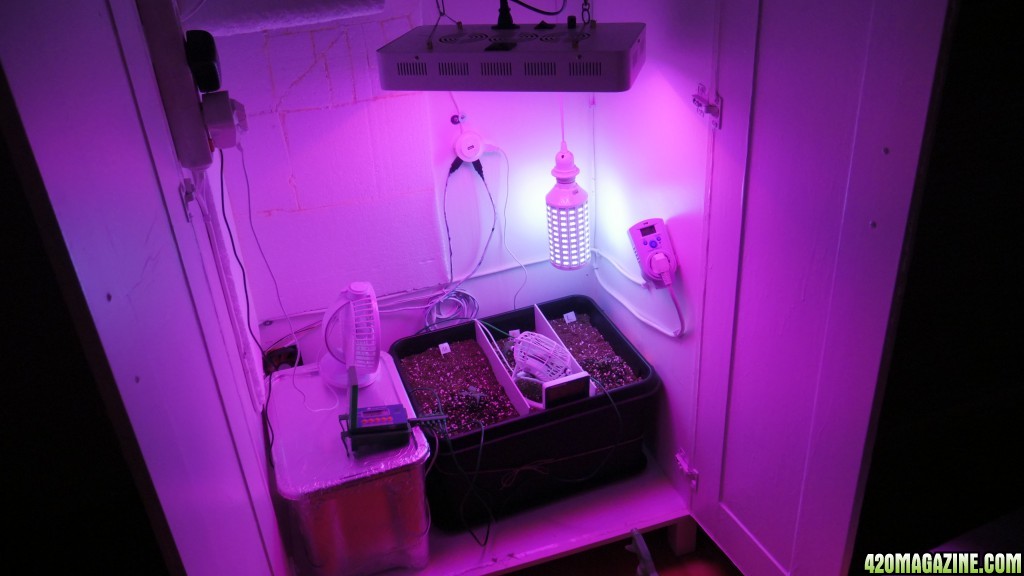
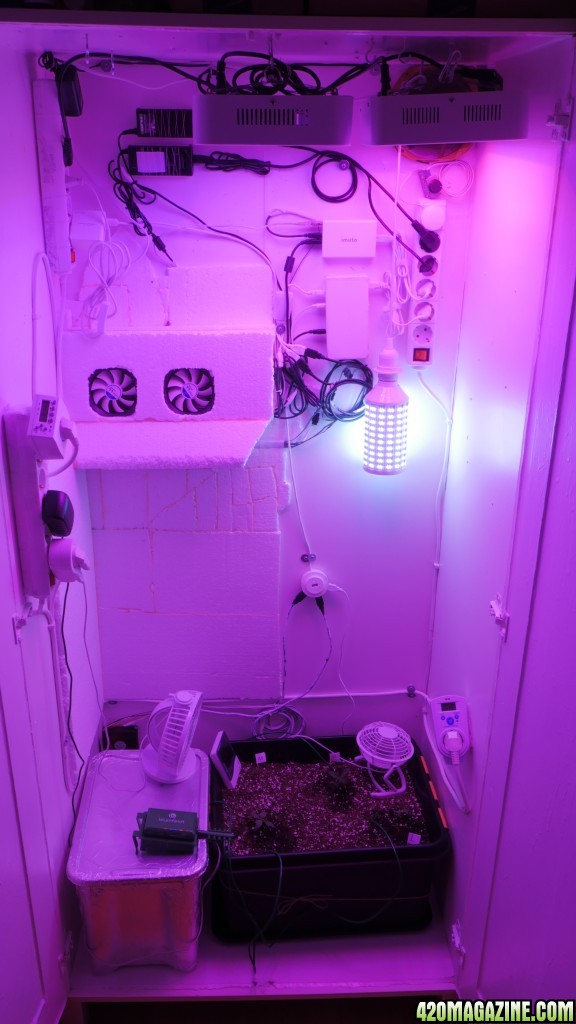
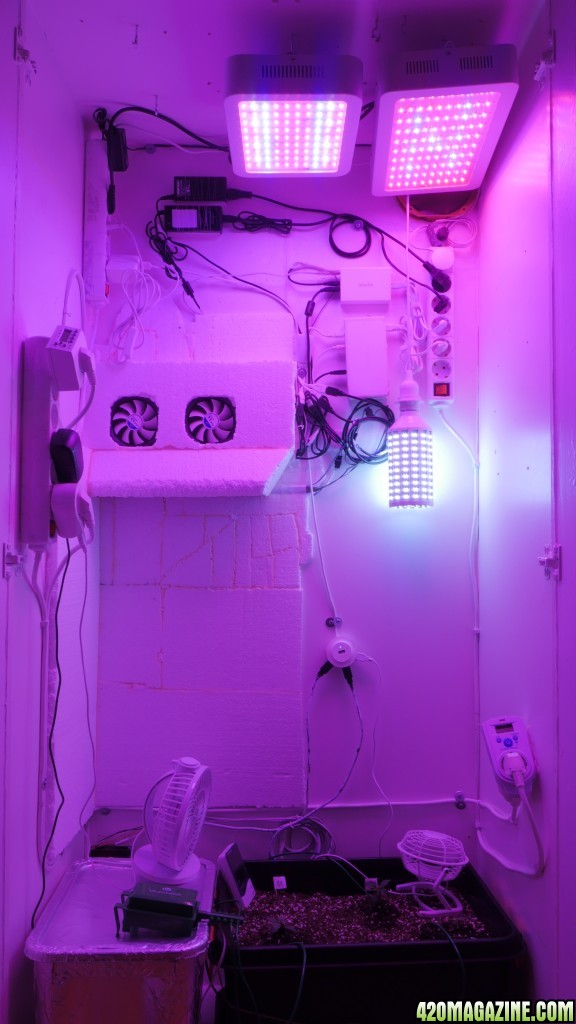
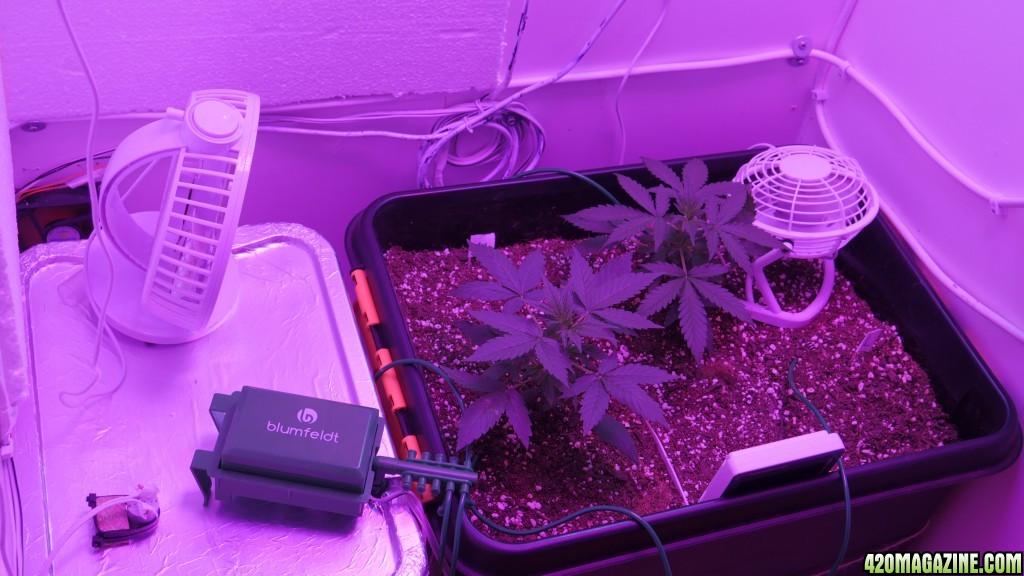
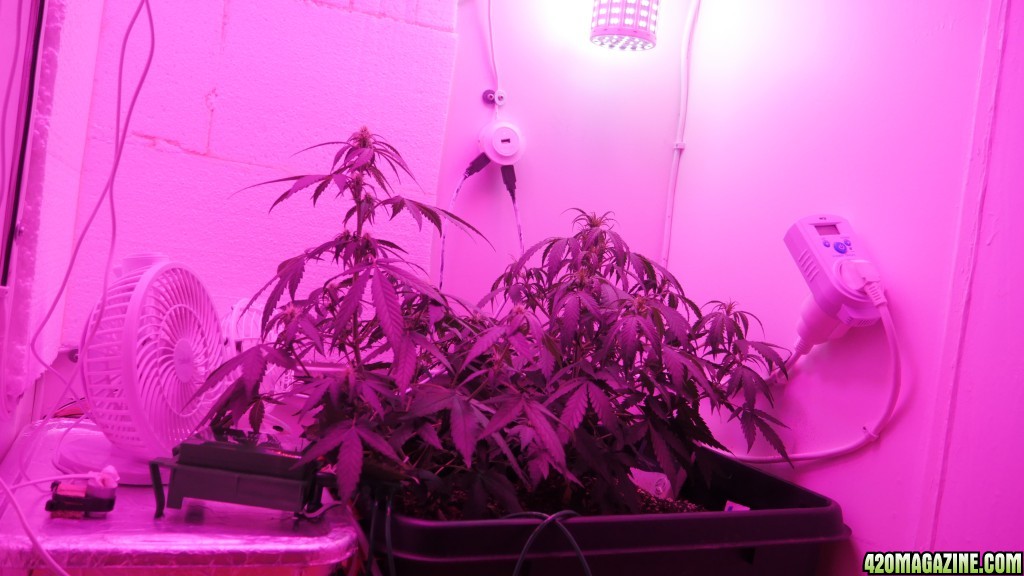
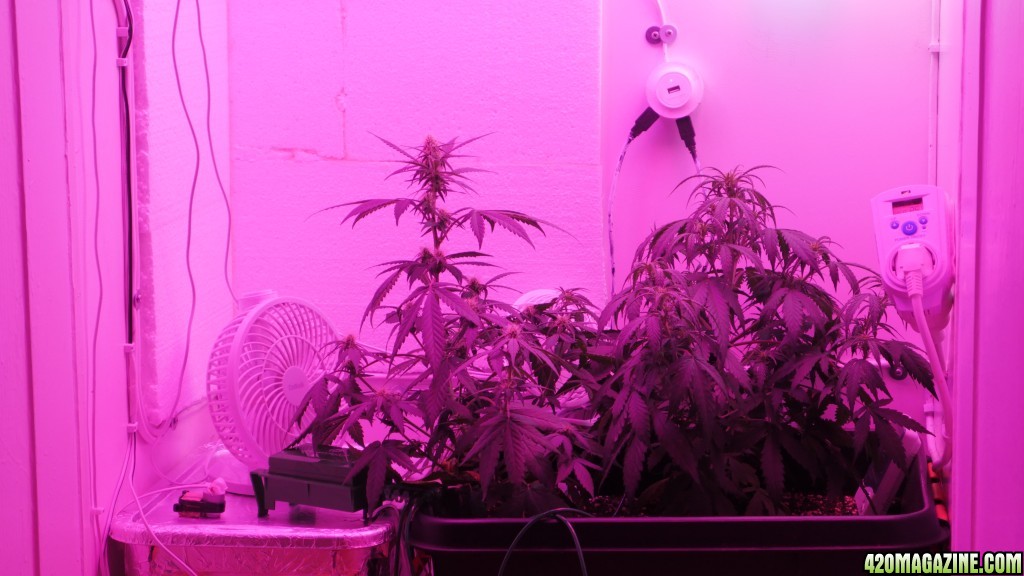
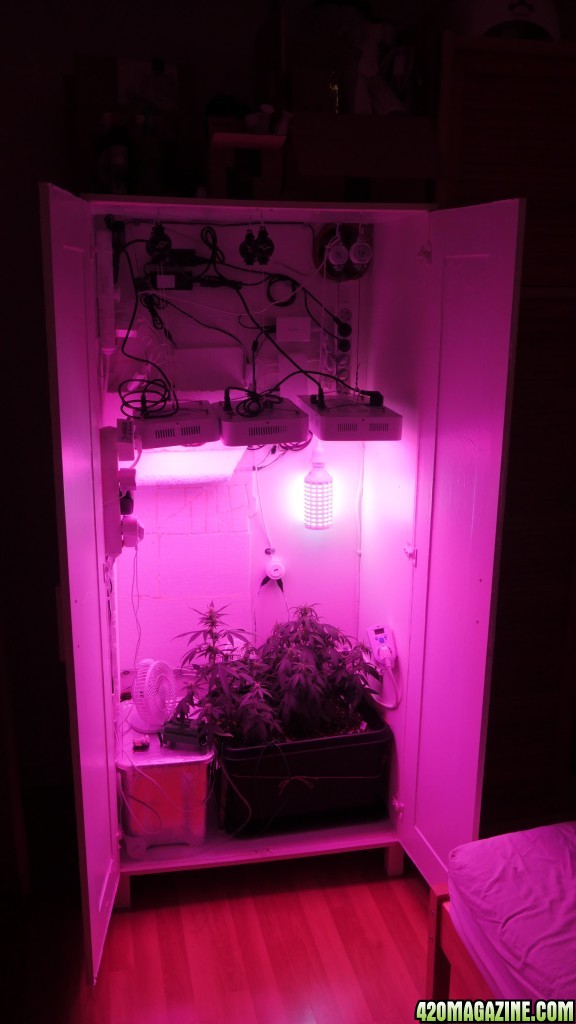
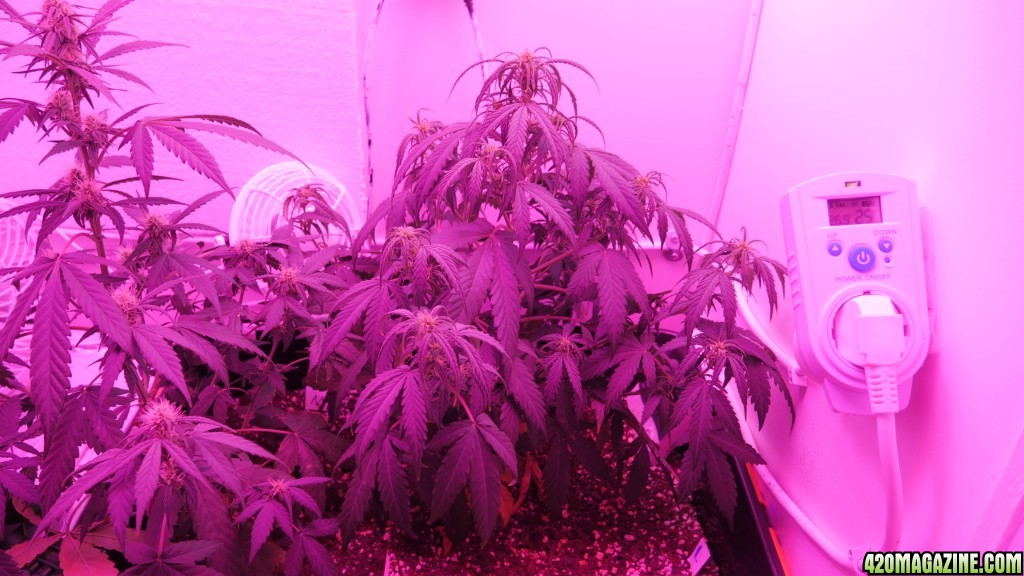
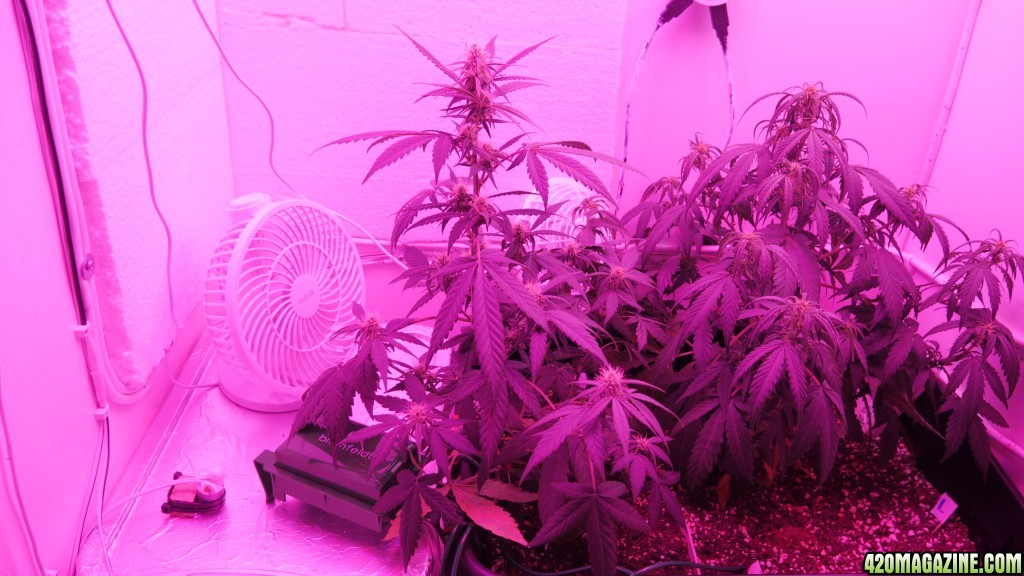
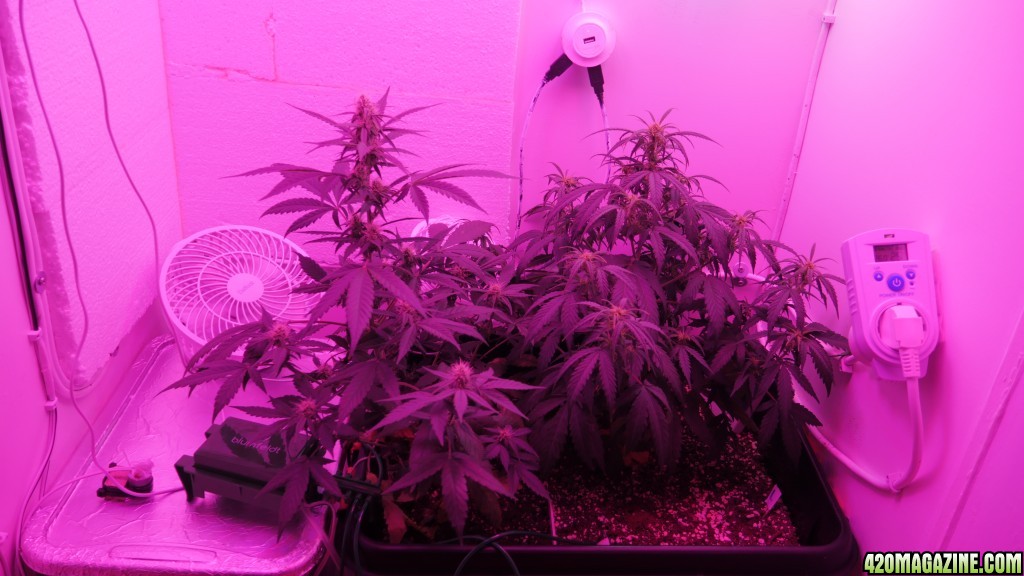
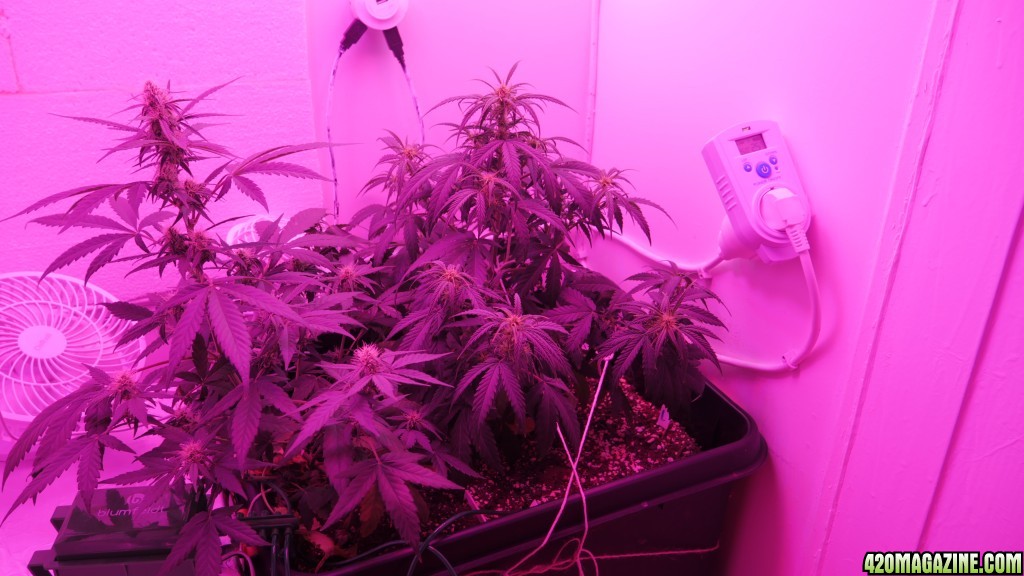
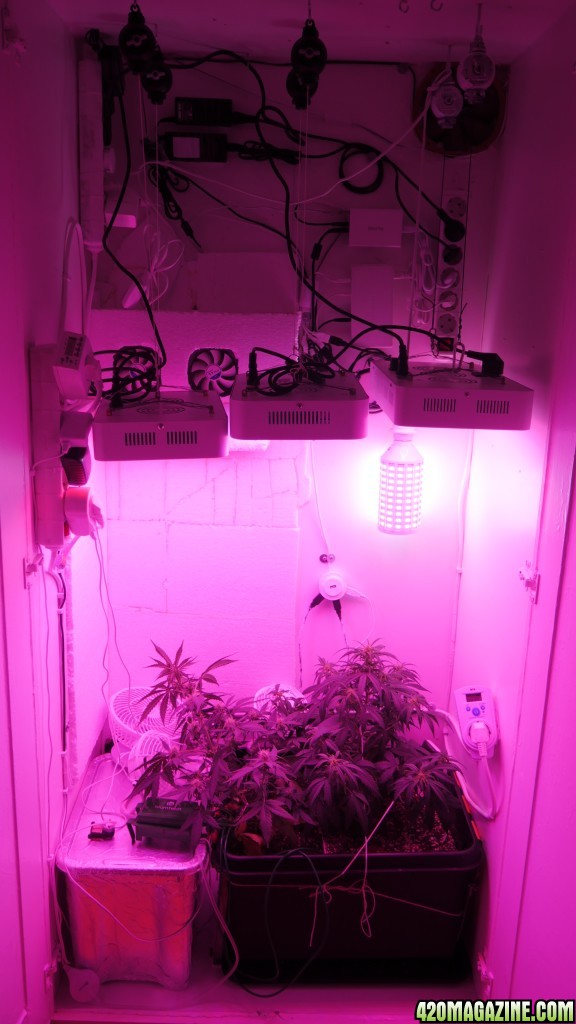
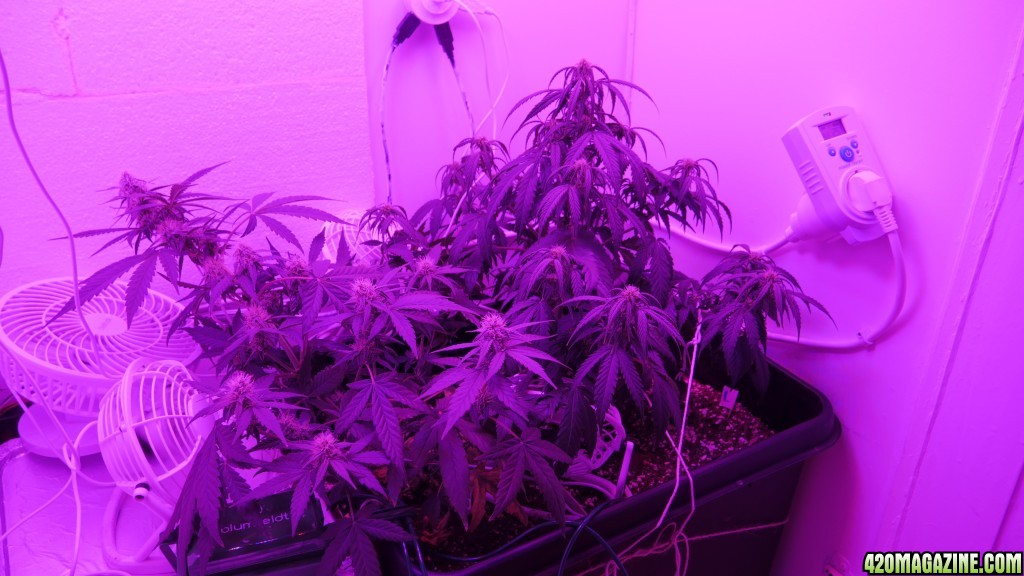
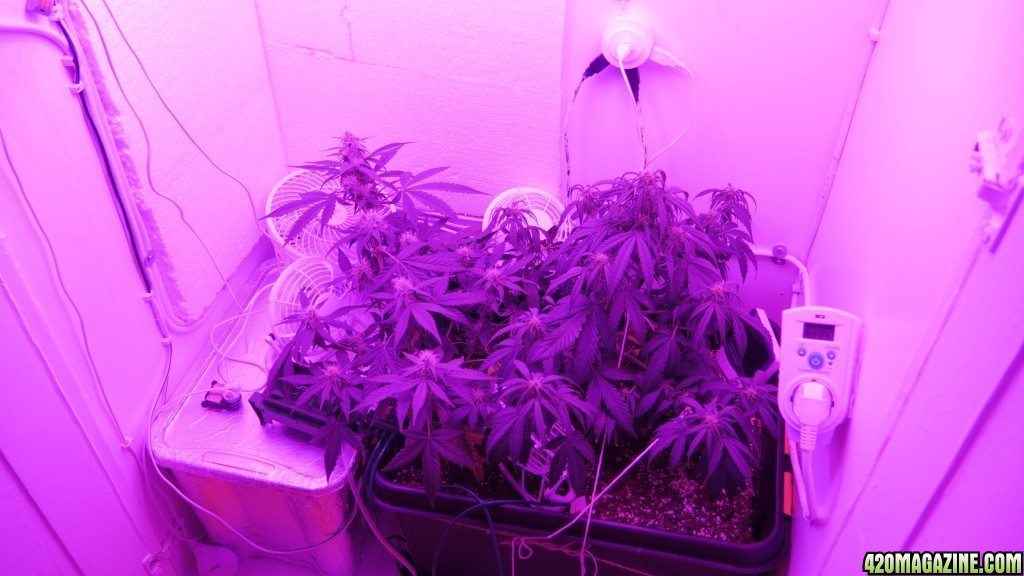
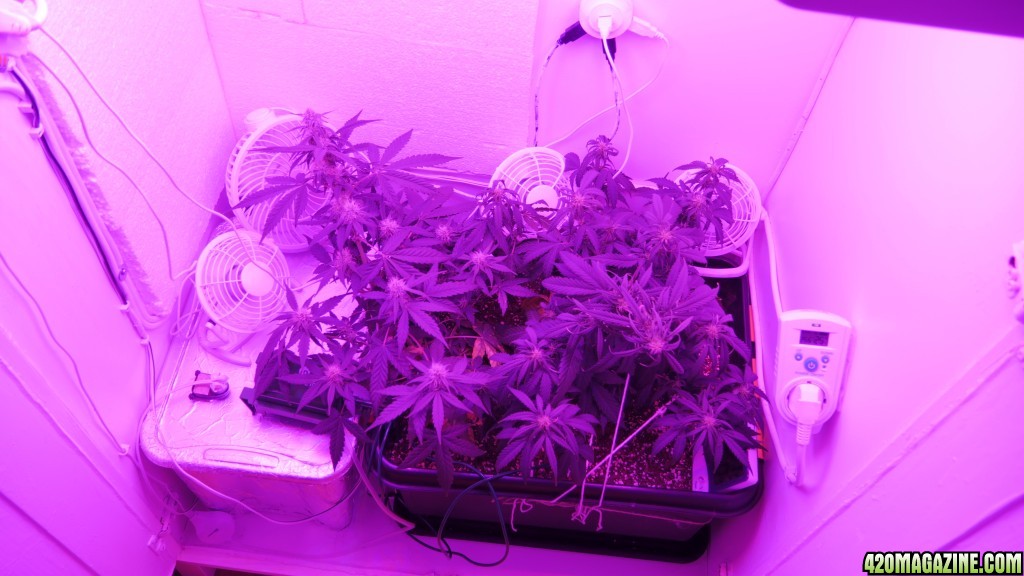
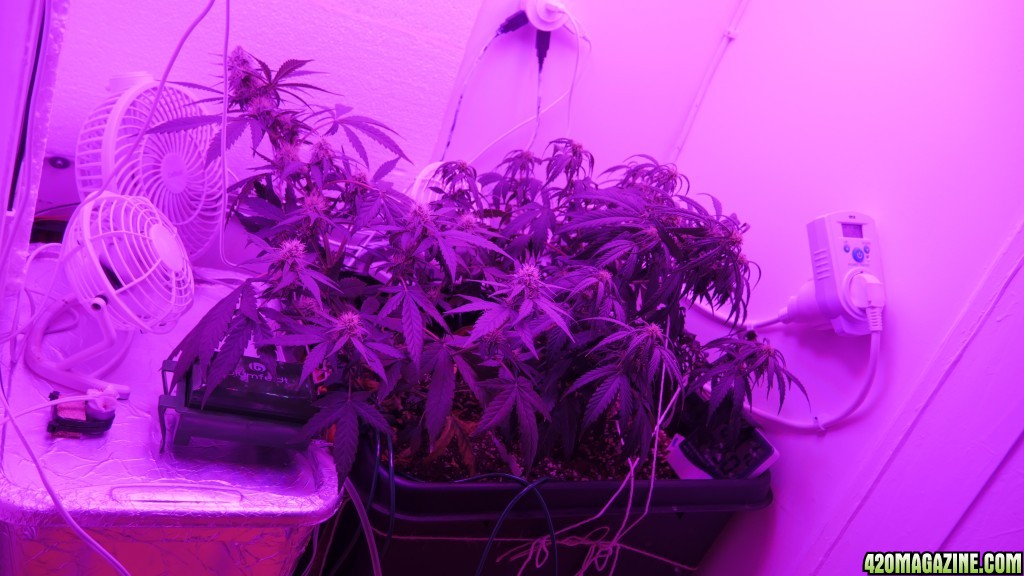
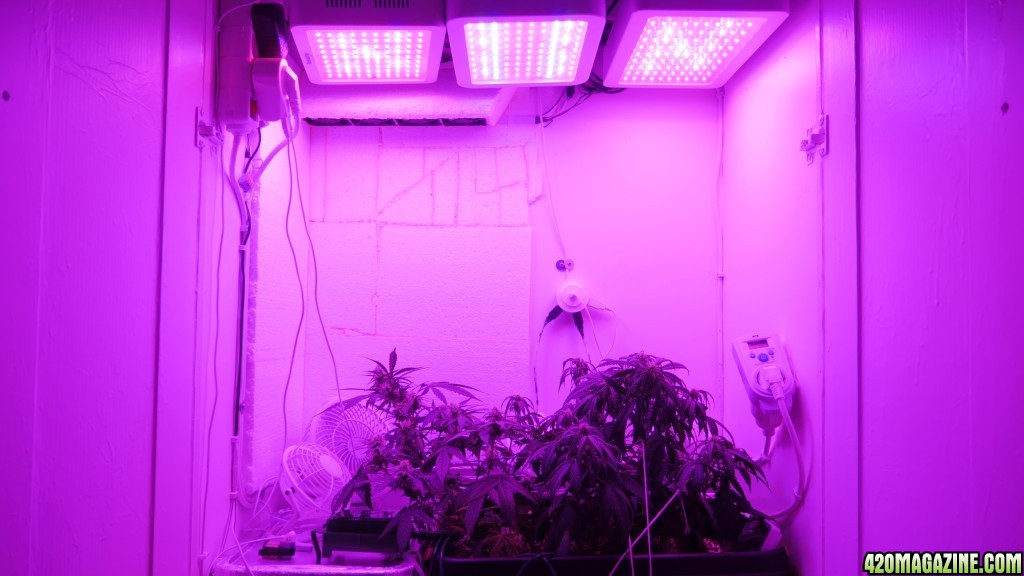
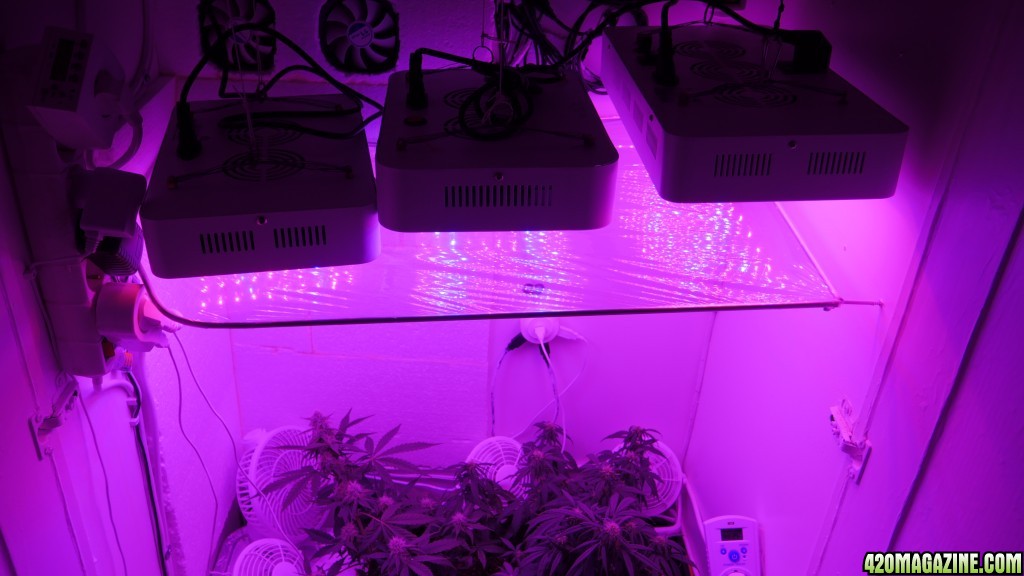
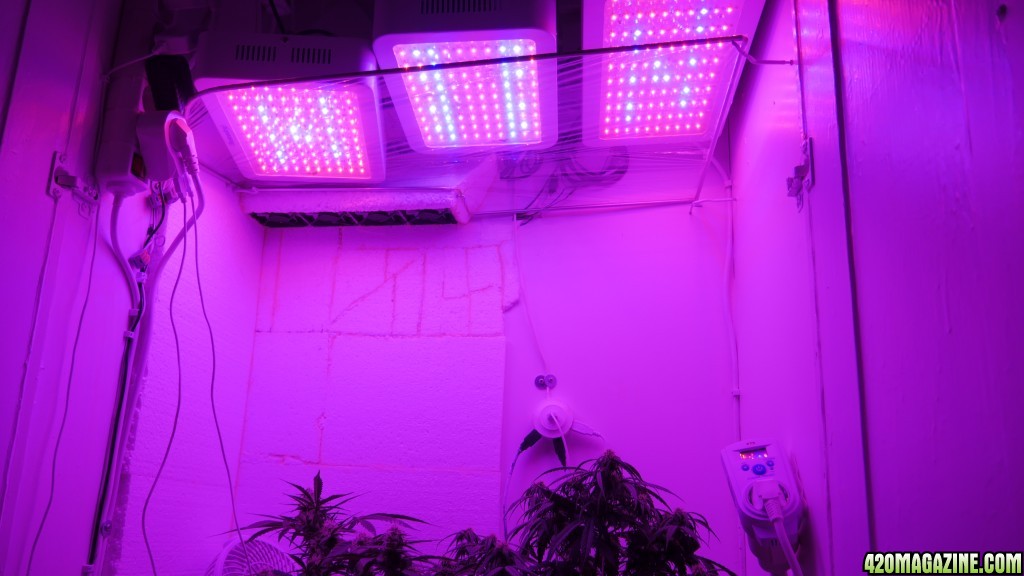
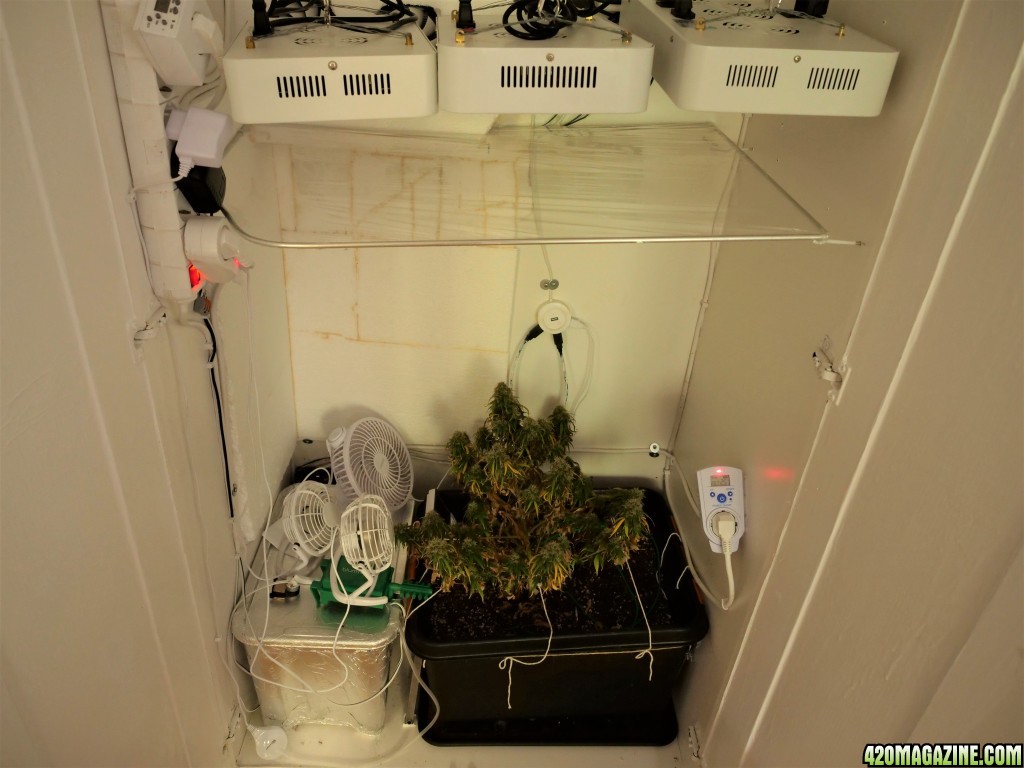
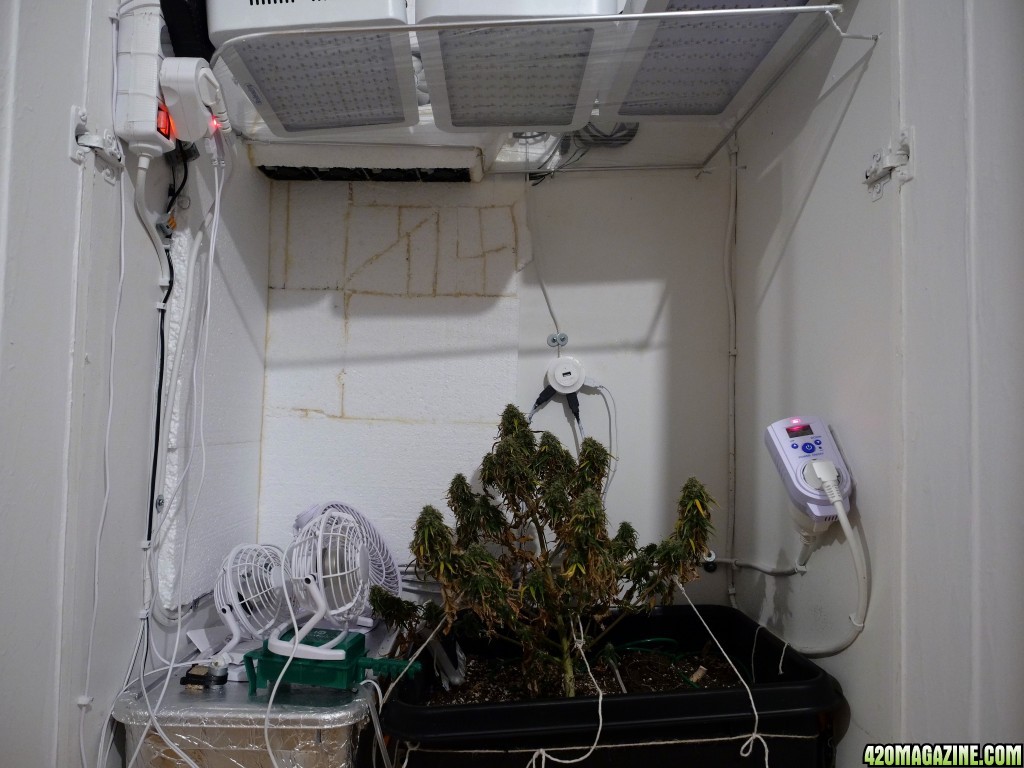
... but the major upgrades were finally complete!
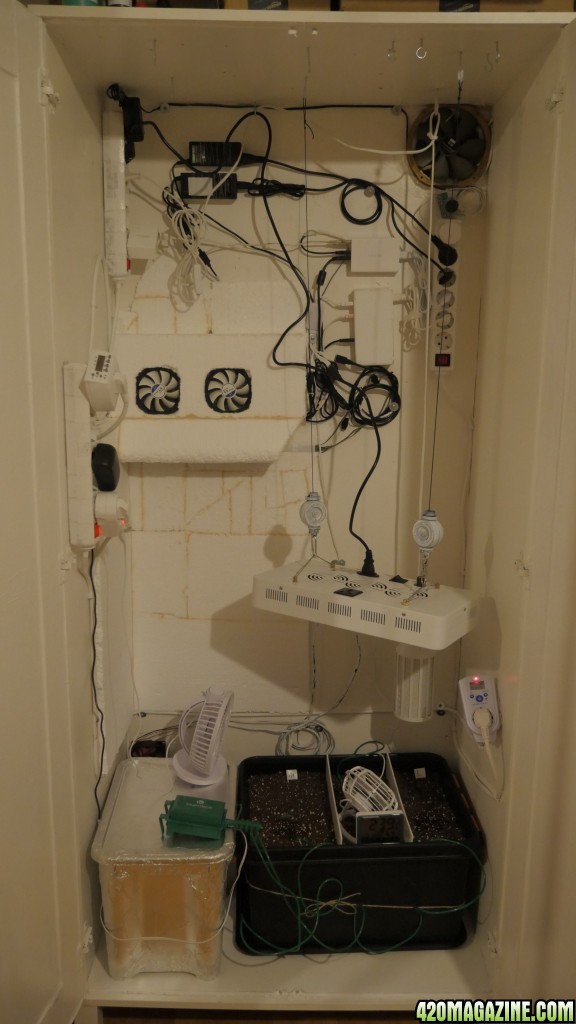
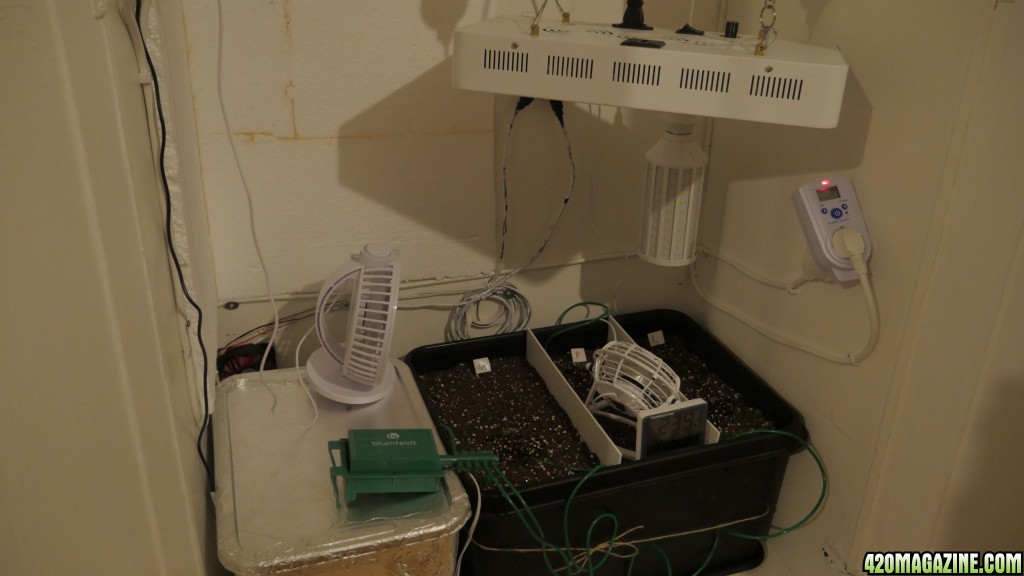
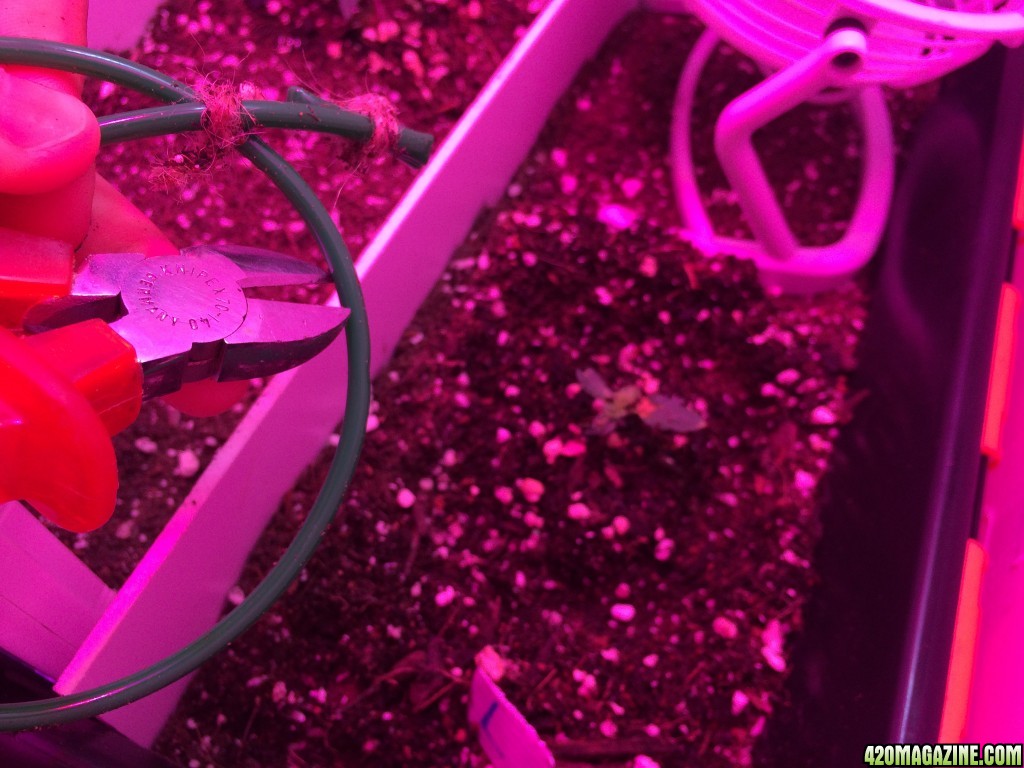
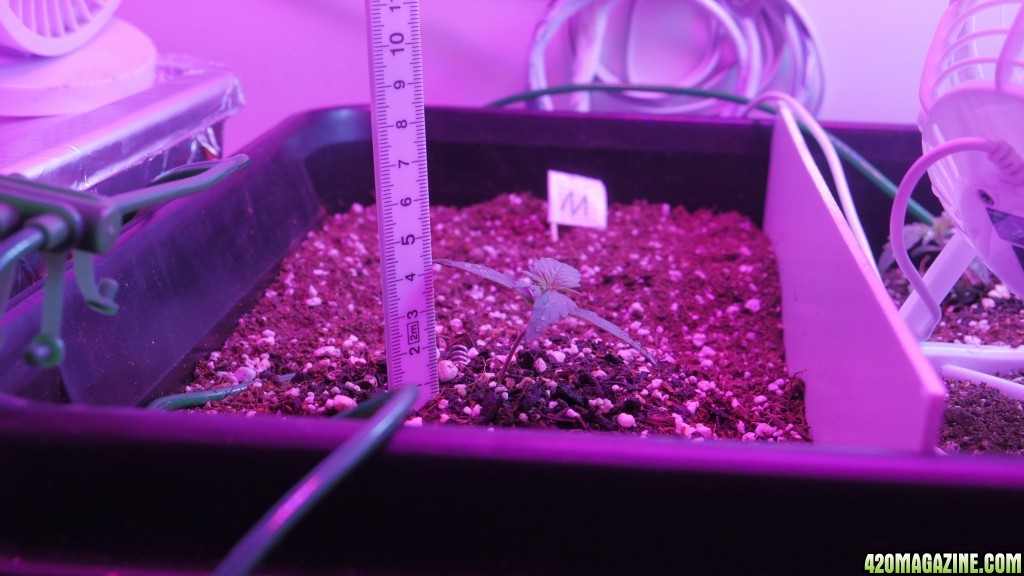
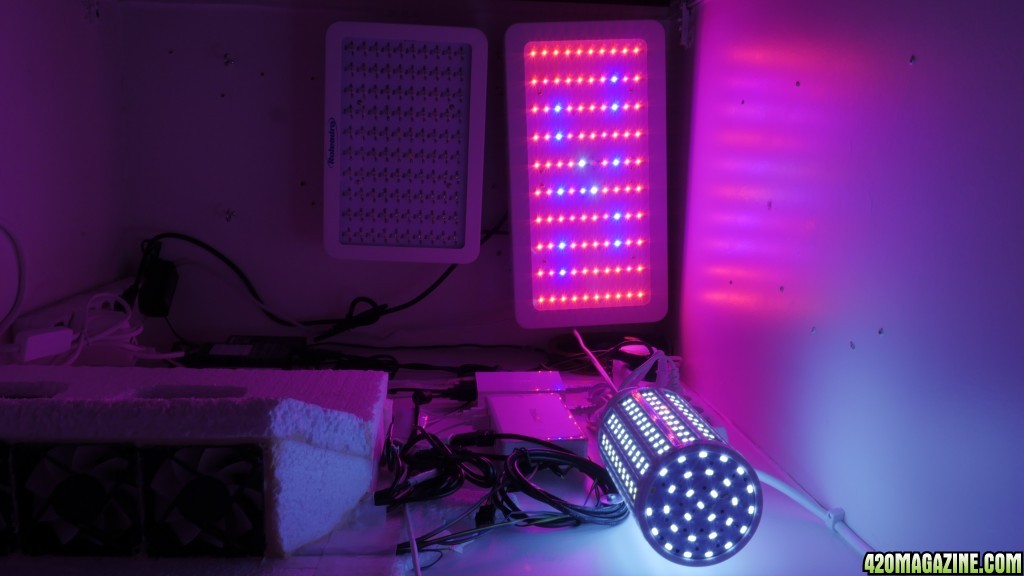
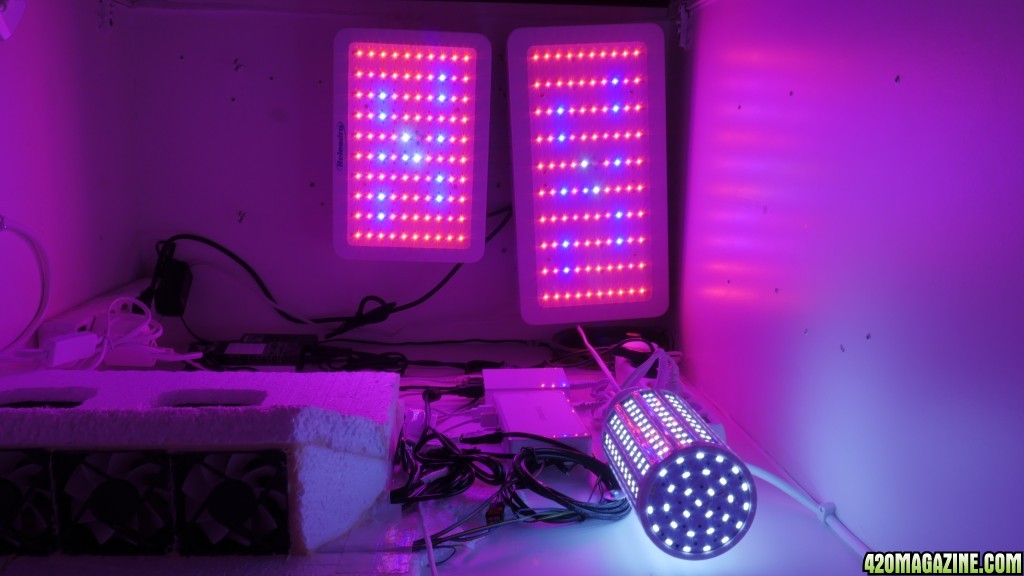
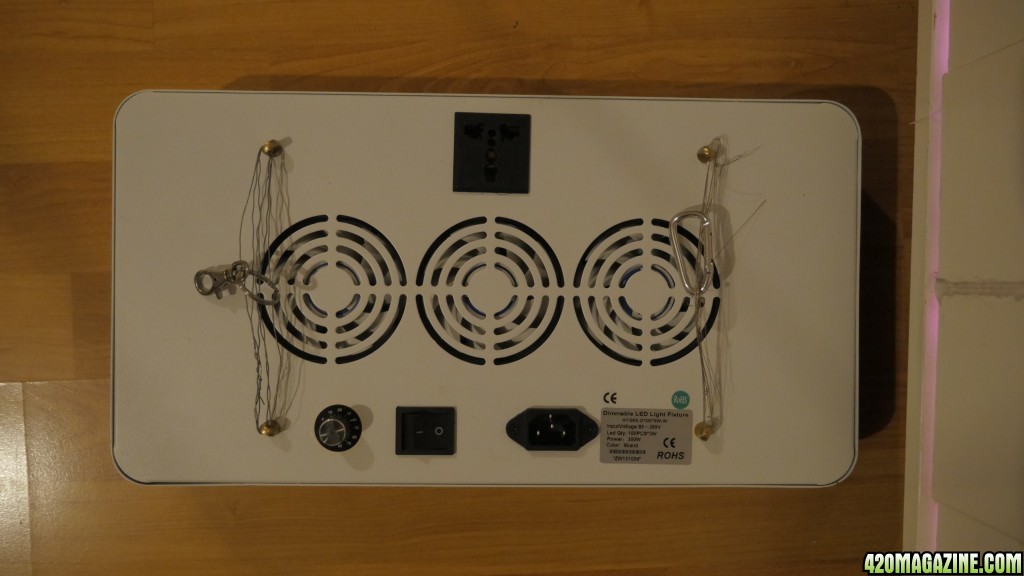
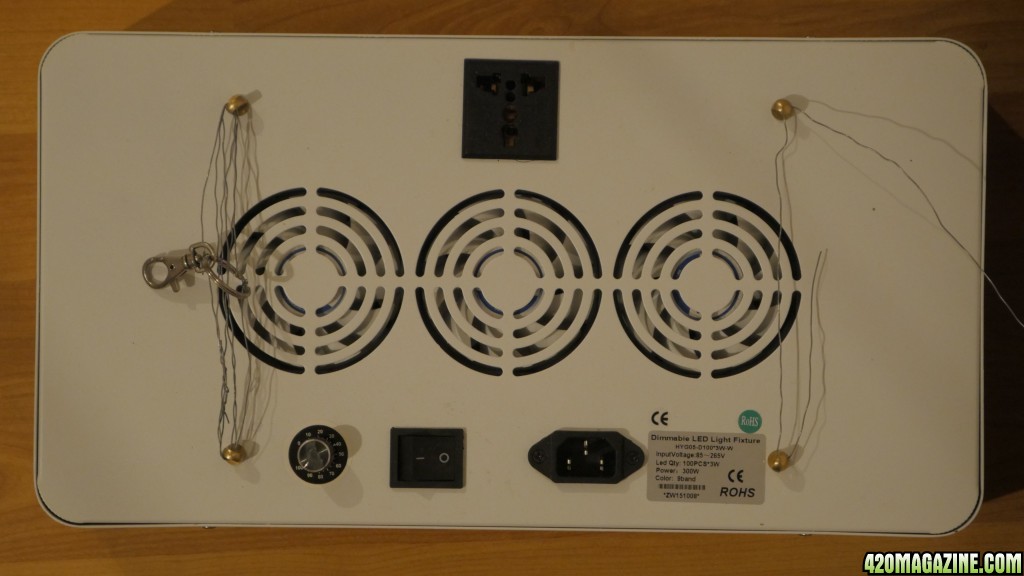
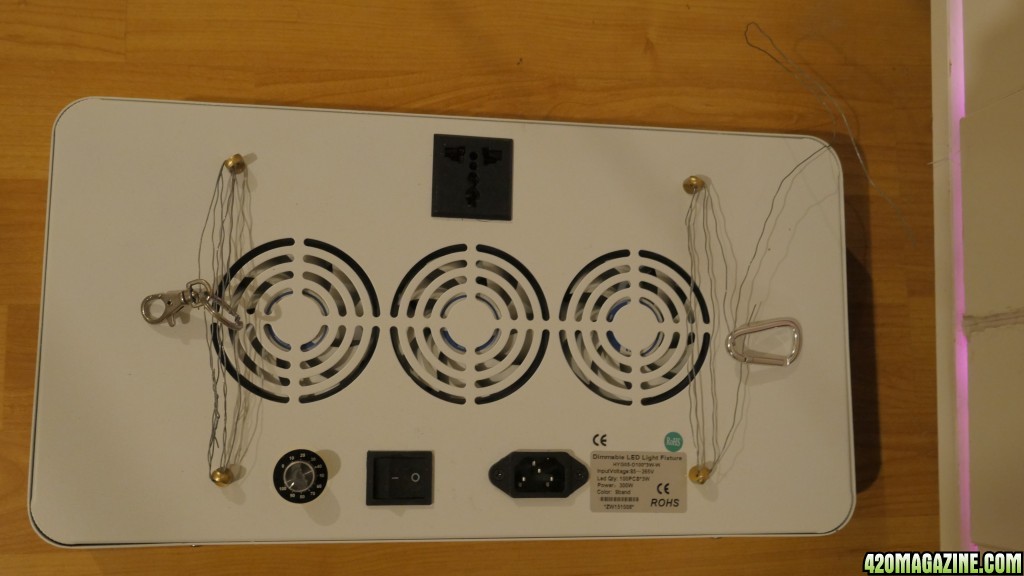
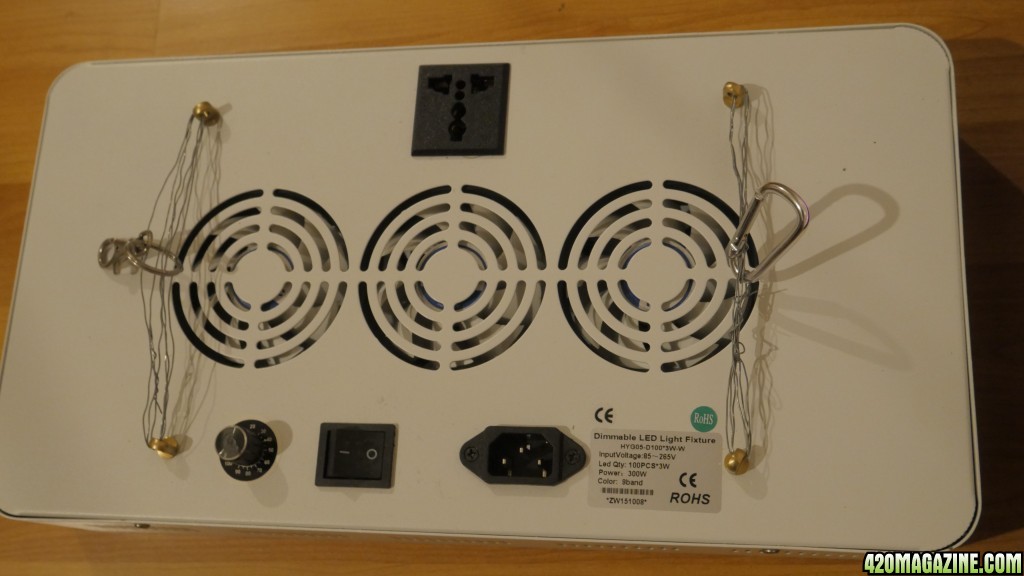
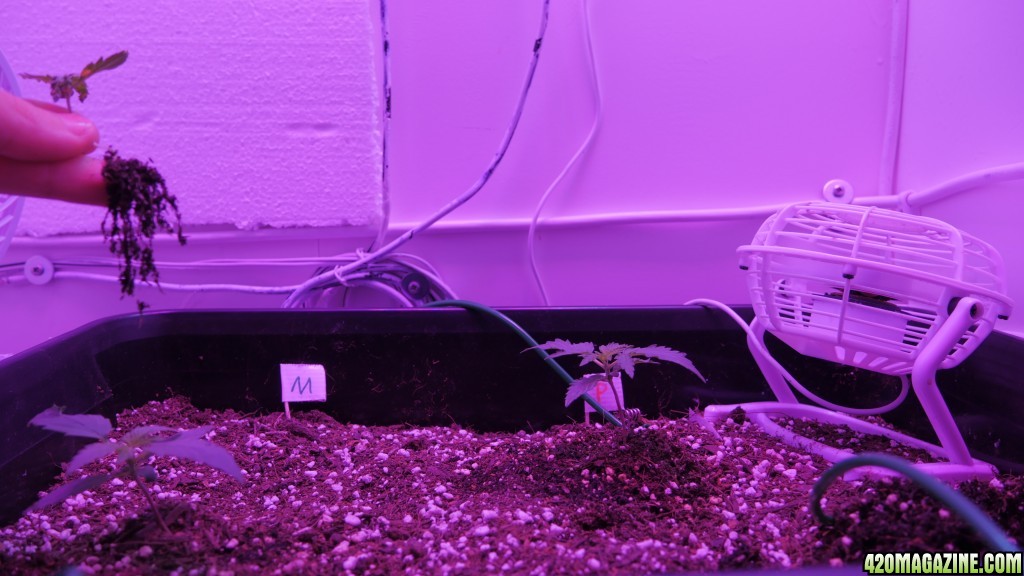
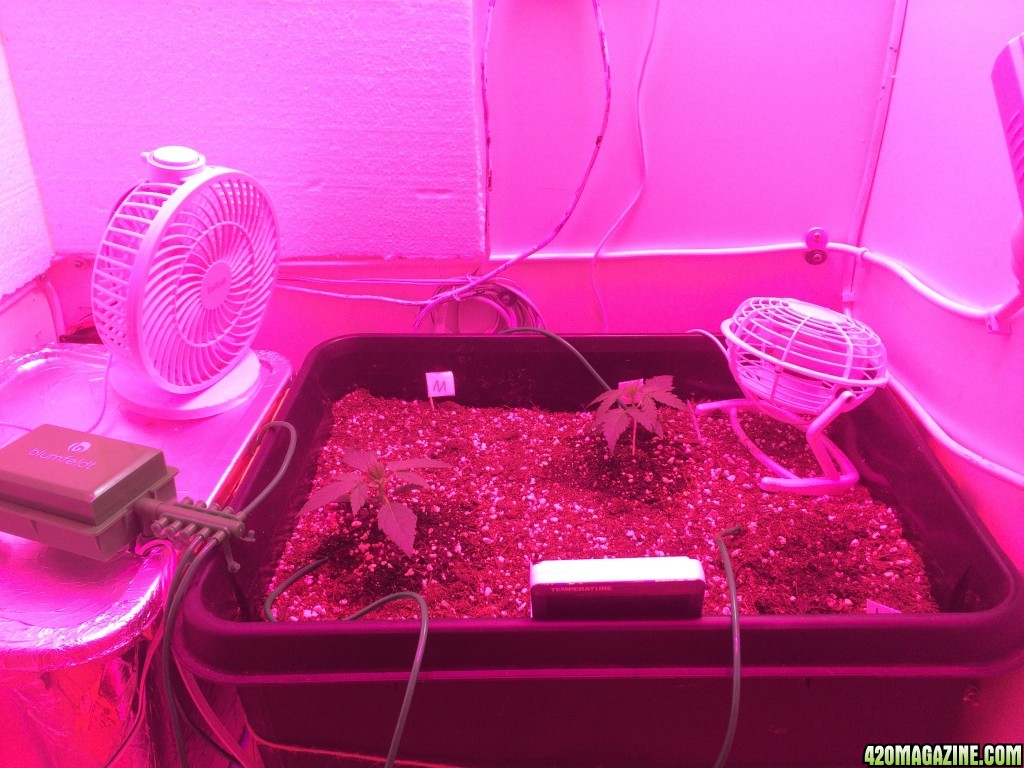
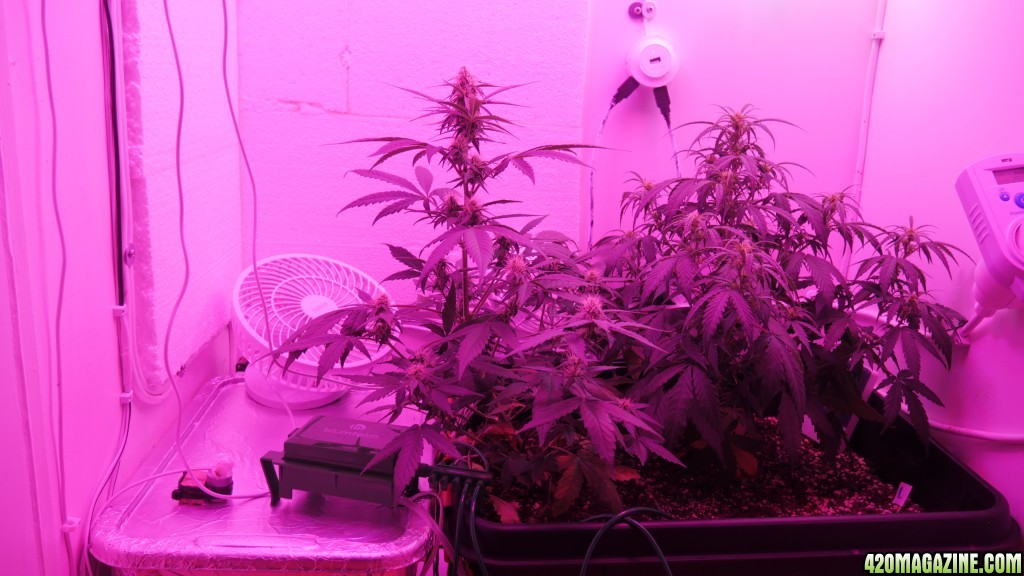
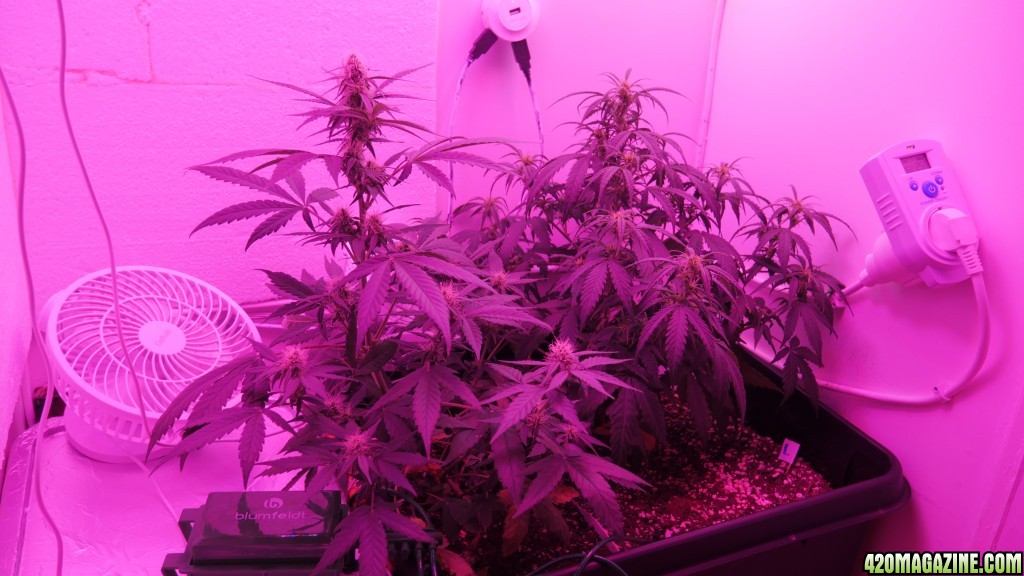
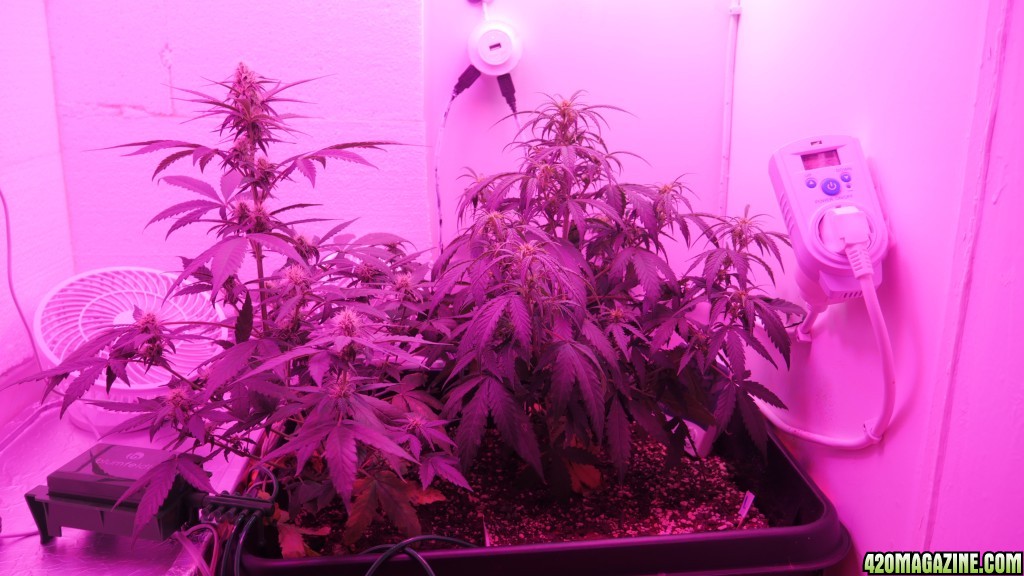
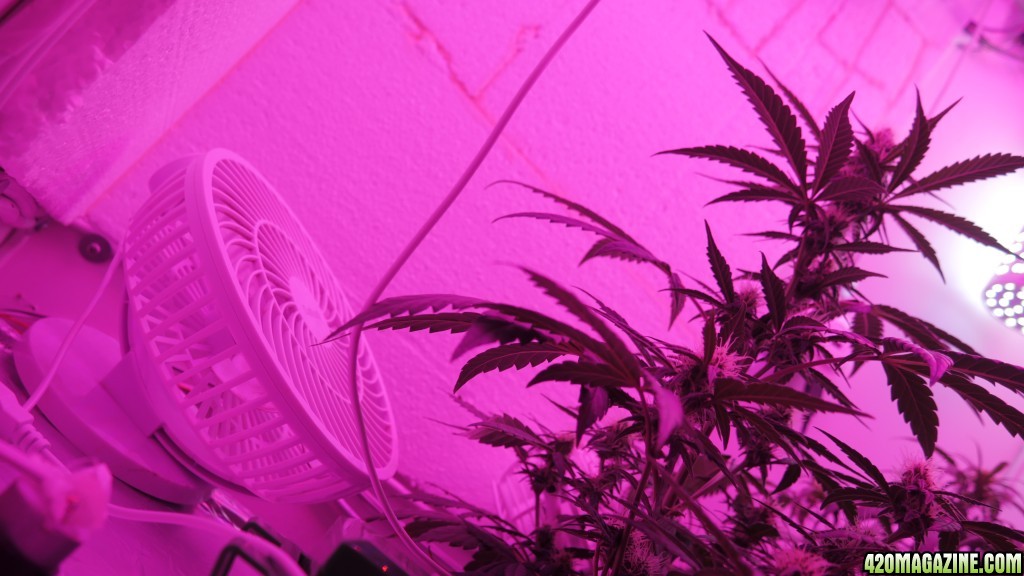
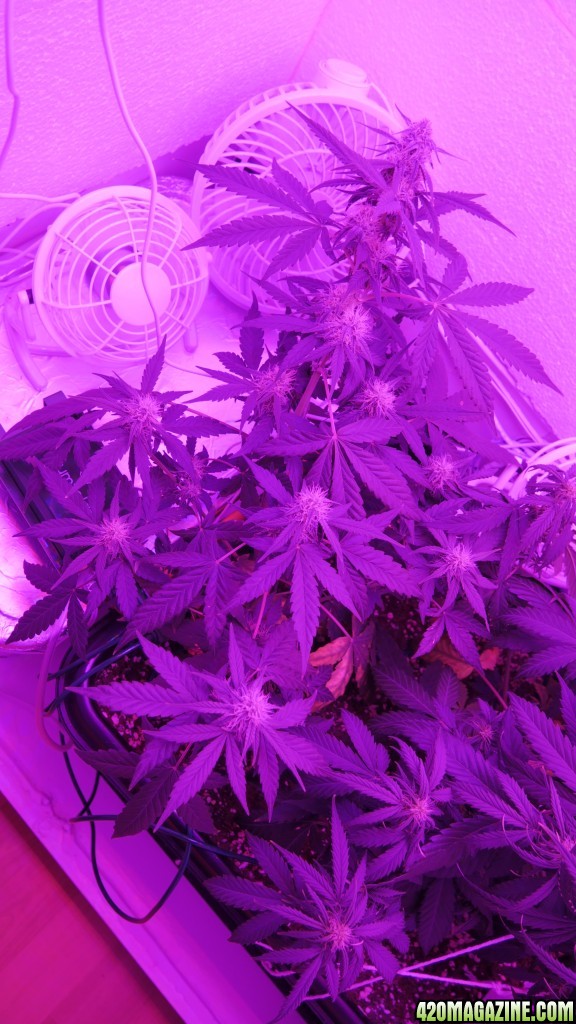
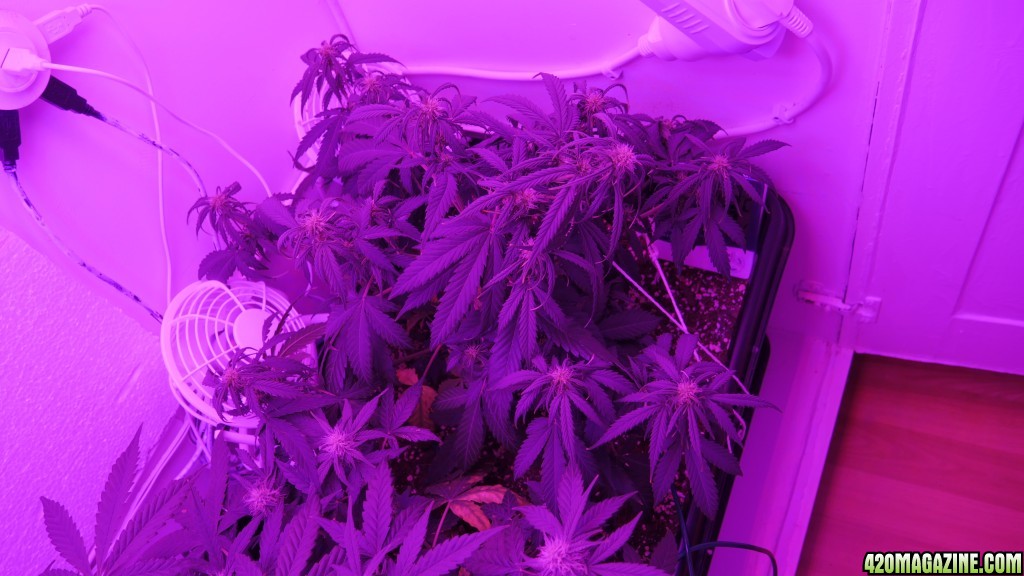
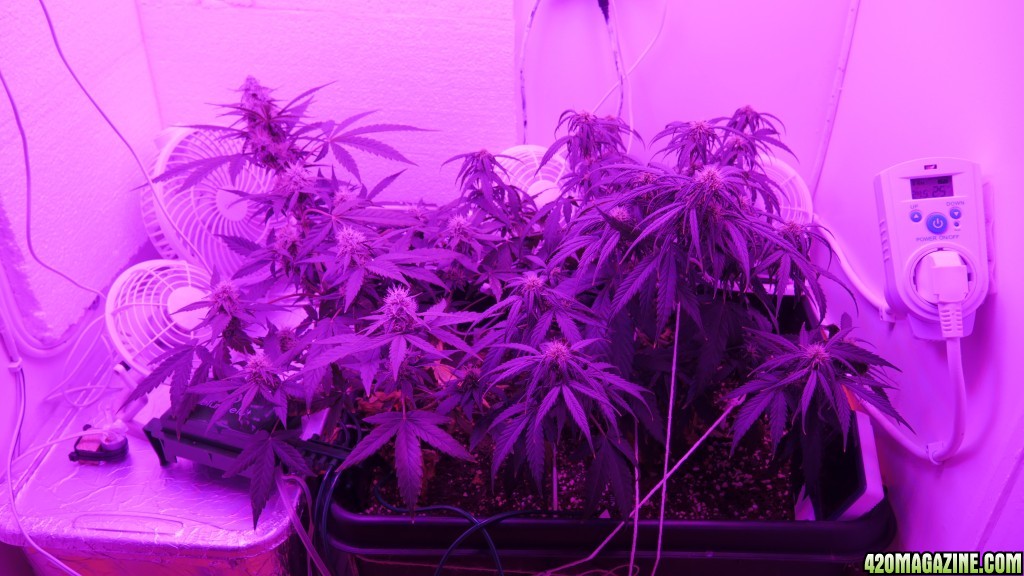
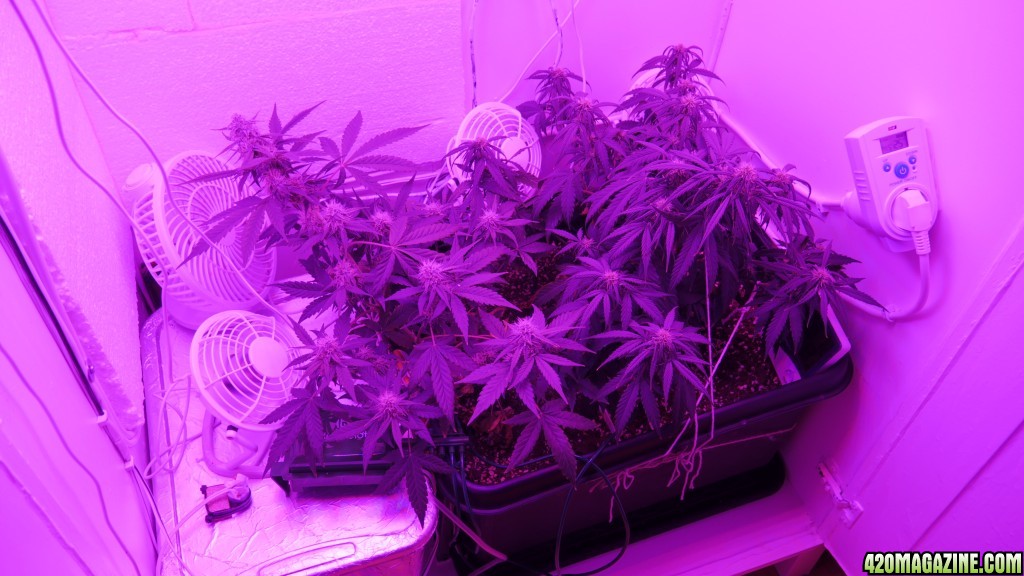
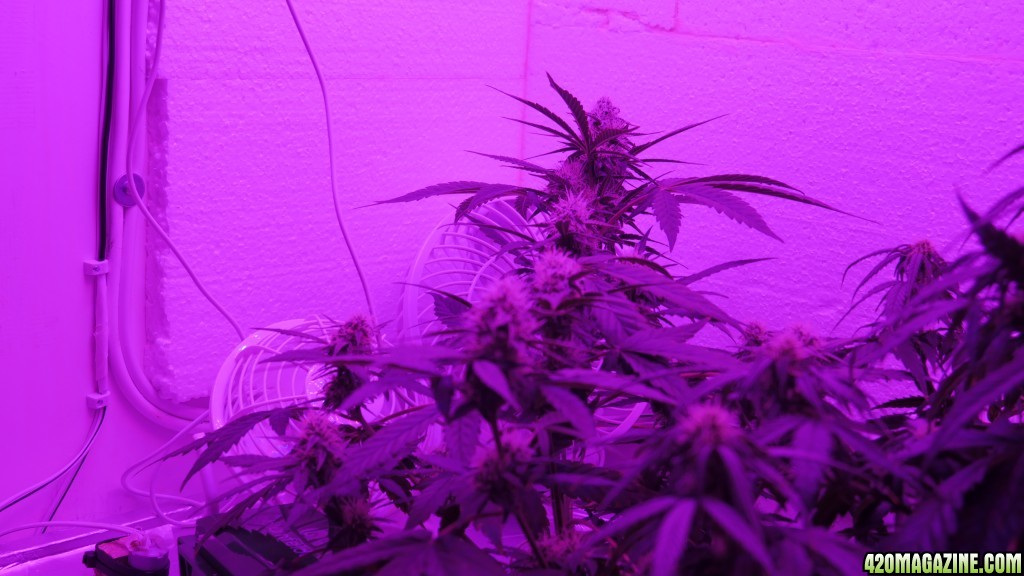
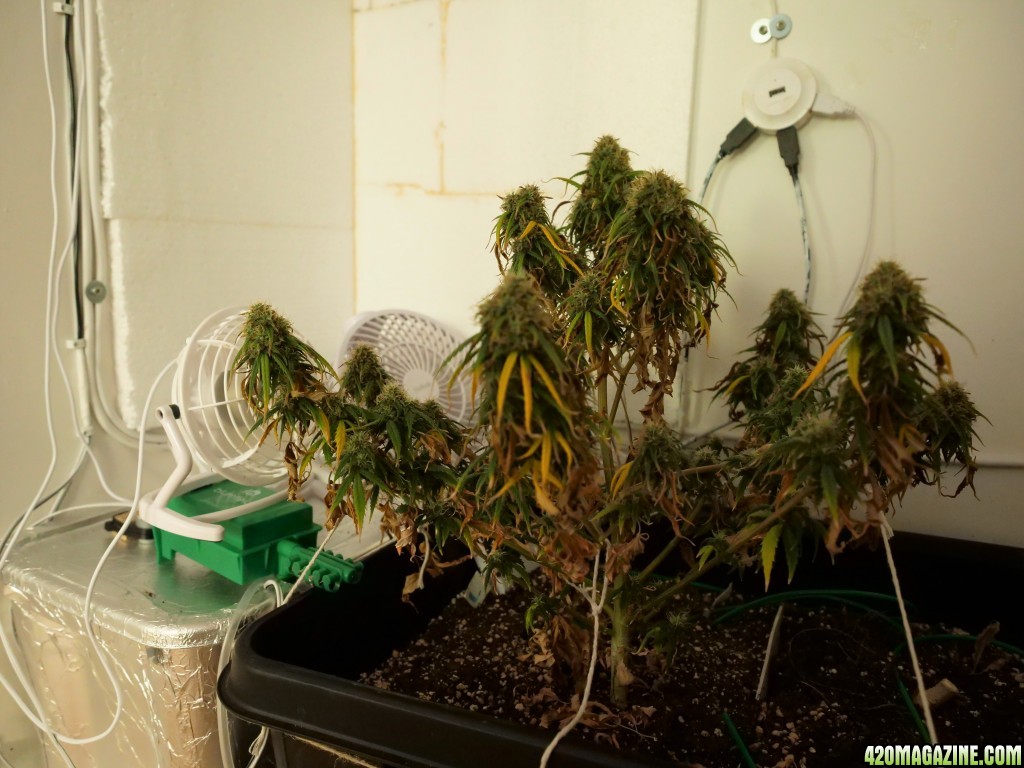
I have the 300W LED growlight running at 60% and will turn it up carefully, if I feel like the plants can take it.
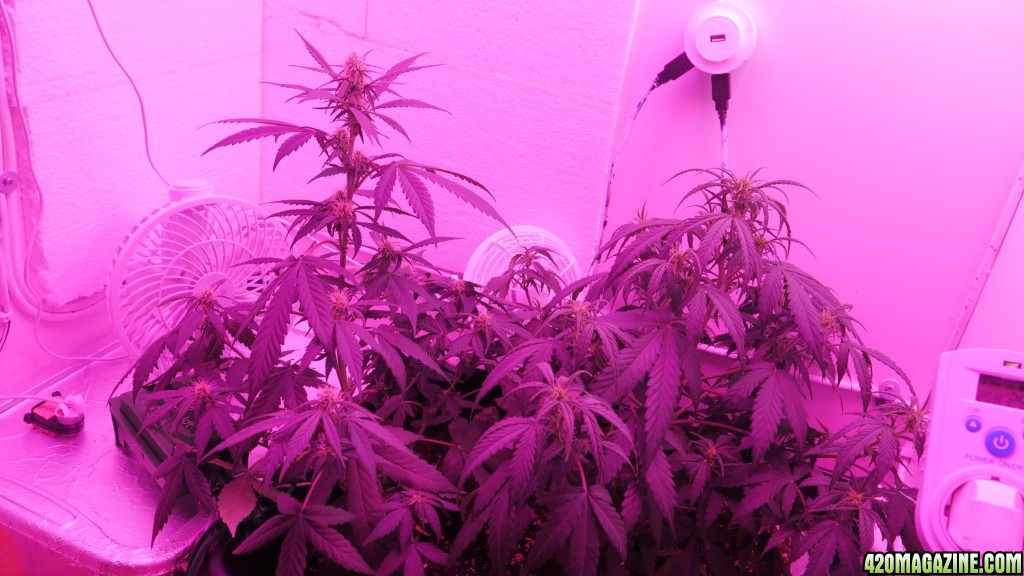
They seem to have settled though.
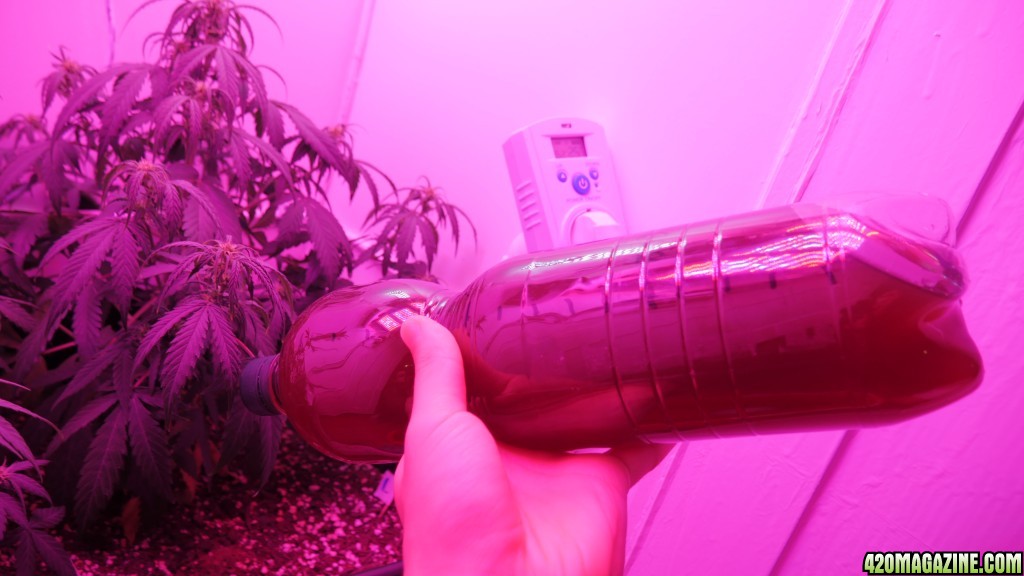
One thing left to do, is to somehow spread the water streams from the pumps hoses, but that problem shouldn't be impossible to solve.
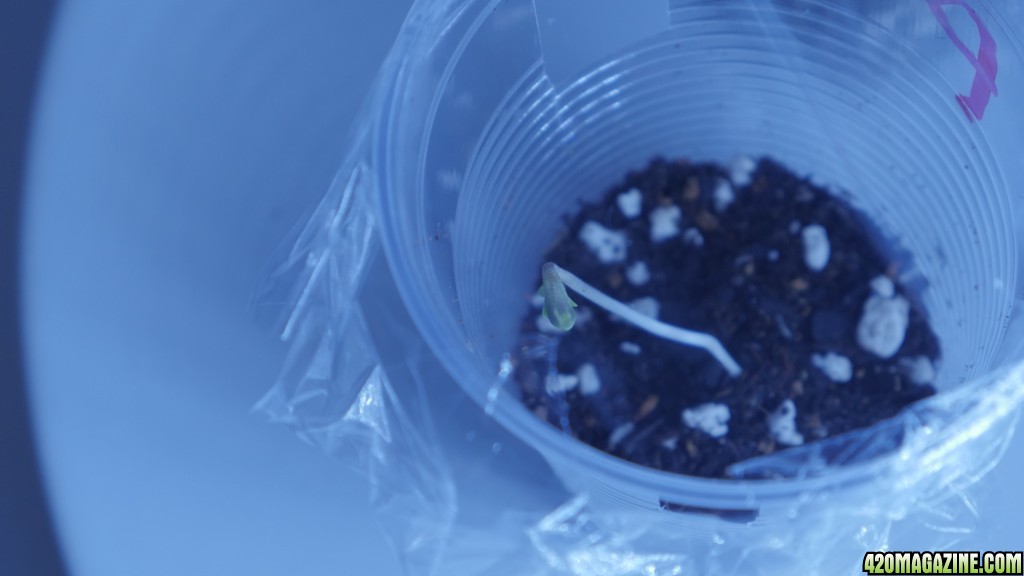
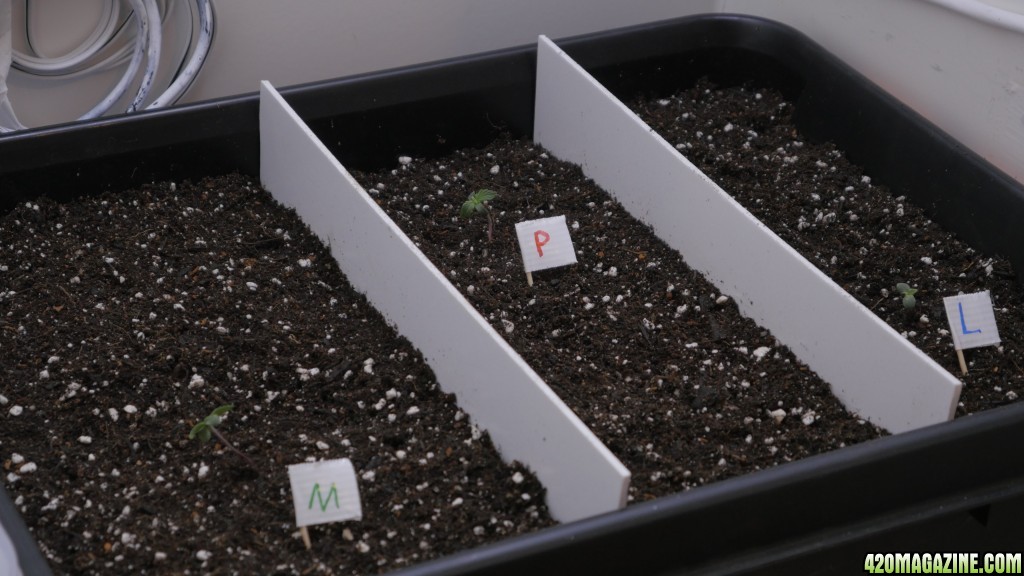
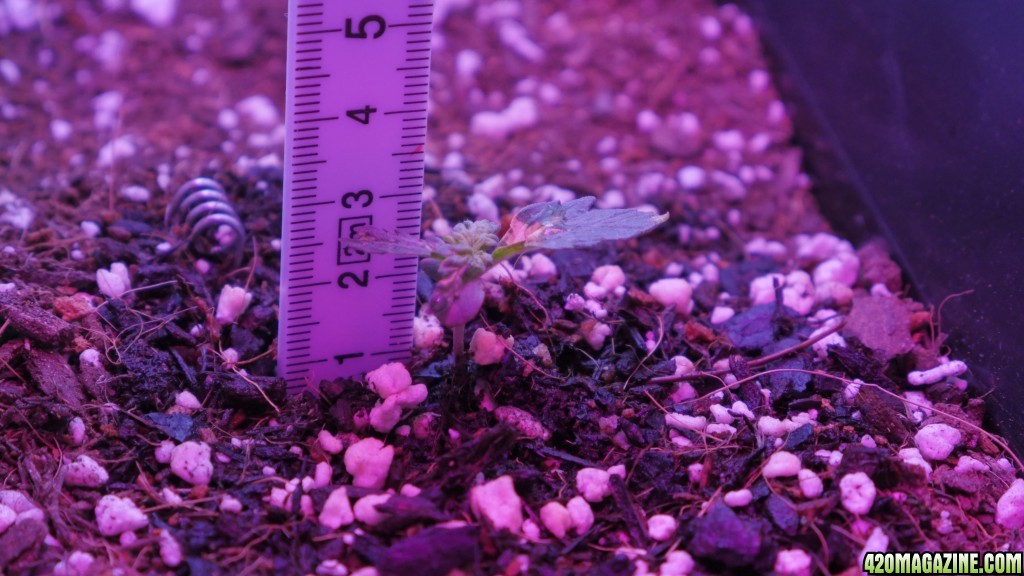
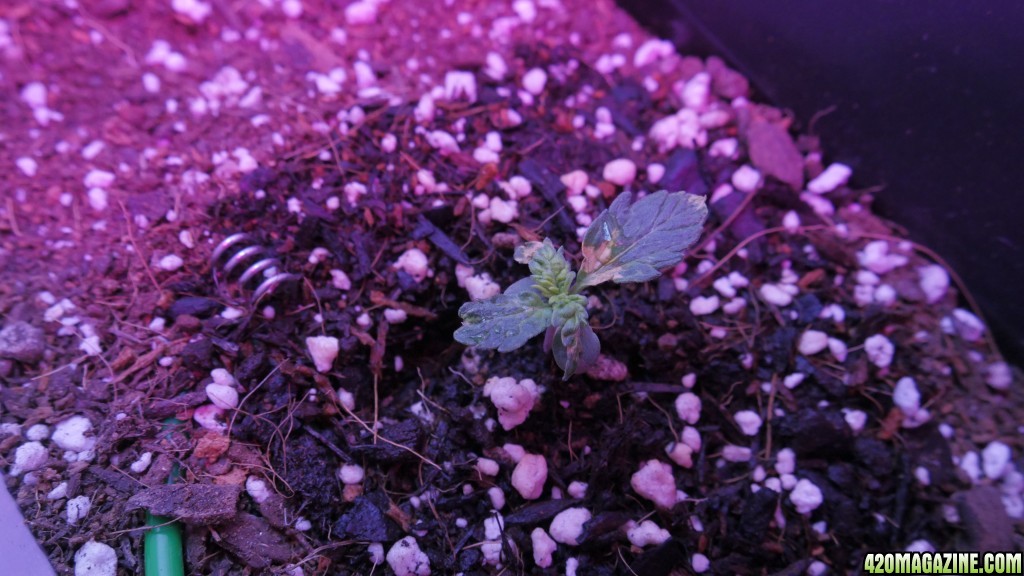
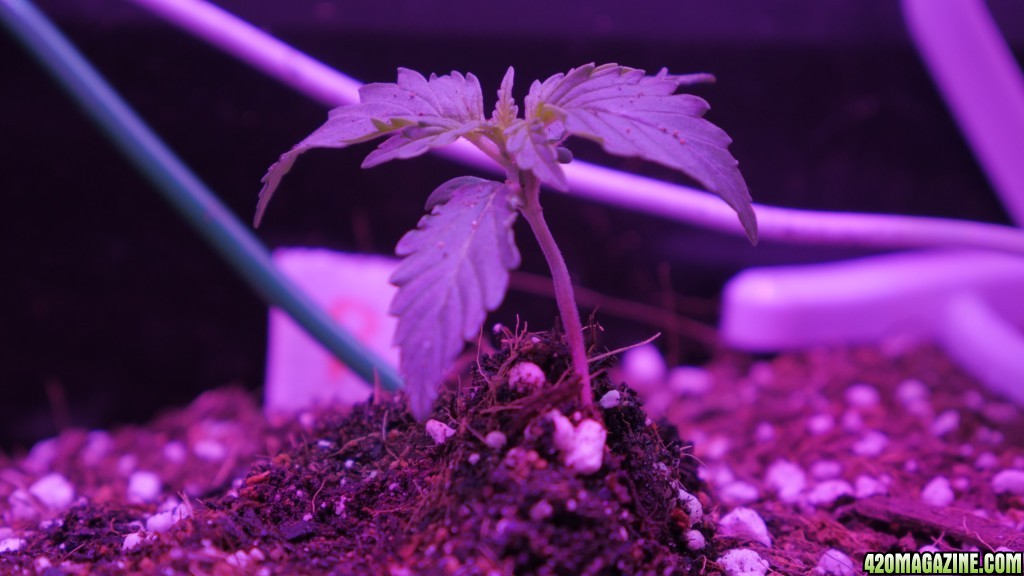
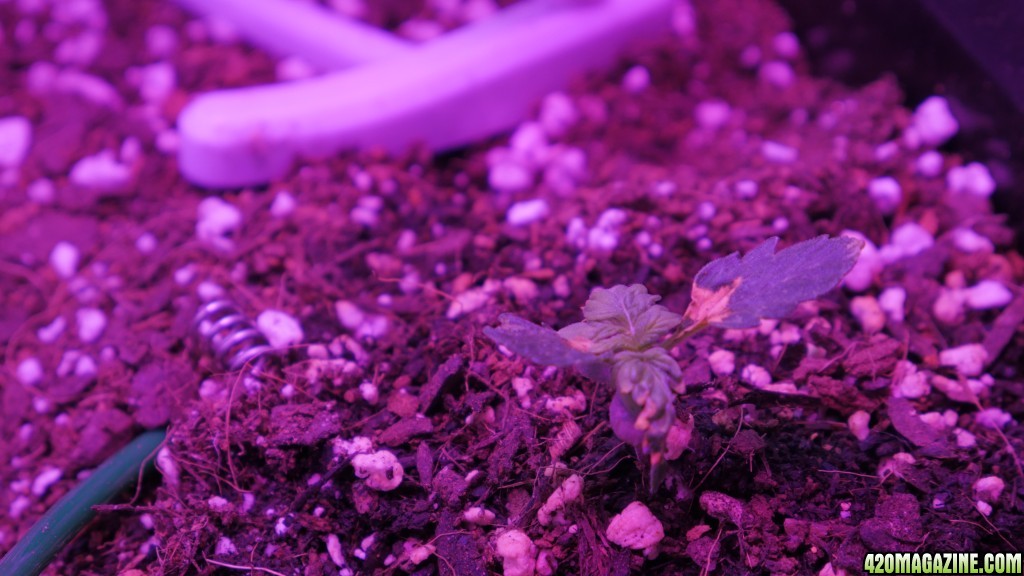
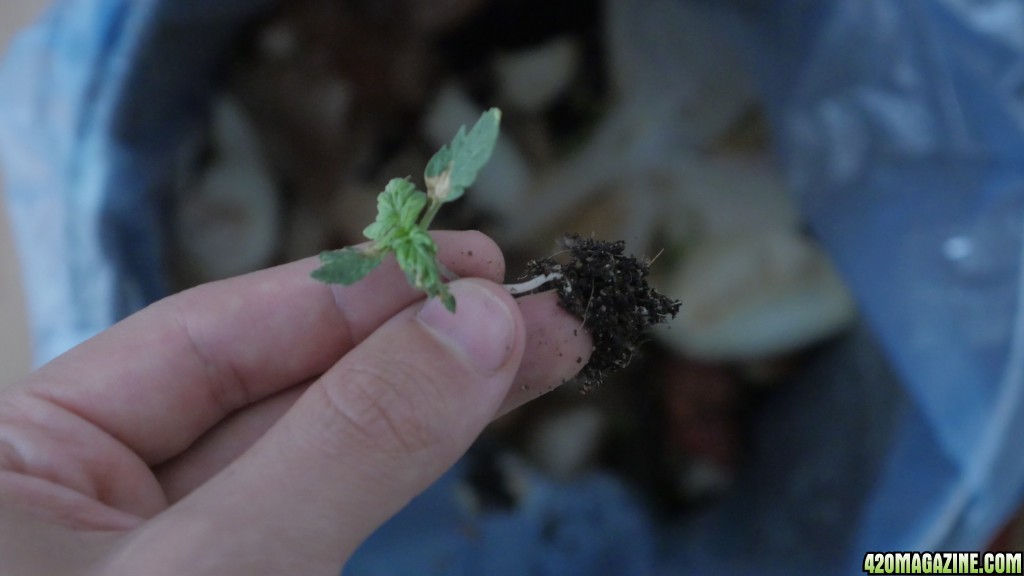
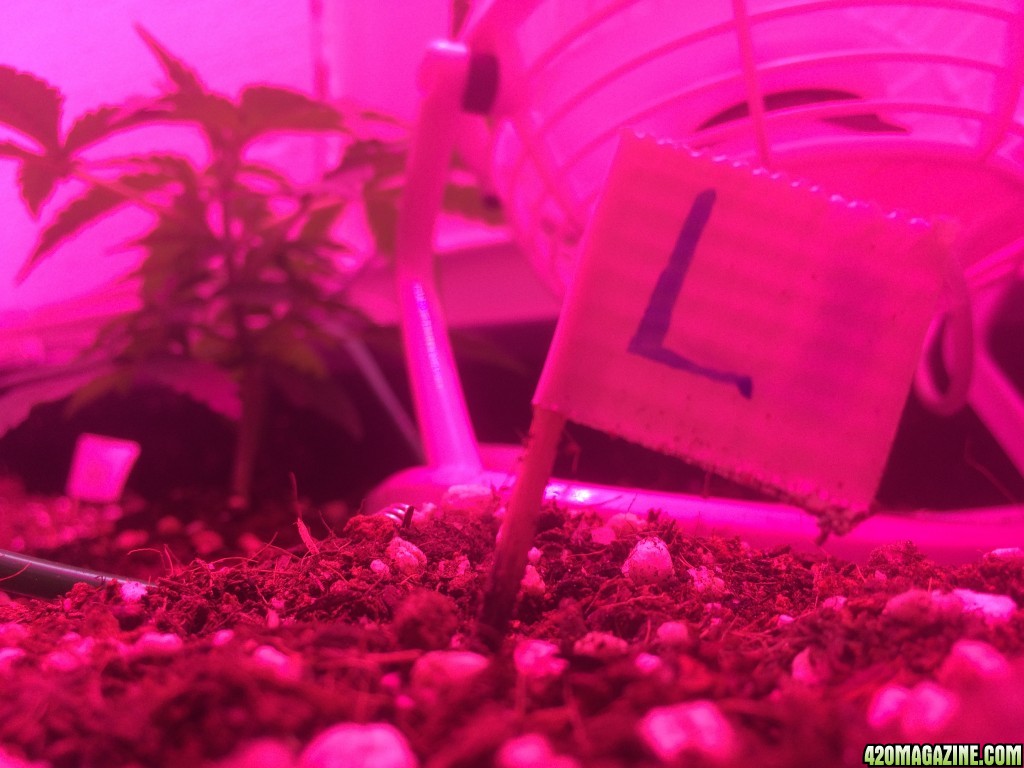
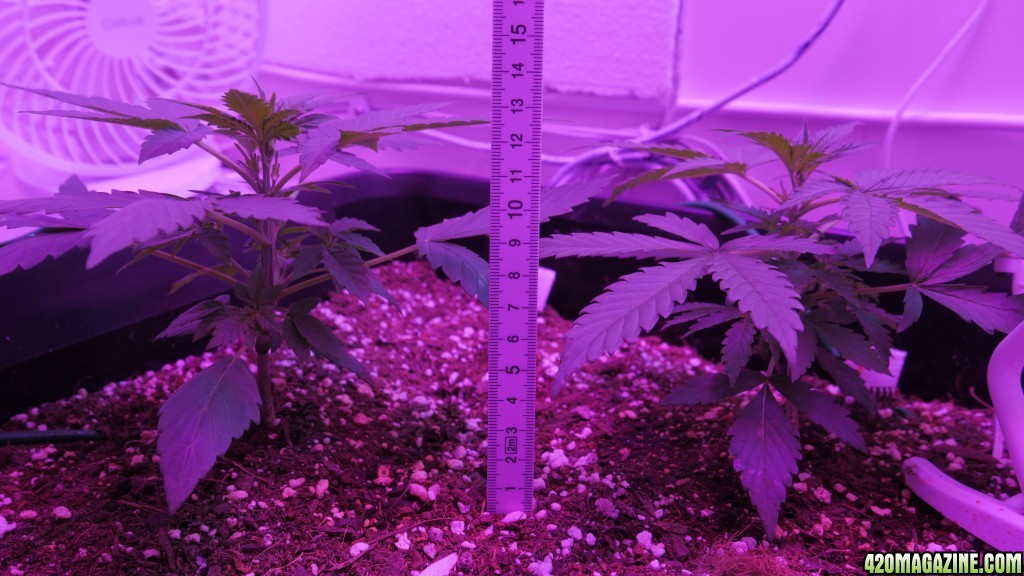
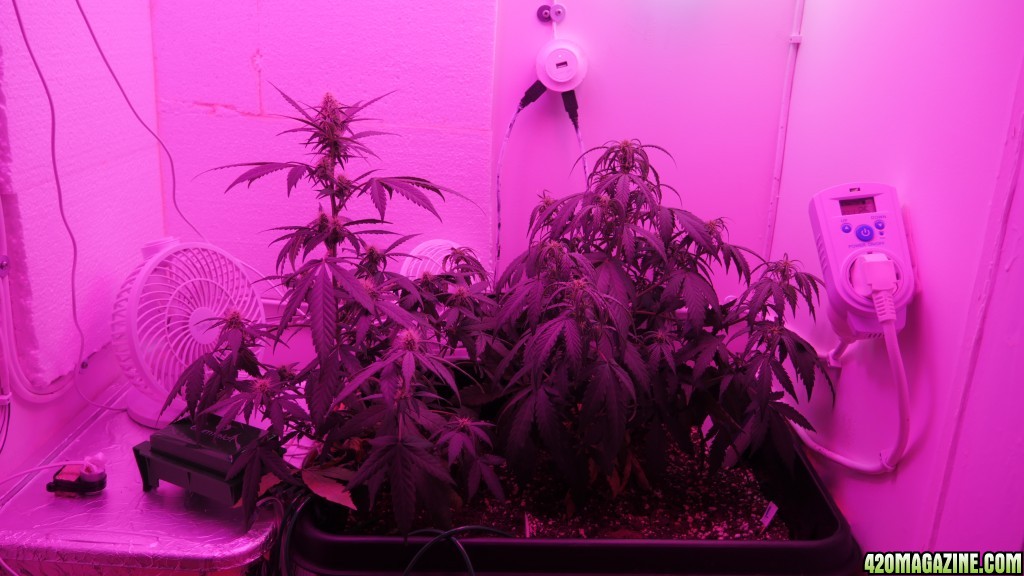
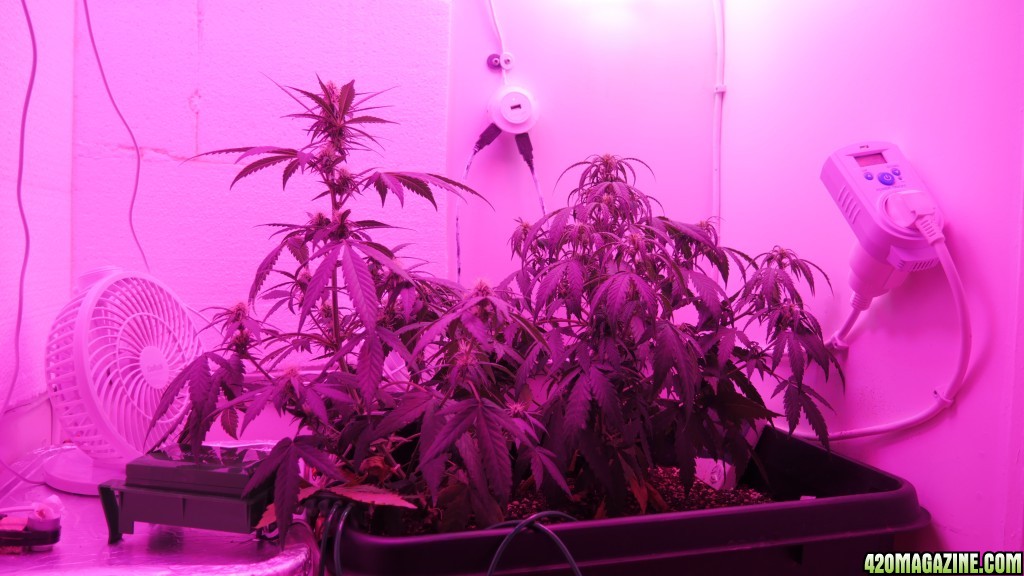
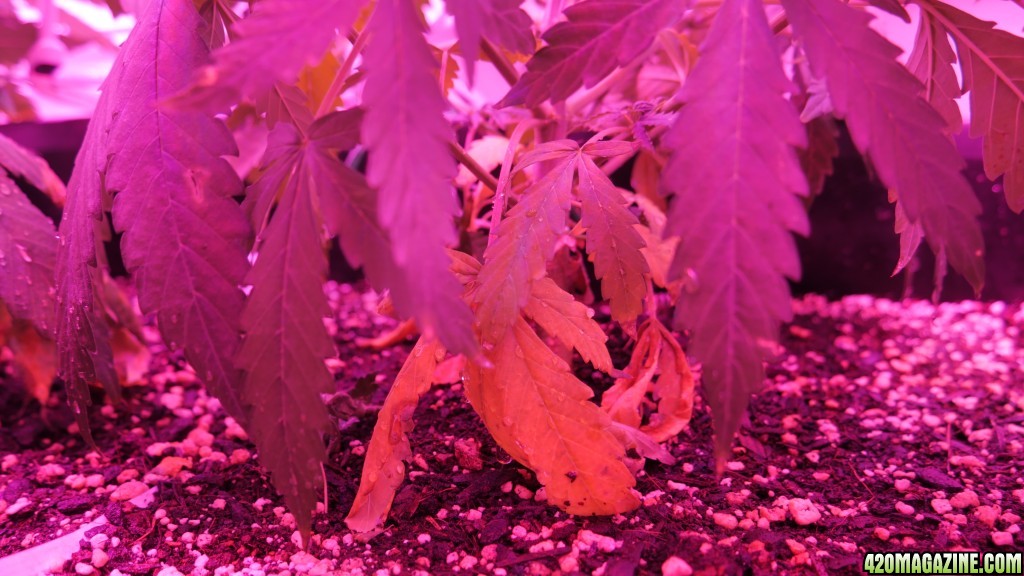
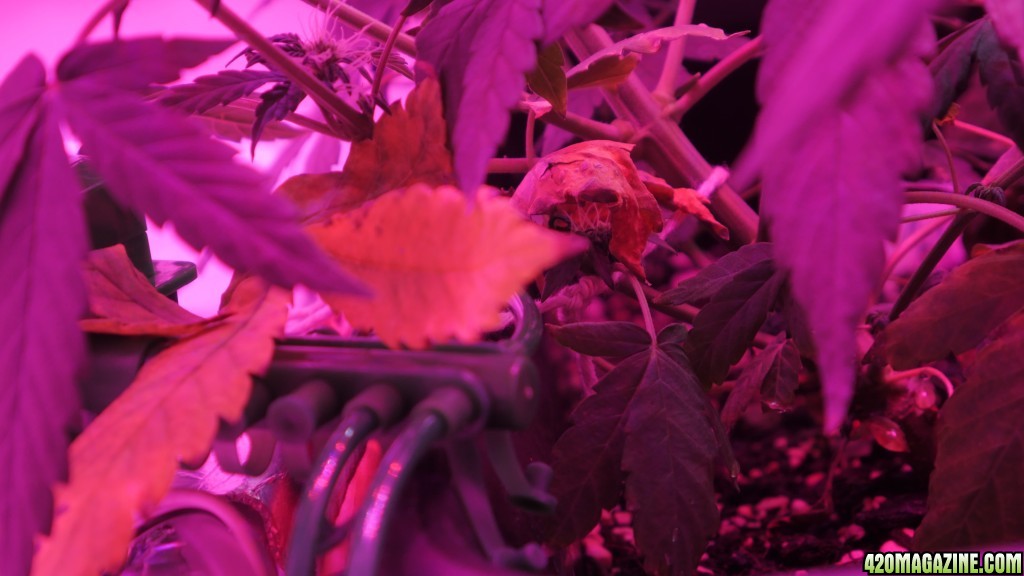
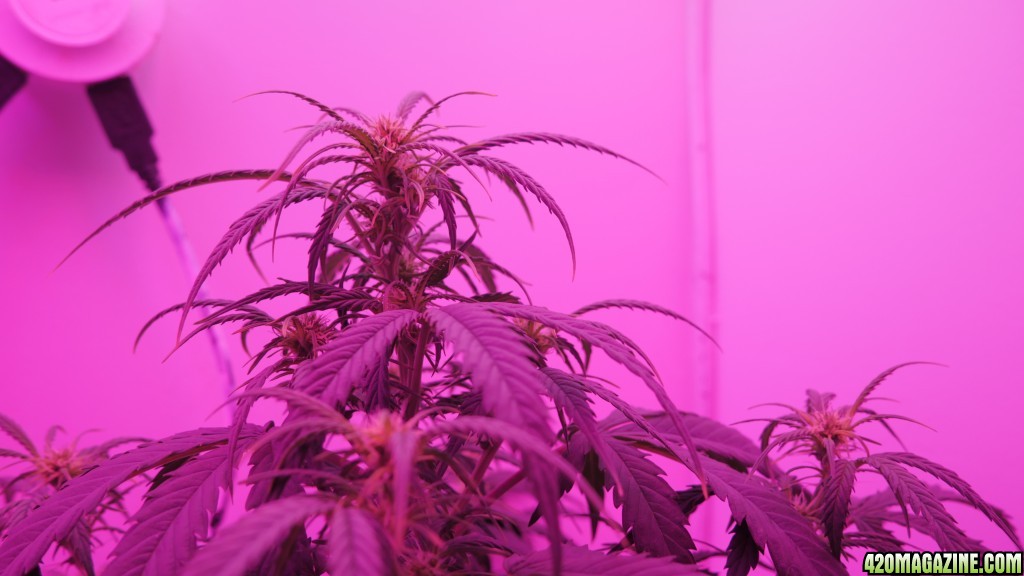
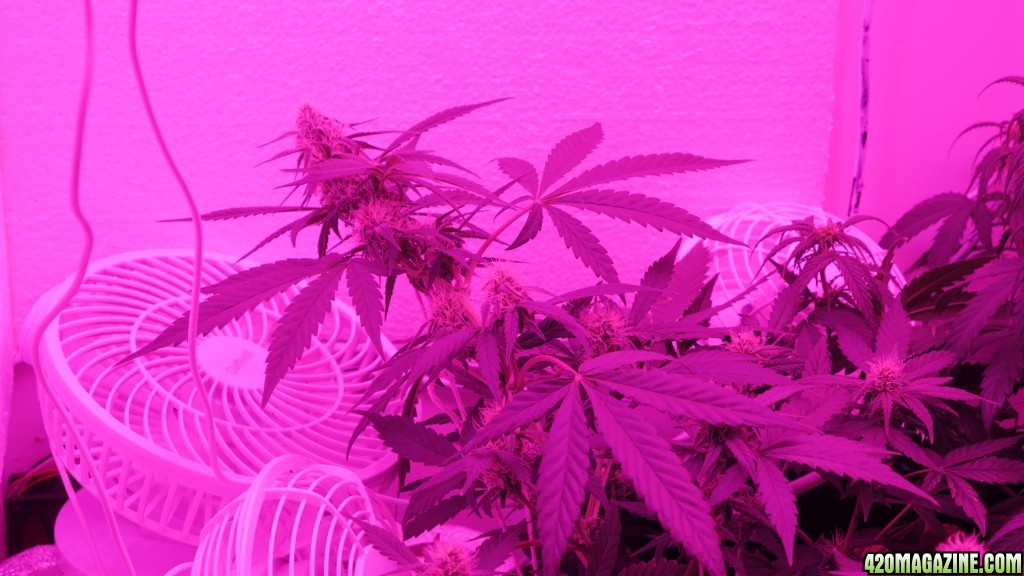
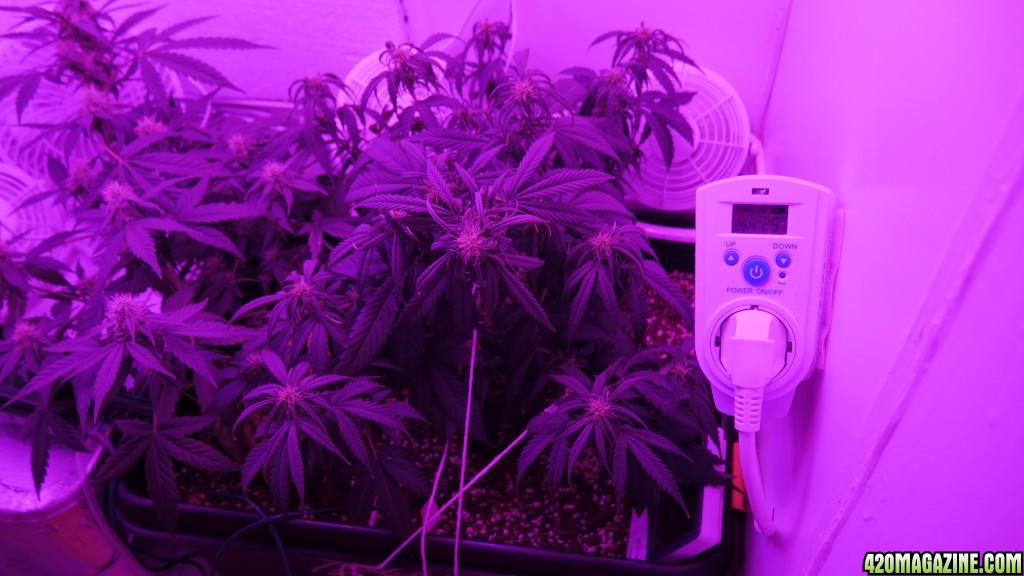
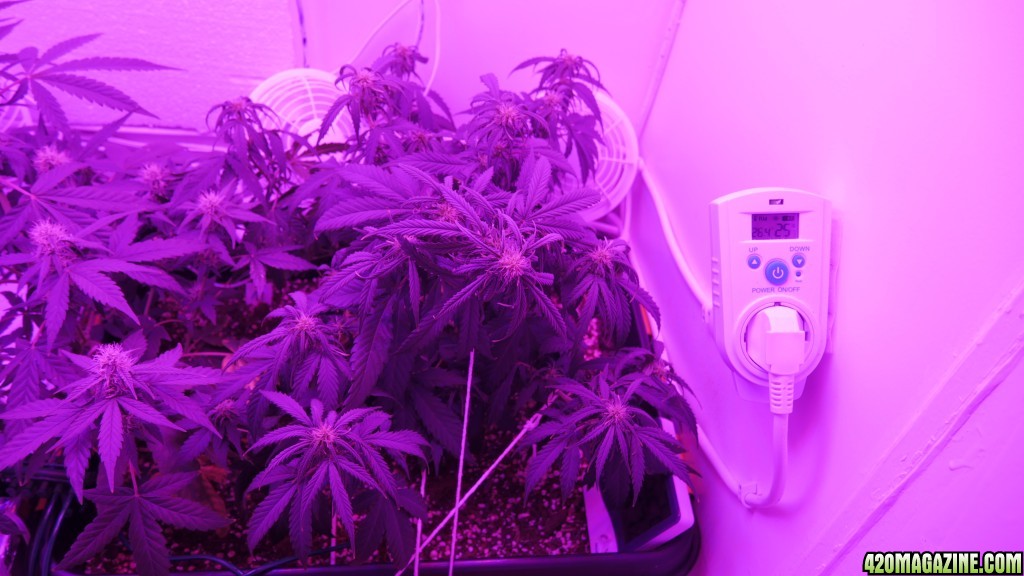
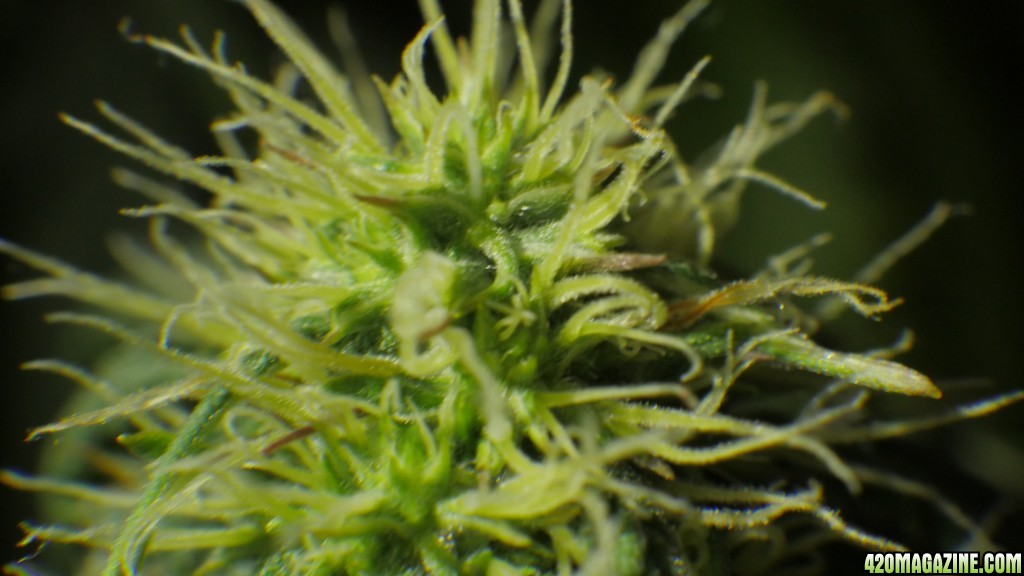
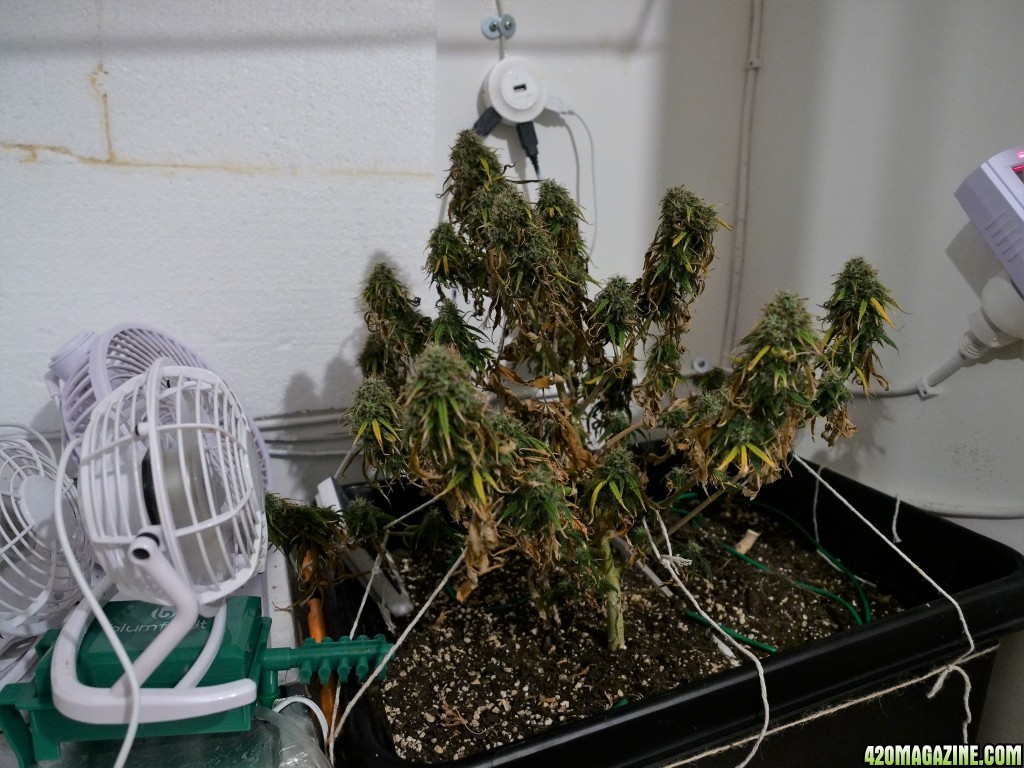
The lowryder is still weak looking. One side of the first leave didn't develop at all, but I see new growth and I hope her crippledness will be a thing of the past, once she fully embraces the light I give to them. She's also only expected to grow up to 50cm/20in, so maybe that has to do something with her slow coming.
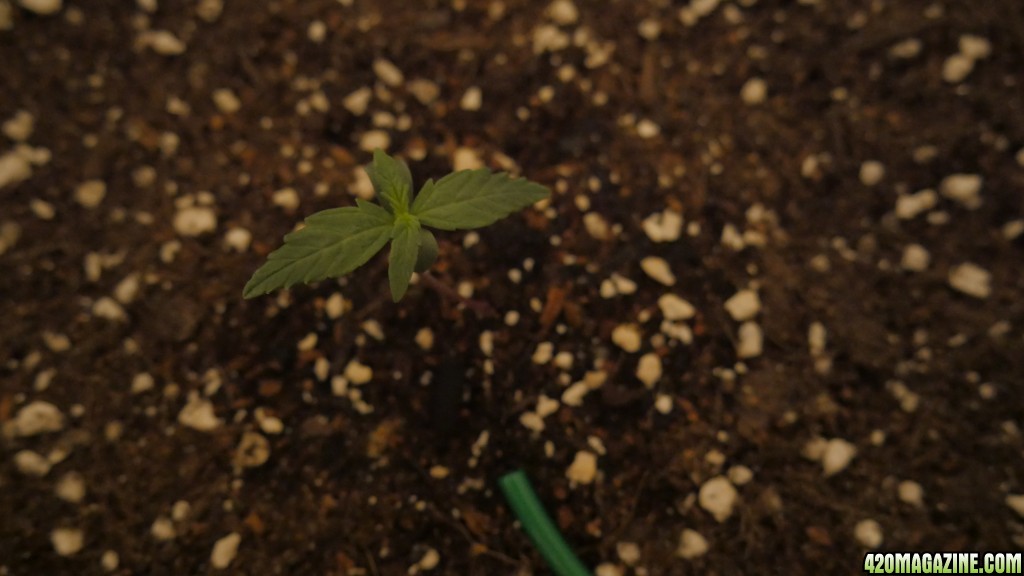
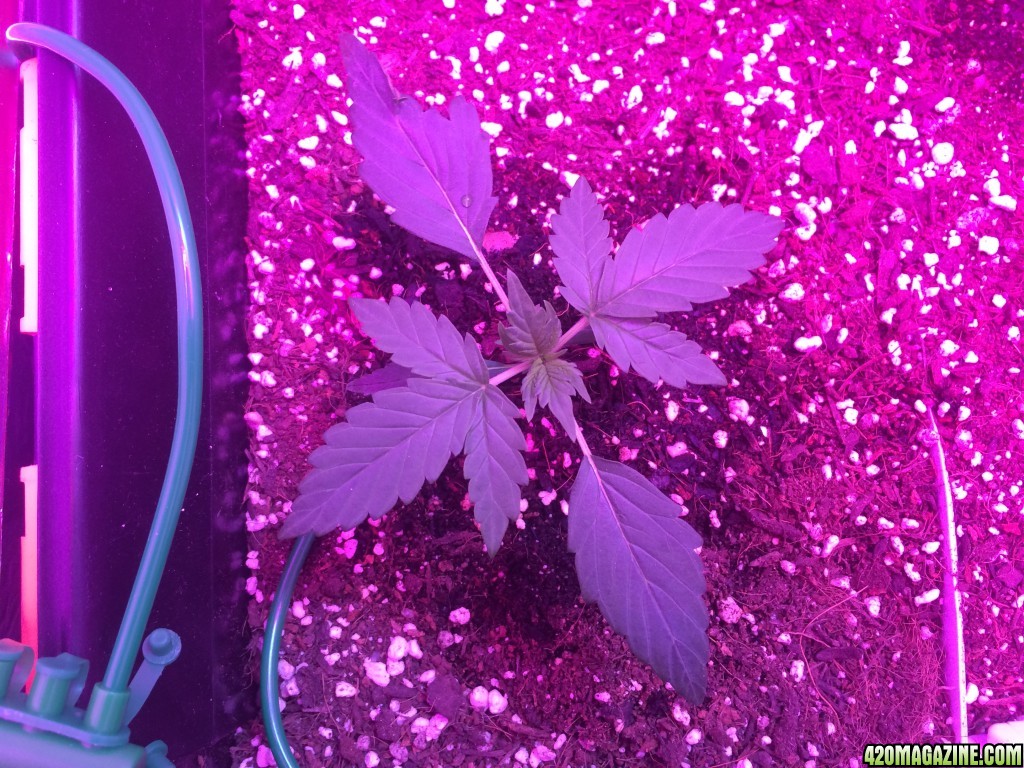
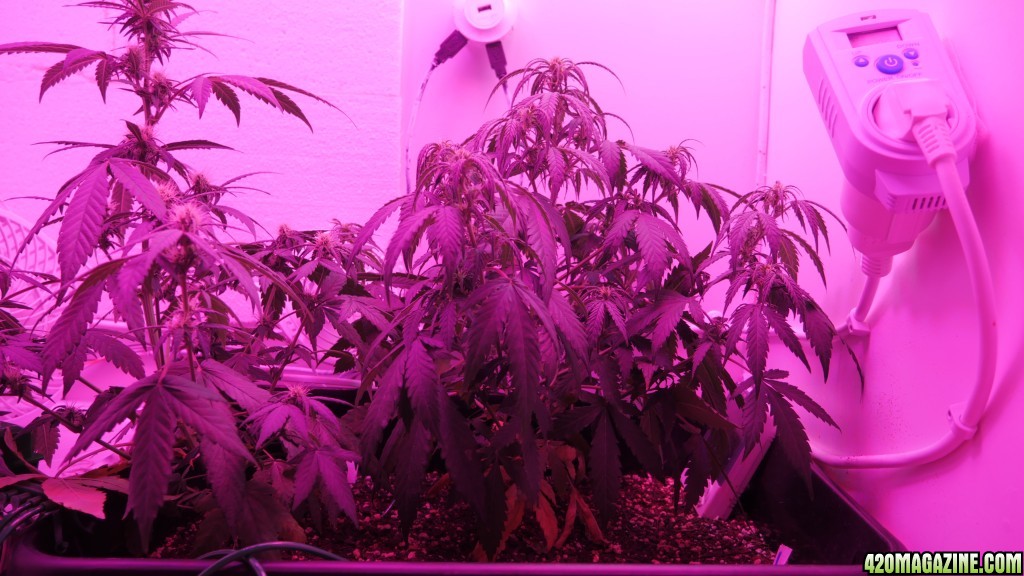
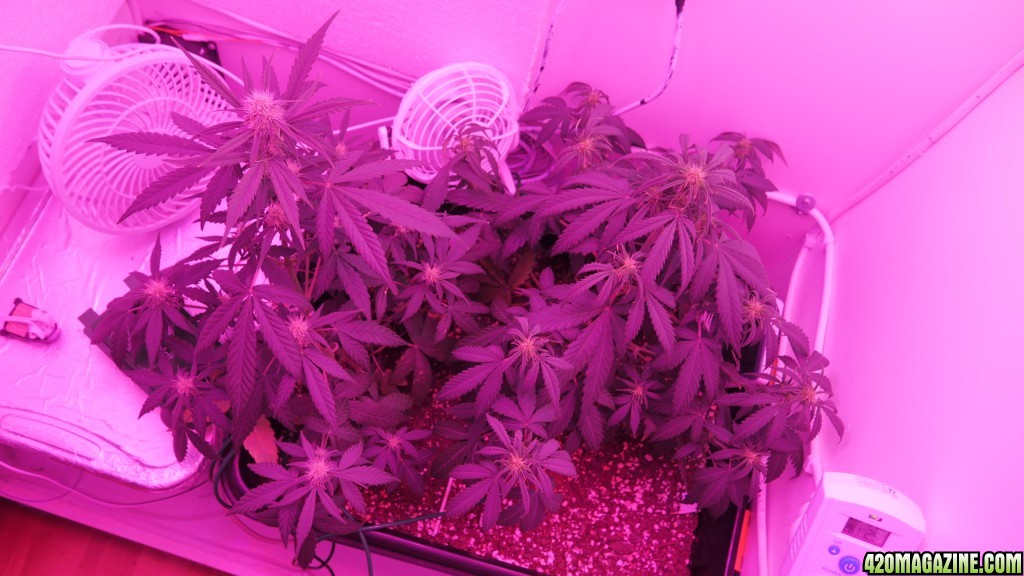
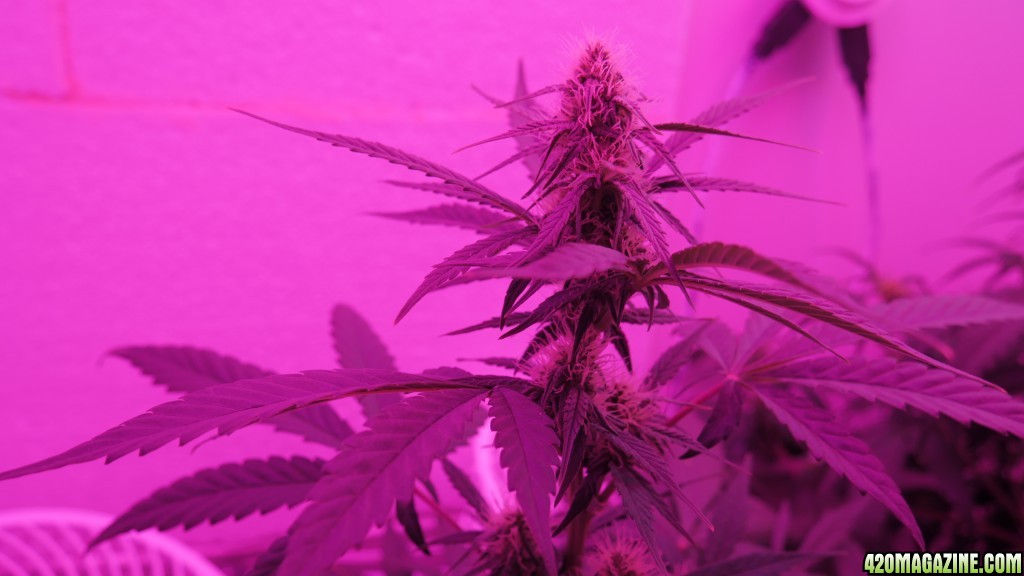
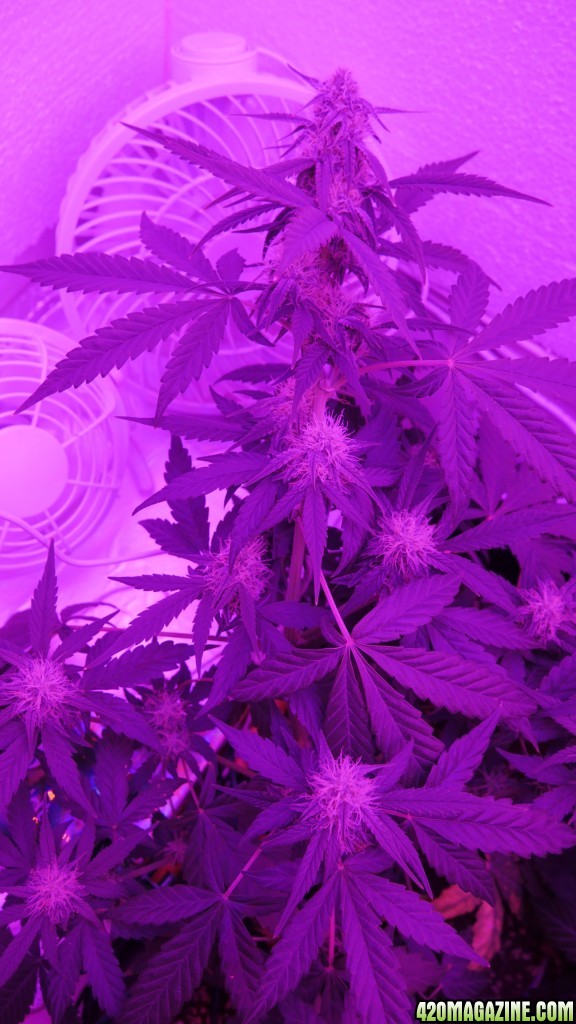
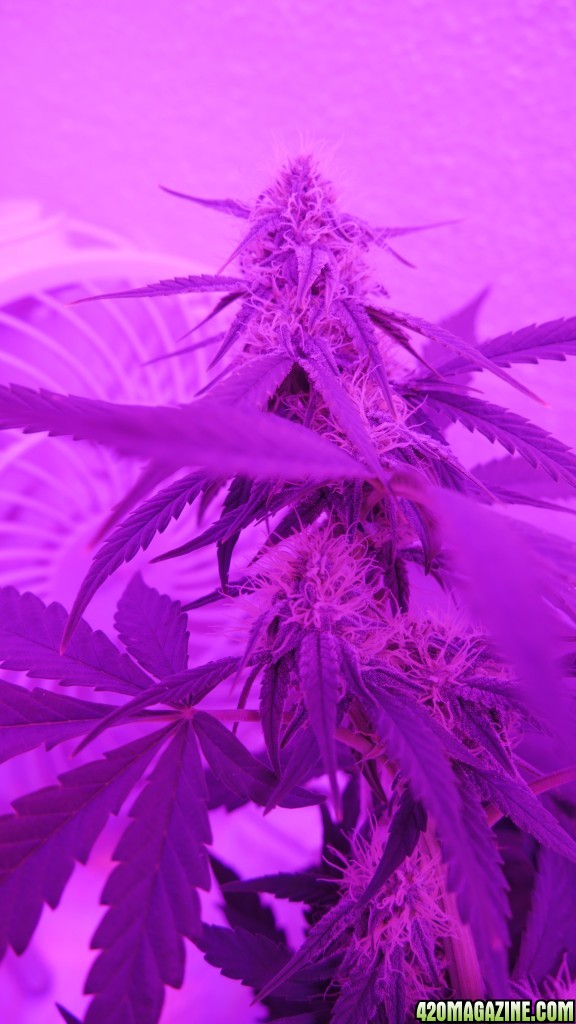
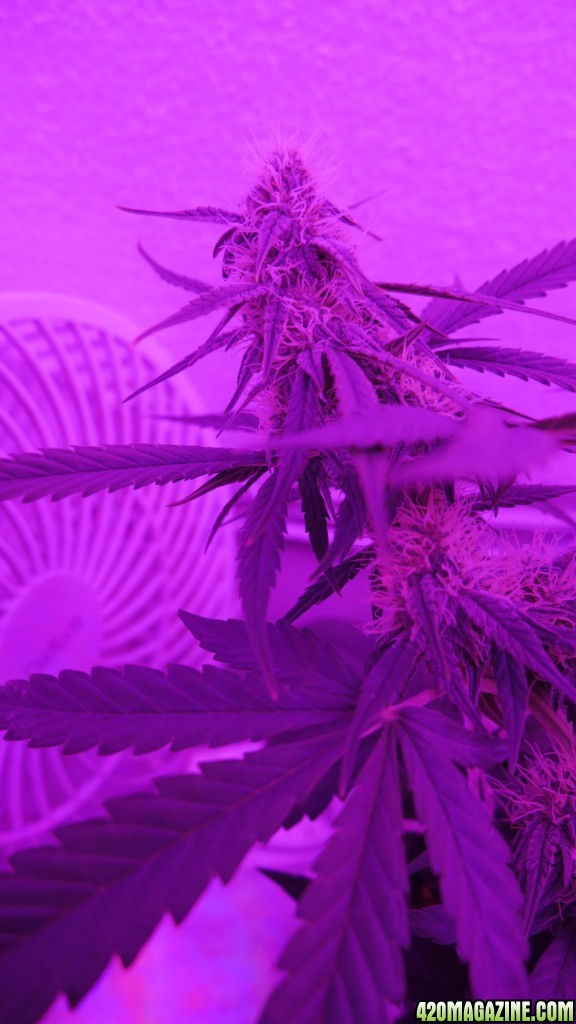
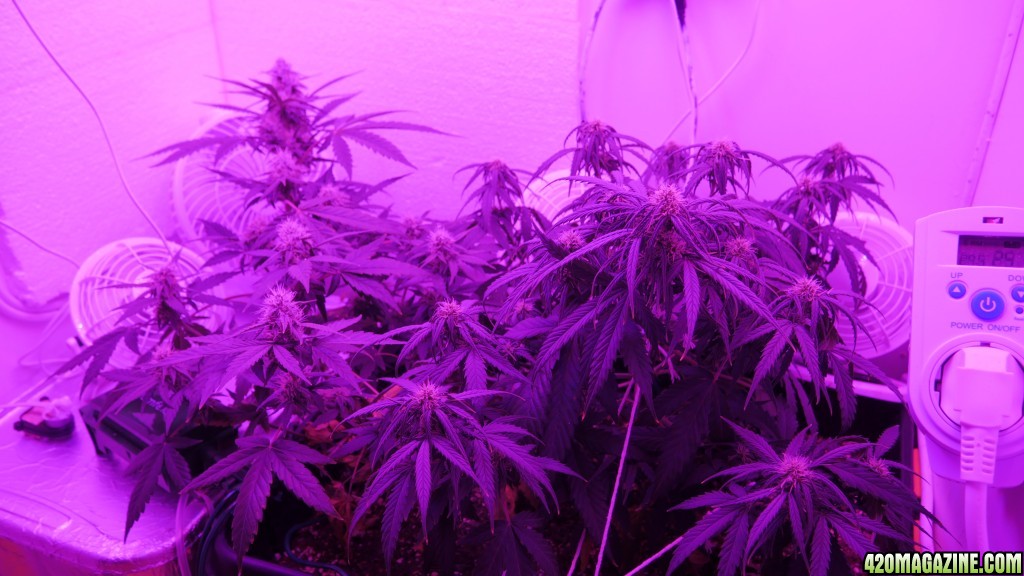
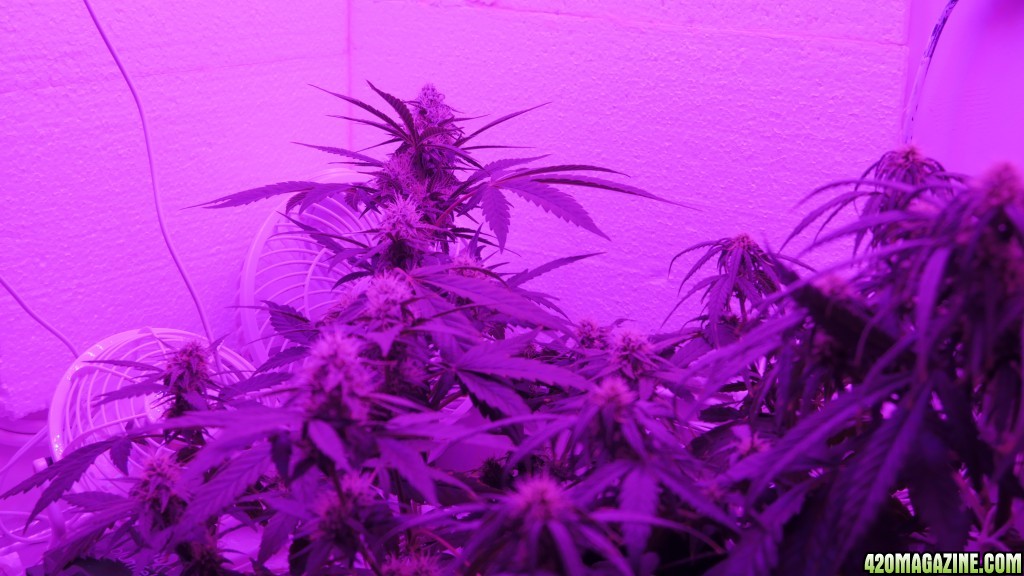
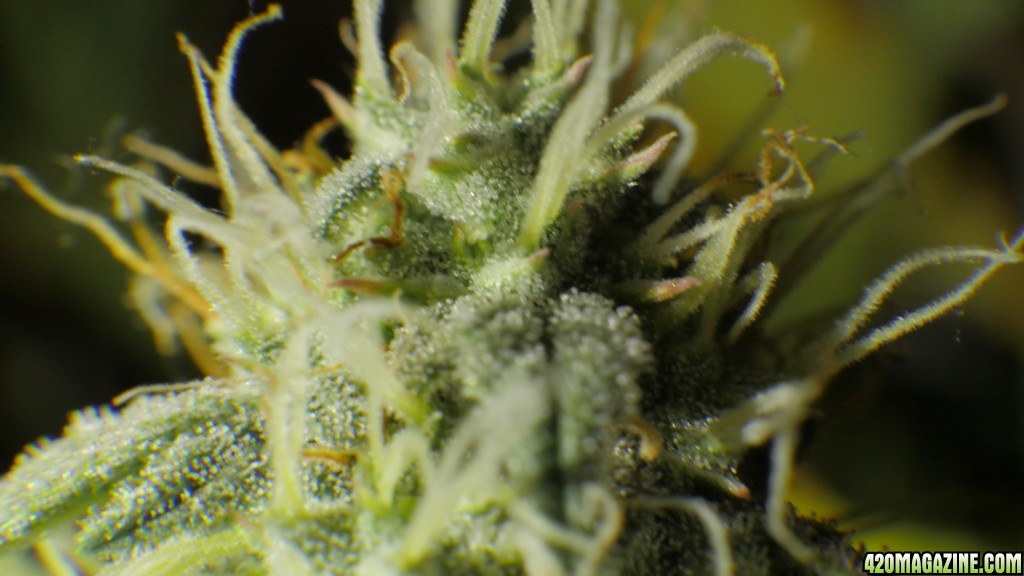
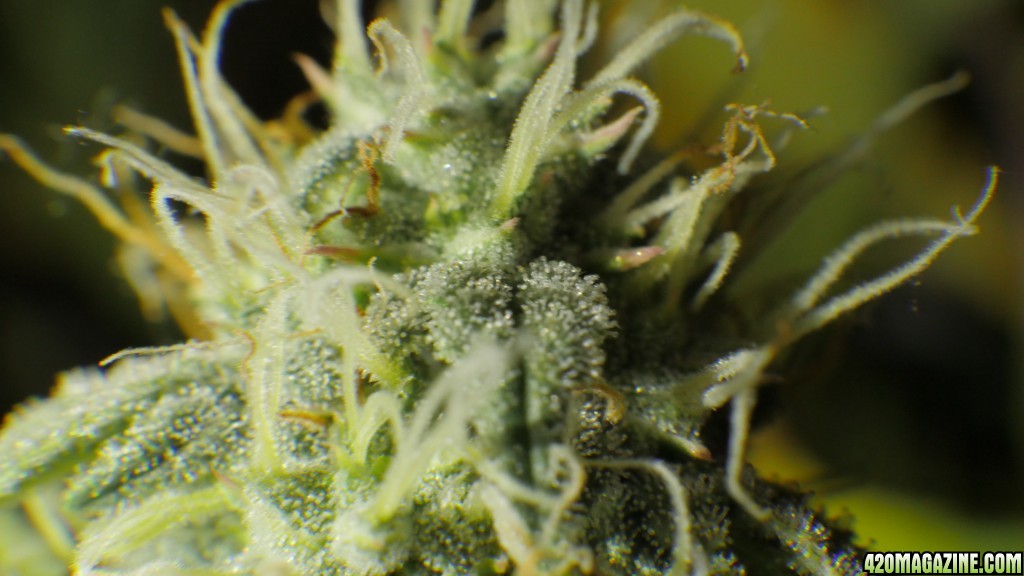
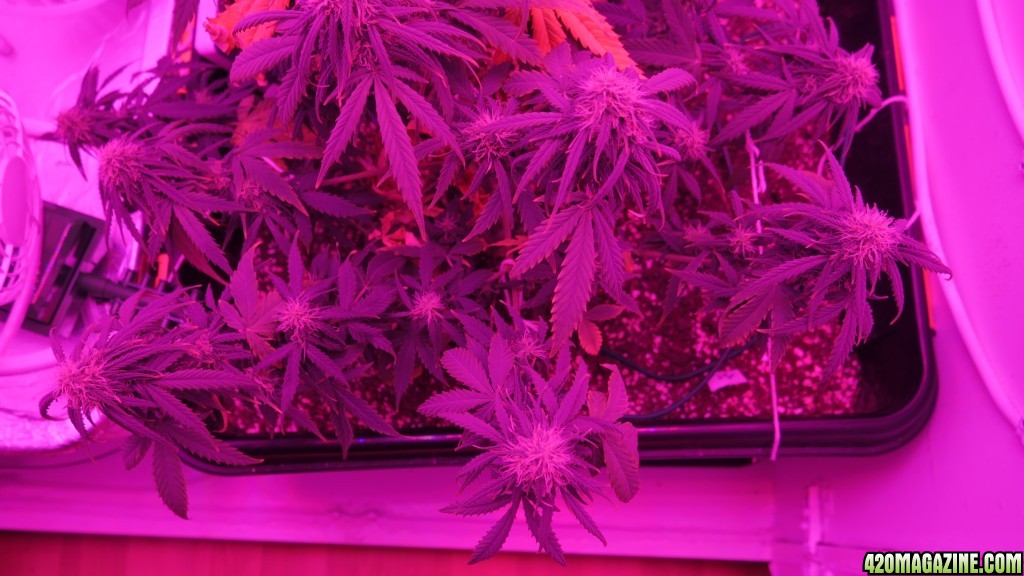
The Moby dick on the other hand is getting stronger every day!
And that's it for now. I literally took the last pictures and sat down to write this bit. Hope some of you enjoy my new blog thingy and can maybe learn a thing or two from my mistakes and advances.
Will probably post an update in a week or so. Until then, sit back and enjoy the ride.
Peace you guys,
- Pipo
I am back with another grow and things are a bit different this time, but we'll get to that.
First of all, if you haven't seen my other two grow journals, please check them out. I documented the whole preparation of my grow closet, and in this thread I will just talk about the upgrades I made.
300W LED - Hydroponic - Moby Dick - First Grow - With Love
300W LED - Northern Lights & Pineapple Express - Auto - Hydro - 2nd Grow - With Love
Alright alright, Day 1 - Germination
The last times I had always gotten three seeds at once, so I had some "old" ones laying around, that I didn't want to go to waste.
Moby Dick, Pineapple Express, and a gift from a friend Lowryder. All Autoflower.
The beginning is never that spectacular. Just three tiny seeds swimming in their own shot glass, filled with water.
While they were busy coming to life, I could focus on my biggest pain in the neck. - cooling -
The attentive reader will remember what troubles I've had and all the things I have tried to combat high temperatures around my planties. Lastly I had split the upper hotter airflow at the lamps, from the lower cooler growing area and by also adding two Peltier coolers, I was finally able to have somewhat stable temperatures, around 24°C/75°F.
A big problem with the coolers was that they would recirculate the same air into the system, which reduced efficency and raised electric consumption. Hence I isolated the air intakes and added fans at the exhaust, to support a directed airstream through the system.
Doing this on both sides (out- and inside) really ramped up the effectiveness and will keep the power supplies from overheating.
Oh, and it looks cool as shit!
I can only recommend styrofoam to anyone thinking of making this. It's cheap, easy to process and you end up with something sleek and costum designed.
I also got rid of most of the tape which held the electronics in place. It sticks well and all, but especially if you're dealing with fluctuating temperatures and intense light, sooner or later it will come off and drop whatever it was holding up. I came up with this simple solution, of adding wire to sticky velcro strips and stapling the counter parts to the walls of the closet.
Screws with big washers hold the cables in place and I never have to worry about bits of my setup falling apart ever again! ^_^
Looks way cleaner too.
OK! With the annoying part out of the way I could get back to my babies.
After they had sprouted I put them in a demp napkin and enclosed it in a layer of aluminium foil. 5 days had passed and they were big enough to be transfered into soil.
Day 6
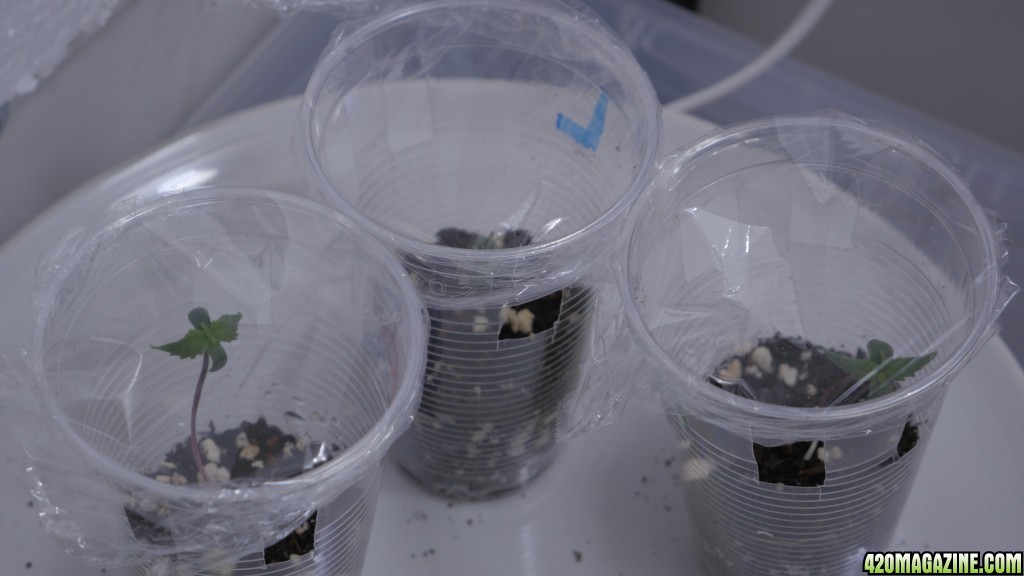
I mixed a bit of perlite, coco coir and soil...
... cut slits at the top plastic cups for air exchange and on the bottom for drainage...
and put it all together.
They were more than ready for it.
Then they said hello to their new and final home of three months.
This is always a memorable moment for me =)
Almost birthlike.
Look at the little things doing their first streches.
The Lowryder had taken two days longer to sprout. For some reason she was, from the very beginning weaker than the other two.
With the dynamic trio hanging out at their favourite spot, I could get back to further improofments.
I already had a water pump with a timer, but it was powered with batteries, which I found suuuper annoying. So, I did some googling and came up with this fantastic little trick, which I am pleased to share with all of you guys!
You cut wooden pieces, a little bit shorter than the batteries you desire to get rid of.
AAs are 5cm/2in, so I cut mine 4,6cm/1,8in
Then you drill a hole in the center of each side.
Now you screw in two screws which you connect with a wire. Make sure the actual cable touches the metal and that you trim the overlaying wire bits thoroughly.
That's your first dummy battery. I needed three of those and one to which I connected the actual power supply.
The pump runs on 6 Volts, so I got me a 6v power supply and connected its wires to the ends of the dummy.
(Important: Black is negative. More important: Handle wiring and electricity with extreme caution!)
Now I just had to fit it all in the compartment...
... and make a gap in the cover, for the wire to go through.
Et voilà ! A timed water pump that runs on AC power.
Four more days had passed and I decided to make the next big step.
Day 10
My seedlings were loving the light, but the clear cups and especially the little amount of soil were a problem for the roots, which had already grown to all sides of the enclosure.
Because I don't have much space to work with, I decided against the regular round shaped flower pots, in fact against flower pots all together. I got me a Heavy duty storage box from the hardware store and drilled holes in the bottom, for drainage.
The internet advised, not to put the holes closer than 5cm/2in, which I stuck to.
Now it was time to mix the content. I used 18 litres of vegetable/tomato-soil, that I had left since spring...
... 6 litres of coco coir...
... and about 3 litres of perlite.
I am planning on using the nutrients that I still have from my hydroponic grows, which means I don't need the most nutritionous soil for my undertaking. All the growing medium needs to be, is nicely loose for the roots to spread quickly in.
My idea was it, to have one container, with seperating boards, so that the roots won't fight for space, or nutrients and I use all of the room available too.
Then I put 1cm/0,4in of perlite at the bottom of the box, because I am not fully confident in the holes to properly drain the huge container and I don't want to have to deal with root rot later.
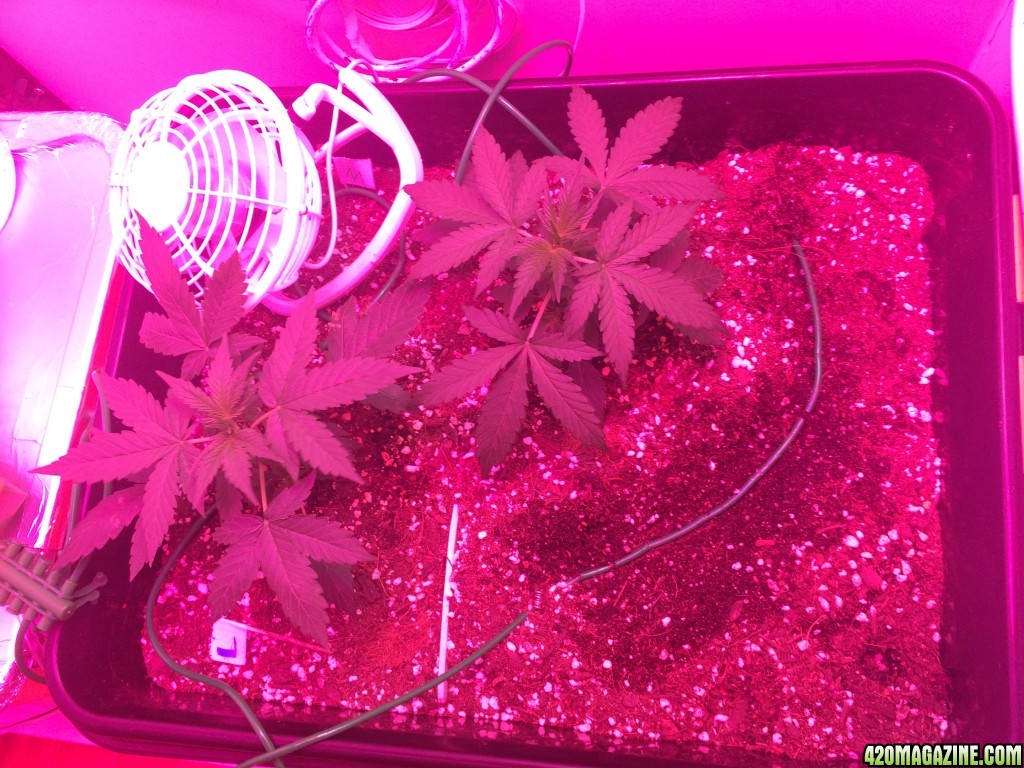
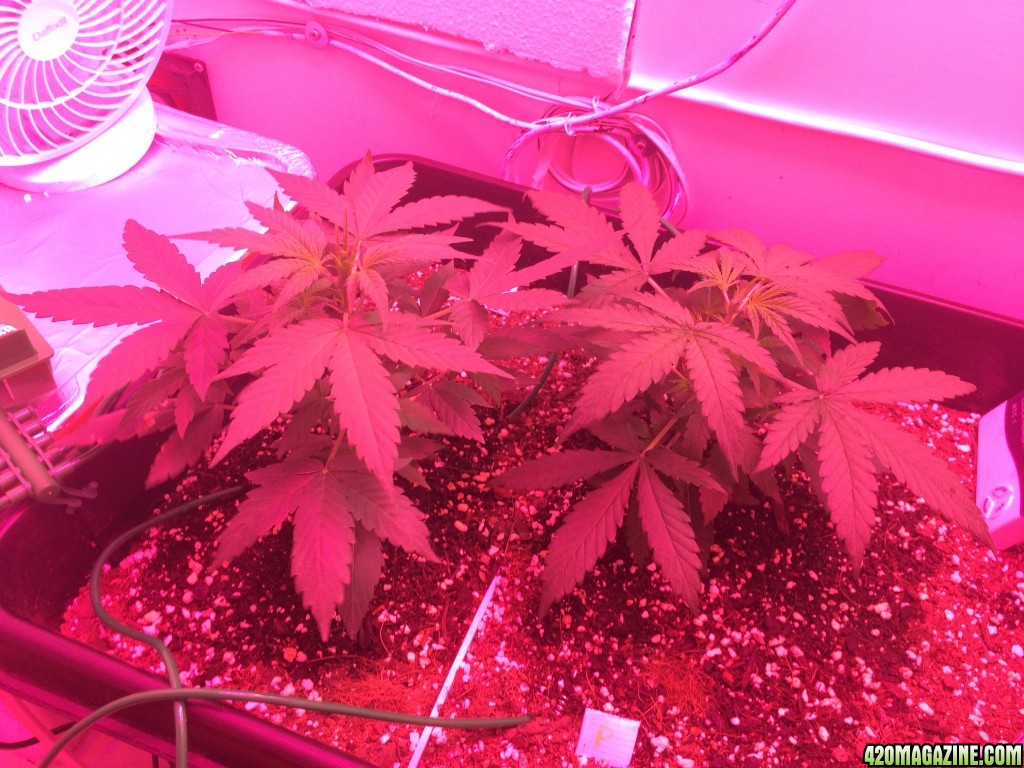
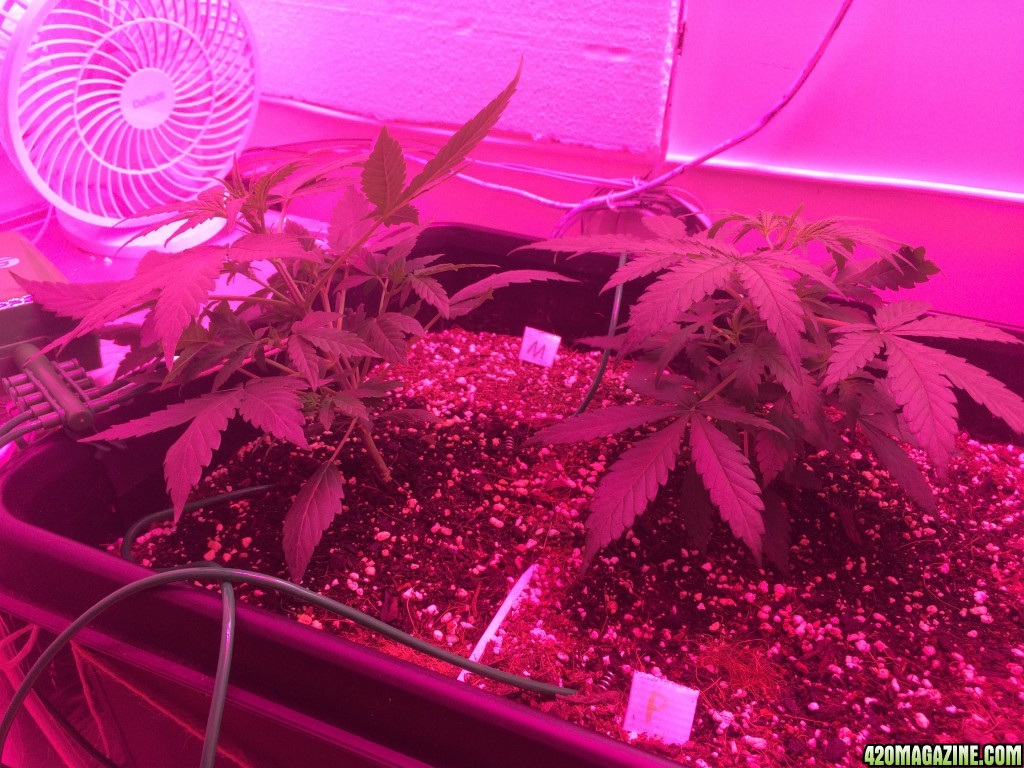
After filling the soil back into the tank, the little ones were planted carefully into it.
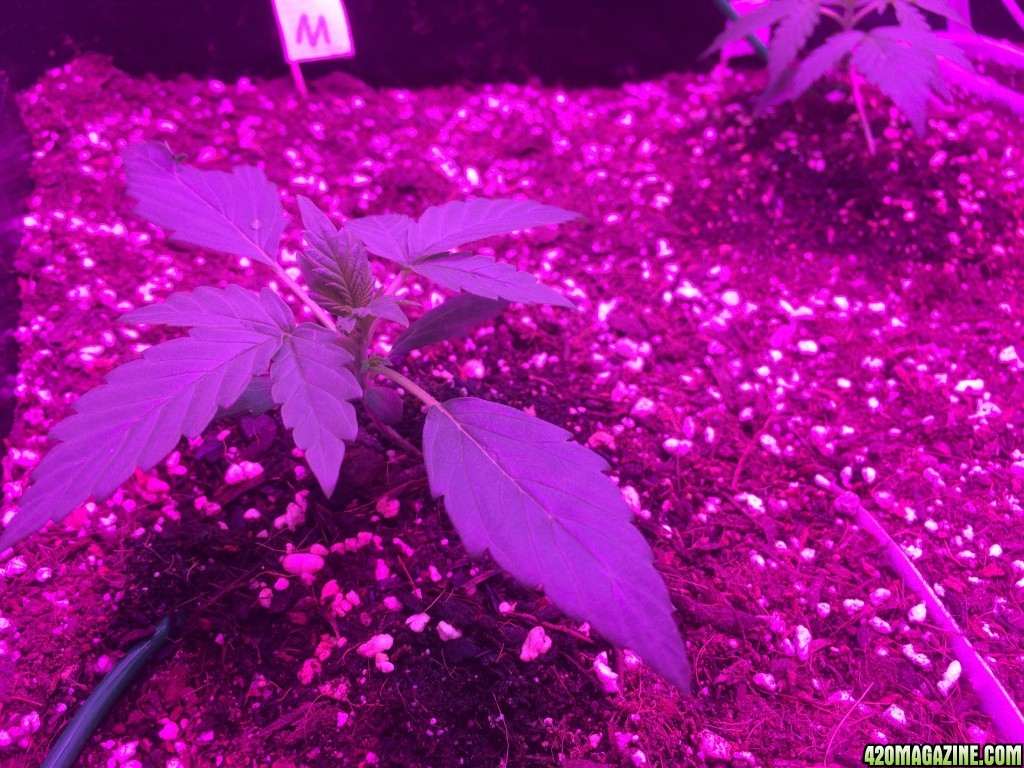
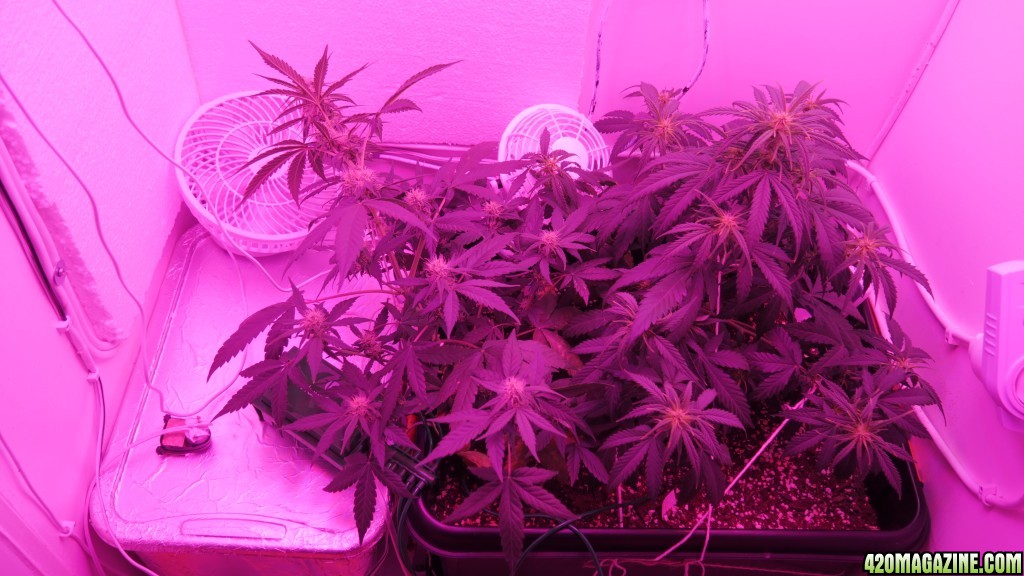
I left more space for the moby dick, because she is expected to grow the tallest. Not just because of her genetics, but also because of all the empty space she has all to herself on the left.
But we'll see if that was the right thing to do.
Lastly, I only had to prepare the water tank. In the future I will add the nutrients directly into the water, so to keep algea from growing inside the tank I layered container and lid with aluminium foil.
The lid also got a slit, for the tube of the water pump.
Then I had a bucket of tap water out in the sun for a day, to get rid of the chlorine and adjusted the PH to 6. Filled it into the tank and put it all in its designated place.
By now, two more days had passed,...
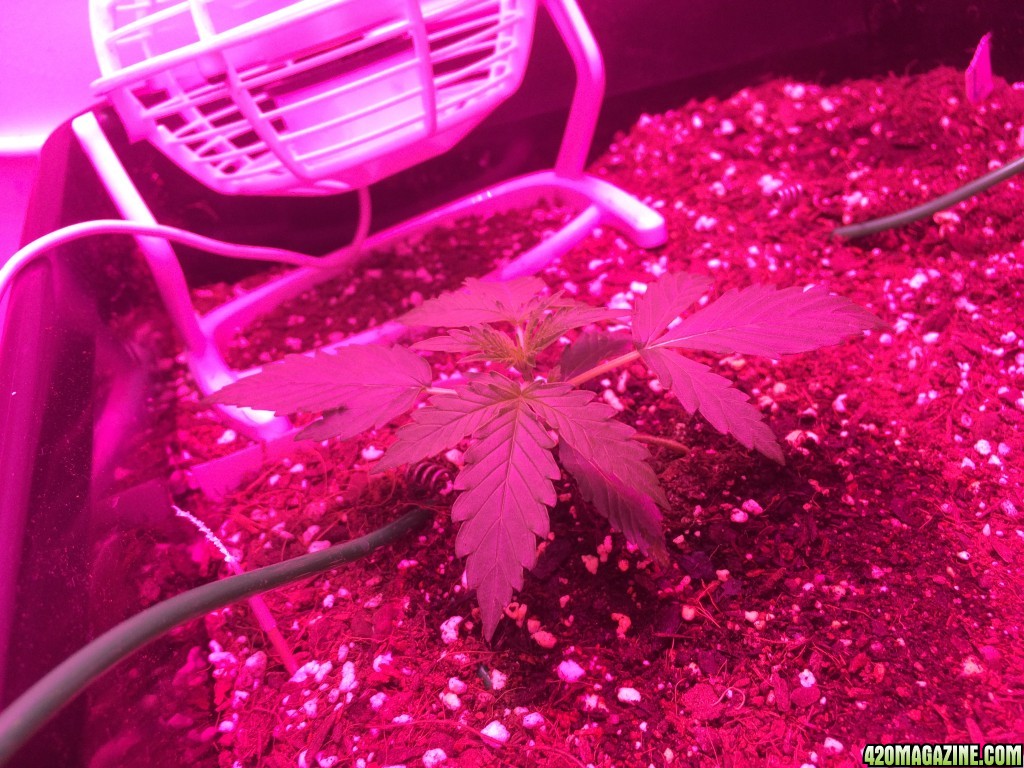
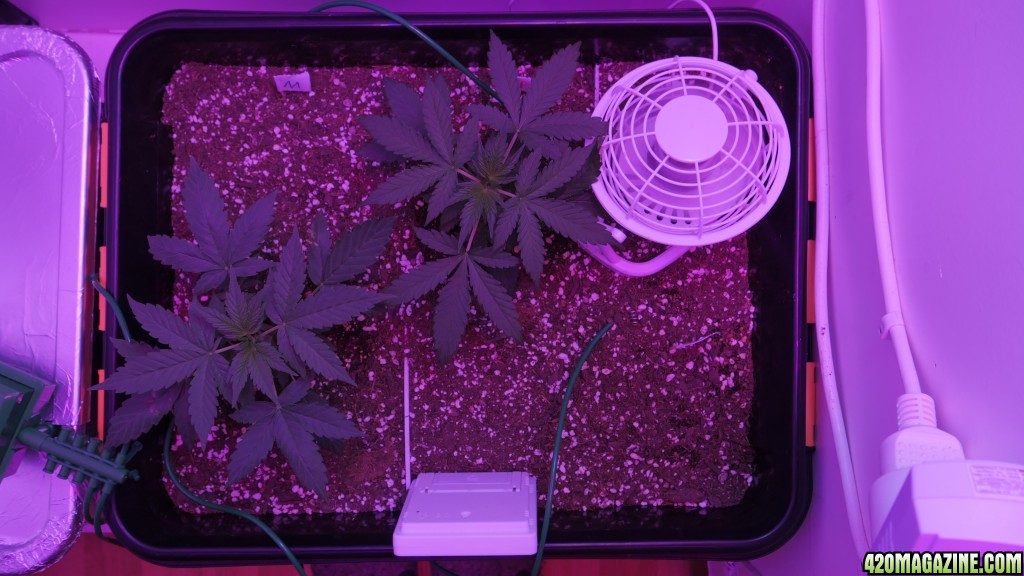
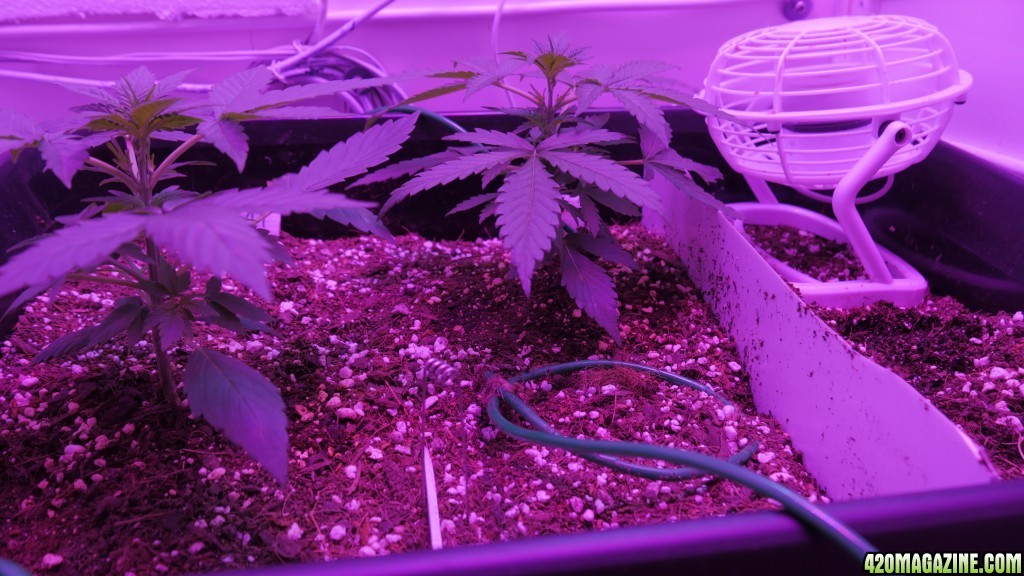
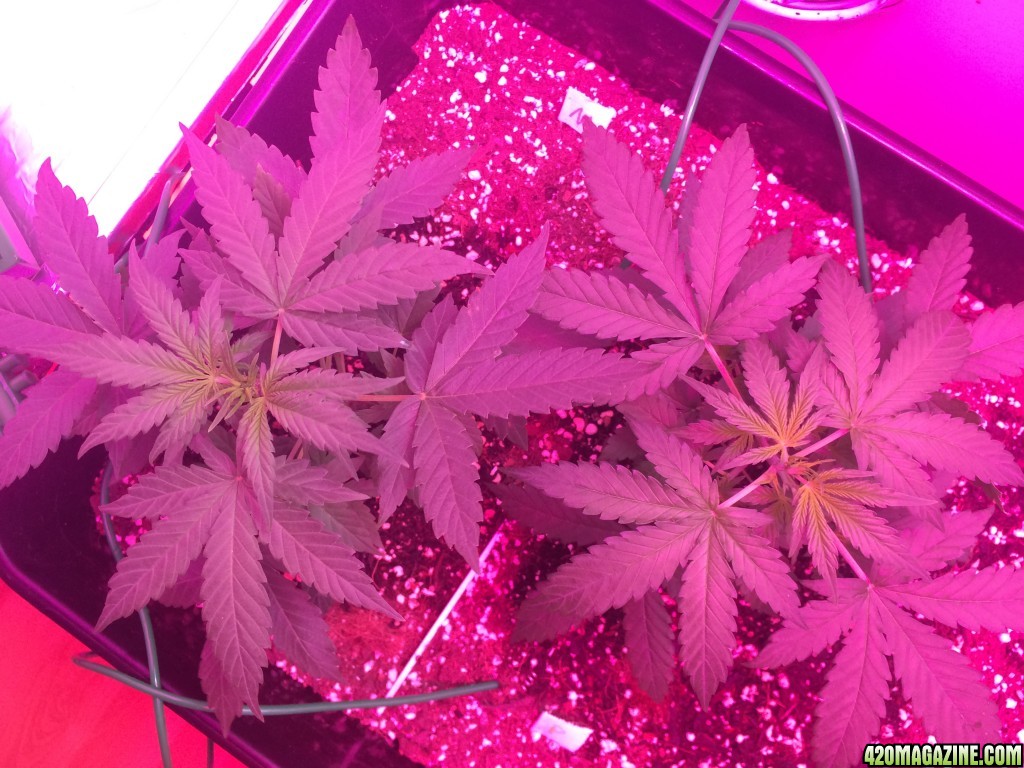
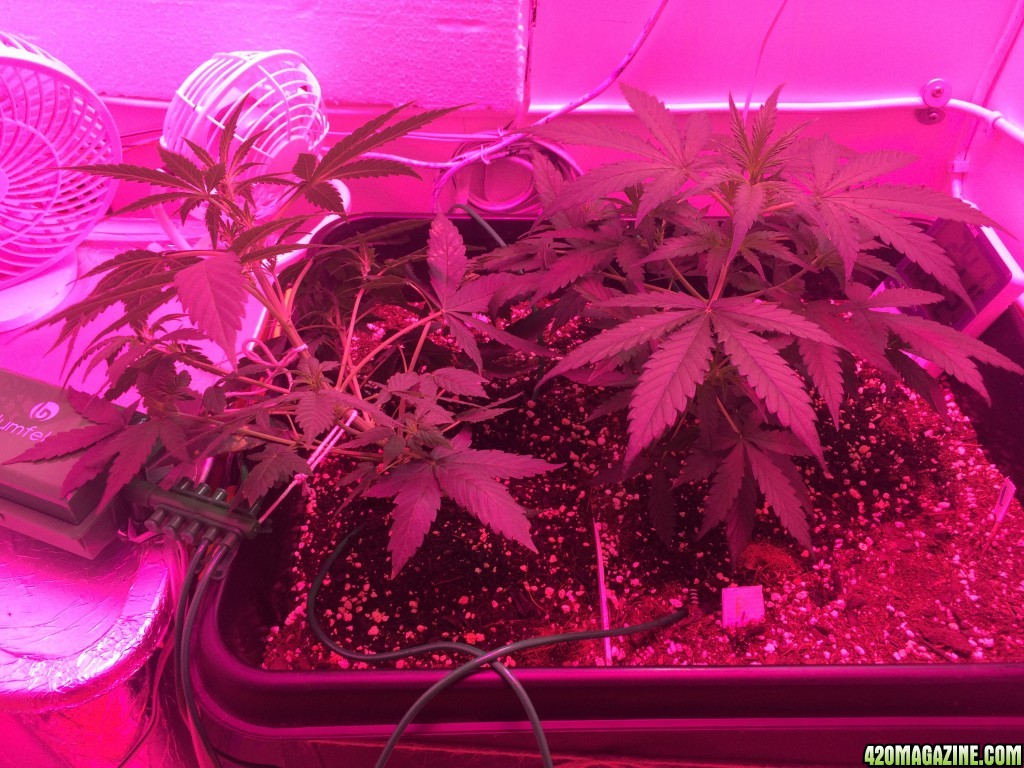
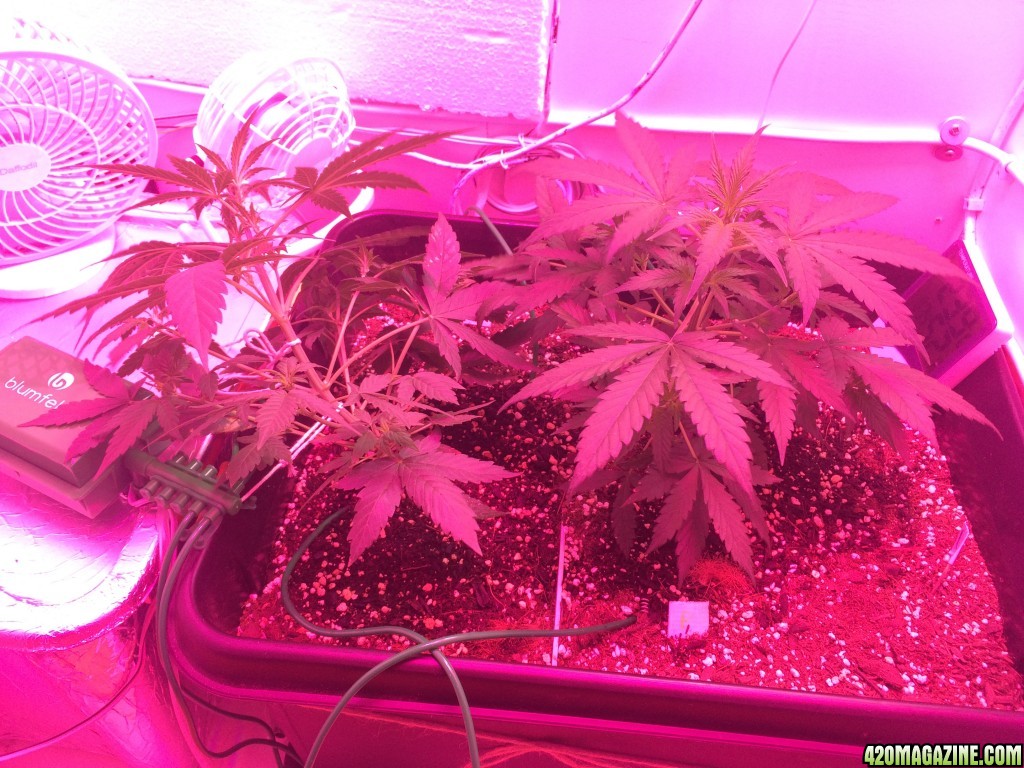
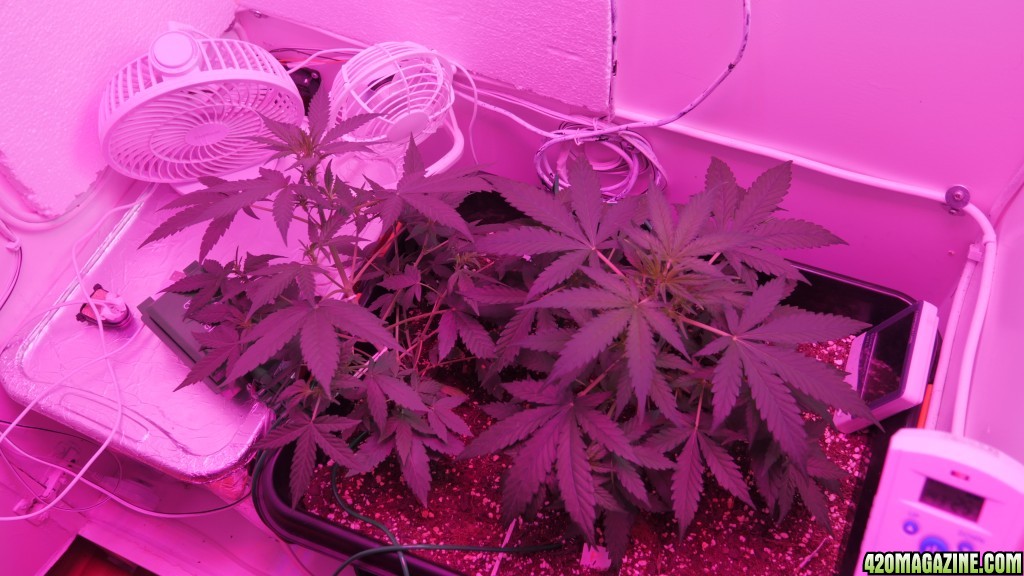
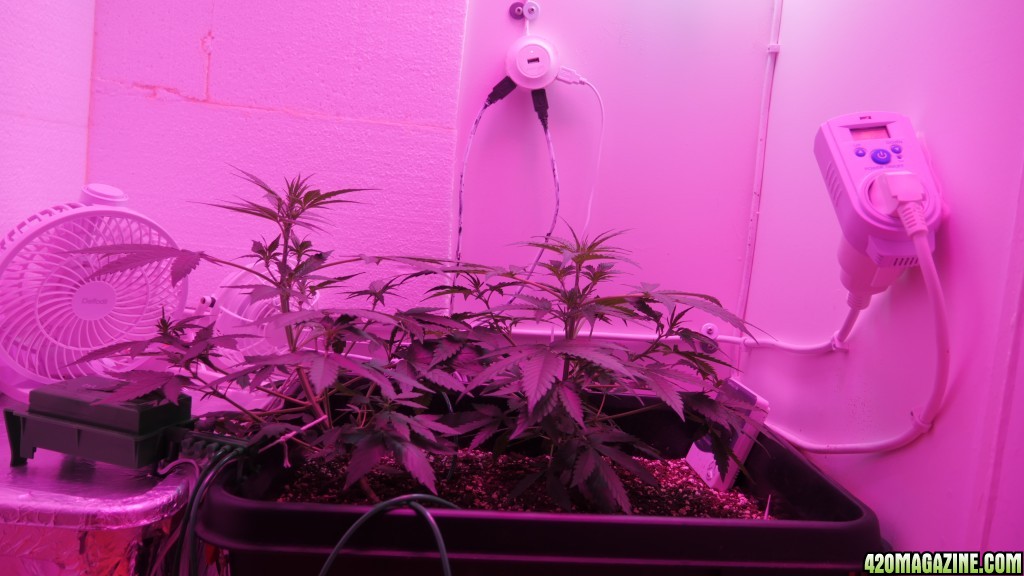
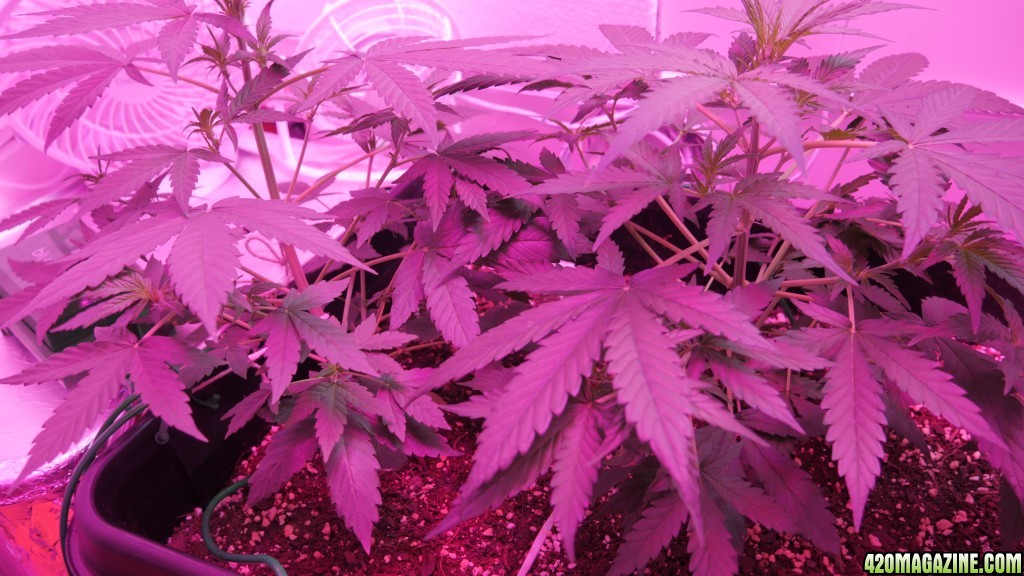
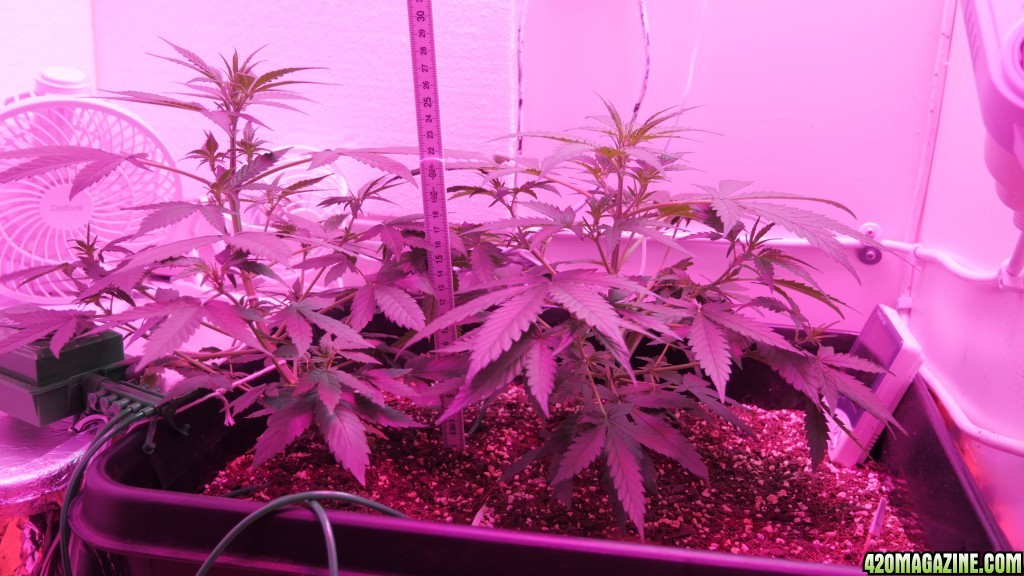
Day 12
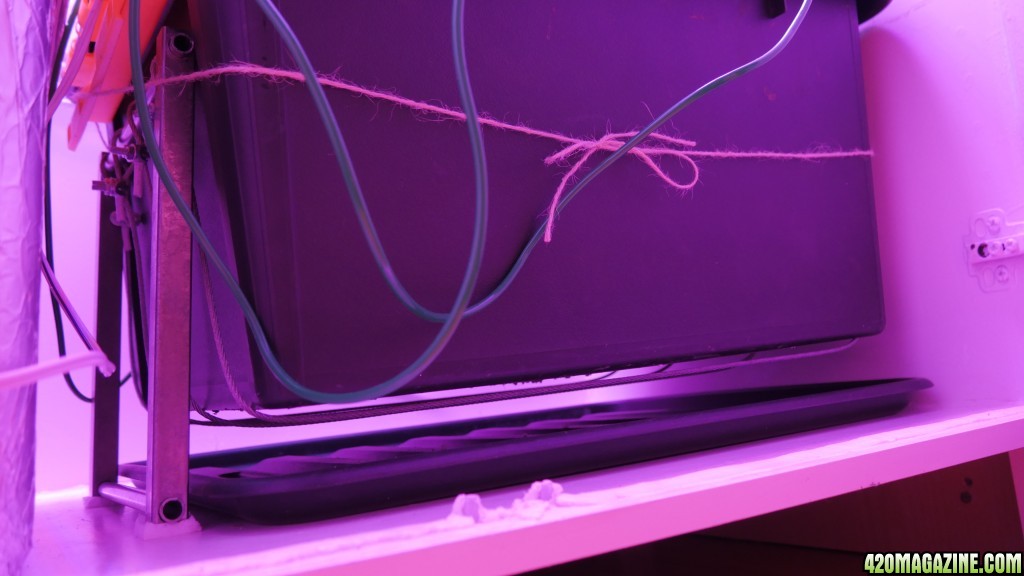
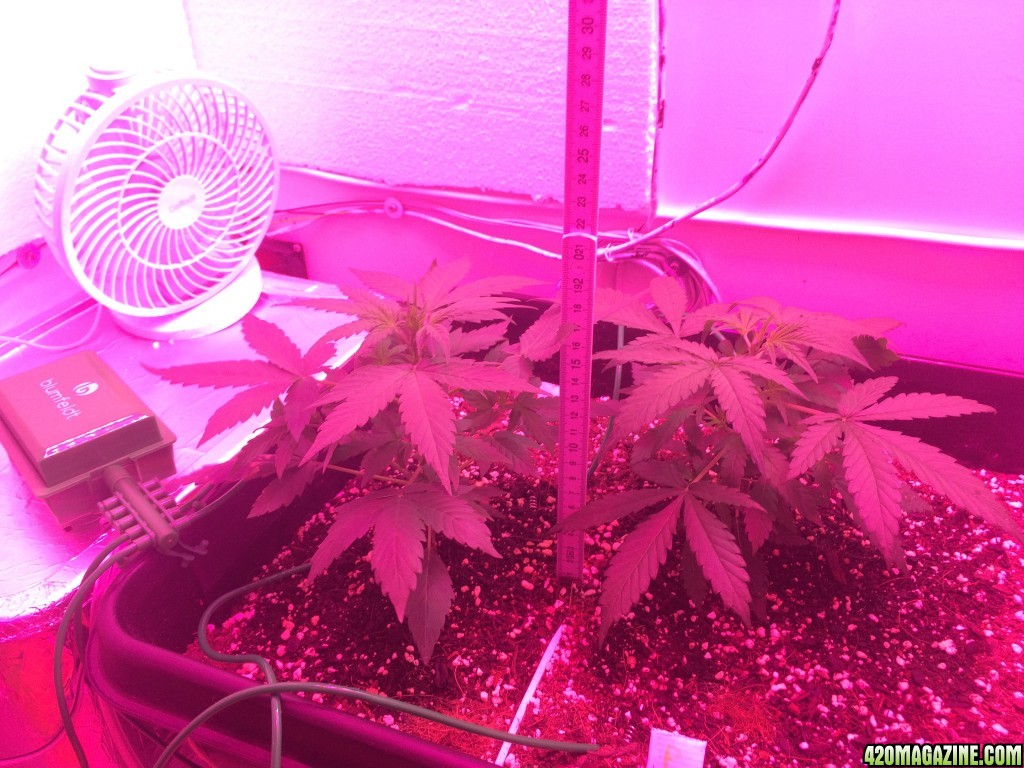
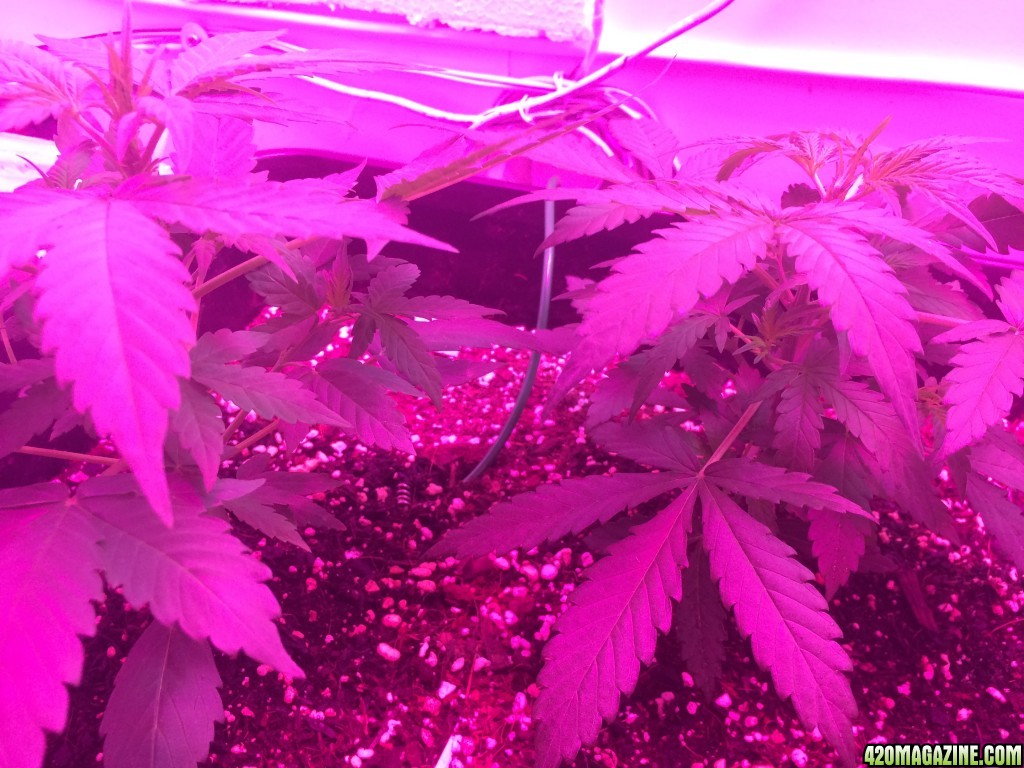
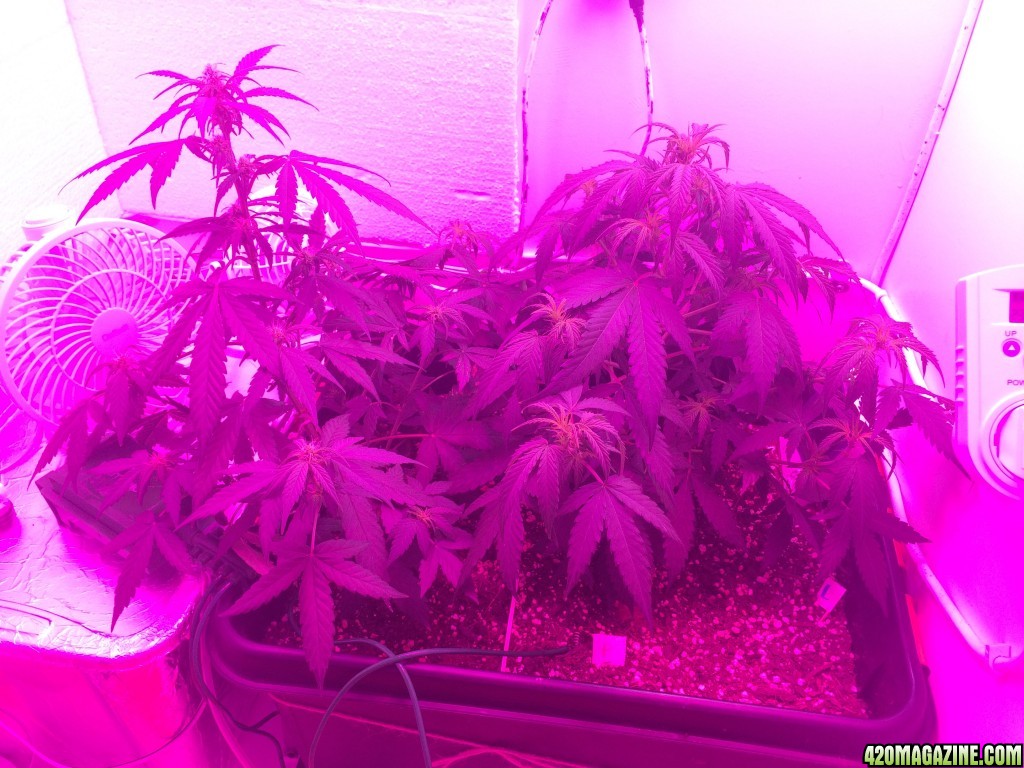
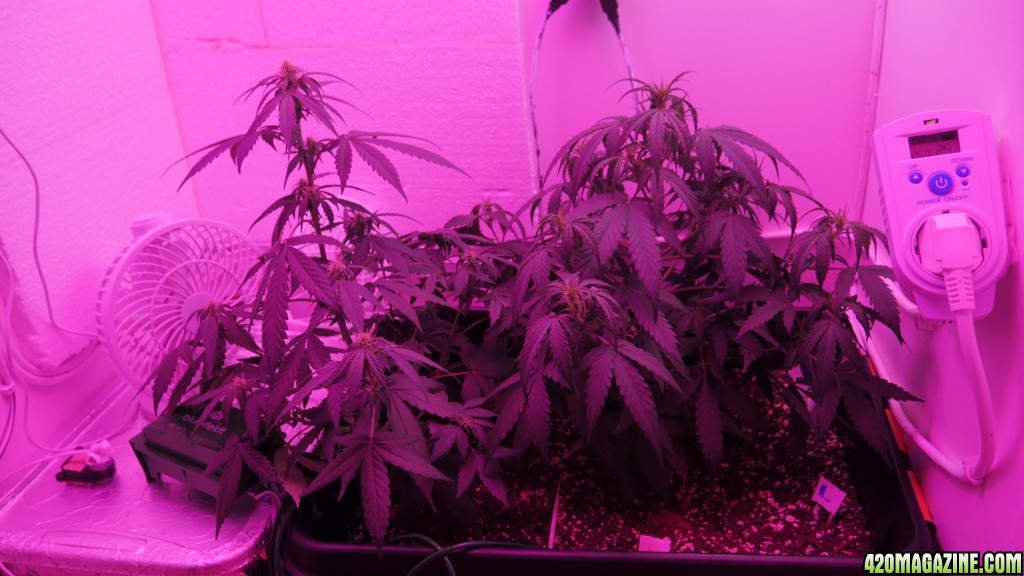
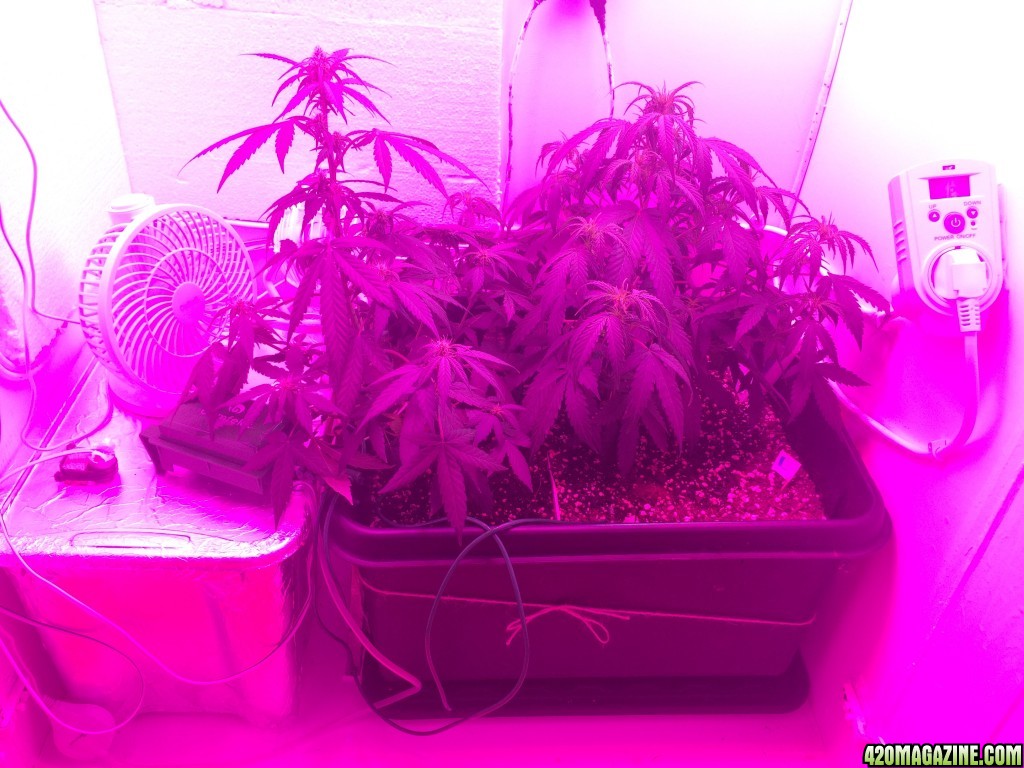
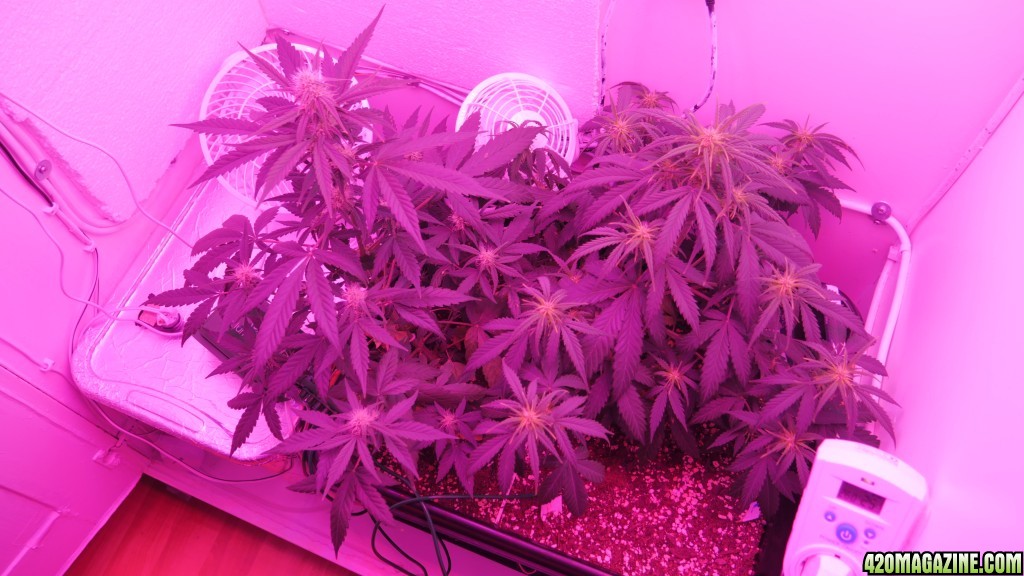
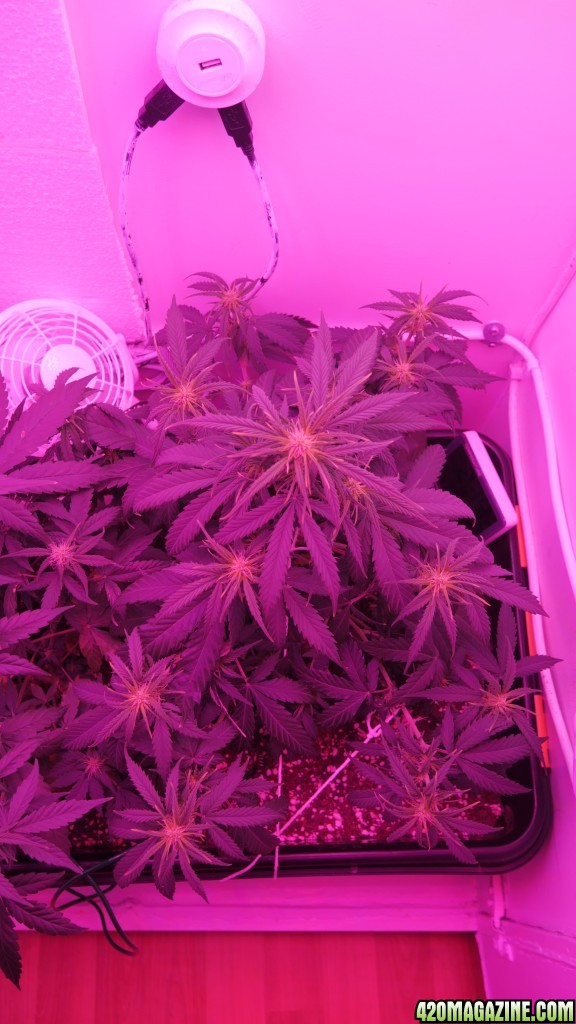
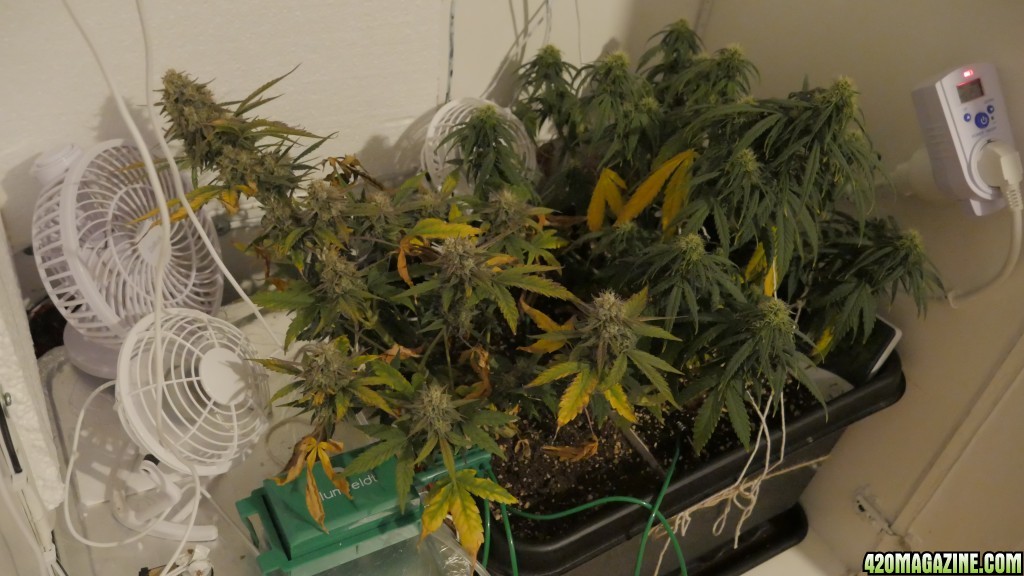
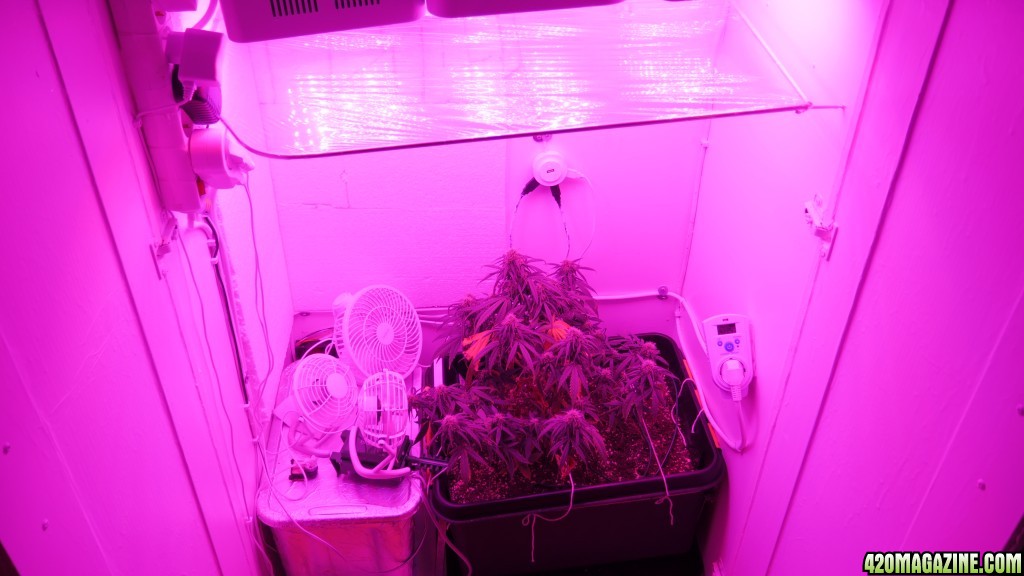
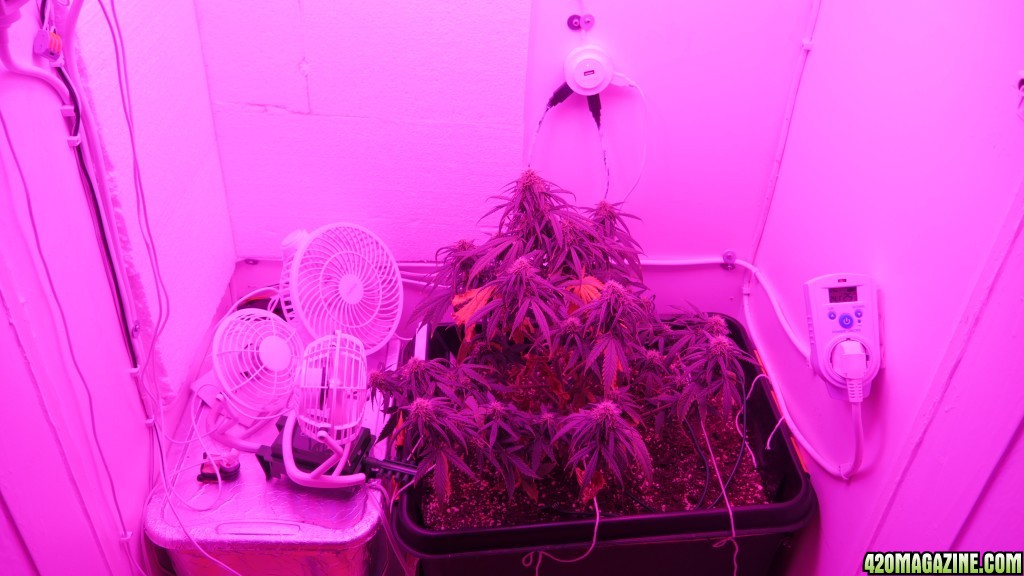
... but the major upgrades were finally complete!
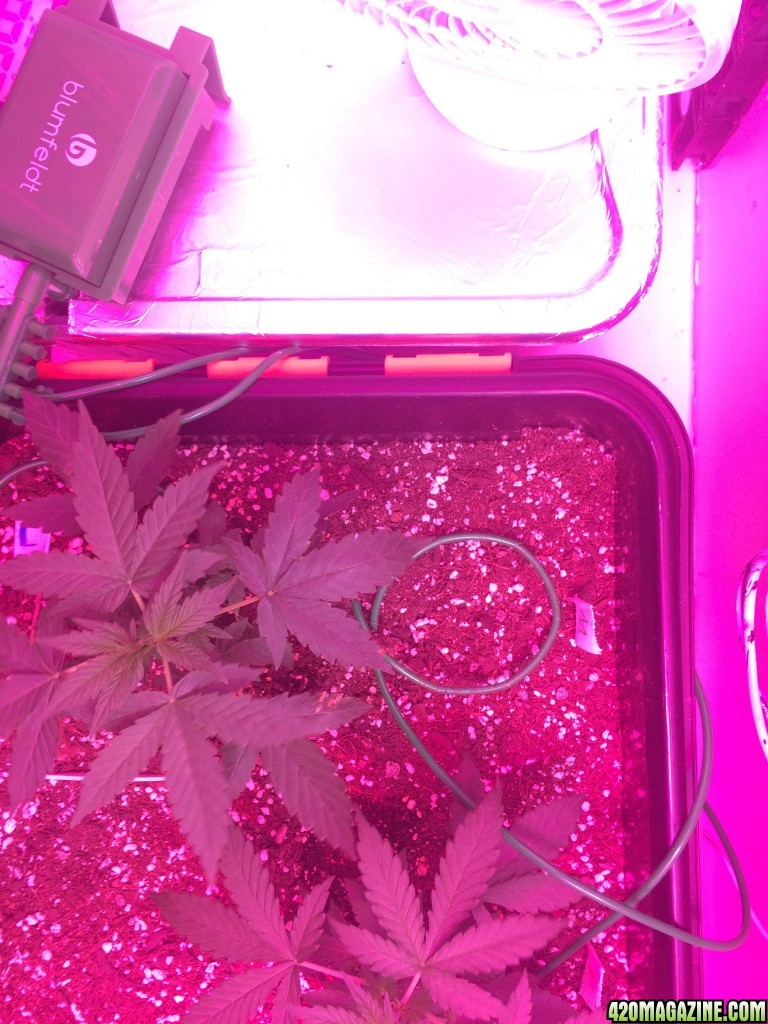
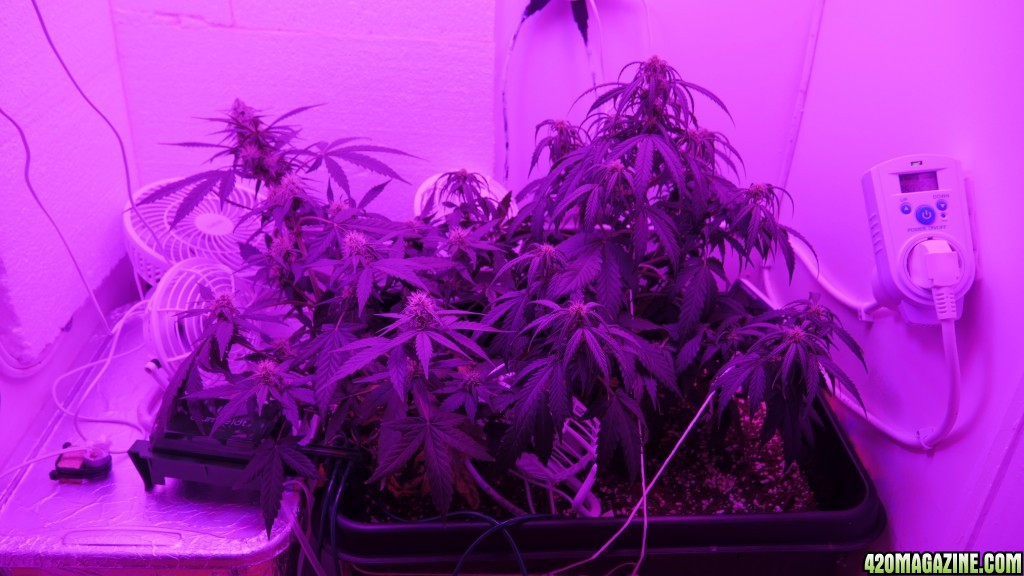
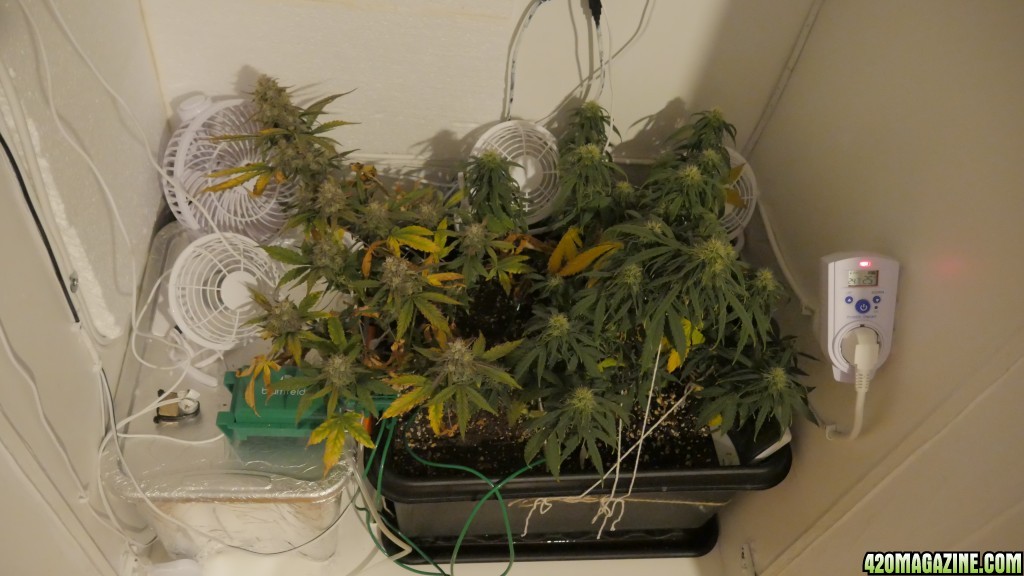
I have the 300W LED growlight running at 60% and will turn it up carefully, if I feel like the plants can take it.
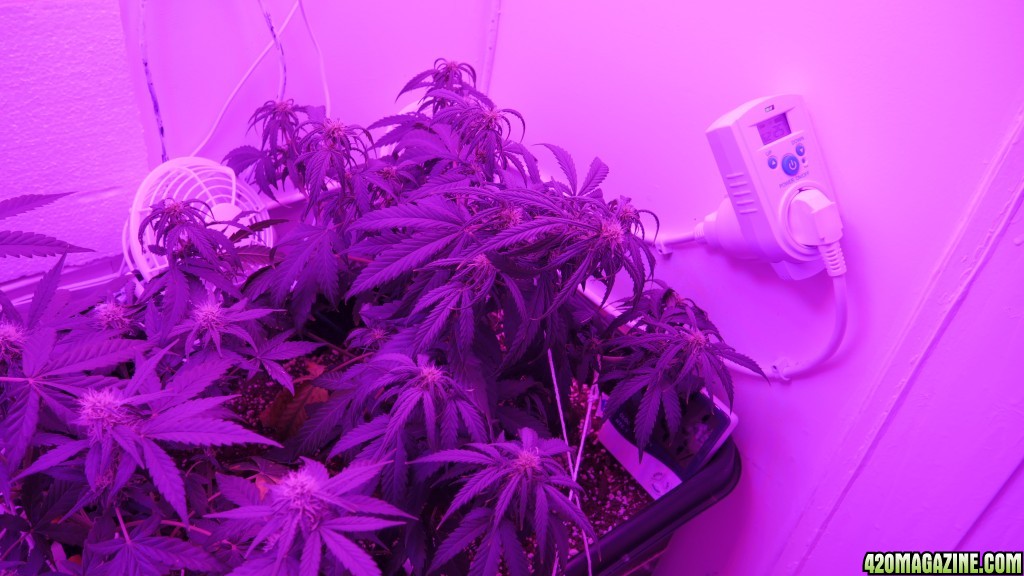
They seem to have settled though.
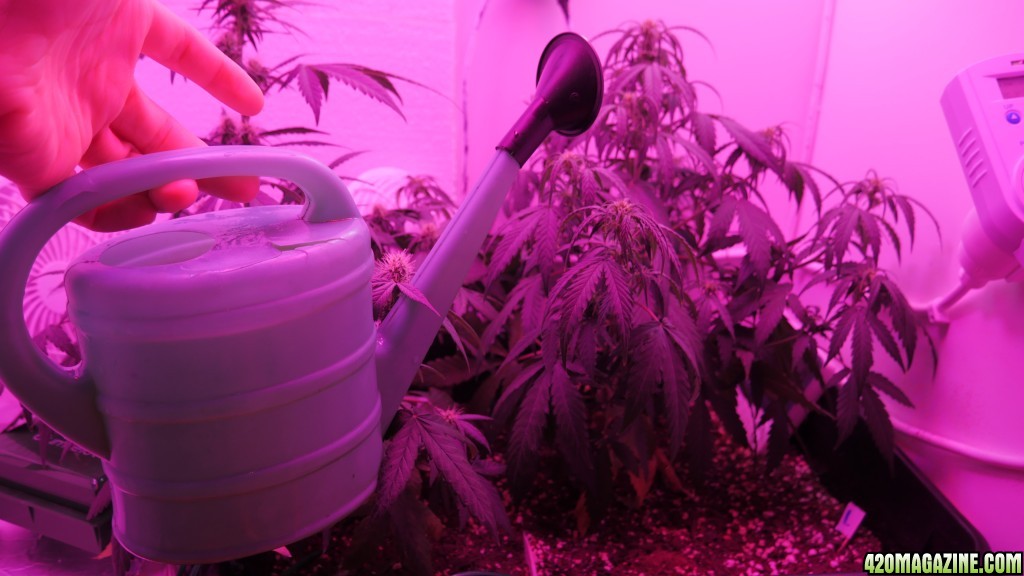
One thing left to do, is to somehow spread the water streams from the pumps hoses, but that problem shouldn't be impossible to solve.
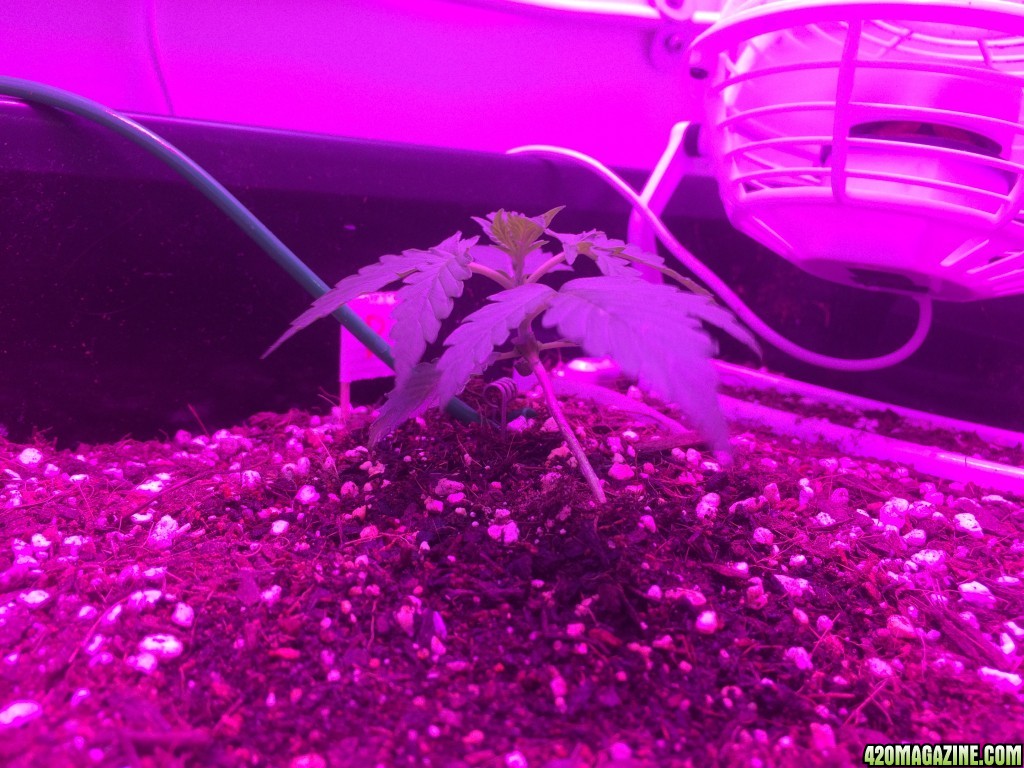
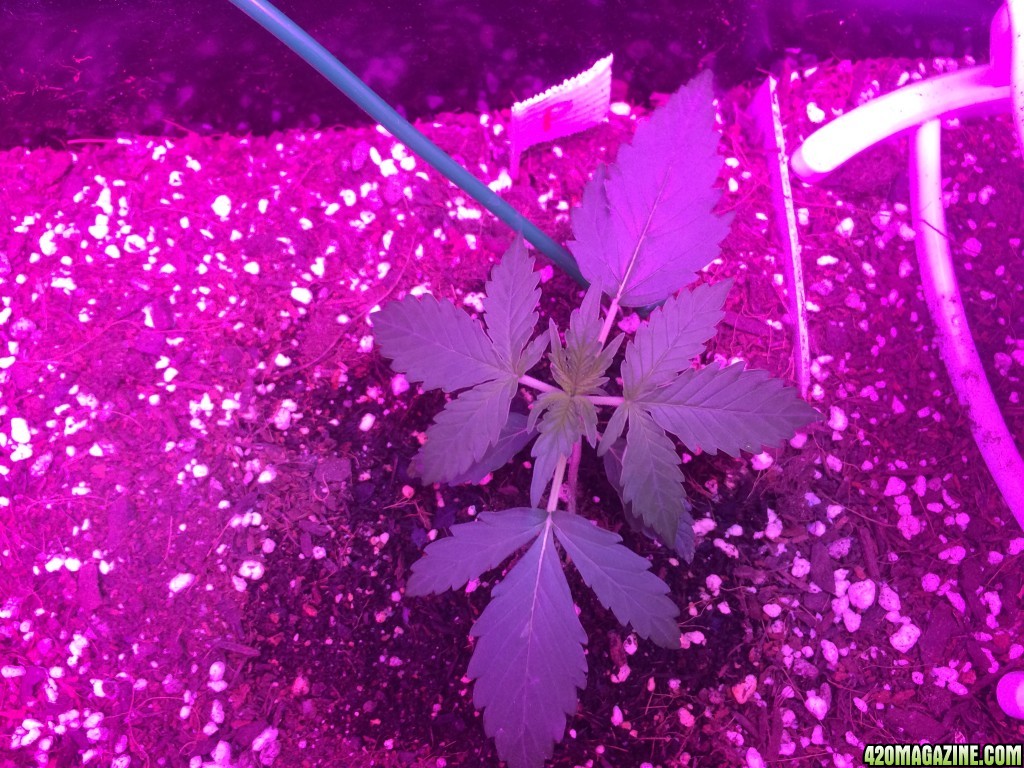
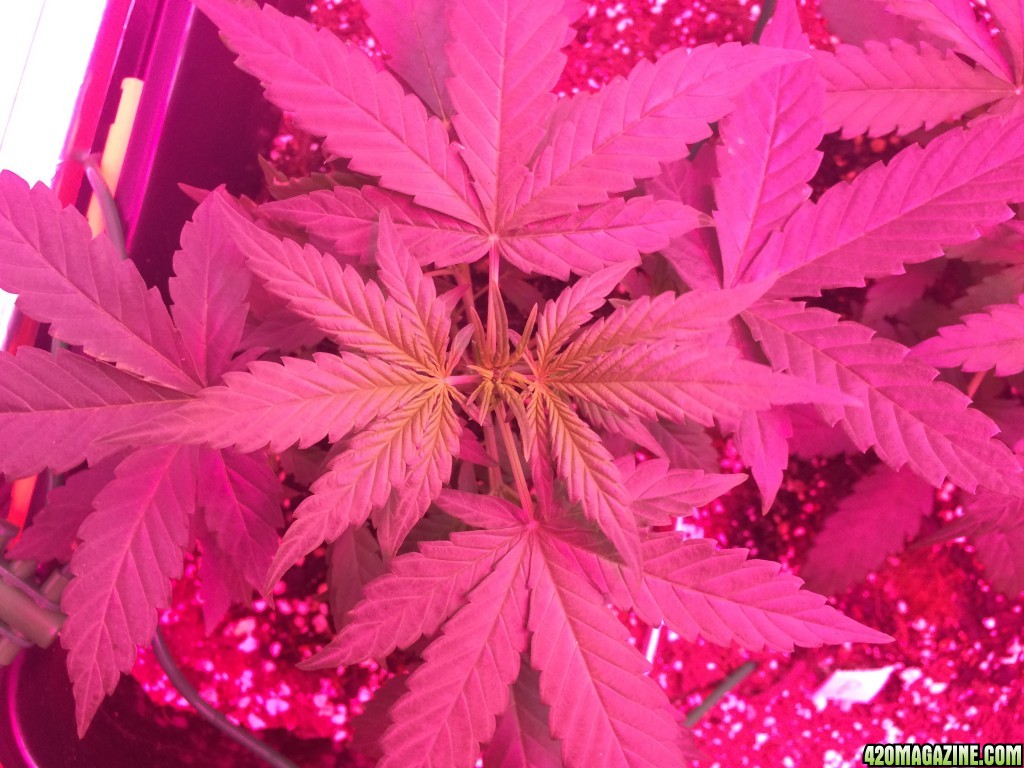
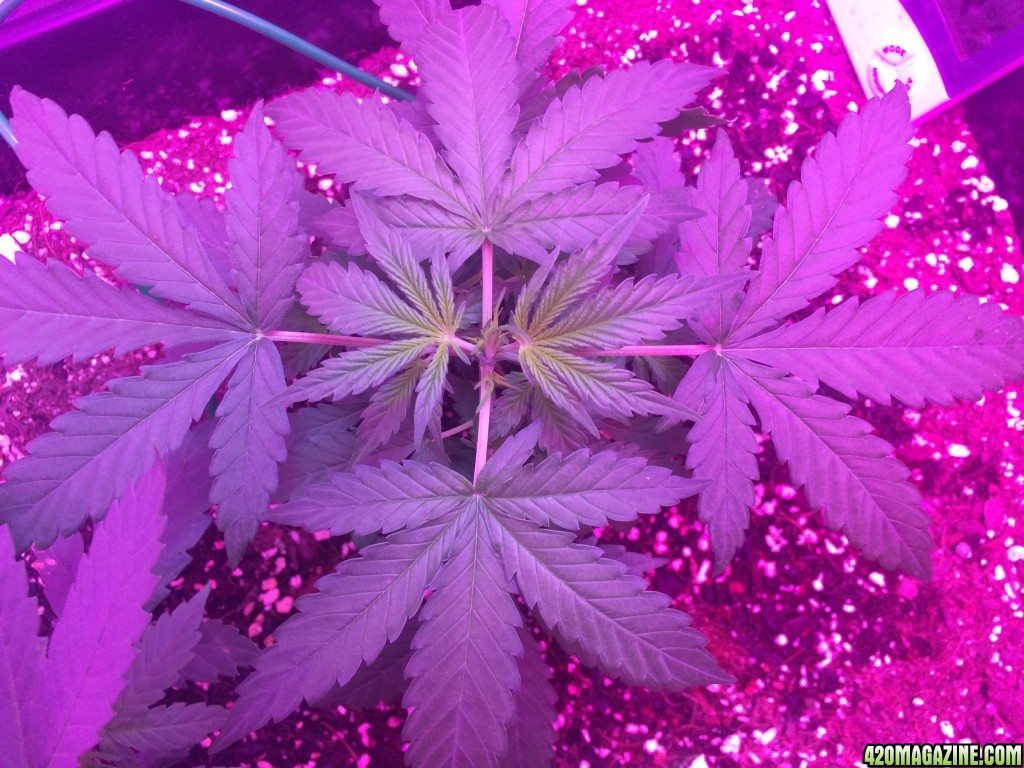
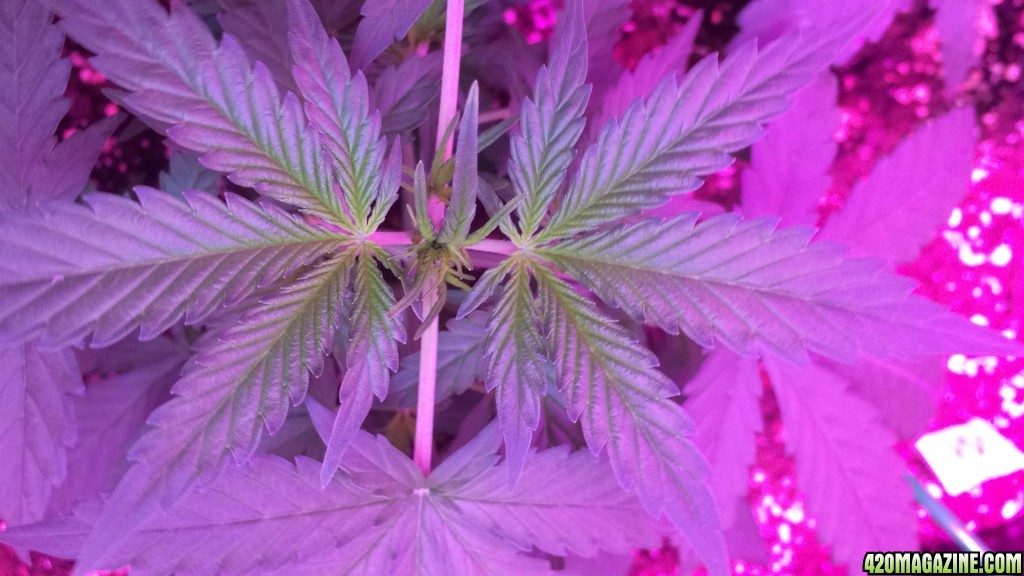
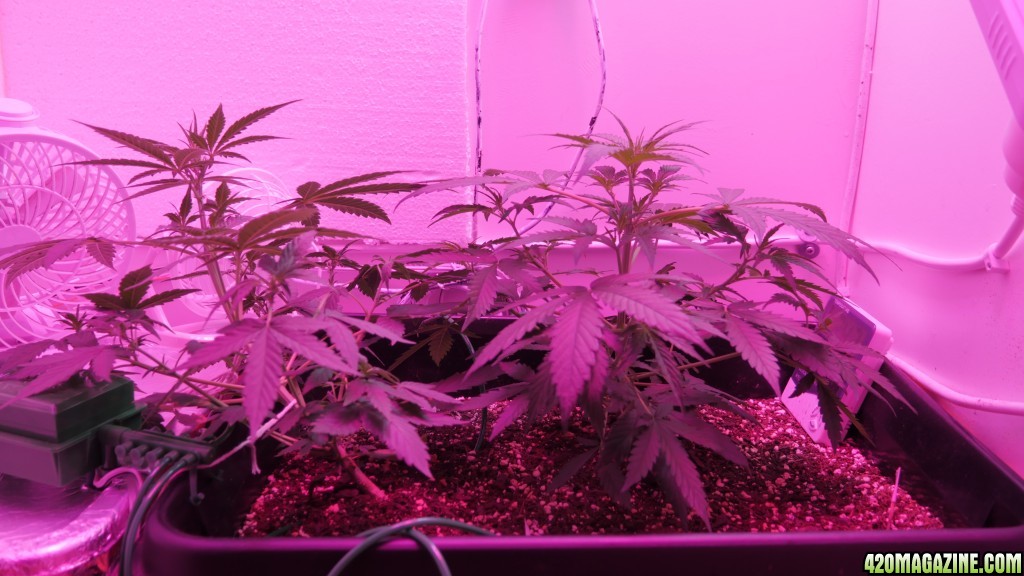
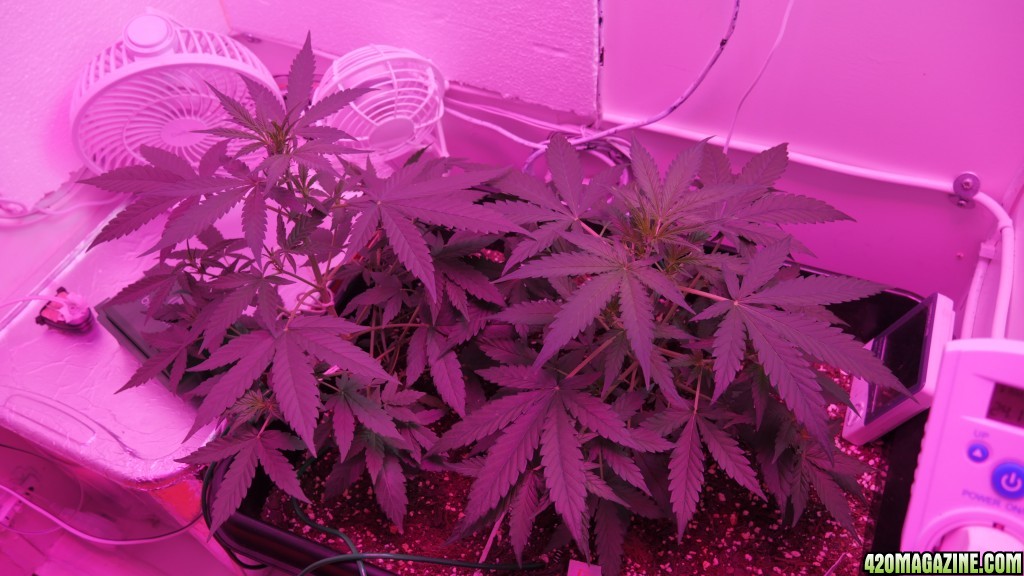
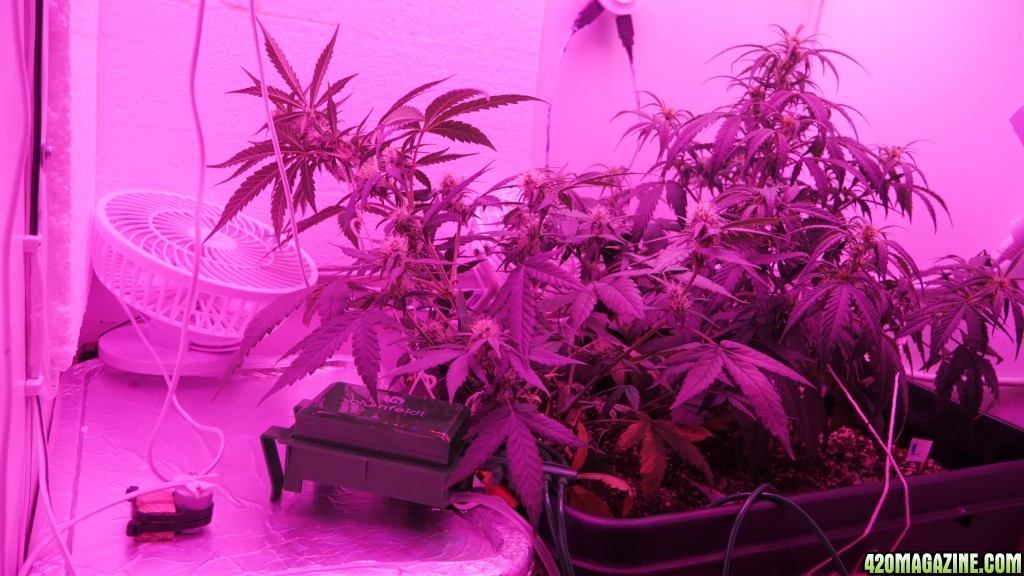
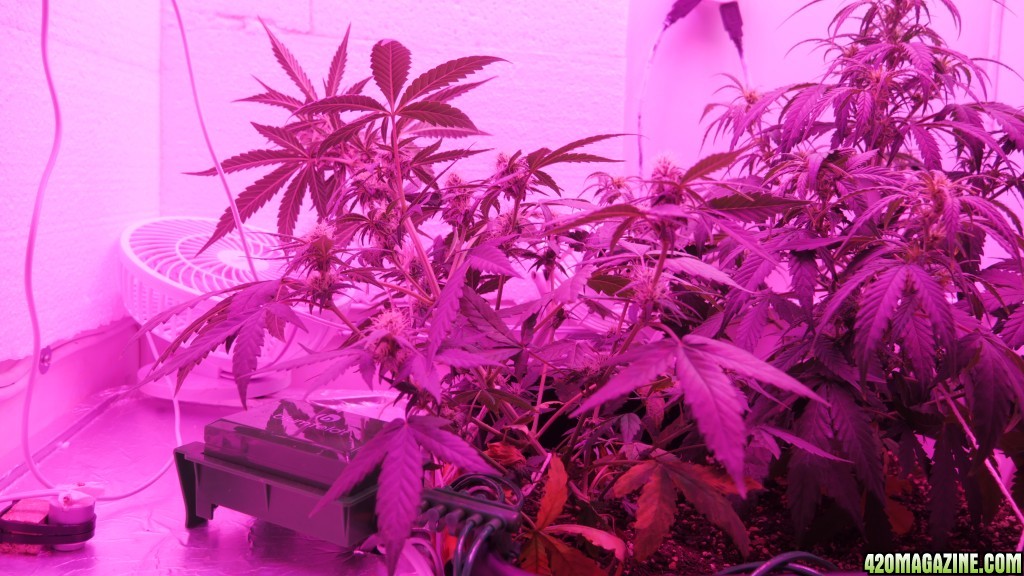
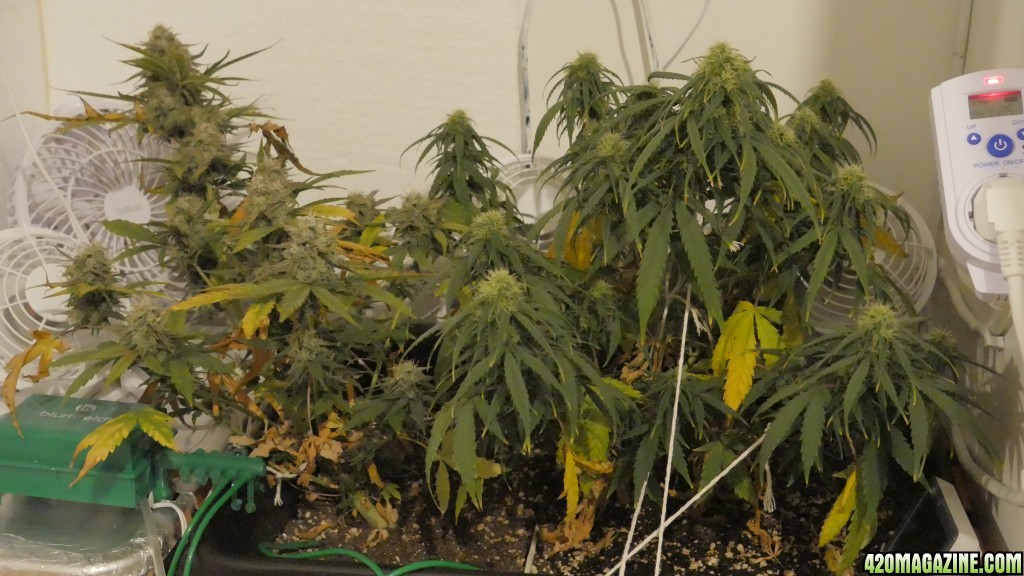
The lowryder is still weak looking. One side of the first leave didn't develop at all, but I see new growth and I hope her crippledness will be a thing of the past, once she fully embraces the light I give to them. She's also only expected to grow up to 50cm/20in, so maybe that has to do something with her slow coming.
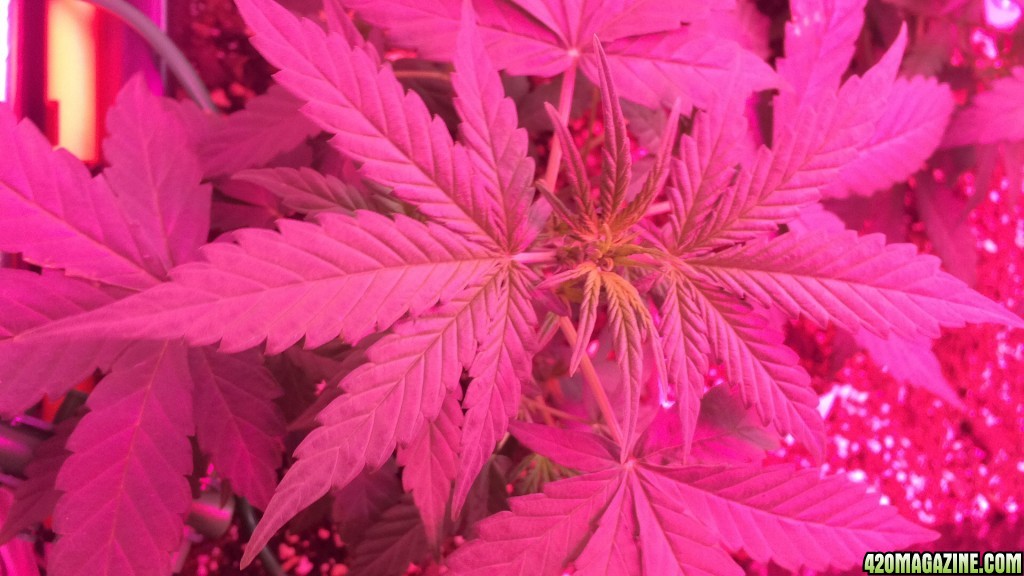
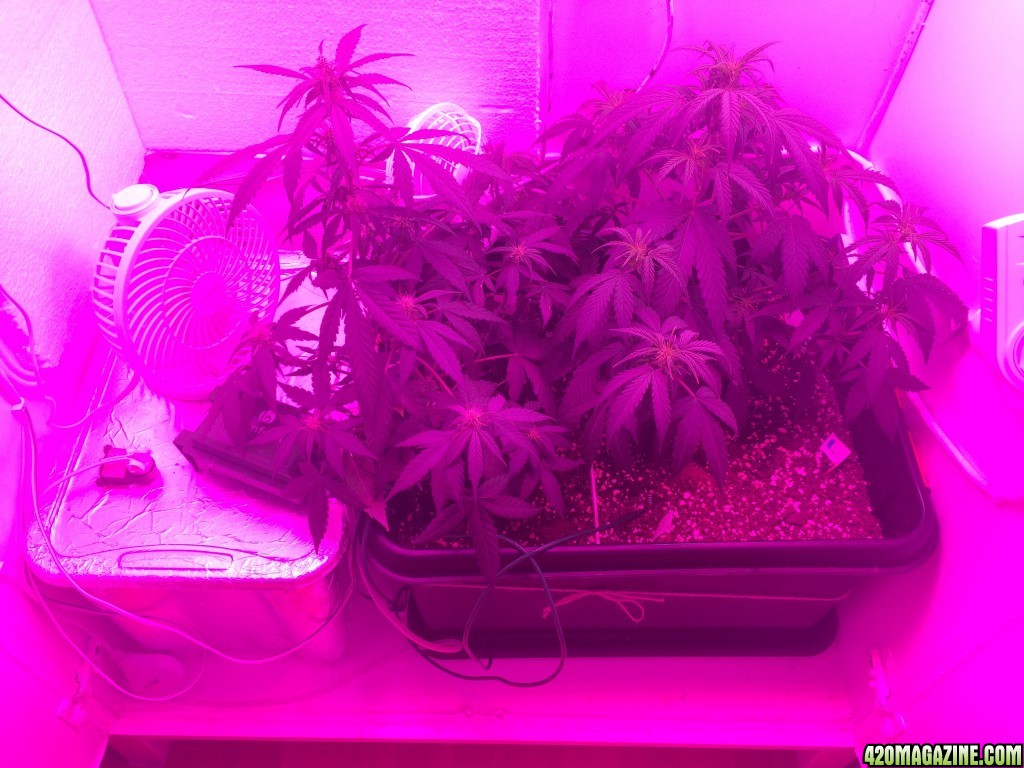
The Moby dick on the other hand is getting stronger every day!
And that's it for now. I literally took the last pictures and sat down to write this bit. Hope some of you enjoy my new blog thingy and can maybe learn a thing or two from my mistakes and advances.
Will probably post an update in a week or so. Until then, sit back and enjoy the ride.
Peace you guys,
- Pipo


") :
:


 )
)


 )
)