420Amard
New Member

How To Use Progressive Web App aka PWA On 420 Magazine Forum
Note: This feature may not be available in some browsers.

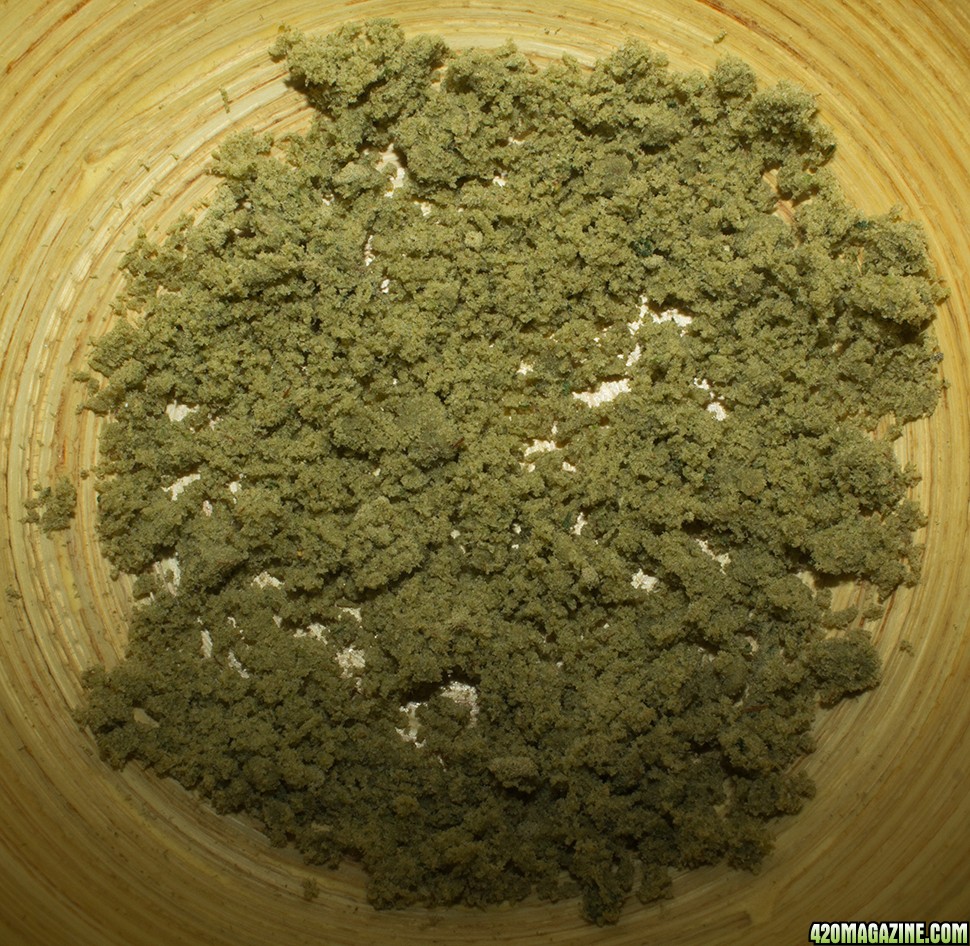
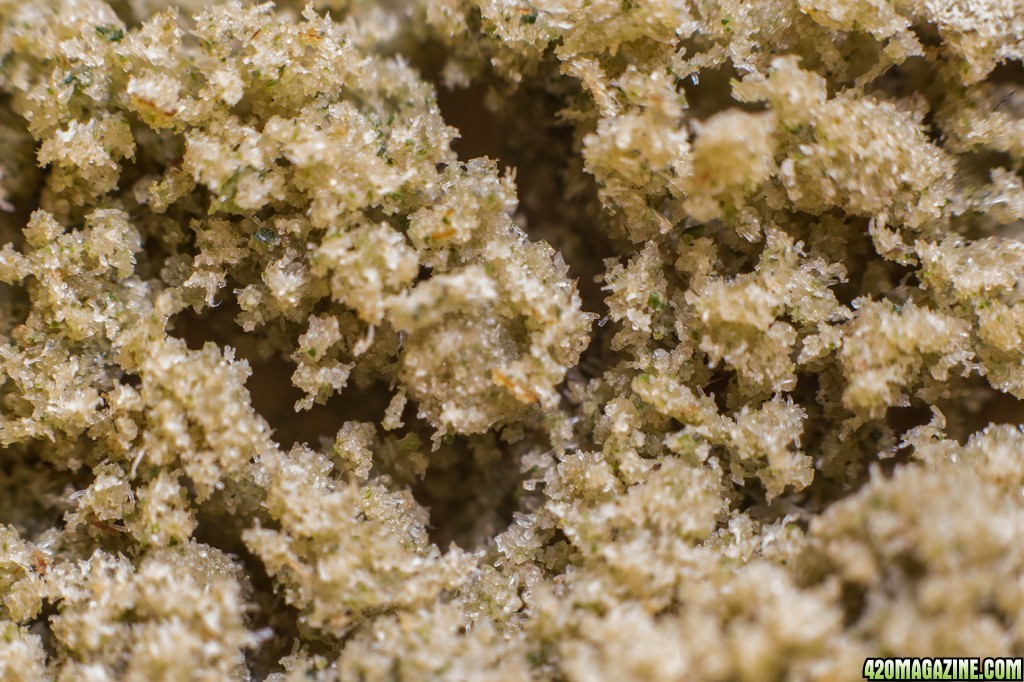
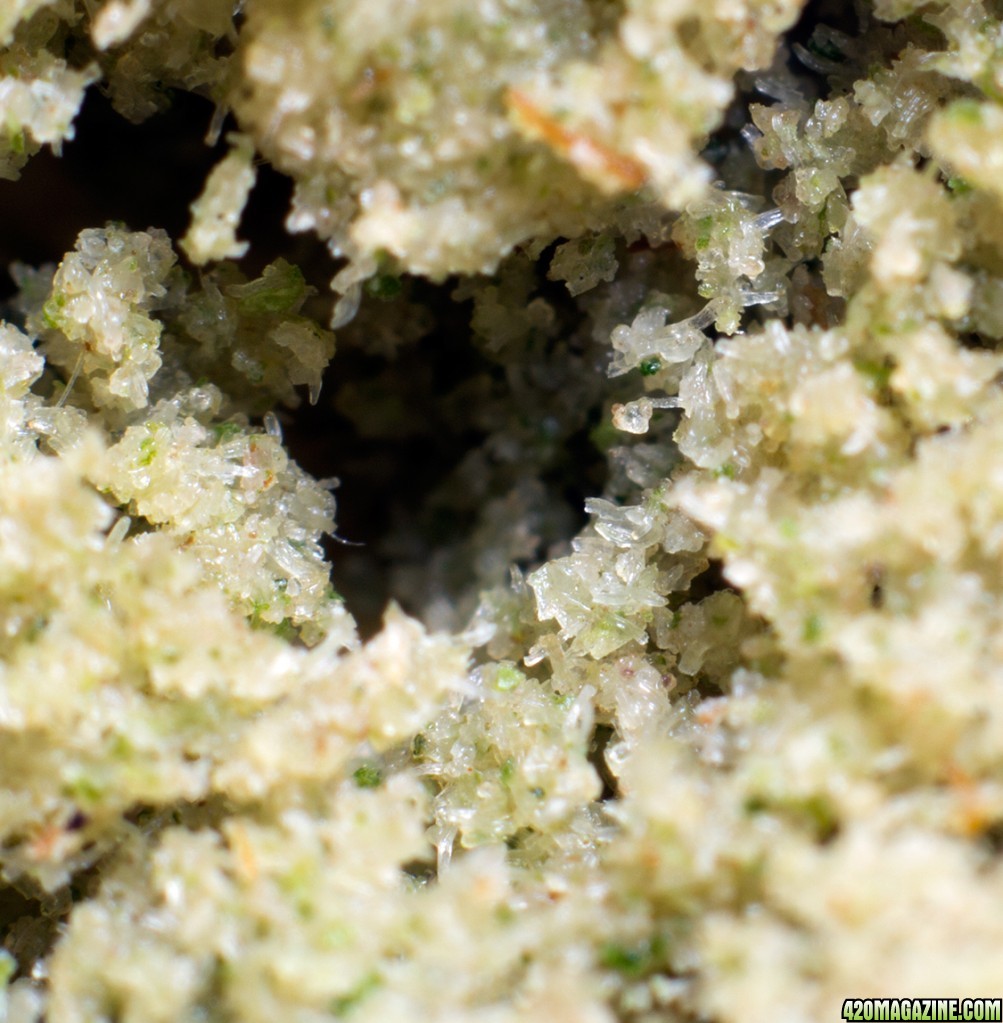
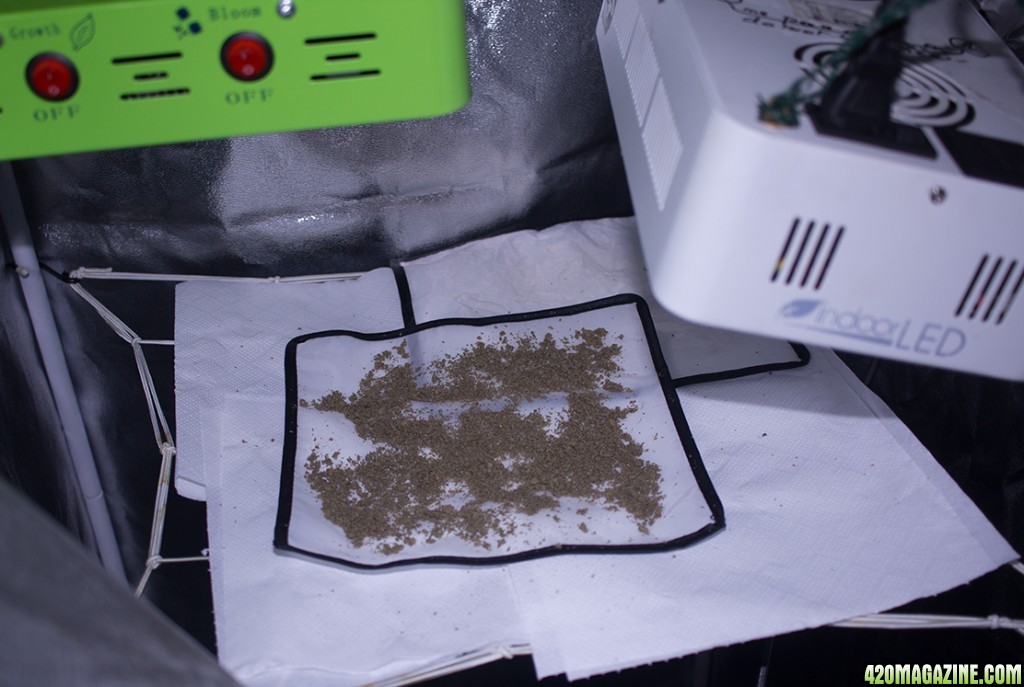
Nice SpaceF!! I bought some bags from the Bubblebagdudes and seen the utube video and the comments on the bottom say theyre crap. Damn! I got some old leaf thats way crap that Im going to try first. I figure if the bags are crap lets see on very crap product.
SpaceF, can you recommend good bags for bubble???
Thanks!!!!
")

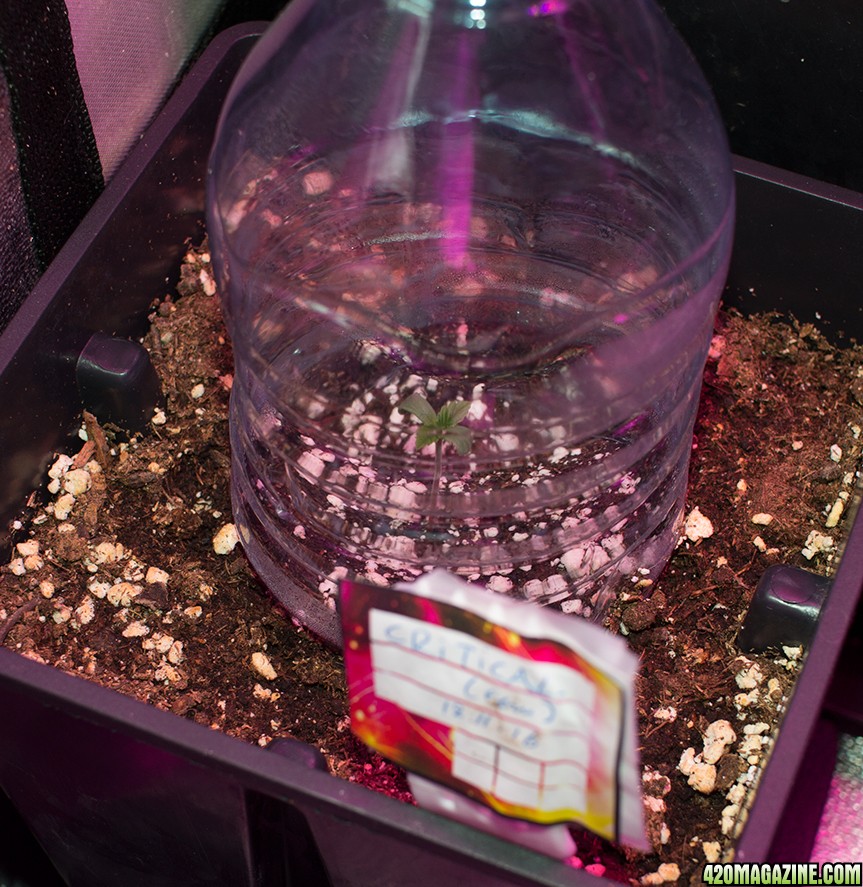
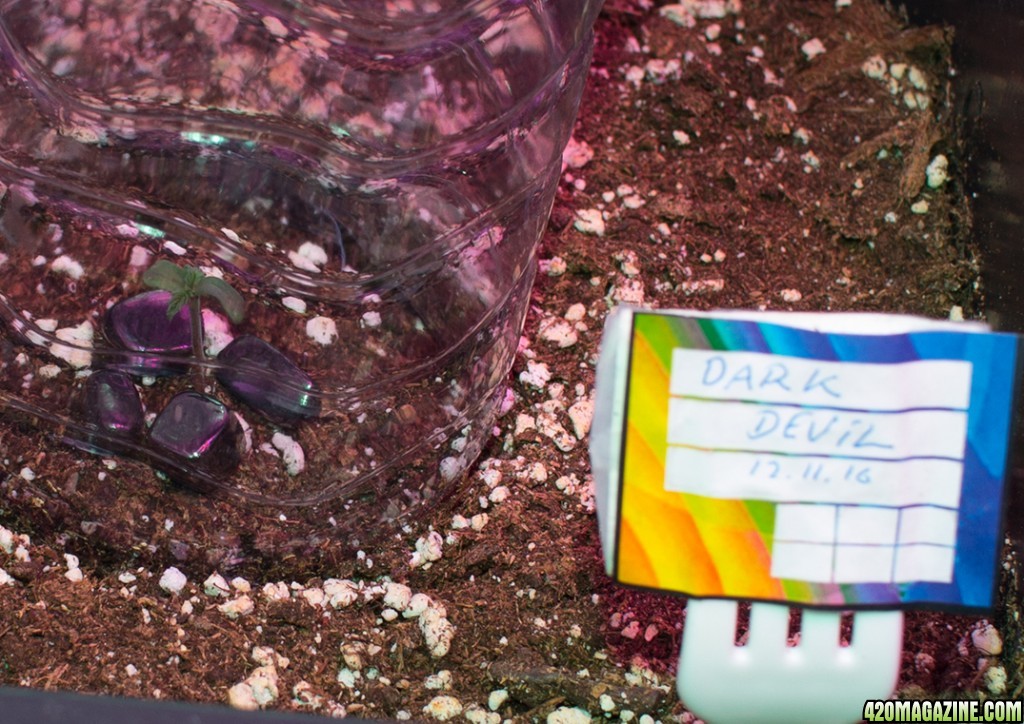

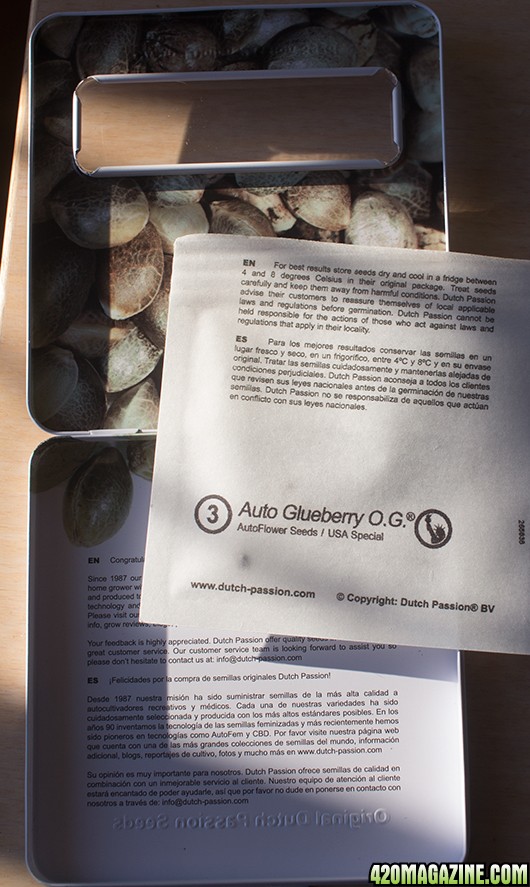
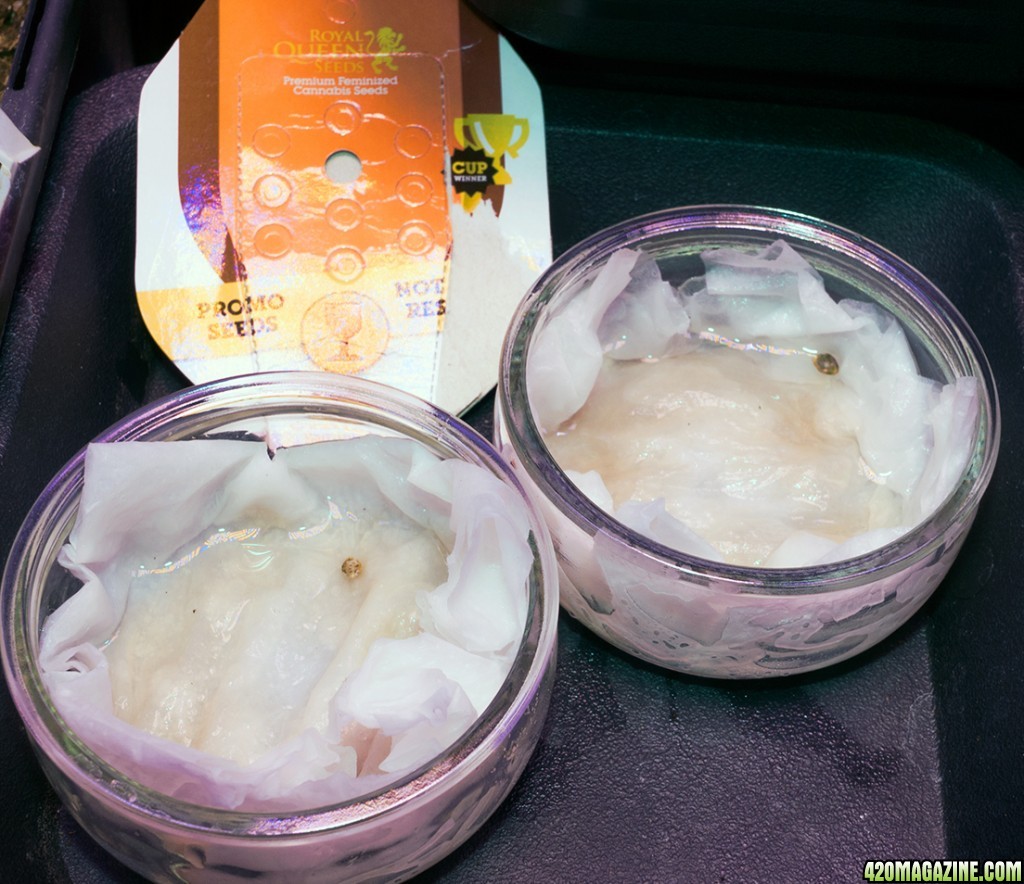
What's the name for the little one in the bottle?
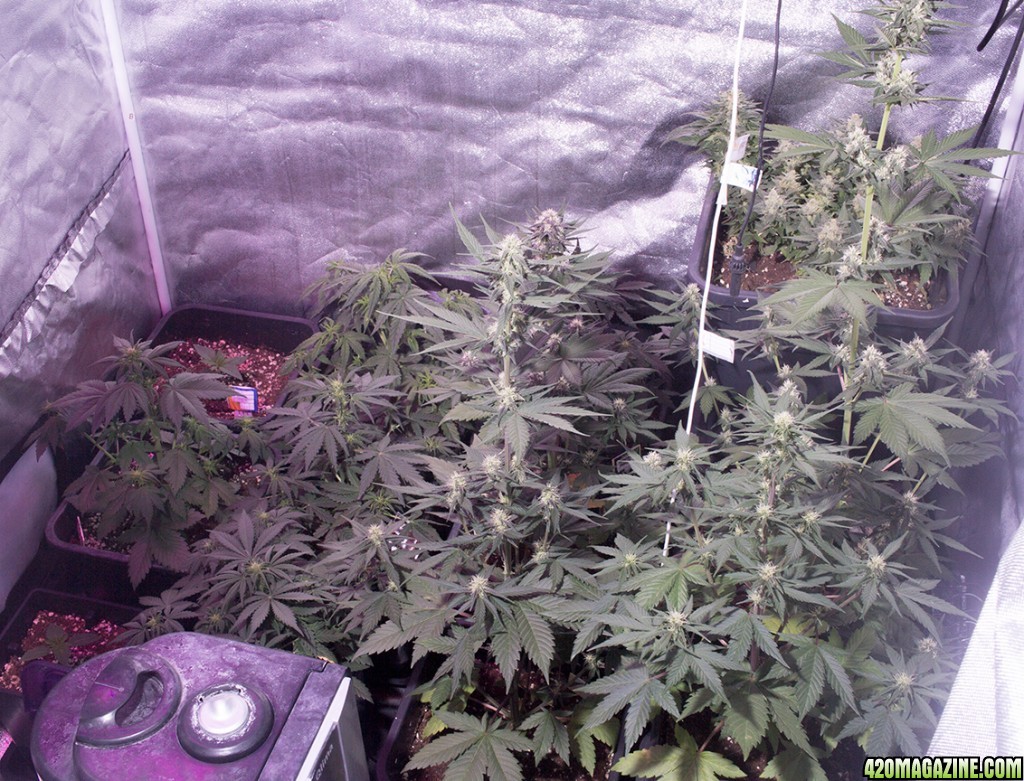
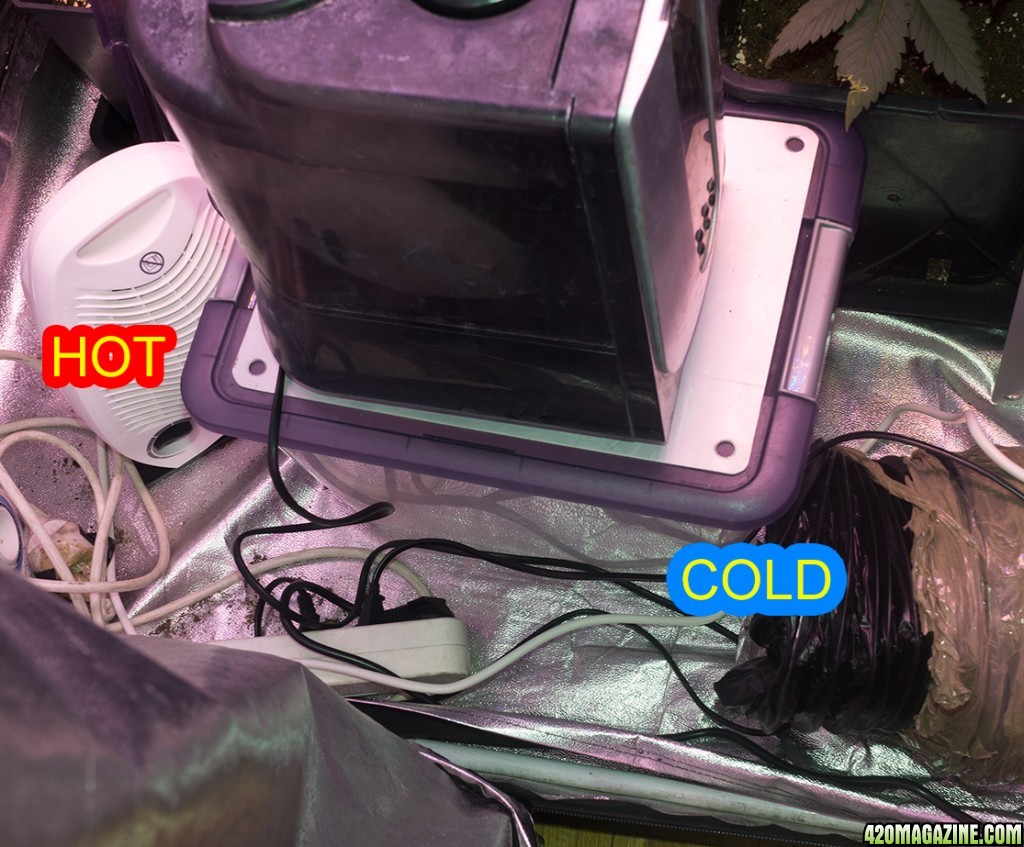 I did dry a few leaves that way before turning the heater around
 why not just put a heater on in the room bring up the ambient temp done.
Happy Holidays Spacef!!