Organic Weed
Well-Known Member
Hello Folks
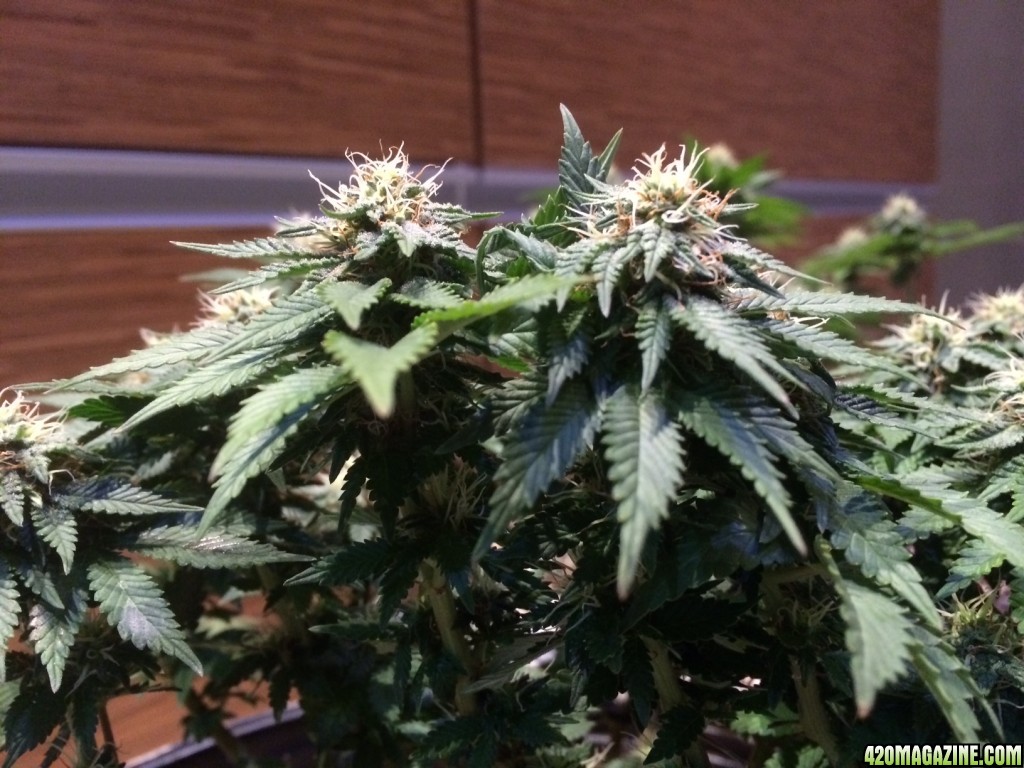
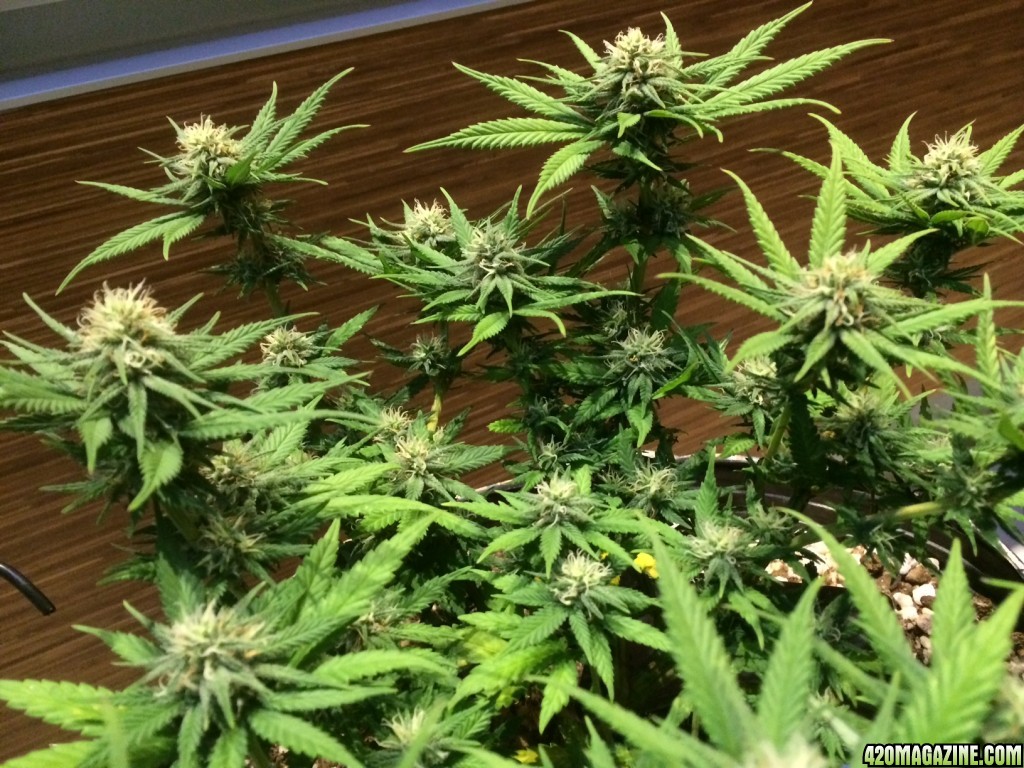
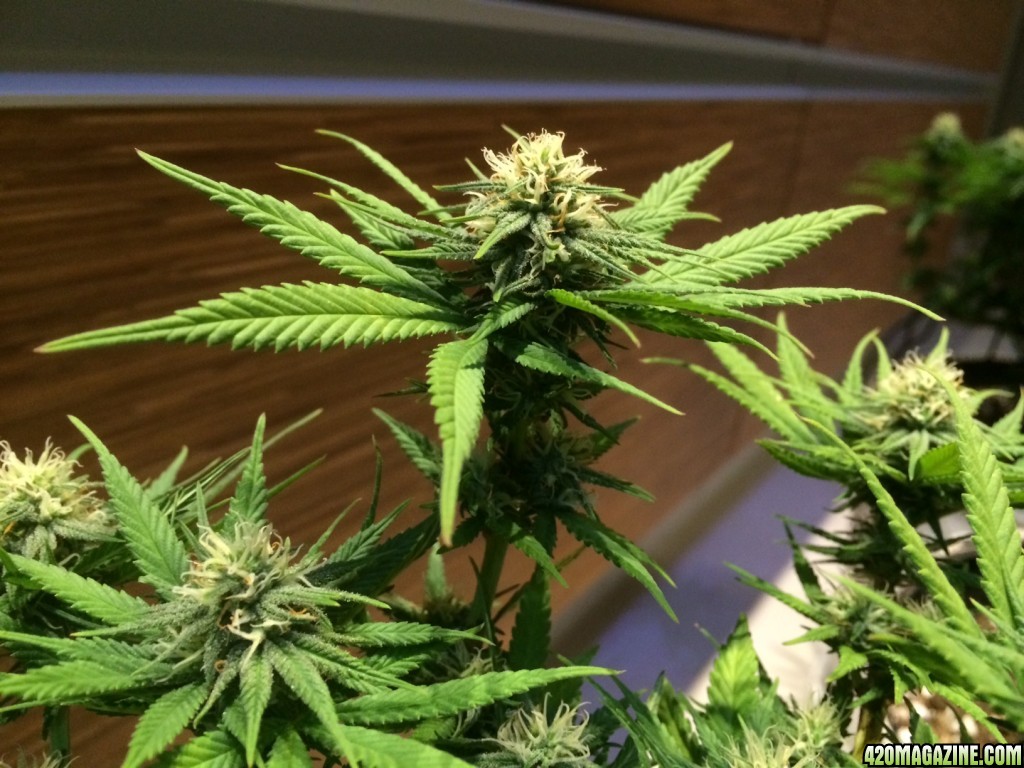
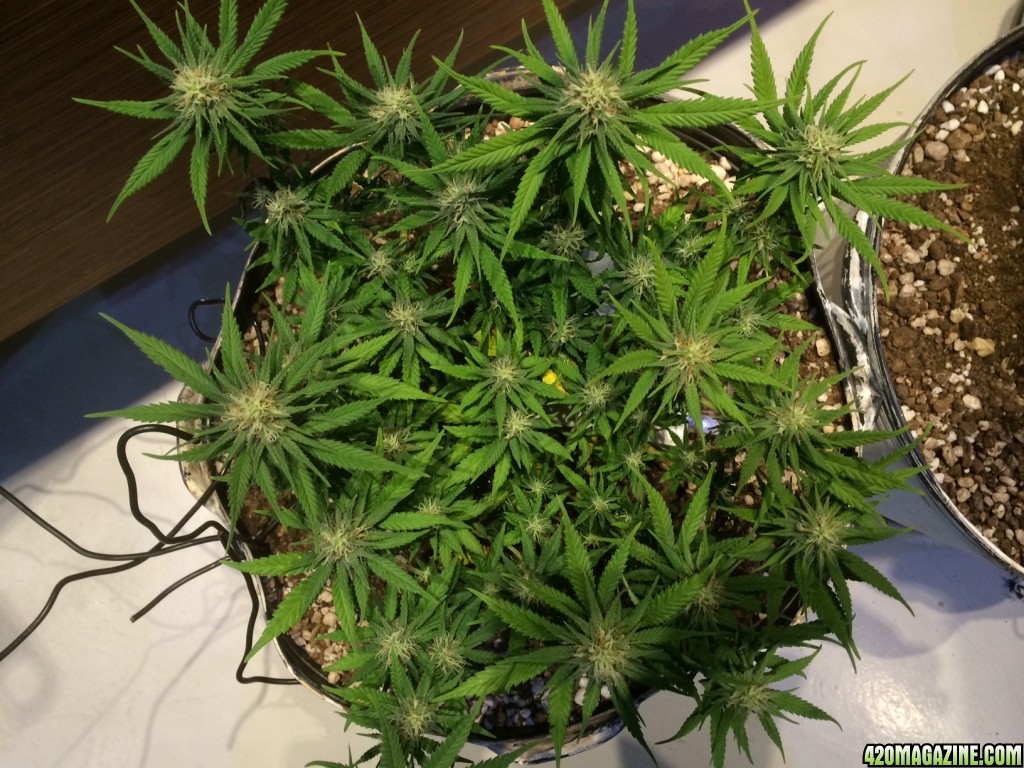
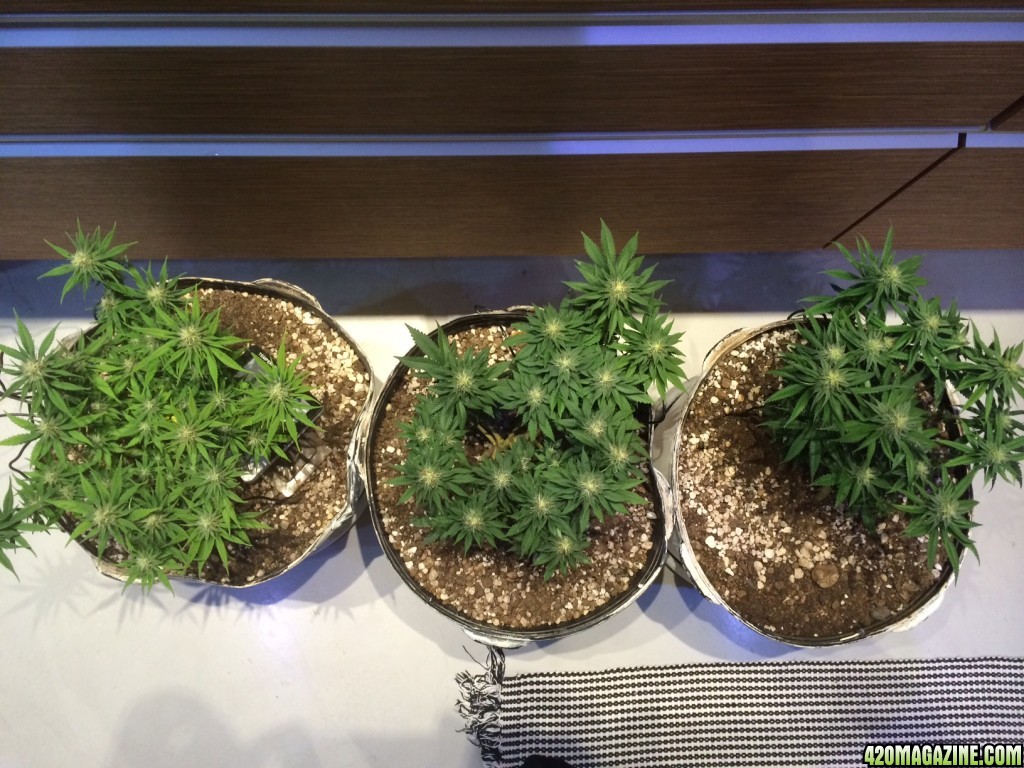
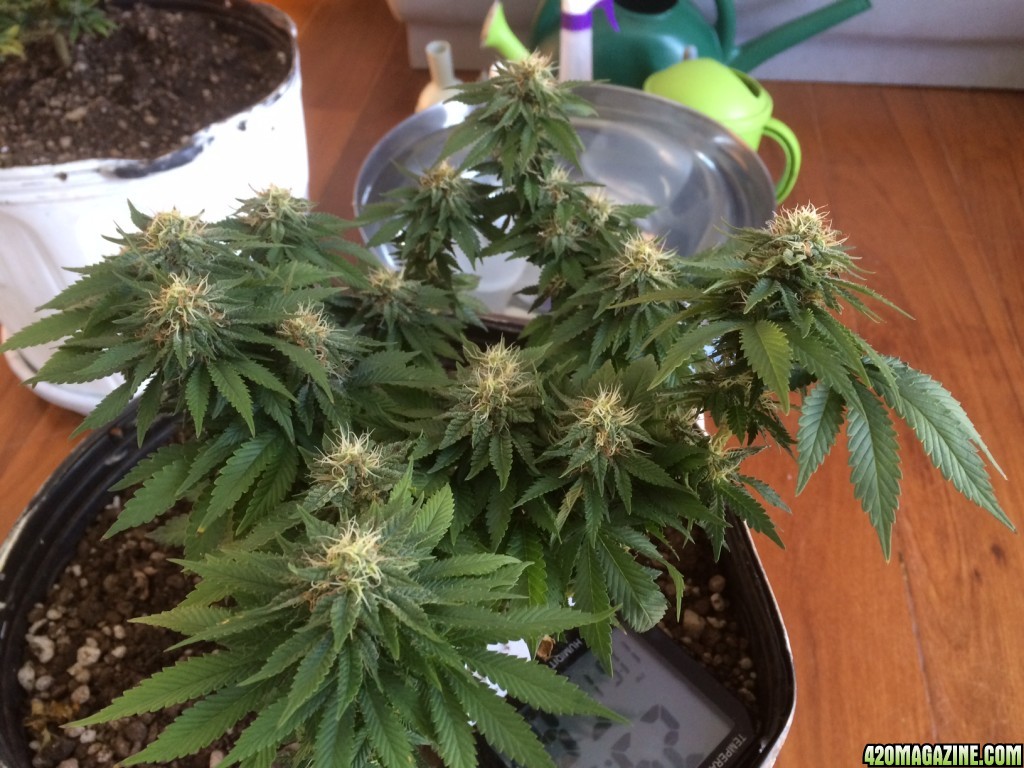
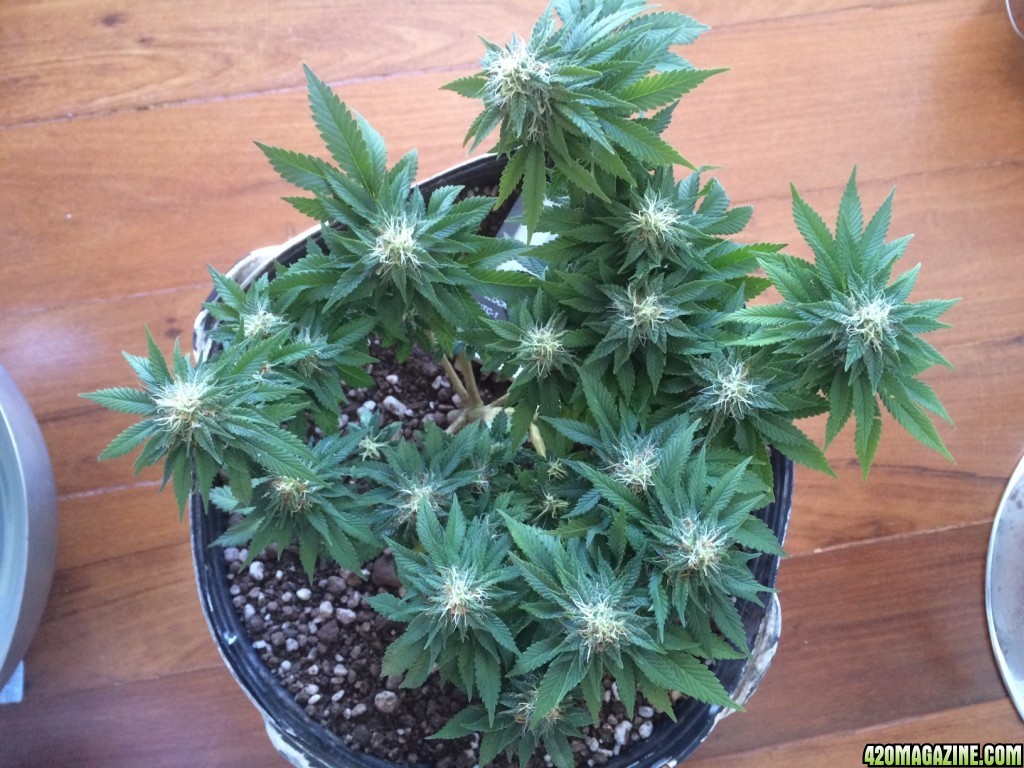
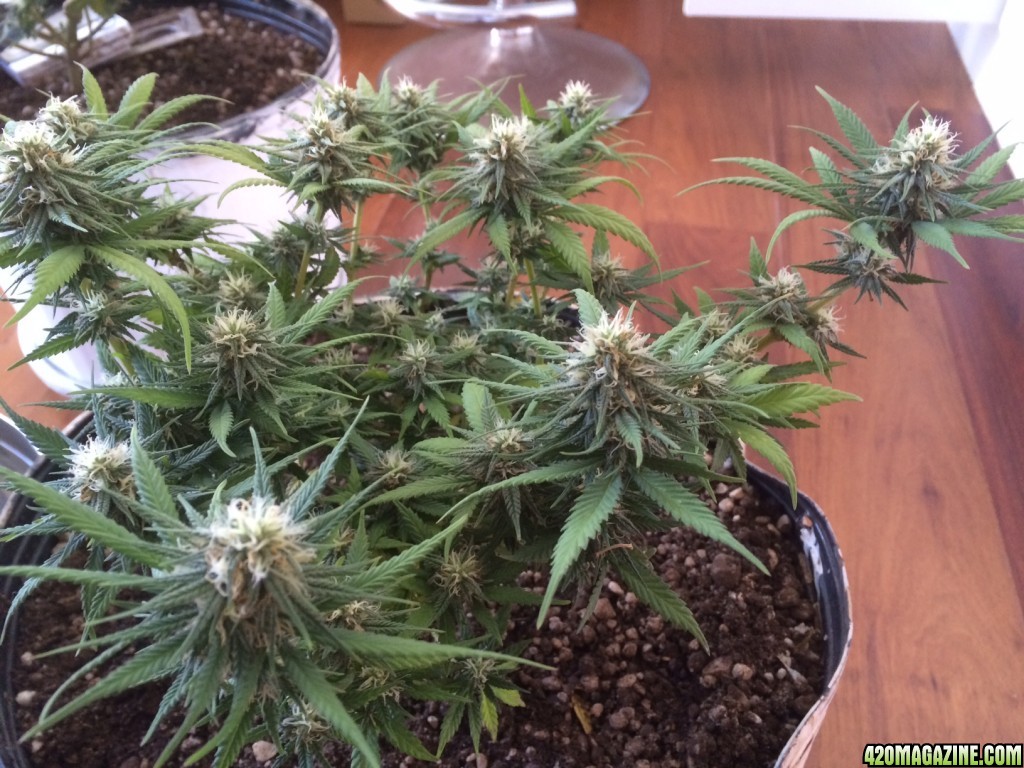
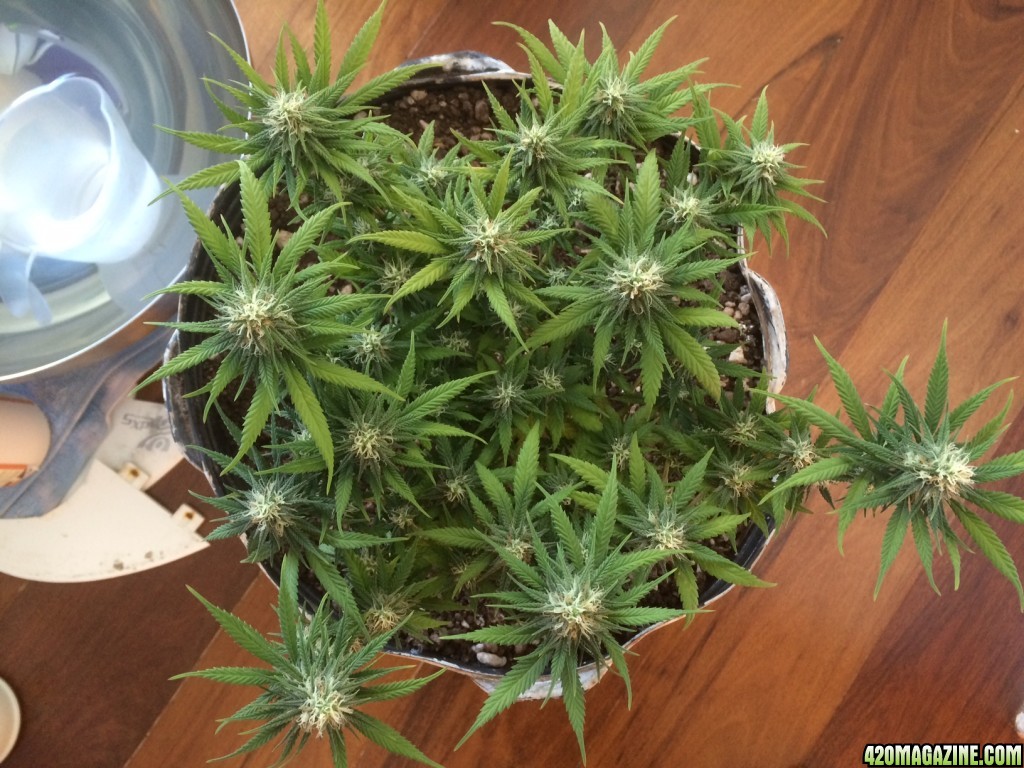
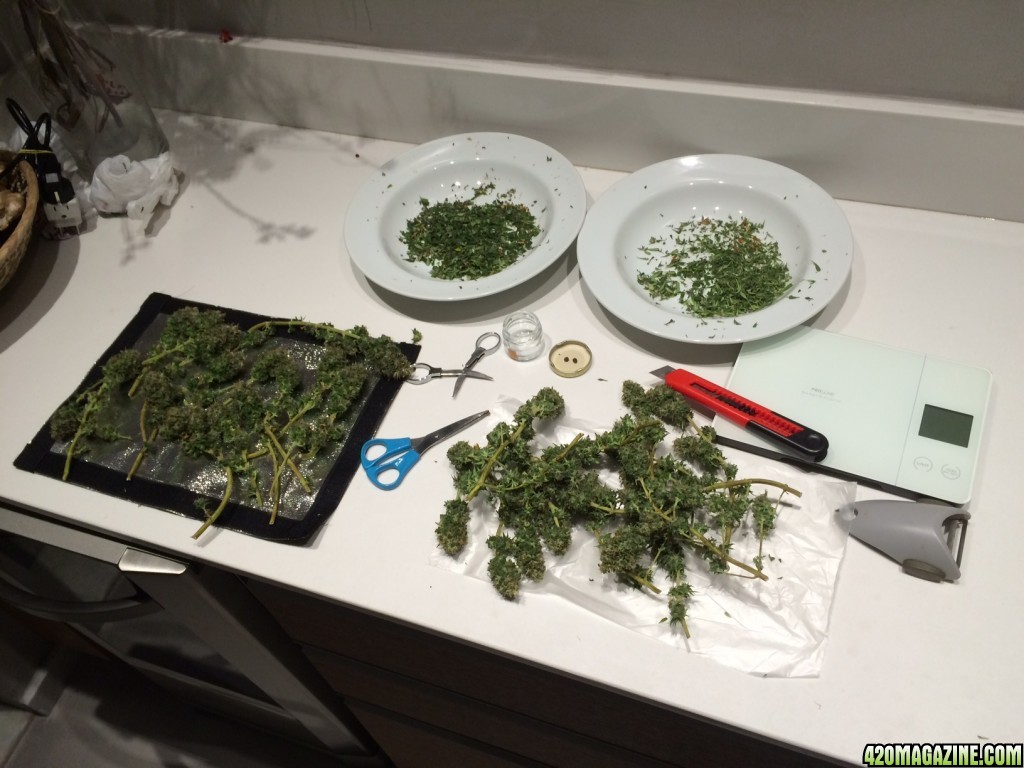
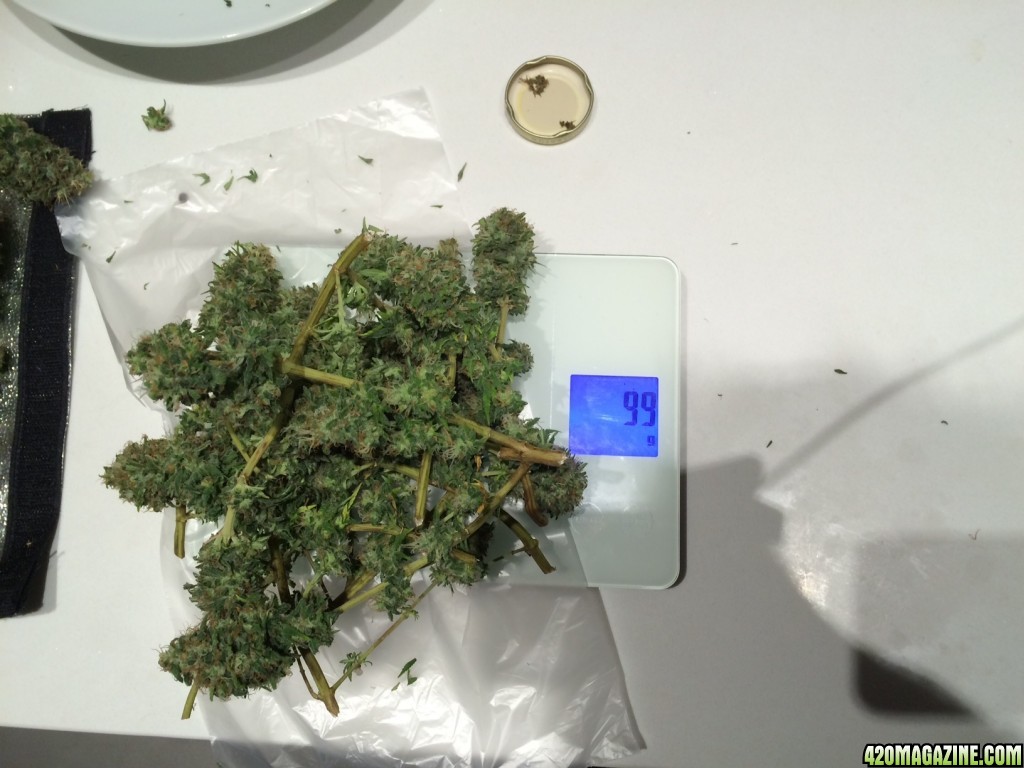
I'm posting this thread only half a way my budding cycle but I will write a few posts with pictures to track the developments since the beginning
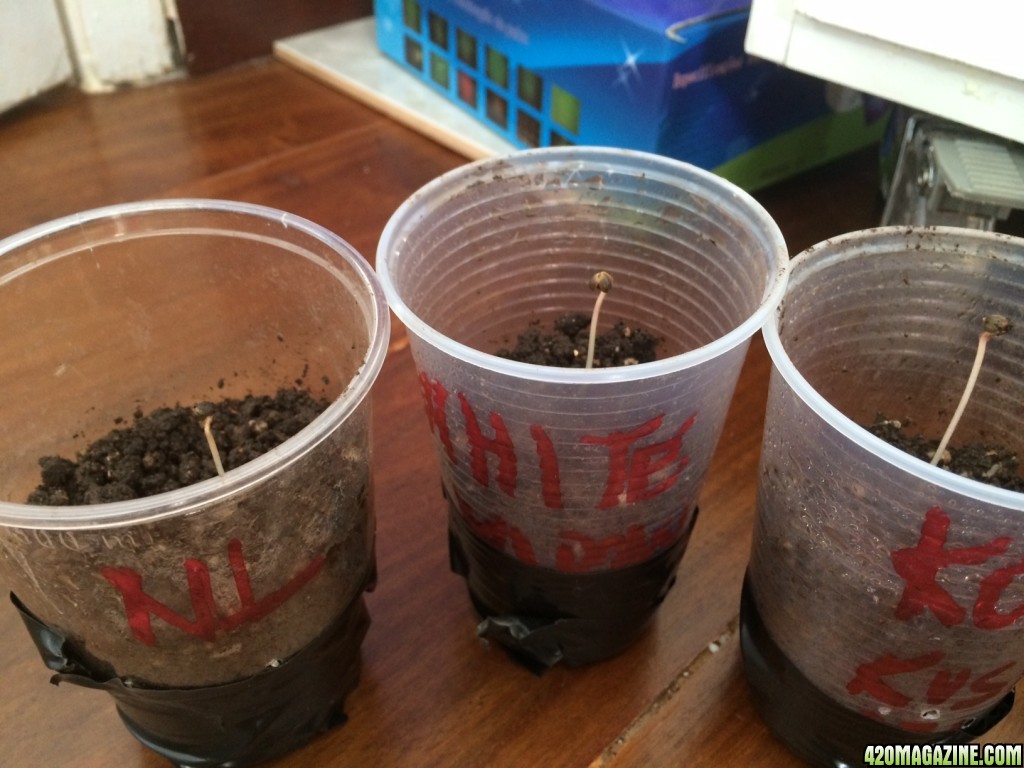
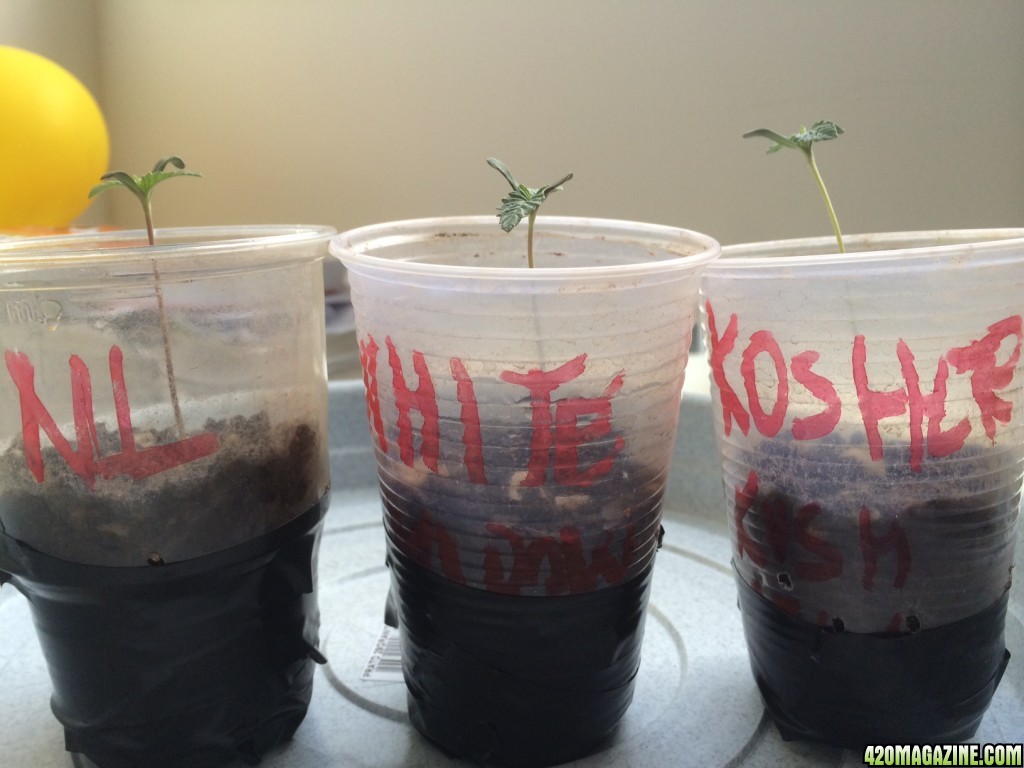
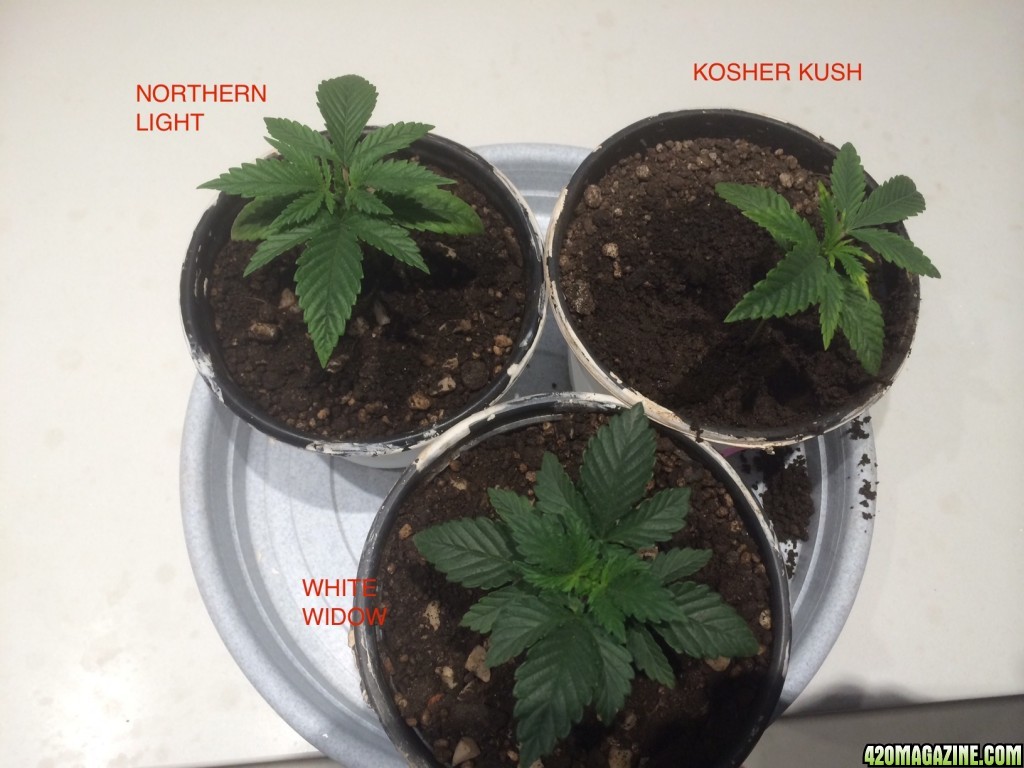
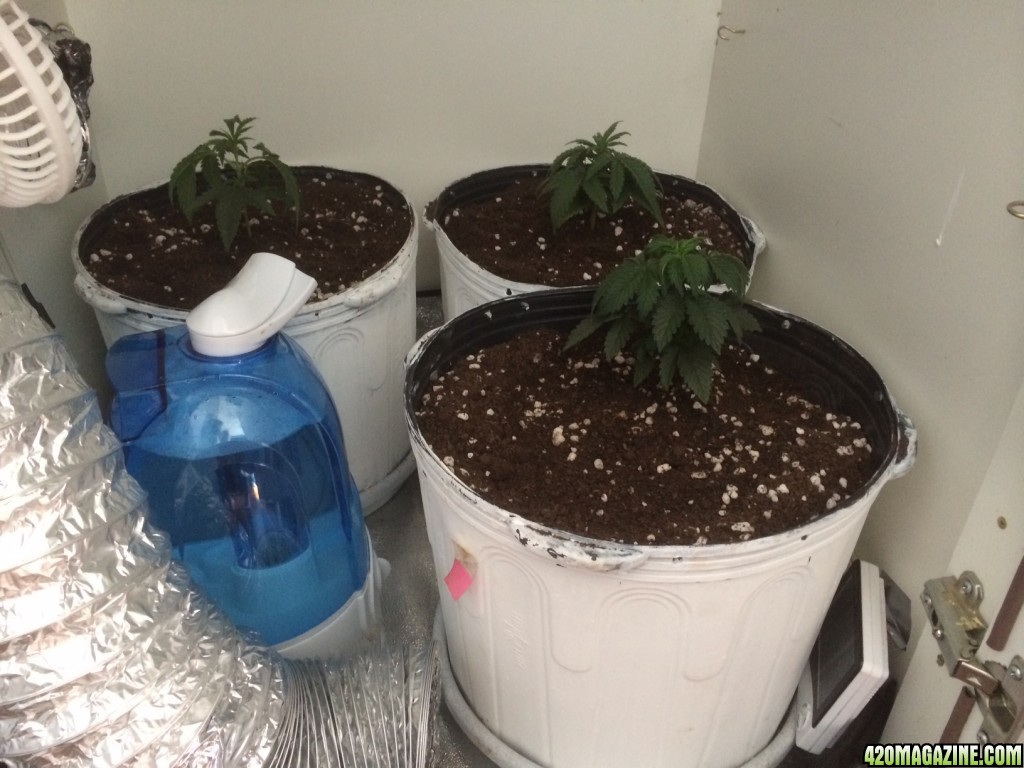
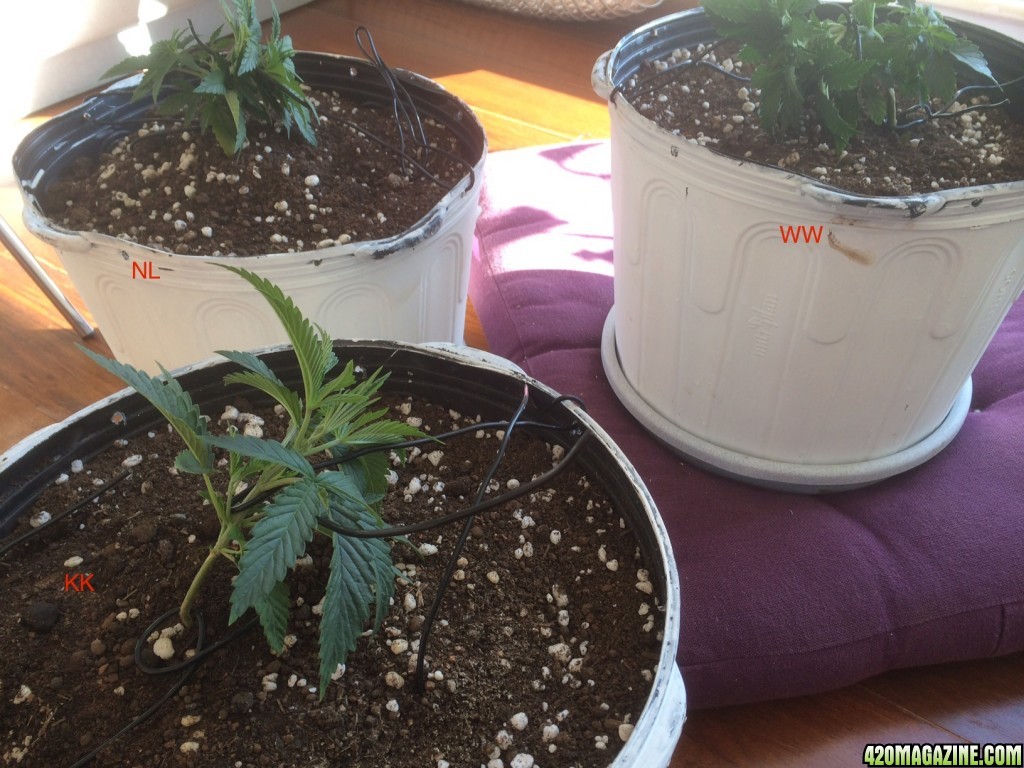
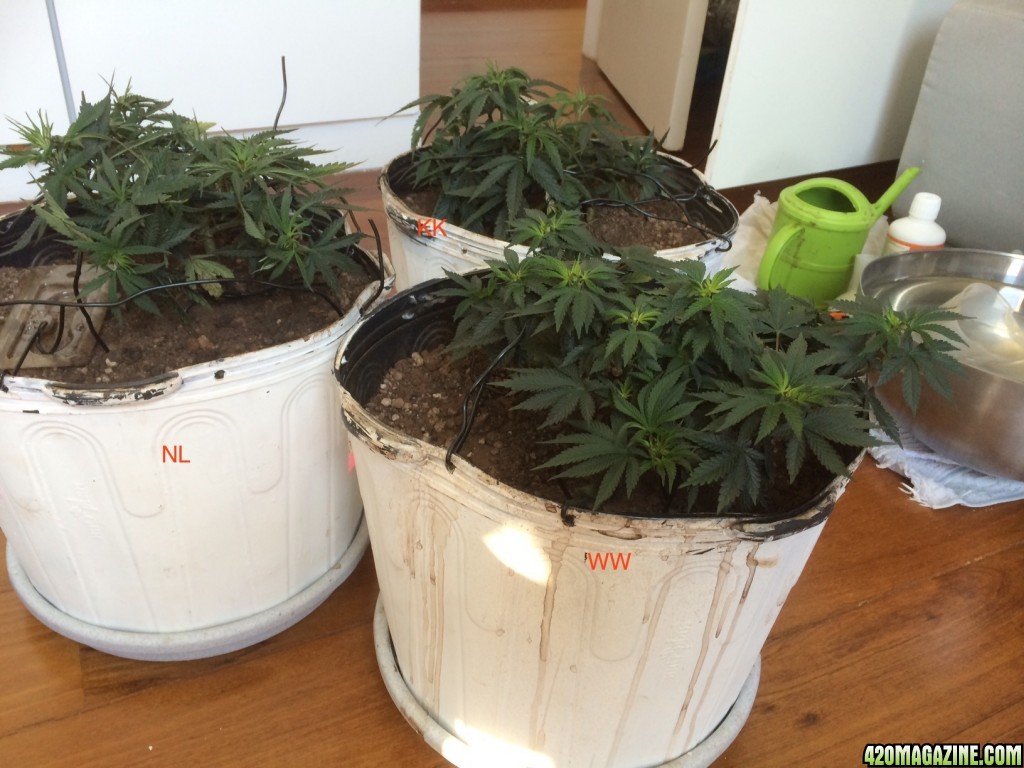
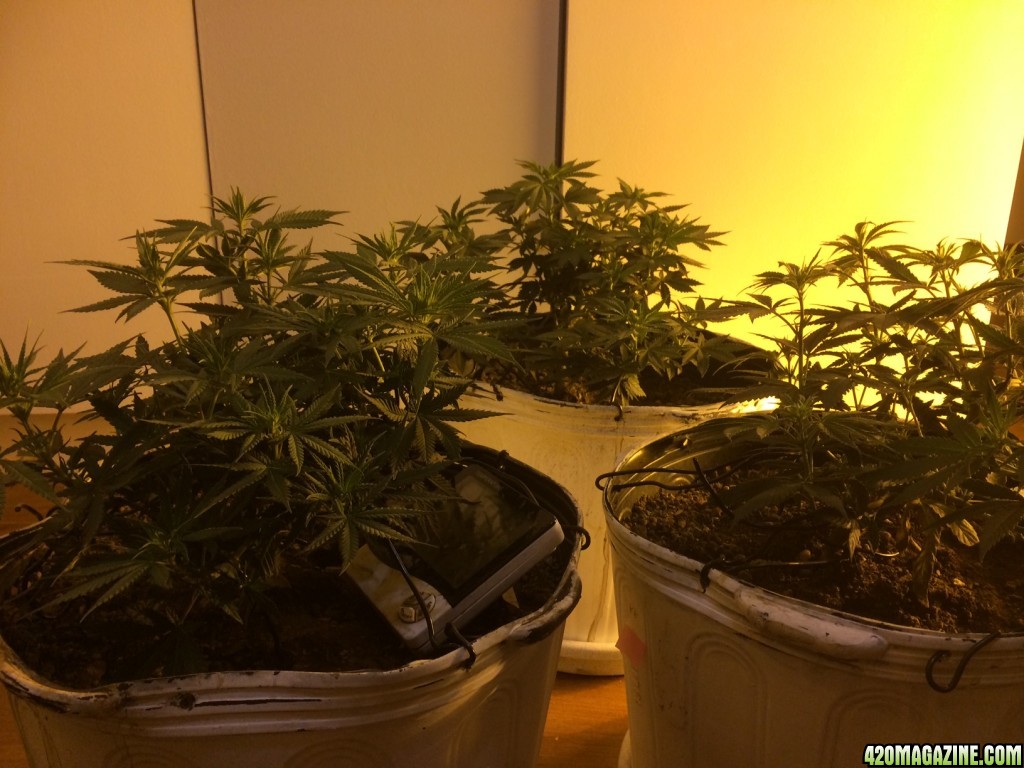
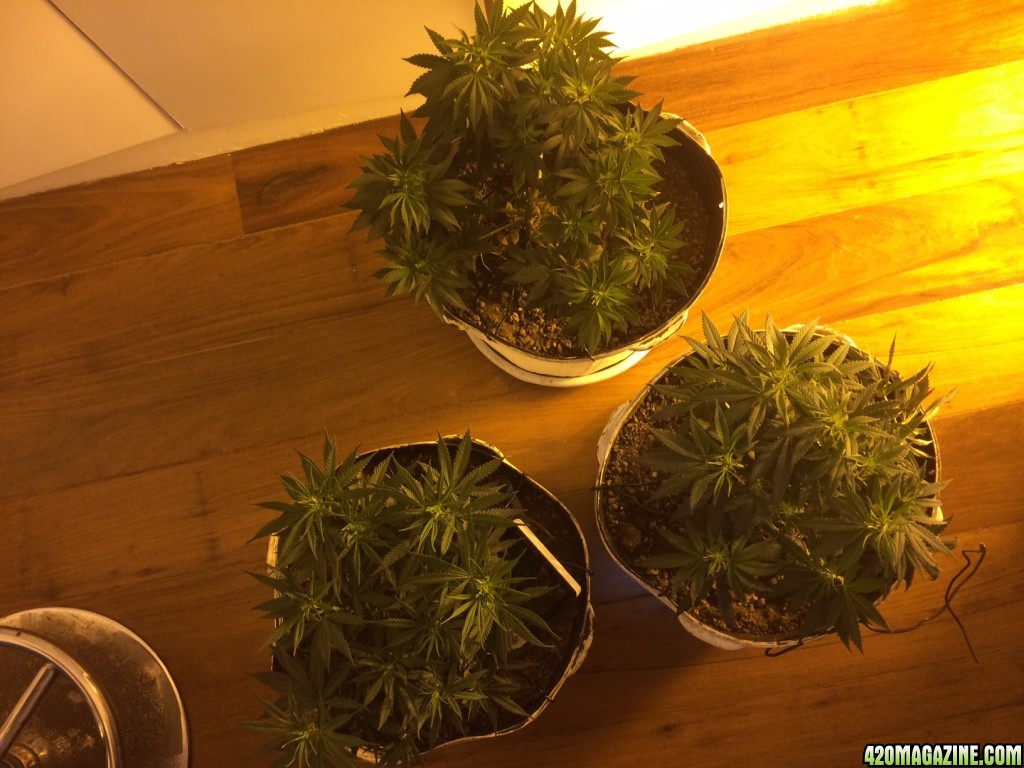
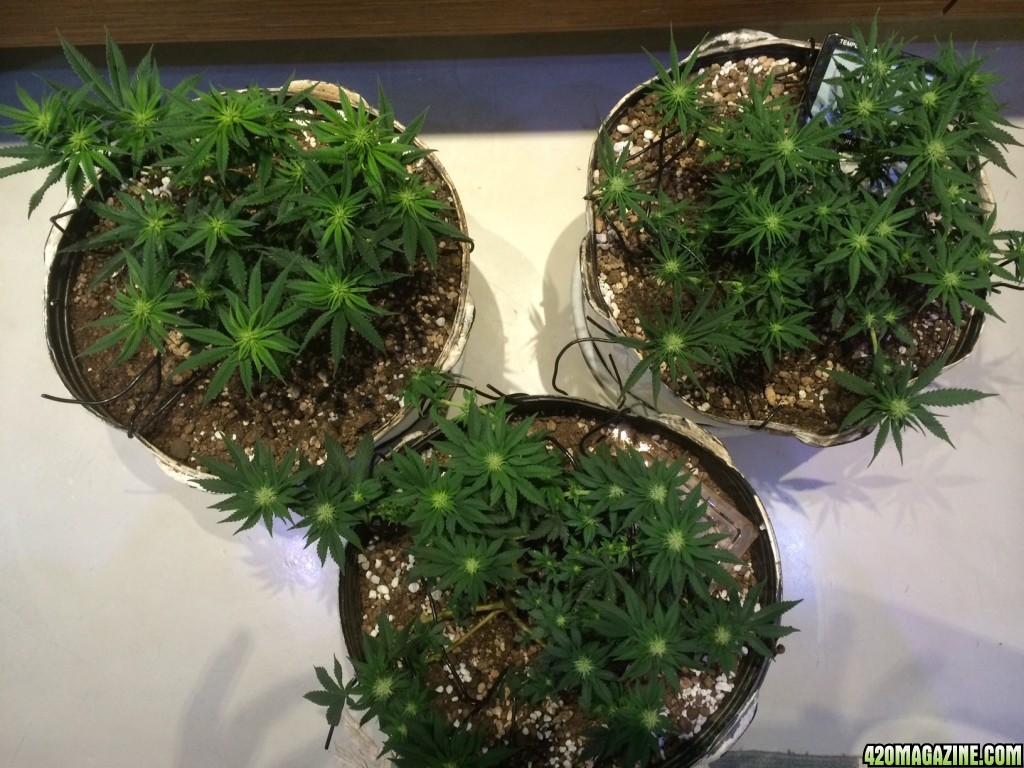
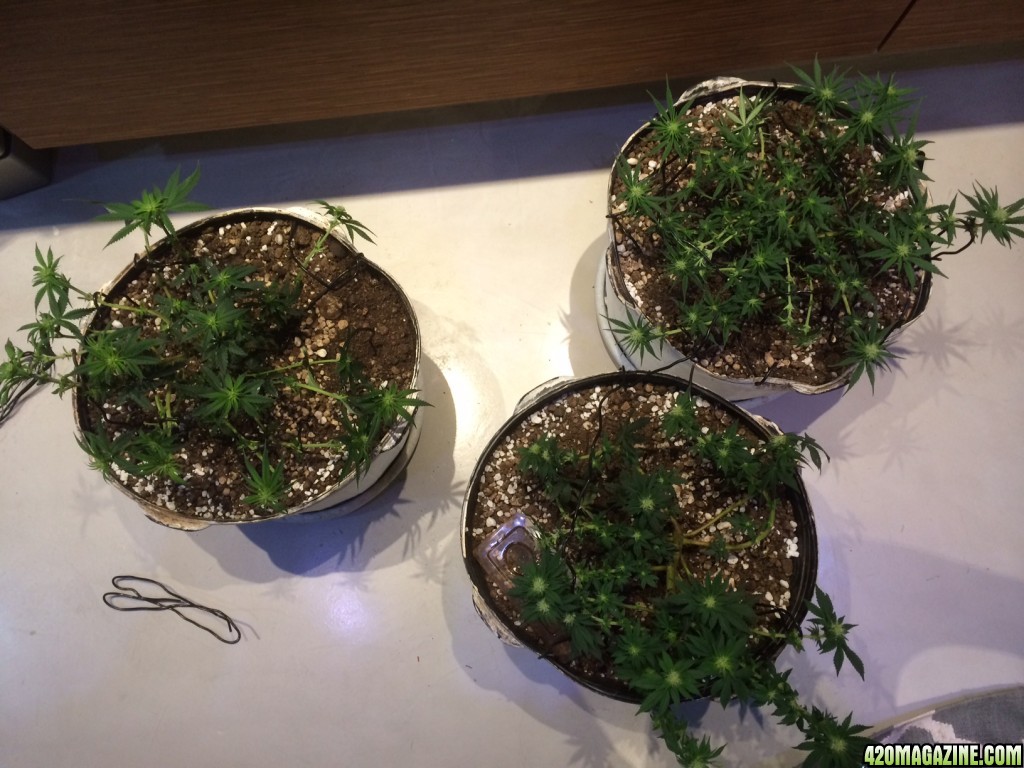
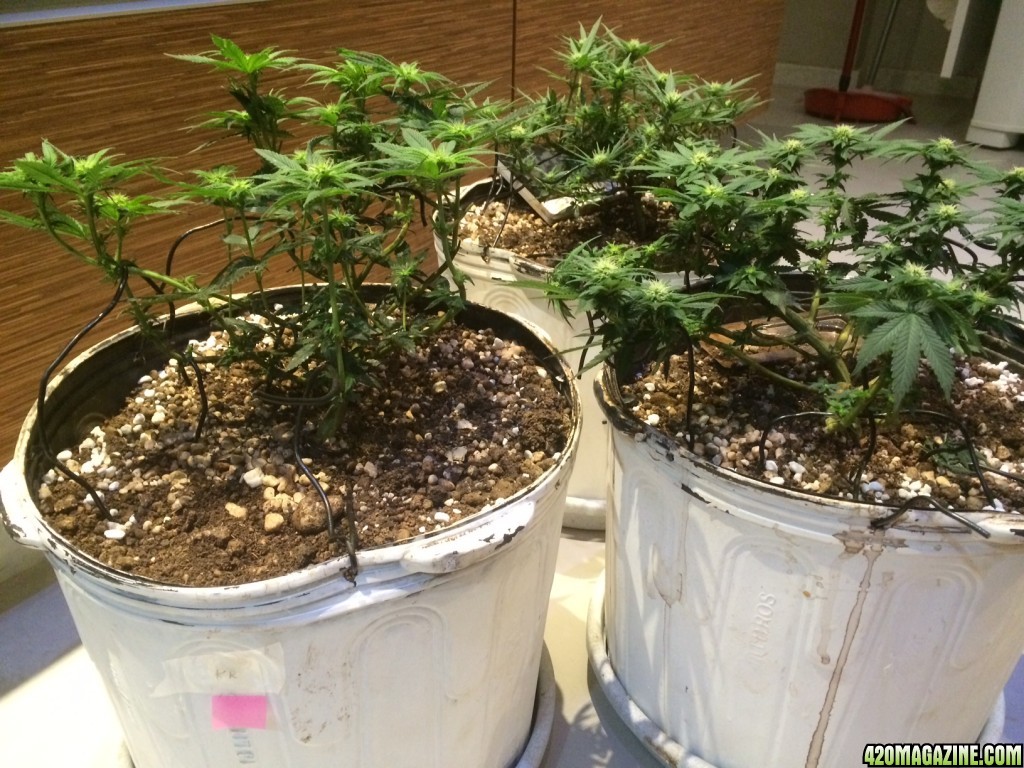
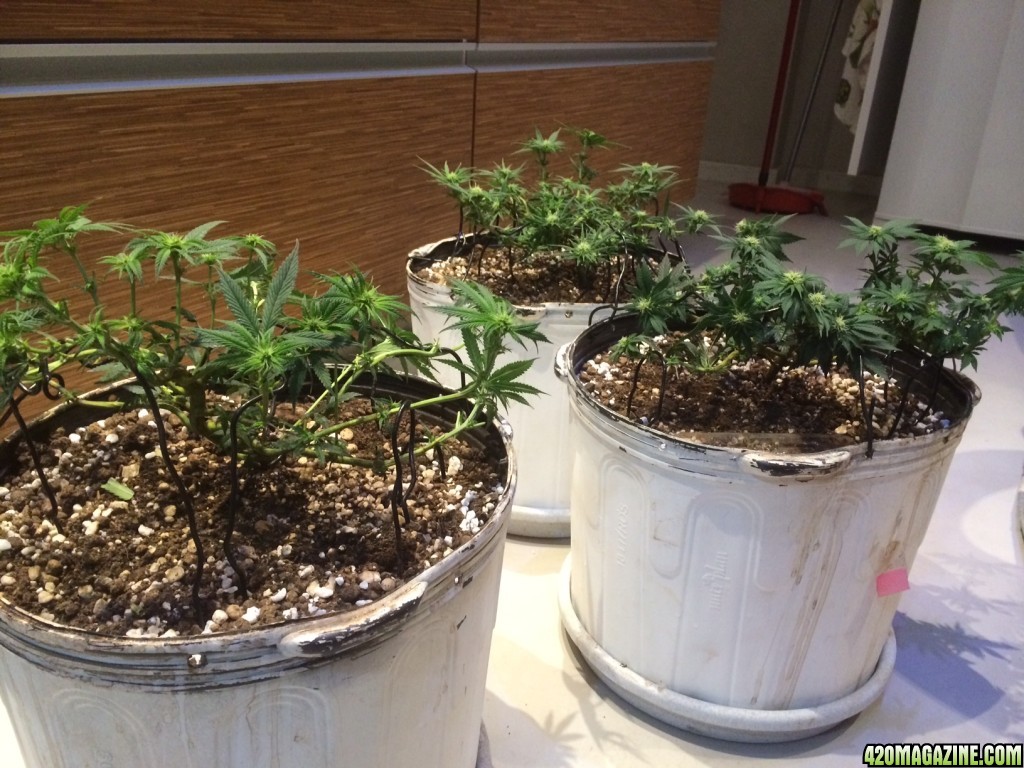
What strain is it? 1 Northern Light (100% indica) White label, 1 White Widow (60% sativa, 40% indica) Sensiseeds, 1 Kosher Kush (90% indica) DNA Genetics/Reserva Privada
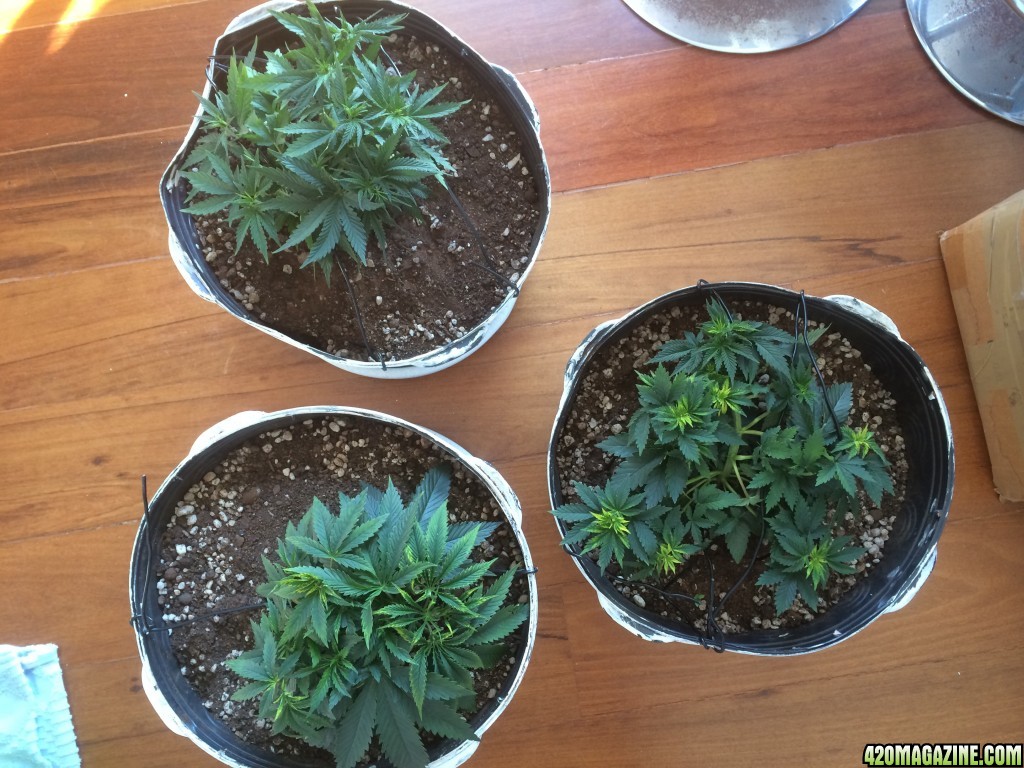
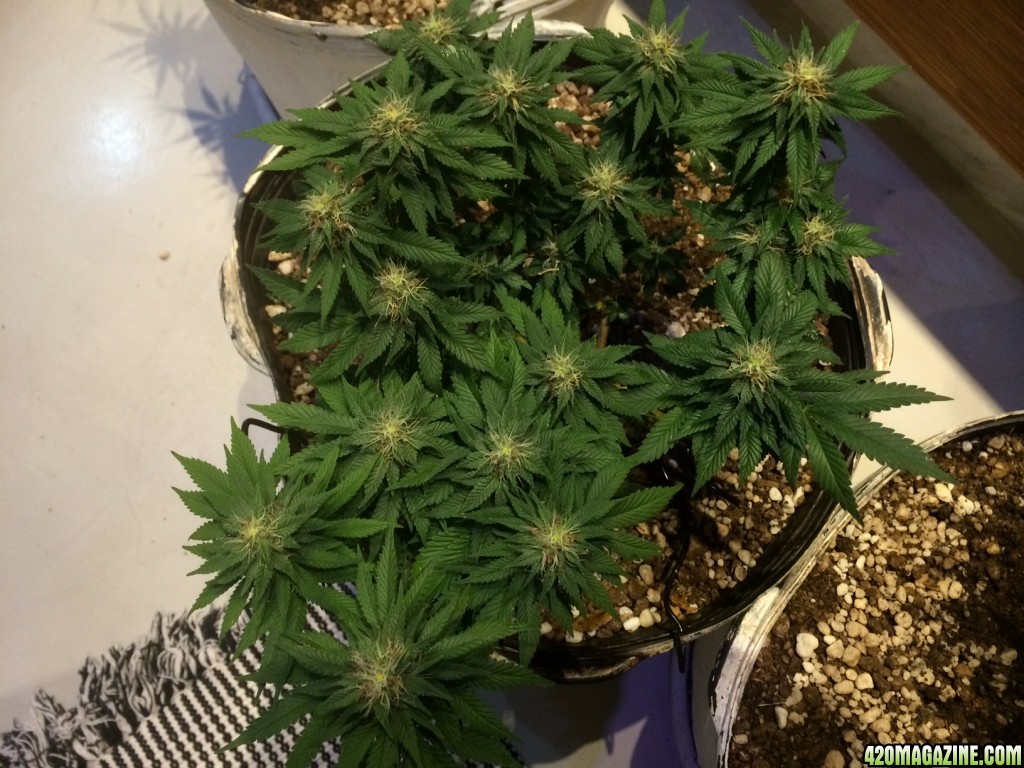
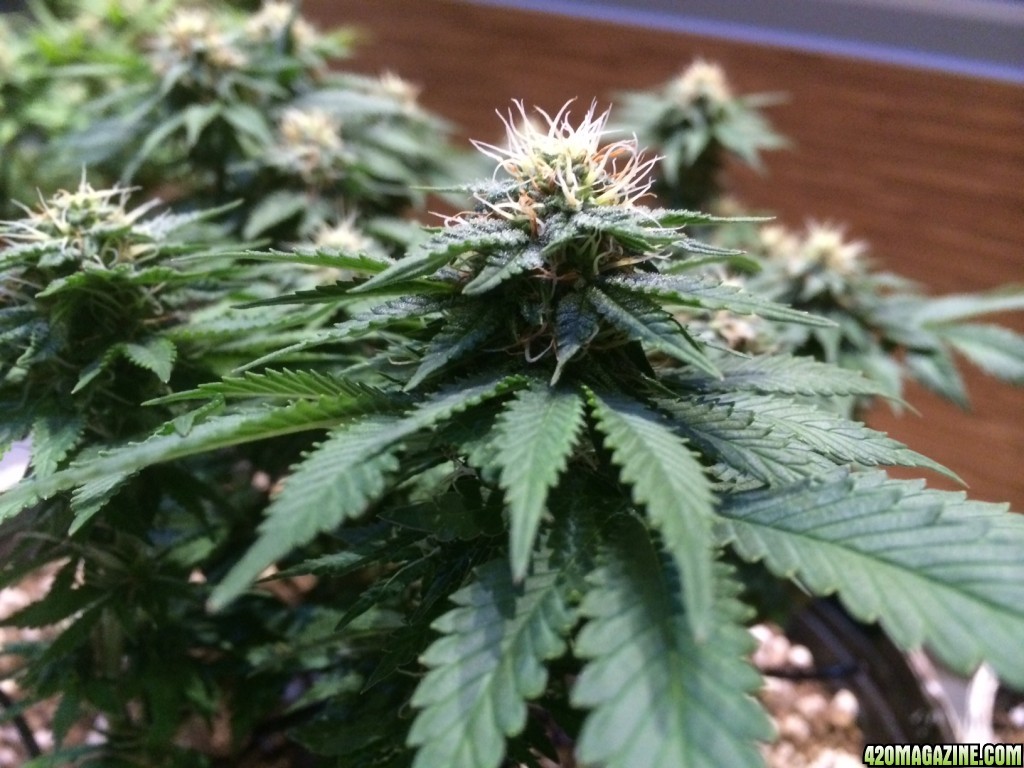
Is it in Veg or Flower stage? Flower
If in Veg... For how long? 50 days
Indoor or outdoor? Indoor
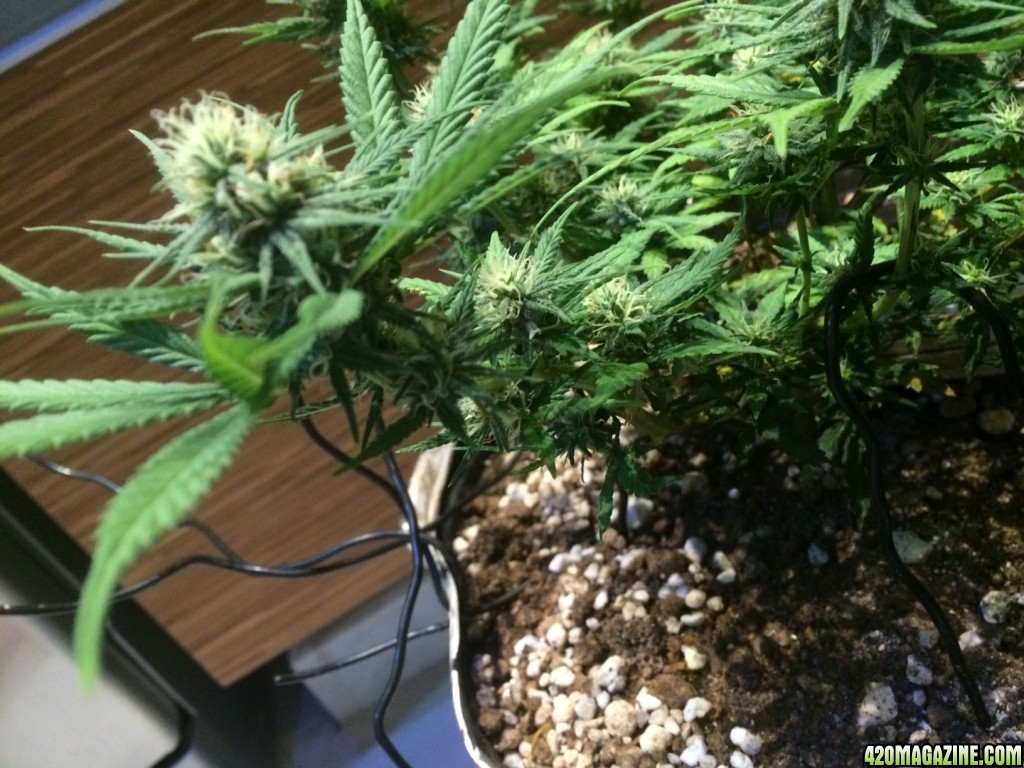
Soil or Hydro? Soil
If soil... what is in your mix? Supersoil variation
If soil... What size pot? 0.3 l, 1.5 litres and 18 litres
Size of light? 250 HPS agro for veg and first 2 weeks of bloom and the 400 HPS
Is it air-cooled? AAW for veg and cooltube for bloom
Temp of Room/cab? 75/89 F - 24/32 C
PH of media or res? About 6.5
Any Pests ? No
How often are you watering? 0.5/0.7 L every 3 days
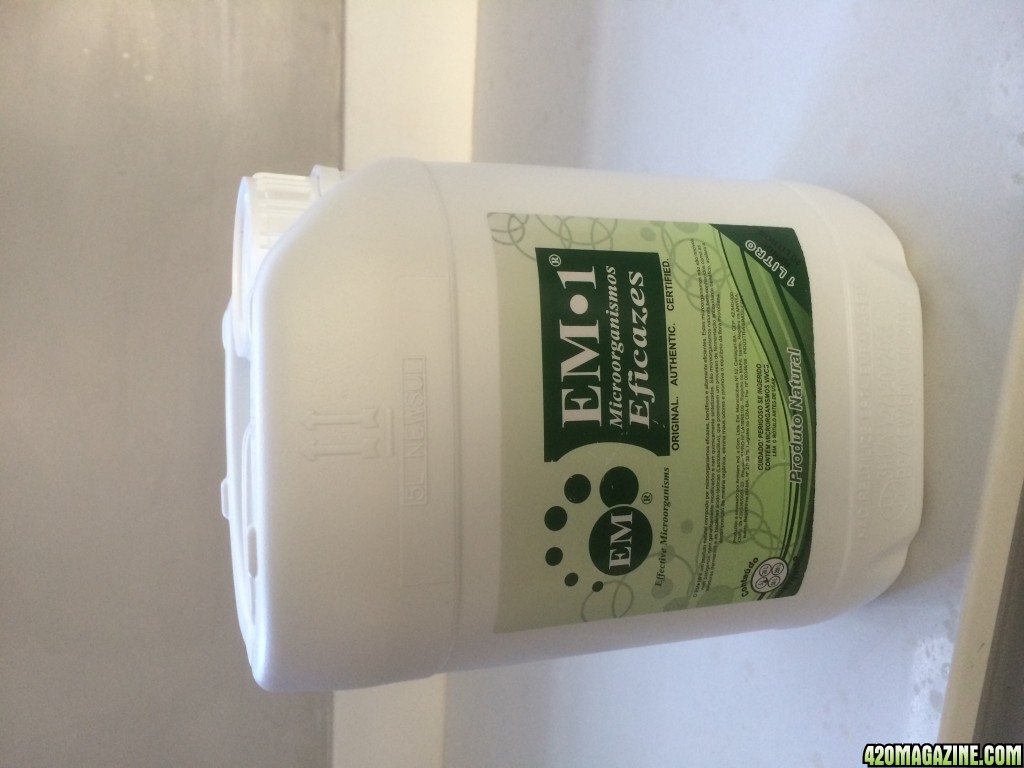
Type and strength of ferts used? No fertilisation, only compost tea
MY GROWROOM
Grow Secret J 65cmx65cmx17cm (3ftx3ftx6ft)
Ballast Lumatek 250W/400W
Digital timer
Extractor: 355 mc/h (208 cf/min) + carbon filter about the same size
Humidifier
Higrostat
1 small fan
3 axial fans
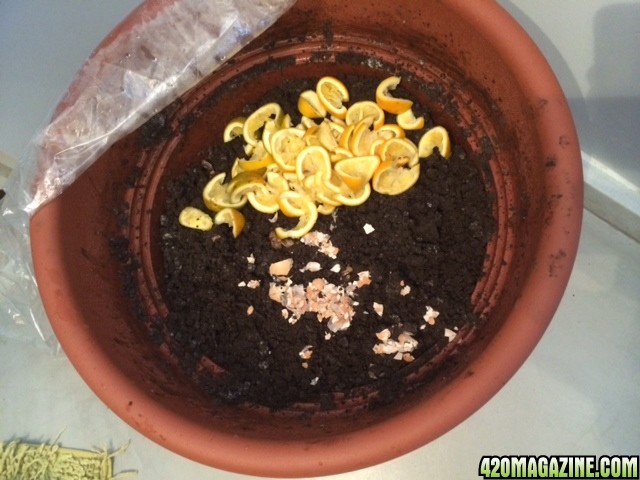
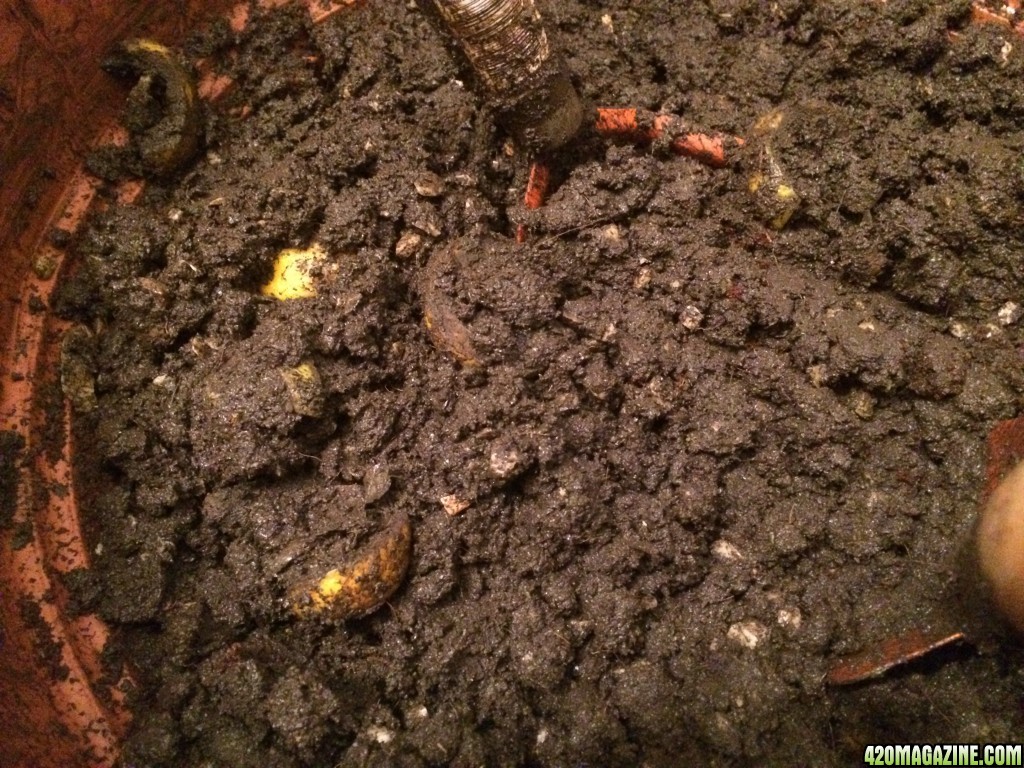
SUPERSOIL VARIANT
Peat soil 12.5 Kg (25 lb)
Humus 2.7 Kg (5.5 lb)
Organic N-P-K (made of chicken manure, bone meal, castor bean) 200 gr (1/2 lb)
Bone meal 1/2 cup
Lime dolomite - 1 spoon
Oat meal - 1/2 cup
Rockdust 1/2 cup
Humic acid - 1/2 spoon
5 crushed egg shells
3 orange shells (just to improve the smell since I'm doing tho sin my apt)
1/2 spoon kelp
8 liters coco coir (hidrated)
10% in volume of aquarius rocks (white granite)
25% perlite
I didn't add Epson salts at the beginning but I did it half a way because of a deficiency as explained later on
I left all of this baking for 60 days before using it

I'm posting this thread only half a way my budding cycle but I will write a few posts with pictures to track the developments since the beginning
What strain is it? 1 Northern Light (100% indica) White label, 1 White Widow (60% sativa, 40% indica) Sensiseeds, 1 Kosher Kush (90% indica) DNA Genetics/Reserva Privada
Is it in Veg or Flower stage? Flower
If in Veg... For how long? 50 days
Indoor or outdoor? Indoor
Soil or Hydro? Soil
If soil... what is in your mix? Supersoil variation
If soil... What size pot? 0.3 l, 1.5 litres and 18 litres
Size of light? 250 HPS agro for veg and first 2 weeks of bloom and the 400 HPS
Is it air-cooled? AAW for veg and cooltube for bloom
Temp of Room/cab? 75/89 F - 24/32 C
PH of media or res? About 6.5
Any Pests ? No
How often are you watering? 0.5/0.7 L every 3 days
Type and strength of ferts used? No fertilisation, only compost tea
MY GROWROOM
Grow Secret J 65cmx65cmx17cm (3ftx3ftx6ft)
Ballast Lumatek 250W/400W
Digital timer
Extractor: 355 mc/h (208 cf/min) + carbon filter about the same size
Humidifier
Higrostat
1 small fan
3 axial fans
SUPERSOIL VARIANT
Peat soil 12.5 Kg (25 lb)
Humus 2.7 Kg (5.5 lb)
Organic N-P-K (made of chicken manure, bone meal, castor bean) 200 gr (1/2 lb)
Bone meal 1/2 cup
Lime dolomite - 1 spoon
Oat meal - 1/2 cup
Rockdust 1/2 cup
Humic acid - 1/2 spoon
5 crushed egg shells
3 orange shells (just to improve the smell since I'm doing tho sin my apt)
1/2 spoon kelp
8 liters coco coir (hidrated)
10% in volume of aquarius rocks (white granite)
25% perlite
I didn't add Epson salts at the beginning but I did it half a way because of a deficiency as explained later on
I left all of this baking for 60 days before using it