Sweede1's Indoor Stealth Hydro First Time Bag Seed Grow Journal - 2012

dufrt

Active Member
Hello Everyone!

Welcome to my First time grow.

A Little Backround

I am very excited about this and have been reading many of the journals available at 420 Magazine.

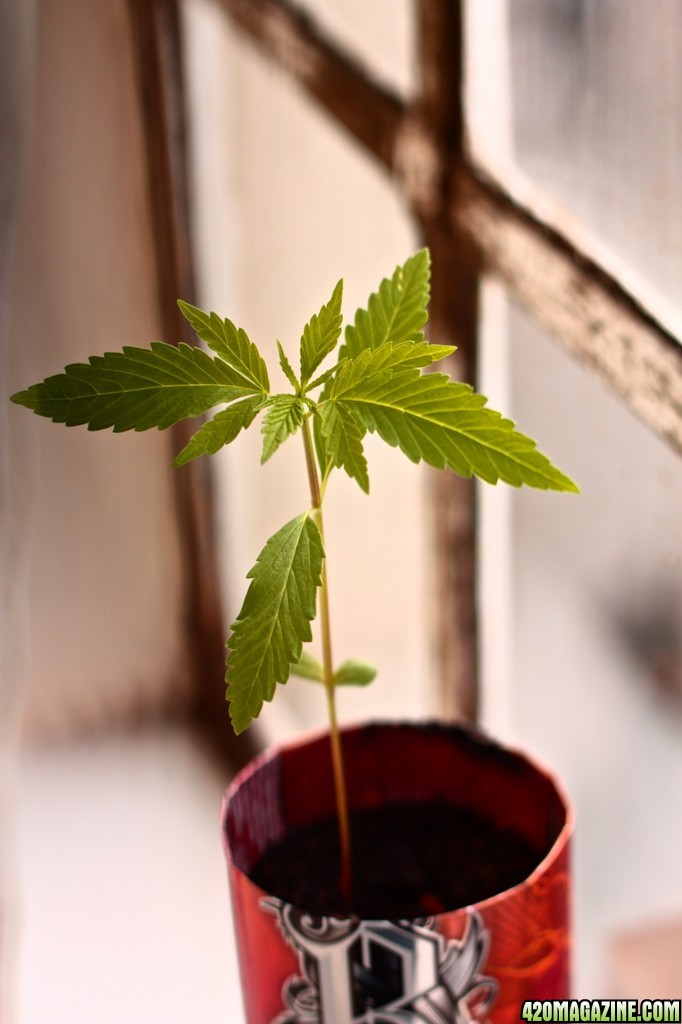
I am a complete newbie to growing but have been an avid smoker for 5 years now, and I am now thinking it is about time to grow my own.

The Plan

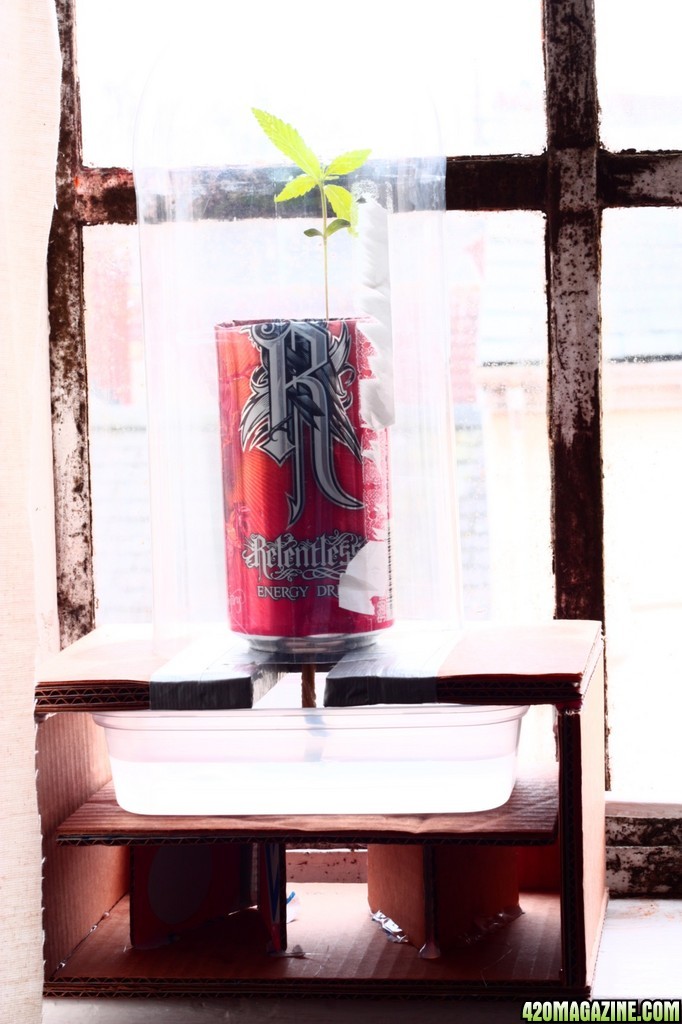
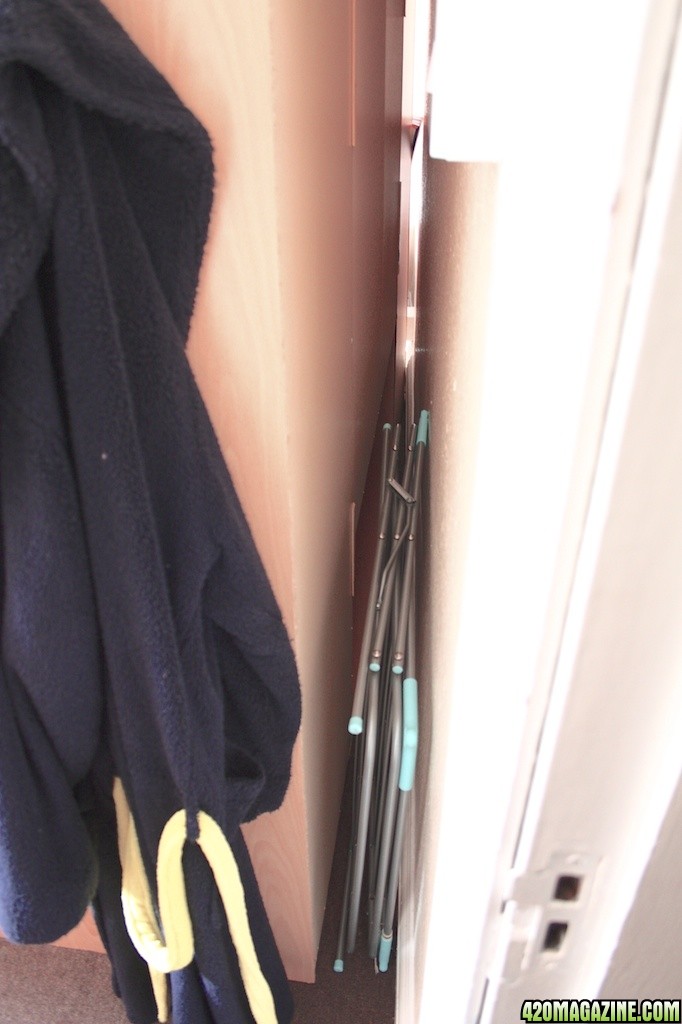
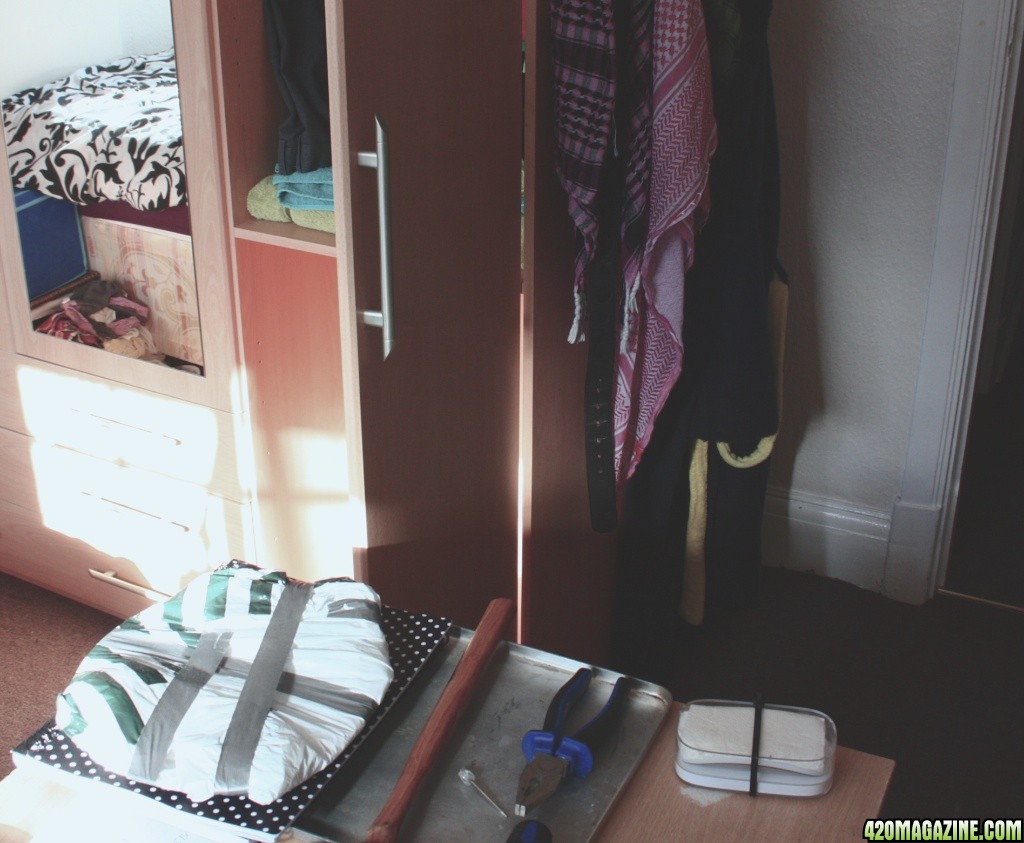
The plan is to do a small grow in a cupboard (photo will be added below to get any feedback people can give me),
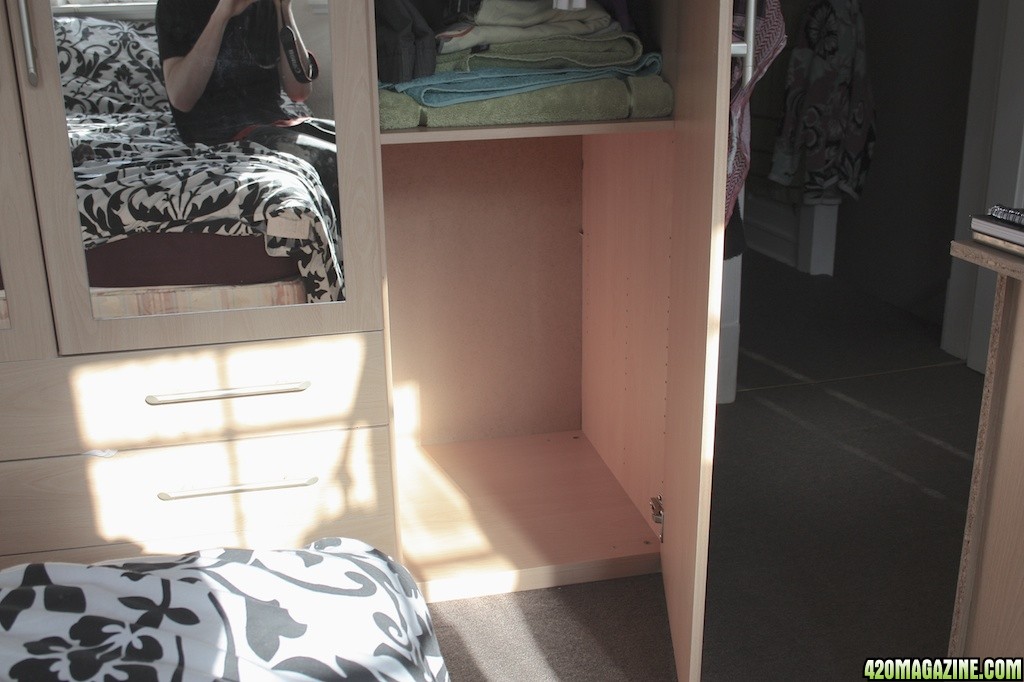
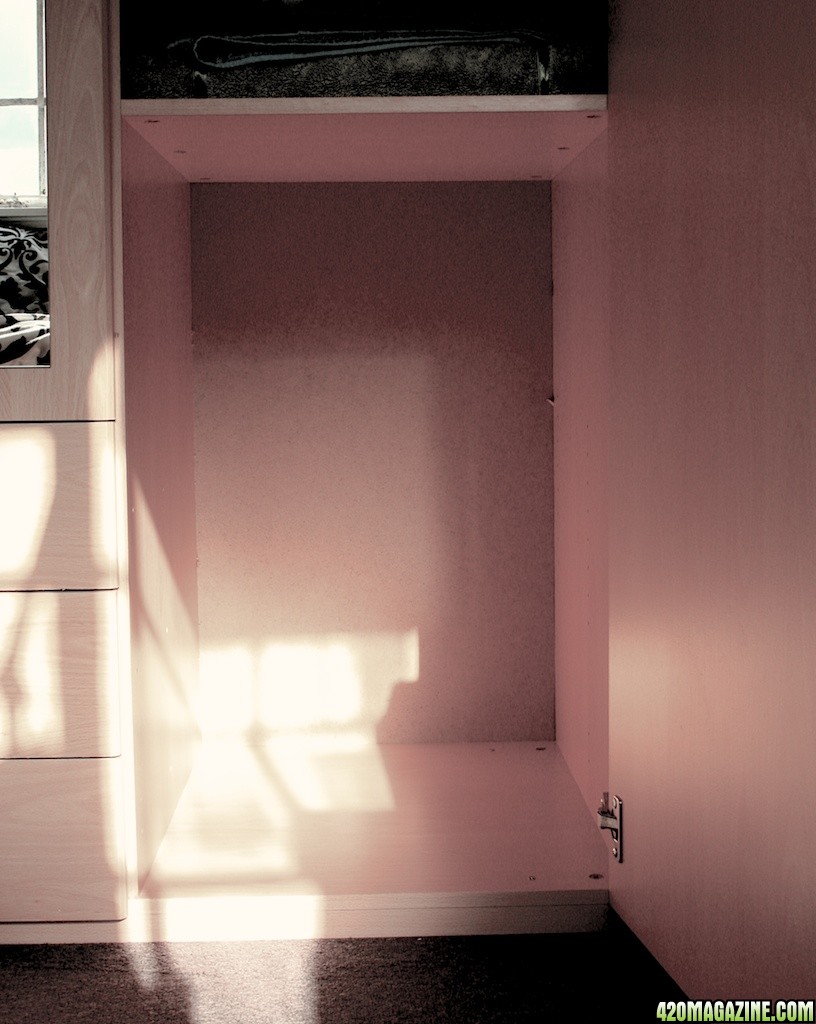
sealthcupboard_4.jpg


sealthcupboard_1.jpg


size is as follows;

20" deep
18.5" wide
29" high

The rear and both side of the cupboard an be used for ventilation,

sealthcupboard_2.jpg


sealthcupboard_3.jpg


and power supply is in close range. i will be planning to cover the inside of the area with reflective or white coverings. i am at the moment trying to decide between growing with LED vs any other kind of light.

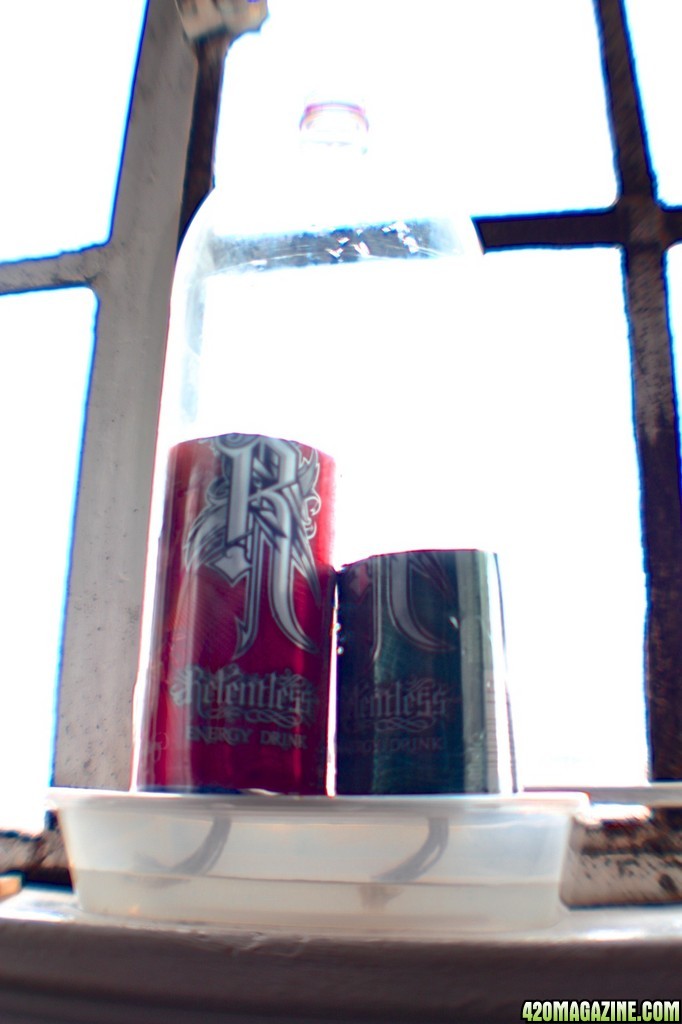
The main aspect of this grow will be to keep costs down as this is my first attempt. i will be building my own hydro system using some kind of aquarium pump and a range of different containers for the grow medium and reservoir's.

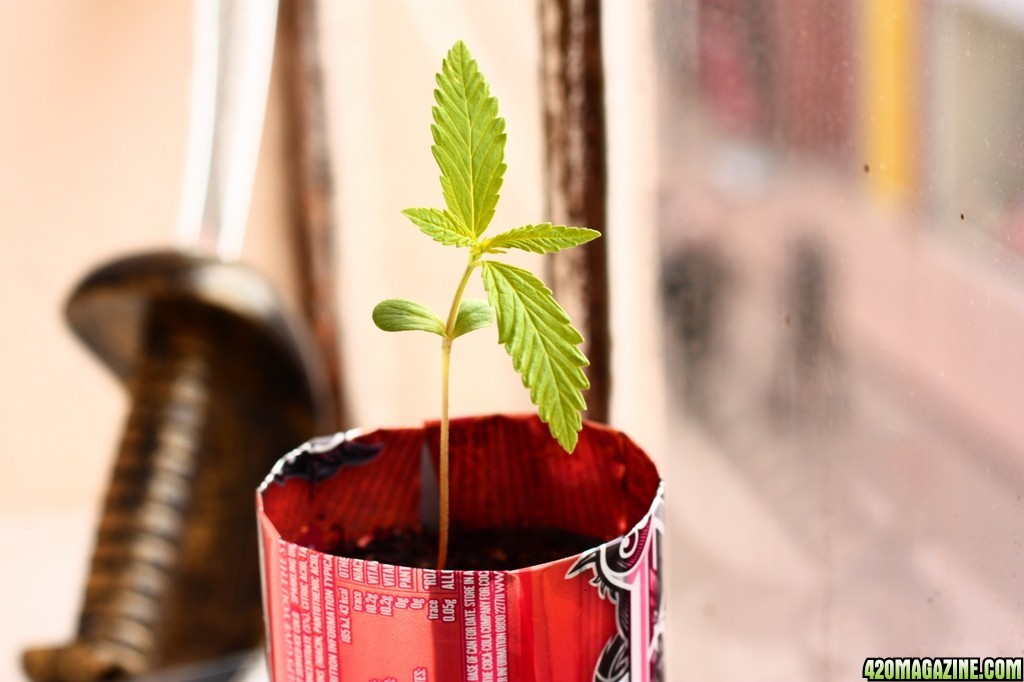
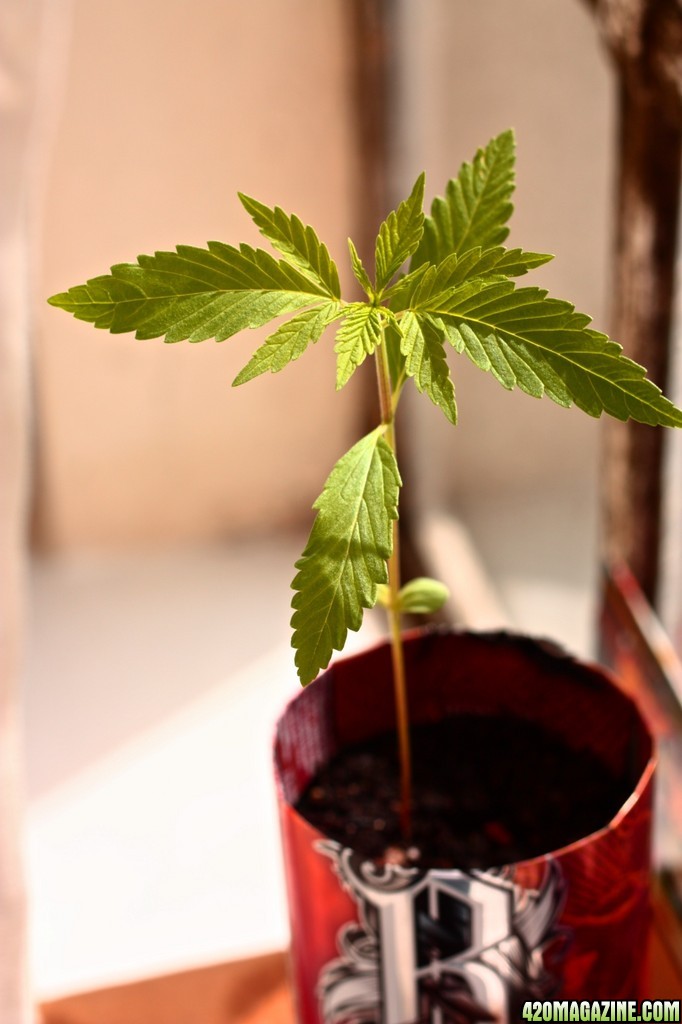
I know that there are many different methods people have used to germinate the seeds, but am a little confused as to which are the best (due to so many different opinions). so any links to methods that have been proven good for beginners would be fantastic!

Any help would be very much appreciated! As i have already mentioned that i am a complete newby :)

Thank you in advance.

Highest Regards!

Sweede1
 
Just some thoughts: You could probably get away with using a 150w hps for flowering and cfls for vegging. The top portion of that dresser could be the flowering chamber and the bottom could be for vegging and cloning. You may want to lower the shelf a little bit too, in order to accommodate for extra growth during flowering. As well as making a glass cool chamber for the hps that could be hooked up to a homemade carbon filter and then to the exhaust. That way you pull cool air in through a hole at the bottom, then the exhaust fan pulls all the hot air through the carbon filter at the top, through the light tube and out goes all the hot scrubbed air. This is assuming that you can use the upper half :D

For germination I think that the paper towel method works the best. Click here for a great how to.
This guy seems to really know his stuff so try going through all his videos and you may pick up a thing or two :). Happy growing

Fieldofgreen,

thank you very much for the reply and yeah i completely agree with those suggestions. and yes i currently just have clothes in there so im sure i can figure out a place to move them too :)

i do like the sound of the exhaust system and will look more deeply into that, the idea of the carbon filter will need some reading to figure out a home made solution.

i will keep you updated as the design gets ore refined.

sweede1:thanks:
 
Your very welcome sweed! glad you like the ideas. I got a similar journal going but I am into the flowering stages so you may pick up a couple ideas from my little grow box.

Cheers again fieldsofgreen

i am sure i will get a lot of valuable info from ur previous ventures!
 
I just love confined spaces journals :thumb: It would be exceptionally cool to get a two room grow operation in that cupboard!! A hardcore closet grow!

:hookah:

The style of grow that I find uses up the least available height is an NFT tray and reservoir and a little aquarium pump, worth considering?

:goodluck:

You seem to be on my my kinda wave length? that is the kind of system i have been considering....

I am not sure if it would be best to get one of those kits or try to build the unit myself. I guess the thing would be time... as it will take a lot longer to figure out all the equipment that is actually necessary for a simple grow.

and yes after fieldsofgreen mentioned using both areas of the cupboard i am leaning more towards that eventaul outcome.

again just want to say thank you to everyone so far who has given their input.

regards sweede1
 
Hey quick little tip, use some good silicone caulking on ALL the corners inside for a more airtight grow cab. It's good to do before you start anything else because once everything is put in, it will be a real pain in the ***.

Thank you fields of green i am liking that idea! very nice!
 
I have been keeping an eye on ‘simple’ potential DIY tank and table apparatus;


A lidded plastic storage crate, for toys and stuff, that is the largest you could fit in your cupboard appears a good place to start. Using a Stanley knife and a couple of metal rods should enable you to create a sloping tray from the inverted lid, suspended securely on the metal rods pierced sideways through the box, or ‘Reservoir’ and a small aquarium pump circulating the nute solution from the reservoir to the top of the tray.

Just an idea,

:idea:
 
hey guys, right so things have changed a little.

I have changed from the stealth cupboard grow with lights to a windowsill grow. which is atm going quite well.
 
so the plan now to reduce costs will be to simply use a relentless can as a pot to grow the plant.

This will be using soil.

..........................................................................................

Rough steps

........................................................................................

- the can will have the top cut off an inch from the top crease. the edge will then be cut every cm(ish) 1cm down. these flaps will then be folded over to provide safe clean finish.

- a hole 5mm will be drill in the centre bottom of the can.

- some natural fibre string will then be cut 8 length of about 4inches.

- tie a knot in the bunch of strings, 1inch from the top.

- the string will then be placed in the hole with the longest parts pocking out the bottom of the can.

- about an inch of small stones then put into the can, followed by about 2inches of normal soil.

- get two egg shells (left to dry) crush the eggs shells. (crush to a rough power, doesn't have to be tiny, just crush it a fair bit).

- add this egg shell power to the last 1.5 to 2 inches of soil in the can. (mix prior to putting the soil in the can).

I hear egg shells are good for plants, and there natural and cheap.

- the can should now be ready to go.

.................................................................................................

- The can will then need to sit above a pool of water for the string to act as a wick, (apologies for bad spelling).

- fact there is a source of water at the bottom of the can should force the plant to spent time growing its roots deep, before attempting to put effort into growth of the plant above ground. (this is the theory any way).

- i used a standard plastic take away container for the pool of water.

- cut a hole in the lid of the string to go through and another for you to pour water through to top it up.

_ i hear you are meant to leave the water to stand for a day before you use it for the plant, as the chlorine will evaporate, guess it depends how your council treats ur water, cant hurt though....

- at this stage you now need to find yourself a 3lr plastic bottle, (doesn't matter what brand lol) the size of a the white lightening bottles (the blue cider ones....)

- cut the bottom of the bottle off at the lower crease.

- take the lid of the bottle. this will act as a kind of dome....ish.... kind of thing...

..............................................................................................................

work is for now done.
 
Now to take some pics...


stage2_111.jpg


side view shows the string just about dangling in the water, this is what you want.

there are two cans, to increase chances of sprouter!

- two seeds in each can, inch deep, add a splash of wate to keep soil just about moist

............................................................................................

and the top view

stage_2_110.jpg


the card on top has been placed there for a bit of stability.

............................................................................................

PHOTOS TAKEN 20th March
 
so the plant sprouted!! happy days

stage_2_112.jpg


This little guy appear after i had been away for a couple of days, (the beauty of not having to water the plant).

............................................................................................

PHOTO TAKEN 31st March

............................................................................................
 
and a cheeky side view, just giving an idea of height compared to time in the pot.

stage_2_113.jpg


such a little pant, but i think it has just been spending time rooting.

...................................................................................................................

PHOTO TAKEN the same day as previous.

...................................................................................................................
 
A bit more growth, not too much but,

photo for you....

stage_2_114.jpg


...................................................................................................................

PHOTO TAKEN 2nd April

............................................................................................
 
again another update photo for you guys, some nice leaves now :)

stage_2_115.jpg


............................................................................................

PHOTO TAKEN 9th April

............................................................................................
 
A this point i felt the can needed a bit more stability.

the glue-gun and stanley came out.

and some dominos pizza boxes, took about an hour to cut and glue this all together.

a nice little stand for the can and bottle top dome.

stage_2_116.jpg


...................................................................................................................

PHOTO TAKEN 10th April

...................................................................................................................
 
Hey,

so at this stage, leaves are looking good.

the dome is still being left on during day and night, and water topped up when needed.

stage_2_118.jpg
stage_2_119.jpg


...................................................................................................................

PHOTOS TAKEN 16th April

...................................................................................................................
 
Back
Top Bottom