The 420 Fotographer Collective: Advanced Cannabis Photography

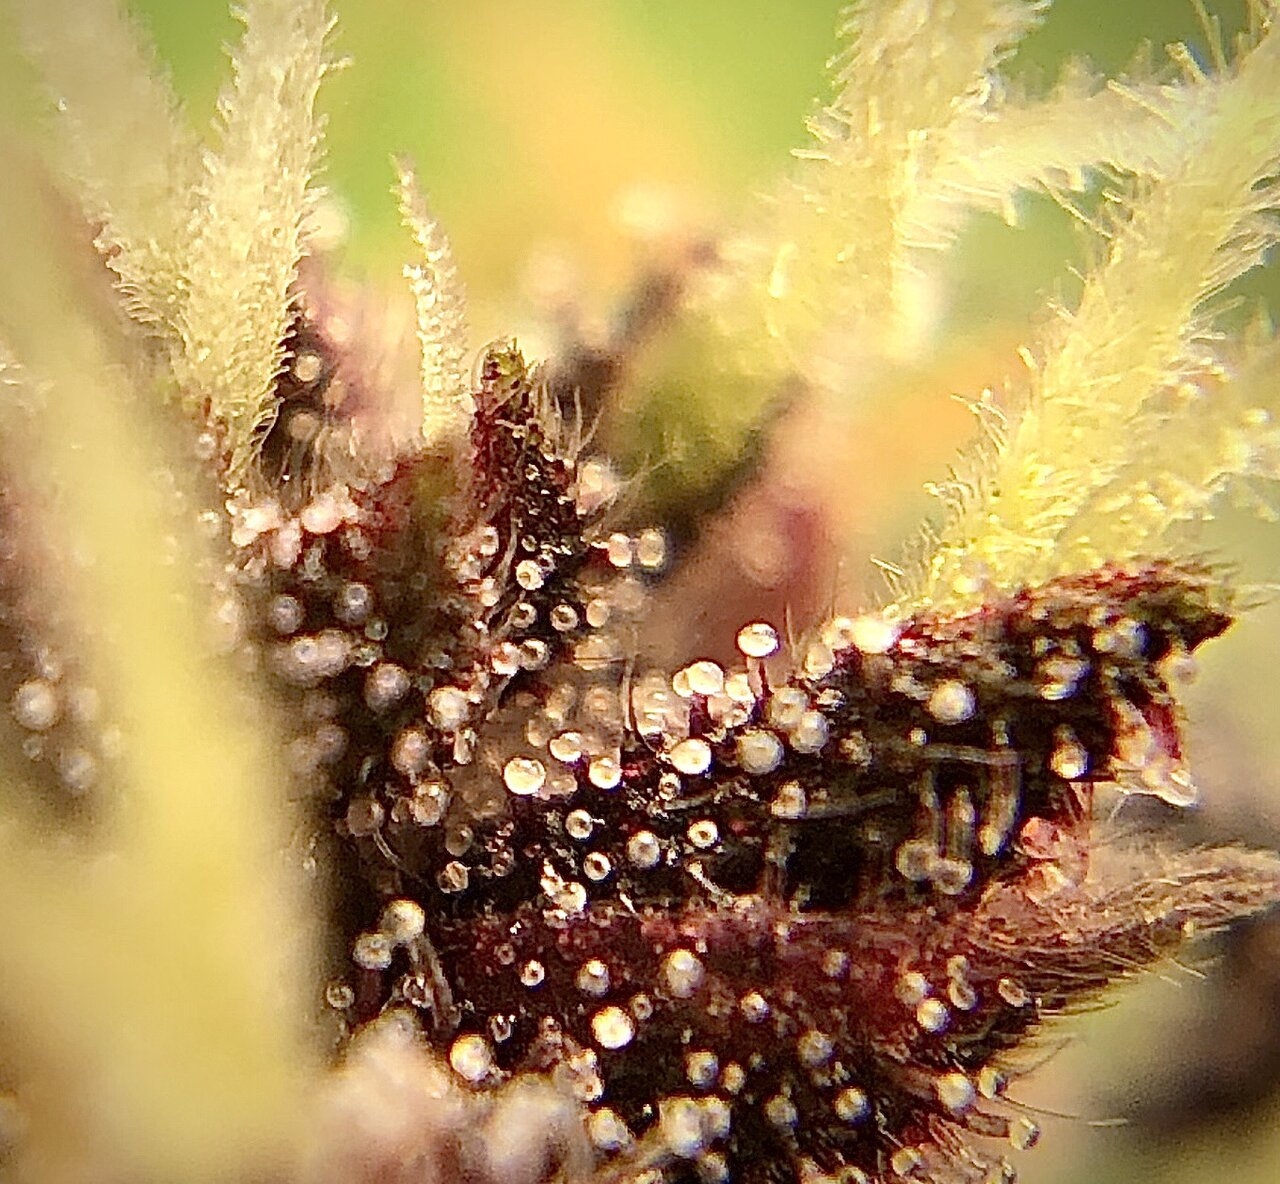
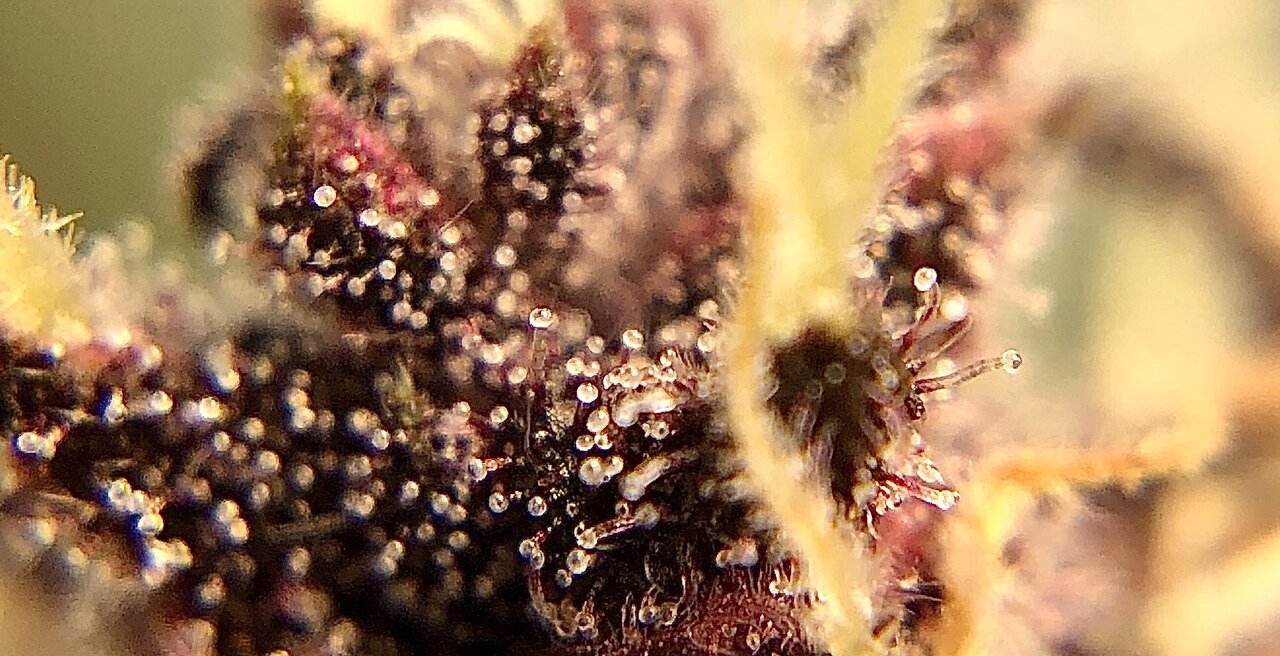
Mahalo! @Tony Urban I did purchase a lens set off amazon. I’m still learning these lenses but they work pretty great so far on my IPhone.

These are from the same plant above in my first post:yummy:


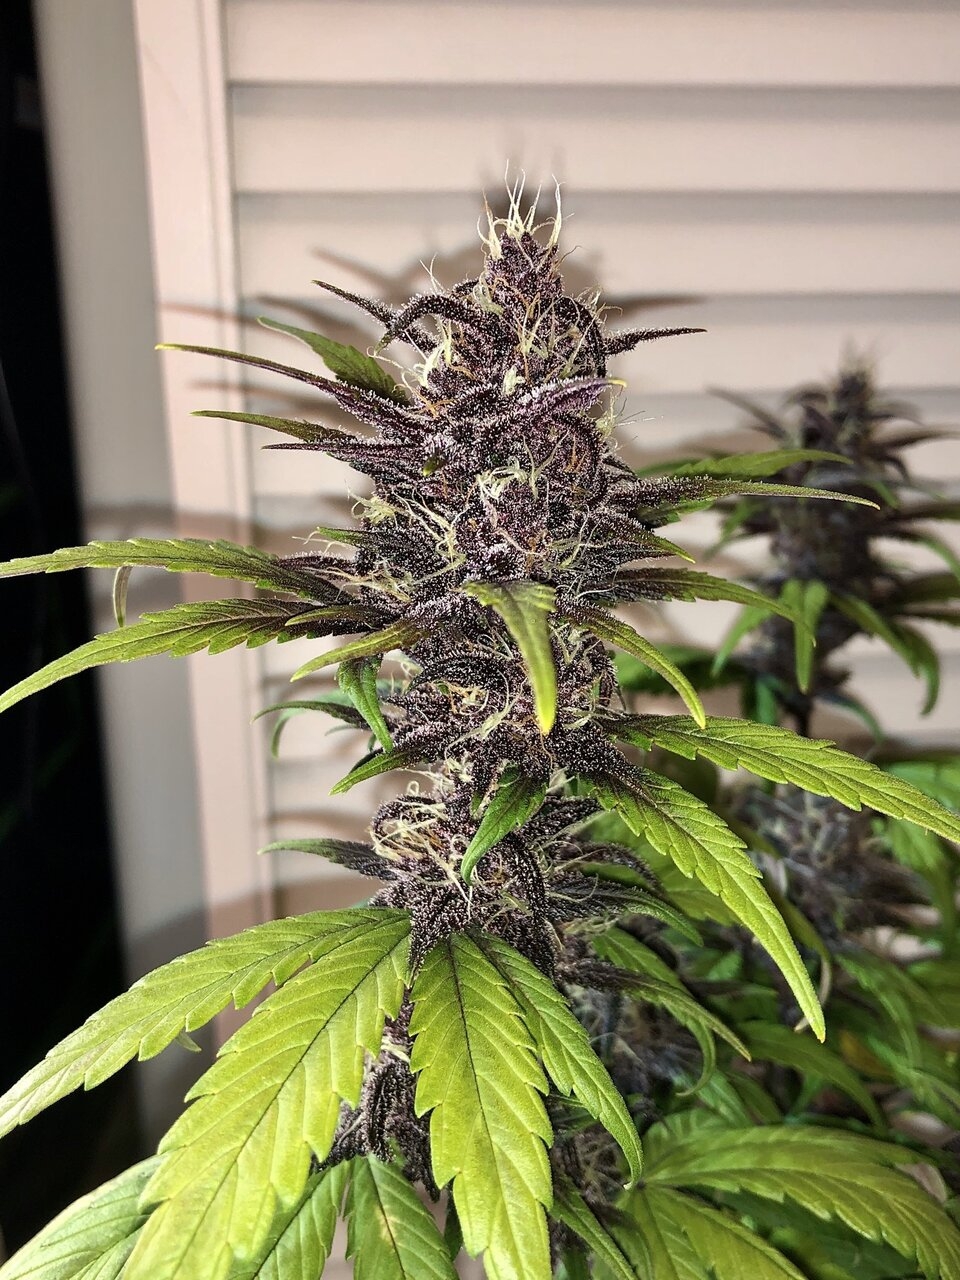
Some macros with the new lenses for my iphone


Sending everyone lots of love and positivity from Hawaii during these crazy times
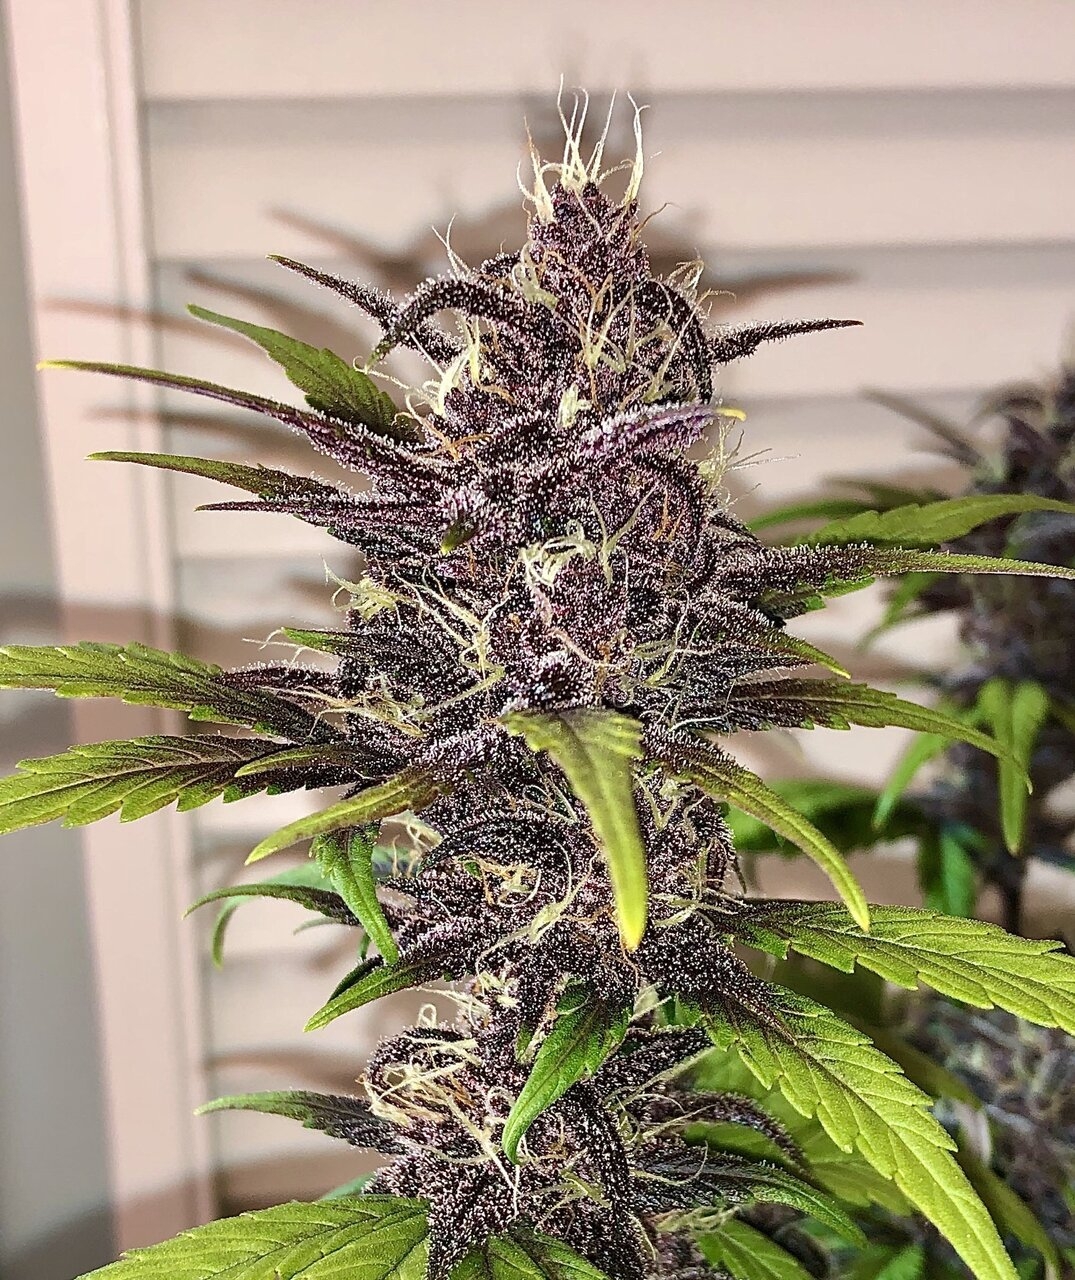
 
Mahalo Tony!

I really do enjoy getting nice pictures of my plants when I can. I feel like it’s bit of a tribute to them and the medicine they provide. Hope all is blessed Braddah

:passitleft:

My Black Cream Auto from Sweet Seeds at harvest.


Aloha!
 
I got the 'PHOTO' version... Not as old as yours though.


Mines's about 6 weeks in 1 gallon of soil. Got different ideas for her, one of them being clone the topped portion.

Awesome She got harvested last night :love:


User name: Dusted
Grow method: Traditional hydroponics
Camera: Canon 6Dii
Experience: Limited. I’ve only been taking pictures for a couple of years now. Mostly Cannabis but occasionally outdoor shots.
Style: My favorite shots are generally macro’s
Favorite lens: I have two favorite lenses. My general purpose lens is 24-105 f2.8. For close-ups I use a Sigma 150 f2.8 macro lens.
Tip: I’m sure someone has covered macro shots but I will add my two cents worth.

When taking macro shots you will need to close down the aperture as much as possible, or the depth of field will be limited, and only some of your shot will be in focus. I generally use f20 or f22. With this small an aperture there will be very little light getting to the sensor so your exposure time must go up, or light levels must increase, or both.

With increased exposure time comes the problem of camera shake which will give a fuzzy photo. A tripod is essential to reduce camera shake. Once you start getting into long exposure times even trying to push the shutter button can move the camera enough to fuzz the shot, so I use an iPad app to fire the camera remotely.

I also use supplemental lighting, even under a 1000 W MH lamp. I have a Speedlite flash on the camera and I also use a hand held LED light to get lots of light on the subject.

I don’t recommend using autofocus since the camera doesn’t do a very good job really close. Manually focus in and out until the shot looks good. I will try several different focal points for each shot, just to make sure at least one shot is in focus.

Even with all the preparation and planning when I look at my pictures I always find faults with them. Oh well, it’s not the destination, it’s the journey that is important.

 
I have been a bit busy lately. I promised to build a Lightbox and I do what I say I will do. So here we go. Those who submit buds and colas for competitions will find improved photos if you use this type of lighting support. ( I used two standing LED lights, one on each side. You can use lamps, flashlights, sunlight, whatever.)

A Lightbox is simply a small box that is used for taking photos of small objects. It uses diffusion of the light to minimize harsh highlights or sharp shadows. We talked about diffusion in an earlier post.

The items shown were picked up at a dollar store. I spent less than $20 for the supplies. You can spend even less if you use your head.

You will need: cardboard or white foam core for the walls. Tissue paper or parchment paper for the windows/diffusing material. Tape. Ruler or hard edge. Exacto knife/razor blade. One sheet of white poster paper.

View media item 1775655
View media item 1775653
The size and shape is up to you. Mine are 15" x 20" with 15" x 15" back wall.
View media item 1775654

Cut out the majority of the walls and roof. This will be your windows covered in tissue/parchment. Attach the walls together using tape. Be careful to leave enough room between the edges so they can form a corner. A small gap is shown.

View media item 1775656
View media item 1775657

The poster paper is taped to the top of the rear panel. It forms an infinity edge. Essentially so you dont see corner shadows on your subject.
View media item 1775652
View media item 1775660
Here is a few shots of subjects with side lighting and no Lightbox, and then a few shots in the Lightbox.
View media item 1775650


Then the Lightbox. This is just snapped images. No effort or attempt to make it look good. Same with the before shots.

View media item 1775651


Thats it. Admittedly I rushed it and it looks mediocre. But its Just a simple hack for all you folks wanting to take better shots of your buds or products. Good luck and happy snapping.

View media item 1775670
 
A look at a few bud shots taken in the lightbox with a bit more light and some post production. Hard to simulate that kind of lightning under kitchen lights or the sun, without some form of diffusion.


Super cool. Mahalo to sharing! I wanna build one now lol!!
 
Back
Top Bottom