

After posting pictures of my pipe on THIS THREAD, there were several requests for a tutorial. So here is my attempt at that. There's a bunch of pics so hopefully I don't get anything out of order. Here's the original pipe, but in this tutorial I'll be making a new one from the start:
 First things first - choose a plant that has been dried at least a couple weeks.
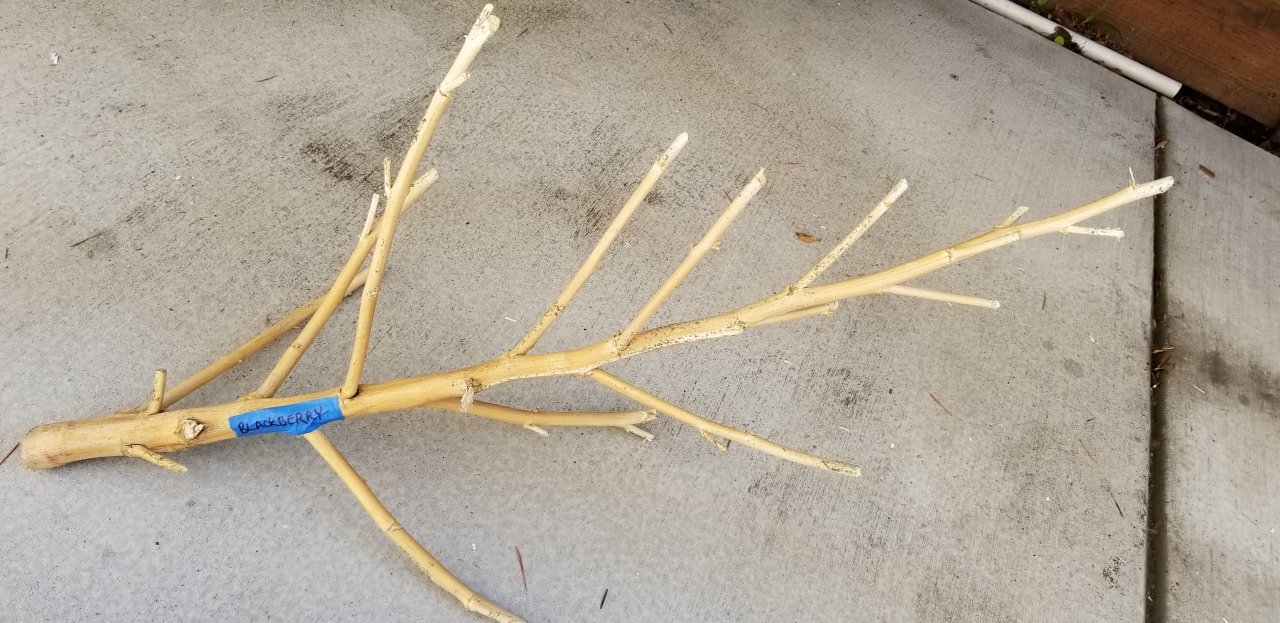 I grow outdoors so my plants tend to be fairly large, but I would image a good sized indoor plant should work too. For this project I'm choosing Blackberry Fire which yielded just over a pound of bud for me.
Here's the tools I used: Sander and drill -- pretty simple.
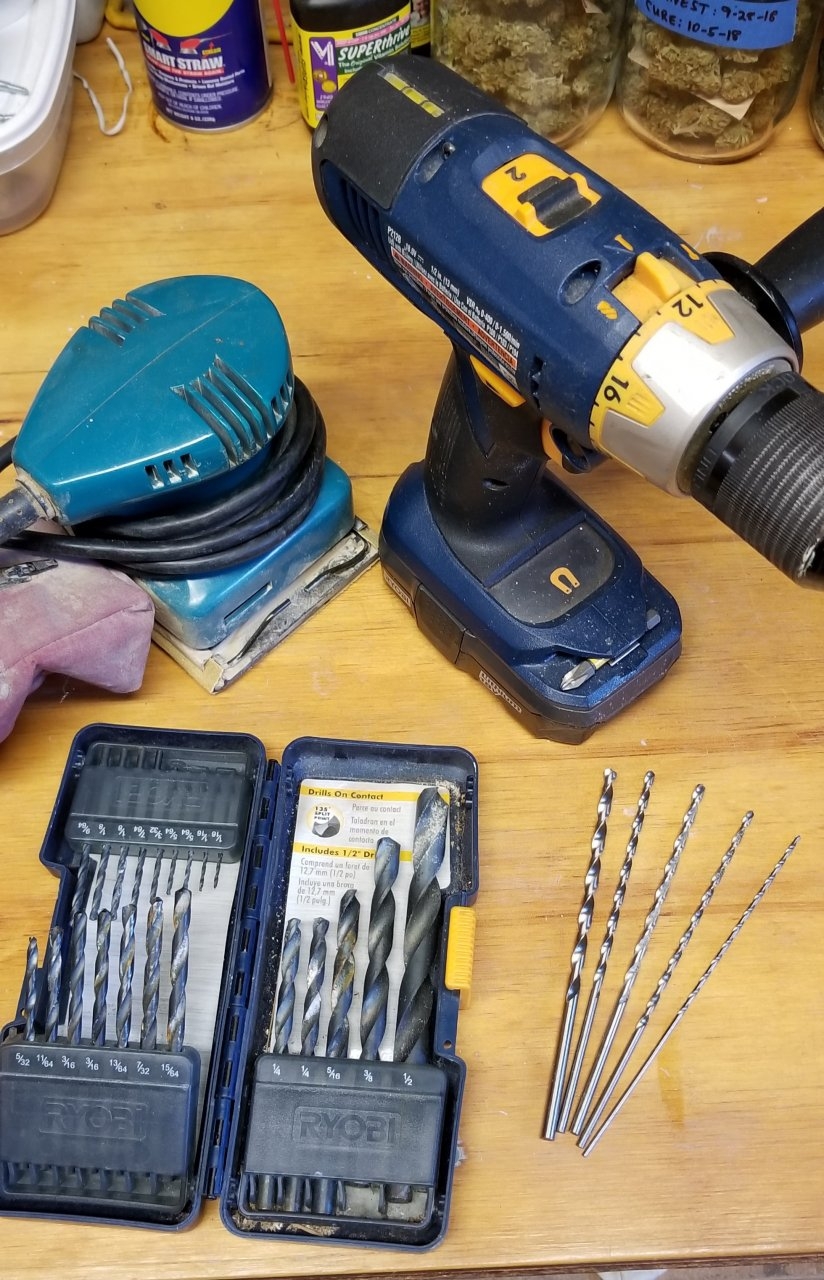 The length of your drill bits will determine the maximum length of your pipe stem unless you are willing to glue pieces together. For my first pipe I only had 3" (75 mm) long bits so I choose to make the stem of the pipe in two sections, but for this tutorial I am going to use the longer 6" (150 mm) bits (ordered online just for this project).
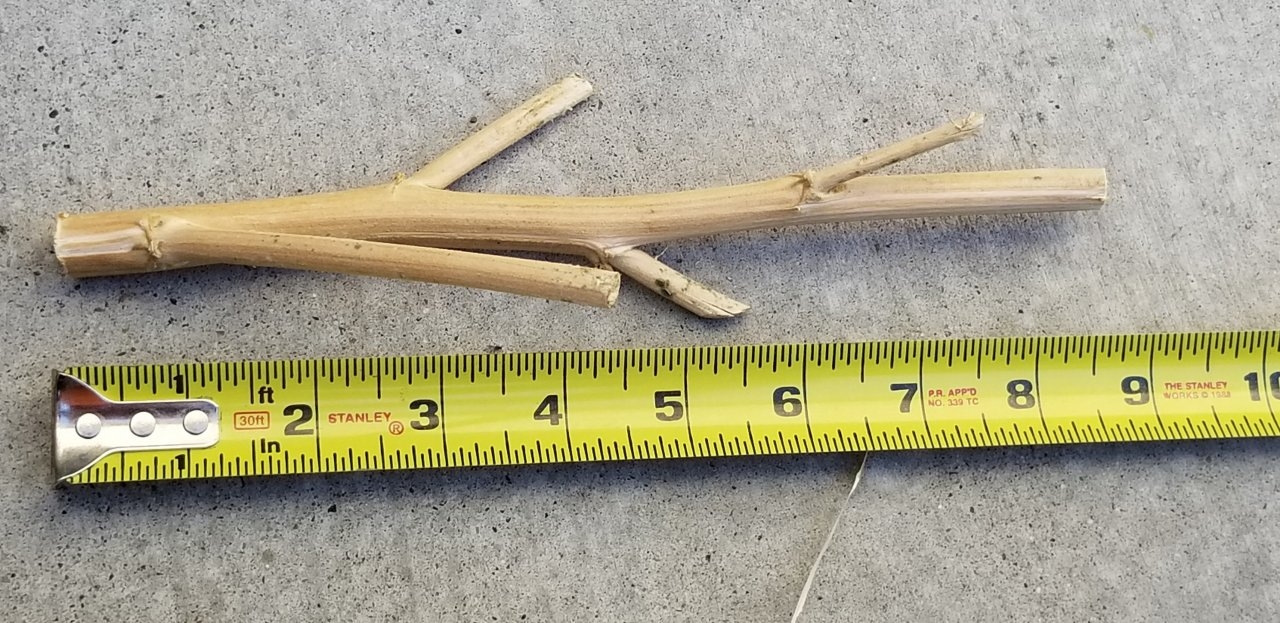
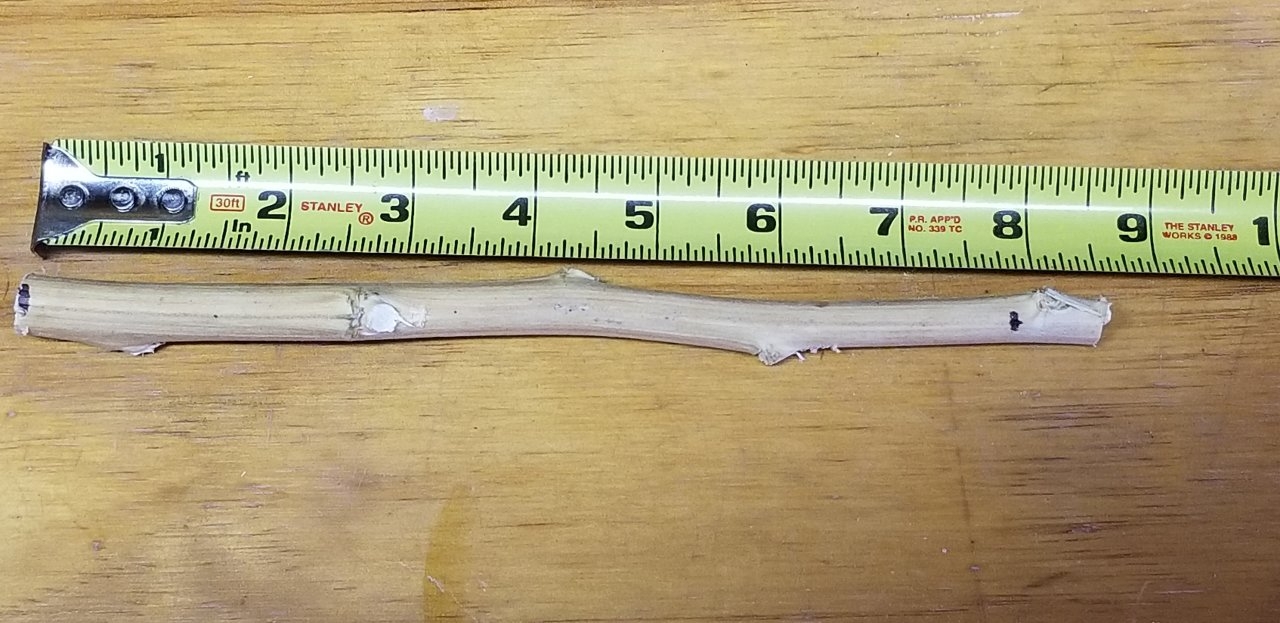
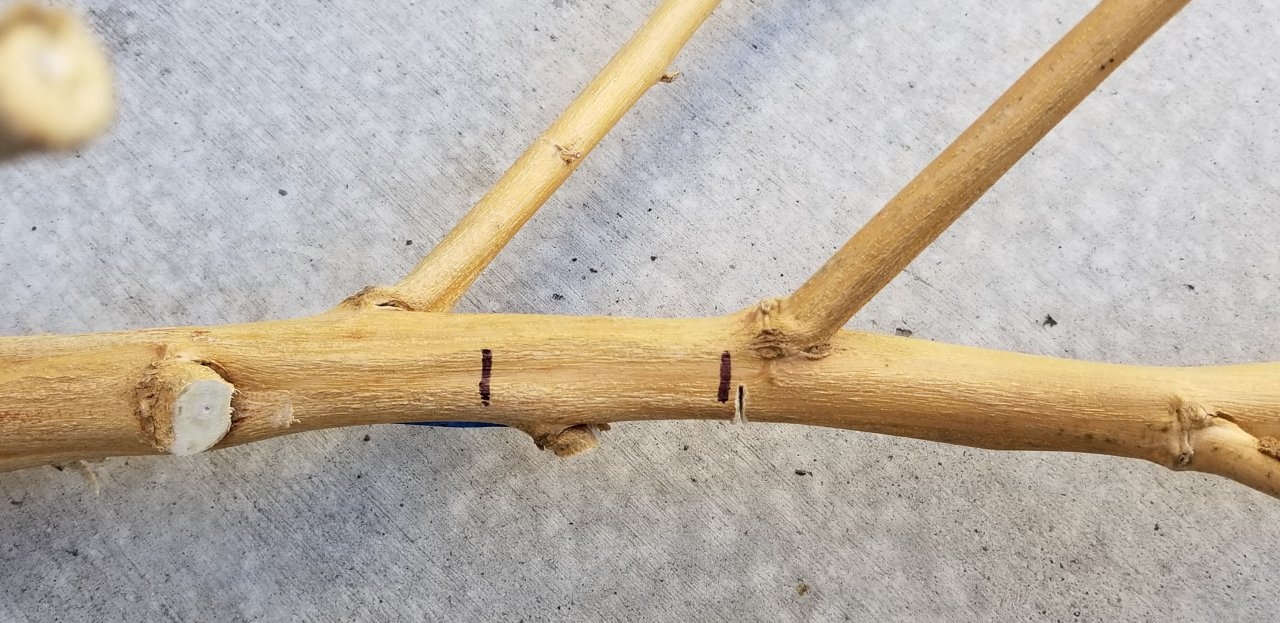
 So for this pipe I chose a section from the trunk approx. 8” long (200 mm) and a diameter that is comfortable for the mouth at one end – ¼” (7 mm).
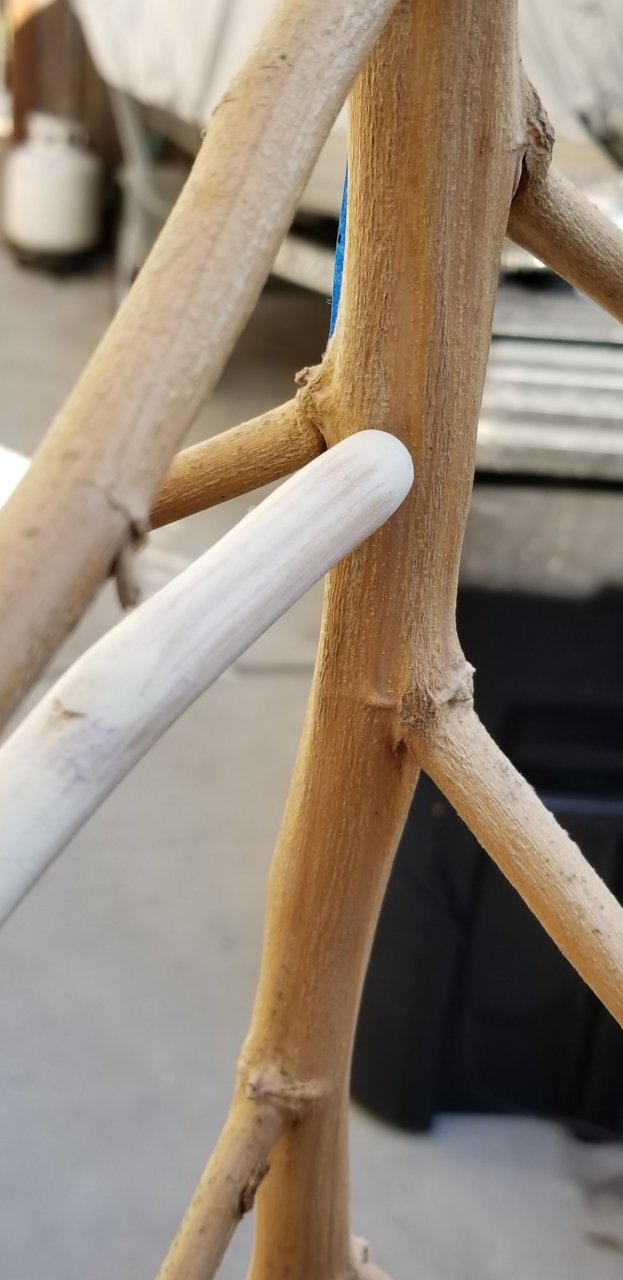
 Interestingly the plant is already somewhat hollowed out in the center, which makes my job easier
 ")
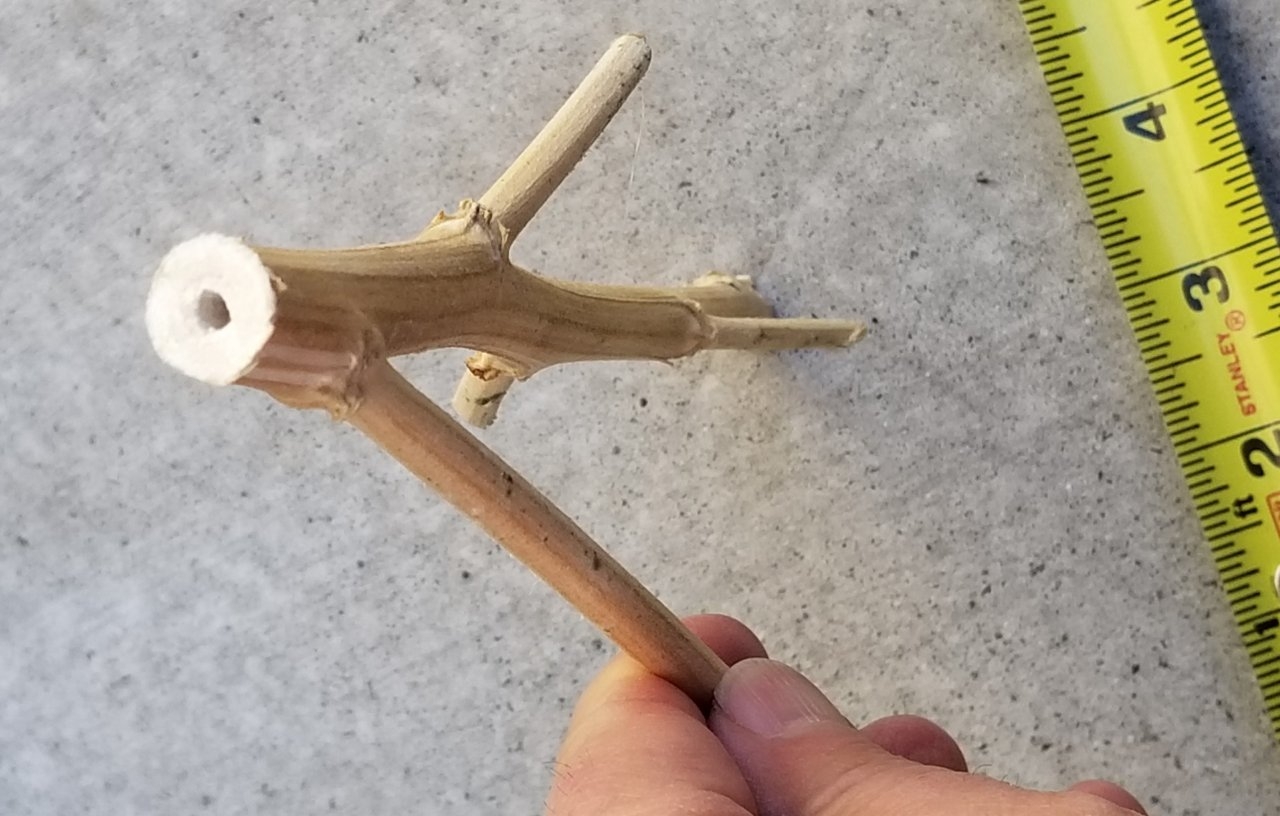
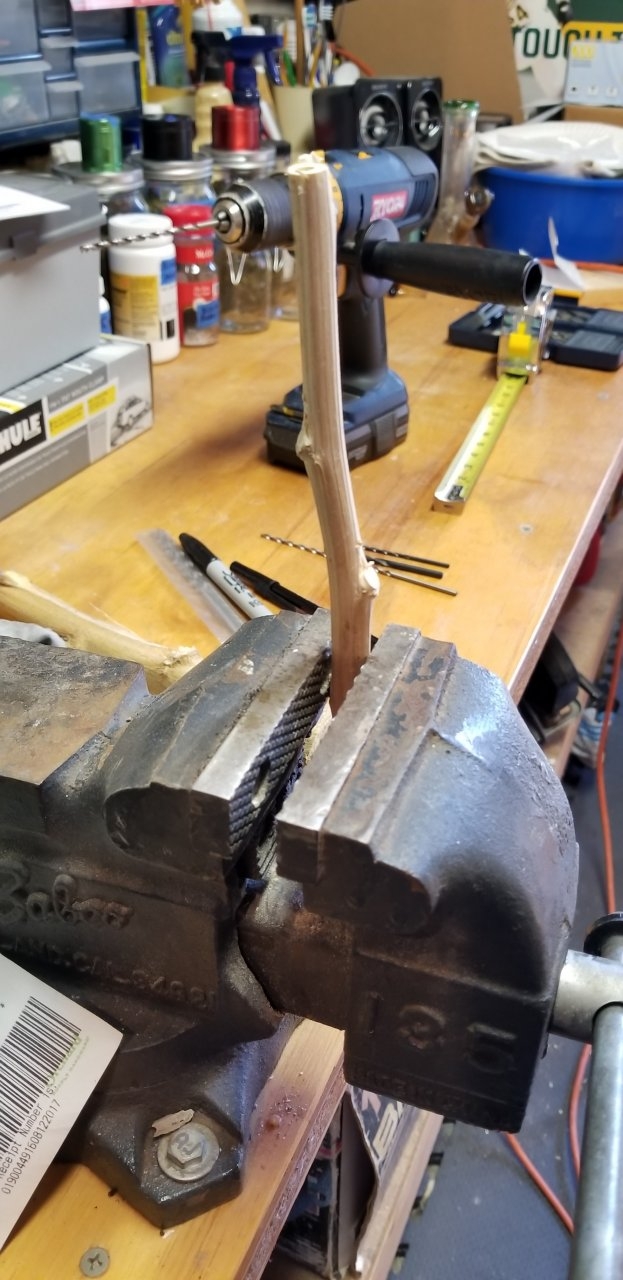
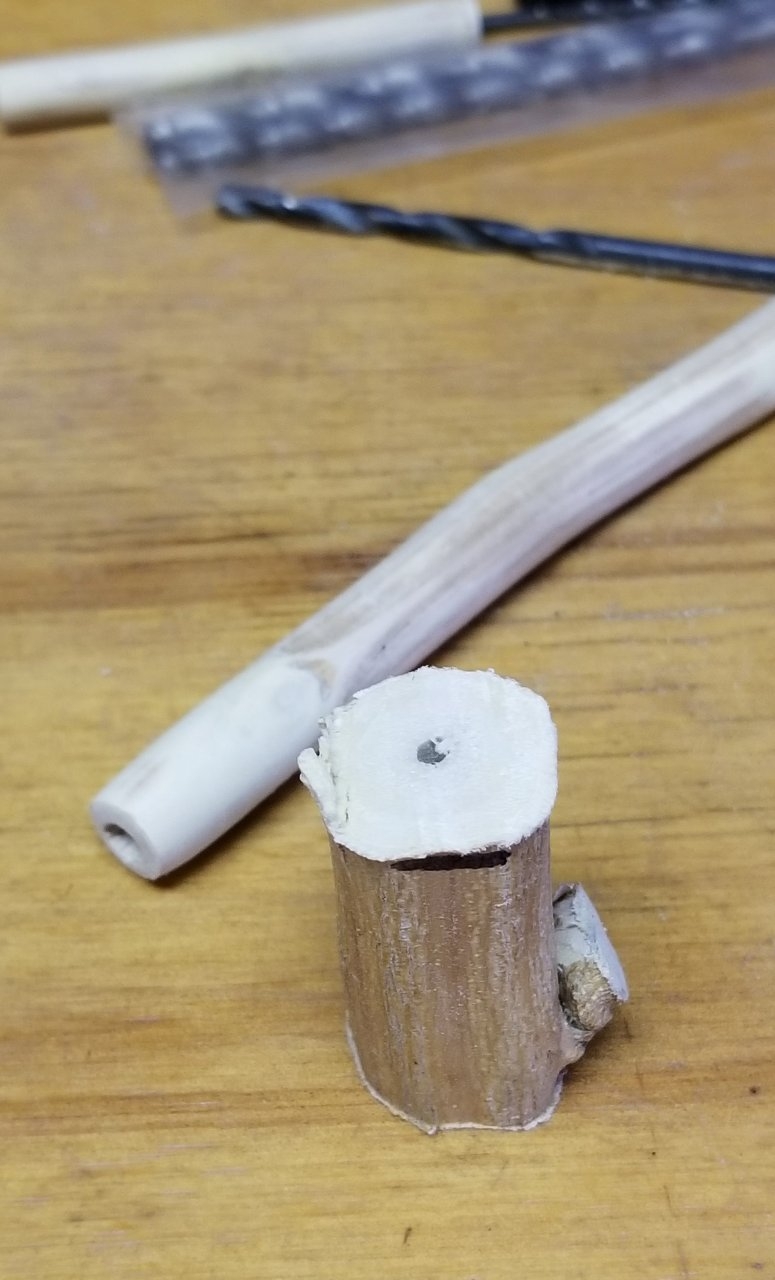
Now it’s time to drill out the center to the desired opening. I’ve found that drill bit size 11/64” (4.5 mm) works best for me. Secure the stem, start with a smaller diameter drill bit, and drill out the center from both sides of your stem to achieve an opening all the way through the stem. I used a 6” long bit so theoretically I could have used a stem as long as 12”, so it was pretty easy to work with the 8” stem.

 Now it’s time to smooth the surface. Use 80 grit sandpaper to start with. I secured my sander upside down so that I could have both hands on the stem while sanding, but this is not necessary. Whatever works easiest for you.
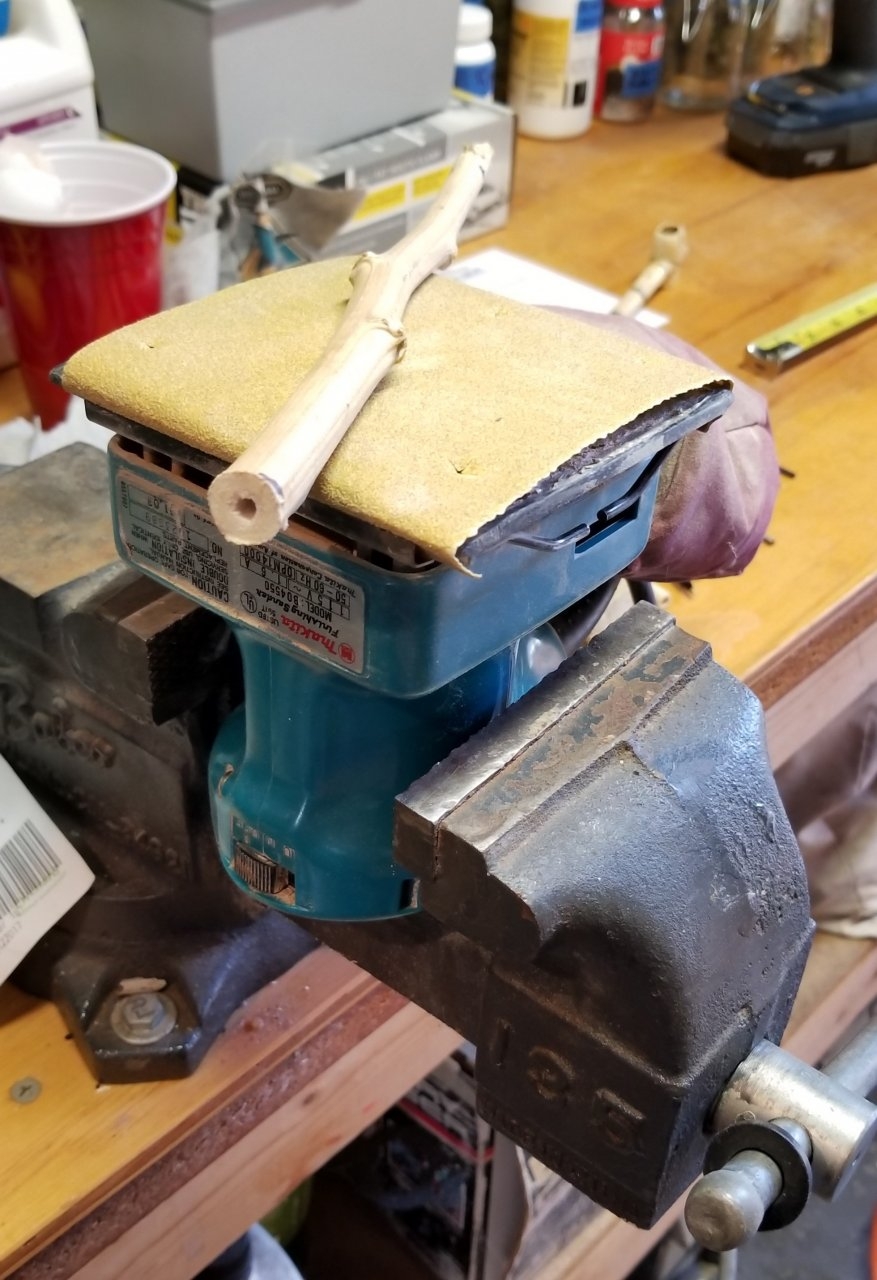
The wood is soft so the sanding should go quickly. Be careful to keep rotating the stem so that it stays as round as possible. This is what it should look like after the rough sand.
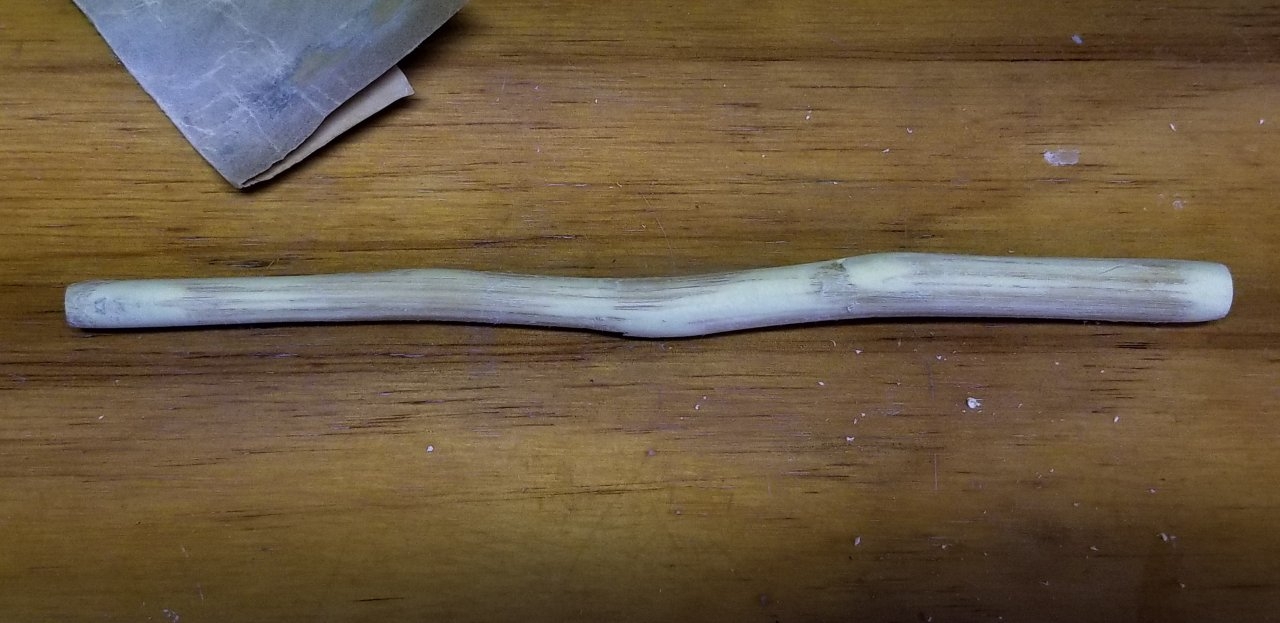
Now with 220 grit sandpaper, by hand continue to sand the stem until very smooth.
Next we choose a piece for the bowl… We’ll need to choose a section that has a larger diameter than the first stem piece since it will ultimately be inserted through the bowl. Mark off about 2 inches and cut the section.
 Let me post this as Part 1. Part 2 soon to follow
  .
.
Here's the tools I used: Sander and drill -- pretty simple.
Now it’s time to drill out the center to the desired opening. I’ve found that drill bit size 11/64” (4.5 mm) works best for me. Secure the stem, start with a smaller diameter drill bit, and drill out the center from both sides of your stem to achieve an opening all the way through the stem. I used a 6” long bit so theoretically I could have used a stem as long as 12”, so it was pretty easy to work with the 8” stem.
The wood is soft so the sanding should go quickly. Be careful to keep rotating the stem so that it stays as round as possible. This is what it should look like after the rough sand.
Now with 220 grit sandpaper, by hand continue to sand the stem until very smooth.
Next we choose a piece for the bowl… We’ll need to choose a section that has a larger diameter than the first stem piece since it will ultimately be inserted through the bowl. Mark off about 2 inches and cut the section.
.


 These are a lot of fun to make and don't take very long to put together.
 .
.