Indoor Northern Lights Feminized - LEDs

olypenn

Well-Known Member
This is a new indoor grow and I will be filling in answers to these questions in time. Welcome any feedback. My 3rd indoor grow using LED's in a new space. Thanks.

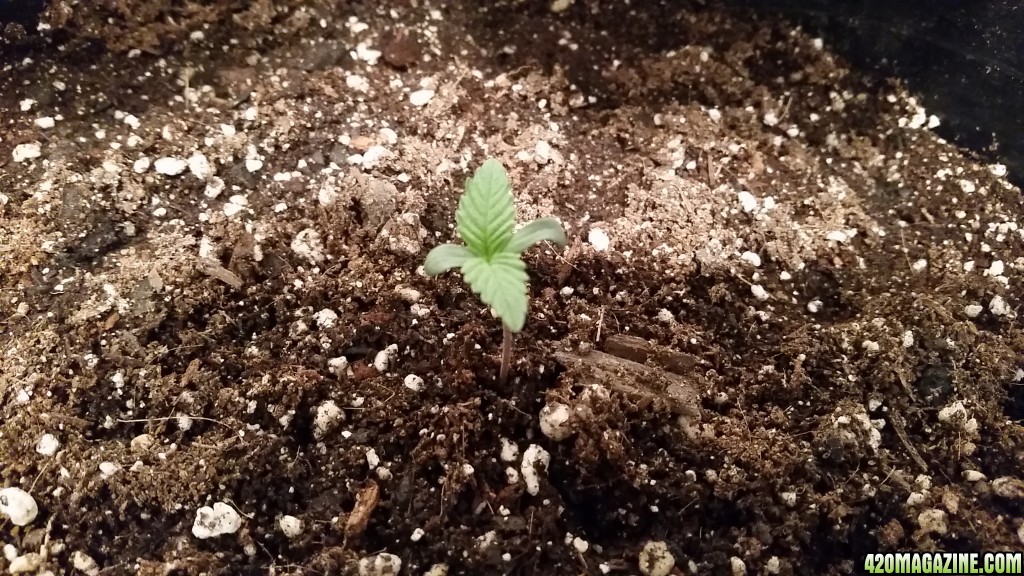
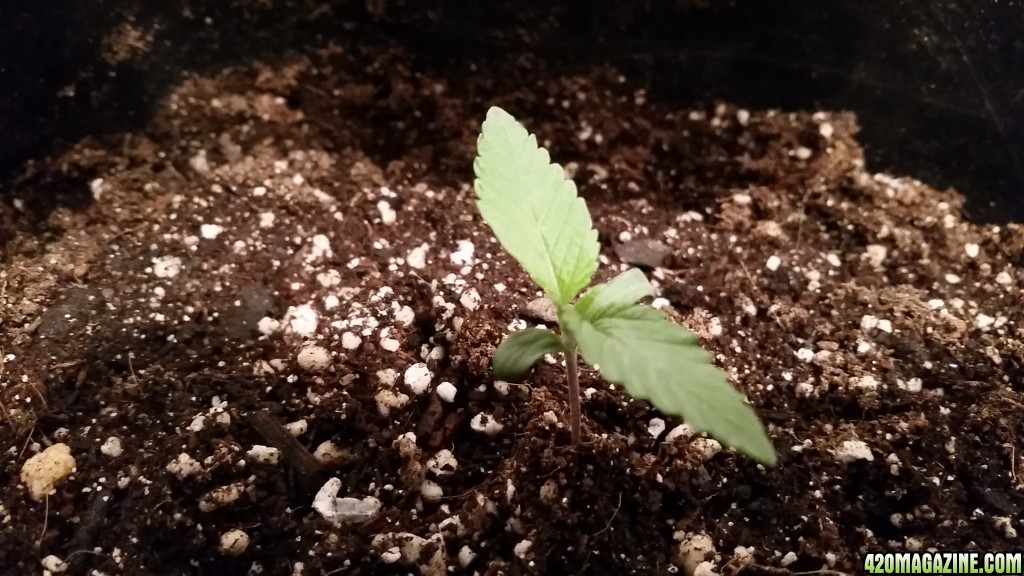
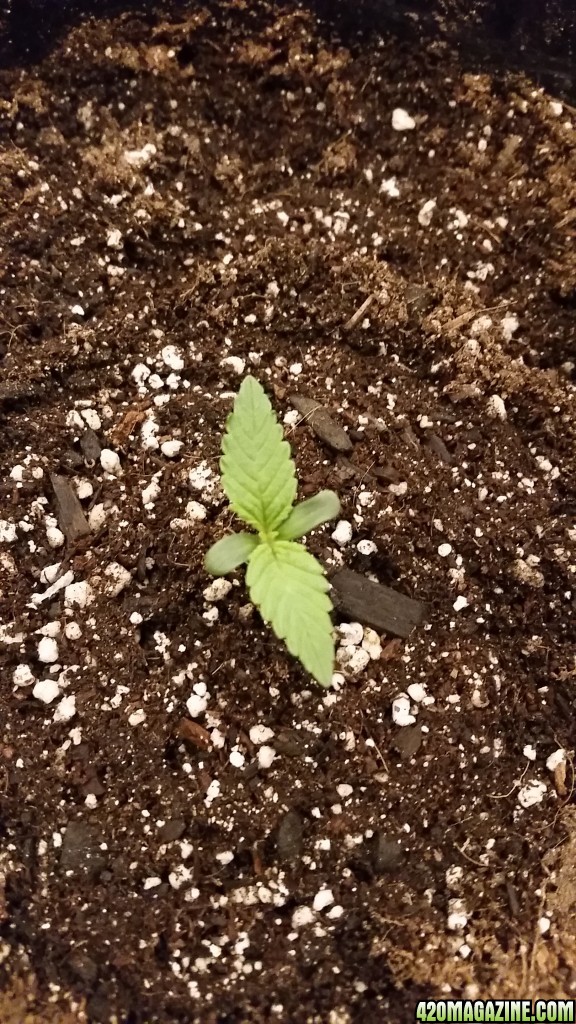
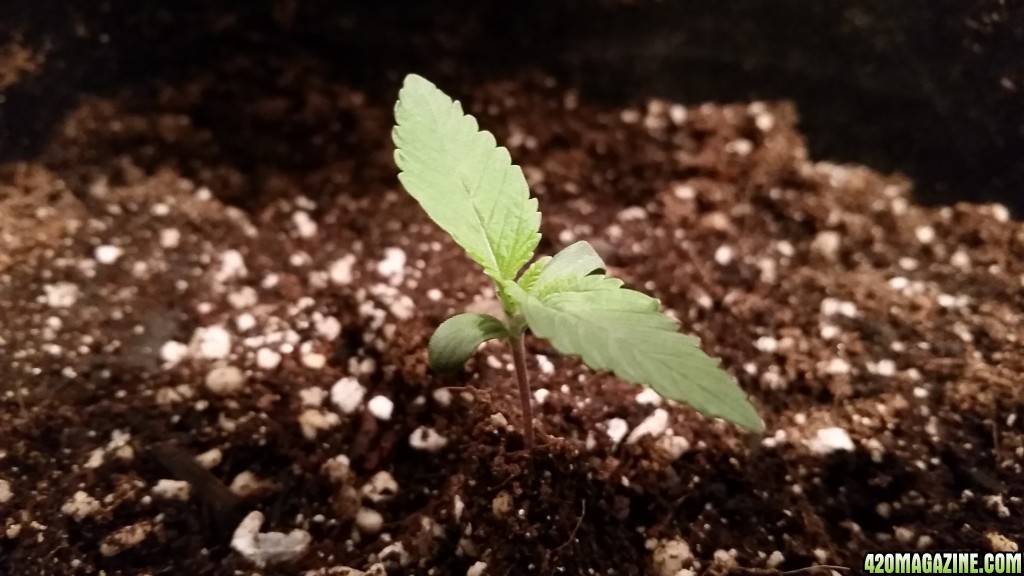
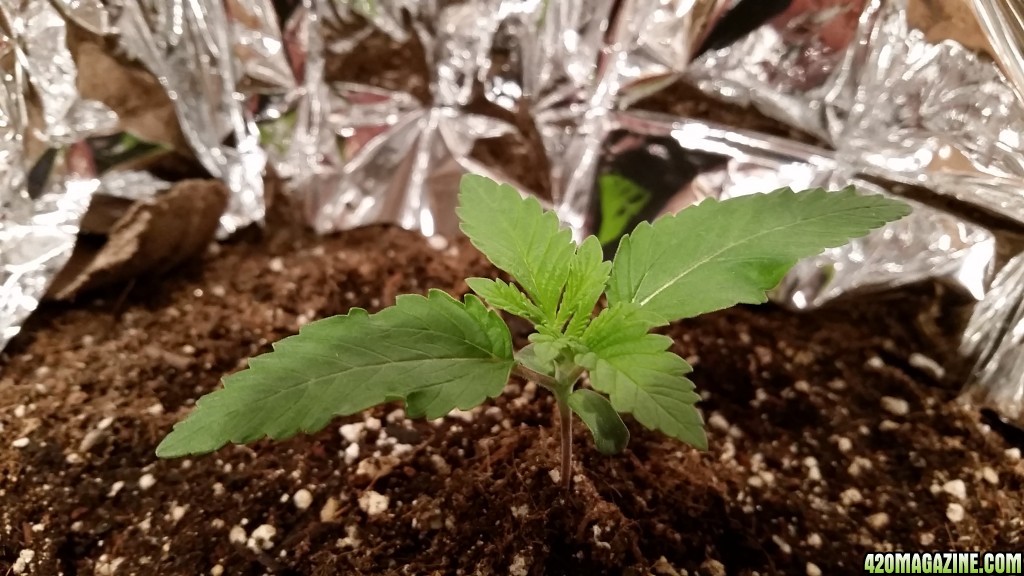
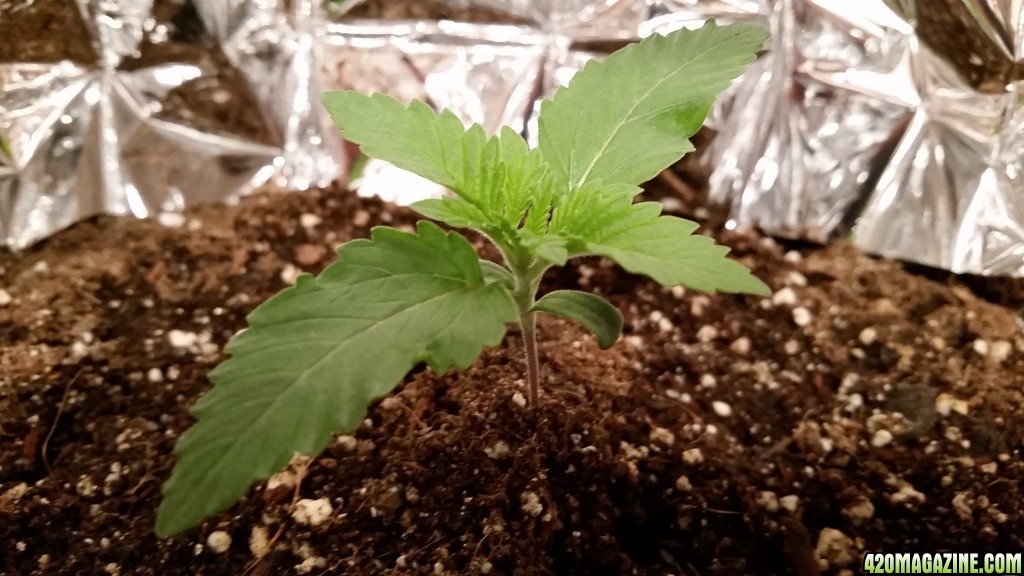
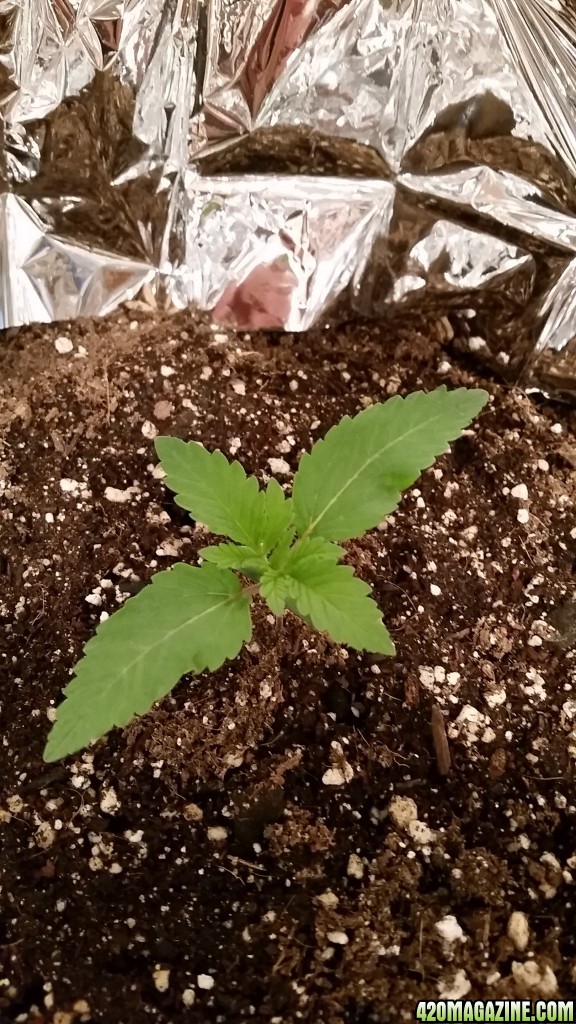
What strain is it? Northern Lights Feminized
Is it in Veg or Flower stage? Just began on 11-05
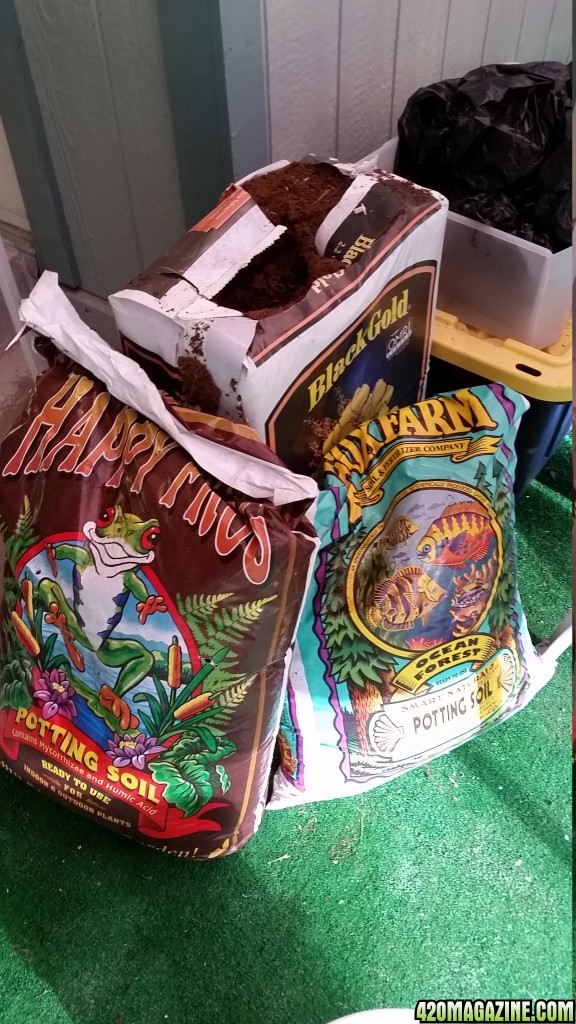
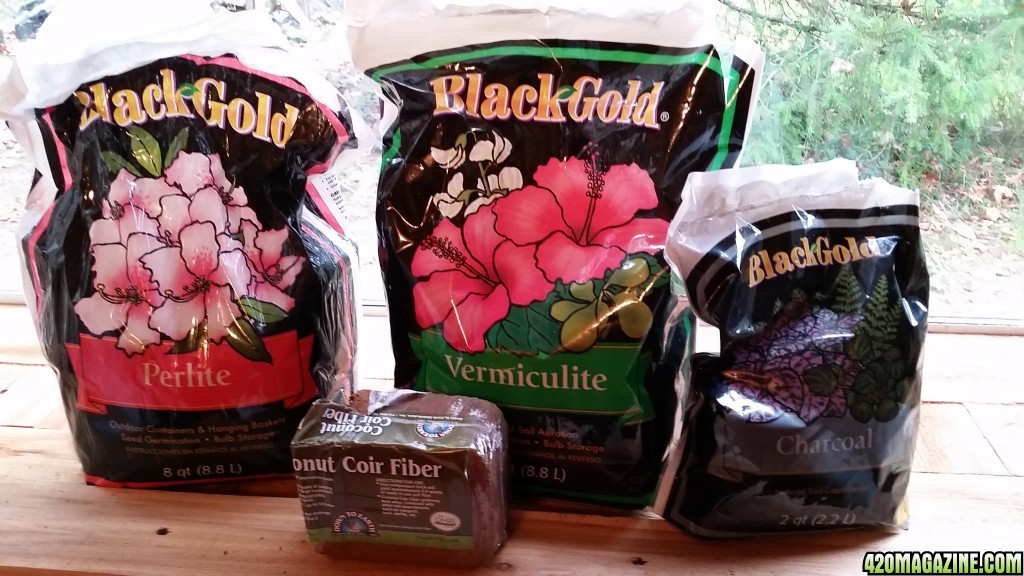
Soil or Hydro? Soil Mix.
If soil... what is in your mix?
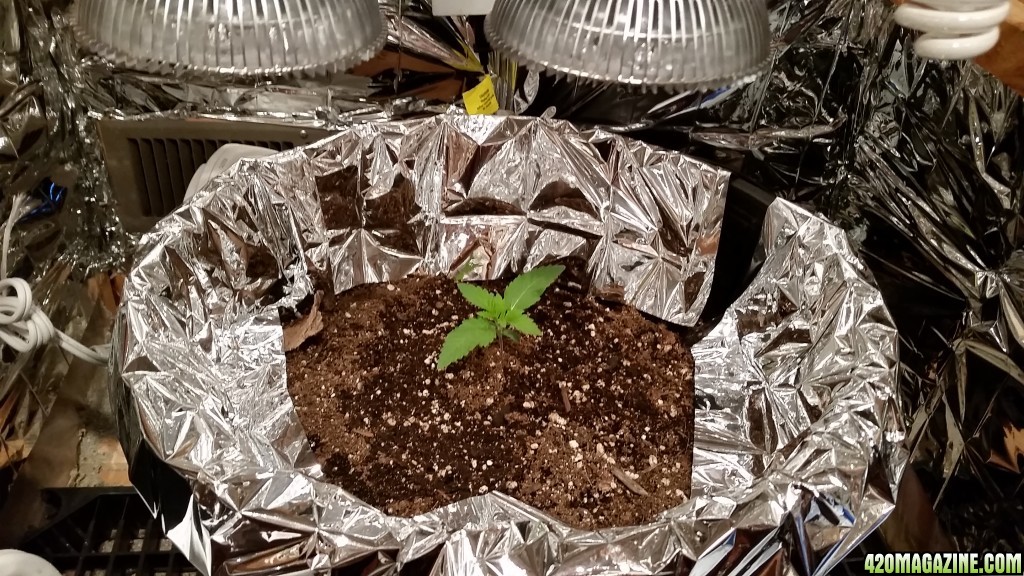
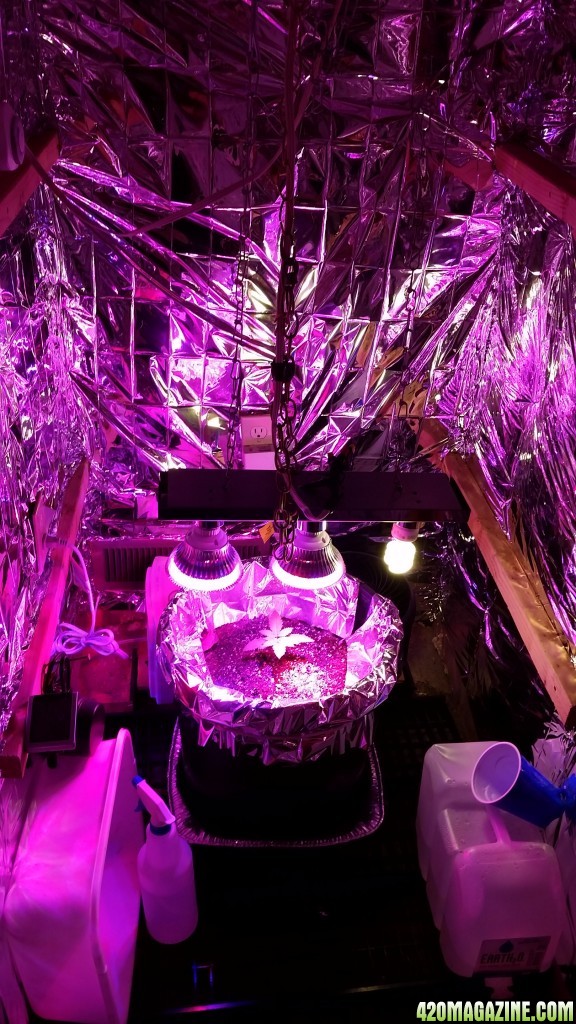
If soil... What size pot? 7 gallon size grow pot.
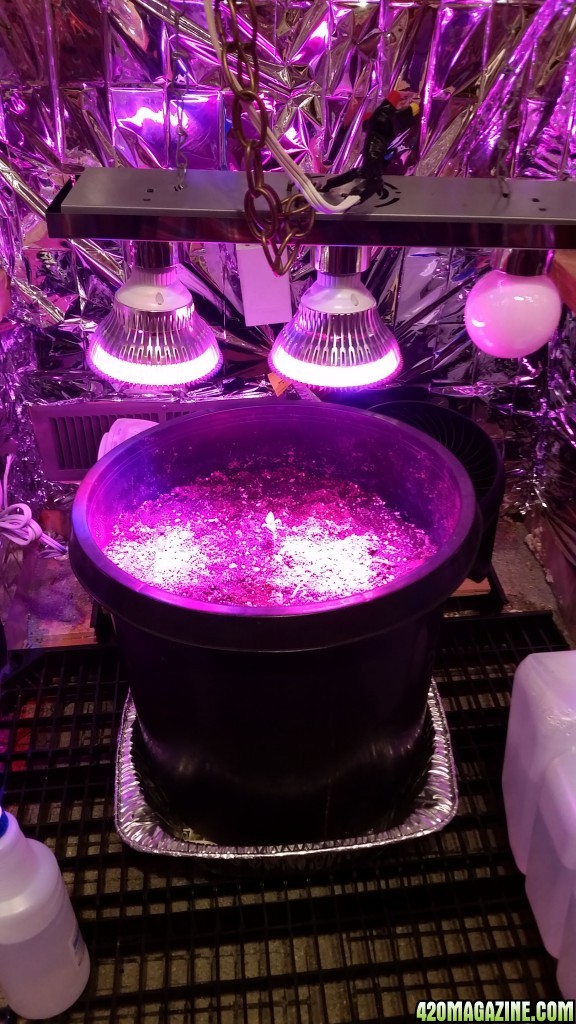
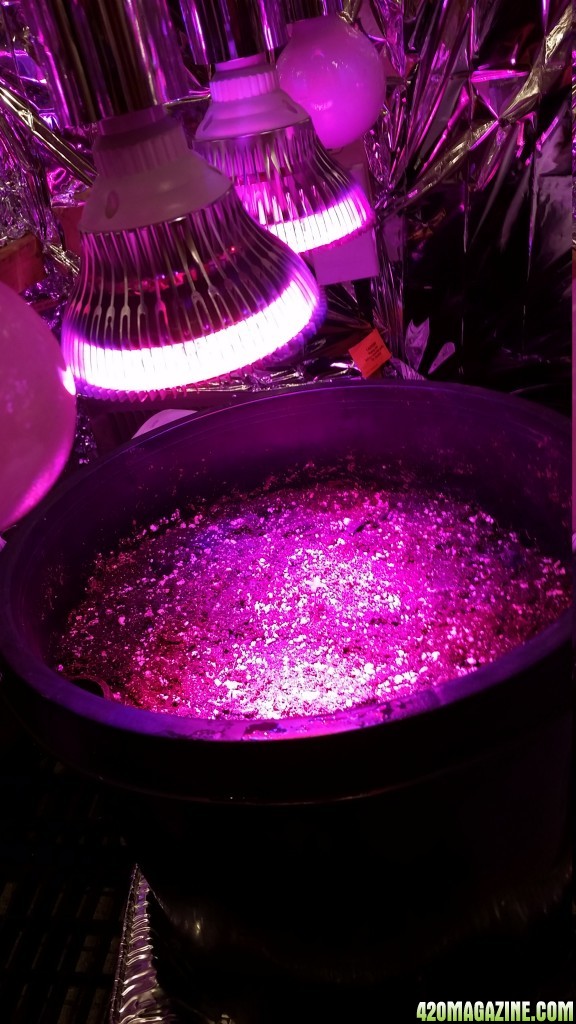
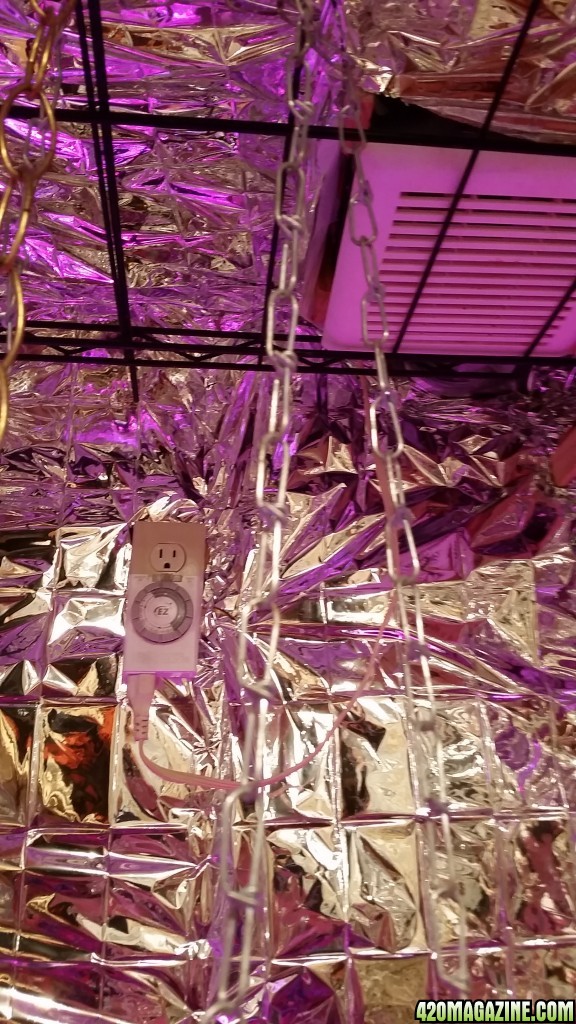
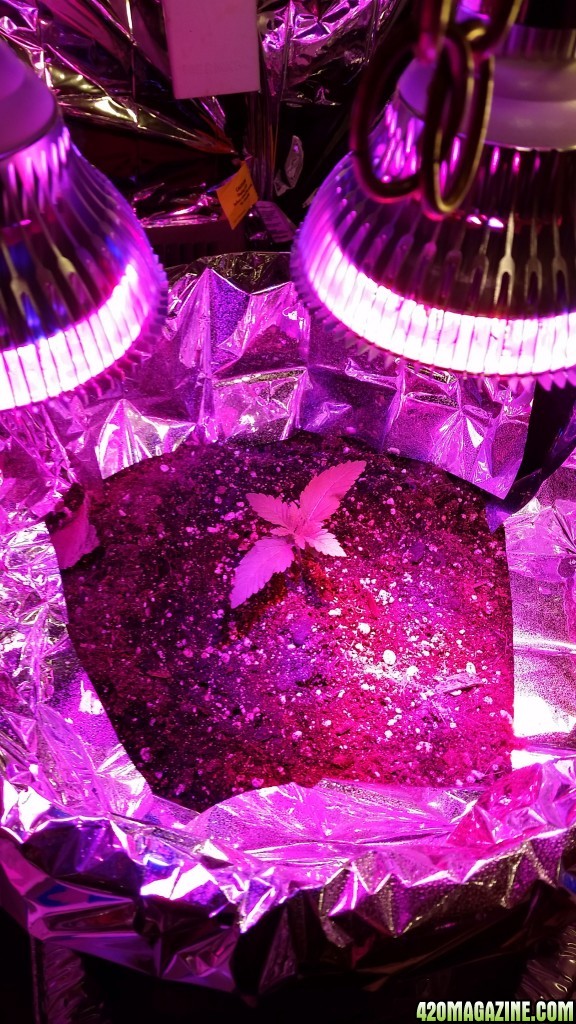
Size of light? Start with 2 36 watt bulb type LED's. Will add another bulb in a few weeks.
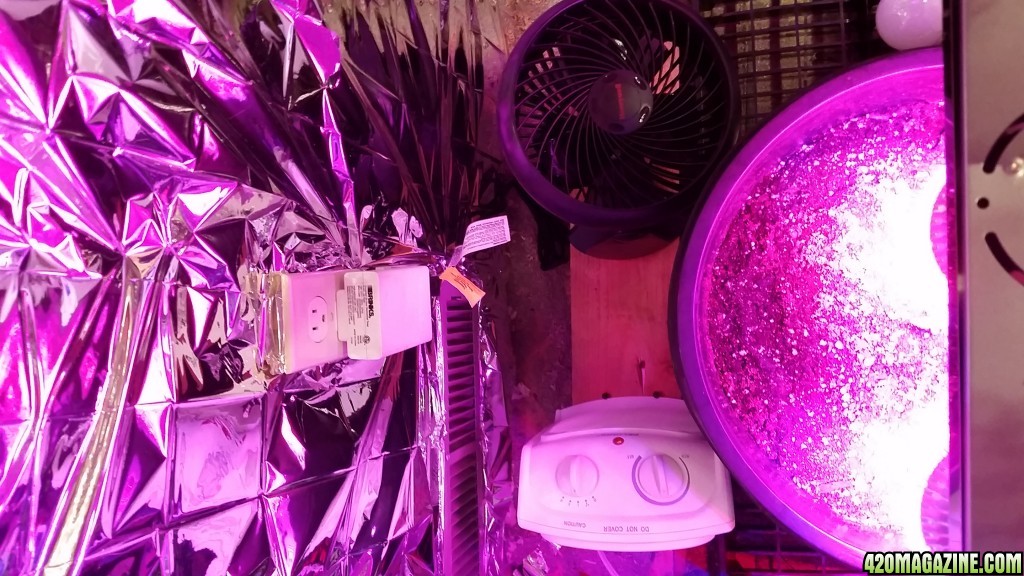
Is it aircooled? Really no need to cool space. Space is heated with small portable space heater, air circulation fan and exhaust fan. All on timers.
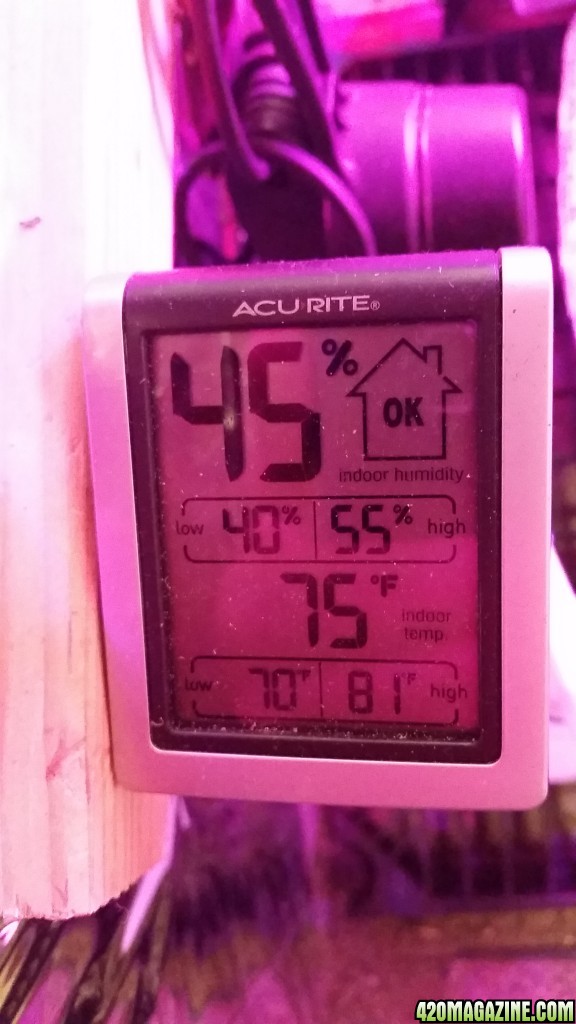
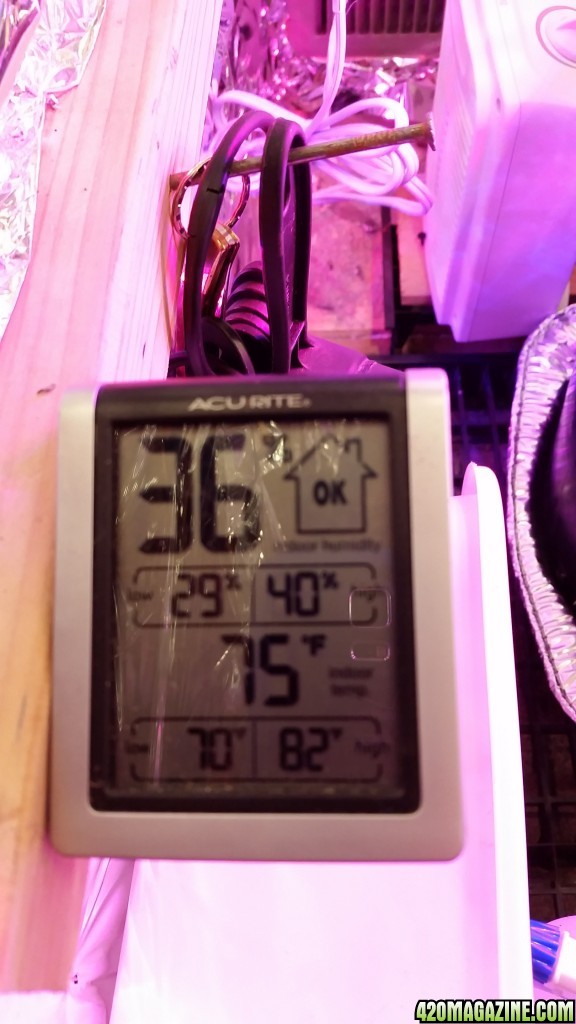
Temp of Room/cab? Temperature between 77 and 88 degrees.
RH of Room/cab?
PH of media or res?
Any Pests ? None yet and hopefully the tightly sealed space will prevent the invasion of pests.
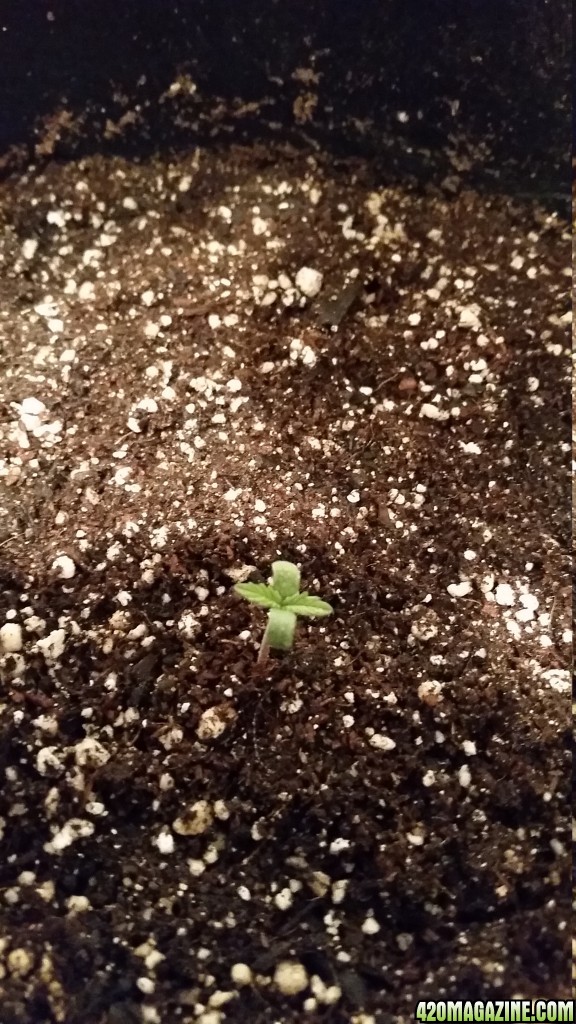
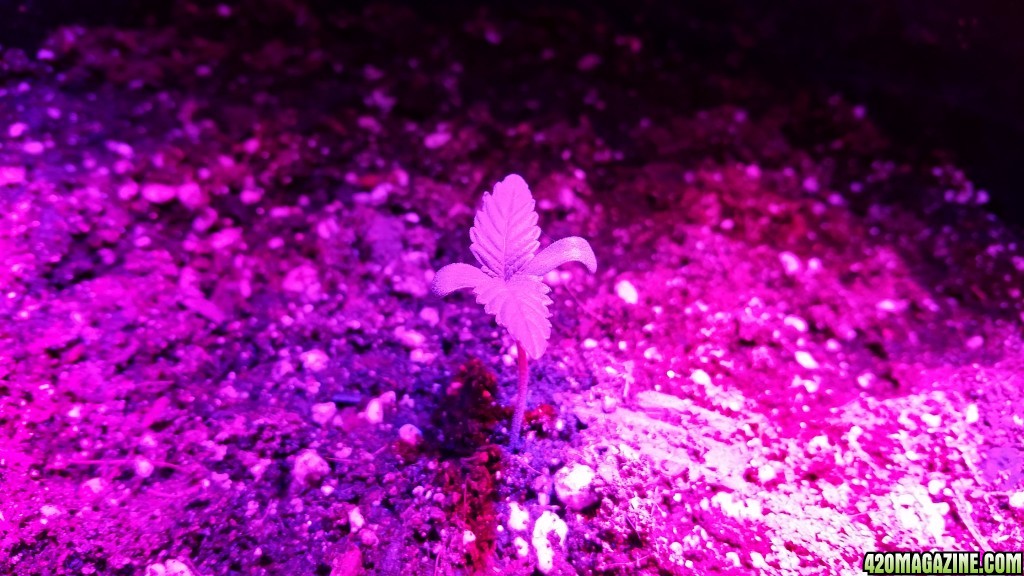
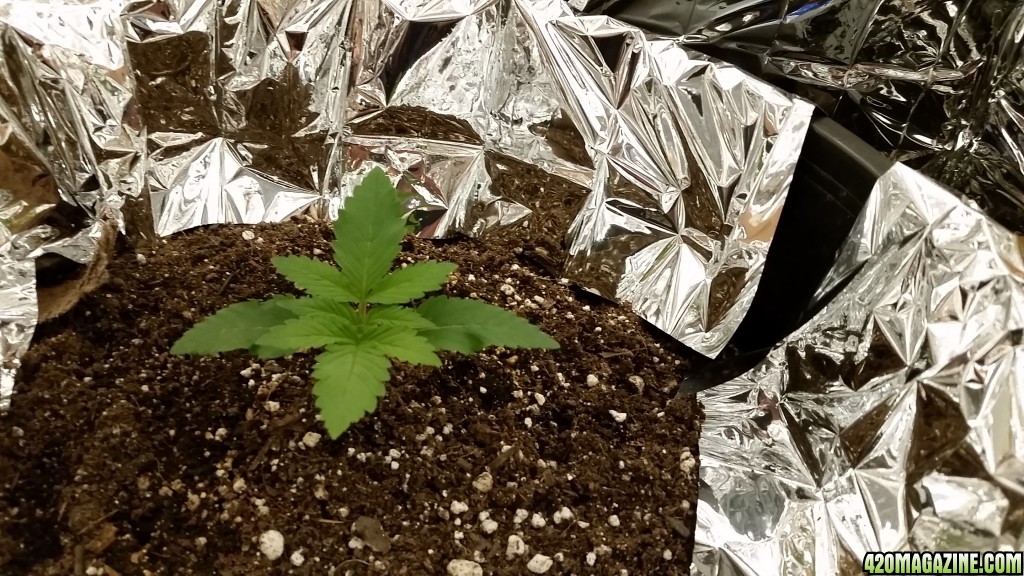
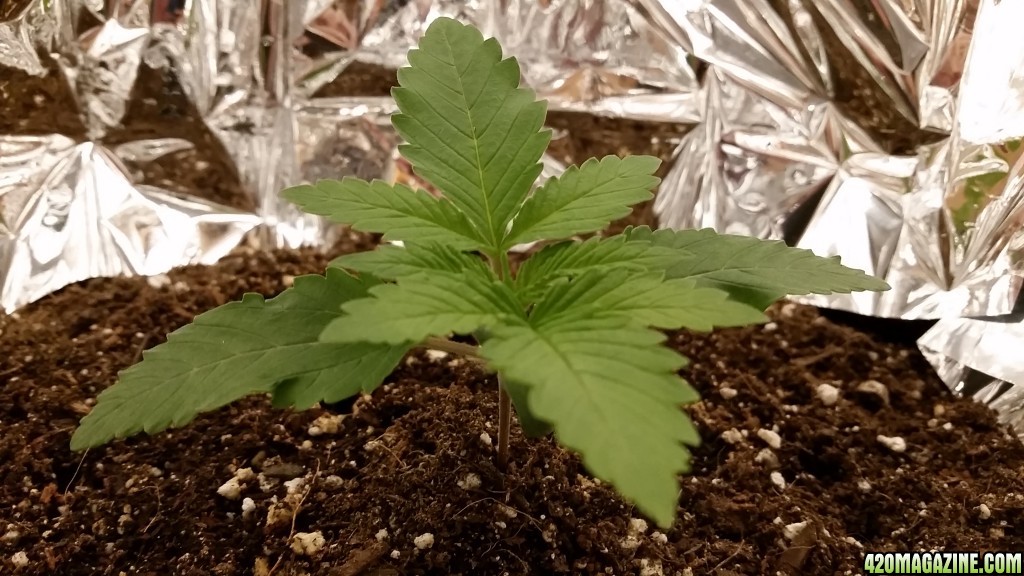
How often are you watering? Right now lightly misting seedling and keeping soil moist around abt. 5 inch radius of plant. The seedling was sprouted in permanent grow pot to avoid transplant issues. Seed was soaked in spring water (particulate count 12 and ph 6.5) 24 hours until slightly open and then placed in grow medium.
Type and strength of ferts used?
 
NL_LED_7_Gallon_Grow_Pot_11-05-16.jpg
NL_LED_7_gallon_pot_11-10-16.jpg
NL_LED_Potting_Soil_Mix_11-05-16.jpg
NL_LED_Potting_Soil_Mix2_11-05-16.jpg
NL_LED_Heater_and_Fan_11-11-16.jpg
NL_LED_Sensor_11-05016.jpg
NL_LED_Seedling_11-09-16.jpg
NL_LED_Seedling3_11-11-16.jpg
NL_LED_Seedling2_11-11-16.jpg
NL_LED_Seedling_11-11-16.jpg
NL_LED_Exhaust_1-05-161.jpg
 
The potting soil is an equal mix of Happy Frog, Fox Farm and Peat. Also added Perlite, Charcoal, Vermiculite, Coconut Fiber. Will add another 36 Watt LED Bulb real soon. Total Wattage of LED Bulbs will be more than 100 which is more than the single unit LED I used in my second grow here on 420. Since last year indoor grow, I had an outdoor garden which just finished off last month. Weather conditions permitted a longer than normal outdoor season and with the added plastic canopies the plants were able to mature without too many mold issues. Rather than doing a forced dry with dehydrator, this time around I did a slow controlled dry and cure. Much better result. Smooth smoke and mature oil. I am ready to take it indoors again with a newly designed grow space. Closet space best describes it. One of the things I did different sprouting seed was to place the seed in a glass of warm spring water and let it sit 24 hours just until the seed case opened. It was placed in the permanent grow medium right after soaking as to avoid the transplant issues I have had in the past. Sprouting seeds between layers has never worked well for me. This method of sprouting took 3 days total time until the seedling broke ground. I did place the seed directly inside a neutral grow plug that was soaked and drained 24 hours prior to planting. The potting soil was also mixed a week ahead of planting and given one good soaking and adjustment to grow temperatures. Past failures at indoor growing has taught me to not cheap-out on equipment and supplies. With some luck and lots of help from my fellow growers here, hopefully this grow will produce some exceptional results. I plan to train the plant to produce as many buds as possible for the size of the space. Enough for now. Glad to be back here again. Feedback welcome.
Did I forget to mention to remove that thin plastic like layer outside the grow plug. In the past this film has hindered the root growth. Not to remove until ready to plop the plug in the soil and left moist enough to hold it's shape.....
 
HI
She is a beauty. It will be fun to watch her grow :cheer:

Thanks AngryBird for the feedback. It really is nice to be back here with another indoor grow. My last one ended in disaster as I applied too much liquid fertilizer and wasn't able to rinse it out in time. Lessons are hard learned I guess. Paying attention to details and advice from more experienced growers seems to be the best thing to do. :thanks:
 
Today pics. about 1 week old. One of the bulb type 36 watt led's stopped working (after 1 week). There are 18 bucks each but even that is a lot of money. I tried to return it to company but was a day late for Amazon returns. This is where it pays to have some experience with electricity and wiring. I dissected the bulb and tested all 36 led bulbs for shorts. Found one short and was able to solder a cross wire bypass the LED. It worked to my complete surprise. Never hurts to try new things. The bulb is back at work and still going strong for a day. I lodged complaint with seller and might get a replacement bulb. I had already bought a new bulb because I was still one short. The current LED's are 6 inches above seedling. It started to get leggy with LEDs over a foot above. When I filled the pot with soil before planting, I left it several inches below the rim so later on I would be able to add soil for situations like the leggy one. Anyway some experiences are being be to use. If you are wondering what the stuff is the pot is sitting on let me tell you.....3 inch plastic grating cut to fit the floor. Filled with fine sand and another grate put above it. The reason for the sand you might ask is to keep little pests at bay. Even though the room is air tight there is still a chance something might follow me in. Sand sucks the moisture out of everything around it. Bugs need moisture to live and grow. It is a cheap way to keep pests at bay. I put real fine sand in my pots around the base of the plants whenever I see any bug activity. Kills them right away, anyway the ones that need to go into the soil to feed and reproduce. Anyway hope the pics come out ok. Feedback welcome.
NL_LED_11-13-16-4.jpg
NL_LED_11-13-16-1.jpg
NL_LED_11-13-16-2.jpg
NL_LED_11-13-16-3.jpg
NL_LED_11-13-16-4.jpg
 
Little baby is doing fine :thumb:
Don't you just love it when yo fix things on your own>???

I ordered lights too, and they came with one broken.. Thank god I ordered 2 spare ones at the same time, just in case.
It took them 3 weeks to respond and I was offered a refund
 
Little baby is doing fine :thumb:
Don't you just love it when yo fix things on your own>???

I ordered lights too, and they came with one broken.. Thank god I ordered 2 spare ones at the same time, just in case.
It took them 3 weeks to respond and I was offered a refund


She really looks good. The last grow I bought feminized auto seeds. This time around just feminized so I have more time and control over training the limbs and buds. If you have any advice about when to start and how to get the maxium yield, let me know. If I remember right, pinching off the tops will split the limbs? Not really sure how early to begin or if this is the right way to do it. The light bulb company did respond and said they want pics of the bulbs. Not sure what good that will do as the damage was inside the bulb. It looks like they care from China.
 
It is easier to top a fem plant than an auto plant.
When she has her 3rd node out, and 4th is growing ( my advice if you never have done it before) cut of the top.
i will help you when it is time, I did cut my Pineapple Chunk (fem) and a bag seed I have.
 
Today's pics. 12 days. 18/6 LED light cycle. Water added when soil feels dry knuckle deep. Widened the water circle to encourage roots to spread wide. They go deep without any encouragement....lol. Room monitor gauge shows temp and humidity ranges good. My exhaust fan on timer and set 2 hrs off and 30 minutes on. Fan set 30 minutes on and off. Heater has it owns thermostat. The LED I reparired still working. Just waiting for 1 more 36 watt LED. When I decided to buy these 36 watt bulbs, I wasn't sure if they would produce enough of the right grow light spectrums or how many it would take. I am guessing that only one 36 watt bulb would be needed to sprout and for a couple of weeks after. It is set at about 6-8 inches above the seedling. Not sure when to start pinching tops to train so let me know if you have any advice AngryBird. Any comments or advice is always welcome.
NL_LED_11-16-16-6.jpg
NL_LED_11-16-16-5.jpg
NL_LED_11-16-16-4.jpg
NL_LED_11-16-16-3.jpg
NL_LED_11-16-16-2.jpg
NL_LED_11-16-16-1.jpg
 
Hi 'Your light bulbs are fine for way into veg. It is always the flower period that need a good boost.

Is it Northern Light Auto Fem or fem only?
can you write down the specs of all the lights?
Type
Watt
Lumen
K
color
 
The NL is a fem without the auto. I grew the auto 2 years ago and got a real nice plant but it went into flower stage too fast. It was one of the best looking plants I have ever seen. Hopefully, this feminized version only will produce even better results.
Here is what I know about the LED's
EAGWELL 36W LED Grow Light Bulb ,LED Grow Lights e27 Bulb for Hydropoics Greenhouse Organic ( E27 36w 3 Bands)
Size: 36W LED Grow Light BulbColor: 36W E27 3 Bands
Amazon: EAGWELL 36W LED Grow Light Bulb, LED Grow Lights e27 Bulb for Hydropoics Greenhouse Organic ( E27 36w 3 Bands)

Here is the one I just ordered from different seller. Morsen Full Spectrum Led Grow Light Bulb UV IR 30W E27 For Plants Vegetables Flower Hydroponic System Grow Tent AC85-265V

Hi 'Your light bulbs are fine for way into veg. It is always the flower period that need a good boost.

How close are we to training?


Is it Northern Light Auto Fem or fem only?
can you write down the specs of all the lights?
Type
Watt
Lumen
K
color
 
Yesterday pics. She's growing like a weed. Any suggestions about when to start training AngryBird? Still have my fingers crossed about when the pesky little critters will start showing up. The chamber is completely sealed with tight mesh screen on vents. I found a mouse outside the entry door looking for a way in. He will make a nice meal for one of the feral cats that roam the night out here in the woods.
NL_LED_11-18-16-1.jpg
NL_LED_11-18-16-2.jpg
NL_LED_11-18-16-3.jpg
NL_LED_11-18-16-4.jpg
NL_LED_11-18-16-6.jpg
 
I would like to top her and go for many tops or just keep topping the splits until I get enough to evenly fill the space (if that makes any sense). example: first top would produce 2 branches. Second top would produce 4 branches.....etc.....until we get to maybe two dozen branches for buds to grow and mature.
 
Back
Top Bottom