My ultimate grow room

kickstart

New Member
Hello again everyone! It has been awhile since I have been really active on these forums, but now I find myself having a little time to post. Last summer we moved on to a new property. There is really no grow area set up here so we grew outdoor last summer. Well, now it's time to get rolling again! This time we are going all out and building our ultimate garden.

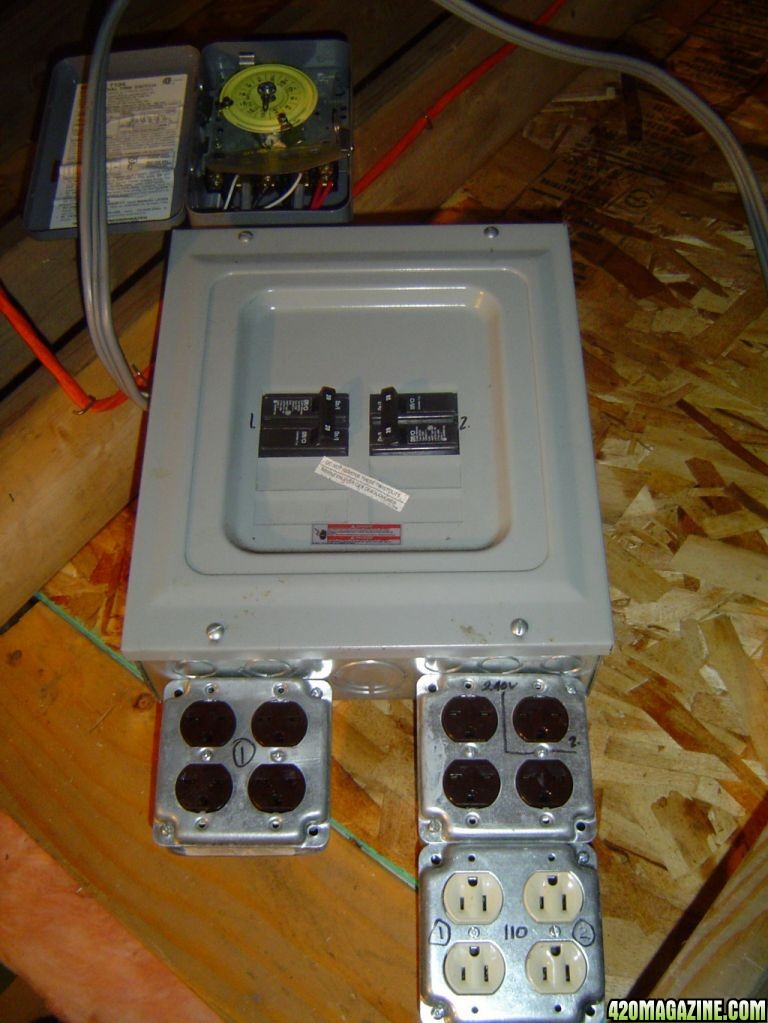
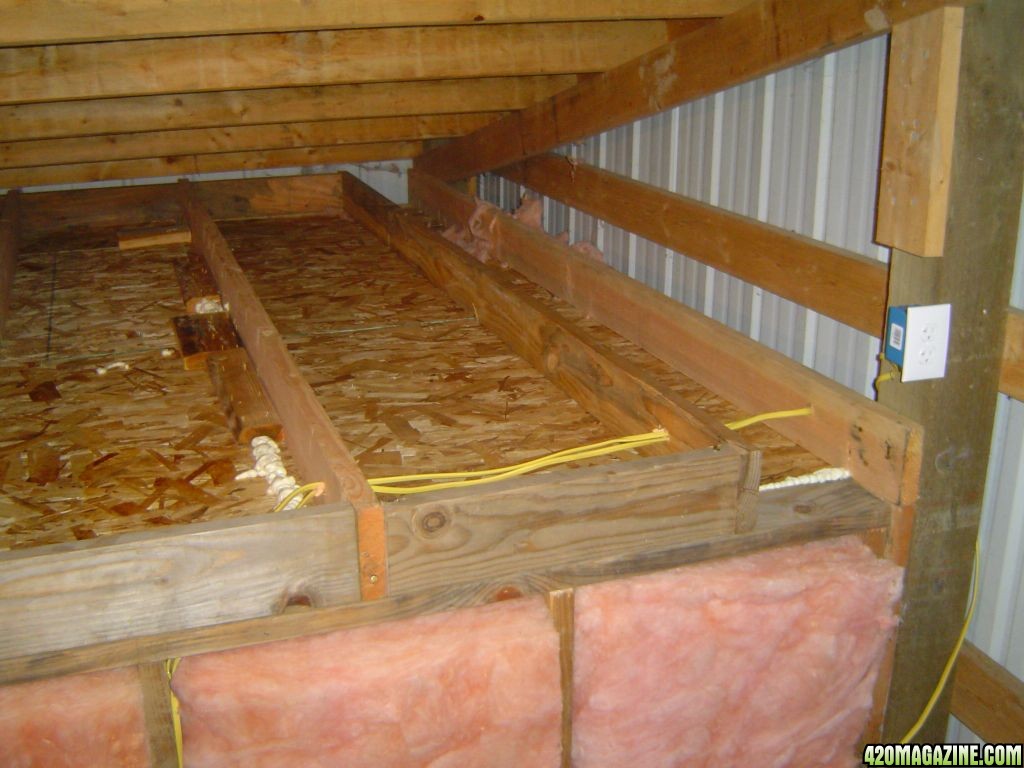
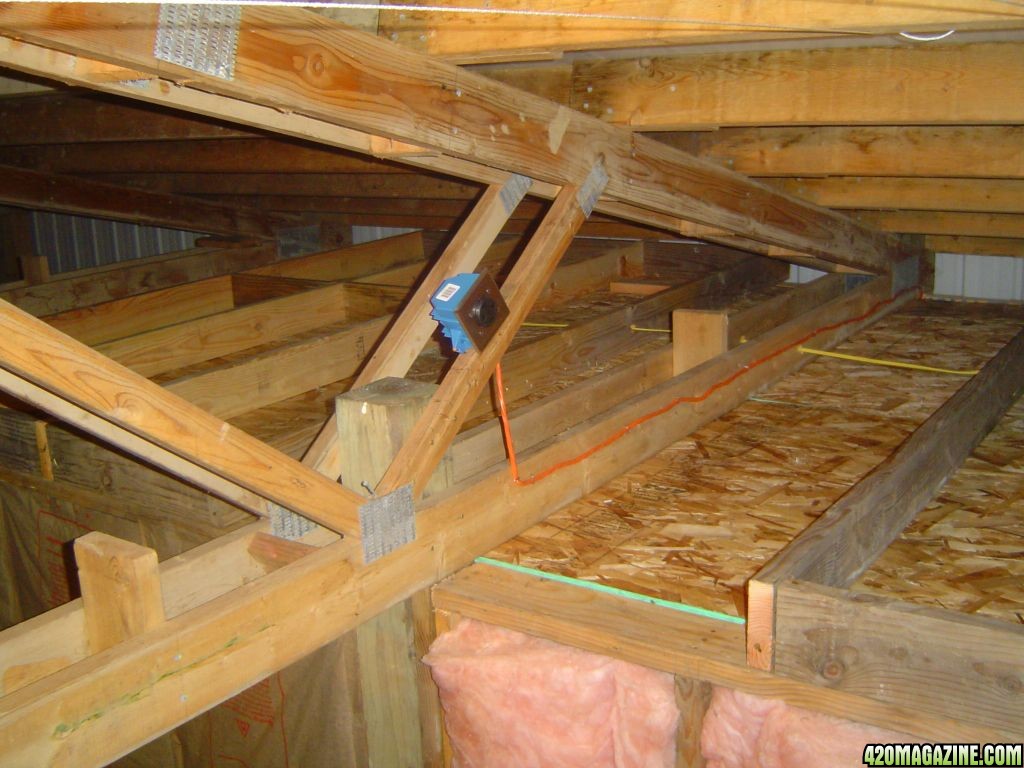
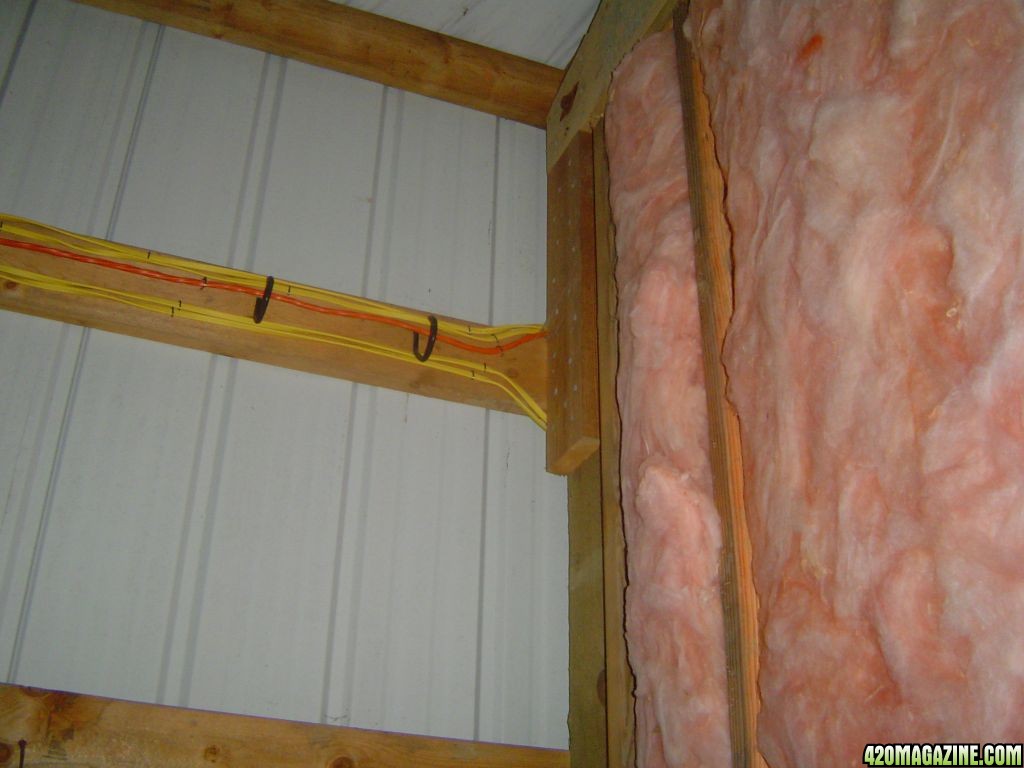
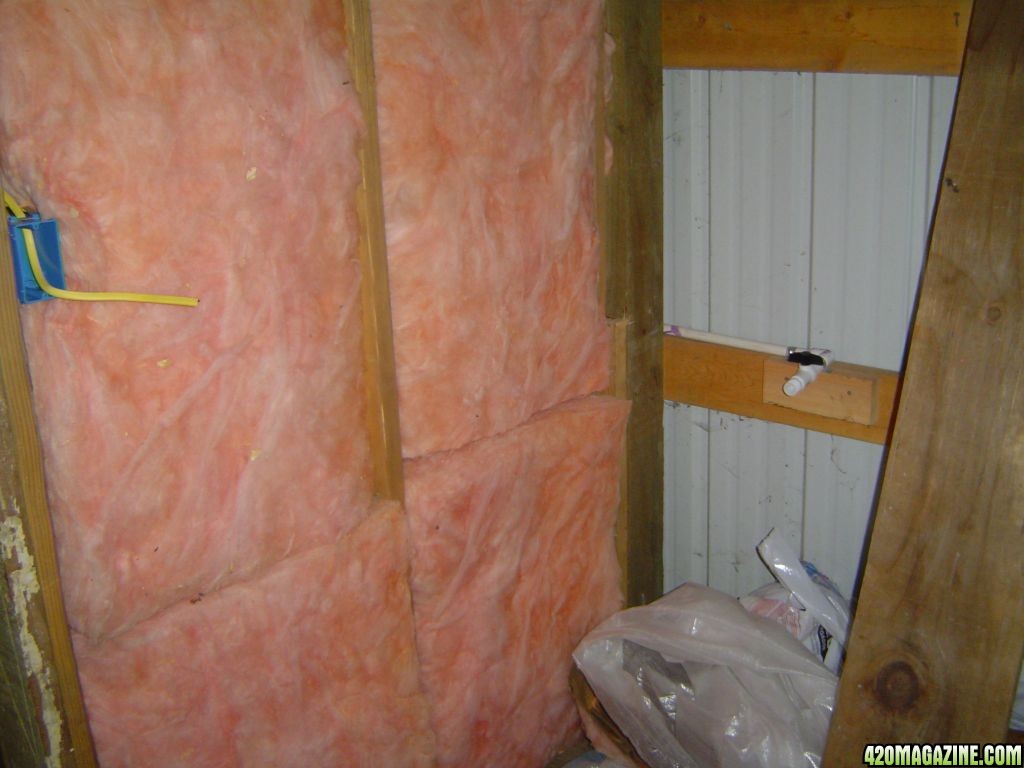
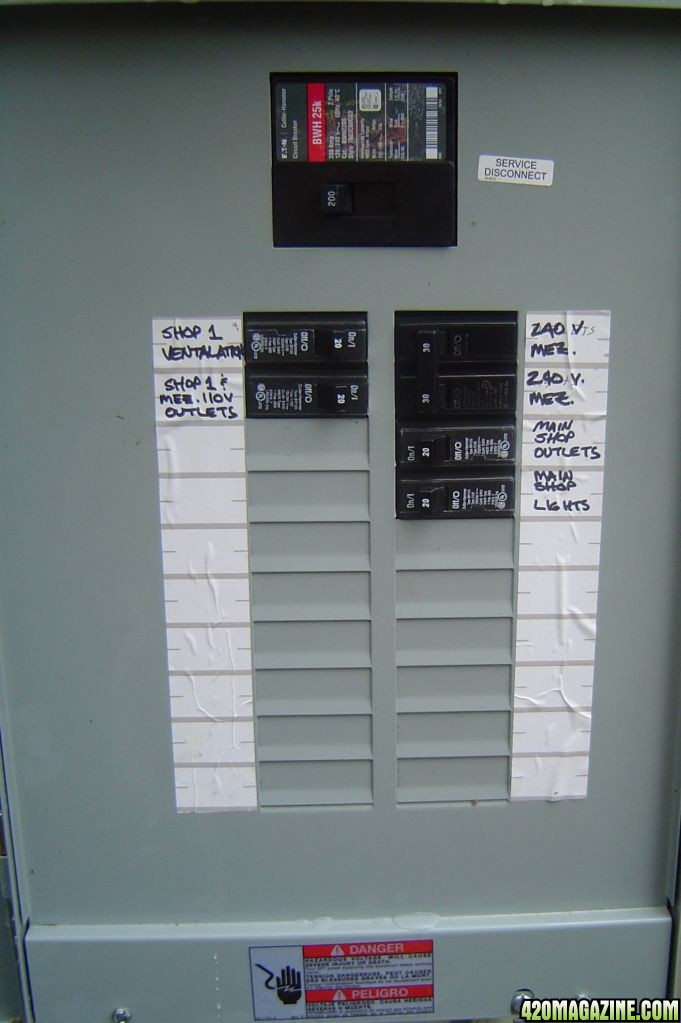
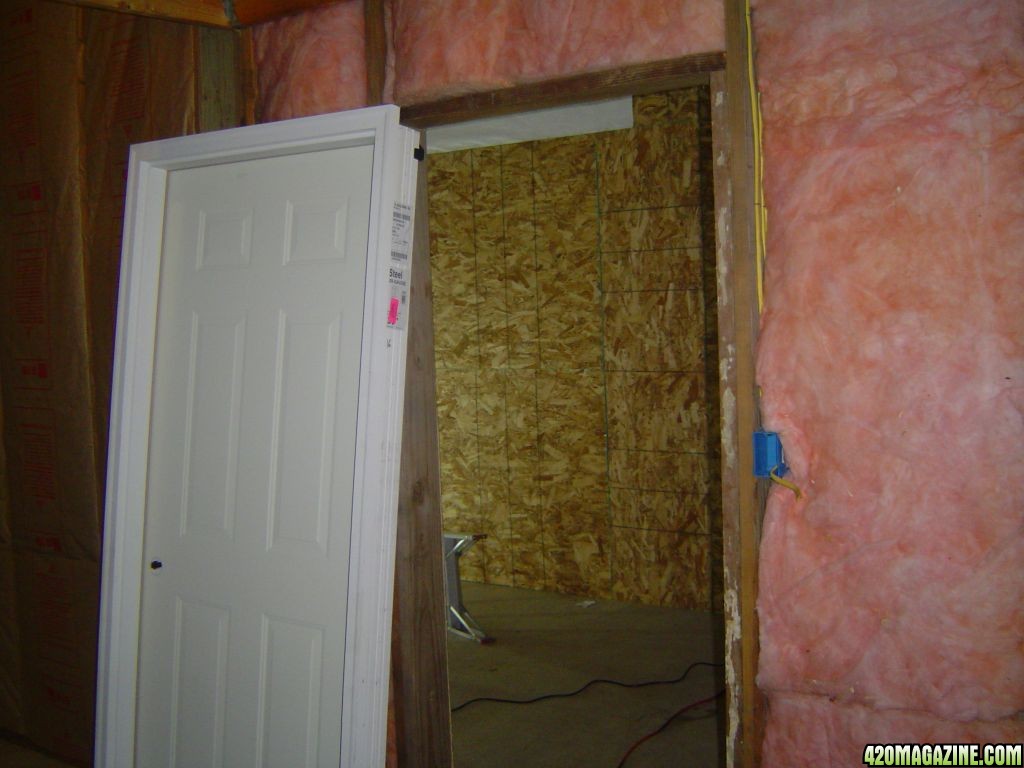
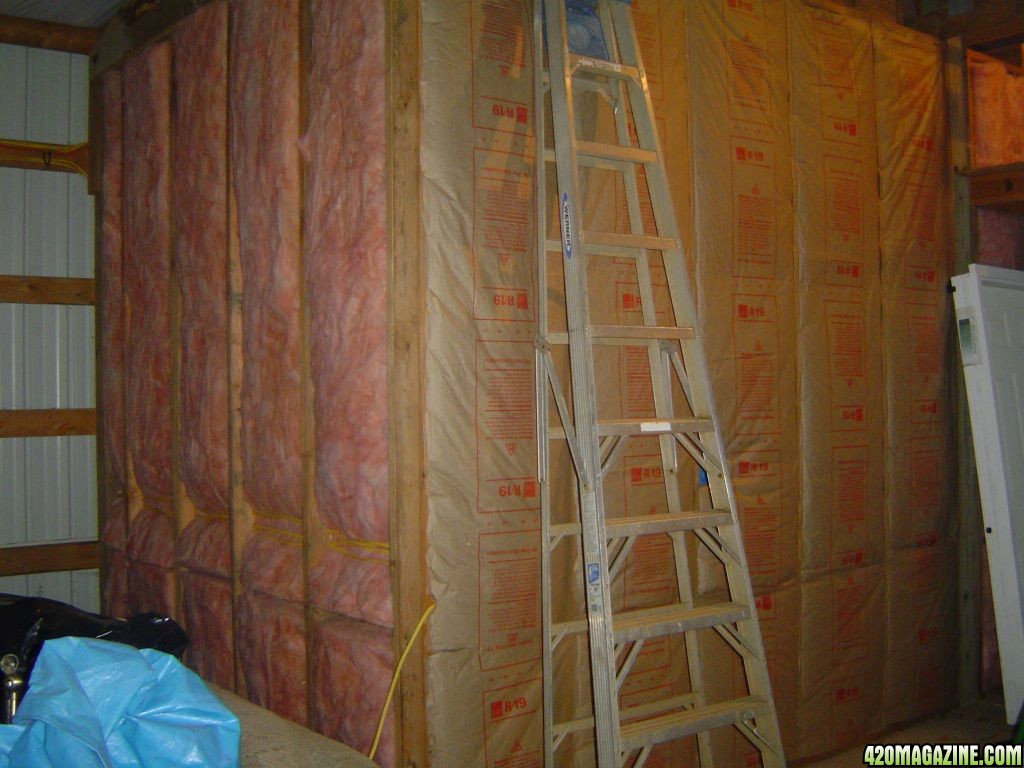
So far I have had a new 200A service to the building (where the garden will be) installed, replacing the 30A circuit that previously ran from the house. Inside the first room is under construction. It is approx. 10'x20' with a 10' ceiling. It has been framed in with 2x6s and insulated with R-19 fiberglass.

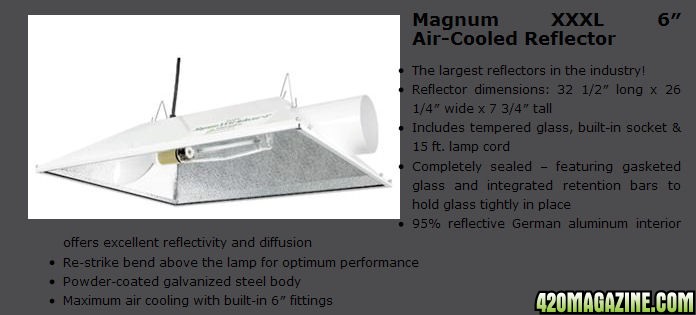
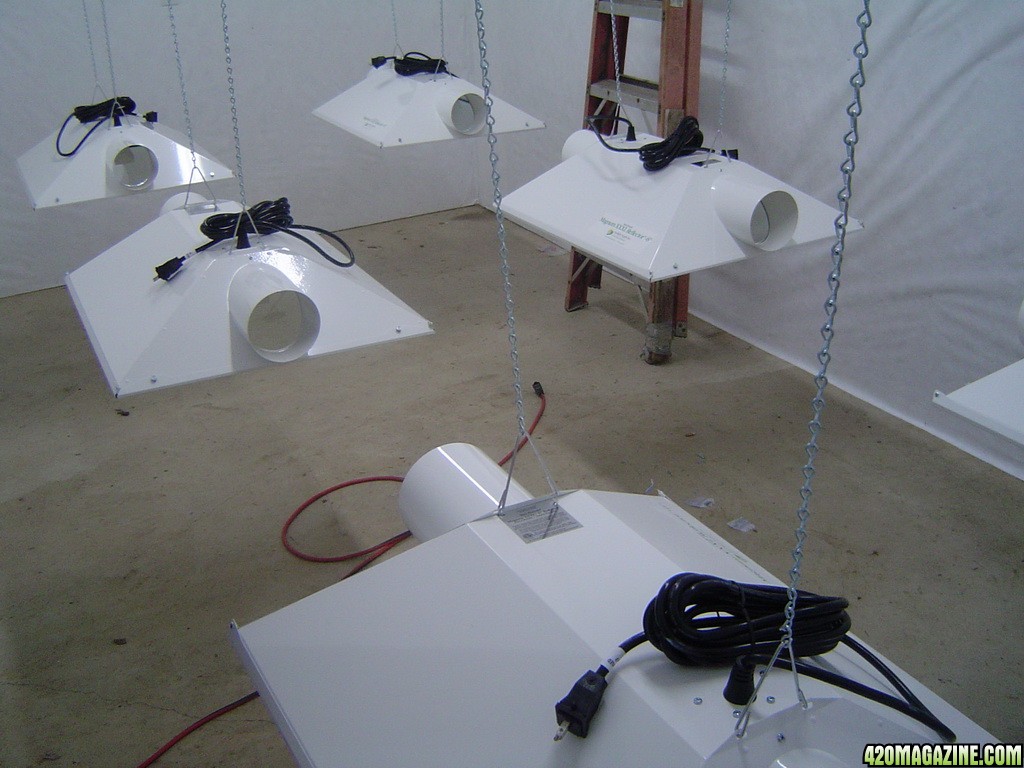
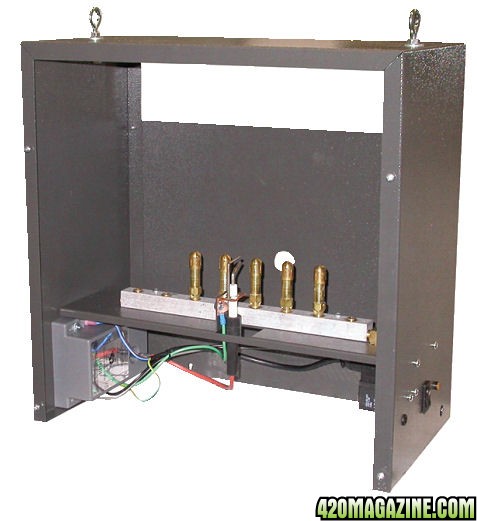
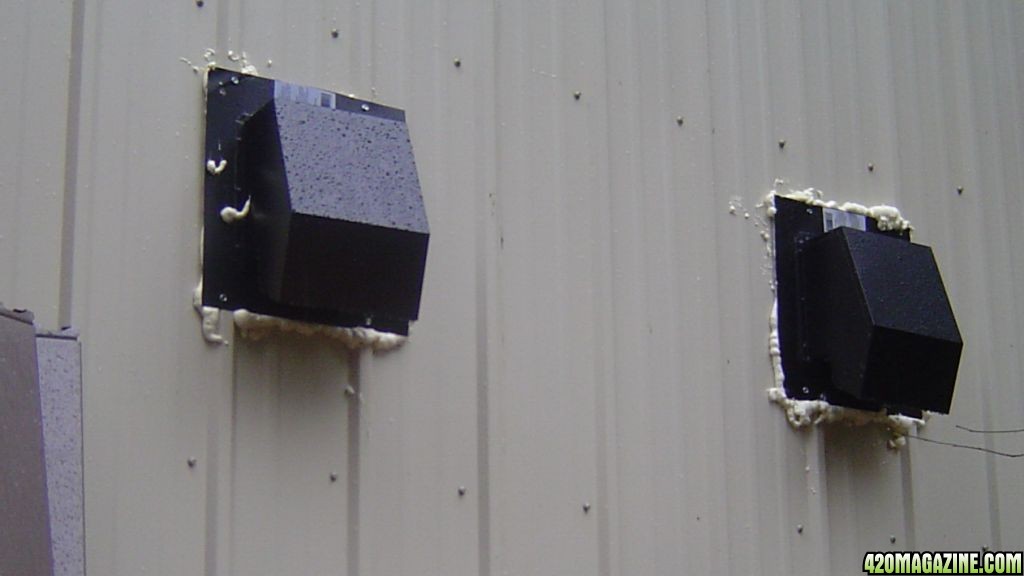
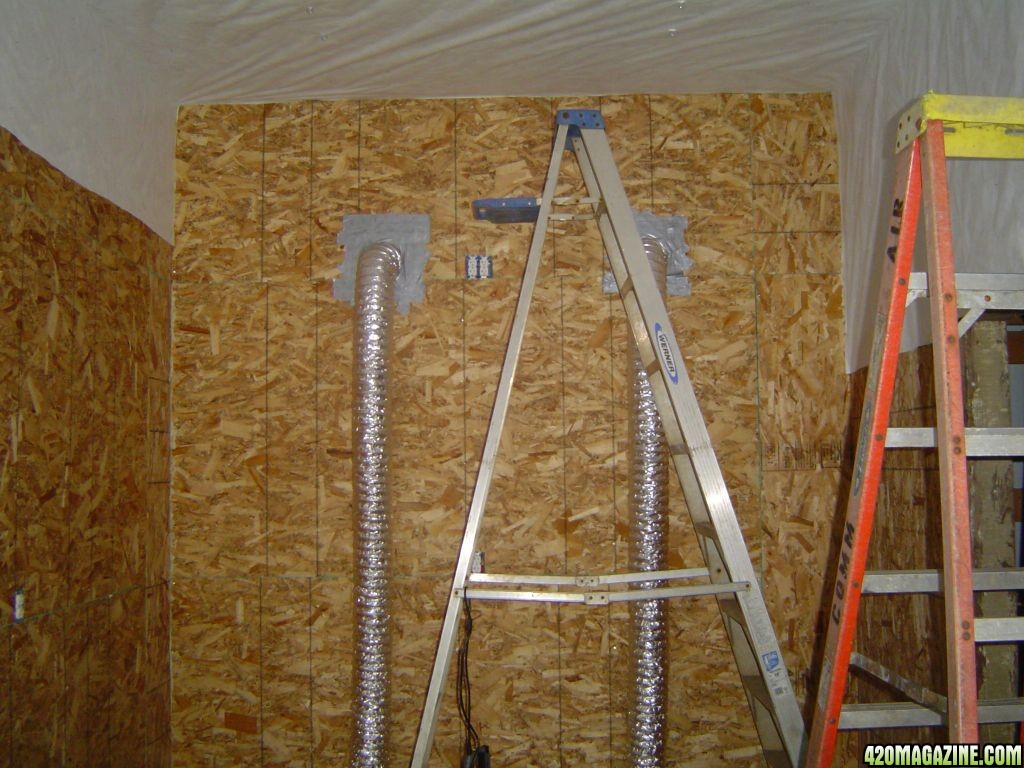
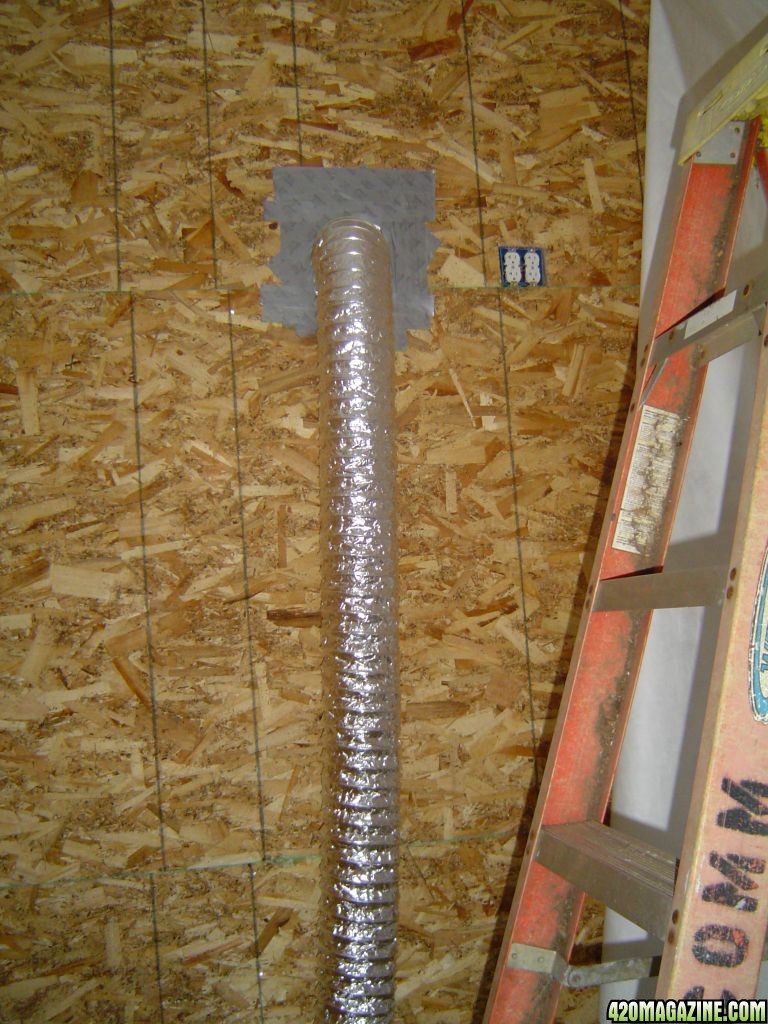
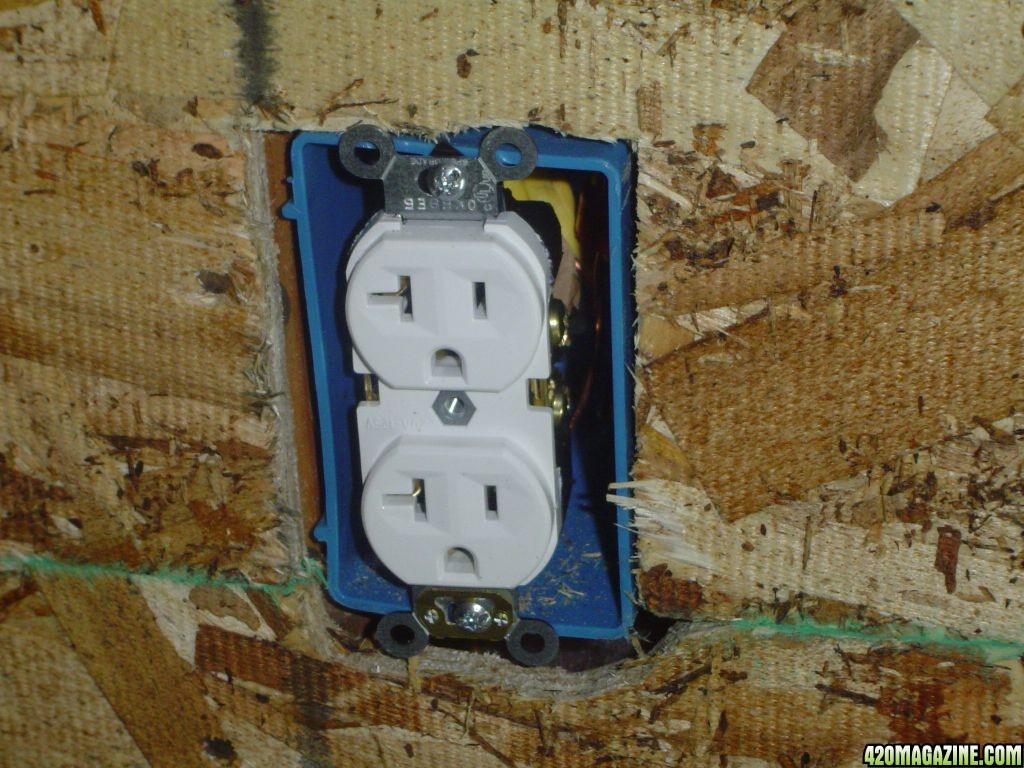
The service to the first room (the bloom room) has 3 circuits run to it. A 20A circuit for wall fans, outlets, and shop lights. A 20A dedicated circuit for ventilation (lights and room), and a 30A, 240V circuit for HPS lighting.

The second room (not built yet) will be the veg./mother/clone room. It will have a 20A circuit for outlets, fans, and shop lights. It will also have a dedicated 20A outlet for T5 fluorescent lighting. This room will have a slight jog in the shape, but will be approx. 10'x20' with a 10' ceiling in about 2/3 of the room, reducing to about 7.5' in the other 1/3.

Water has been run through the walls to a location in the second room. Both rooms will be behind metal exterior doors.

I neglected to take any photos so far, but I will take some today to catch everyone up and will continue to update as we go...
 
Sounds like its gonna be a nice looking room...

are you putting the rooms up yourself bro? sounds like mad work lol
 
OK, here we go...

This is a shot of the outside framing (has not been skinned yet).

DSC00667.JPG


This is another shot of the top showing the 240V outlet where the panel will be mounted. The ballasts will be mounted up here, out of the room, after the insulation is laid in and skinned over...

DSC006681.JPG


This is a shot of the ceiling with Tyvek applied and shop lights hung.

DSC00666.JPG


This shows the outside view of the lighting vents. Spray foam got a little crazy...

DSC006651.JPG


This shot shows the lighting vents from the inside. The exhaust will be on the left...

DSC006641.JPG


This one shows the bundle of Romex going into the wall.

DSC006621.JPG


To the right in this next photo is the pvc water line and valve which will be in the second room (veg.) to be finished later.

DSC006611.JPG


This is a detail of the main panel. A separate sub-panel will be added upstairs for lighting control.

DSC006601.JPG


This shows the lighting cooling exhaust. To the right of the vent line is a dedicated 20A outlet for vent fans and an air scrubber. That outlet is 8ft. off the floor.

DSC006591.JPG


This shows an outlet up close. OSB was used to panel the room. We simply cut each outlet out before hanging the sheets.

DSC00657.JPG


Here is the metal door ready to go in...

DSC00655.JPG


This one shows a detail of the outside framing. All of it will be sheeted eventually.

DSC00654.JPG


More to come later...
 
Hey there Kickstart, good to see you back. I've wondered about you...figured you were busy with your life. I look forward to seeing more of your excellent work. Peace.
 
Hey Freak! Good to see you too! Life got a little crazy during the summer... One of the guys I ride with had an accident (a bad one) when a small group of us were out one day... I stopped to help and told the others to split... I took the hit; got a DUII (as did my buddy). That, and the move (to our new house) tore up all my free time.

Well, anyway... Very good to see you again, and thanks for the warm welcome back!
 
OK, time for another update. When I went to energize and test the water system yesterday I discovered I had no pressure/flow at all. A quick walk around the property revealed that a faucet I just recently fixed had burst during a very cold single-digit cold snap we had about a month ago. I fixed it by cutting the pipe off at the ground level and gluing a cap on... Still no pressure! Another walk revealed a second broken faucet that I dug up and replaced. Finally we have flow! Great pressure too! I will take some photos of the water system and how it was tied in to the existing system and will post photos later...

My wife and I also finished the Tyvek on the interior walls and ceiling. The whole room is a white blur now. Tyvek is a very good reflective material, durable, and a vapor barrier. Easy to clean, easy to replace if needed.

The next part of the plan is to install the metal door and start bringing in equipment. First will be lighting, ventilation, an air scrubber, a CO2 generator and fuzzy logic controller. A load of clones is cooking in my EZ-Clone machine right now, so we should be opperational in the next week or so...
 
How many total watts on the lights and equipment..... and How many estimated KWH per month are you goinn to be consuming?
How big is the place you are locatd in....????

I am going to be setting up a new place soon... and electrical consumption is a concern... I dont want to over do it.

I am considering 3k flowering and 2 400 veg... with 650 fan etc... I expect to be using 2000kwh per month... in a 2800/sq 4 bedroom. or I might just get a commercial space and go 2 4k rooms flip flopped. with 3 600's for veg
 
Well, here where we live we have a limit on # of plants but not size, and 3 "patients" ea. grower can grow for in addition to oneself... I have always used 6KW bloom and 2, 8 bulb T-5s for moms/babies (4x40W flouro for clones), as I will here. Since growing is legal here our power bill flux is not really a concern, but you have the right idea with the latter setup you mentioned...
 
Just picked up the new hoods for the bloom room. They are Magnum XXXL 6" hoods. I picked up 6 of them. Here is a photo with description...

magnum_xxxl.jpg


I have used these hoods before at my last garden, but they were left there for my brother to take over. I am convinced they are one of the best available; the footprint of the light is incredible. I will hang these tomorrow probably for a test fit on the layout of the room.
 
Thanx Skoot for the kind words, but I won't be the one stopping (for an accident) next time; that $h!t is expen$ive! Oh well, had to do it.

I should have an update or two in the next day or two... This final stage (for the first room) is going quickly now that the hard work is done. Hopefully it will be up and running very soon.
 
Time to take a look at the CO2 system... I am using a C.A.P. GEN-2E CO2 generator. It is a propane powered generator with electric start (no pilot light). It has 5 burners, expandable to 8; each burner produces 3cu. ft. CO2/hr. Here is a shot showing internal components...

gen-2e.jpg


I am controlling the generator with a C.A.P. PPM-2A Fuzzy Logic CO2 controller. Here is a shot with descriptions...

ppm-2a.jpg


The controller is plugged in outside to check calibration today. Most outside air is 250-500ppm (400ppm nom.) and inside air can be as high as 900ppm. Optimum growth levels are debated by many, but generally fall between 1000-2000ppm. I will be running at 1500ppm. 5000ppm can be hazardous to people and animals. In generator mode the controller is accurate to about ±250ppm. In fuzzy logic mode (for CO2 cylinder) it is accurate to about ±25ppm.
 
If I were the sort, I'd be green with envy bro. But I'm not...just happy you're getting your grow going again. Nice planning and implementation. Best wishes.
 
Thanks Freak. We have been legally growing here for 9 years now, so we figured when we finally moved into a permanent residence we should build our grow areas to the hilt. Since we do not have a weight limit on plants that are blooming I have pictured a large SCROG grow in our garden. I really want to maximize and fine tune my routine... I suppose every grower wants that... Anyway, I am starting to wander... We will see how it turns out...

I love it here in the PNW!
 
time to take a look at the co2 system... I am using a c.a.p. Gen-2e co2 generator. It is a propane powered generator with electric start (no pilot light). It has 5 burners, expandable to 8; each burner produces 3cu. Ft. Co2/hr. Here is a shot showing internal components...

gen-2e.jpg


i am controlling the generator with a c.a.p. Ppm-2a fuzzy logic co2 controller. Here is a shot with descriptions...

ppm-2a.jpg


the controller is plugged in outside to check calibration today. Most outside air is 250-500ppm (400ppm nom.) and inside air can be as high as 900ppm. Optimum growth levels are debated by many, but generally fall between 1000-2000ppm. I will be running at 1500ppm. 5000ppm can be hazardous to people and animals. In generator mode the controller is accurate to about ±250ppm. In fuzzy logic mode (for co2 cylinder) it is accurate to about ±25ppm.

very nice
I have the CAP Gen1 2 burner..expands to 4 burners..NG
 
Back
Top Bottom