fanleaf
Well-Known Member
Hello everyone. I just wanted to show you my recipe that I make butter with.
I had a hard time finding a recipe for fresh frozen trim so maybe this will help a few others.
For this batch I'm making 2 pounds of butter.
Ingredients; 11.2 ounces of trim, 8 sticks of REAL UNSALTED butter.
11.2 ounces of fresh frozen trim. That seems like a ton but it will dry up much lighter. My trim does not have large fan leafs. Just the smaller ones. Basically when I harvested my plants anything trimmed went in here as well as any small fans that had glands on them.
Now
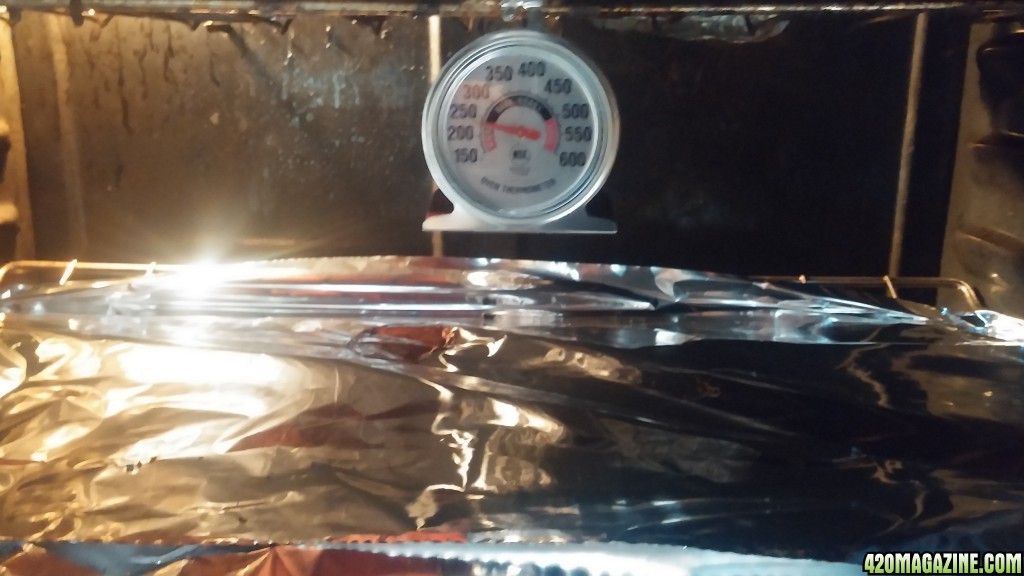
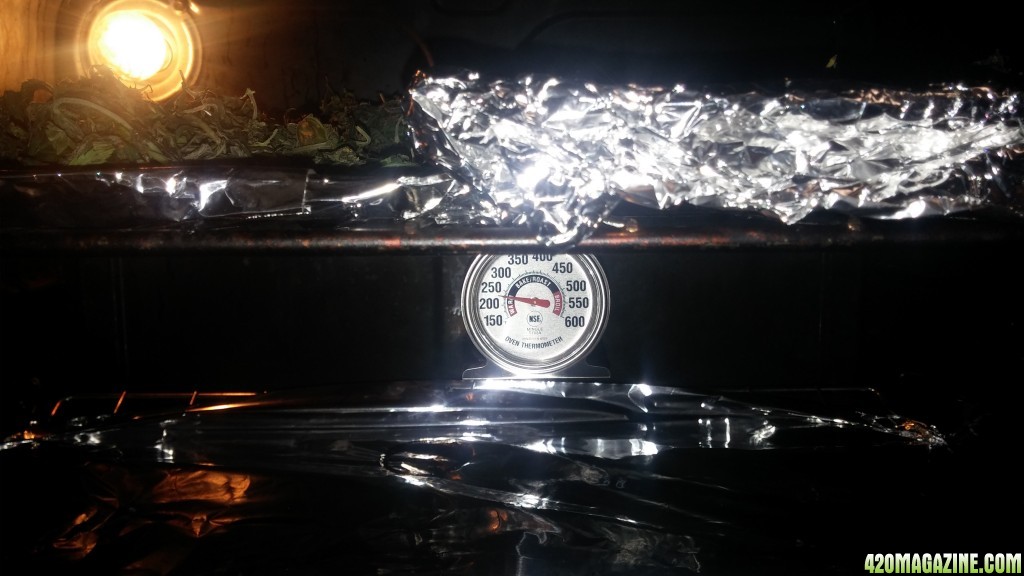
I covered a few cookie sheets in tin foil and spread the trim out evenly on the 2 cookie sheets.
VERY IMPORTANT!!! I have a gas oven and my first butter attempt failed because my oven temp is not what you set it to. My actual oven temp is almost 40 degrees off of the setting you set it on so I highly suggest you get one of these thermometers.
Now, the oven is for the decarb process which activates the THC for food use. This process is fairly temperature sensitive.
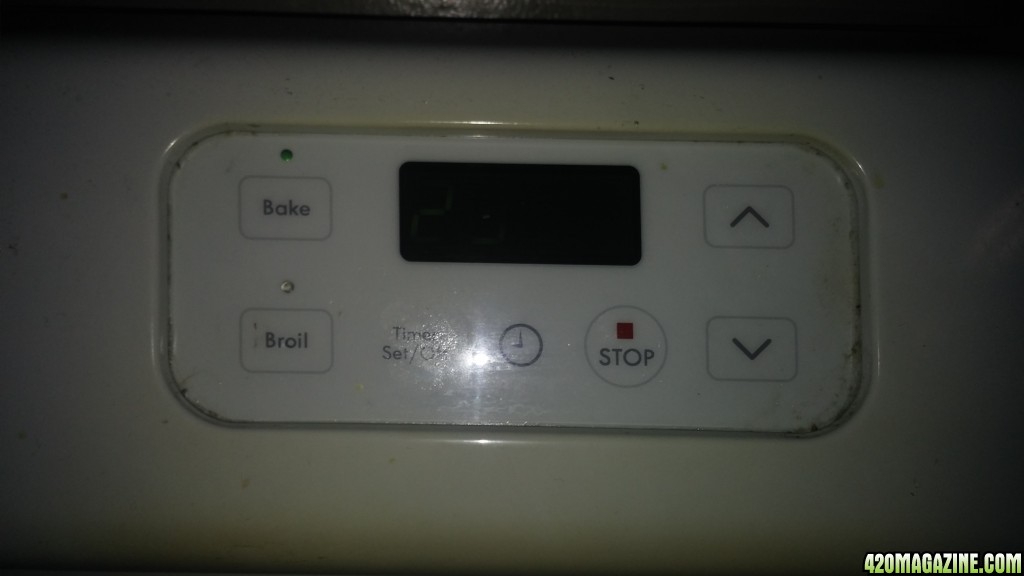
Preheat your oven to an actual temperature of between 225 and 240 degrees.
I say actual because for me to get my oven to 240 degrees I had to set my oven to 290 degrees because my oven thermostat is wrong and so I failed my first attempt. I confirmed it was wrong with my new little thermometer and also double checked with my handheld infrared thermometer.
Now, 11.2 ounces is quite a bit of material so if you don't use as much as I did then your time in the oven may be different than mine but go ahead and place your material in your preheated oven.
I had to decarb for 1 hour and 15 minutes just because of the amount of material. Depending on how much you use yours may be done in 30-45 minutes or up to an hour and 15 minutes like mine.
Once in the oven let it go at first for 15 minutes. After 15 minutes are up open the oven and with some tongs turn the material over. Your trying to mix it up just a bit.
After you have turned the material just shut the oven door and mix up the material every 10 minutes after that until your material is done.
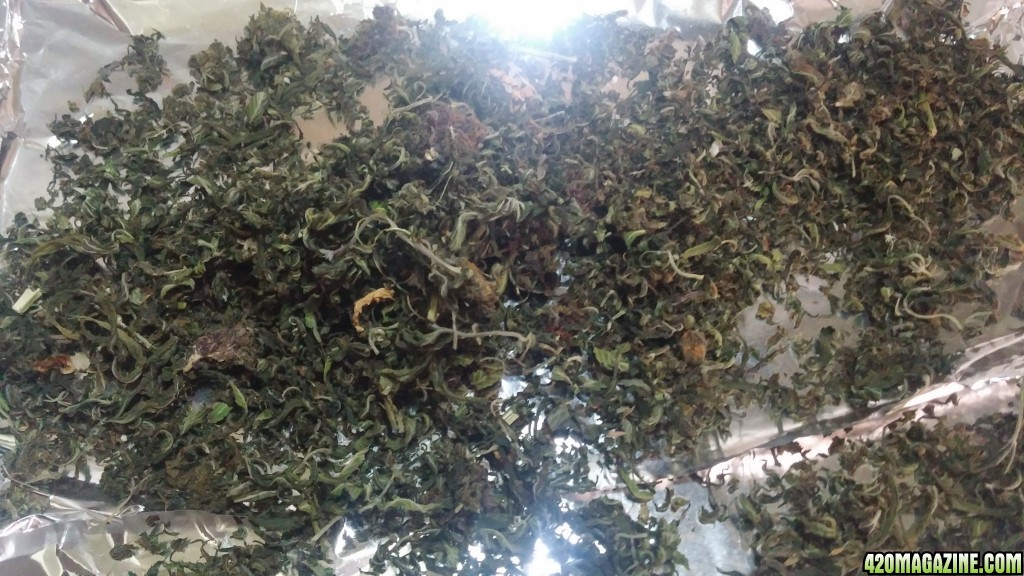
How you know when your material is done is pretty straight forward. You can feel when mixing it up it will be completely dry and somewhat crispy and start to take on a brown color. That's when it's done decarbing.
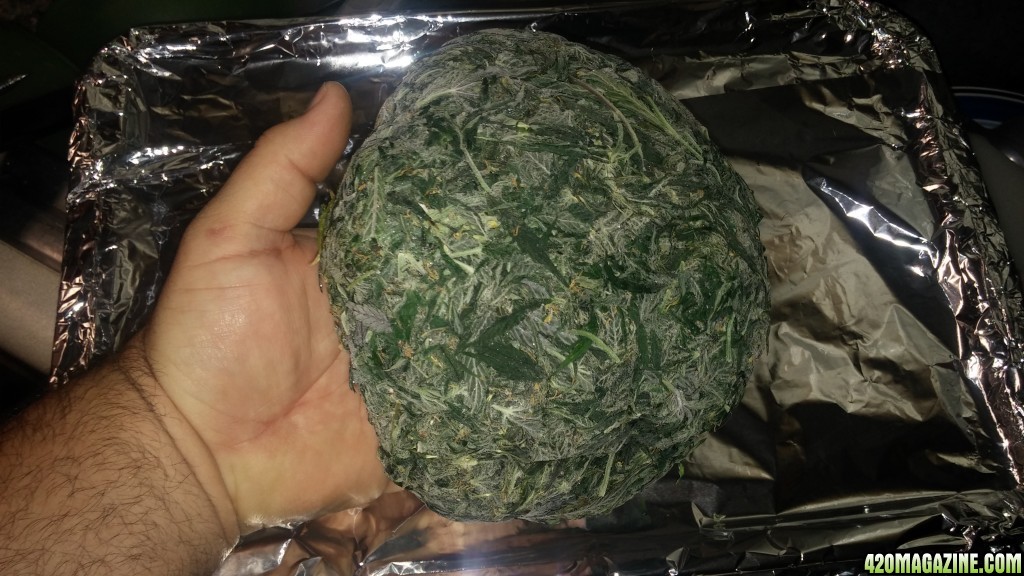
When I pulled my material out of the oven it went from 11.2 ounces to just under 4 ounces. Here is what my decarbed material looked like.
Next
Get your crock pot out and place your 8 sticks (2lbs) butter in the crock pot along with 5 cups of water. You can see the water in my picture.
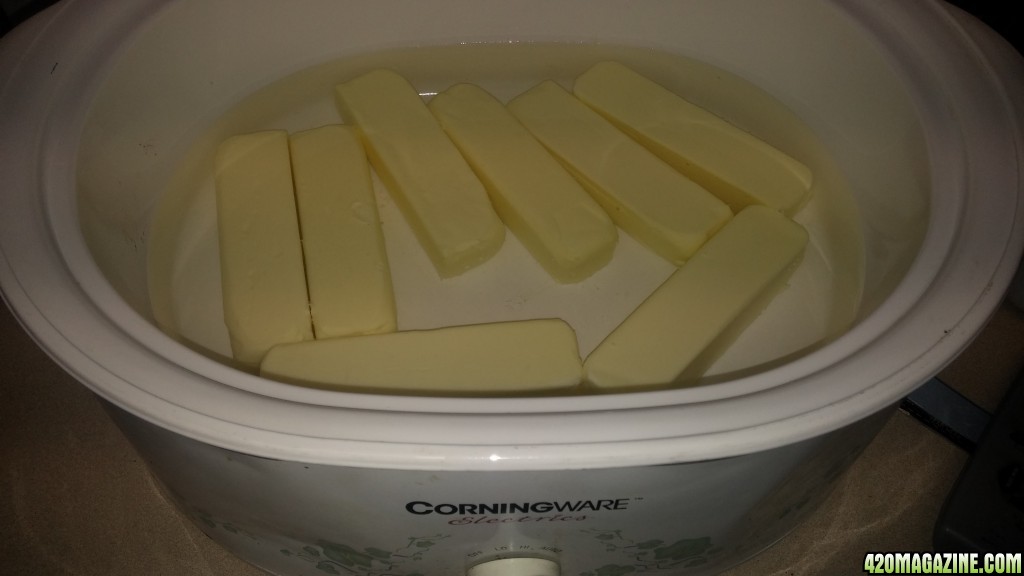
Turn the crockpot on low to get the butter melted and put the lid on.
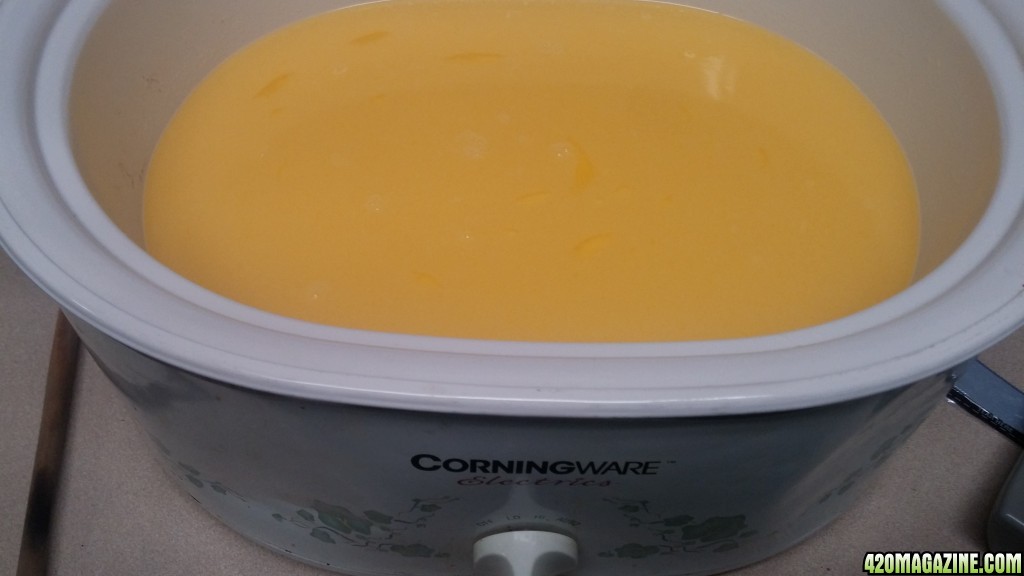
It takes quite a while for it to heat up but after quite a while my crock pot runs at about 180-190 degrees on low.
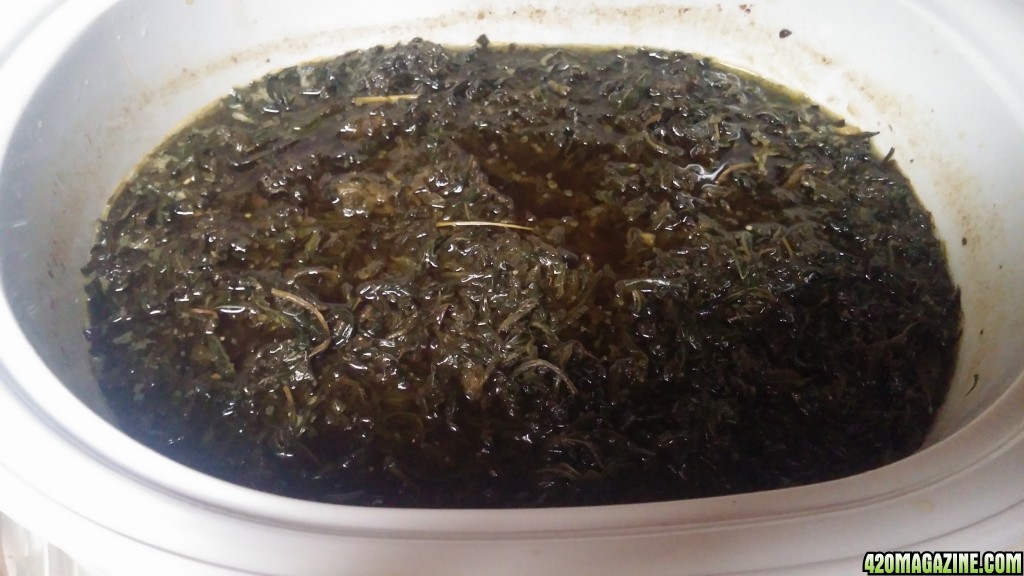
Now add your decarbed material into the butter. It should look like this.

Stir it around using a wooden spoon or something. Get it all wet and if you need more water to make it easier go ahead, it won't hurt a thing.
Let this simmer on low with the lid on for 2.5-3 hours stirring every 15-30 minutes. After 2.5 hours it should look about like this.
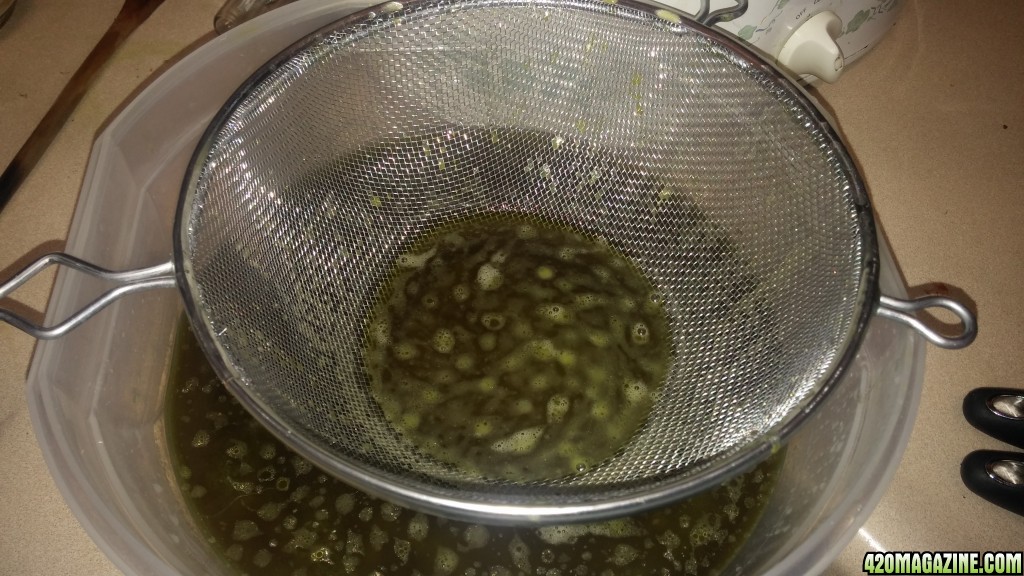
At this point your butter needs to be strained and cleaned further if you wish. I use a bowl with a metal strainer and 3 layers of cheesecloth. I had to do to cheesecloth's full because of the amount of material I used.
 I forgot to take a picture of the cheesecloth but I lay them 3 layers thick in the strainer above and load the material into the cheesecloth. Once it's loaded I gently wrap up the cloth and while still pretty hot I wring the cheesecloth out by squeezing and twisting as tight as I can to get all of the butter out and into the big bowl. When the cheesecloth is wrung out as good as I can get it I take the bundle over to the sink and under the faucet let it soak as much water up as it can so I can squeeze it again over the strainer and get more butter out of it.
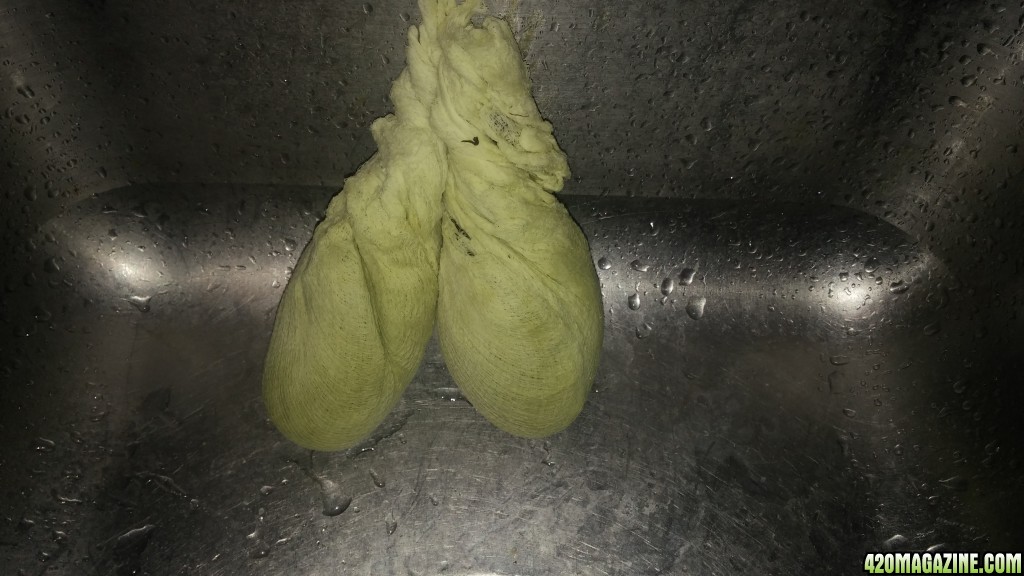
When your done your cheesecloths should look like this..
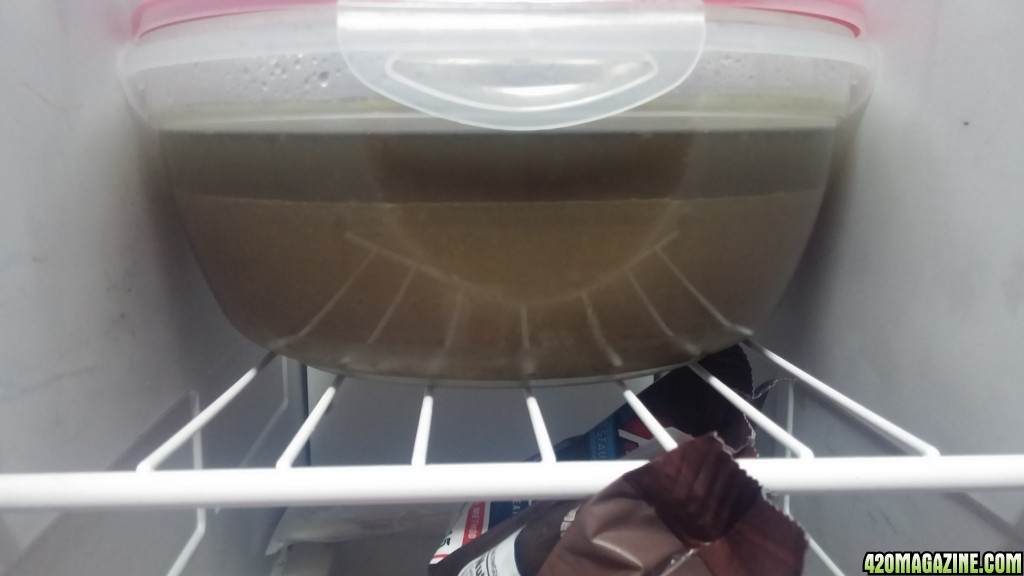
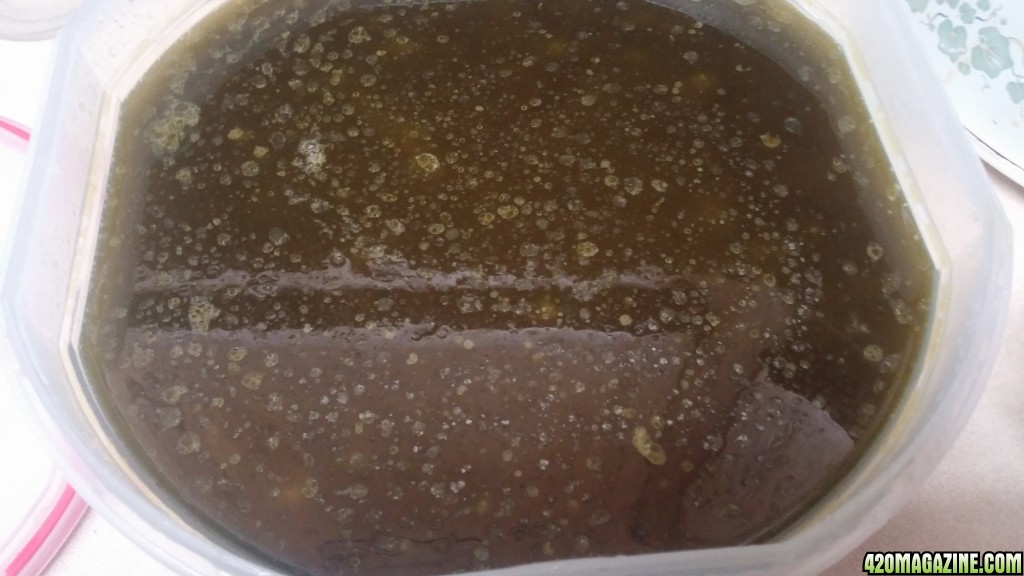
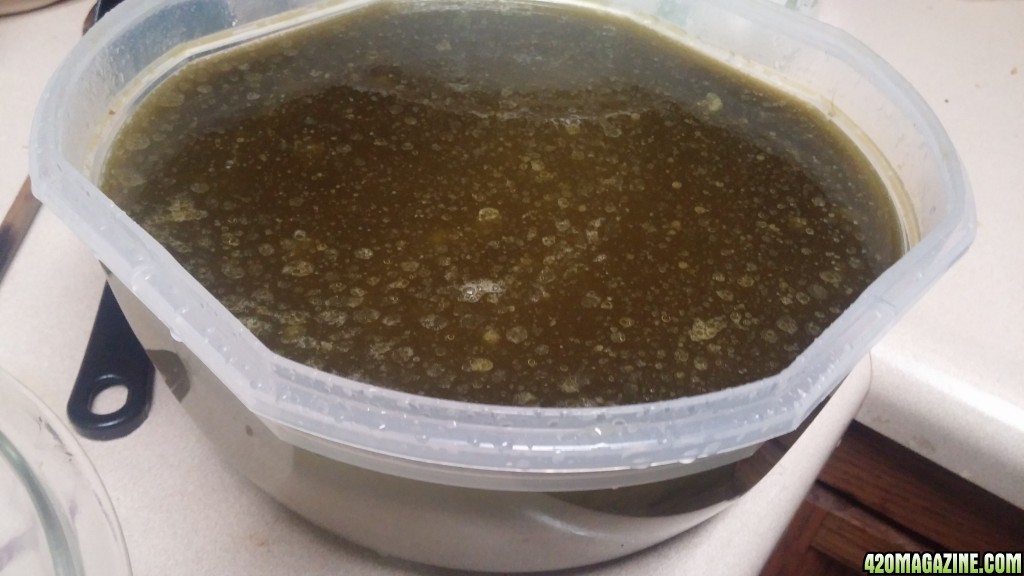
And your butter and water should look like this...
Now put the lid on your butter/water mix and place it in the refrigerator.
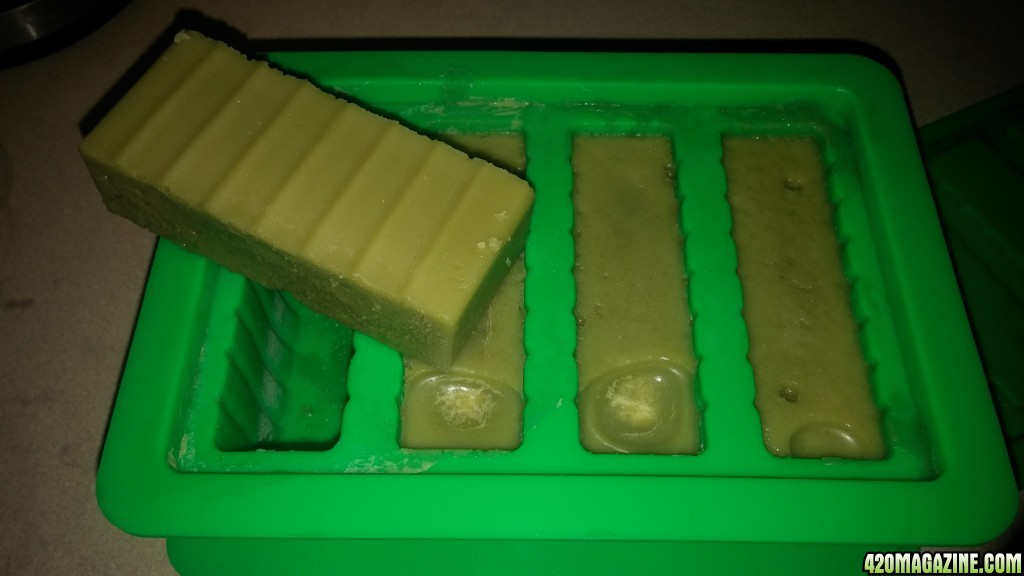
After a while (several hours)your butter will come to the top and get hard and the dirty water will be underneath the butter. At that point you can just break up the butter from the top and call it done.
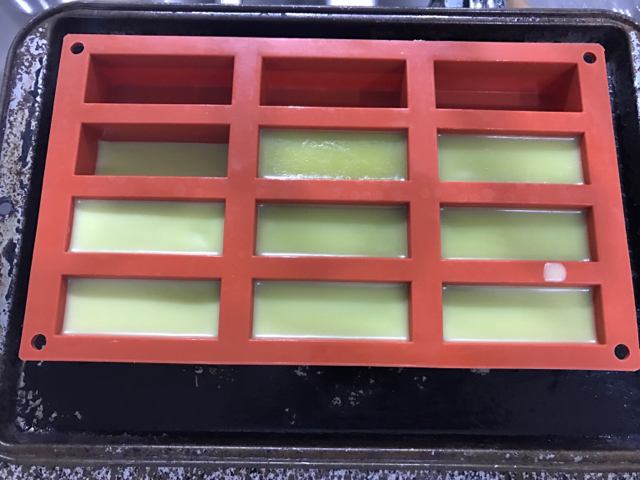
If you want you can add one more process to make your butter better if you want to take out some of the stronger taste. This will NOT affect how strong your butters THC content is.
Take your hardened butter only and place it in a small pan on the stove. Add a cup or 2 of new fresh water and put on very low heat. Just stir around until the butter has remelted and place it back in the refrigerator. Once it re-hardens this time you will notice the dirty water under your butter will be much cleaner than it was the first time.
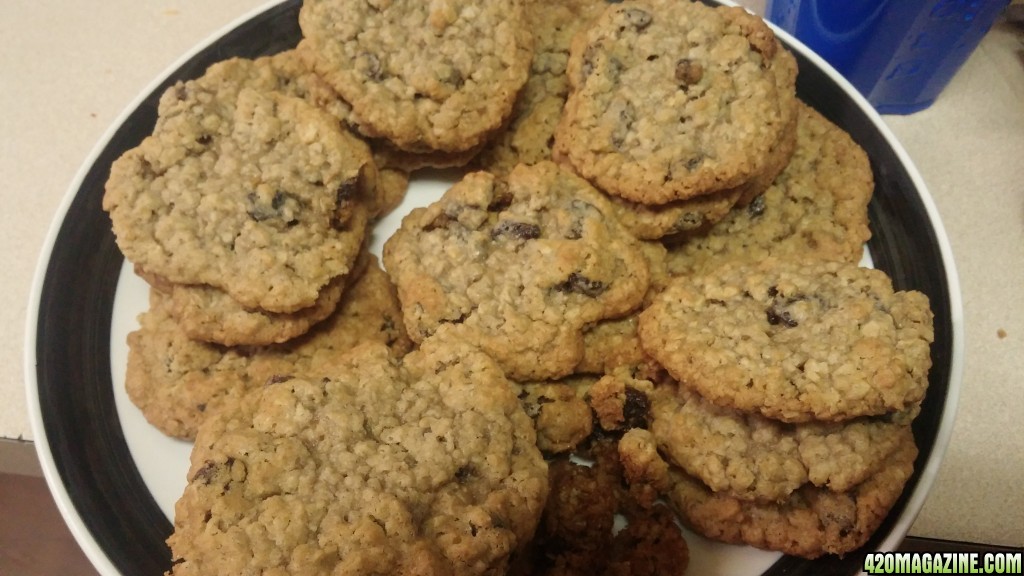
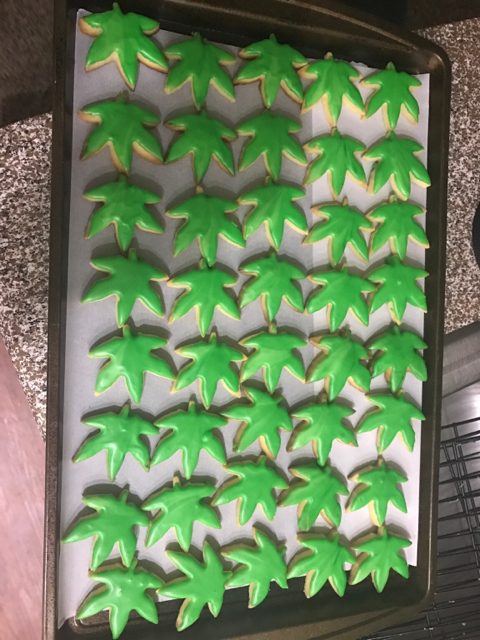
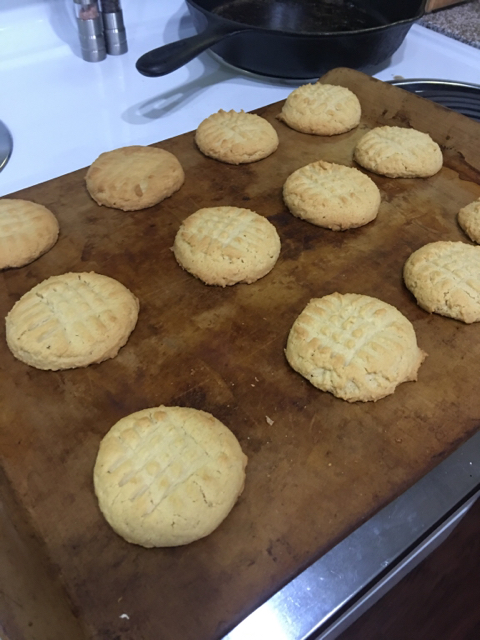
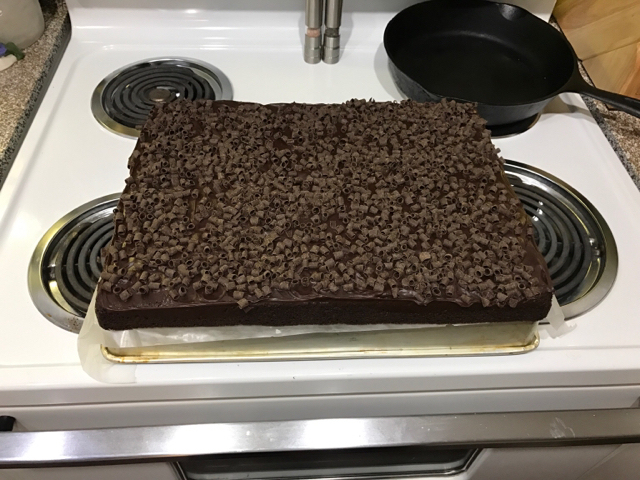
I just finished a batch tonight so I will report back with what strength it came out to in my cookies I'm getting ready to bake right now.
I hope this helps some of you! I really do.
I had a hard time finding a recipe for fresh frozen trim so maybe this will help a few others.
For this batch I'm making 2 pounds of butter.
Ingredients; 11.2 ounces of trim, 8 sticks of REAL UNSALTED butter.
11.2 ounces of fresh frozen trim. That seems like a ton but it will dry up much lighter. My trim does not have large fan leafs. Just the smaller ones. Basically when I harvested my plants anything trimmed went in here as well as any small fans that had glands on them.
Now
I covered a few cookie sheets in tin foil and spread the trim out evenly on the 2 cookie sheets.
VERY IMPORTANT!!! I have a gas oven and my first butter attempt failed because my oven temp is not what you set it to. My actual oven temp is almost 40 degrees off of the setting you set it on so I highly suggest you get one of these thermometers.
Now, the oven is for the decarb process which activates the THC for food use. This process is fairly temperature sensitive.
Preheat your oven to an actual temperature of between 225 and 240 degrees.
I say actual because for me to get my oven to 240 degrees I had to set my oven to 290 degrees because my oven thermostat is wrong and so I failed my first attempt. I confirmed it was wrong with my new little thermometer and also double checked with my handheld infrared thermometer.
Now, 11.2 ounces is quite a bit of material so if you don't use as much as I did then your time in the oven may be different than mine but go ahead and place your material in your preheated oven.
I had to decarb for 1 hour and 15 minutes just because of the amount of material. Depending on how much you use yours may be done in 30-45 minutes or up to an hour and 15 minutes like mine.
Once in the oven let it go at first for 15 minutes. After 15 minutes are up open the oven and with some tongs turn the material over. Your trying to mix it up just a bit.
After you have turned the material just shut the oven door and mix up the material every 10 minutes after that until your material is done.
How you know when your material is done is pretty straight forward. You can feel when mixing it up it will be completely dry and somewhat crispy and start to take on a brown color. That's when it's done decarbing.
When I pulled my material out of the oven it went from 11.2 ounces to just under 4 ounces. Here is what my decarbed material looked like.
Next
Get your crock pot out and place your 8 sticks (2lbs) butter in the crock pot along with 5 cups of water. You can see the water in my picture.
Turn the crockpot on low to get the butter melted and put the lid on.
It takes quite a while for it to heat up but after quite a while my crock pot runs at about 180-190 degrees on low.
Now add your decarbed material into the butter. It should look like this.
Stir it around using a wooden spoon or something. Get it all wet and if you need more water to make it easier go ahead, it won't hurt a thing.
Let this simmer on low with the lid on for 2.5-3 hours stirring every 15-30 minutes. After 2.5 hours it should look about like this.
At this point your butter needs to be strained and cleaned further if you wish. I use a bowl with a metal strainer and 3 layers of cheesecloth. I had to do to cheesecloth's full because of the amount of material I used.
When your done your cheesecloths should look like this..
And your butter and water should look like this...
Now put the lid on your butter/water mix and place it in the refrigerator.
After a while (several hours)your butter will come to the top and get hard and the dirty water will be underneath the butter. At that point you can just break up the butter from the top and call it done.
If you want you can add one more process to make your butter better if you want to take out some of the stronger taste. This will NOT affect how strong your butters THC content is.
Take your hardened butter only and place it in a small pan on the stove. Add a cup or 2 of new fresh water and put on very low heat. Just stir around until the butter has remelted and place it back in the refrigerator. Once it re-hardens this time you will notice the dirty water under your butter will be much cleaner than it was the first time.
I just finished a batch tonight so I will report back with what strength it came out to in my cookies I'm getting ready to bake right now.
I hope this helps some of you! I really do.