

AfricanGrower
Well-Known Member

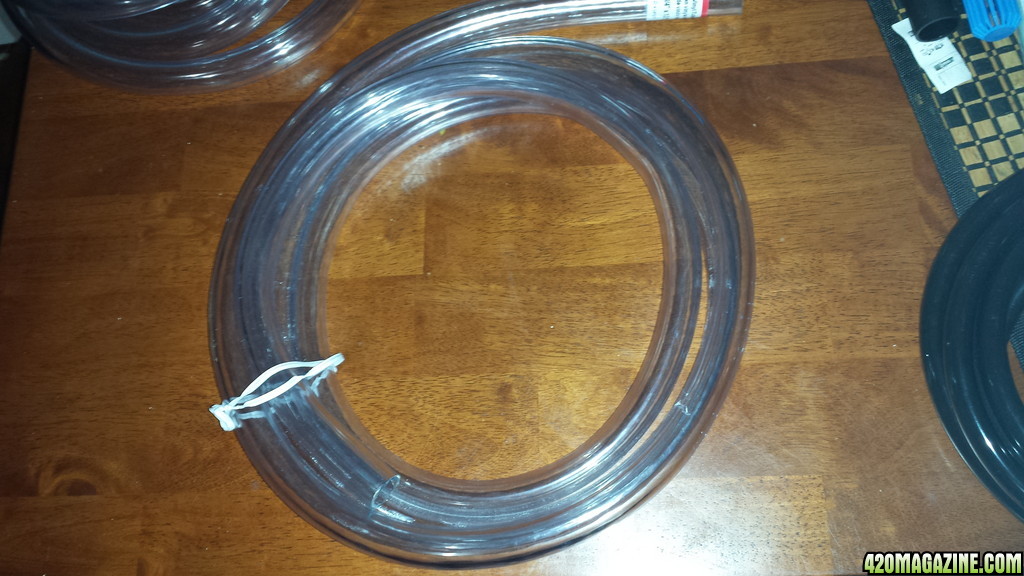
X2 black vinyl tubing ½ id (inner diameter)
X2 vinyl tubing ¾ id
X1 T-connector ½ outer diameter
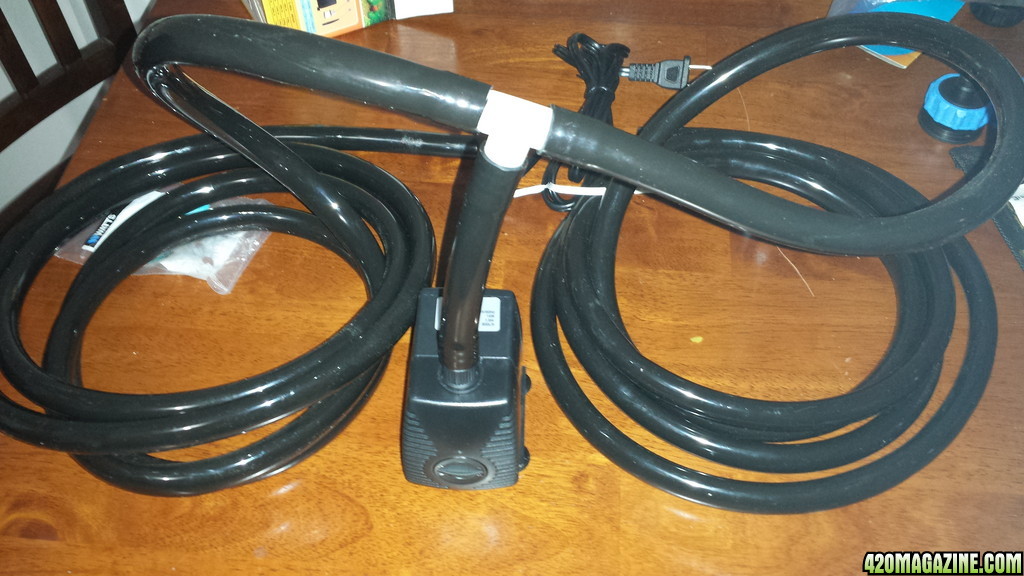
X1 210GPH submersible water pump
X2 5gal buckets
X2 sunleaves fill & drain kit
X1 45gal reservoir tank (overkill I know
") )
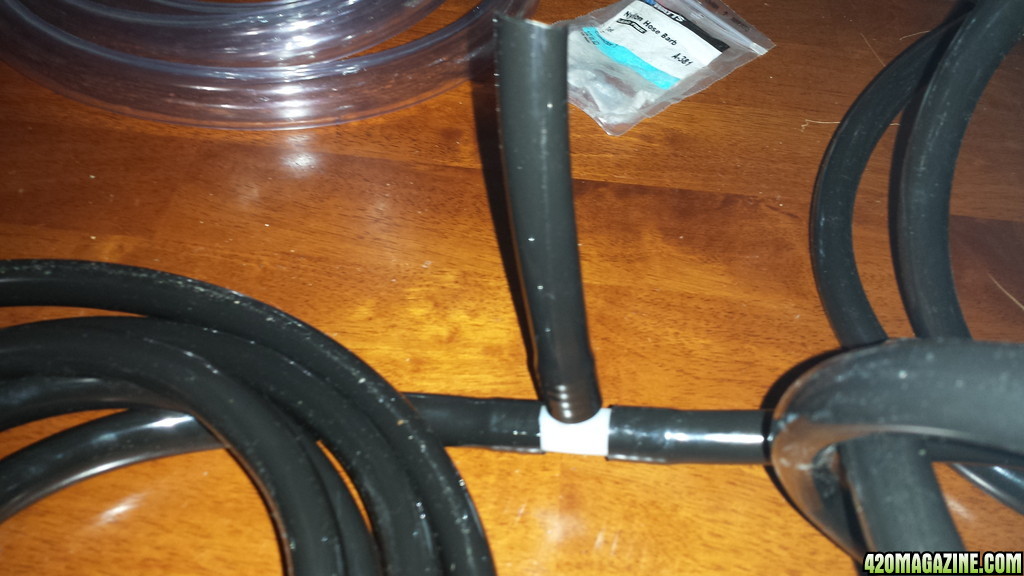
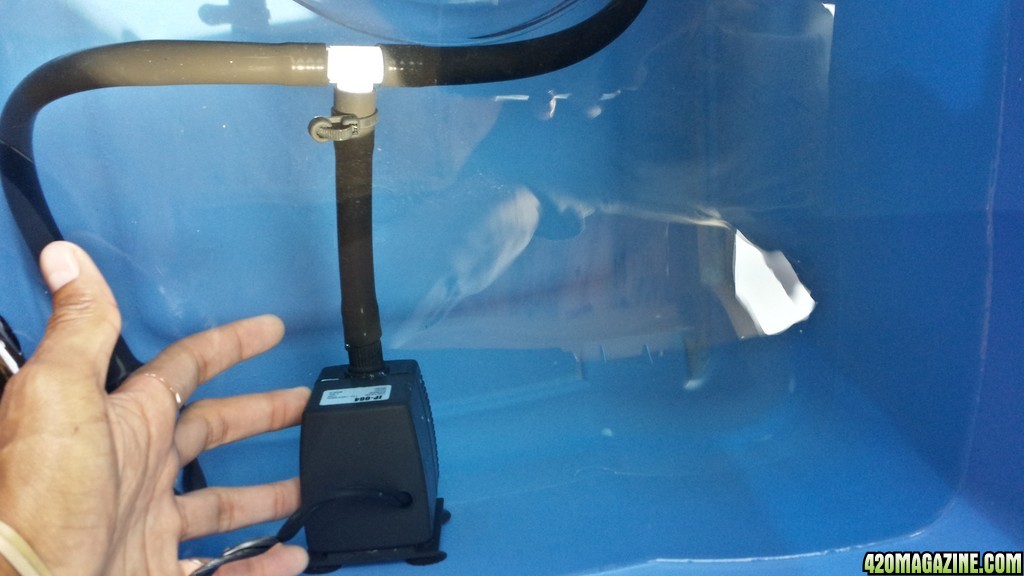
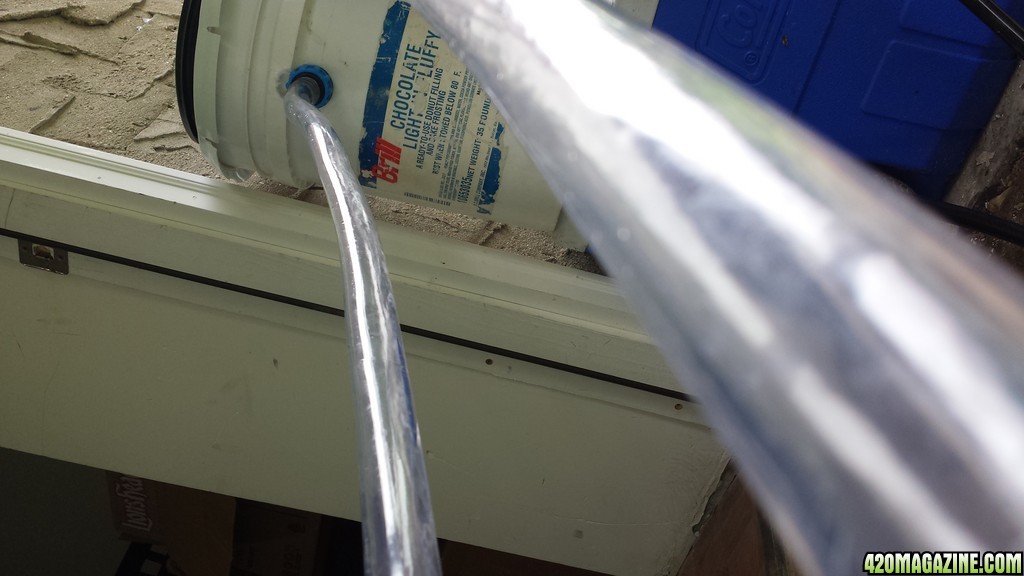
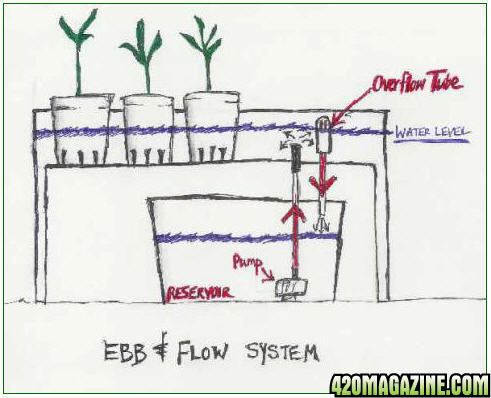
)I first took the black vinyl tubing and cut a good 3in off the end.
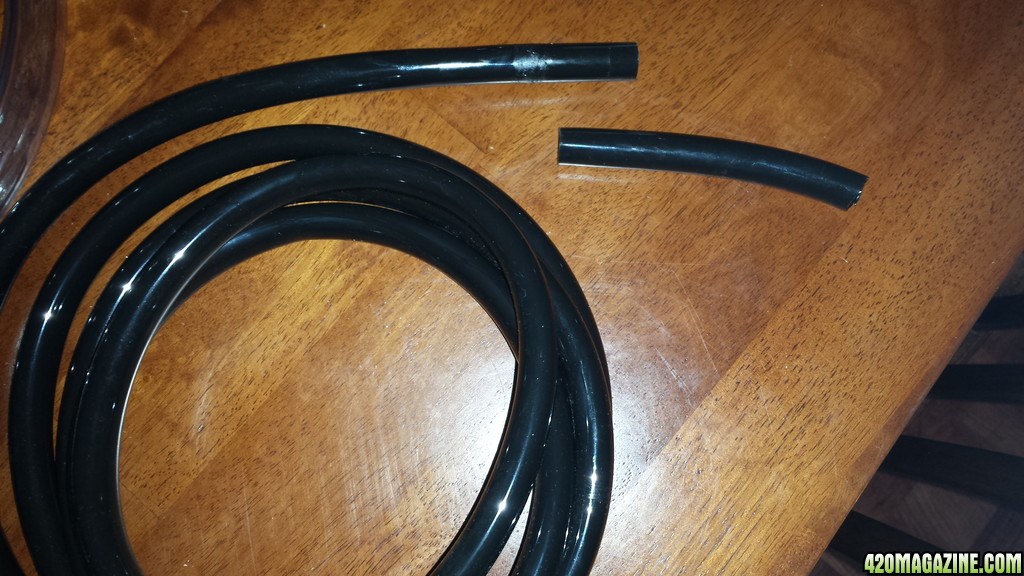
Then attached that to the bottom part of the T-connecter and the remaining two black vinyl tubing on each cross section.
Once the pump comes into play it should look something like this
 .
. 
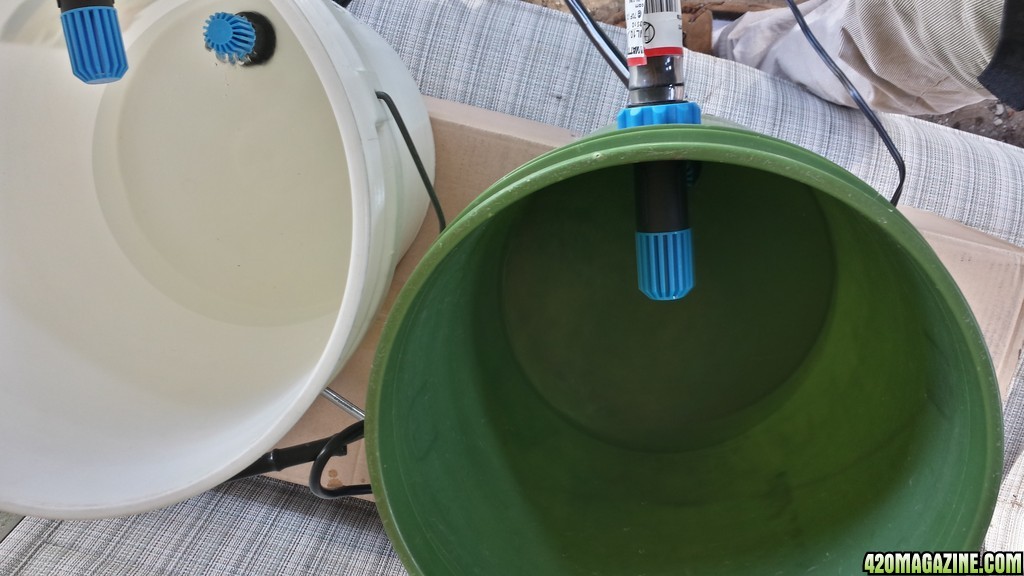
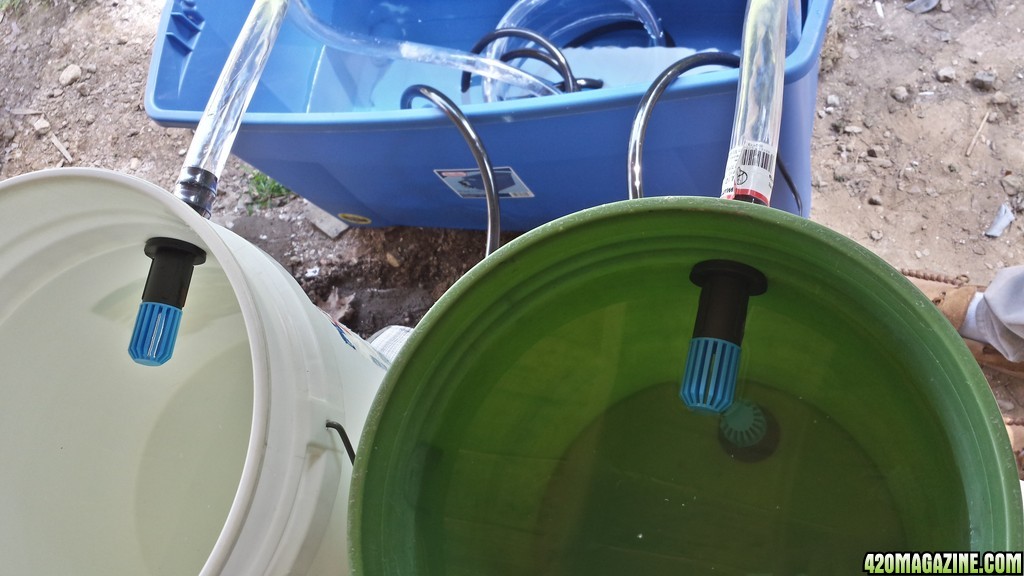
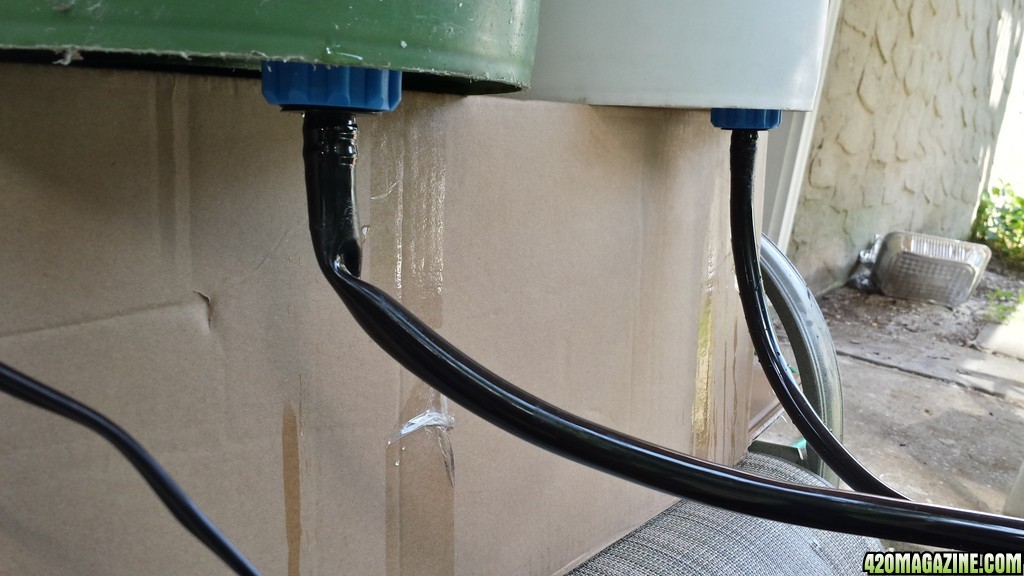
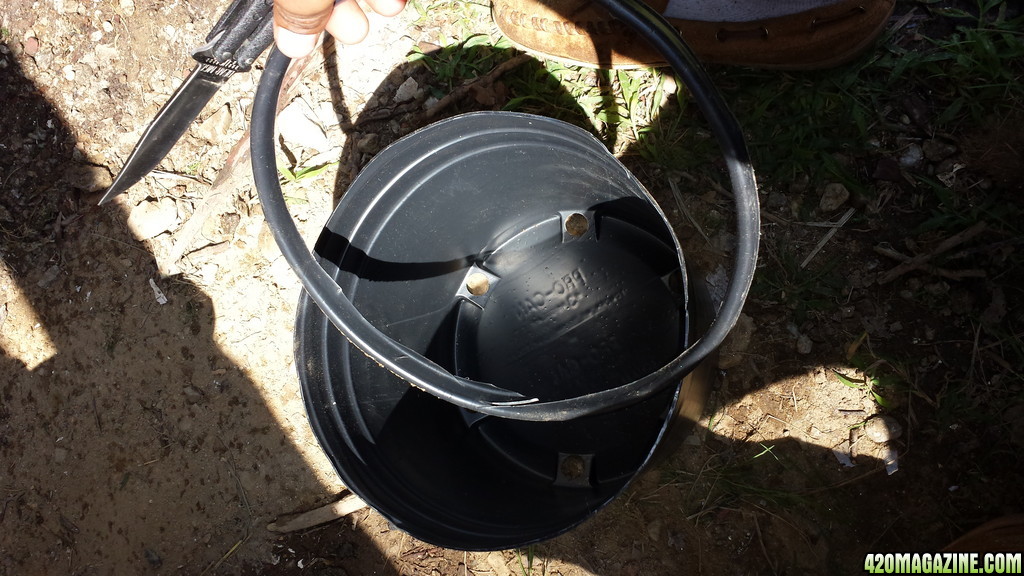
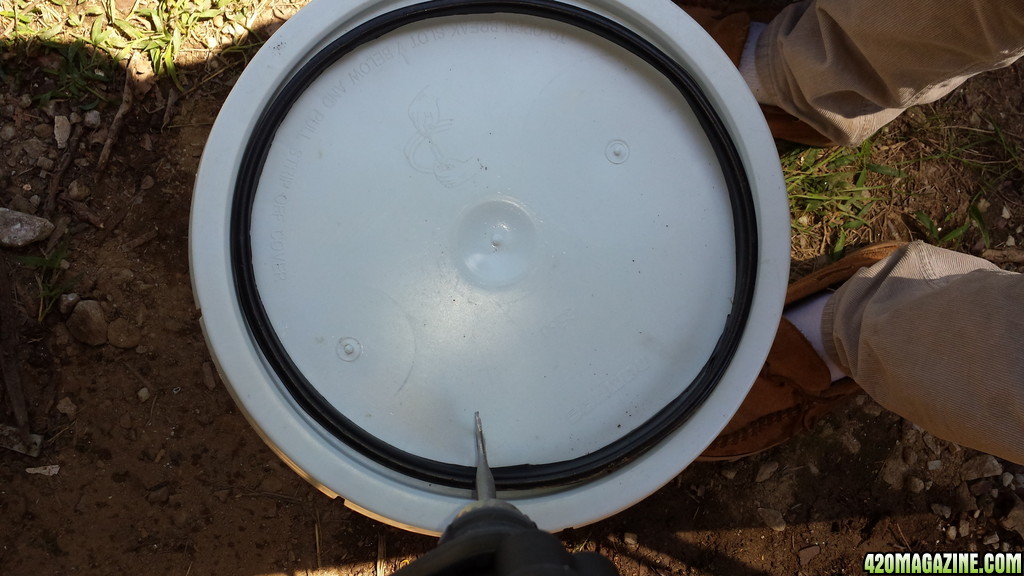
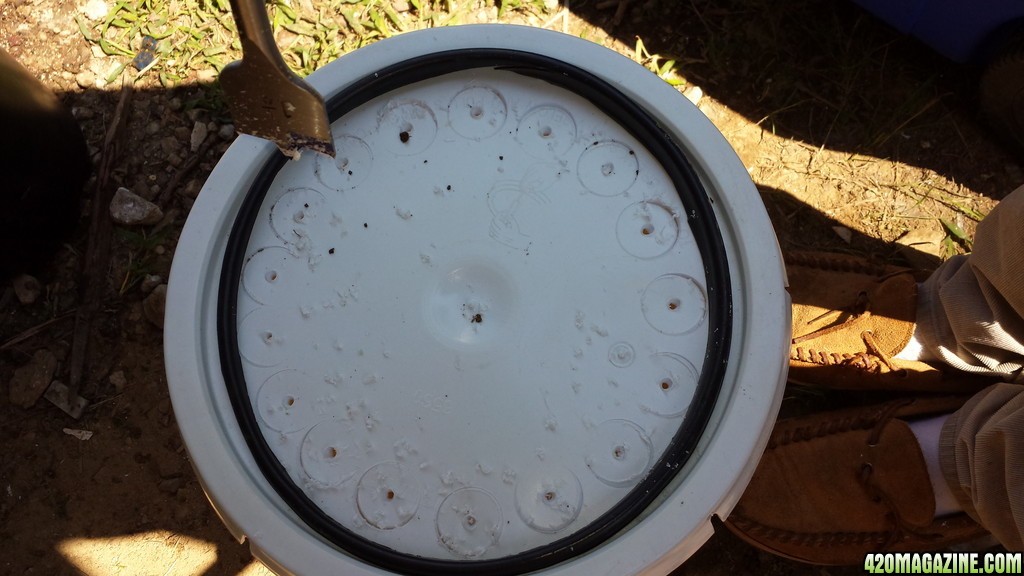
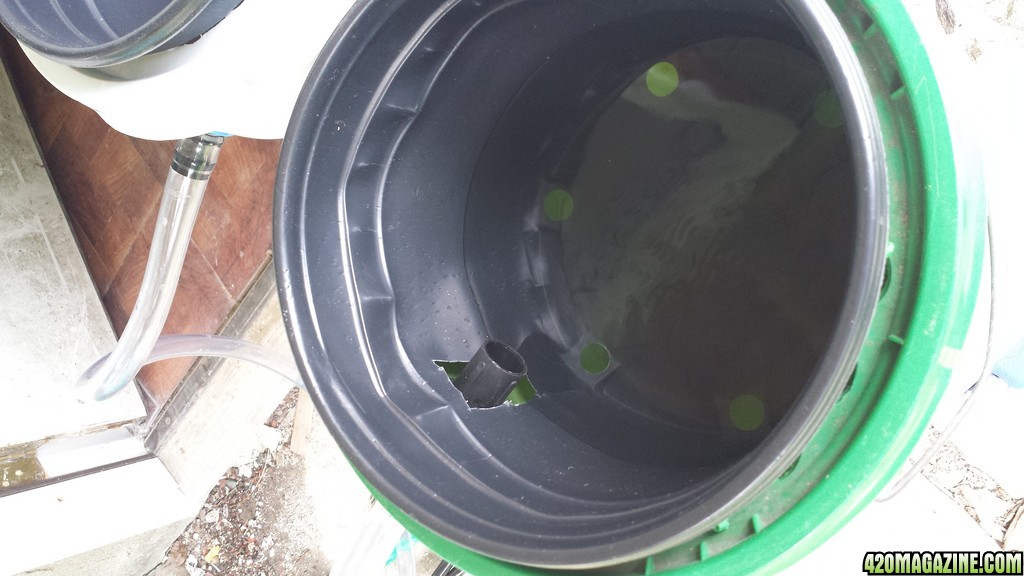
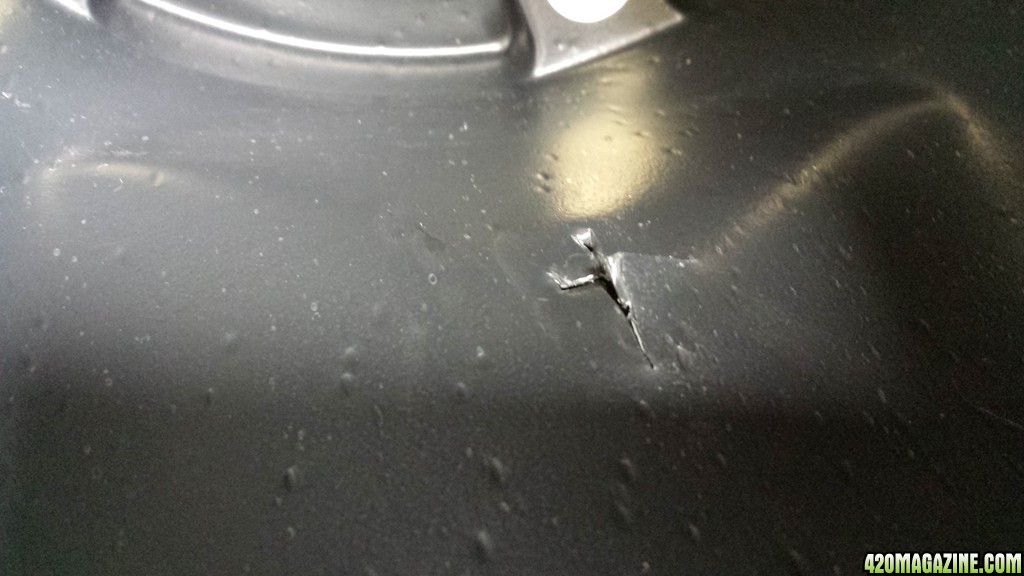
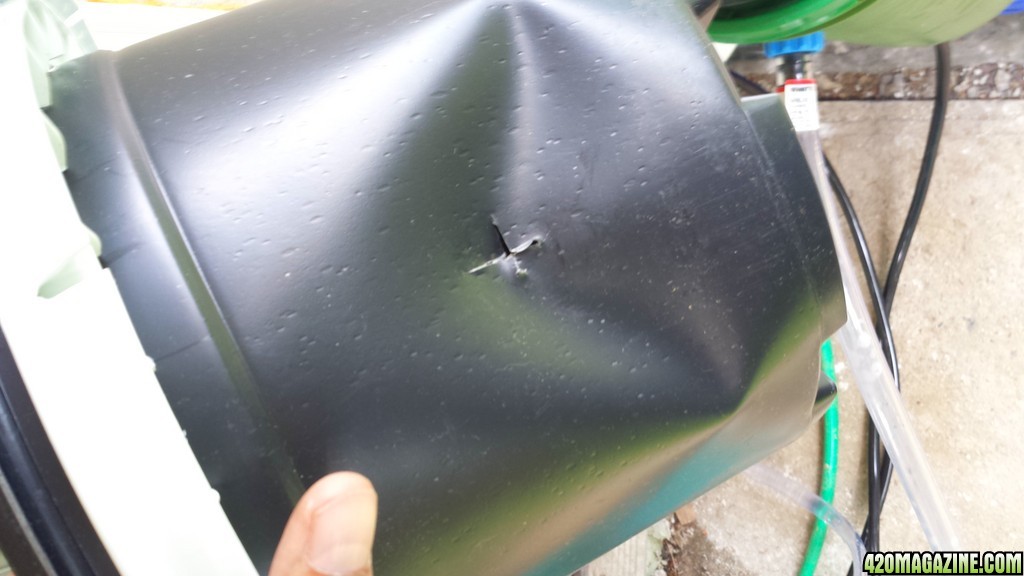
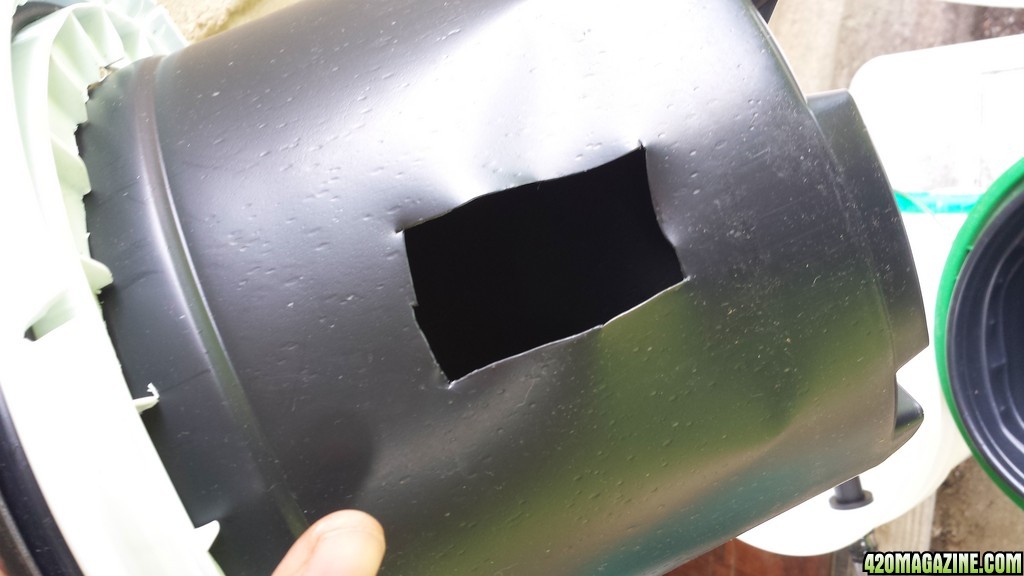
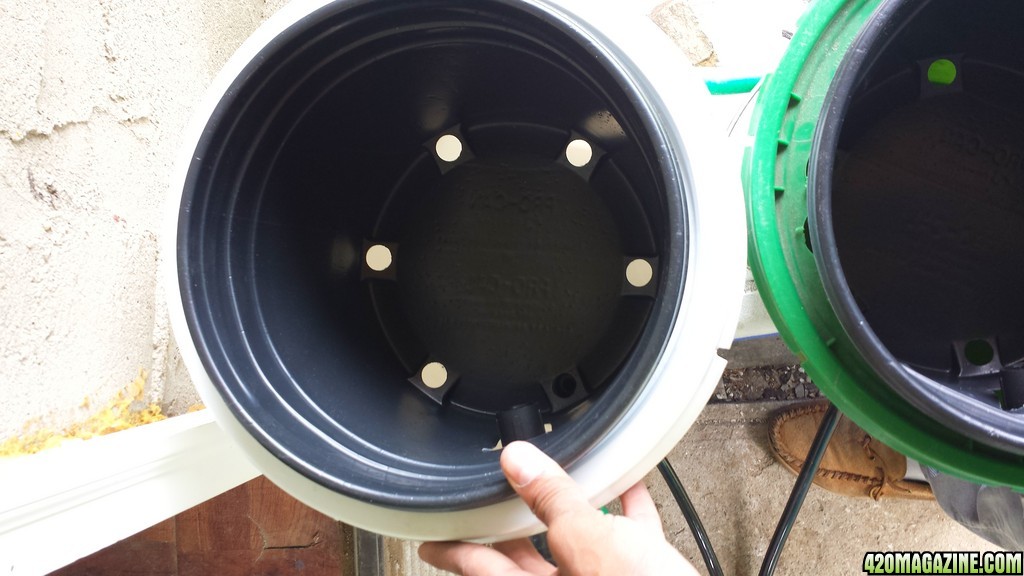
Instead of drilling holes in the bottom side of the 5gal as Capn did, I opted to put the ½ in fill hole on the bottom of each bucket

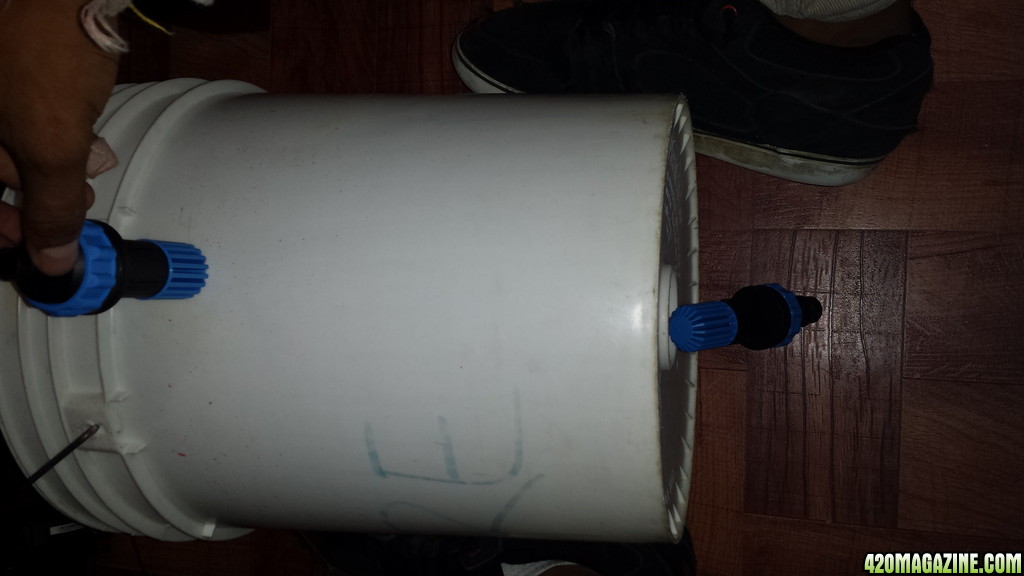
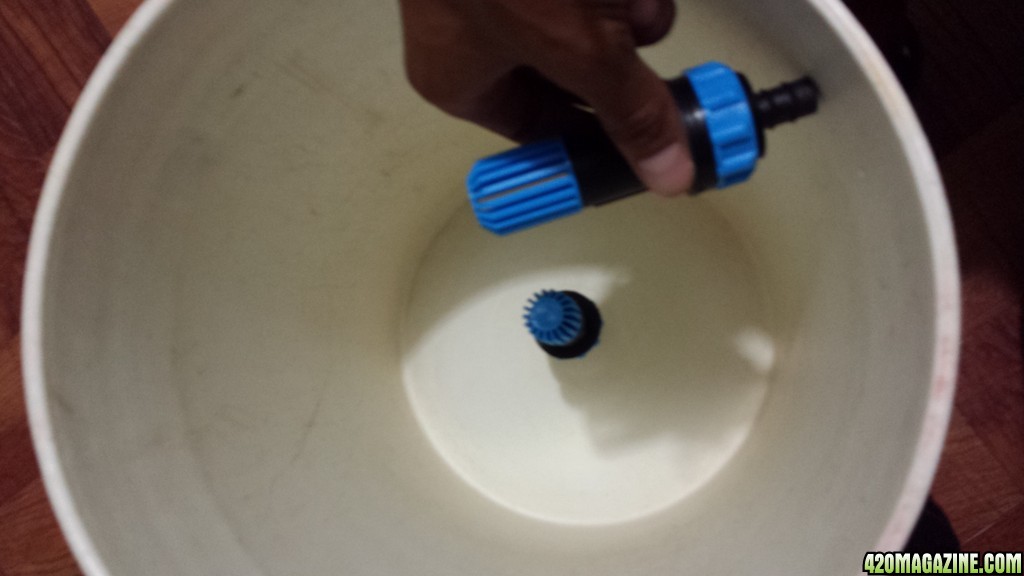
Connecting the ¾ in tubing to the top drain pipe and the ½ in tubing to the bottom-side fill pipe.
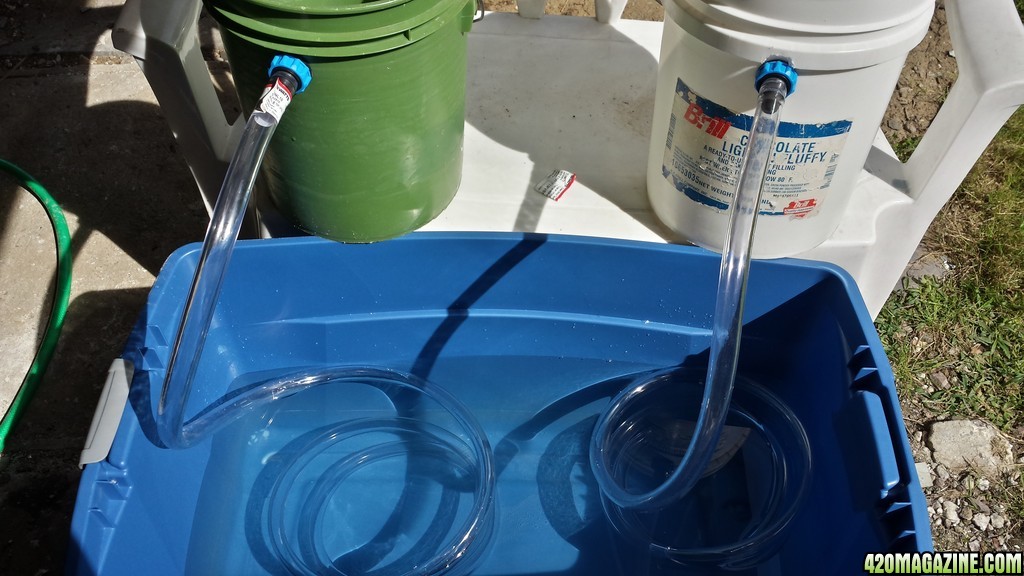
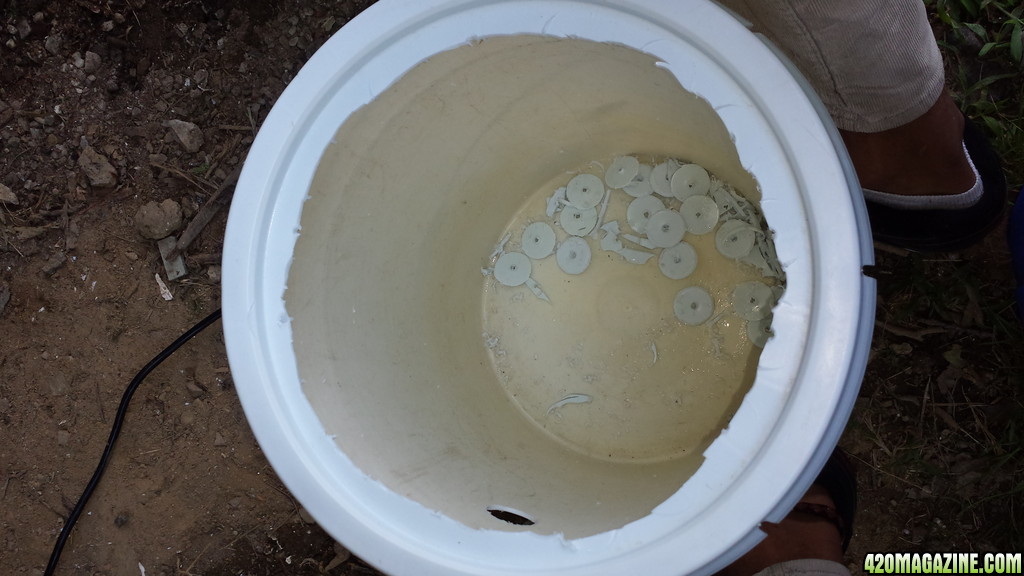
I filled the 45gal reservoir halfway, anticipating about 20-25 gal to work with.
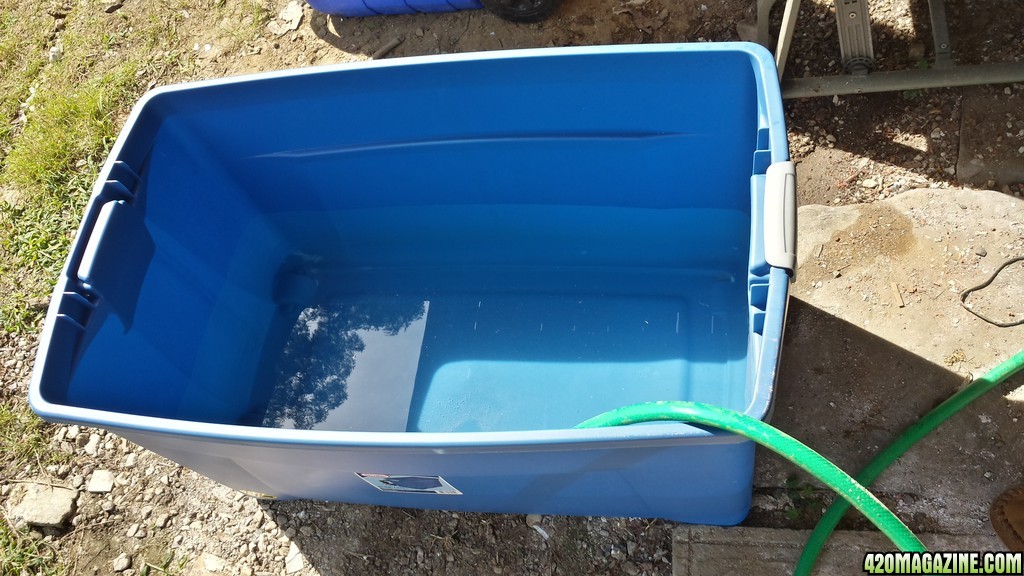
After placing the pump in and turning the system on, the 5gal buckets took 4min to fill and once the system turned off, around 5min to drain.
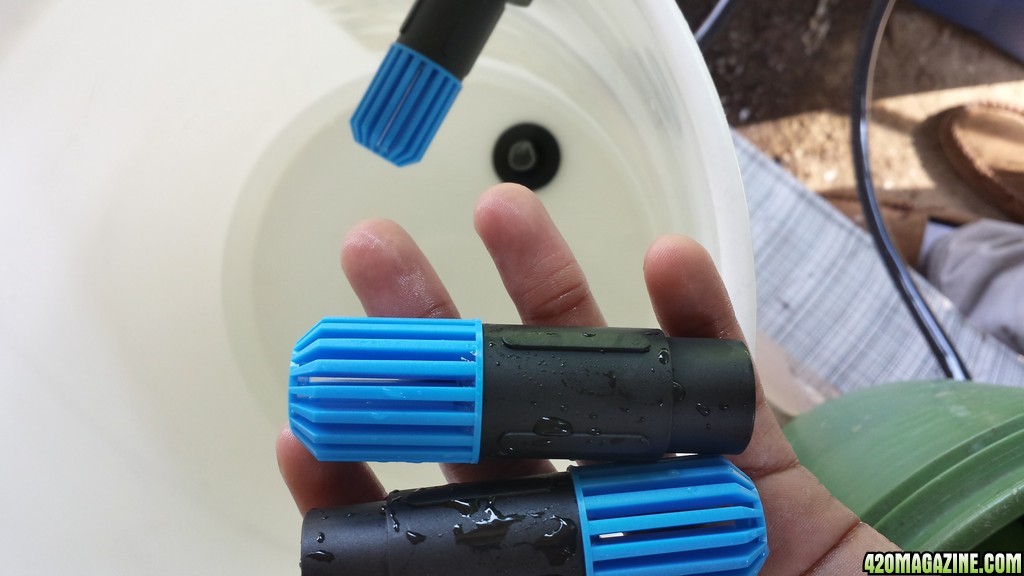
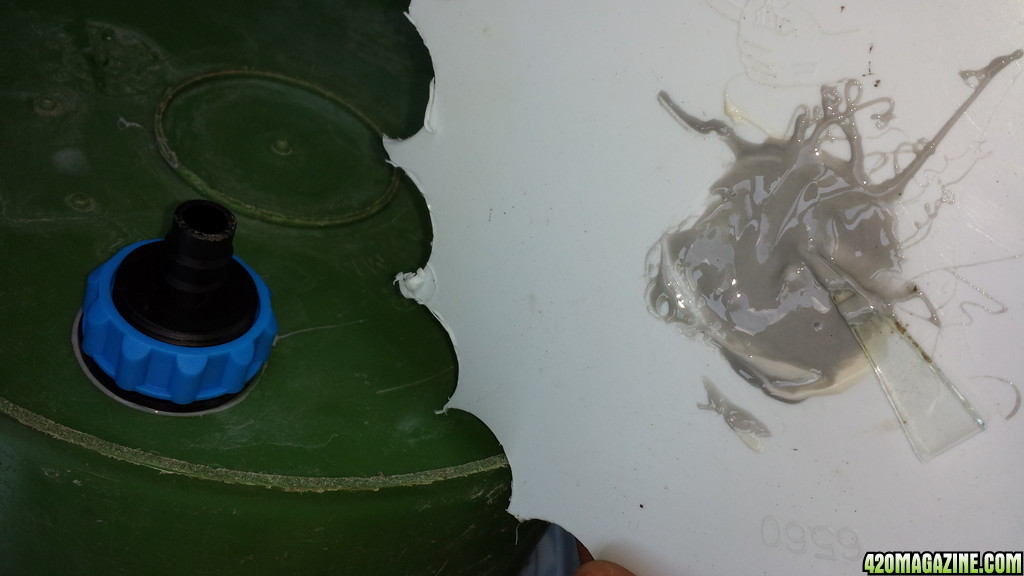
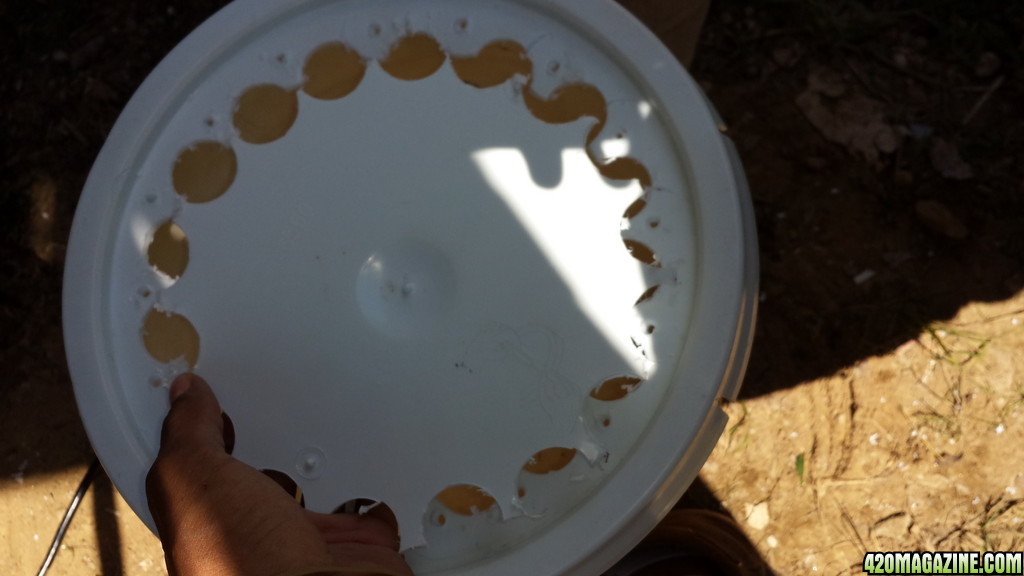
I then refilled the reservoir and turned the pump to the lowest setting. I also decided to take out the blue top fill and bottom-sided drain ‘caps’ giving a more ‘complete’ fill & drain effect.

This system took around 8min to fill and 9min to drain, giving a total of 17min each bucket. Anticipating the water displacement created by the rock wool cube, this time might shorten to around 13-15min each bucket, which I think is near perfect, no?
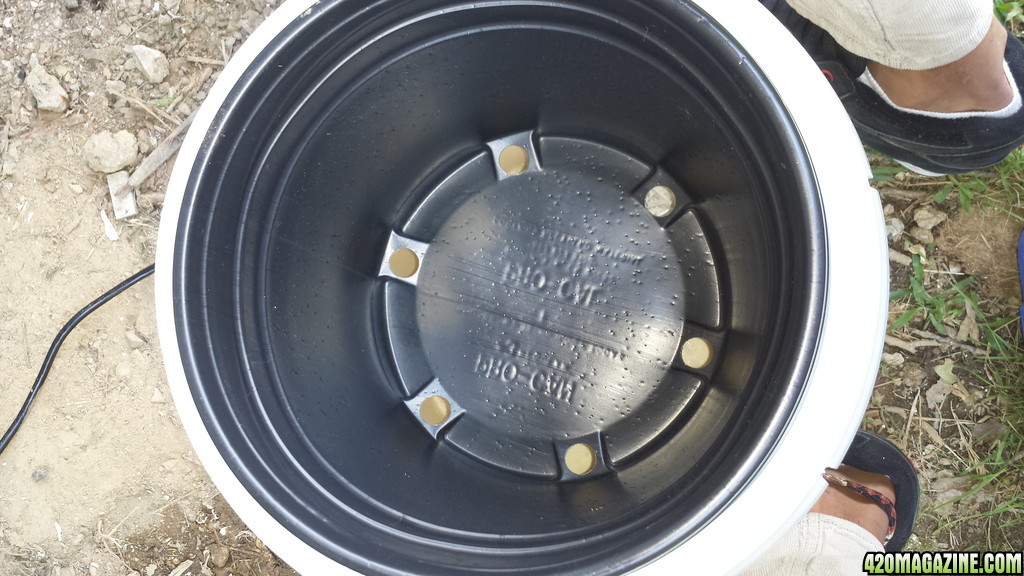
There was some slight leaking in the 1 ¼ in hole the fill & drain kit was attached to. And I took care of this problem later with some epoxy.


 With 48inches of length to work with I want to grow two plants at 7inch more than you recommended to get to a 1lb monstah! Hopefully with topping and some kind of scrog/lst I will be able to veg for at least 60 days to at most (I planned to veg for exactly 9 weeks starting a flowering period from November 2nd, and estimated harvest hopefully early January!) and flower for 60 days.
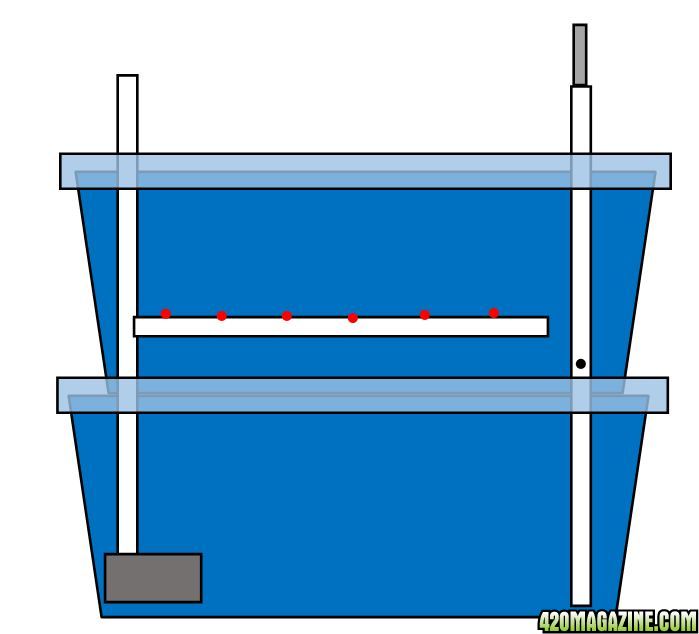


 I'm in!