Sky Grower - Aeroponic/Ebb&Flow/DWC

Skybound

Well-Known Member
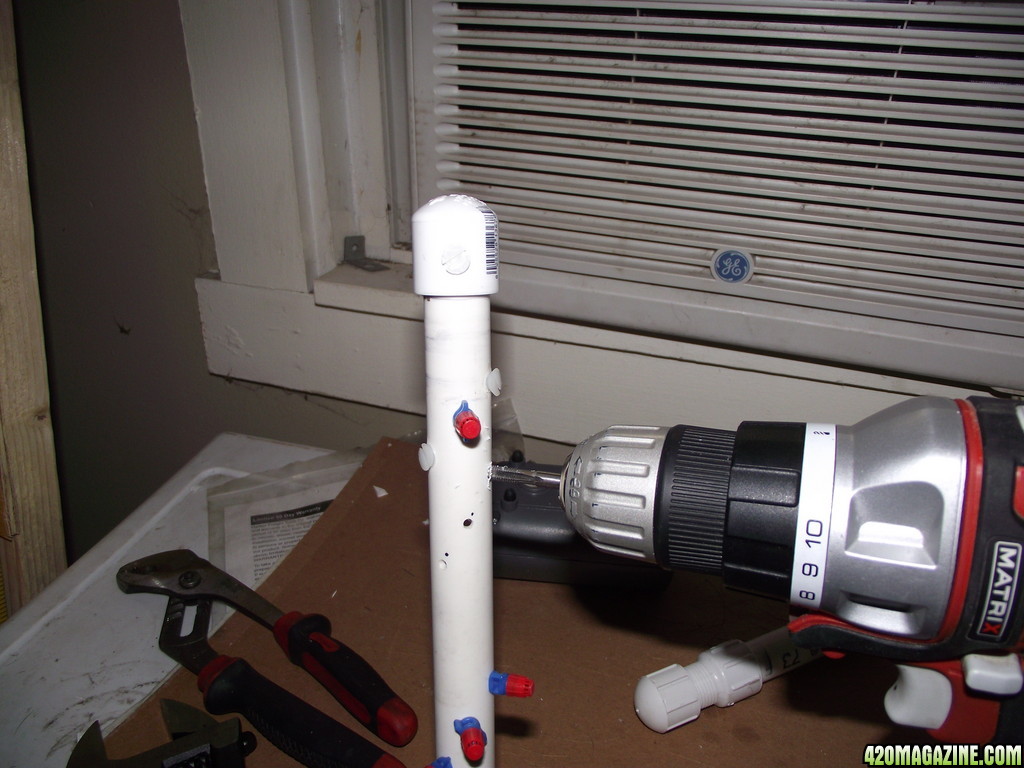
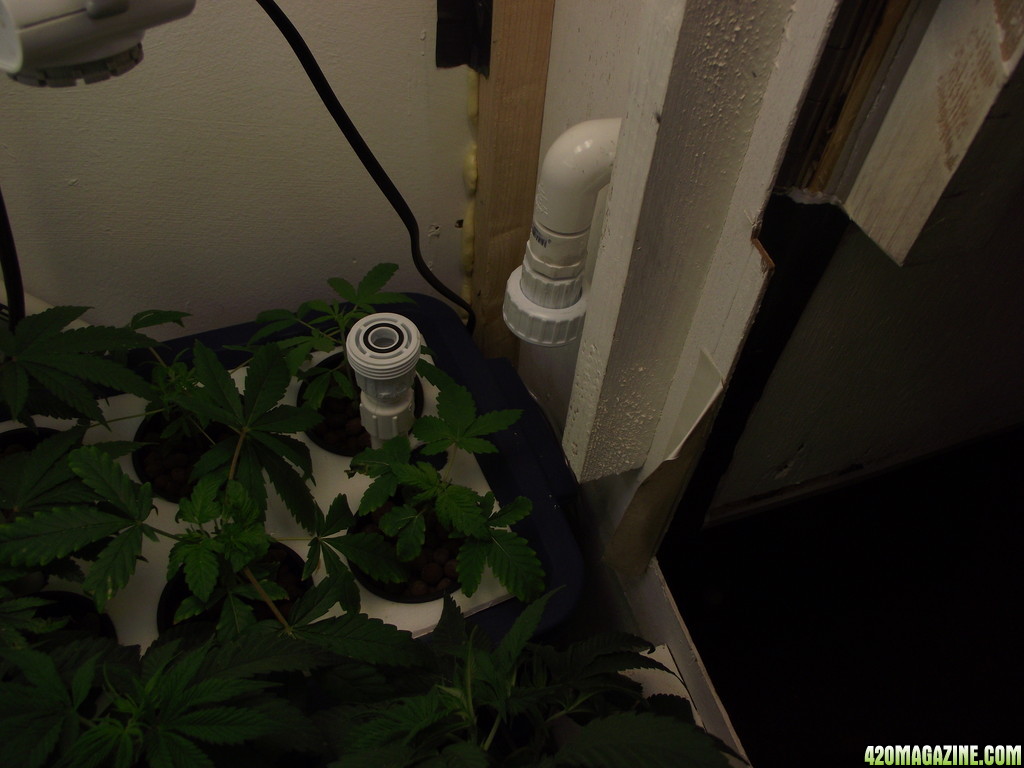
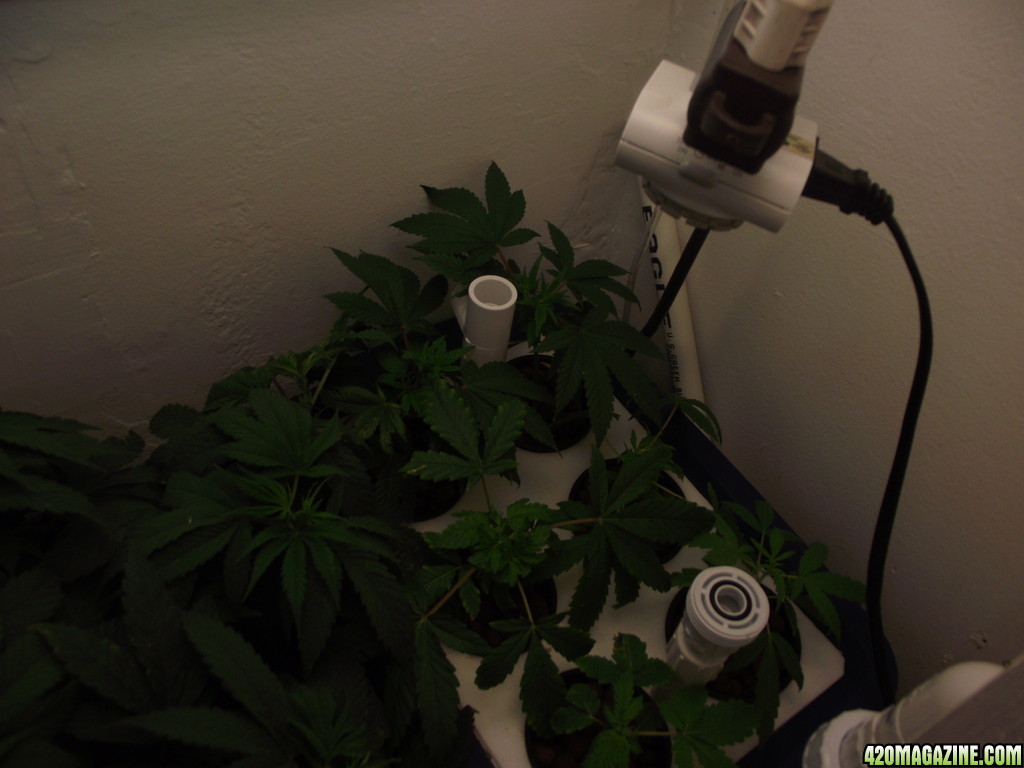
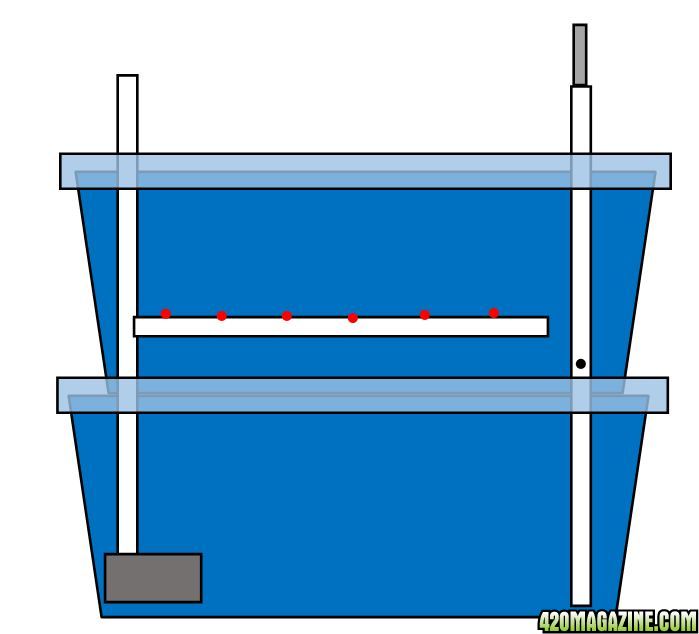
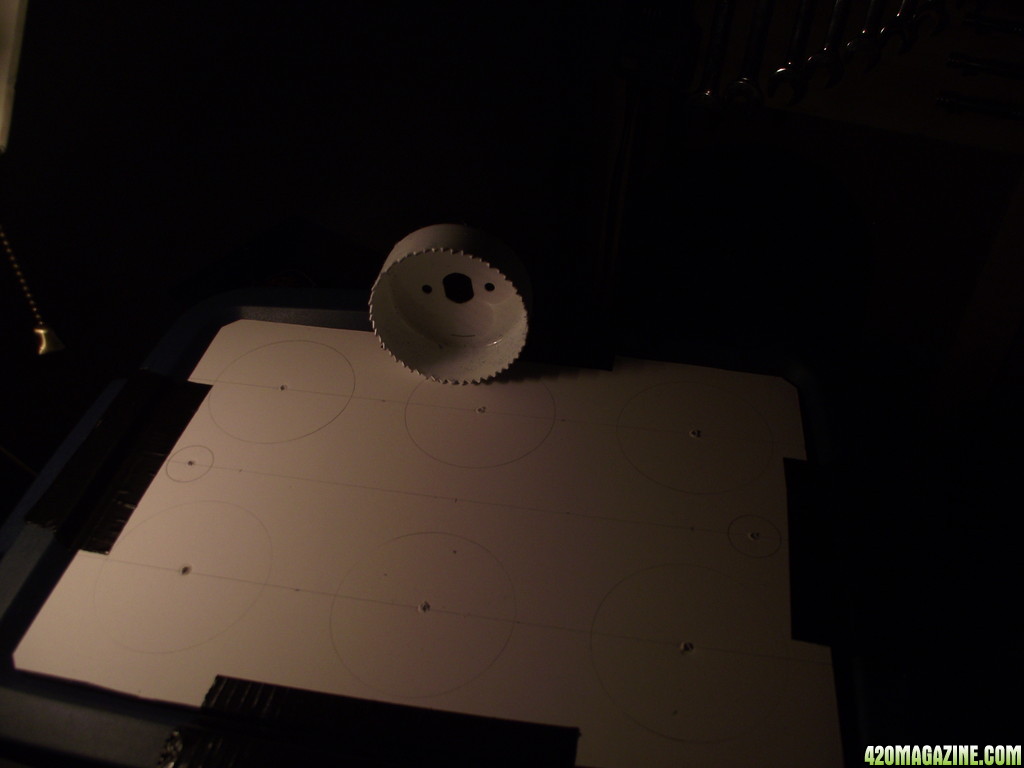
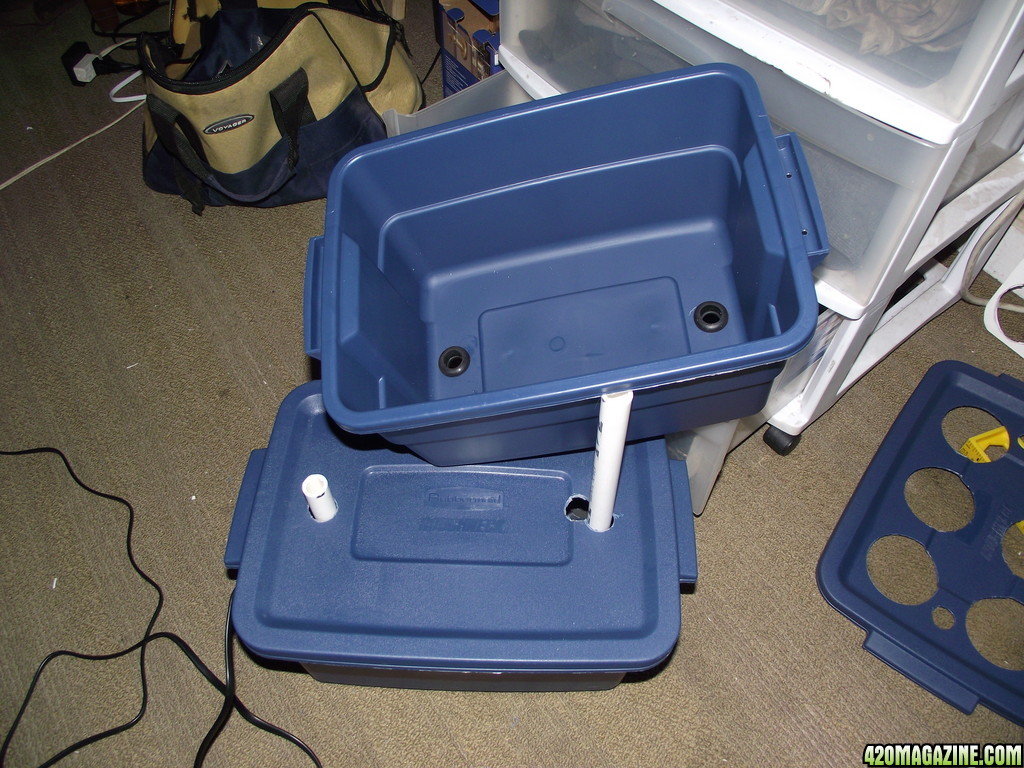
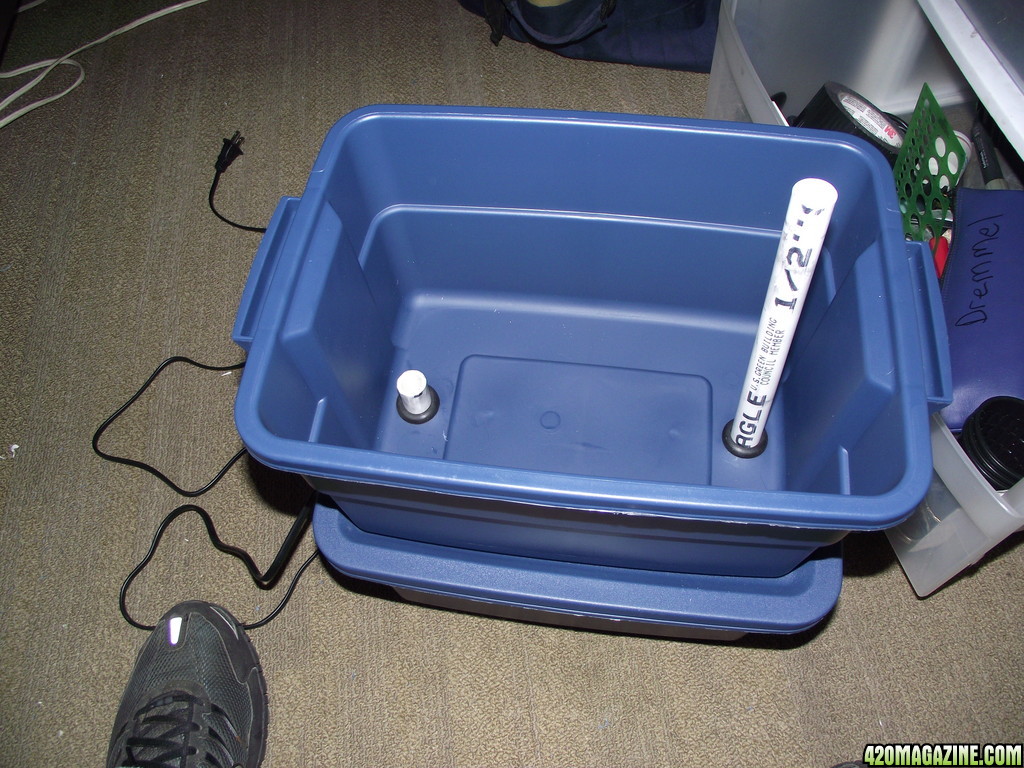
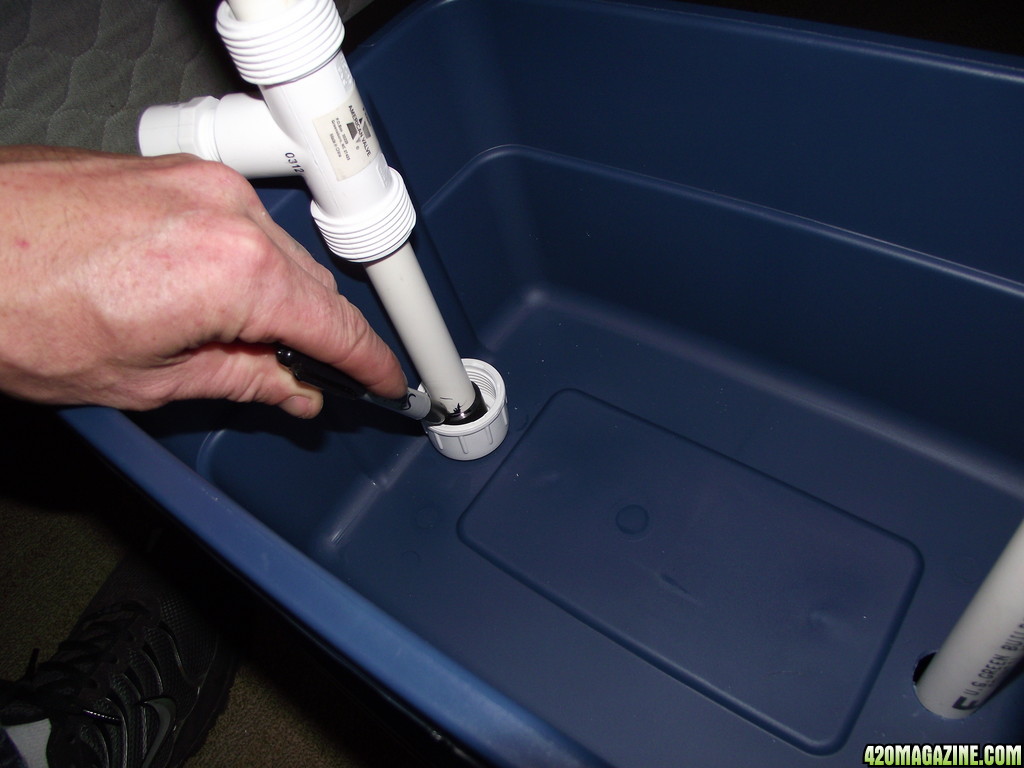
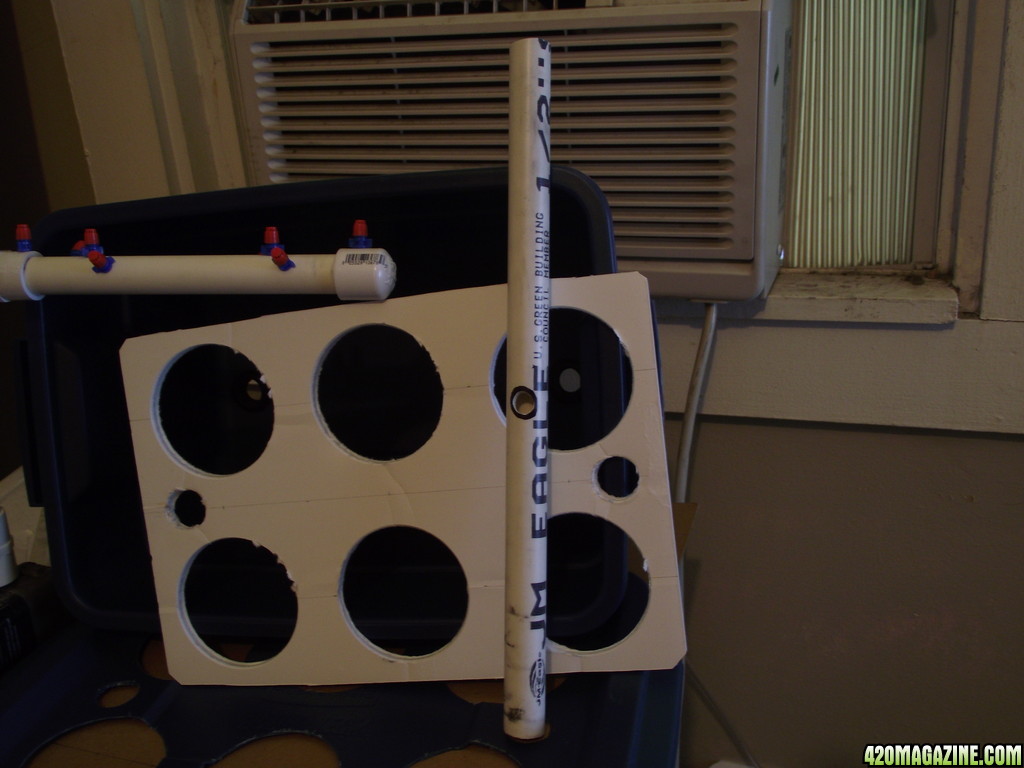
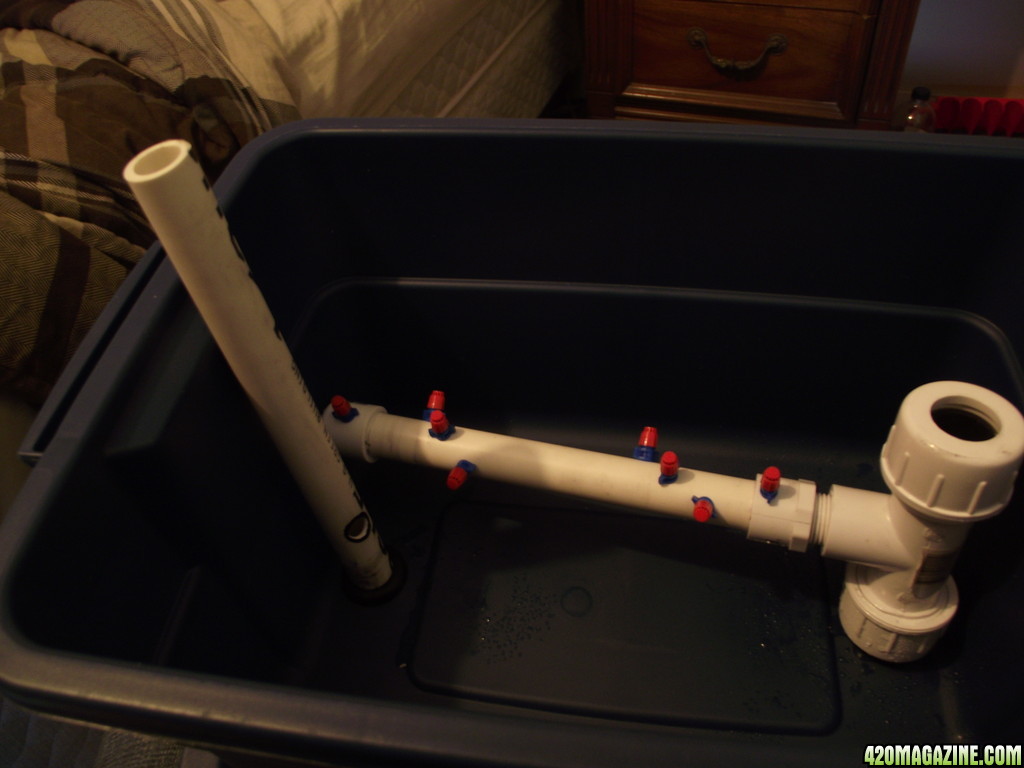
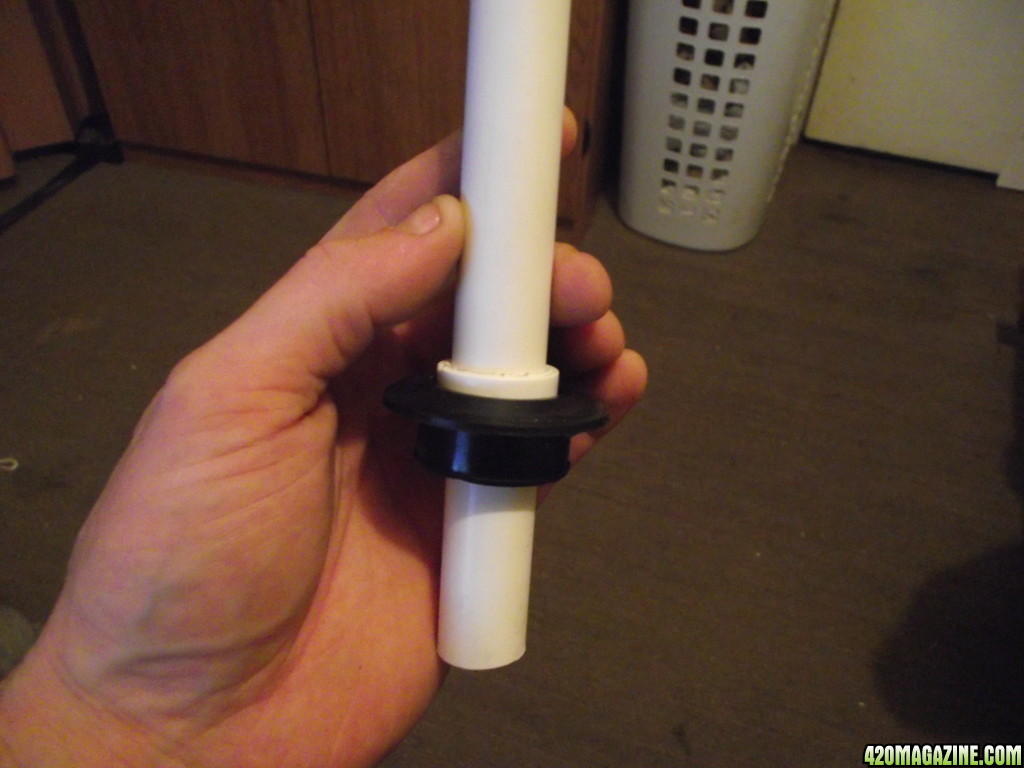
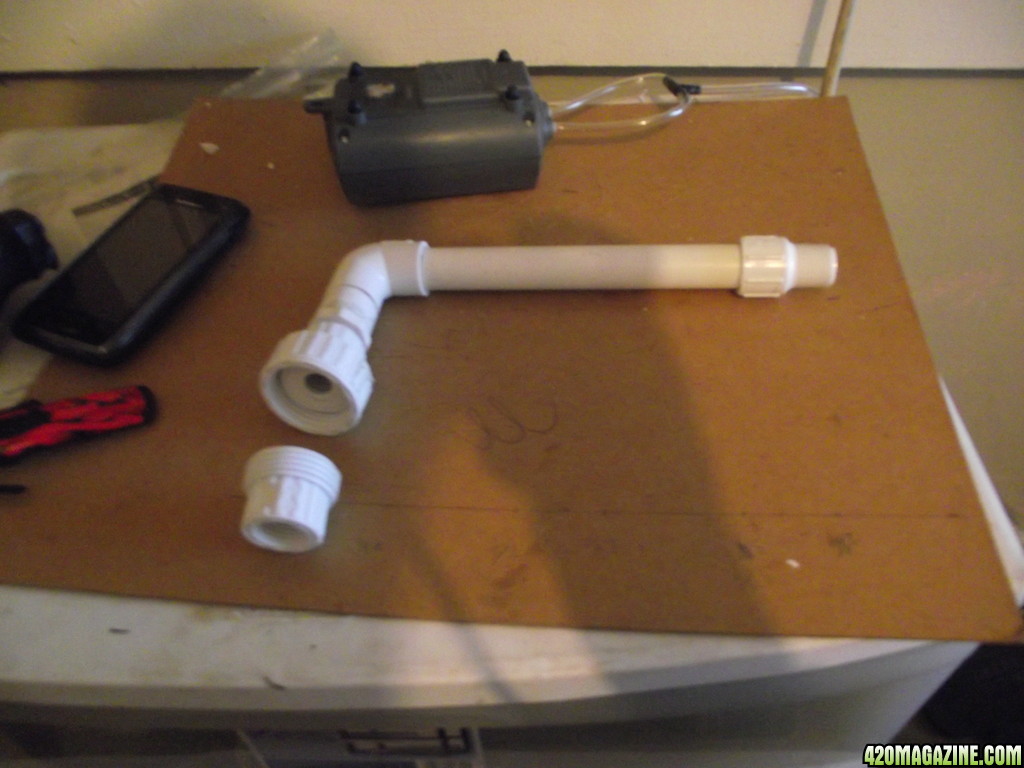
This is a redesigned and definitely improved version of a kit I was using. This newer version allows me to have top access for draining and filling, lowering a floatation buoy down the drain tube and also lower a thermometer down the same to monitor water levels and temperature. This little guy is designed for extremely tight spaces with no mobility during the grow. the components can be completely disassembled from the compression Tee inside, and the pump is threaded right onto the manifold.

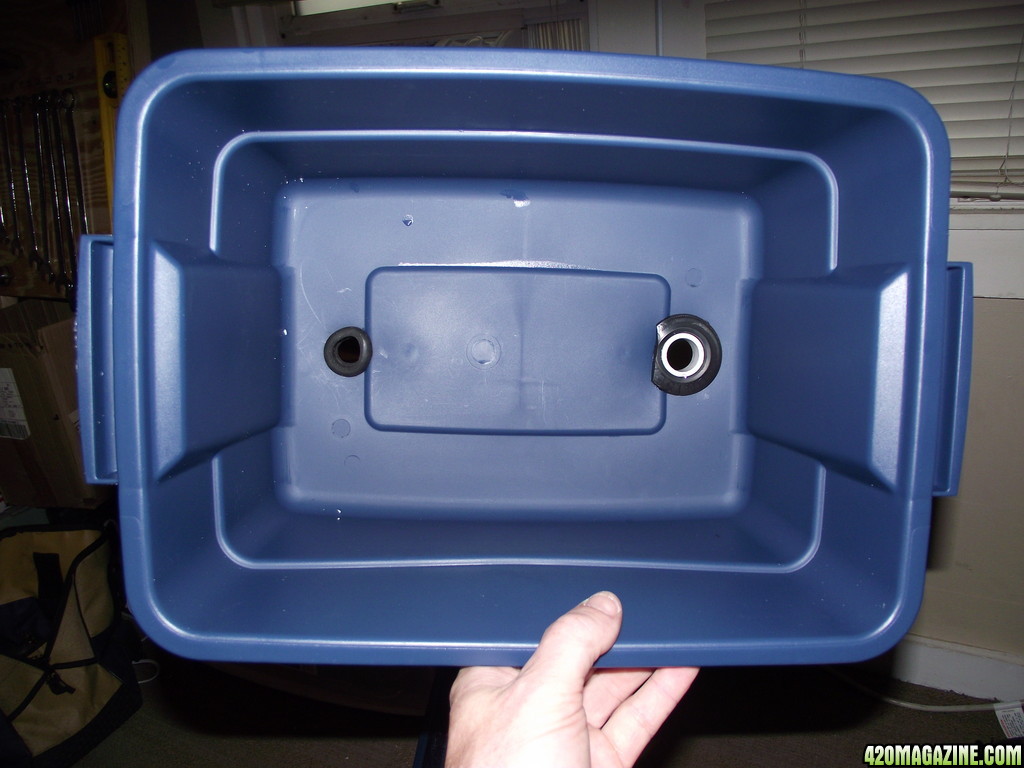
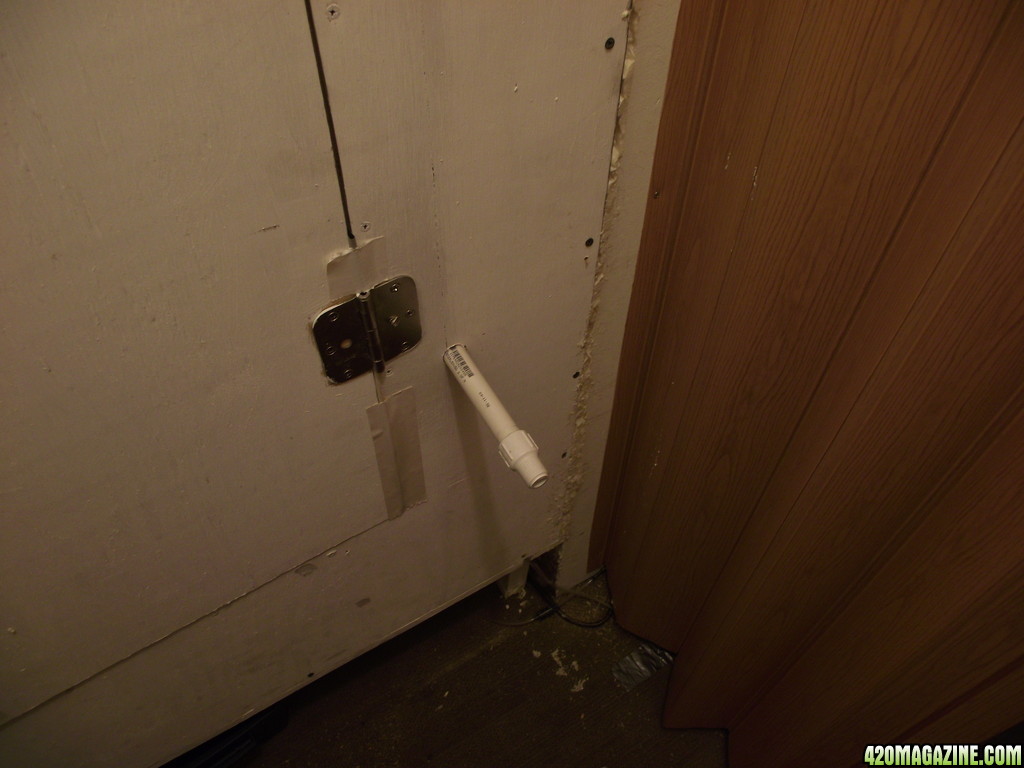
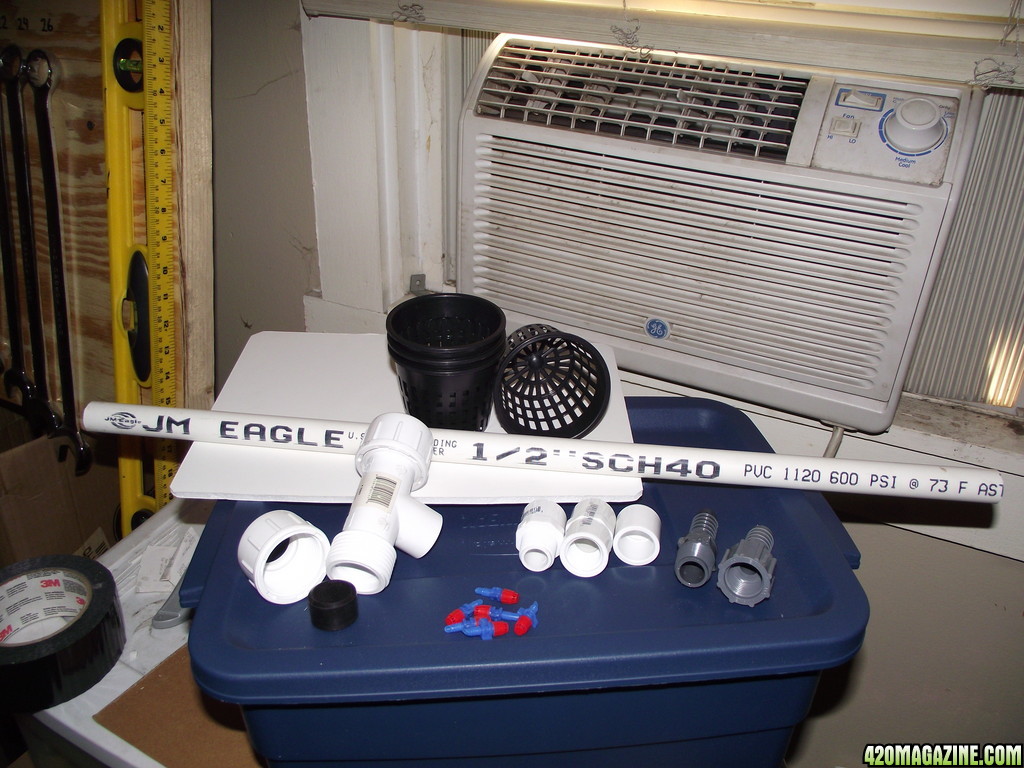
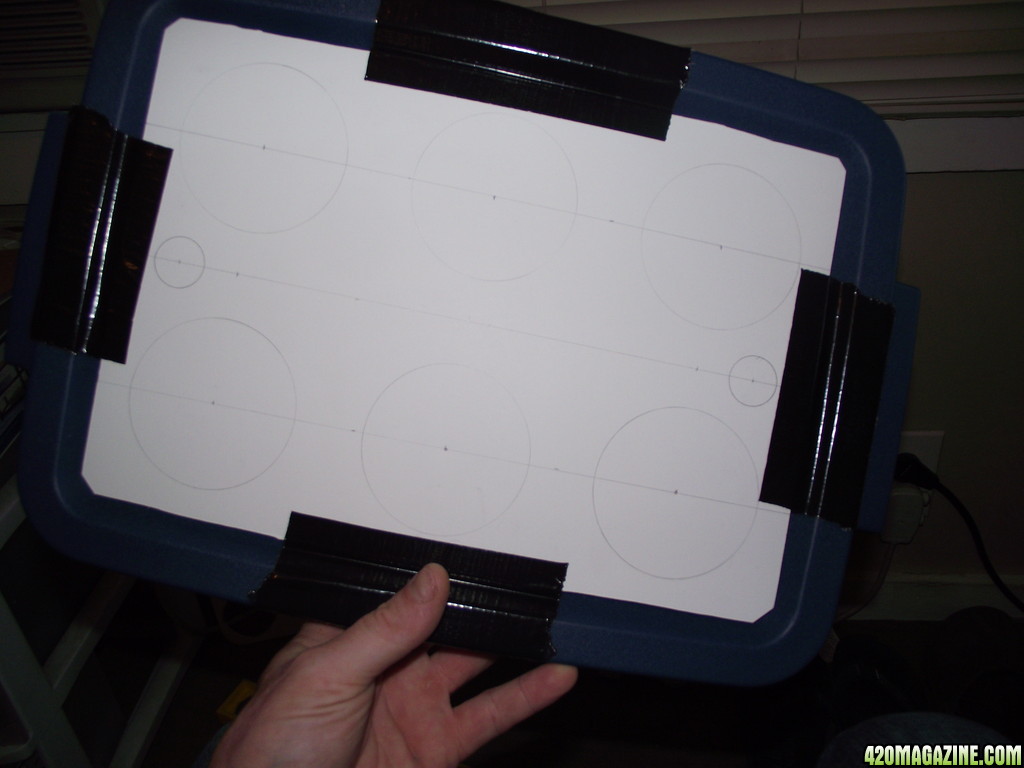
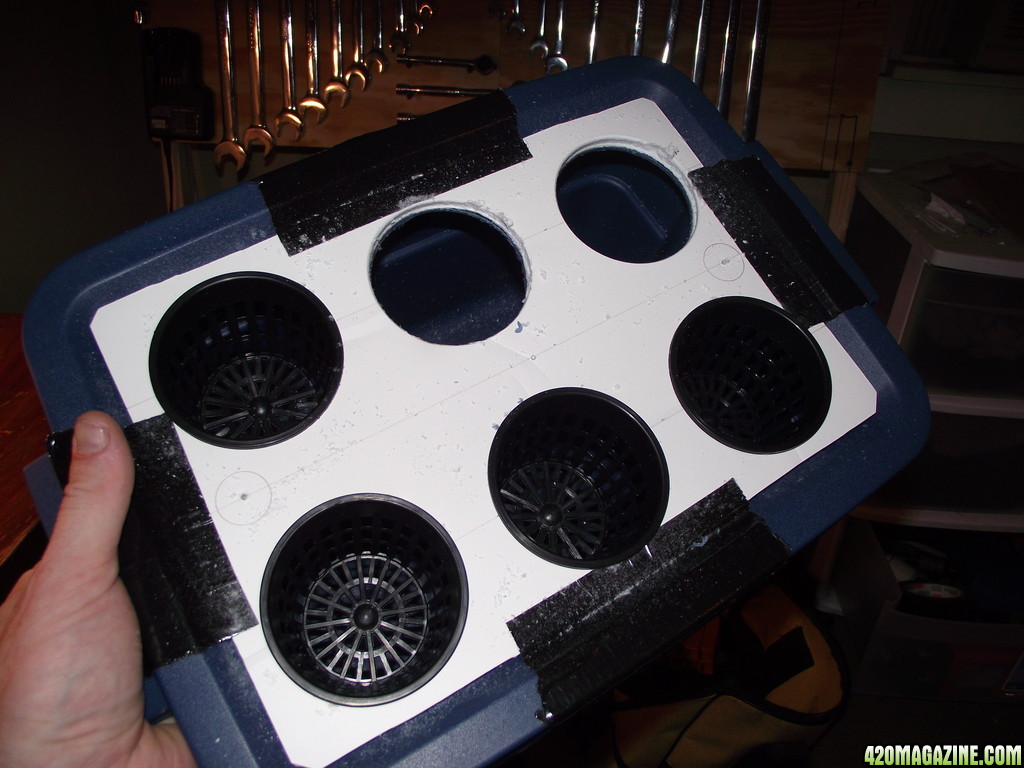
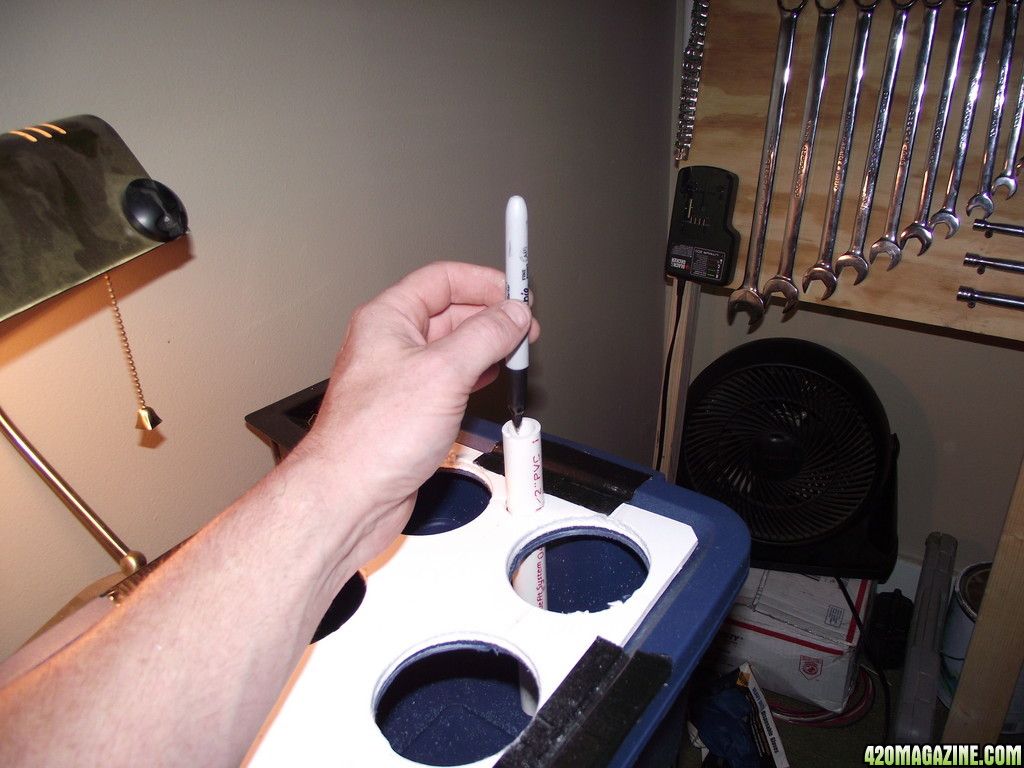
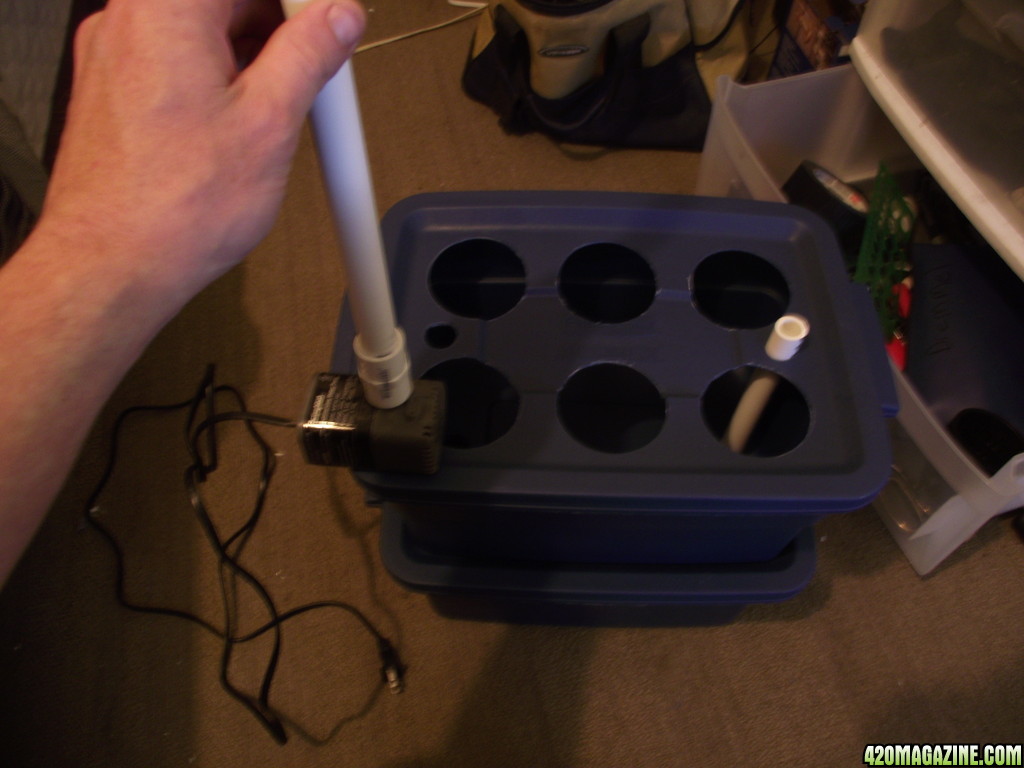
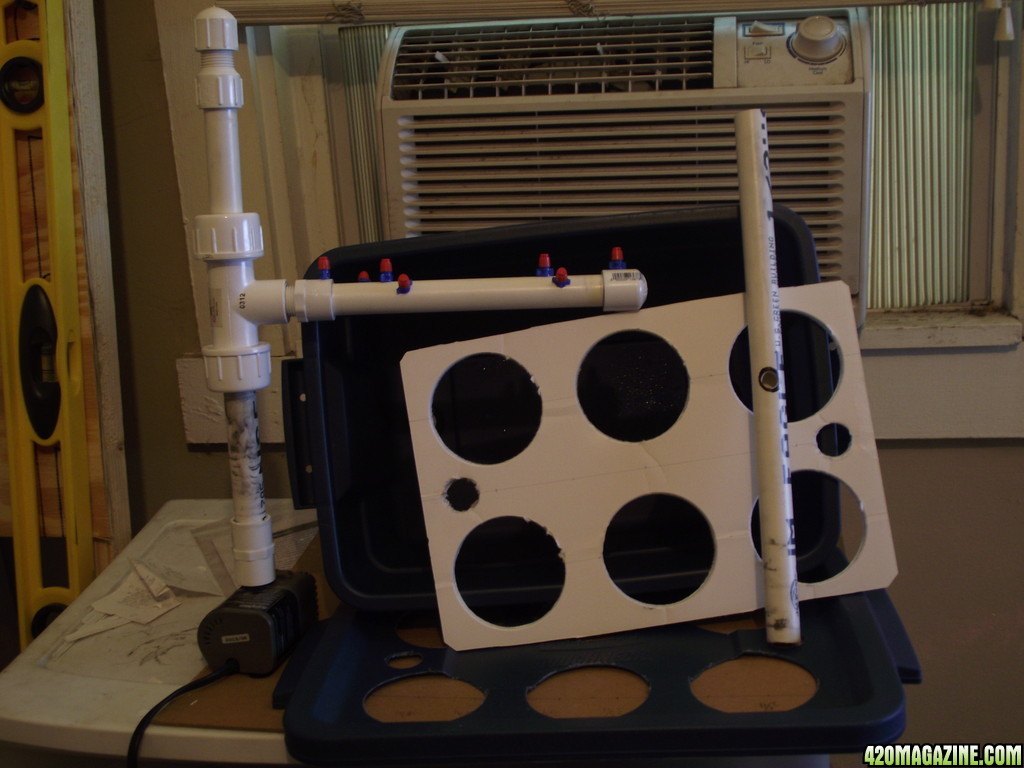
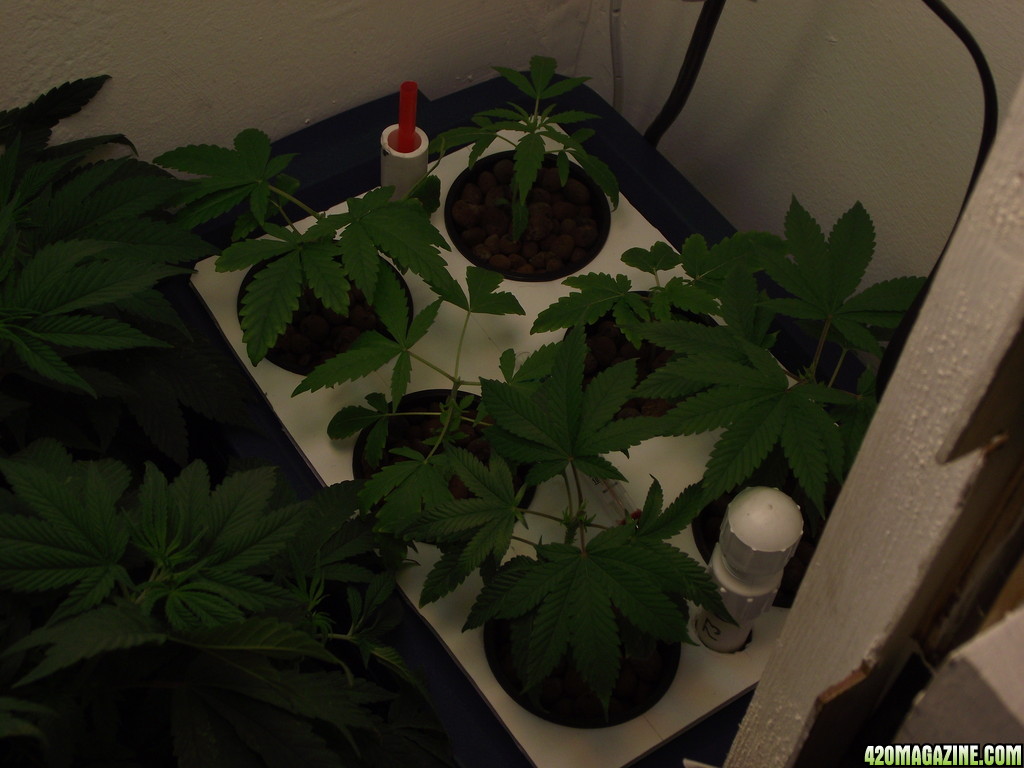
This unit has 6 sites of 3" net cups with hydroton and rockwool cubes. I bet this will do best in a seas of green grow, but I will be using it for a scrog situation for this particular grow. The totes are Rubbermaid Roughneck 3 gallon totes, one on top of the other with a 160 GPH submersible pump and 2 - 6" air stones in the root chamber. I intend to get a 3rd stone bubbling in the res to keep nutes agitated. I tried to take self explanatory pics so I will leave it to the viewer to reverse engineer as design and overall layout is application specific. I monitor my threads frequently, plus there will likely be others on this thread that can answer any possible questions if I am out at work or something. This is a compilation of myself, African Grower and a few others that helped me work out the bugs. Here are the pics of the build.

aero-ebb-flo-dwc.JPG
DSCF12743.JPG
DSCF12752.JPG
DSCF12771.JPG
DSCF12792.JPG
DSCF12803.JPG
DSCF12852.JPG
DSCF12862.JPG
DSCF12832.JPG
DSCF12821.JPG
DSCF12872.JPG
DSCF12892.JPG
DSCF12903.JPG
DSCF12913.JPG
DSCF12932.JPG
 
Re: "Sky Grower" - Aeroponic/Ebb&Flow/DWC

Materials used;

2 - 3 Gallon Rubbermaid Roughneck Totes (15.8 x 10.3 x 7)
1 - 160 GPH Submersible Pump
1 - 1/2" PVC Compression Tee
2 - 1/2" PVC slip x MPT adapter
1 - 1/2" PVC slip x FPT adapter
1 - 1/2" PVC Cap
4 - 1/2" PVC Pipe lengths cut to fit
2 - 1/2" Hydrofarm Rubber Grommets
1 - 9" x 12" styrofoam board to block and reflect light
1 - 1/2" FPT Barb for drain
1 - length of 1/2" Poly Hose (not pictured) for drain

Note* All PVC is Schedule 40 for rigidity and durability.

Tools Used;

3/8" power drill
3" hole saw
1 1/8" hole saw
PVC cutter
PVC cement
duct tape
1/8" drill bit
#10 - 32 tap
ruler
compass
automatic center punch
razor blade to clean up burred plastic edges
 
Re: "Sky Grower" - Aeroponic/Ebb&Flow/DWC

Very nice DIY SkyBound! I am truly overwhelmed on the result of the build. It really came to life sooner than I expected, +reps friend!

Just curious, where did you put your clones/seedlings while converting your aero to the 'Sky Grower'?
 
Re: "Sky Grower" - Aeroponic/Ebb&Flow/DWC

I had to purchase a third tub which became the top tub, so I did most of the construction before I disturbed them. Then when I was ready to maneuver, I put the old site lid on the new box, emptied the old root chamber back in the res, then put the old site lid on the res where they stayed in true DWC for about an hour. Today I am going to the home improvement center to get a 1/2" FPT/FPT PVC union so I can get that cap outside the box. I'm gonna drill through the face of the box and stab the manifold pipe right through to the exterior of the box, then cap it again.
 
Re: "Sky Grower" - Aeroponic/Ebb&Flow/DWC

>>> Today I am going to the home improvement center to get a 1/2" FPT/FPT PVC union so I can get that cap outside the box. I'm gonna drill through the face of the box and stab the manifold pipe right through to the exterior of the box, then cap it again.

I thought the cap already sticks a good 3+inches above the top? Or am I missing something.
 
Re: "Sky Grower" - Aeroponic/Ebb&Flow/DWC

Finally discovered a way to have an easily moveable spill tube. Currently I have a 1/2" Hydrofarm rubber grommet in the base of the root chamber, but this past weekend I got a 3/4" Uniseal from the hydro store. The Uniseal was a bit too big for the 1/2" PVC and wouldn't hold a water tight seal, and the 1/2" grommet holds too tightly and was not designed for a pipe that moves. So I was playing around with spare parts and noticed how the 1/2" pipe fits into the 1/2" coupling. Inside the coupling is a slight taper. So I cut the coupling at the center and sanded out the edge a bit. When I stuck the 1/2" PVC pipe in, it fit snugly, but still allowed the pipe to slide with slight hand pressure. This will work perfect in my Sky Grower. With a small push or pull, I can convert the Sky Grower from an Aeroponic to an Ebb & Flow. If I also reprogram the timer, it will be an RDWC with the pump on 24/7, but this version has the capability of controling water height to suit the growers needs. I'm stoked!!

DSCF13082.JPG
 
Re: "Sky Grower" - Aeroponic/Ebb&Flow/DWC

@ AG, it does stick out about 2-3", but with the space being so narrow, the plants being so fragile and the compression Tee not being strong enough to handle the torque I have to apply to untwist the cap, I hit another bump in my design. That's why I assembled this bad boy;
DSCF1311.JPG


Where the cap is now, the union will be tomorrow and the rest of the pipe will stab right out the front of my box, and the cap will go on the end of that. This way I can screw the cap on tight enough to hold water in, and when unscrewing, the face of the cabinet can offset the torque. the plants will not be disturbed the slightest, and when the pump is on, I believe I can partially unscrew the cap to bleed off some nute water into a cup to monitor ppm and ph. This, in conjunction with the new spill pipe will make my life a lot simpler come res changes, especially once the scrog net goes up.
 
Re: "Sky Grower" - Aeroponic/Ebb&Flow/DWC

Ah I see your design perspective now, that really adds three aspects of convenience to this setup. Bro You might have to patent this soon!

Finally set up my grow tent, come check it out ;)
 
Re: "Sky Grower" - Aeroponic/Ebb&Flow/DWC

I'd rather just give it away
 
Re: "Sky Grower" - Aeroponic/Ebb&Flow/DWC

though I was fortunate enough to have everything work out in the end, I still had to buy 2 more 3gal tubs, and could have easily got one more on top of that. Because the flimsy rubberized plastics used to make these totes nowadays, manufacturers incorporate geometric differences on surfaces to aid in structural integrity, in short they use high spots and low spots. I found out the hard way to avoid drilling holes that will be used for sealing with grommets on these irregular surfaces at all costs. In spite of this final build, I was fortunate enough that the grommets held water, I am none the less not confident the way things are now. If I had 1 more tote to build with, I would mentally visualize where the holes will be that use grommets, and ensure that these holes are located on a flat part of the tote. It's fine for the net pots on top to go over an irregular surface as there is no need for a water tight seal, just support of the net pot, but on the bottom of the root chamber tote, my holes should have been drilled on the flat area, then transfer those holes directly above and out of the lid. i made the mistake of poking the hole in the lid and transferring down. Also, because the first makeover attempt had these vertical pipes too close to the exterior wall, the grommets couldn't seal (wasted tote #1), so I randomly brought the vertical pipes in towards the center. And because of this, I also neglected to account for the length of the spray bar. Again, I was lucky enough that it fit, it however is not ideally aimed for max coverage of the roots. I did get to reposition the sprayer heads on the spray bar, and filled in the old holes with nylon 10-32 screws with a dab of PVC cement on them. This will ensure they don't come free in the future. Here's some pics.
DSCF13122.JPG
DSCF13142.JPG
DSCF13152.JPG
DSCF13161.JPG
DSCF13172.JPG
 
Back
Top Bottom