Emeraldo
Well-Known Member
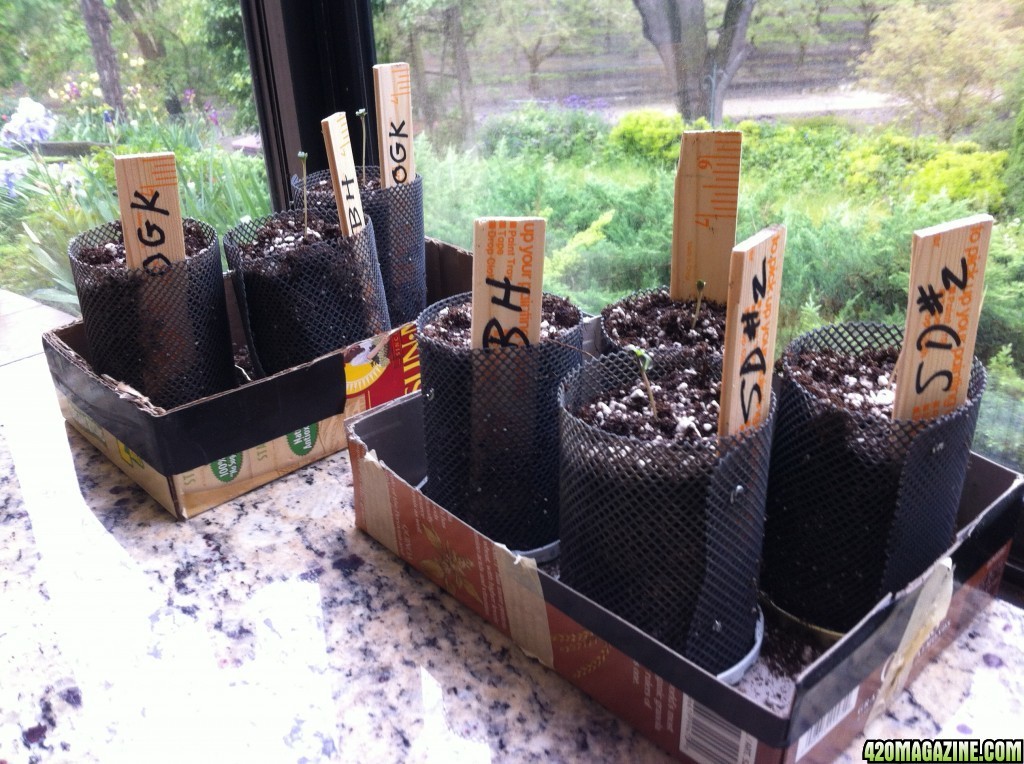
welcome to my first grow journal. i am a newbie with a few years' of growing experience but wanted to share, first, the idea of this year's grow -- why i called it "semi-guerilla sinsemilla" and second to post updates on how the grow progresses. am growing Blueberry Headband and Sour Diesel Number 2 from Humboldt Seed Organization, and Dinafem's OG Kush. Ten plants in all. These strains were selected for their outdoor growability. All feminized seeds this time, so no seeds expected (unless i get a hermie, which is not expected). hence "sinsemilla".
the "semi-guerilla" part needs a little explanation. no one will be present most of the time, i will be away for two months at a time. am now germinating and will set seedlings on about 4/20 and will not be back until July and then again in October to harvest. think i am crazy? well, listen to the idea first and then tell me what you think. the grow site is a very private back yard with no neighbors able to view it. but it is a sunny spot with automatic watering with programmable frequency like a lawn or other garden. ample water. climate-wise it is perfect, gets warm in the summer with no rain. 38L north. ideal climate. California, where it is soon to be legal (except for maybe the number of plants).
i've taken ideas from all over, so i cannot claim to have invented this on my own. subcool's laws of organic cannabis inspired me, in particular the super soil recipe, but i use others' ideas as well. this is an outdoor grow using 15-gallon fabric pots to allow for better root aeration and runoff so overwatering will be minimized. 15 gallon pots were selected because they are, i hope, big enough to require no transplanting. my experience in prior grows was that transplanting several times was necessary or at least best for the plant. little roots get bogged down if the pot is too big, too wet, and cannot dry out. that is particularly true for young plants in large ceramic or plastic pots. but like i said, i will not be there. transplanting cannot happen until mid-July, and hopefully with this method transplanting will not be necessary.
my basic soil mix is FF Ocean Forest mixed with ProMix HP and perlite. i've mixed up 15 gallons of this mix for each pot, consisting of 38 quarts FFOF, 12 quarts ProMix HP, and 10 quarts additional perlite. each pot will have two layers of soil, the top layer being 7.5 gallons of that mix, and a small amount maybe one gallon of FF Light Warrior for the seedling to get started. the bottom layer is a variation on super soil. recipe below. the idea is that the seedling needs time to take root without nute burn, and will start off in a cup-like area of Light Warrior seedling mix. but after a few weeks the seedling will be able to use the FFOF nutrients in the top layer of soil. fast forward 6 weeks. after the roots penetrate below the top layer, the lower layer provides a boost for vegetative growth and will provide much that is needed for flowering as well. as mentioned, i will visit the girls once before flowering and can make some soil amendments in mid-July.
here is my soil recipe and the basics of the layering concept. i am going to grow 5 plants in 15-gallon pots, plus, if all 10 seeds germinate there will be 5 more plants in 5-gallon pots. any comments or criticisms are welcome!
raw materials for 105 gallons of soil:
6 bags FFOF (@bag of 1.5 cu ft = 9.6 gal/38.4 quarts) (x6=57.6 gal)
1 bale Pro Mix HP (bag of 2.2 cu ft = 14 gal/56 quarts)
1 bag Light Warrier seeding mix (1 cu ft = 6.5 gal/25 quarts)
2 bags Noble Worm worm castings (30 lb bags, @1 cu ft = 6.5 gal) (x2=13 gal)
7 bags perlite (2 gal/8 quarts per bag) (x7=14 gal)
1 bag dolomite lime
1 bag espoma epsom salt
1 bag rock dust
1 bag blood meal
1 bag fish bone meal
1 bag cottonseed meal
1 bag Calimag for K
Basic Soil Mix: in 6 garbage bags mix 15 gallons of Basic Soil Mix (for a total of 90 gallons) using for each bag:
38 quarts soil (1 bag of FFOF)
10 quarts perlite
12 quarts peat Pro Mix HP
i mix these ingredients in 6 heavy-duty 110 L garbage bags and, when mixed, i leave each 15 gallon batch in the mixing bag. the bag can be repeatedly shaken, rolled, turned over, and gently stirred by hand to loosen or crush clumps. i note i had to take care not to puncture the bag, so the heaviest-duty plastic bags are needed, certainly not one that can tear easily.
Preparing for Top & Bottom Layers: i leave about half of the above Basic Soil Mix in garbage bags 1 thru 5 for use in the top 50% layer for the five 15 gal fabric pots. (The 6th garbage bag will be used later for the 5 gal pots, but the same layering concept and proportions apply to the 5-gal pots.)
For the bottom "hot mix" layer in the 15-gal pots, i take about 7.5 gallons (50%) of Basic Soil Mix out of bags 1 thru 5 and separate off 2.5 gallons from each. Simplest way is just remove 5 gallons of Basic Soil Mix from the original garbage bag (leaving 10 gal in the bag) and place it in another mixing bag. Later take the 2.5 gallons as discussed below (leaving 7.5 in the original garbage bag at that point).
Hot Mix recipe for 15-gal pots: (bottom 50% of soil -- about 6.5 gallons -- layer to be mixed in a new garbage bag and poured right into the bottom of the fabric pot):
5 gallons of Basic Soil Mix
1.5 gallons worm castings (just under 25% of a 6.5 gallon bag)
150 gr horn shavings for slow release N
5 tbs blood meal (1 tbs per gallon of soil) for quick release N & lower pH
5 tbs cottonseed meal for slow release N & lower pH
5 tbs fish bone meal for P (tends to raise pH)
3 tbs dolomite lime as pH buffer and Calmag (raises pH)
3 tbs epsom salt
5 tbs rock dust
5 tbs Calimag (for lack of other potassium specific organic source)
This Hot Mix goes into bottom of 15-gal pot. Pot at this point has 6.5 gallons.
i then take 2.5 gallons of Basic Soil Mix and blend it on top of this lower layer, mixing it up a bit to create an intermediate layer that will buffer the seedlings from the Hot Mix allowing them to get used to it as they penetrate below the top layer. At this point the 15-gal pot has about 9 gallons in it.
i now fill in 5 (of the remaining 7.5) gallons of Basic Soil Mix on top of each of the five fabric pots. i work a half (0.5) gallon of worm castings into the top two inches of this top 50% layer. total in the pot is now 14.5 gallons.
there should be about 2.5 gallons of Basic Soil Mix left over. This can be set aside for the 5-gal pots below, or mixed with Light Warrior seedling mix for the top soil in the 15-gal pots as described below, depending on how full the pot is.
Soil for the 5-gallon fabric pots:
The left over 2.5 gallons from all five mixing bags should amount to 12.5 gallons (2.5 x 5 = 12.5), can be added to the last (6th) 15-gallon bag of Basic Soil Mix for a total of 27.5 gallons remaining to be used for five 5 gallon bags. There should be about 3 gallons of worm castings left. total remainingh material should be about 30 gallons, enough for five or even six 5-gal pots.
Hot Mix for bottom layer of 5-gallon pots (recipe to fill 5 pots):
For each 5-gallon pot, mix a bottom layer of:
2 gallons Basic Soil Mix
a half-gallon of worm castings
50 gr horn shavings
2 tbs fish bone meal (1 tbs per gallon of soil)
2 tbs blood meal
2 tbs cottonseed meal
1 tbs dolomite lime
1 tbs epsom salt
2 tbs rock dust
2 tbs Calmag
At this point, you have a 2.5 gal bottom layer in each 5-gal pot.
i now mix in a 1-gal buffer/intermediate layer of Basic Soil Mix. add the remaining 1 gallon Basic Mix as topsoil, and work a handful of what's left of the worm castings into the top two inches. the 5-gal pot should contain about 4.5 gallons at this point. the remainder can be filled with LW and remaining Basic Mix. mulch on top.
let filled bags sit for 10 days or until ready to set seedlings.
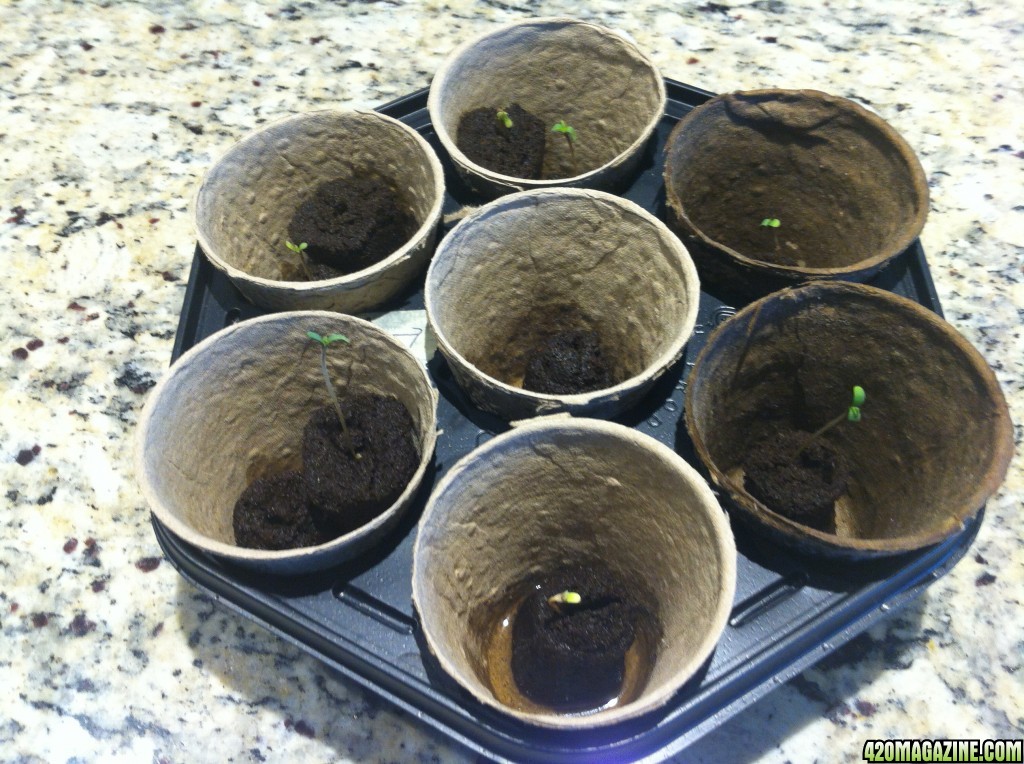
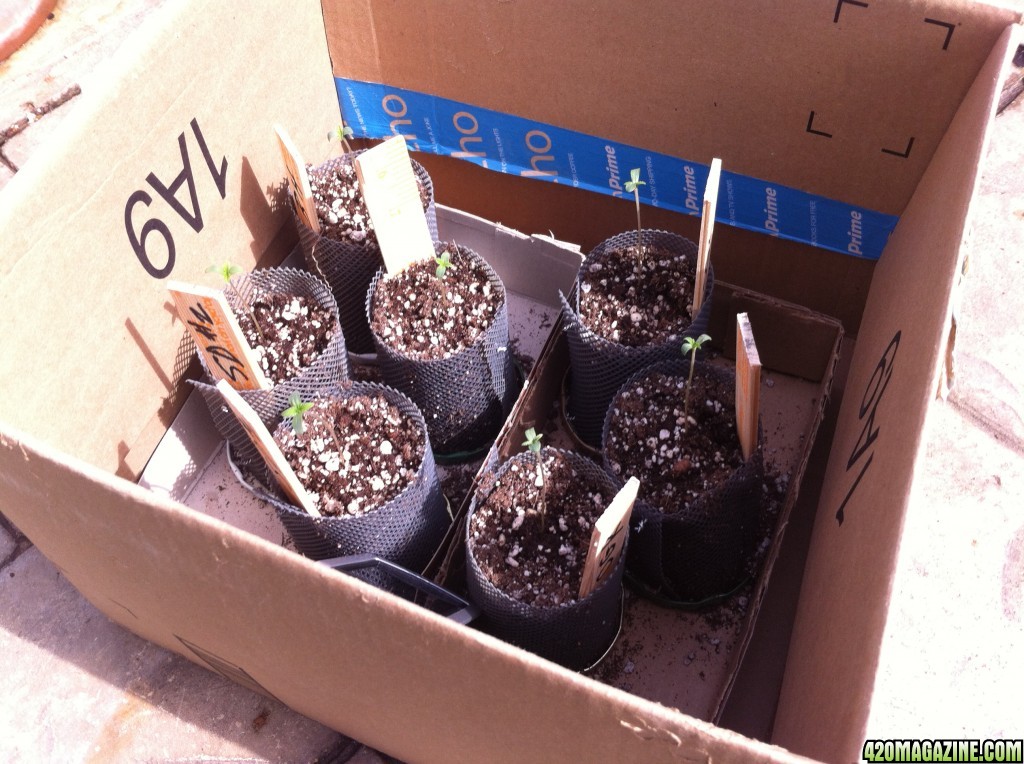
meanwhile germinate 10 seeds. depending on how many germinate, set the "extra" seedlings (beyond the "big 5") into the 5-gal pots.
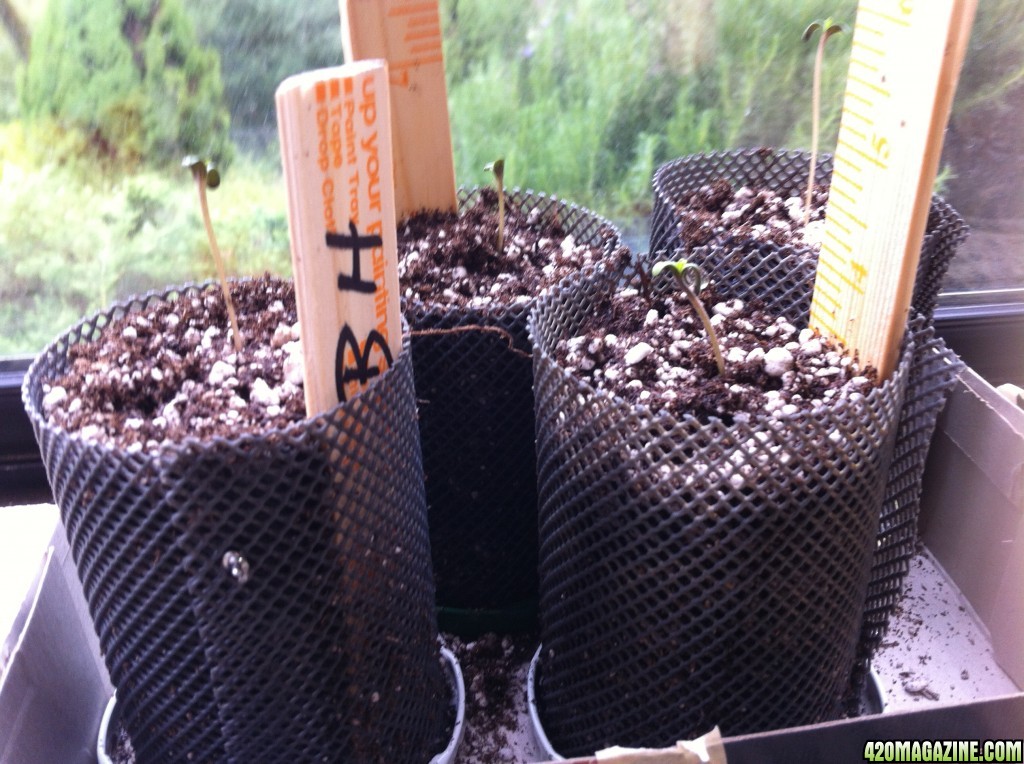
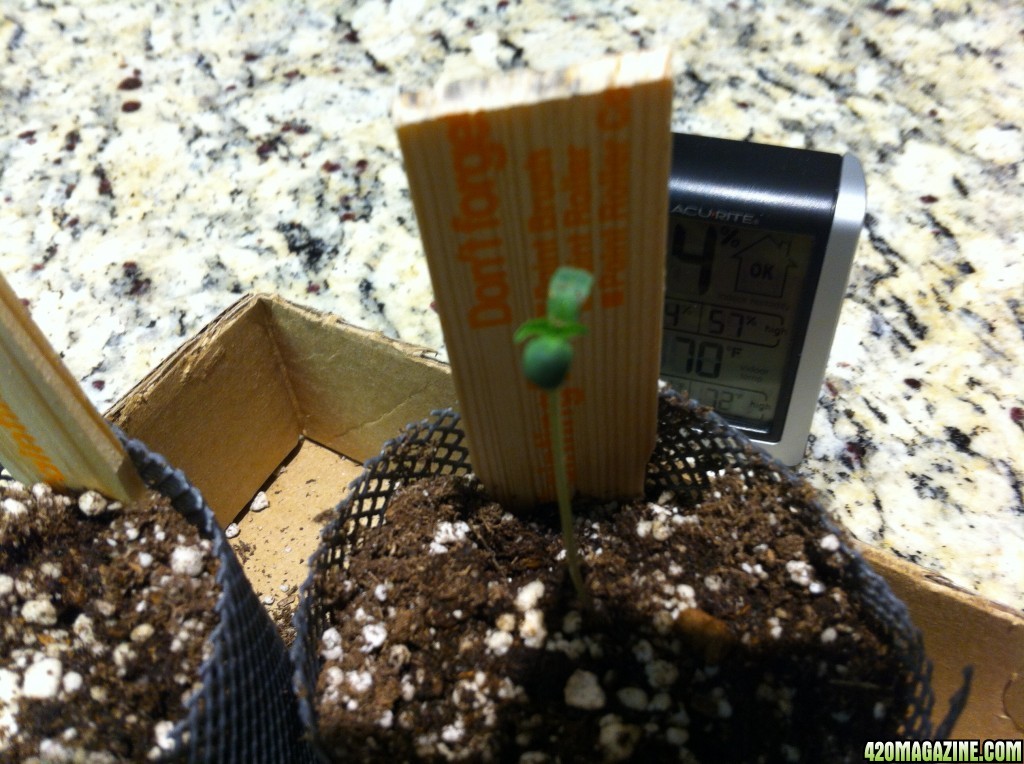
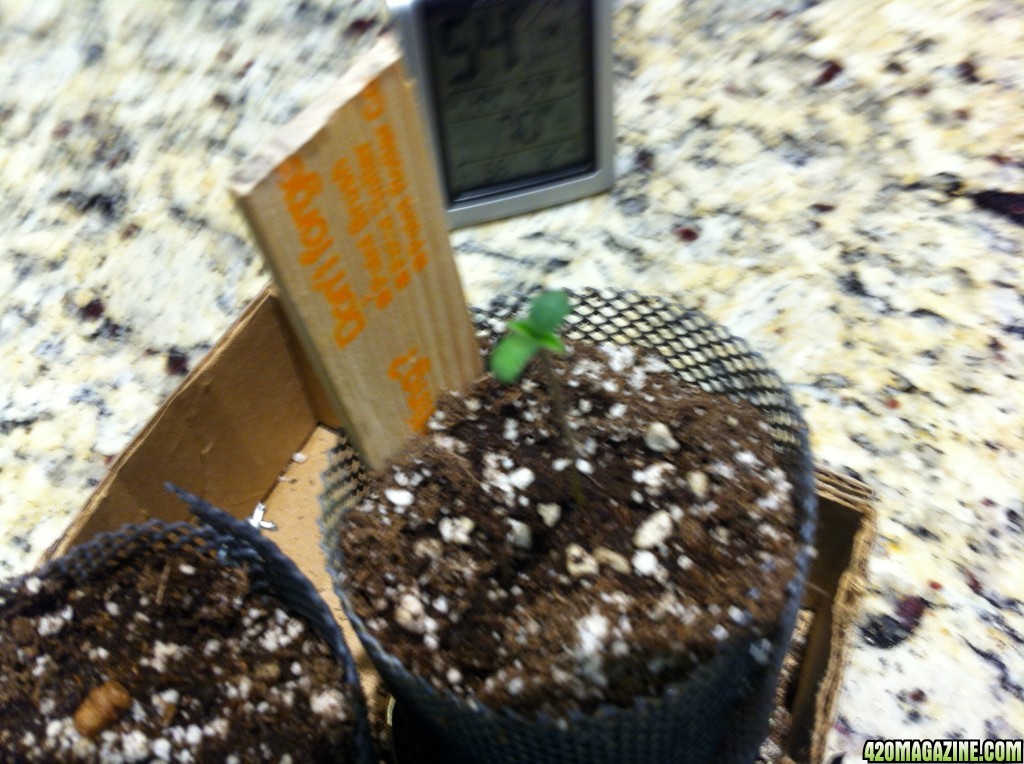
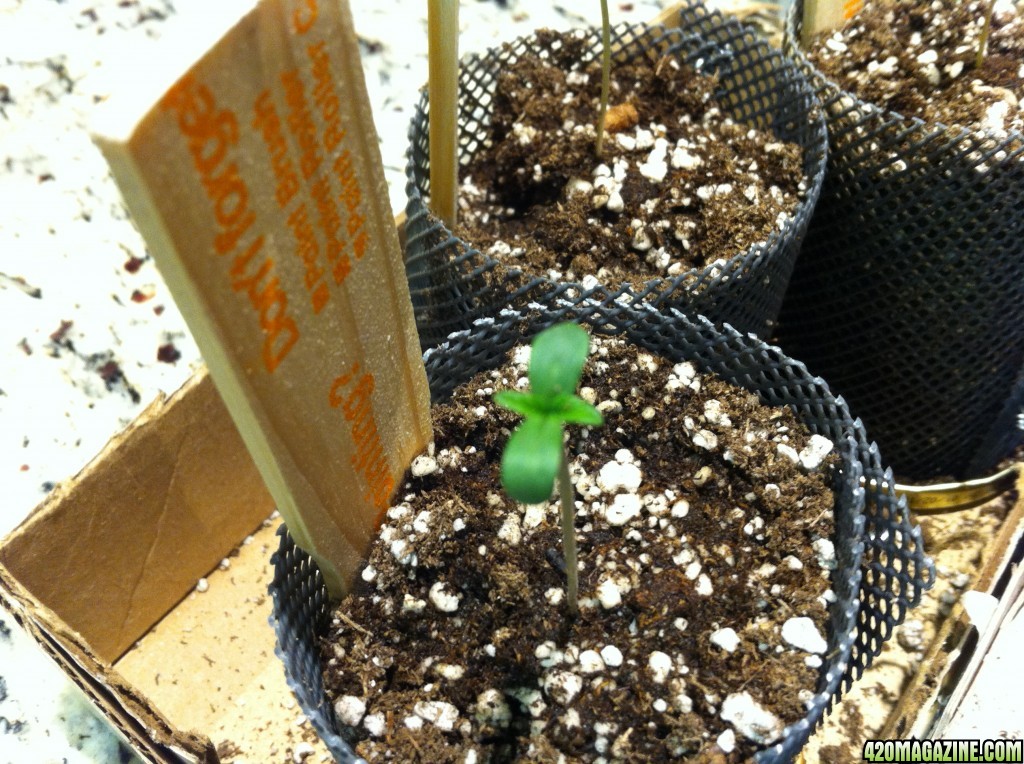
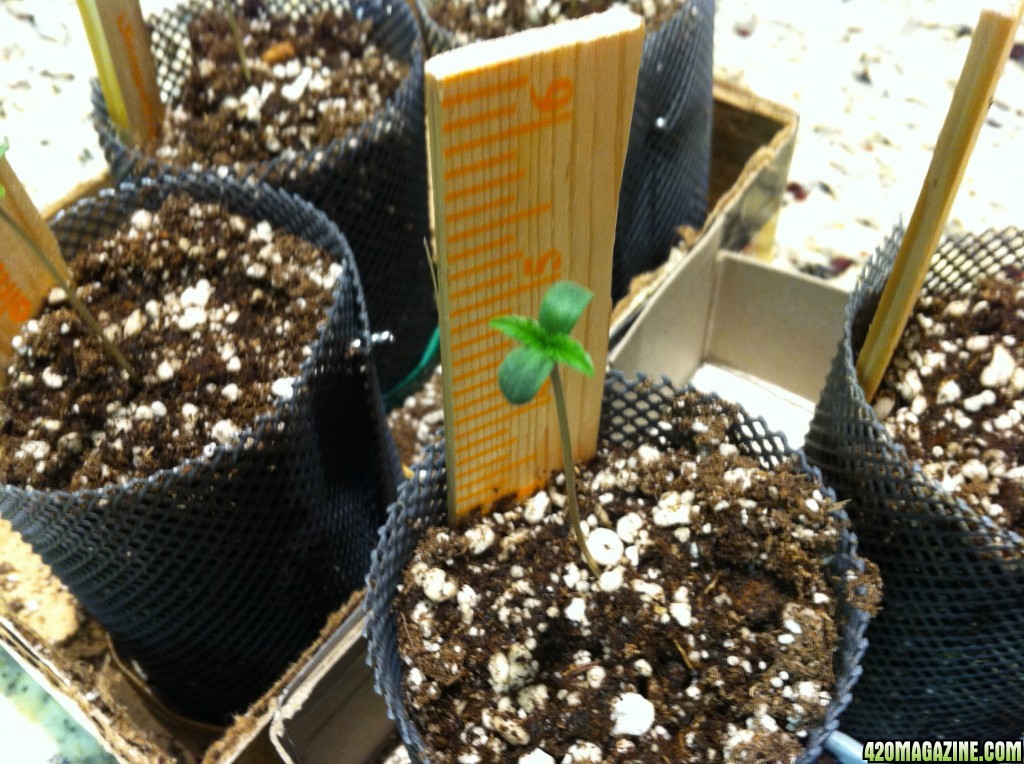
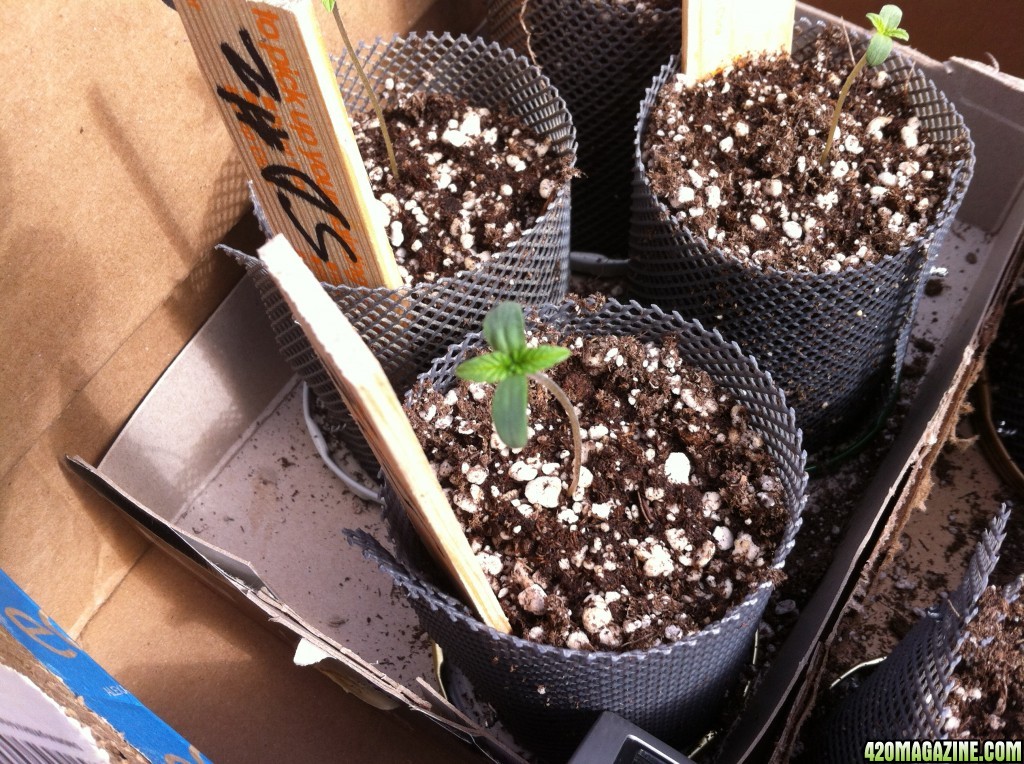
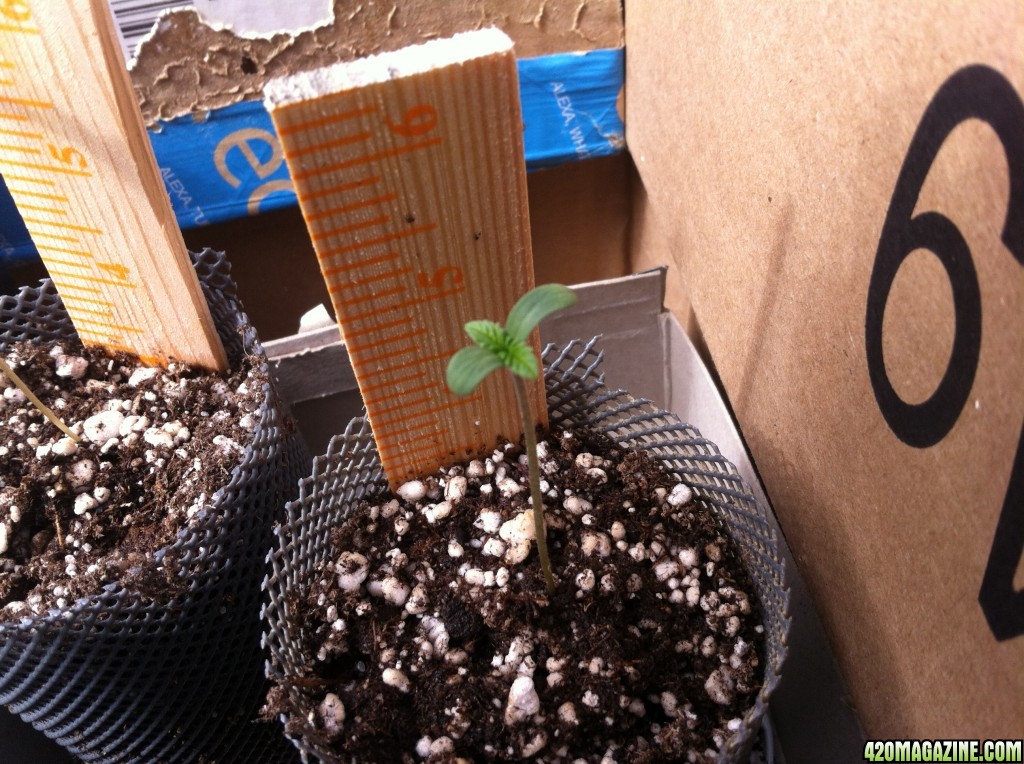
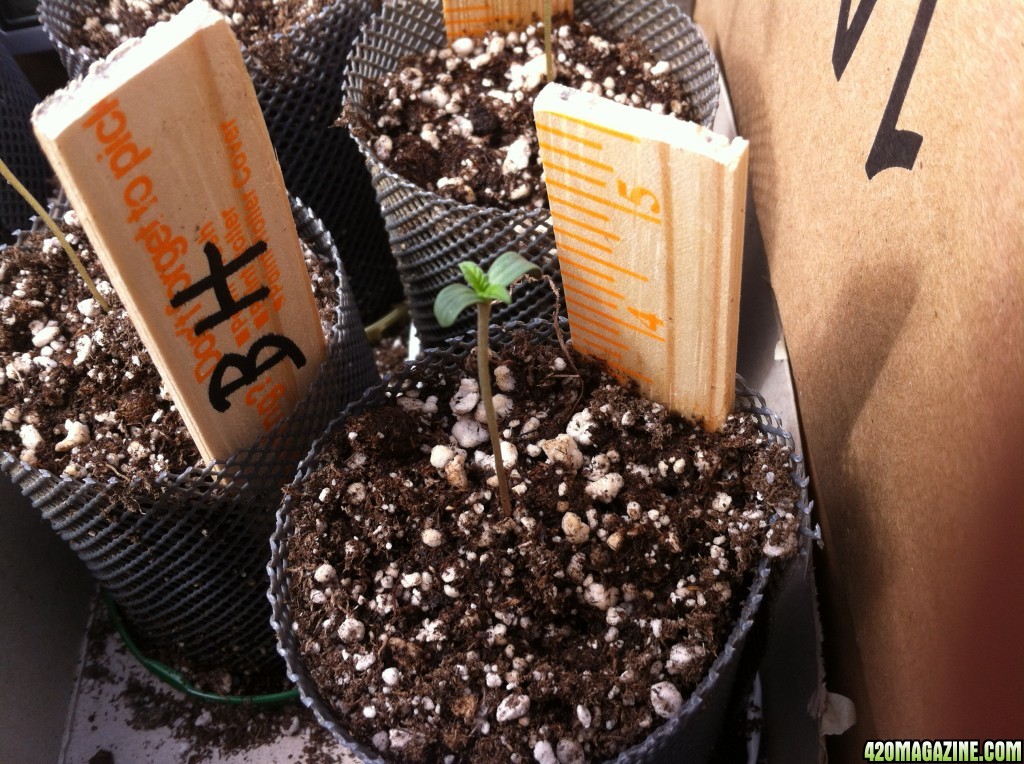
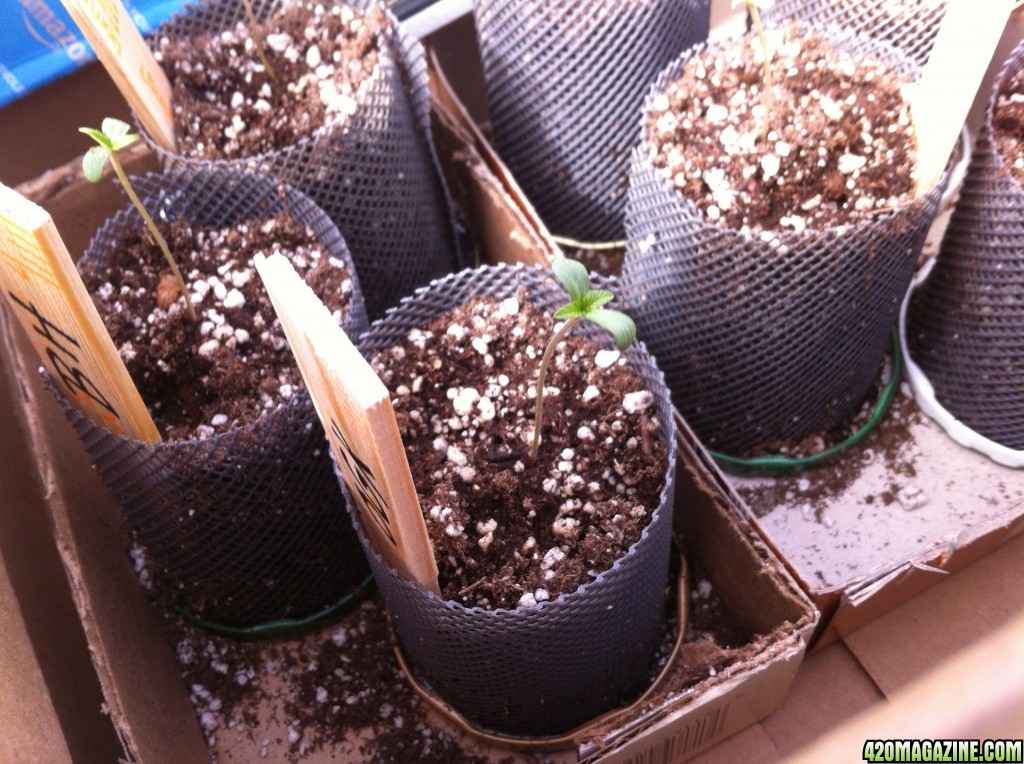
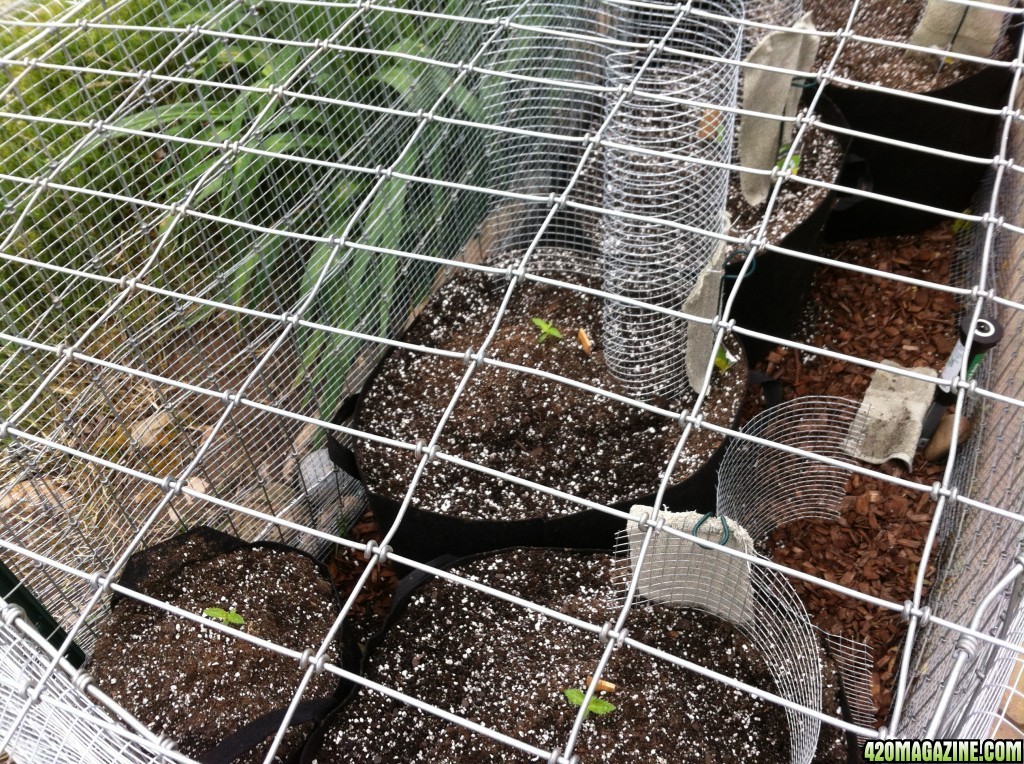
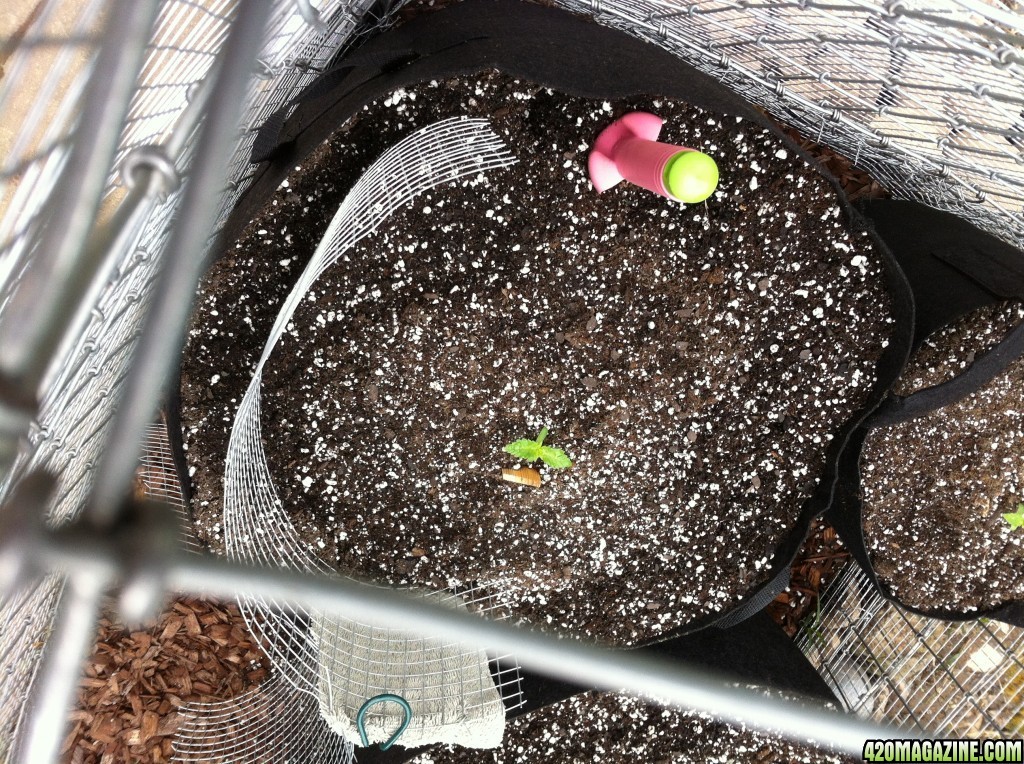
Aeration Cylinder (for 15-gallon as well as 5-gallon pots): i create a shallow cup or hole in the center of the top soil and fill it in with Light Warrior seeding mix. fill up the remaining half gallon of space in the pot with LW and Basic Mix, spreading it across the top. Then place Rooter with rooted seedling in the center surrounded by LW. Place Rooter inside a screen aeration cylinder filled with LW atop the 15- or 5-gallon pot.
The screen aeration cyliner is a self-made thing. it can be cut from a section of stiff tight-weave plastic mesh designed to wrap around and protect young tree trunks. a 12" x 4" piece can be rolled loosely into a round form open on top and bottom, fastened with a thin garden wire. It will act as a sort of mini-smart pot, a crown on top of the fabric pot, allowing the LW seedling mix to dry out quickly and give the seedling roots air while they develop and reach into the top layer of soil where they will find and enjoy... nutes!
turning the cylinder clockwise so that it cuts about an inch into the topsoil, it should stay put. LW should extend deeper than the bottom of the cylinder, and Rooter should sit on and in the LW and be mostly covered by LW and protected by cylinder. by the time roots penetrate through to nutrient-bearing Basic Soil Mix immediately below, seedlings should be hardy and ready for nutes. Basic Mix should provide nutrients from late April until late June, and NPK Hot Mix in bottom of bag will provide a boost when needed.
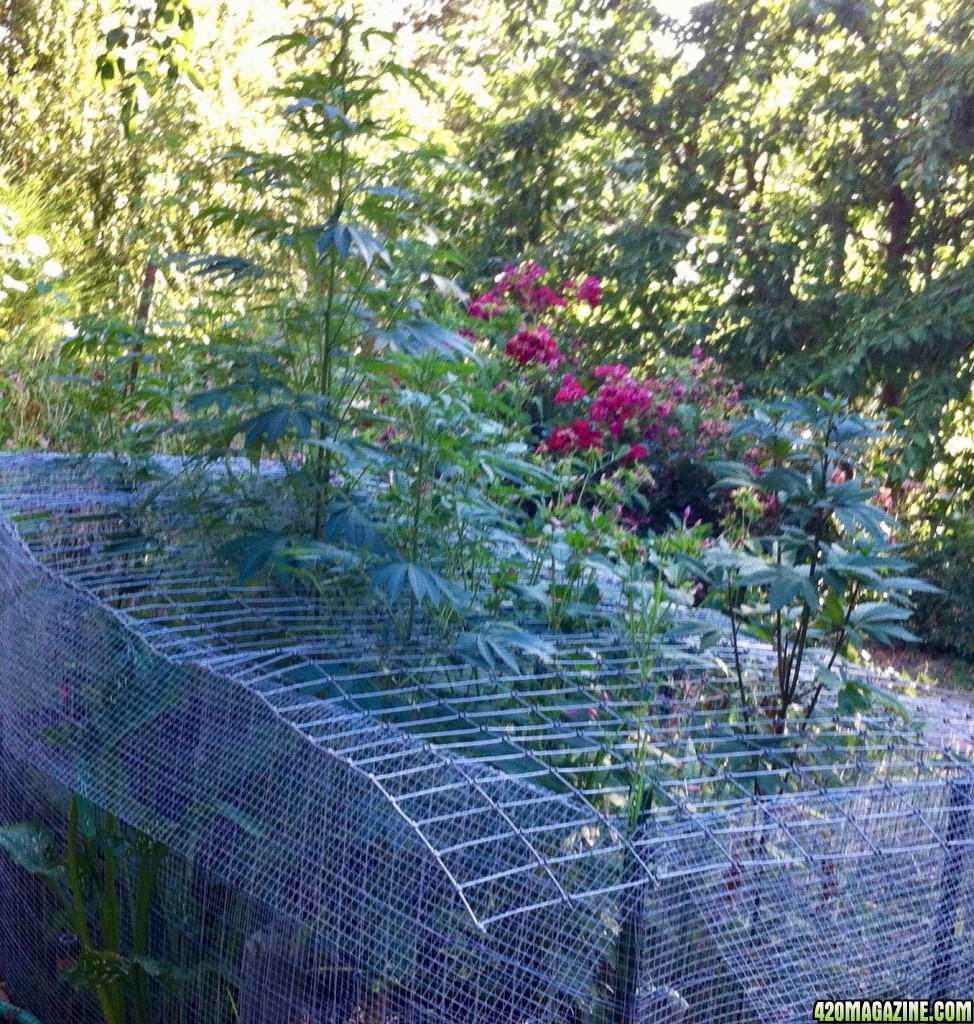
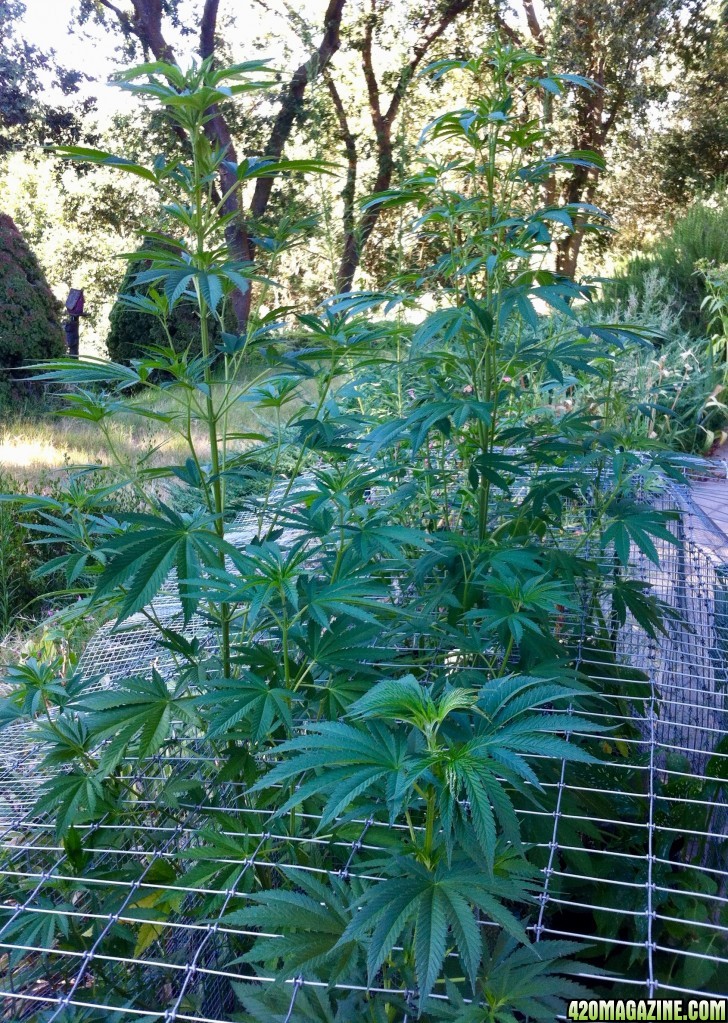
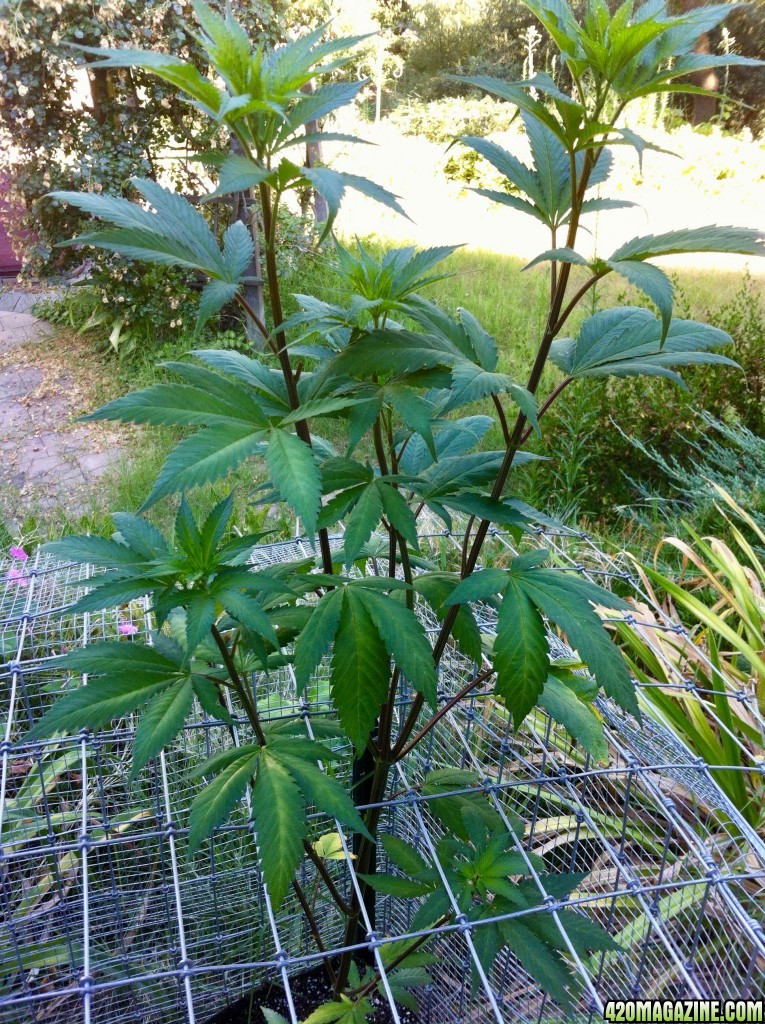
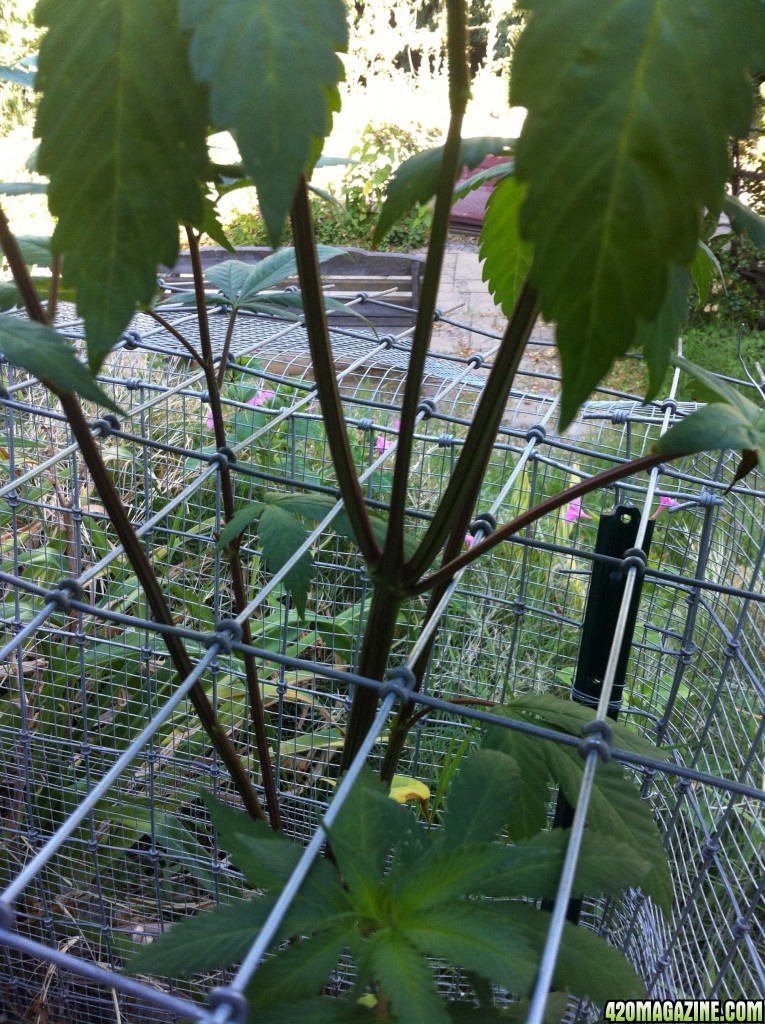
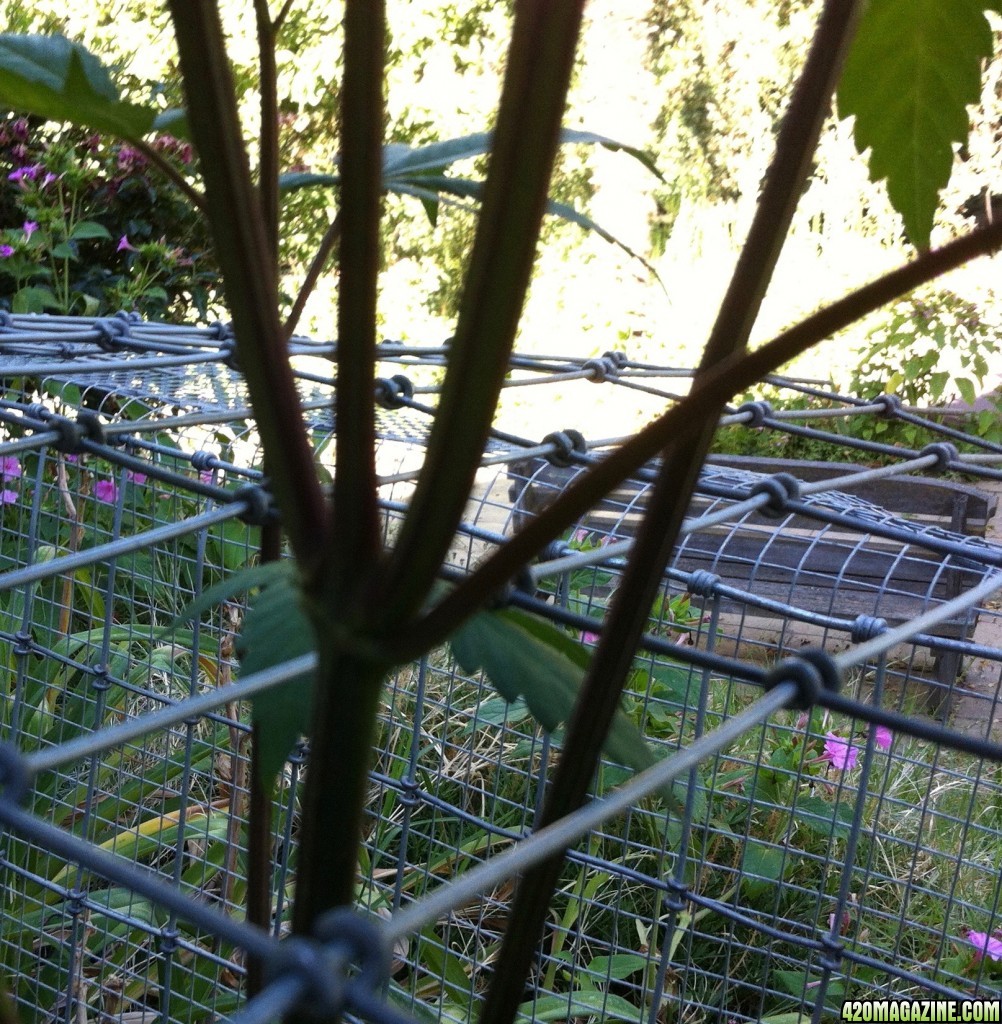
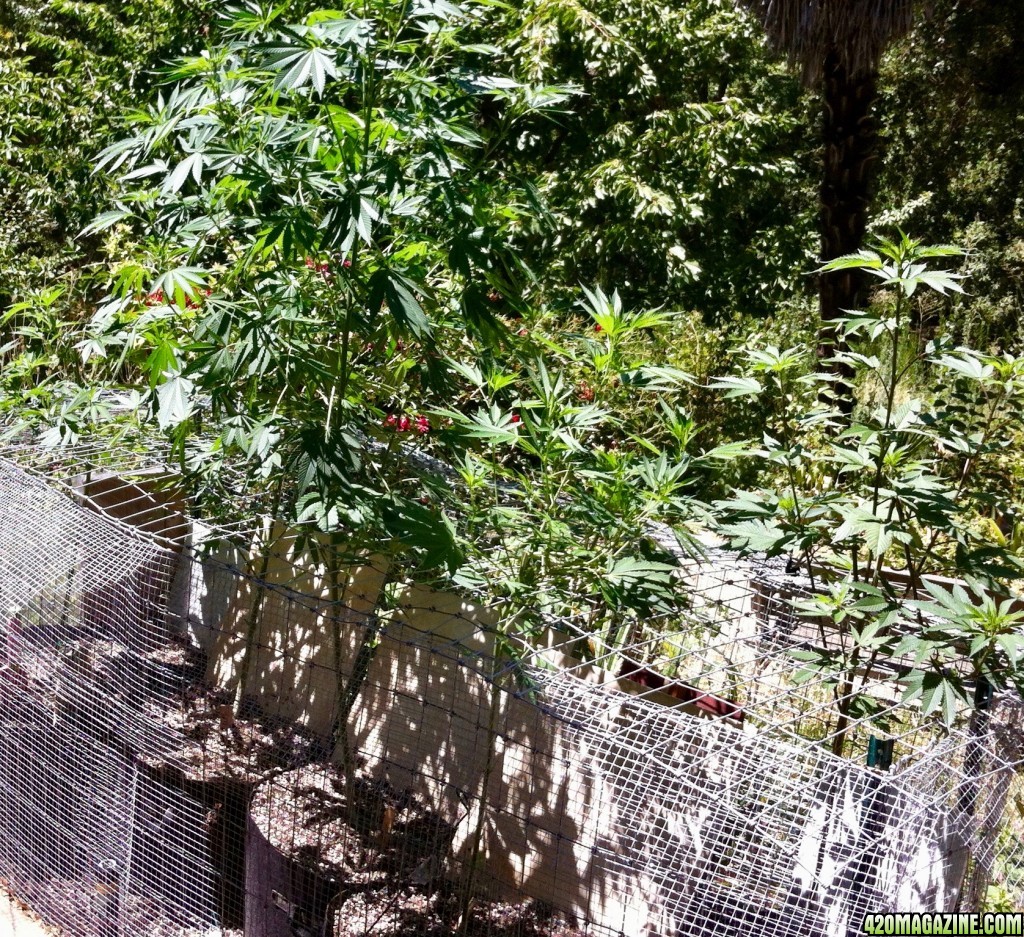
cover topsoil around cylinder with mulch to prevent weeds from taking root. to keep the critters away, i built a square corral from horse fencing wire, complete with fencing over the plants, to completely surround the area where the pots will sit. a nearby rainbird sprinkler head will irrigate them twice a week for five minutes.
if this succeeds...
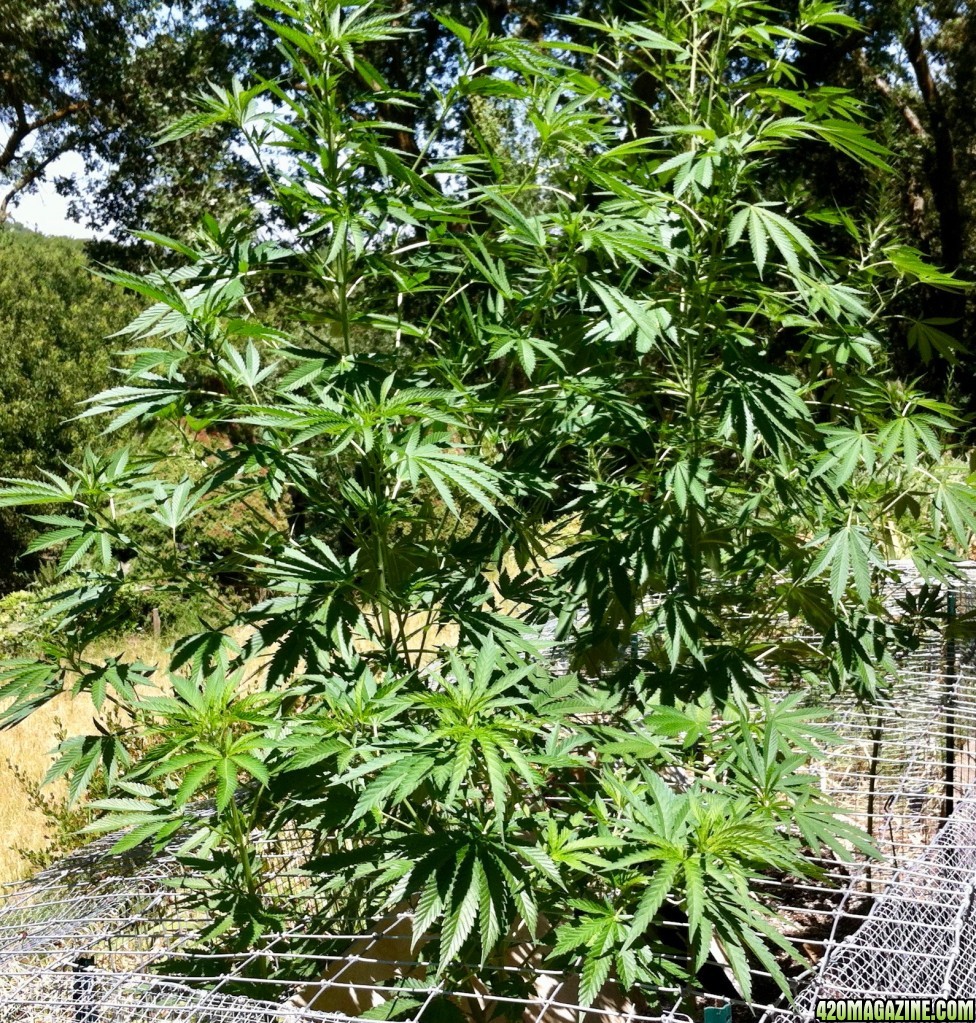
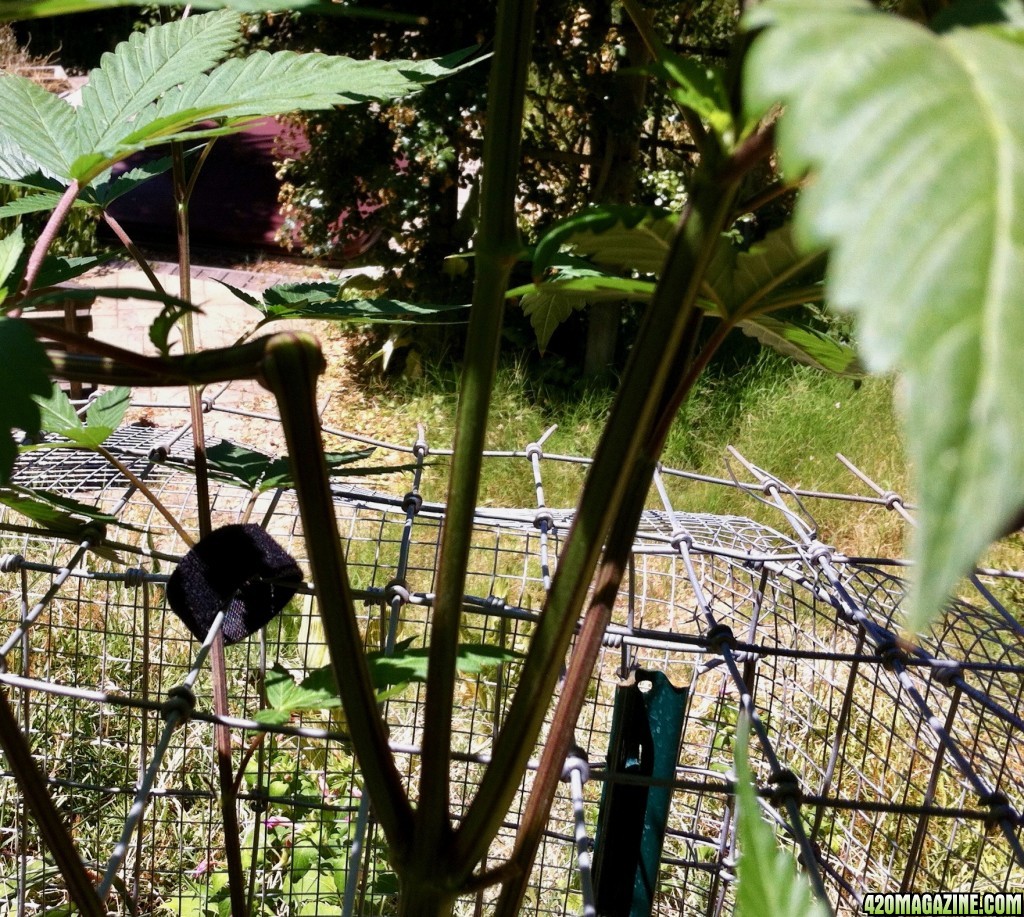
top and supercrop in mid July. amend soil as needed, if at all... prolly some K needed for flowering.
any thoughts? thanks for reading and commenting!

the "semi-guerilla" part needs a little explanation. no one will be present most of the time, i will be away for two months at a time. am now germinating and will set seedlings on about 4/20 and will not be back until July and then again in October to harvest. think i am crazy? well, listen to the idea first and then tell me what you think. the grow site is a very private back yard with no neighbors able to view it. but it is a sunny spot with automatic watering with programmable frequency like a lawn or other garden. ample water. climate-wise it is perfect, gets warm in the summer with no rain. 38L north. ideal climate. California, where it is soon to be legal (except for maybe the number of plants).
i've taken ideas from all over, so i cannot claim to have invented this on my own. subcool's laws of organic cannabis inspired me, in particular the super soil recipe, but i use others' ideas as well. this is an outdoor grow using 15-gallon fabric pots to allow for better root aeration and runoff so overwatering will be minimized. 15 gallon pots were selected because they are, i hope, big enough to require no transplanting. my experience in prior grows was that transplanting several times was necessary or at least best for the plant. little roots get bogged down if the pot is too big, too wet, and cannot dry out. that is particularly true for young plants in large ceramic or plastic pots. but like i said, i will not be there. transplanting cannot happen until mid-July, and hopefully with this method transplanting will not be necessary.
my basic soil mix is FF Ocean Forest mixed with ProMix HP and perlite. i've mixed up 15 gallons of this mix for each pot, consisting of 38 quarts FFOF, 12 quarts ProMix HP, and 10 quarts additional perlite. each pot will have two layers of soil, the top layer being 7.5 gallons of that mix, and a small amount maybe one gallon of FF Light Warrior for the seedling to get started. the bottom layer is a variation on super soil. recipe below. the idea is that the seedling needs time to take root without nute burn, and will start off in a cup-like area of Light Warrior seedling mix. but after a few weeks the seedling will be able to use the FFOF nutrients in the top layer of soil. fast forward 6 weeks. after the roots penetrate below the top layer, the lower layer provides a boost for vegetative growth and will provide much that is needed for flowering as well. as mentioned, i will visit the girls once before flowering and can make some soil amendments in mid-July.
here is my soil recipe and the basics of the layering concept. i am going to grow 5 plants in 15-gallon pots, plus, if all 10 seeds germinate there will be 5 more plants in 5-gallon pots. any comments or criticisms are welcome!
raw materials for 105 gallons of soil:
6 bags FFOF (@bag of 1.5 cu ft = 9.6 gal/38.4 quarts) (x6=57.6 gal)
1 bale Pro Mix HP (bag of 2.2 cu ft = 14 gal/56 quarts)
1 bag Light Warrier seeding mix (1 cu ft = 6.5 gal/25 quarts)
2 bags Noble Worm worm castings (30 lb bags, @1 cu ft = 6.5 gal) (x2=13 gal)
7 bags perlite (2 gal/8 quarts per bag) (x7=14 gal)
1 bag dolomite lime
1 bag espoma epsom salt
1 bag rock dust
1 bag blood meal
1 bag fish bone meal
1 bag cottonseed meal
1 bag Calimag for K
Basic Soil Mix: in 6 garbage bags mix 15 gallons of Basic Soil Mix (for a total of 90 gallons) using for each bag:
38 quarts soil (1 bag of FFOF)
10 quarts perlite
12 quarts peat Pro Mix HP
i mix these ingredients in 6 heavy-duty 110 L garbage bags and, when mixed, i leave each 15 gallon batch in the mixing bag. the bag can be repeatedly shaken, rolled, turned over, and gently stirred by hand to loosen or crush clumps. i note i had to take care not to puncture the bag, so the heaviest-duty plastic bags are needed, certainly not one that can tear easily.
Preparing for Top & Bottom Layers: i leave about half of the above Basic Soil Mix in garbage bags 1 thru 5 for use in the top 50% layer for the five 15 gal fabric pots. (The 6th garbage bag will be used later for the 5 gal pots, but the same layering concept and proportions apply to the 5-gal pots.)
For the bottom "hot mix" layer in the 15-gal pots, i take about 7.5 gallons (50%) of Basic Soil Mix out of bags 1 thru 5 and separate off 2.5 gallons from each. Simplest way is just remove 5 gallons of Basic Soil Mix from the original garbage bag (leaving 10 gal in the bag) and place it in another mixing bag. Later take the 2.5 gallons as discussed below (leaving 7.5 in the original garbage bag at that point).
Hot Mix recipe for 15-gal pots: (bottom 50% of soil -- about 6.5 gallons -- layer to be mixed in a new garbage bag and poured right into the bottom of the fabric pot):
5 gallons of Basic Soil Mix
1.5 gallons worm castings (just under 25% of a 6.5 gallon bag)
150 gr horn shavings for slow release N
5 tbs blood meal (1 tbs per gallon of soil) for quick release N & lower pH
5 tbs cottonseed meal for slow release N & lower pH
5 tbs fish bone meal for P (tends to raise pH)
3 tbs dolomite lime as pH buffer and Calmag (raises pH)
3 tbs epsom salt
5 tbs rock dust
5 tbs Calimag (for lack of other potassium specific organic source)
This Hot Mix goes into bottom of 15-gal pot. Pot at this point has 6.5 gallons.
i then take 2.5 gallons of Basic Soil Mix and blend it on top of this lower layer, mixing it up a bit to create an intermediate layer that will buffer the seedlings from the Hot Mix allowing them to get used to it as they penetrate below the top layer. At this point the 15-gal pot has about 9 gallons in it.
i now fill in 5 (of the remaining 7.5) gallons of Basic Soil Mix on top of each of the five fabric pots. i work a half (0.5) gallon of worm castings into the top two inches of this top 50% layer. total in the pot is now 14.5 gallons.
there should be about 2.5 gallons of Basic Soil Mix left over. This can be set aside for the 5-gal pots below, or mixed with Light Warrior seedling mix for the top soil in the 15-gal pots as described below, depending on how full the pot is.
Soil for the 5-gallon fabric pots:
The left over 2.5 gallons from all five mixing bags should amount to 12.5 gallons (2.5 x 5 = 12.5), can be added to the last (6th) 15-gallon bag of Basic Soil Mix for a total of 27.5 gallons remaining to be used for five 5 gallon bags. There should be about 3 gallons of worm castings left. total remainingh material should be about 30 gallons, enough for five or even six 5-gal pots.
Hot Mix for bottom layer of 5-gallon pots (recipe to fill 5 pots):
For each 5-gallon pot, mix a bottom layer of:
2 gallons Basic Soil Mix
a half-gallon of worm castings
50 gr horn shavings
2 tbs fish bone meal (1 tbs per gallon of soil)
2 tbs blood meal
2 tbs cottonseed meal
1 tbs dolomite lime
1 tbs epsom salt
2 tbs rock dust
2 tbs Calmag
At this point, you have a 2.5 gal bottom layer in each 5-gal pot.
i now mix in a 1-gal buffer/intermediate layer of Basic Soil Mix. add the remaining 1 gallon Basic Mix as topsoil, and work a handful of what's left of the worm castings into the top two inches. the 5-gal pot should contain about 4.5 gallons at this point. the remainder can be filled with LW and remaining Basic Mix. mulch on top.
let filled bags sit for 10 days or until ready to set seedlings.
meanwhile germinate 10 seeds. depending on how many germinate, set the "extra" seedlings (beyond the "big 5") into the 5-gal pots.
Aeration Cylinder (for 15-gallon as well as 5-gallon pots): i create a shallow cup or hole in the center of the top soil and fill it in with Light Warrior seeding mix. fill up the remaining half gallon of space in the pot with LW and Basic Mix, spreading it across the top. Then place Rooter with rooted seedling in the center surrounded by LW. Place Rooter inside a screen aeration cylinder filled with LW atop the 15- or 5-gallon pot.
The screen aeration cyliner is a self-made thing. it can be cut from a section of stiff tight-weave plastic mesh designed to wrap around and protect young tree trunks. a 12" x 4" piece can be rolled loosely into a round form open on top and bottom, fastened with a thin garden wire. It will act as a sort of mini-smart pot, a crown on top of the fabric pot, allowing the LW seedling mix to dry out quickly and give the seedling roots air while they develop and reach into the top layer of soil where they will find and enjoy... nutes!
turning the cylinder clockwise so that it cuts about an inch into the topsoil, it should stay put. LW should extend deeper than the bottom of the cylinder, and Rooter should sit on and in the LW and be mostly covered by LW and protected by cylinder. by the time roots penetrate through to nutrient-bearing Basic Soil Mix immediately below, seedlings should be hardy and ready for nutes. Basic Mix should provide nutrients from late April until late June, and NPK Hot Mix in bottom of bag will provide a boost when needed.
cover topsoil around cylinder with mulch to prevent weeds from taking root. to keep the critters away, i built a square corral from horse fencing wire, complete with fencing over the plants, to completely surround the area where the pots will sit. a nearby rainbird sprinkler head will irrigate them twice a week for five minutes.
if this succeeds...
top and supercrop in mid July. amend soil as needed, if at all... prolly some K needed for flowering.
any thoughts? thanks for reading and commenting!