Growing Fem Autoberry Seeds!

Evolution

Active Member
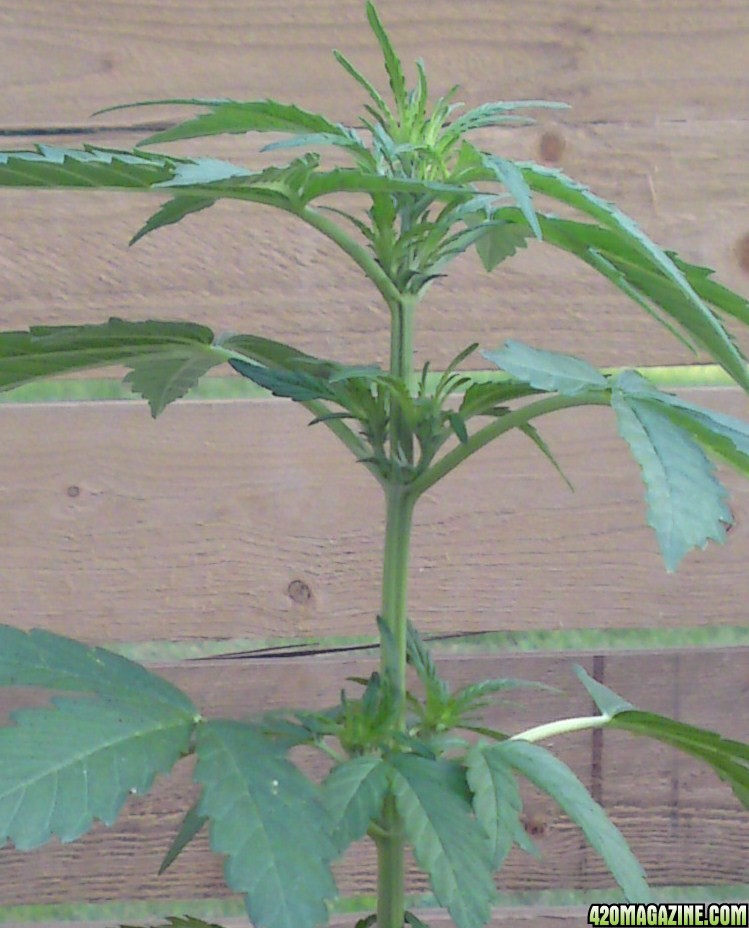
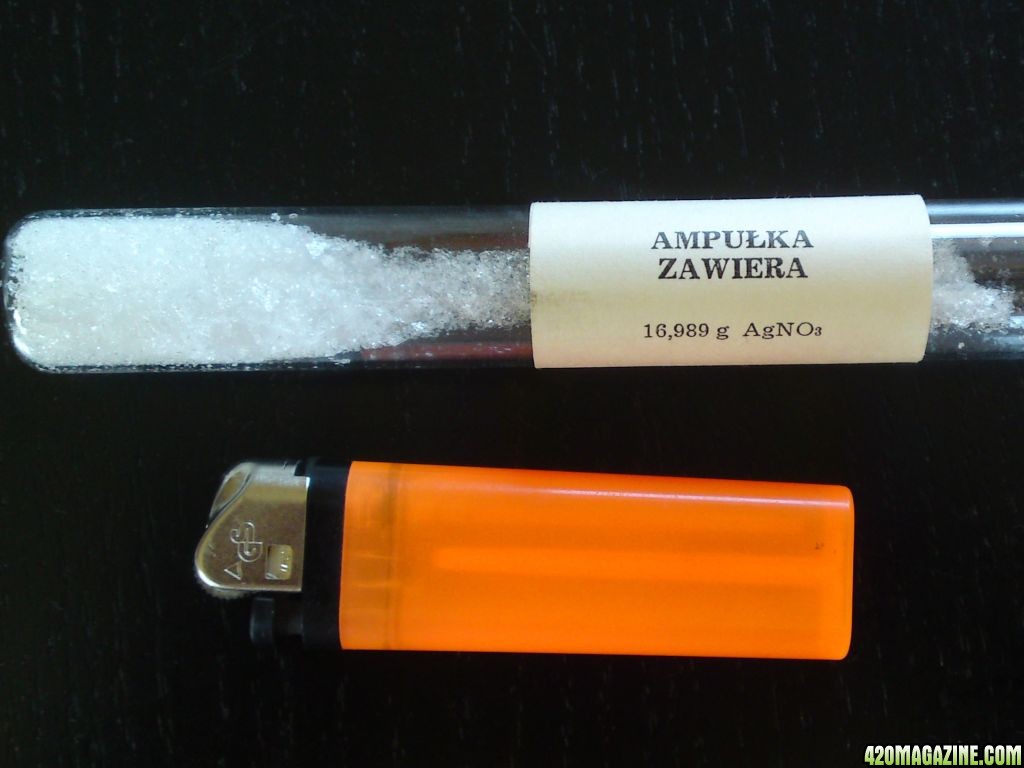
Gonna try and use the STS method to create some more Fem seed, this is my first atemt ever at making seeds fem'ed or otherwise so wish me luck, :cheer: :cheer:and lets hope to se science and mother nature work hand in hand.

Project Goal Make Femenized Seeds

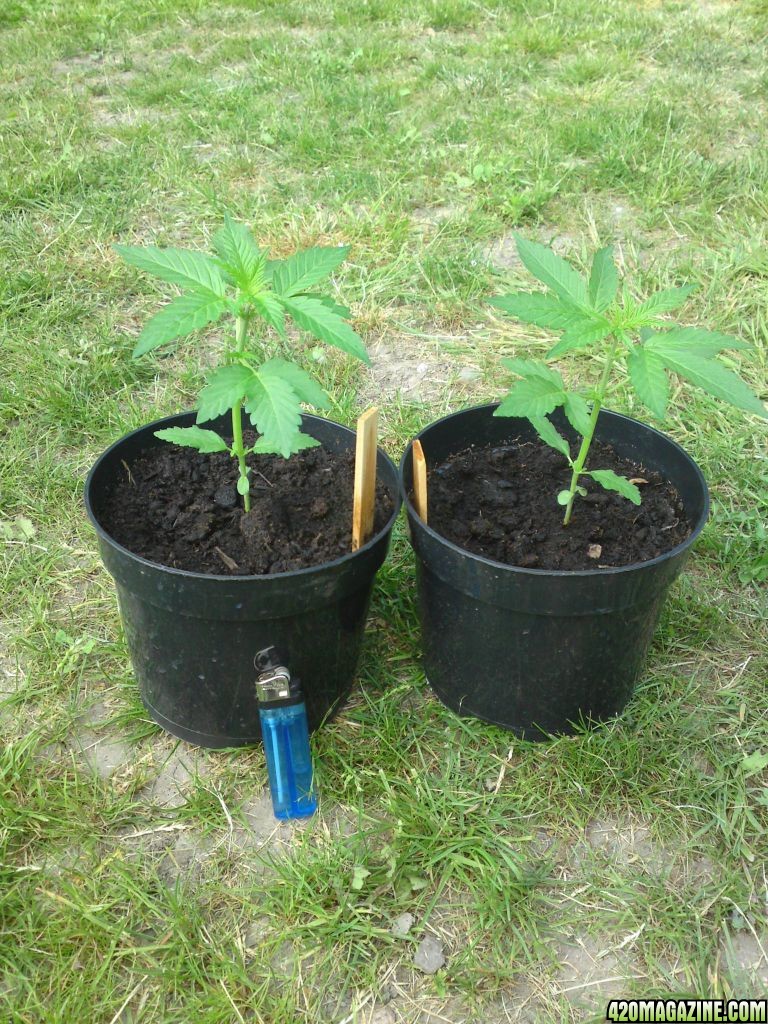
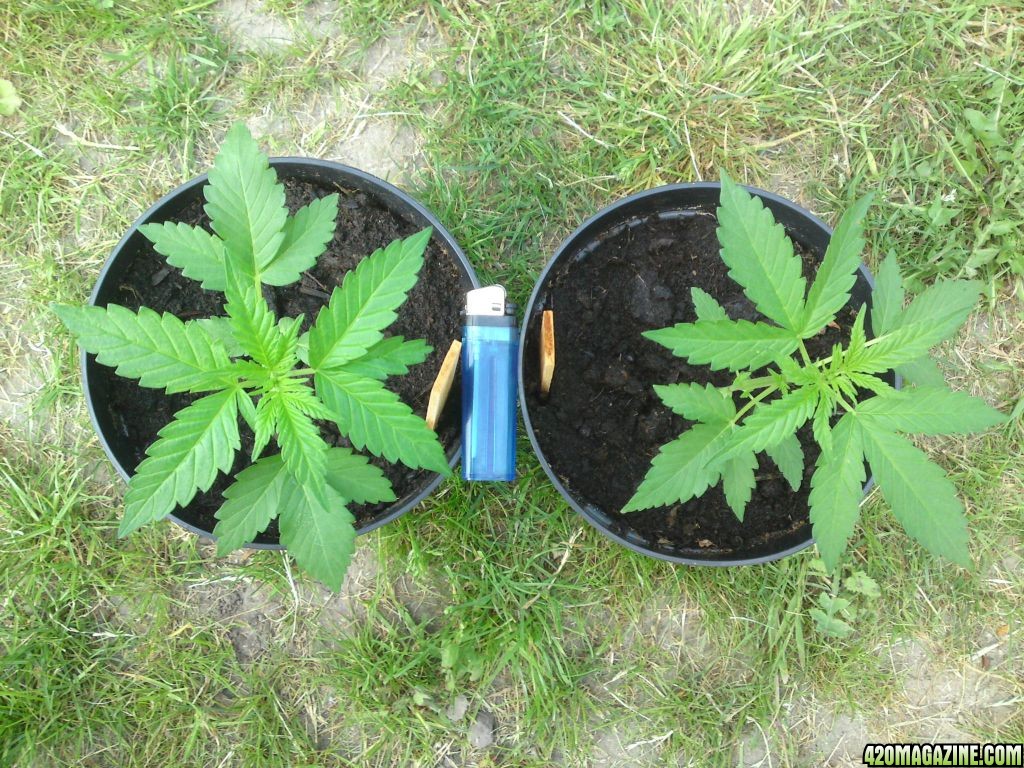
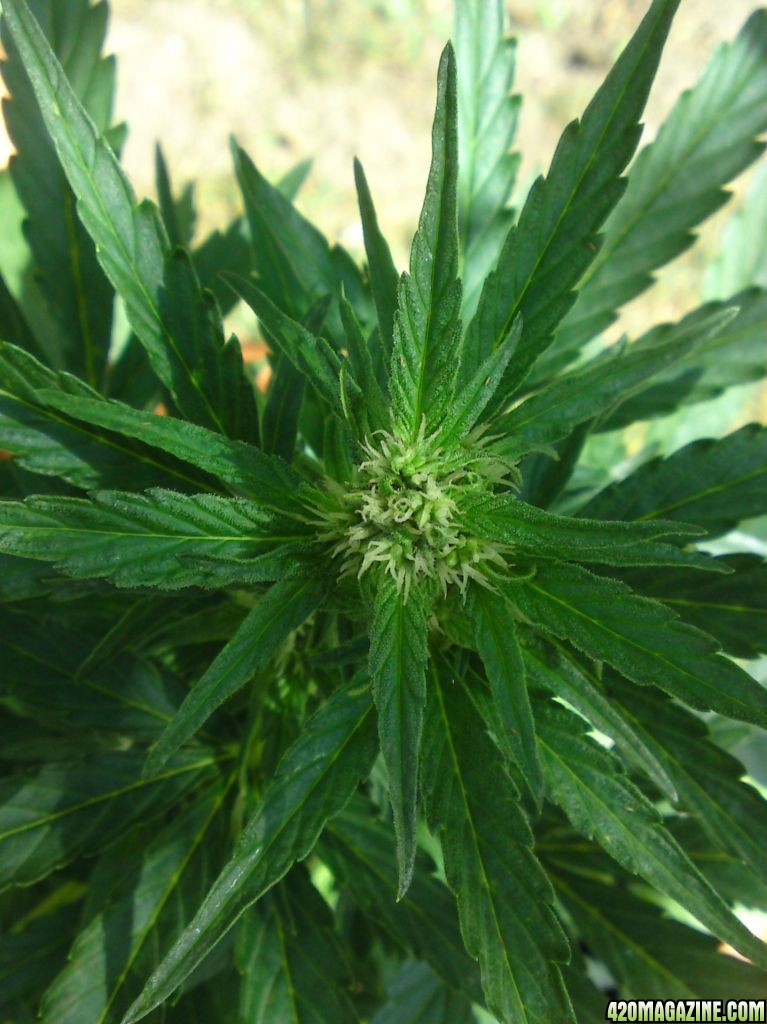
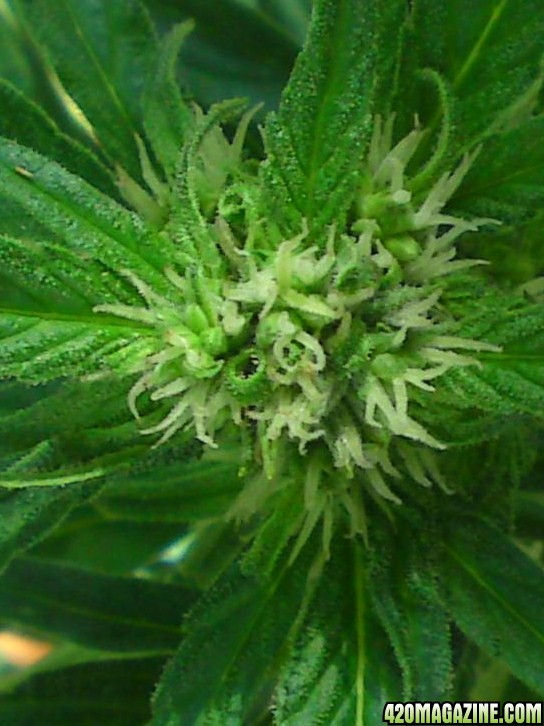
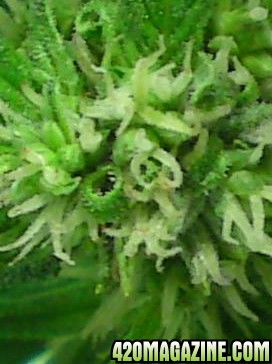
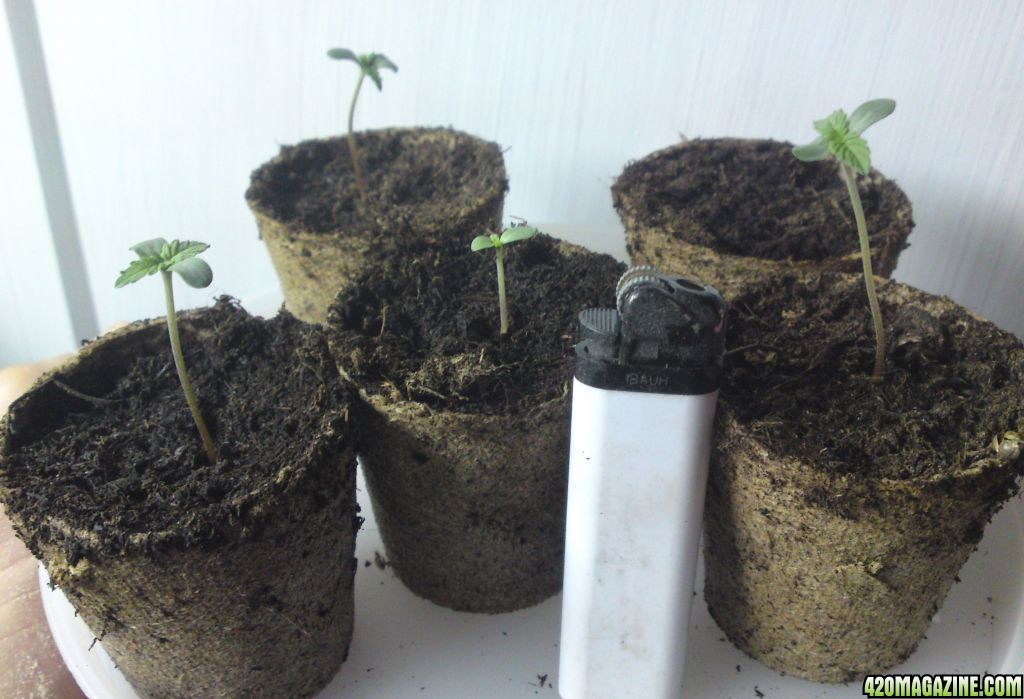
Strain: Autoberry (Blueberry/Greapfruit/lowryder cross)

Type Indica x Sativa x Rudaralis

Medium Soil

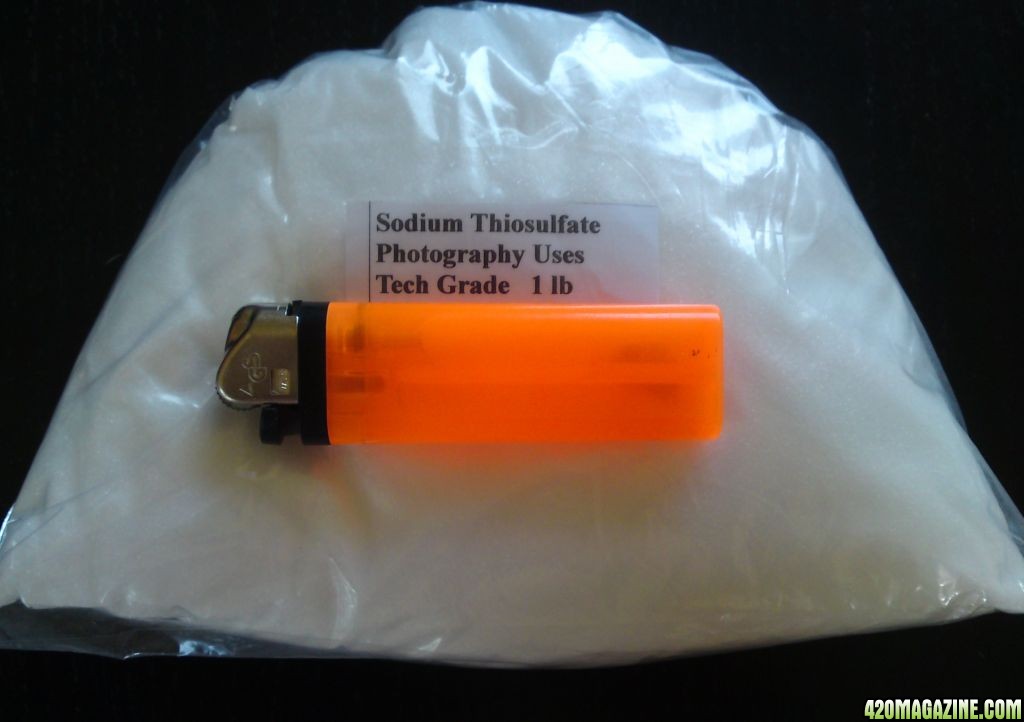
Polenation method STS

Lights and hardware Using Gods Big HPS :) :) :)

Expected time table 70days +

Expected results 30+ Fem Seeds / plant
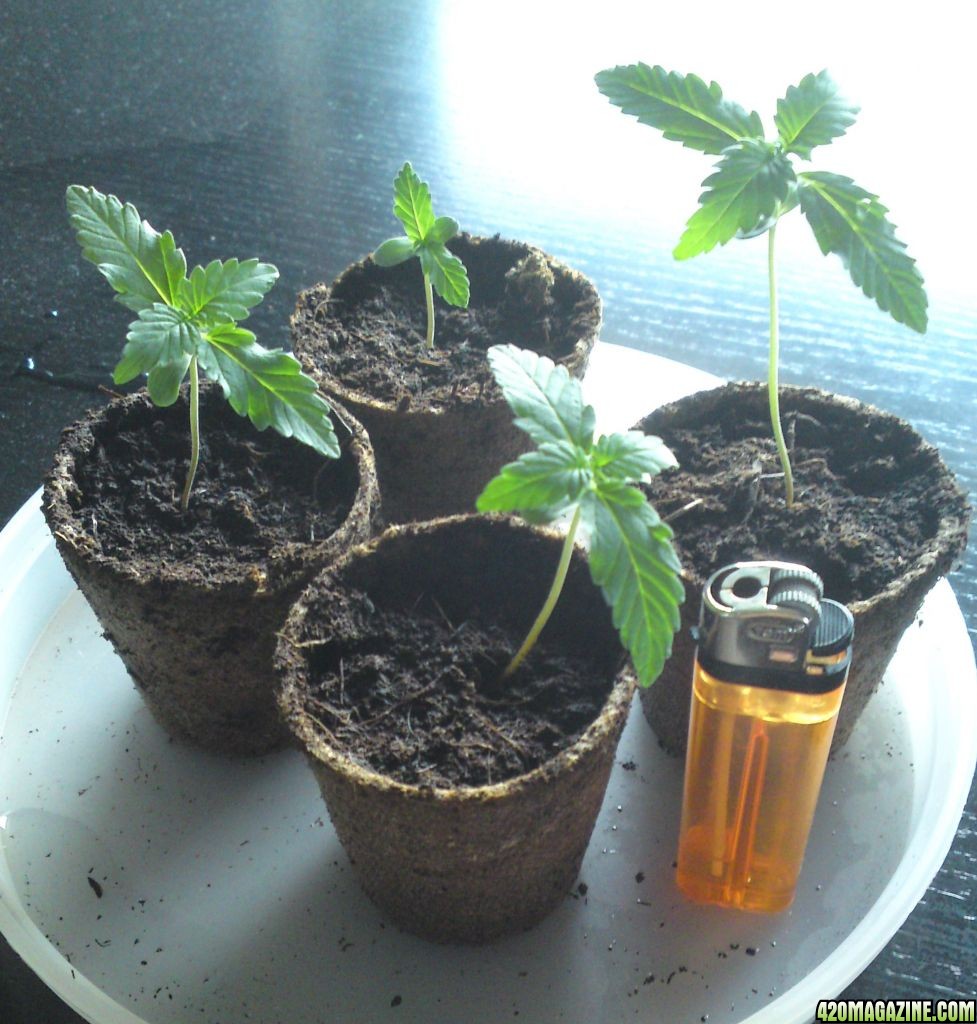
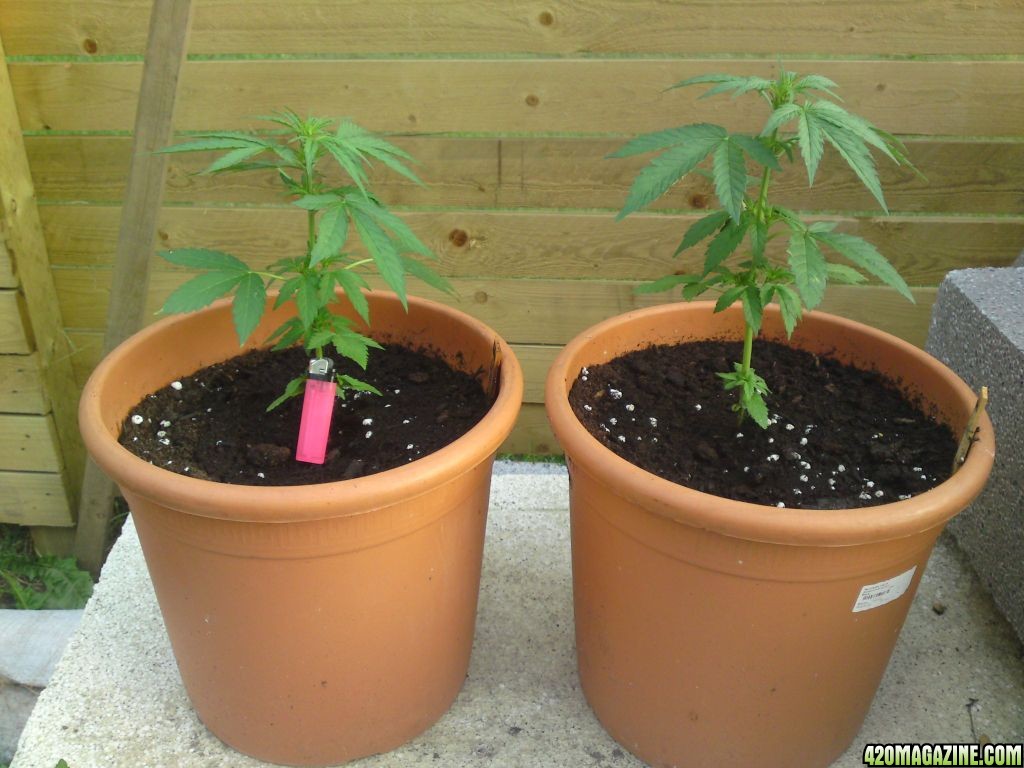
 
SILVER NITRATE 17g
DSC013392.JPG


SODIUM THIOSULFATE 1lb
DSC013384.JPG
 
So the first of the up and cummig moms are showing pre flowers,.. question is when do i apply the sts to an auto??? and what do i do regarding lights? normally i whould appley the sts and then mowe the plant to 12/12 for flowering,...
 
awsome .. whats sts ? i want to attempt the same thing your doinng thnx
 
awsome .. whats sts ? i want to attempt the same thing your doinng thnx


--------------------------------------------------------------------------------

The following is a safe, inexpensive, and successful method for reversing the sex of female cannabis plants. Individual plant responses may vary based upon strain, but I can verify that this process is fully effective in stimulating profuse staminate flower production.

This process can be used to:
A: create new feminized seeds from solitary prize mothers that you currently have
B: create interesting feminized-seed hybrids from different prize strains that you currently have
C: create feminized seeds for optimum outdoor use
D: accelerate the "interview" phase of cultivation, in searching for interesting new clone-mothers
E: reduce total plant numbers- great for medical users with severe plant number restrictions
F: increase variety, by helping to create stable feminized seedlines to be used as an alternative to clones

It is important to educate yourself about cannabis breeding theory and technique prior to using a method like this one. Here is a link to Robert Clarke's "Marijuana Botany", which is a very good reference.

"Marijuana Botany" by Robert Connell Clarke
(unfortunately missing the appendices)

It is also important to use basic safety precautions when mixing and handling these chemicals, so read the safety data links provided. The risk is similar to mixing and handling chemical fertilizers, and similar handling procedures are sufficient.

Remember: nothing will ever replace good genetics, and some of your bounty should always go back towards the professional cannabis breeders out there... the ones who have worked for many generations to come up with their true-breeding F1 masterpieces. Support professional breeders by buying their seeds. Also, order from Heaven's Stairway. Not that they need a plug from me, but they are very professional and provide very fast service worldwide.

Preparation of STS:
First, a stock solution is made. It consists of two parts (A and B) that are initially mixed separately, then blended together. Part A is ALWAYS mixed into part B while stirring rapidly. Use distilled water; tap water may cause precipitates to form.

Wear gloves while mixing and using these chemicals, and mix and use in a properly ventilated area. A mask will prevent the breathing of any dust, which is caustic. STS is colorless and odorless, and poses minimal health risks if used as described here. (See material safety data sheet links below). Note that silver nitrate and STS can cause brown stains upon drying, so spray over newspaper and avoid spilling.

Part A: .5 gram silver nitrate stirred into 500ml distilled water
Part B: 2.5 grams sodium thiosulfate (anhydrous) stirred into 500ml distilled water

The silver nitrate dissolves within 15 seconds. The sodium thiosulfate takes 30-45 seconds to dissolve.

The silver nitrate solution (A) is then mixed into the sodium thiosulfate solution (B) while stirring rapidly. The resulting blend is stock silver thiosulfate solution (STS).

This stock solution is then diluted at a ratio of 1:9 to make a working solution. For example, 100ml of stock STS is added to 900ml of distilled water. This is then sprayed on select female plants.

Both the stock STS and the working solution should be refrigerated after use, as well as the powdered chemicals, to avoid activity loss. Excess working solution can be safely poured down the drain after use (with ample running water) with negligible environmental impact. It's pretty cheap.

Each liter of stock STS will make ten 1-liter batches of working solution of STS. With the minimum amount of base chemicals ordered from Photographer's Formulary (see link below), this means that each 1-liter bottle of working solution STS costs less than 9 cents, and can treat 15-20 mid-sized plants. That's 200 1-liter batches of STS for $18. Note that the distilled water costs far more than the chemicals.

Application:
The STS working solution is sprayed on select female plants until runoff. Do the spraying over newspaper in a separate area from the flower room. You probably won't smell anything, but ventilate anyway. You now have what I call a "F>M plant"; a female plant that will produce male flowers.

After the F>M plant dries move it into 12/12 immediately. This is usually done three to four weeks prior to the date that the target (to be pollinated) plants will be ready to pollinate. Response times may vary slightly depending upon the strain. More specific times can be determined by trial with your own individual strains. In my trials it took 26 days for the first pollen. 30-35 days seems optimum for planning purposes.

So, assuming that a target plant needs 3-4 weeks to produce fully mature seeds, a strain that takes 8 weeks to mature should be moved into flower at about the same time as the female>male plant. A target plant that finishes flowering in 6 weeks needs to be moved into flower later (10 days or so) so that it doesn't finish before the seeds can fully mature.

A seeded individual branch can be left to mature on a plant for a bit longer, while harvesting the other seedless buds if they finish first. Just leave enough leaves on for the plant for it to stay healthy.

Effects:
Within days I noticed a yellowing of the leaves on the F>M plants. This effect persisted for two weeks or so; after this they became green again, except for a few of the larger fans. The plants otherwise seemed healthy. No burning was observed. Growth stopped dead for the first ten days, and then resumed slowly. No stretch was ever seen. After two weeks the F>M plants were obviously forming male flower clusters. Not just a few clusters of balls, but complete male flower tops. One plant still formed some pistillate flowers, but overall it was predominantly male.

It is strange indeed to see an old girlfriend that you know like the back of your hand go through a sex change. I'll admit that things were awkward between us at first.

When the F>M plants look like they may soon open and release pollen, ( 3-1/2 to 4 weeks) move them from the main flower room into another unventilated room or closet with lighting on a 12/12 timer. Don't worry too much about watts per square foot; it will only be temporary.

When the pollen flies, move your target plants into the closet and pollinate.

A more controlled approach is to isolate the F>M plants in a third remote closet (no light is necessary in this one, as they are releasing pollen now and are nearly finished anyway). In this remote other closet the pollen is very carefully collected in a plastic produce bag or newspaper sleeve and then brought back to the lighted closet, where the target plants are now located. If this is done, be careful to not mix pollen types by letting the F>Ms dust each other. Avoid movement, or use yet another closet.

Take special care to not let pollen gather on the outside of this bag- a static charge is sometimes present. Drop small open clusters of blooms inside and then close the bag at the mouth and shake. Important: next, step outside and slowly release the excess air from the bag, collapsing it completely, so that pollen doesn't get released accidently. Point downwind; don't let it get on your hands or clothes.

This collapsed pollinated bag is now very carefully slipped over only one branch and is then tied off tightly at the mouth around the branch stem with a twist tie or tape, sealing the pollen inside. Let the bag inflate slightly with air again before sealing it off, so the branch can breathe. This technique keeps the entire plant from seeding. Agitate the bag a bit after tying it off to distribute the pollen. Don't forget to label the branch so you know which seeds are which. Other branches on this same plant can be hit with different pollen sources.

If no lighted closet is available, the plant can be moved back into the main room, but- be very carefulollen is sneaky. After 4-5 days, the bag is gently removed and the plant completes it's flowering cycle.

Yet another method has worked well for me. I position the target plants in a non-ventilated lighted closet, and then I collect pollen on a piece of mirror or glass. This is then carefully applied to the pistils of one pre-labeled branch by using a very fine watercolor paintbrush. Care is taken to not agitate the branch or the pollen. No sneezing. The plant needs to be in place first; moving it after pollination can shake pollen free and blow this technique.

Regardless of technique, at completion you will have feminized seeds. Let them dry for 2-4 weeks.
 
Thanks for sharing your grow with us, sorry for your loss!

I’m moving this to completed journals now.

Have you started a new grow you would like to share with us?

If so, please start one here:
Journals in Progress

Hope all is well in your world.

Love and respect from all of us here at 420 Magazine!

Sending you lots of positive energy through the Universe.
 
Back
Top Bottom