Super Lemon Haze Hempy Bucket Grow Summary: A Fast Paced Journal

BudBGrowin

New Member
I have recently finished grow, however due to my busy schedule, and a little bit because of paranoia, I don't like to post my stuff online while I am doing it. This saddens me though, because there are very few people who I get to share my grow with so I am going to try something new (at least I think it is new). I call it: a grow summary. Essentially as I go through the notes and pictures and videos I have I will post overviews of the different stages of my last grow. It will be a quick trip full cycle instead of waiting the whole 4 months as I did! Because that this grow is already completed, even if my updates don't show it yet, commenting and suggesting I make specific changes to these plants are not necessary, however suggestions for future grows are welcome!

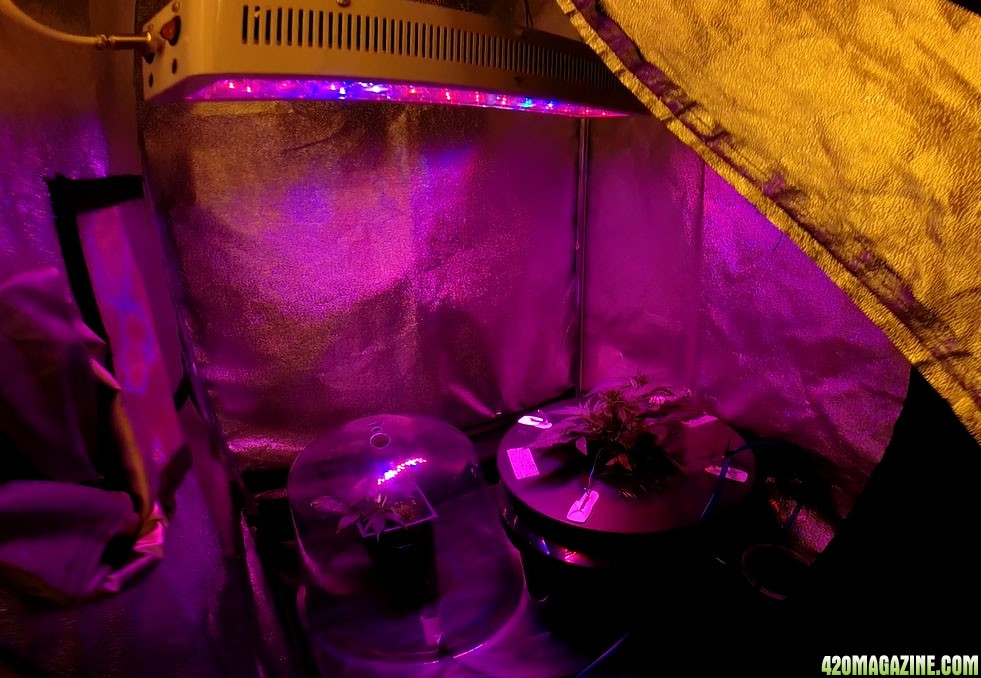
Lighting:T5 and 400w HID
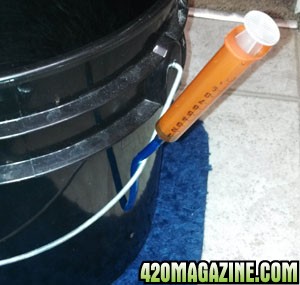
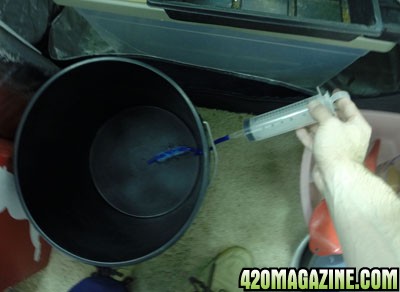
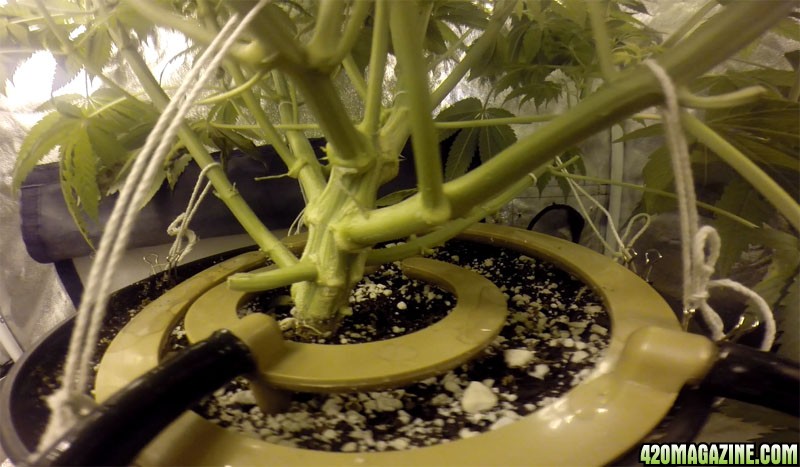
Medium: Coco using hempy bucket method, perlite in res at bottom of hempy
Nutrients: H&G coco nutrients with some of the additions
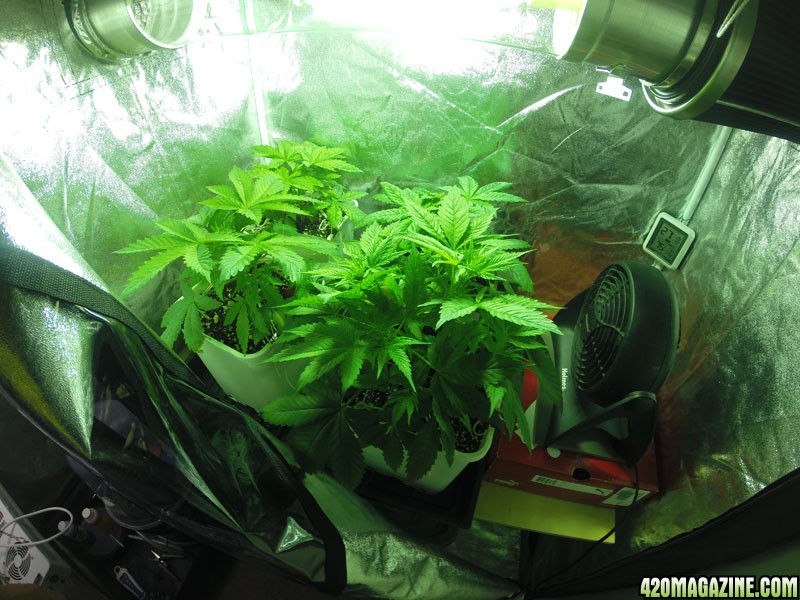
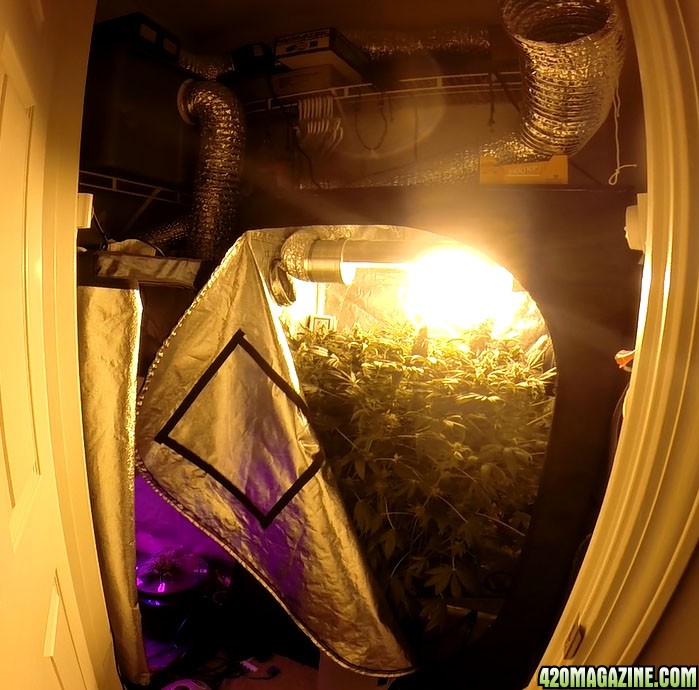
Size: 2x3x5.5ft tent, 2x2x5ft tent
Strain: Super Lemon Haze, Headband

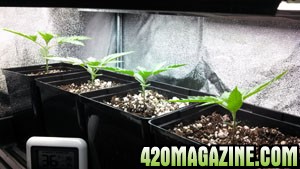
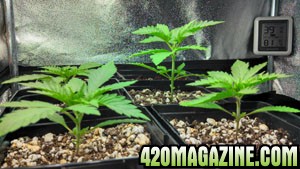
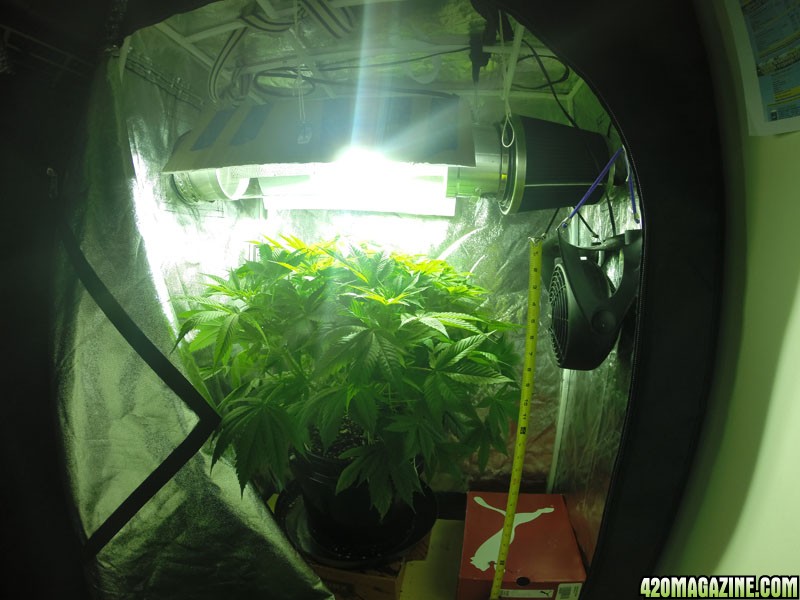
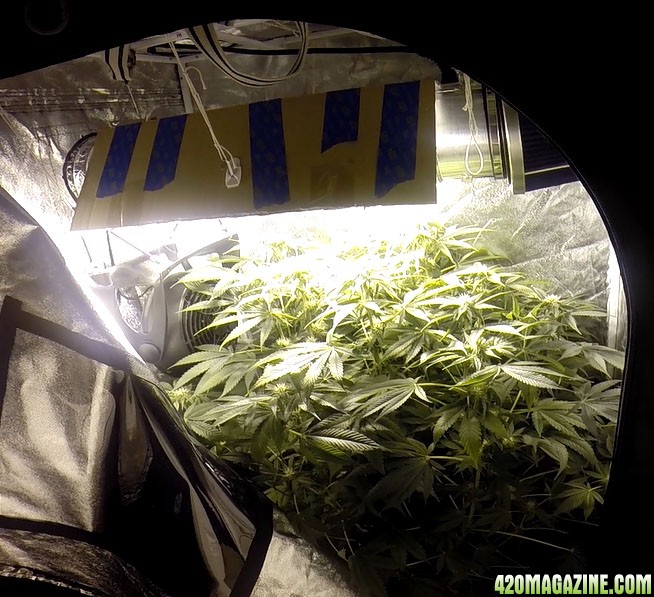
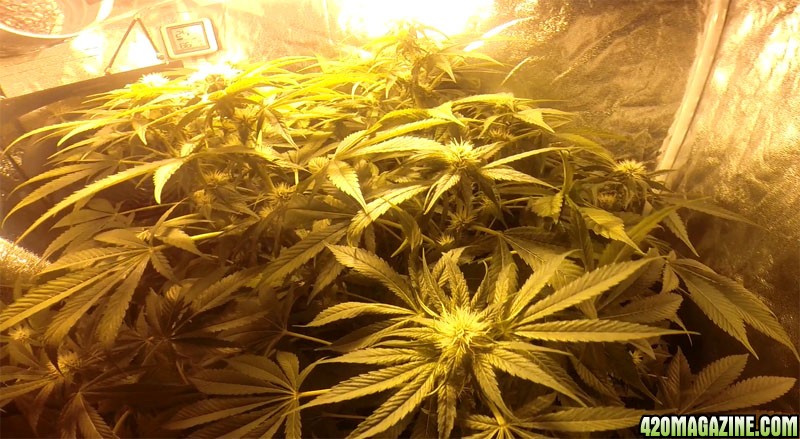
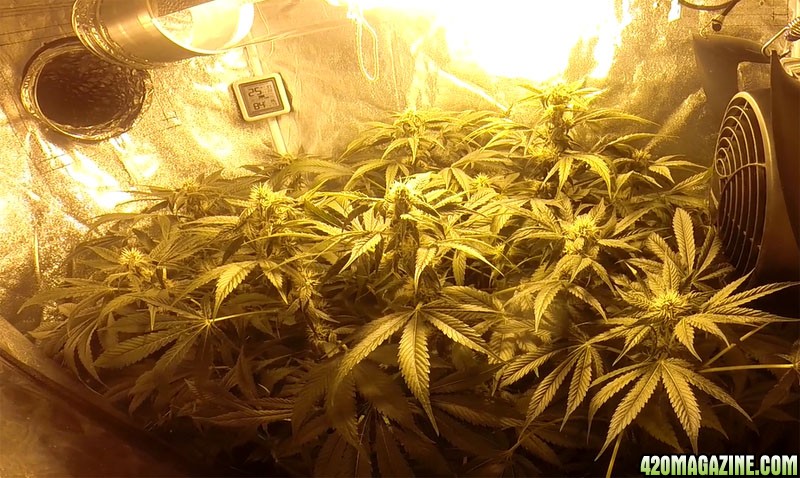
Here is a sneak peek picture
closet_overview.JPG

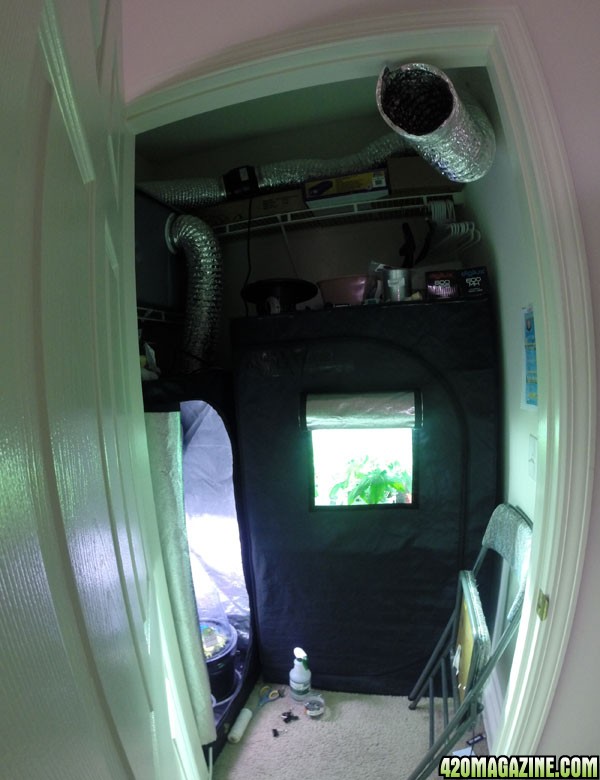
I will be doing updated every few days with some insight in to my last grow, in chronological order (for the most part).
 
Skip to the end where the buds are.

small_early_bottom_cut.jpg
small_cola_pic_upload.jpg


The Plan
I had read good things about coco and have used it with success on other plants, so I wanted to try it on my ladies as well. I will say now that I love this stuff. If I can’t run hydro I will be running coco! Anyhow… I wanted to try a hempy bucket instead of just regular drain to waste coco, but I wasn’t sold on the res at the bottom and it concerned me that it could be easy to build up an excess of nutes in this area with a large plant that doesn’t move. I don’t pick my plants up much once they are in place if ever. To solve this I added a piece of air hose in through a hole I drilled above the regular hempy drain level. I then sealed it into place and this allows me to take samples of the runoff/bottom res in the hempy bucket, and I can directly add root stimulants and nutrients to the bottom or flush the lower roots separately from the top. I didn’t know what I would really use it for I just really wanted to be able to sample the runoff and it works fantastic in that sense. I use a little 10ml plunger without a sharp needle, they give you these at a pharmacy to measure liquid medicines. It fits right into the air hose and lets me draw plenty of liquid up to test for PPM/PH. I also have a 100ml plunger I picked up at the hydro store that I used for measuring nutrients. This worked great for adding large amounts of liquid to the bottom hempy res. The small diameter of the tubing would get clogged occasionally with the perlite, but with a quick squirt of RO water in the opposite direction to clear it and then a gentle draw would usually solve the problem. Unfortunately the hempy buckets are 3 ½ gallons, so I decided to veg initially in smaller drain to waste containers. For the seedlings I used 1 liter containers, then transplanted to 2 gallon, then finally they would go in the hempy buckets.

hempy_hose_side_view.jpg
hempy_test_bucket_top_crop.jpg
 
The Start:

To begin I attempted to germinate 6 super lemon haze regular seeds I recently received. I presoaked for 24 hours in a cup of water then retrieved the seeds and put them in a damp paper towel. Initially only 3 cracked, and of those I noticed they were slow. This saddened me greatly, but I continued to attempt germination with the slow seeds in small coco pots. Of these 3 slow seeds, one never surfaced, one did but immediately withered and died (under cfl…) and one came up fine just still slow. This one super lemon haze seed made me very nervous as they were not feminized seeds. I figured just for safety’s sake to start germinating 3 of my headband seeds in case this super lemon haze was a complete bust. I began germination with the same method and the headbands all three germinated aggressively. This made me feel confident that there was something iffy about the SLH seeds that I received, and was confirmed when my friend who also had gotten some of the same seeds had the same germination ratio. So now I had a week and a half old super lemon haze and 3 headbands at about 2 days. I really hoped the super lemon was a female, because that is one of my favorite strains. About one week into the veg for the headbands and they had practically caught the super lemon! I decided that I was just going to put them all on the same schedule at this point, and adjust as needed. Plants are under 100w of t5 at the time in 1 liter containers.

week16.jpg
week_215.jpg
 
Vegetative growth:

Plants are doing good in veg by week 4 they are healthy and ready for for the MH. I had some minor mg deficiency earlier, however I supplemented with Techniflora MagiCal and it went away. Still waiting for preflowers, so I transplanted to 2 gal regular pots, still waiting for confirmed females before I commit them to the 3½ gallon Hempy buckets, as I don’t have enough room for all of them. Plants are under 400w HID at this point, and I was fairly confident that I will run 400w the whole way through even though I could do 600w. I don’t feel that 100w per square foot is necessary and might be excessive. I decided to wait and see what the heat did.

slh_hb_veg_week_4.jpg
 
The Lone Survivor:
I continued with the sexing and much to my dismay, all 3 backup headbands turned out to be male. With only one super lemon haze female, I decided to just put it in the middle of the tent and let her run solo. I also took some clones from the best headband and the super lemon until I figured out what I wanted to do. I ended up only keeping a super lemon haze clone to preserve the genetics.

slh_solo_end_of_veg_upload.jpg


After a short two weeks in bloom, she was starting to stretch hard, and I was nervous that I would run out of vertical height.

filling_up_the_tent.jpg


I also noticed how thirsty this plant was. It was requiring water 2 out of every 3 days. I was tired of having to hand water by now so I hooked up some hydro halos to a water pump and let her get fed automatically.

water_halos.jpg
 
Sub. So far your grow is outstanding. I will stay around and check out what you got going.
 
Cool a tent with a window to see in. What brand is that if you don't mind me asking?

Hi highashell! it is the tent from HTG supply. Good thick material and a nice zipper! The window is velcro though so sometimes I get paranoid I will have light leaks but so far no issues.

Thanks to every one else who responded! I am still grabbing and sizine up more pictures! They will be up soon!
 
While performing my ppm tests, I noticed buildup was getting a little high in the bottom (+500ppm) so I did a preemptive full flush about 2 weeks after bloom, and then finished with a full strength dose of nutrients since she was not showing problems. To flush with this system, I ran RO water through the halos to rinse the coco and then I ran RO water in through the sampling tube to rinse the bottom res where it was most likely to buildup. During the flush I could see water coming out of the regular hempy drains so I sampled that until it was acceptable and boom! Clean slate! From here on out I just continued normal feeding at the recommended strength and didn’t have any real problems with ppm rising again. I also was able to take samples after the nutrients were added for PH and PPM so make sure everything was still balanced and there were no problems.

early_flowers_forming.jpg


mid_bloom_colas_forming.jpg
 
This was turning out to be a relatively boring grow, which is how I like them to be honest. Not much went wrong and there wasn't much to do except keep feeding and testing runoff. At this point my clones had been rooted for a while and I had one of them in a DWC for a little veg. My hope was that it was to be the successor to the coco hempy and I was going to see how she ran in a different system, but temps were starting to warm up with spring on the way. I was concerned temps would be too high by the time I was finishing up so I cut some other clones and let her go as an experiment only to dial in nutes, with no plan to bloom. The LED works nice for keeping a veg next to a bloom tent in its night cycle. It gives off very little heat so I can run 24/0 and not get my blooming night temps too high.

big_bloom_buds_forming.jpg


late_bloom_overview.jpg


And the DWC plant

led_dwc_trimmed.jpg
 
Thanks! I like it quite a bit I thought about investing in another one but there is just so much going on with LED right now I really want to just wait and see what is next and it does just fine on its own in the little tent.
 
yea your right especially that intelligent grow light but it costs a pretty penny
some cheaper lights light the green sun or the top led the china made lights and theyre getting pretty good
price is cheap but i still like to support us made products
through all the years the Chinese made products haven't always been the best for me but they was always cheaper
 
Definitely less expensive. My next place I move to I plan on having a much larger LED tent so I have much to think about. I saw something at my local grow store about an LED that you could change the individual chips out on them which was cool. They had HID spectrum and UV and IR chips at 25w or 50w chips. It was cool but list price was a pretty penny. My buddy actually runs an full spec all white LED as well and it performs great (surprise to me).
 
Back
Top Bottom