Sillymoose1's - LED - Indoor - Soil - Adventure

sillymoose1

Well-Known Member
Well here we go!
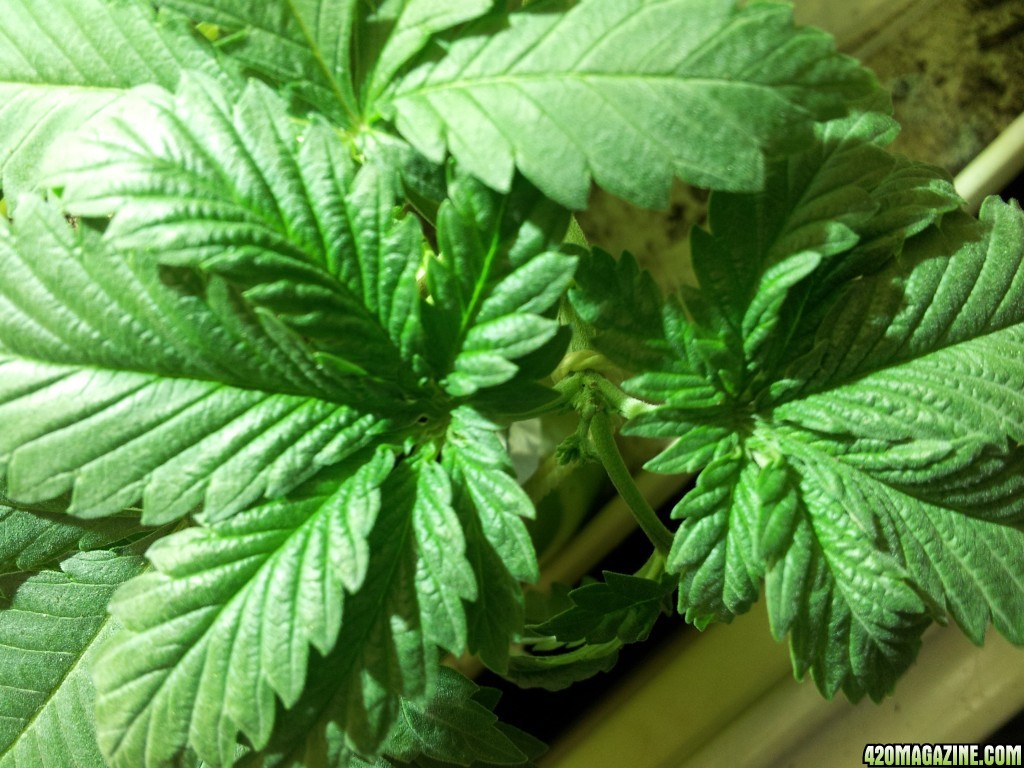
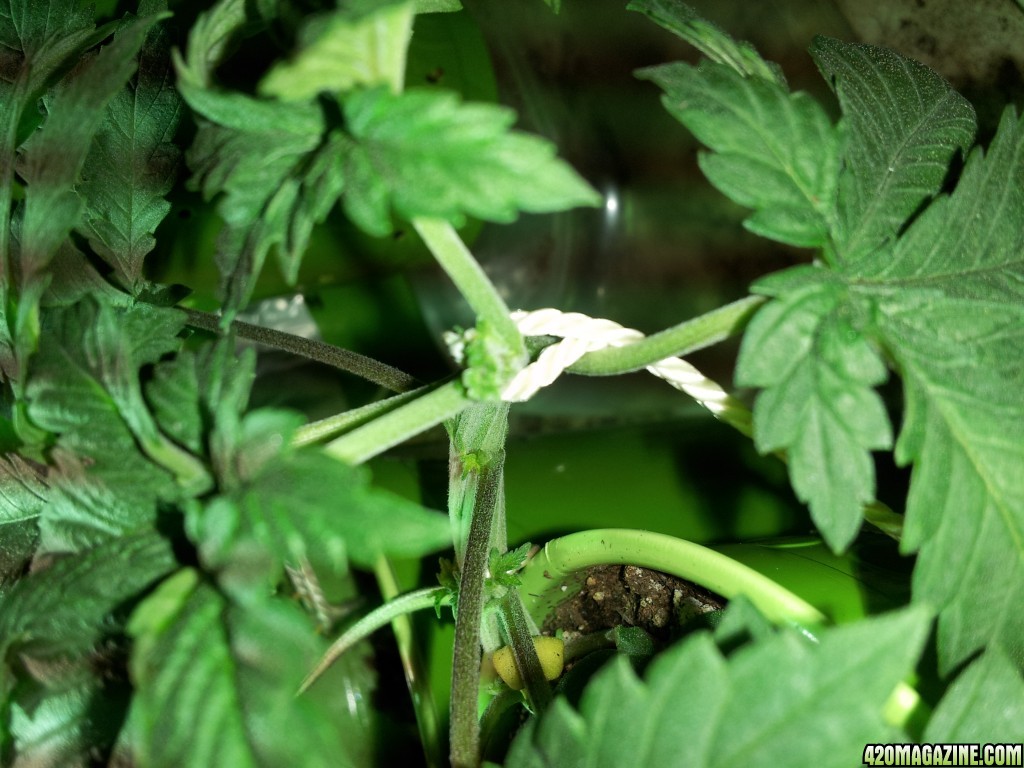
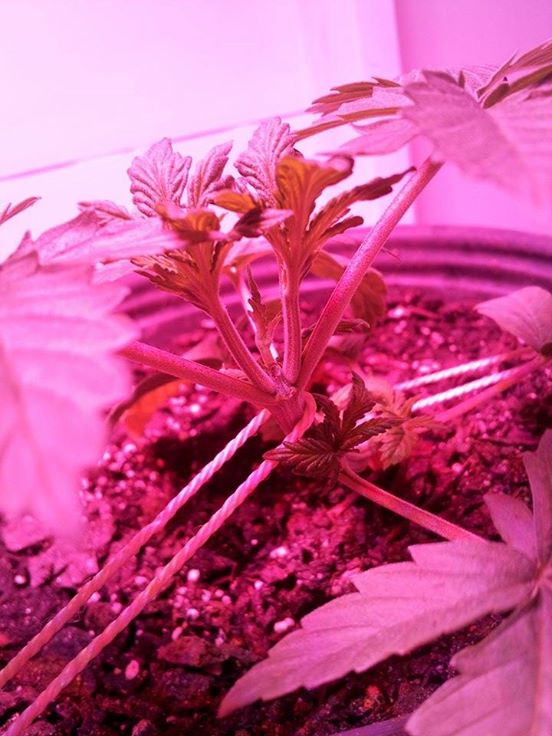
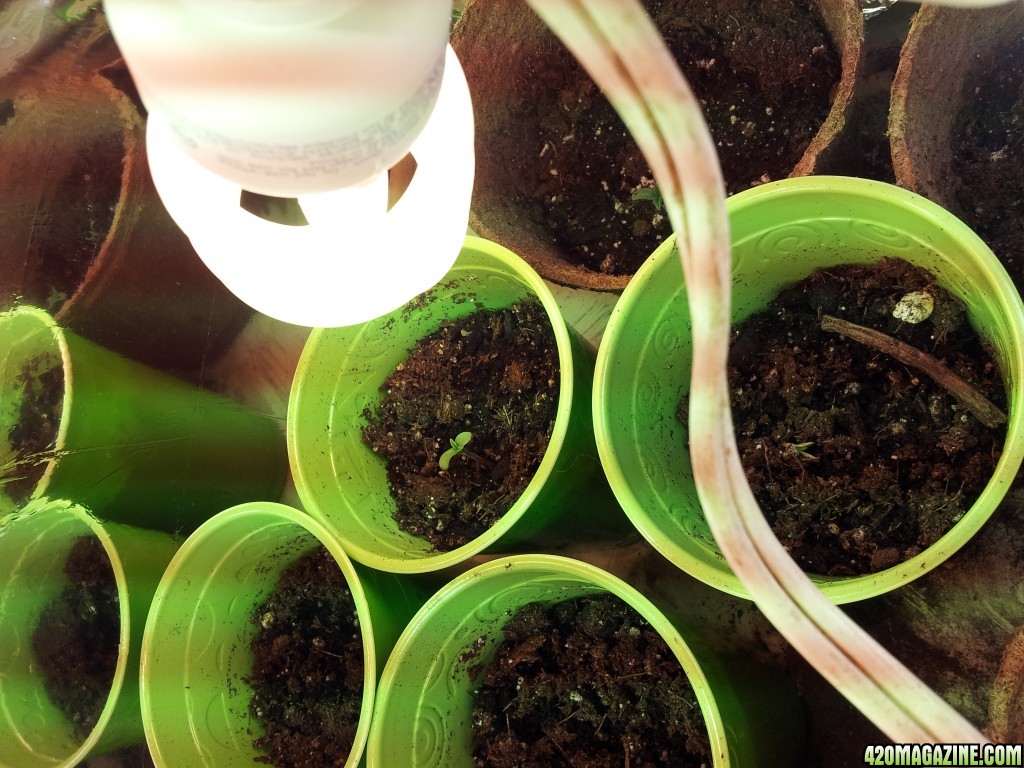
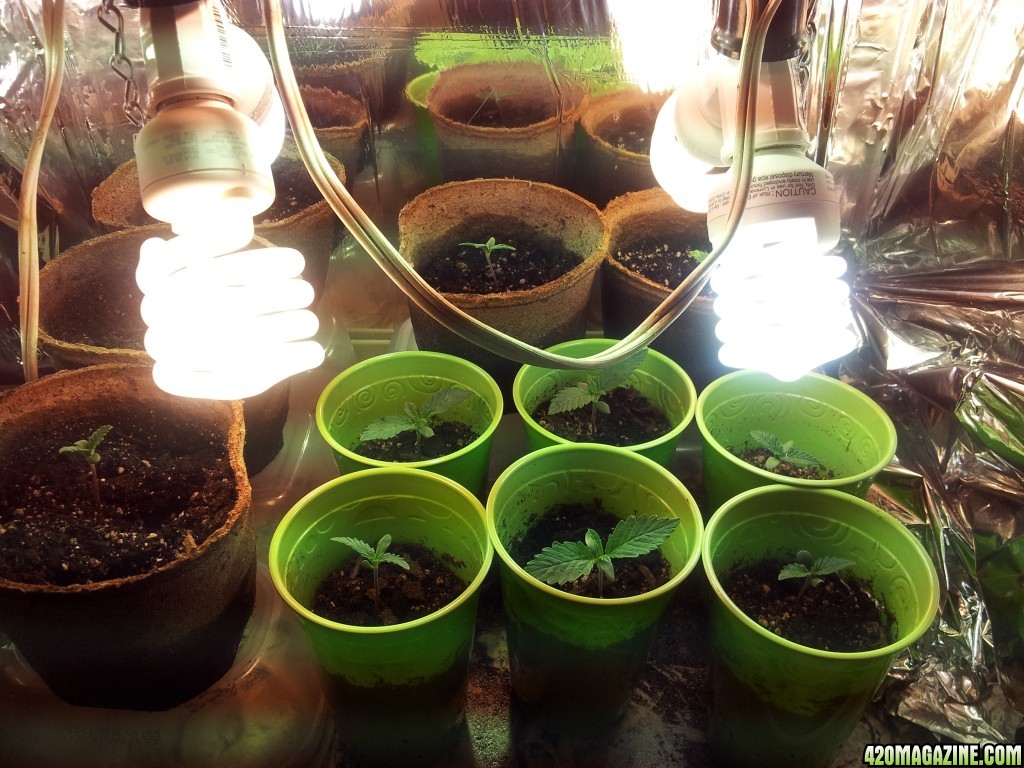
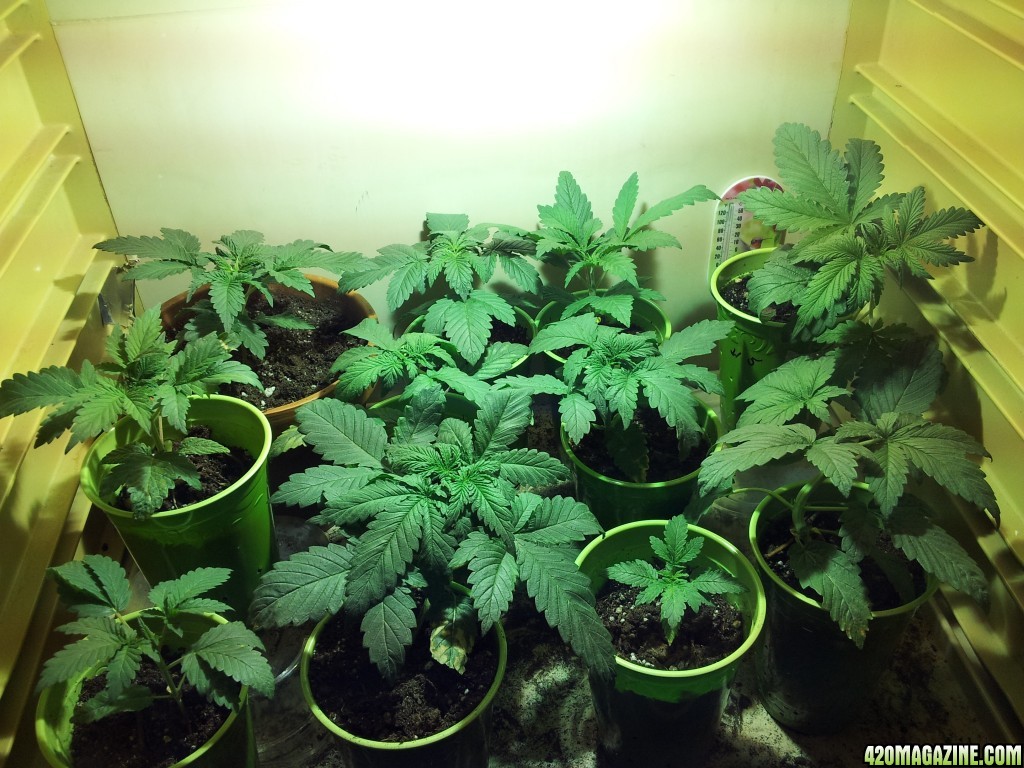
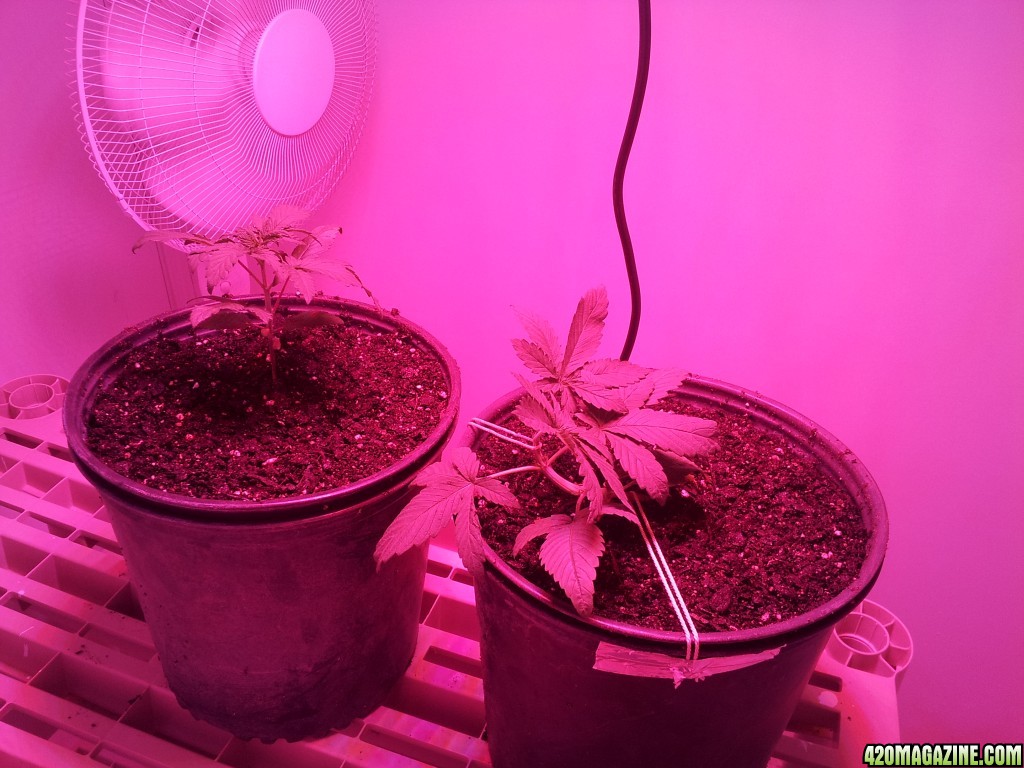
Starting with bag seeds
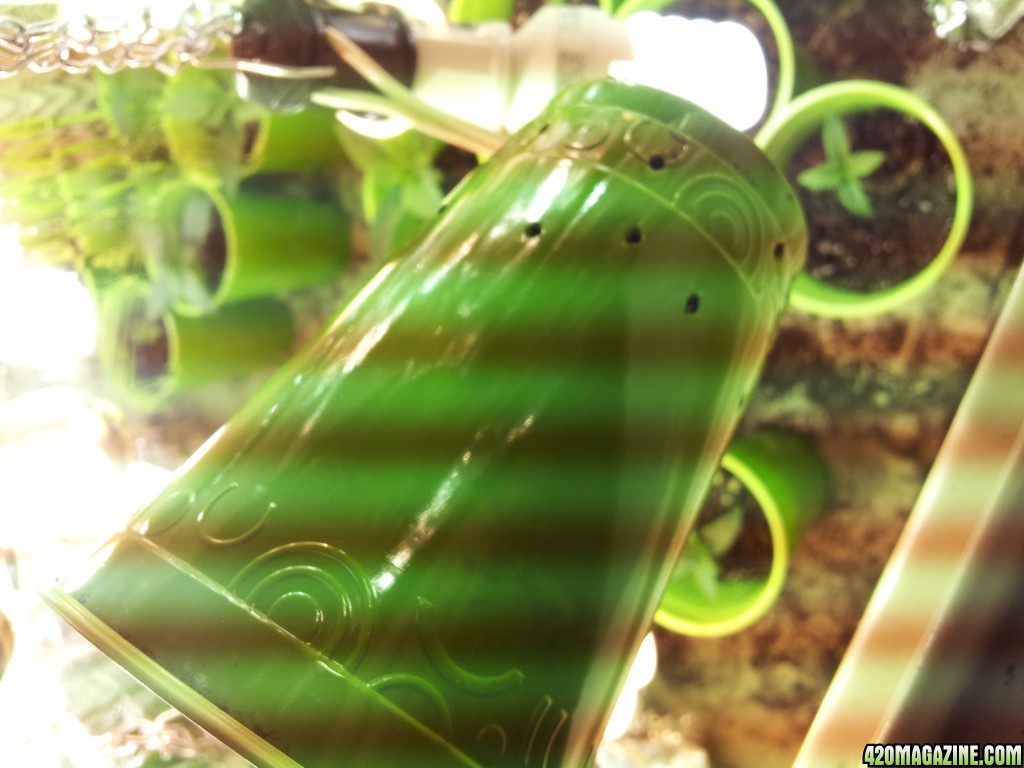
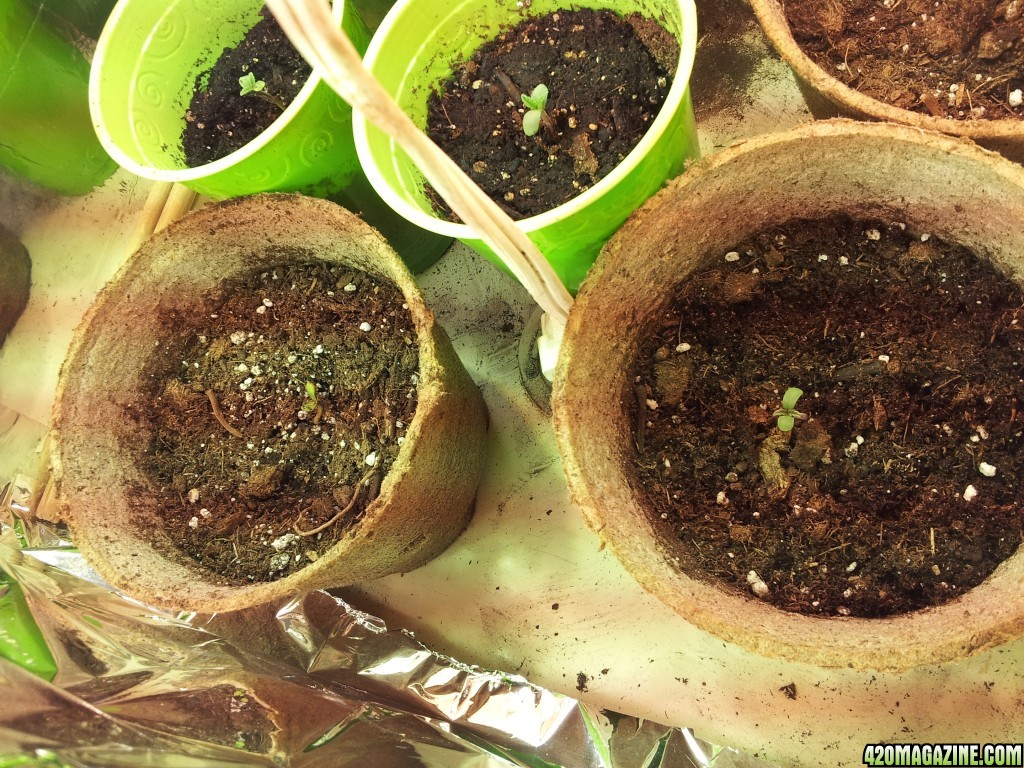
Started in MG organic soil in solo cups
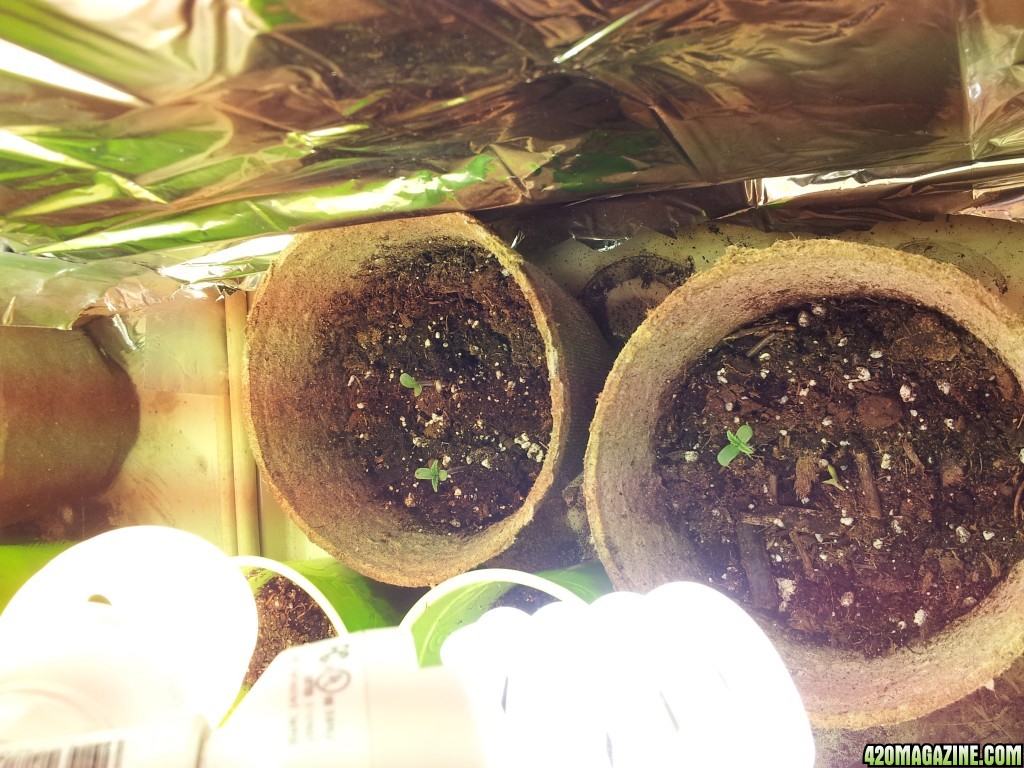
Currently in week 3 from seeds but will post from seed
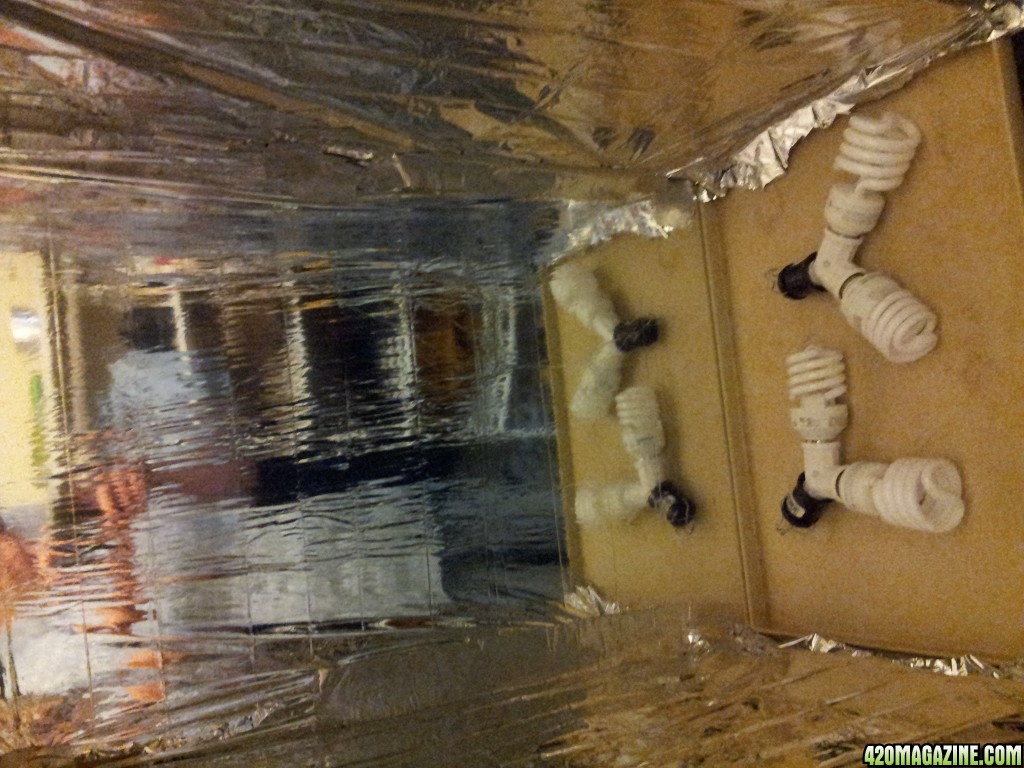
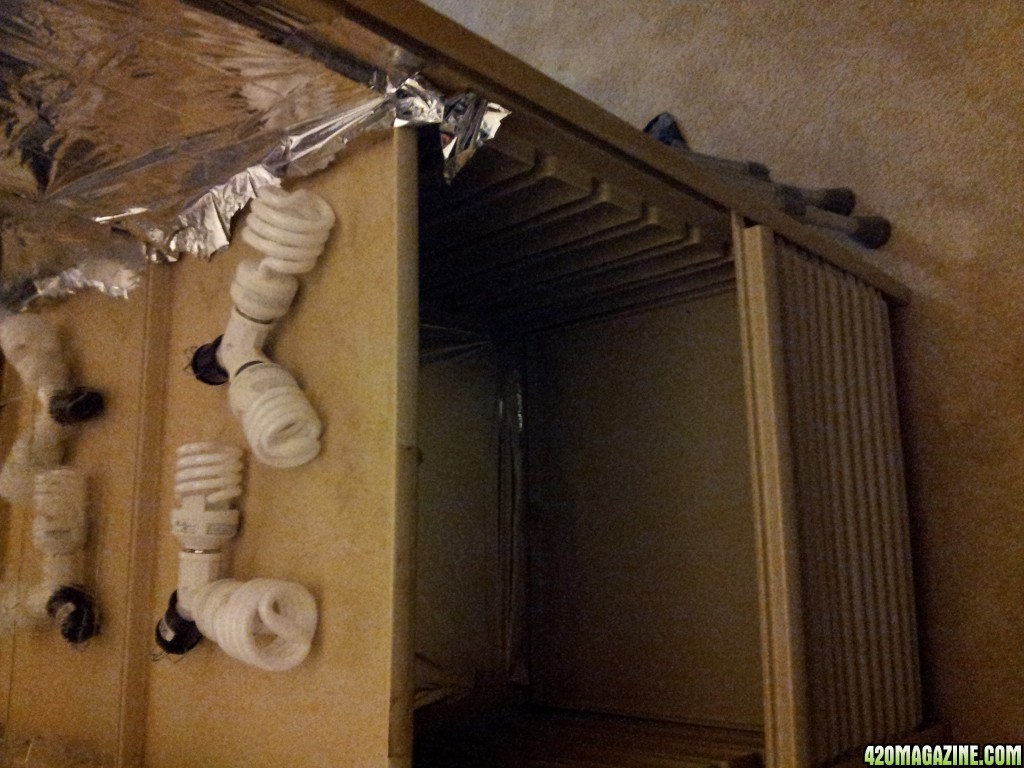
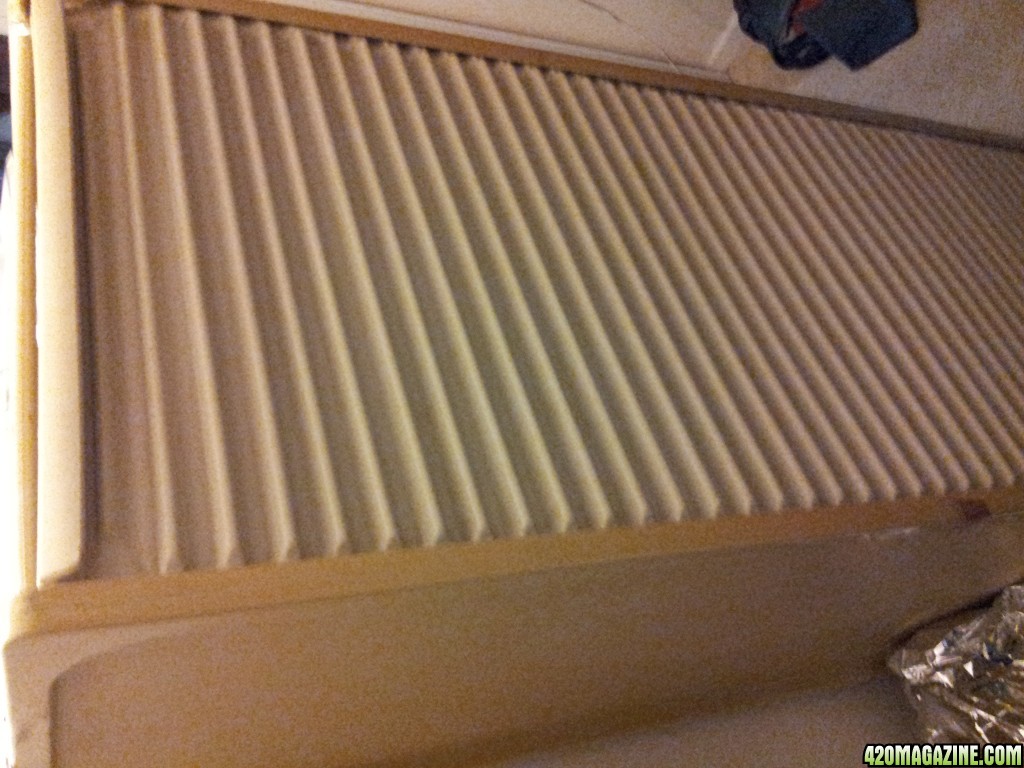
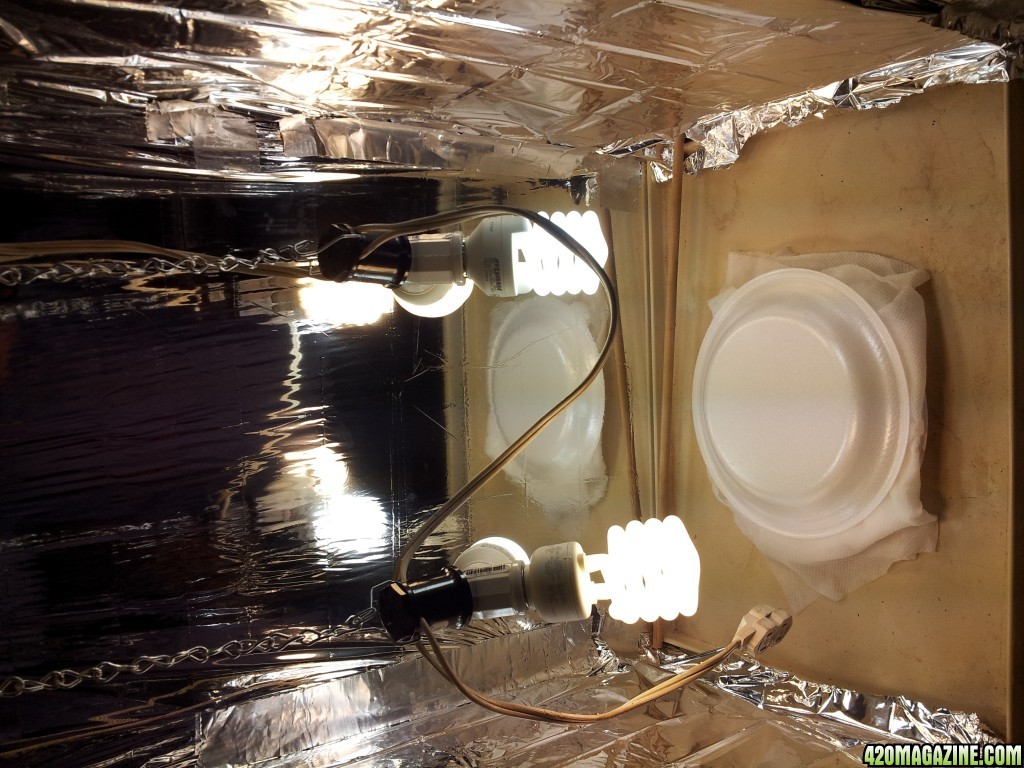
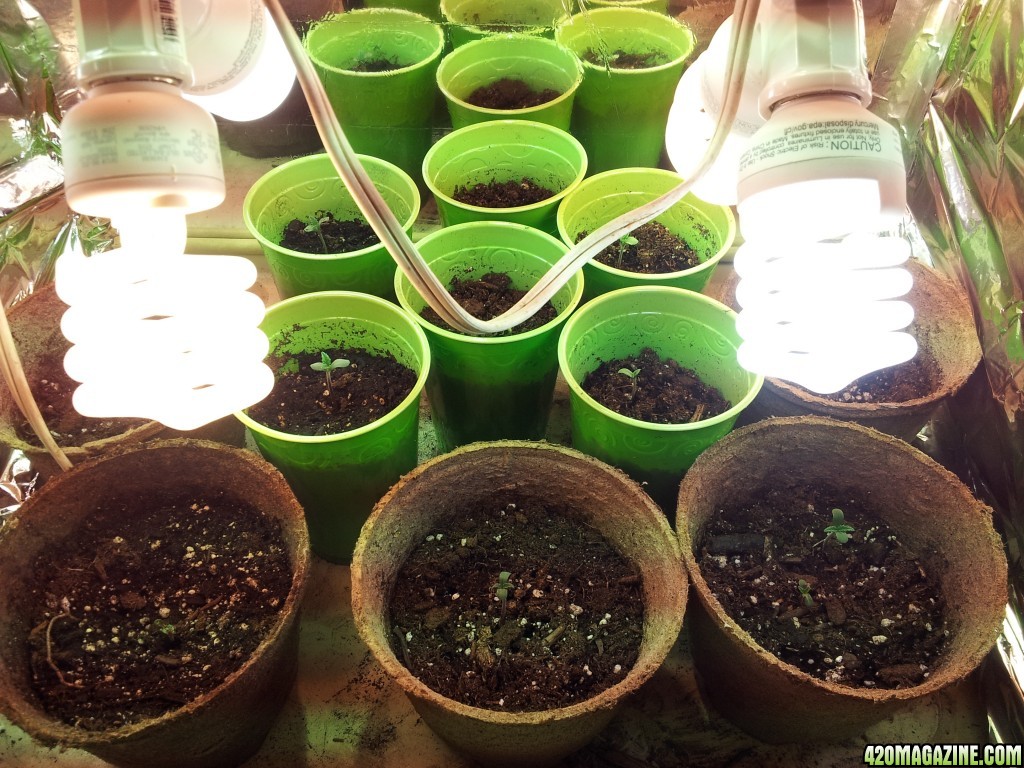
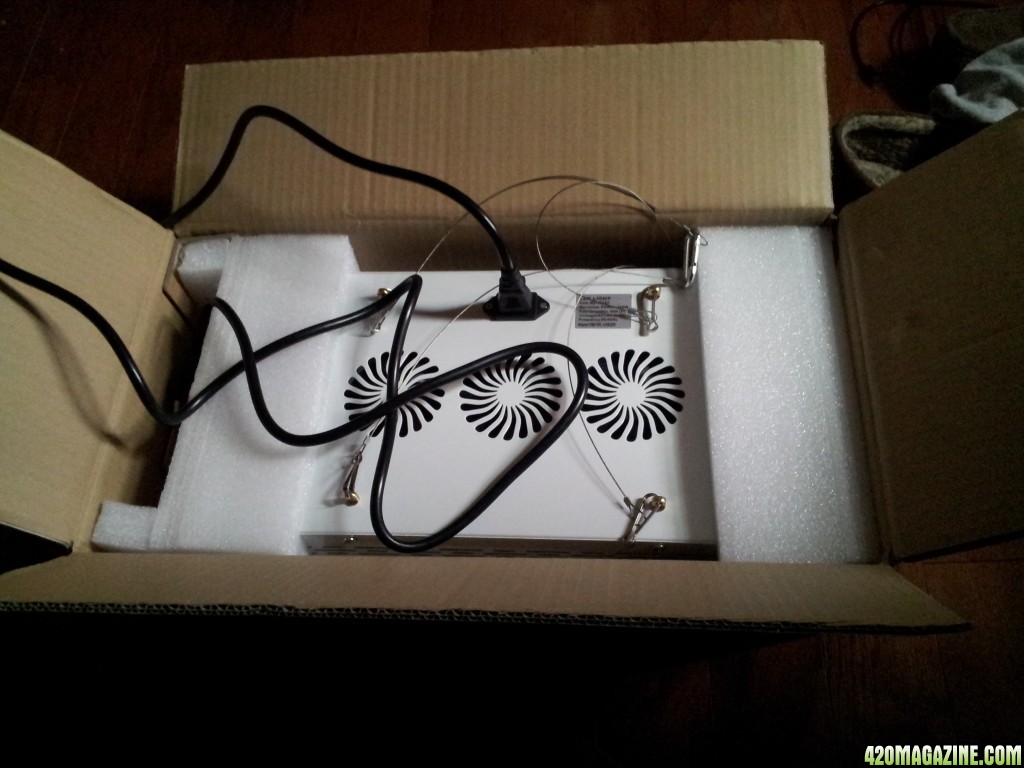
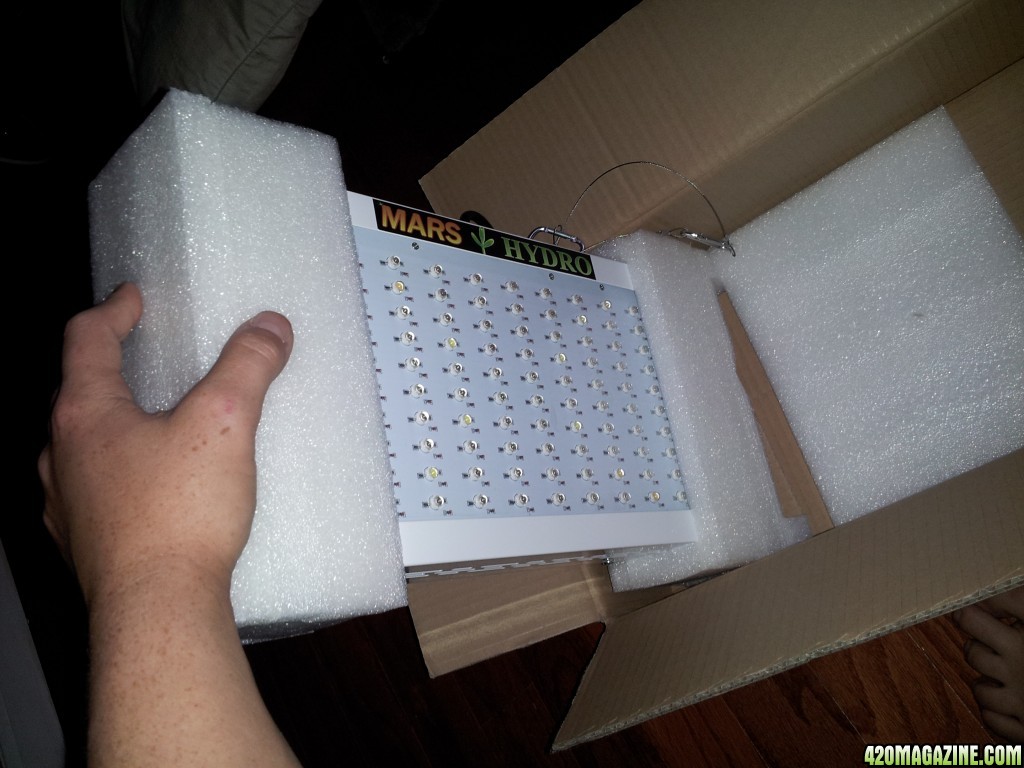
Using a variety of lights trying to find a comfort zone
Temps have been 80-90°
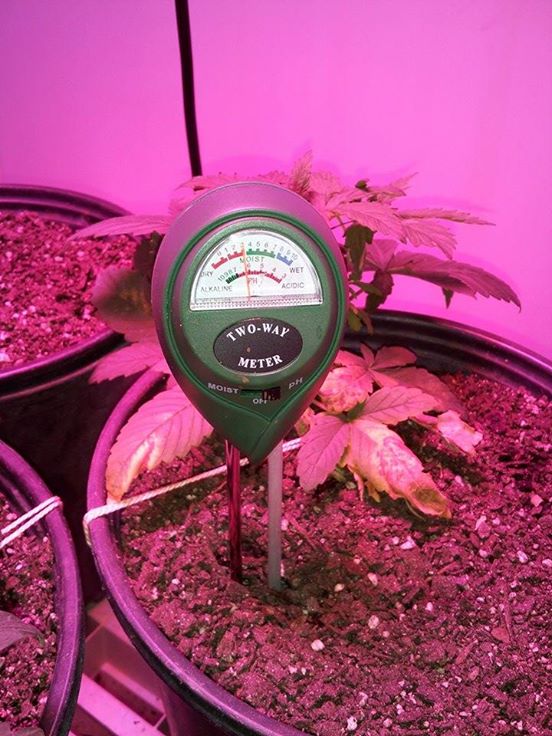
Don't have a hydrometer yet
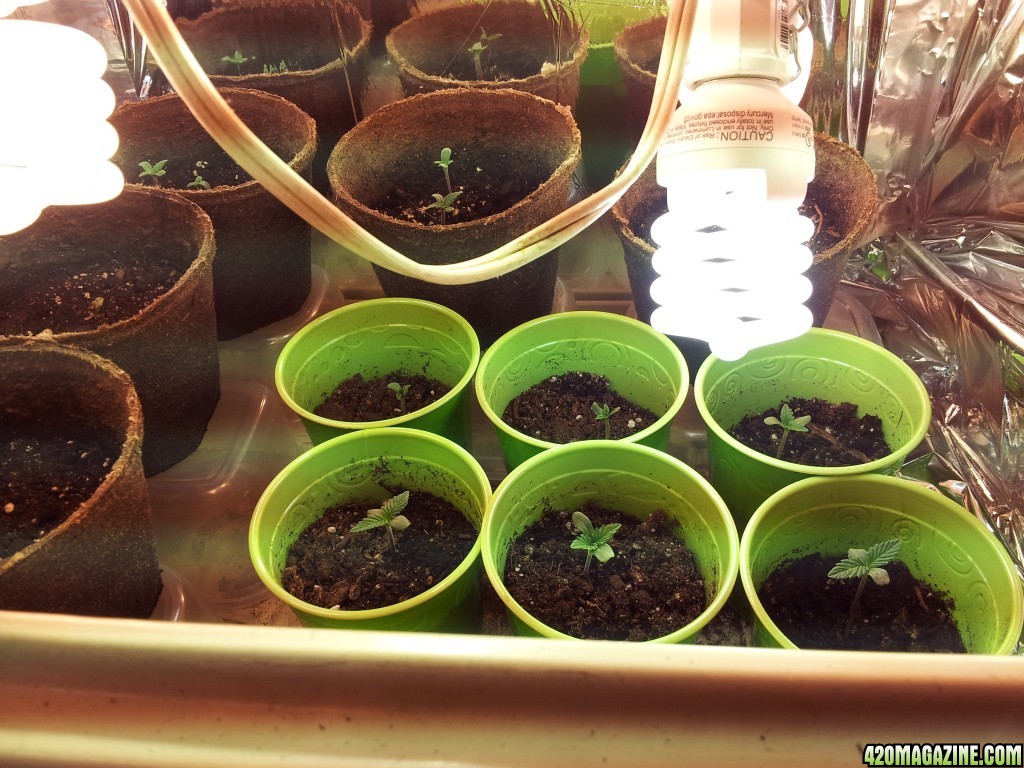
Only fert I have used is Alaskan fish

Through out the grow I will use my tablet to type and phone to post photos since my tablet freezes every time I try and link a photo.
 
Ok here is the cabinet I plan on using for veg. Put mylar (emergency) blankets on the walls. Seen are 6500k and 2600k 100 watt equivalent. 1 of each spectrum on the splitters. Also shown are some neat little light sockets. They screw down onto the extension chord. I just split the two leads of the chord
20150210_130520.jpg
20150210_130527.jpg
20150210_130538.jpg
20150212_002129.jpg
20150215_181451.jpg
20150212_002150.jpg
 
20150227_112604.jpg
20150227_112613.jpg
20150227_112648.jpg
20150220_023000.jpg

Decided to use paper towel between plates to germinate the seeds. After a day or so they sprotued and I put the on top of a solo cup filled with MG organic soil and sprinkled a layer onto sprout. I drilled holes into bottom of the cups beforehand. And poked the smaller holes in the side with a toothpick.
 
20150308_163838.jpg
20150308_163826.jpg


Got the LED setup in what will be the flower room but will be used as sencond veg room until flower time! Thats all the pics for today as trying to type and read from phone hurts my eyes, back to tablet .
 
Picture above is two of the solo cup plants transplanted into 2 gallon pots. The 2 gallon pots also have a different soil, its a brand made by a local cricket farmer. He raises crickets for fishing bait and food for pet reptiles. He then uses all of the byproducts from raising crickets to make soil. Bricko farms is the name. In the Bricko farms potting soin there is a combination of top soil, cricket crap, composted unused cricket food, shredded assortment of barks and a bit of sand. I added about a 15% volume of perilite and a bit of peat and blended it well.Also forgot to mention I have topped/fim'ed 2 of my babies.
 
Peat pots hold a bit of moisture, and won't break down fast enough during a transplant, so make sure to remove them later before transplanting into a bigger pot.

LED over seedlings, I found a distance of 22" to work for me. If you see any leaves growing deformed, the light is a little too close, so just raise it up a little more. Mars Hydro makes a nice powerful light, and very affordable. You'll enjoy the results.

You might need to supplement CalMag. LED lights cause some strains to need more Calcium and/or Magnesium than others.

Otherwise, you're off to a great start.
 
Here are some pics of my top and fim. The plant under the led seems to be a propper topping and the one in the veg cabinet seems more like a fim from the way the new growth is shooting out. I think anyways :high-five: 
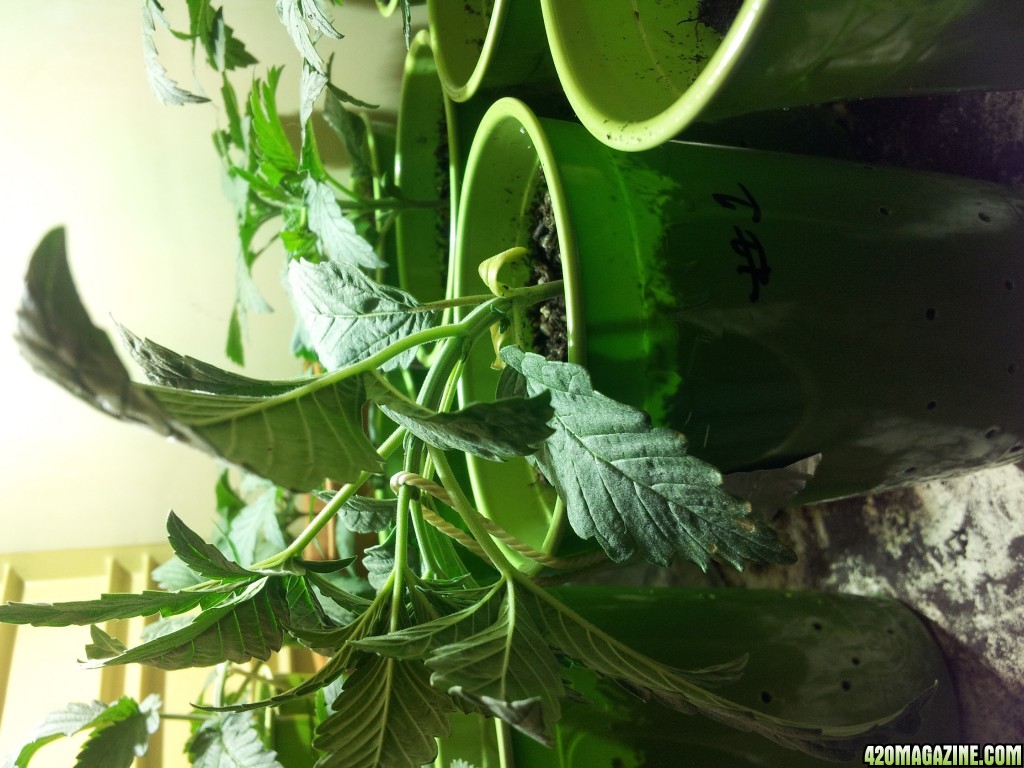
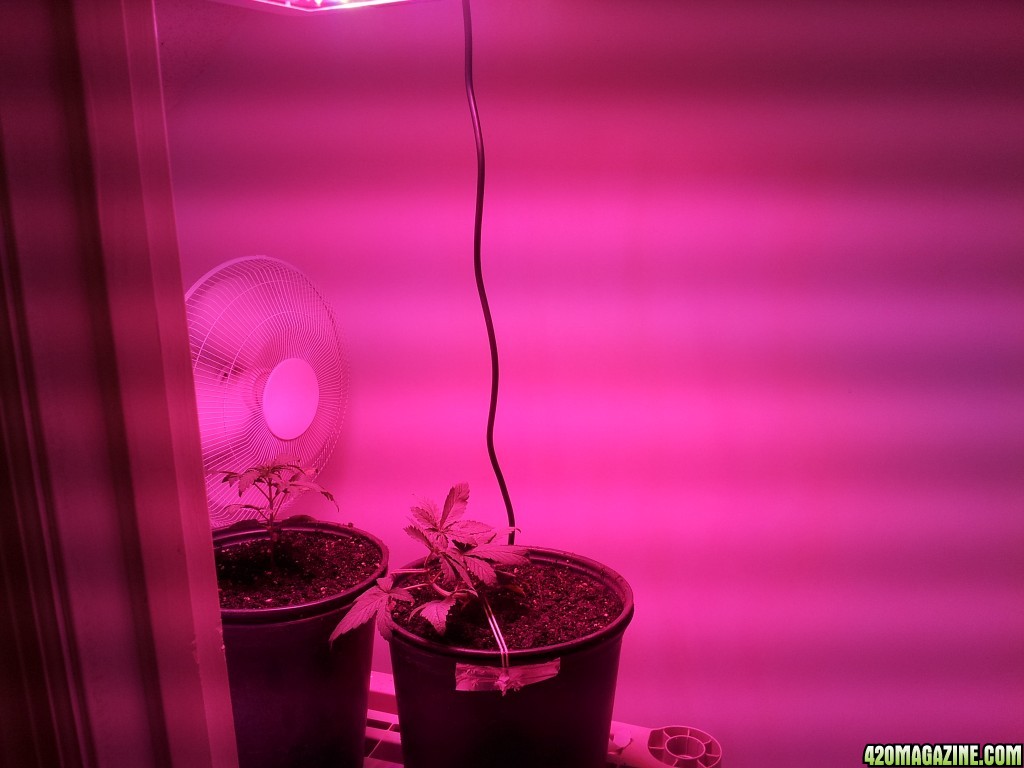
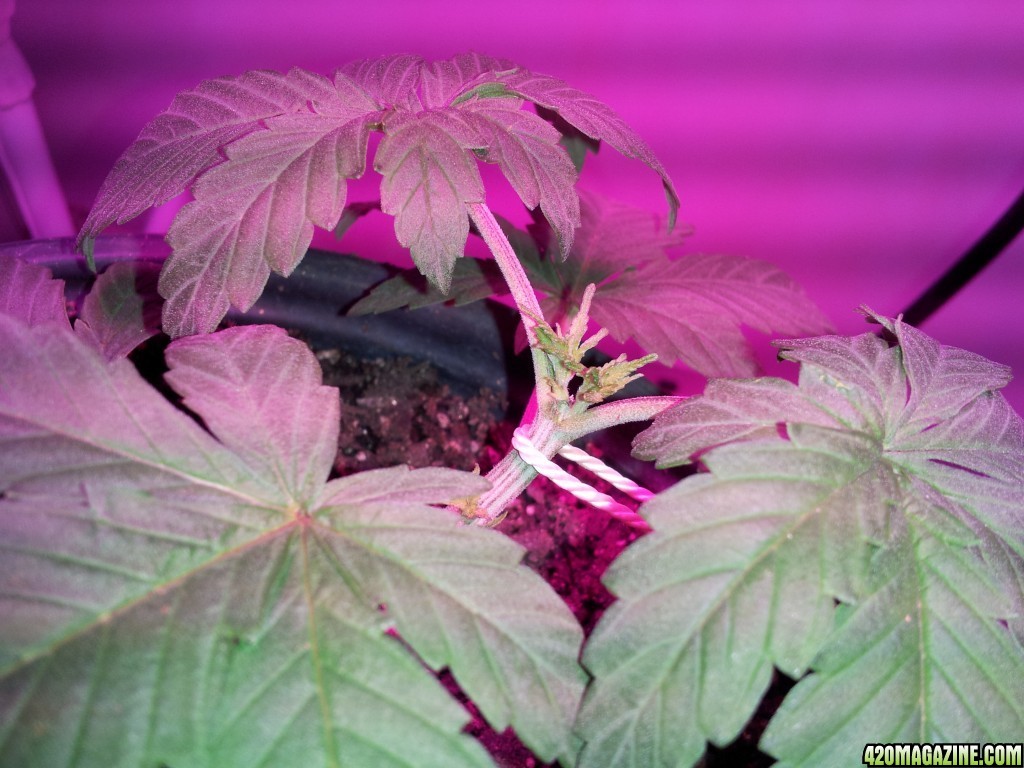
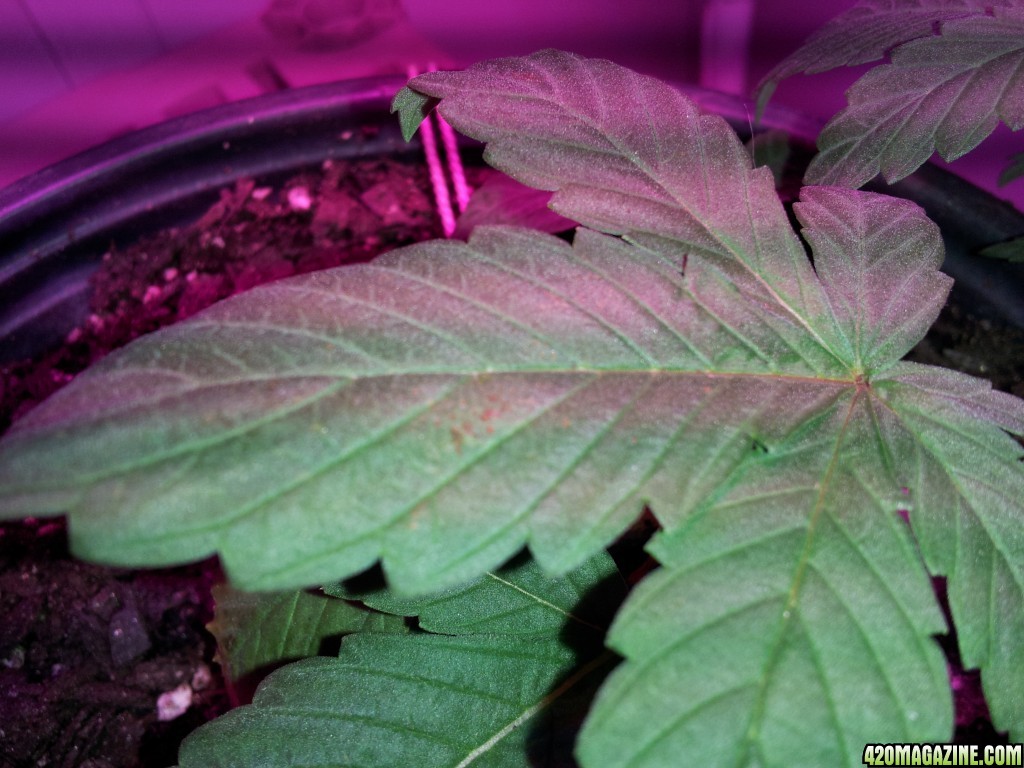
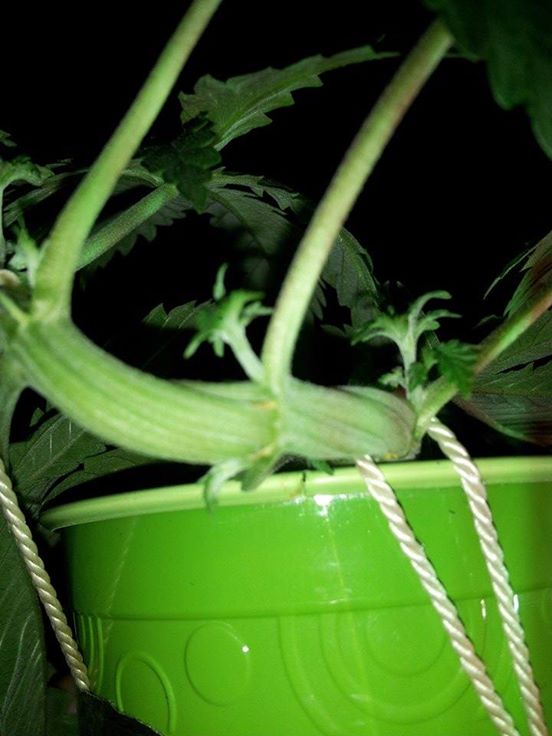
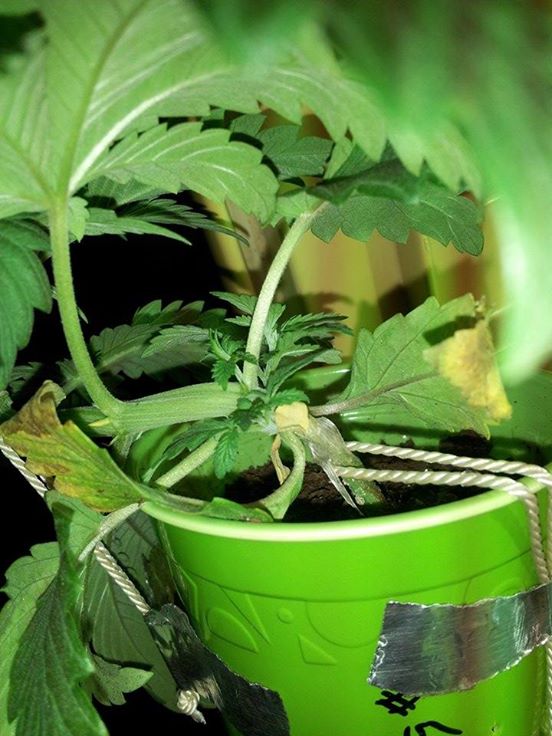
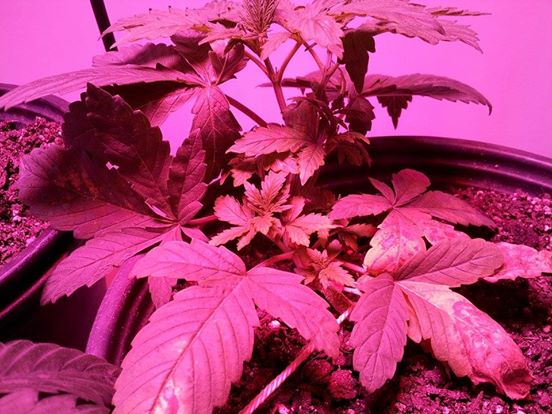
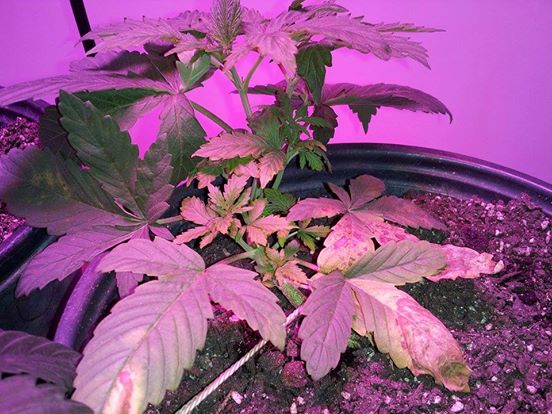
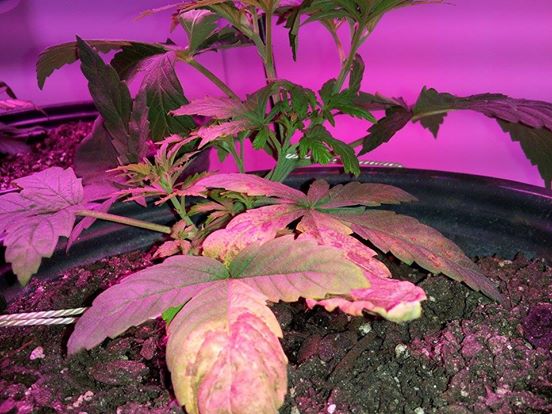
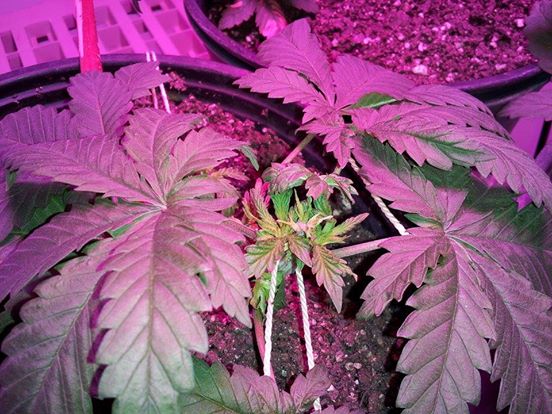
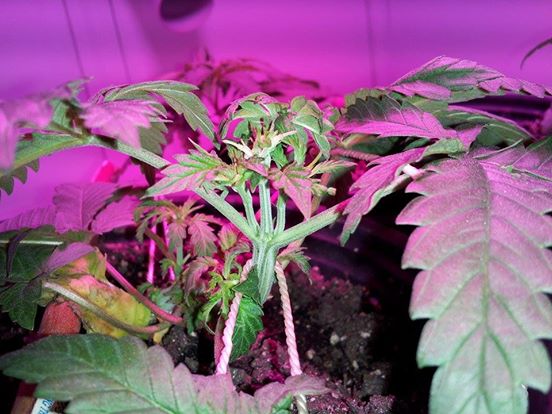
also are pics of the leaves of one under the LED, its starting to get little brown spots. Any opinions would be great! Otherwise i wont change anything drastically and ride out the issue.
20150309_120923.jpg
20150309_120937.jpg
20150309_121041.jpg
20150309_1211091.jpg
20150309_121154.jpg
 
Yeah I transplanted from the peat pots in week one, but I was actually having rhe opposite effect. My peat pots dried out supper quick, seemed the peat drew the water out of the soil and acted as wick. But it also seemed I had a ph problem with the peat pots, but without a ph tester then I dont have evidence.
Thanks for dropping by Antics


Also I ended up taking down the mylar just do I dont have any hotspots.
 
Super excited today, found a portable ac unit to help control temps and humidity in flower room! Got some close ups of two of the tops. One turned up a "regular" top and one is FIM with 3 shoots growing. And lots of new growth at the nodes! Pic in just a sec.
 
Picked up a timer,pH/moisture meter and a jug of botanicare grow nutrients. Also light proofed the vents in flower room and made the exhaust for my portable ac unit. Still have to light proof around the door. Will update with pics soon.
 
Back
Top Bottom