

ClosedCircuit
New Member
$20 Worm Bin DIY
Overview: I know some of us here are interested in becoming self sufficient Cannabis growers. I'd like to take that same path so I wanted to share this project with you all so maybe someone else can take some inspiration from it and direct their methods towards self sufficiency.
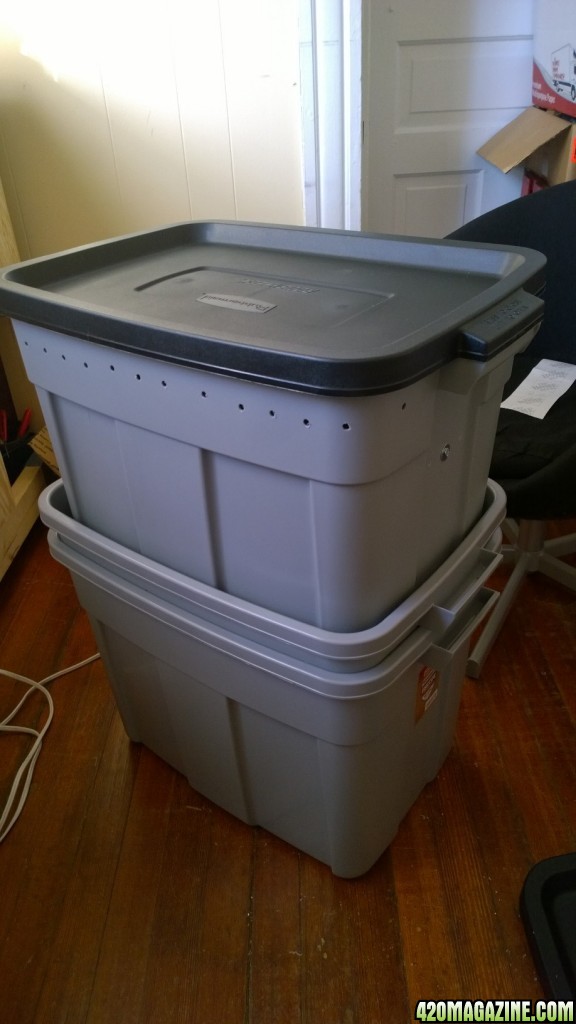
This design is pretty simple. It works pretty much like the expensive bins do, but at a quarter of the cost and with a much larger capacity. This design consists of three stacked totes. The bottom tote is stationary and only works to catch the leachate which will drain from the other two totes. The top two totes are identical in construction...they will be swapped out as the worms convert the food in the bins into castings.
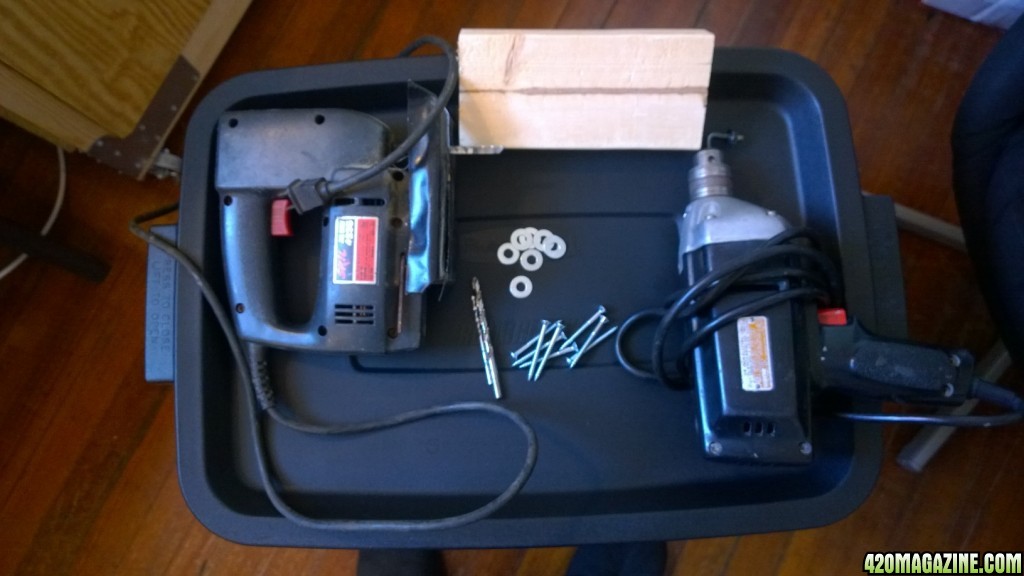
Tools
- Jig Saw
- Drill [⅛” bit?? & ¼” & Phillips bit]
- Sharpie
- Measuring Tape
- Spray Bottle
- RO or Distilled Water
Parts
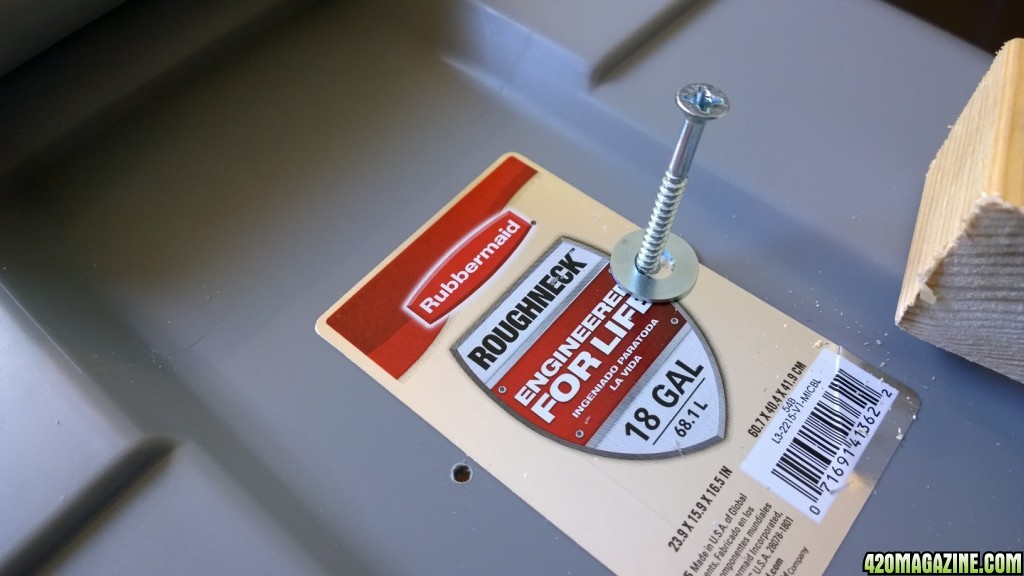
- 3 18 gal. Rubbermaid totes
- 4 #10 x 2” Zinc wood screw
- 4 ¼” zinc washers
- about 12” scrap of 2x4 [cut into four 2” pieces]
- Minimum 500 red wiggler worms (for my size setup)
- About a pound of food scraps
- 2 cups of soil or worm castings
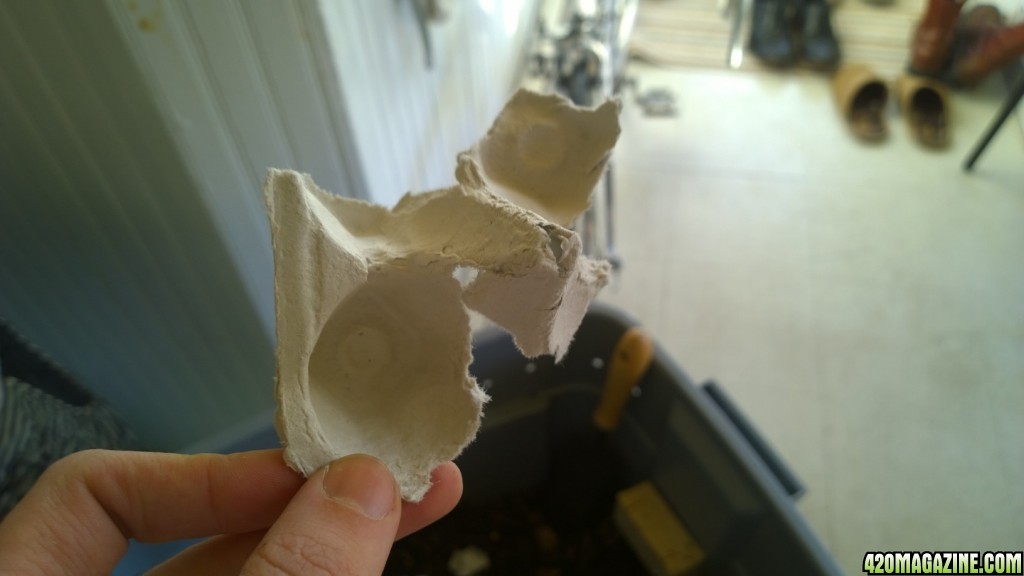
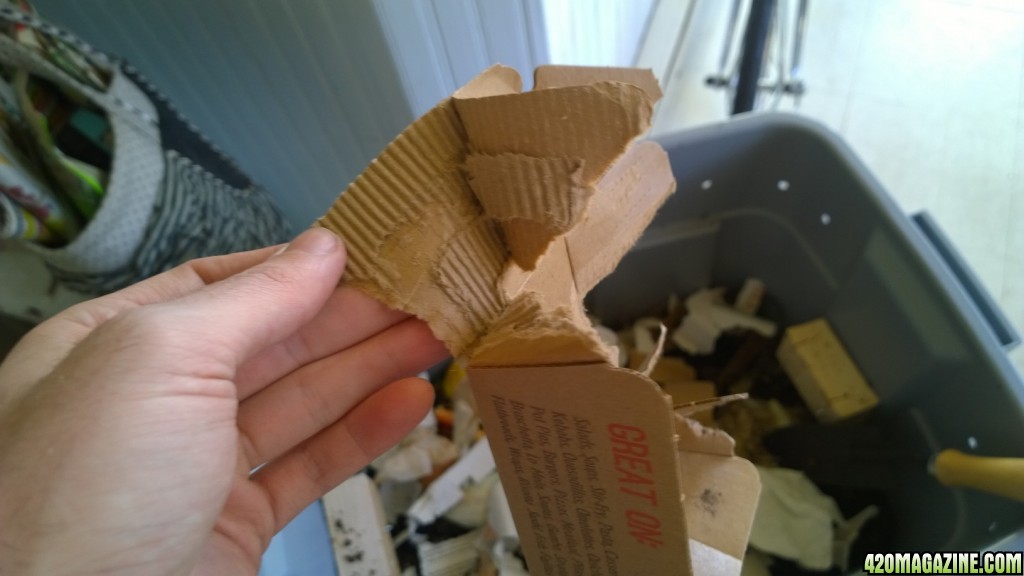
You will also need some bedding for the worms. I used cardboard egg and mushroom cartons as well as old news paper.
(The worms, bedding and food are not pictured because I had already added worms to my compost bins. So all I had to do was dump the contents in the new worm bin and add new bedding.)
Directions
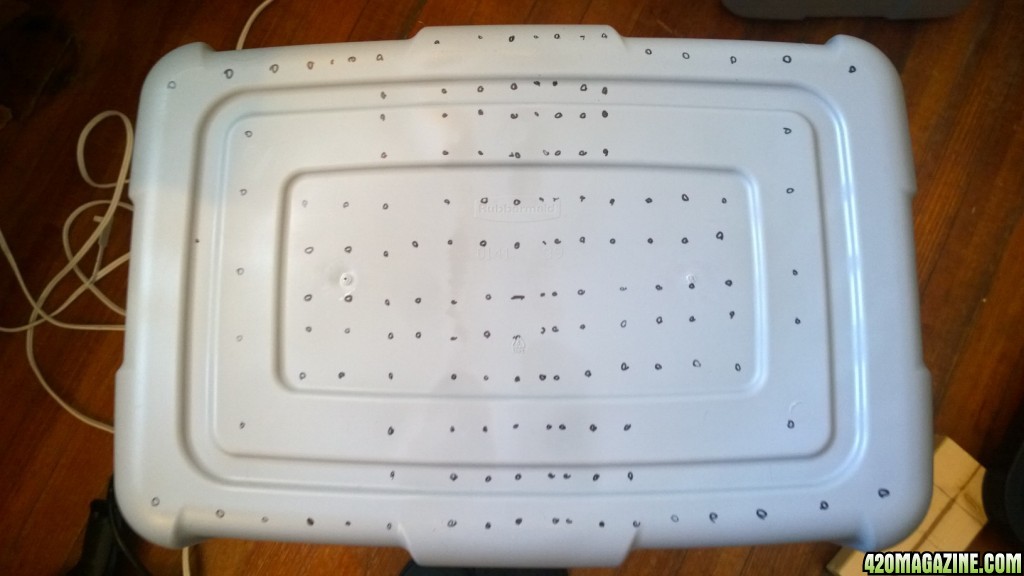
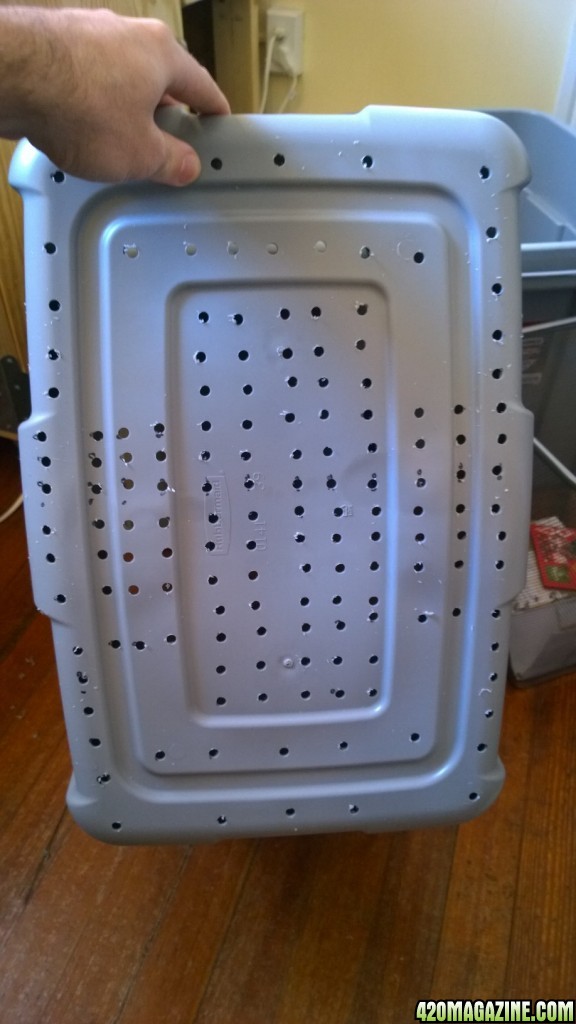
- Mark off holes on the bottom of two of the totes. I spaced them about an inch apart, filling up the entire raised or indented portion of the bottom of the tote (depends on what container you buy), adding arms to the center so we are left with a cross shaped pattern. I spaced holes around the perimeter of the base also at one inch intervals. You can use whatever layout you want, but you need enough holes so the worms can move freely between the totes. I’d say you need at least 50-60 holes minimum.
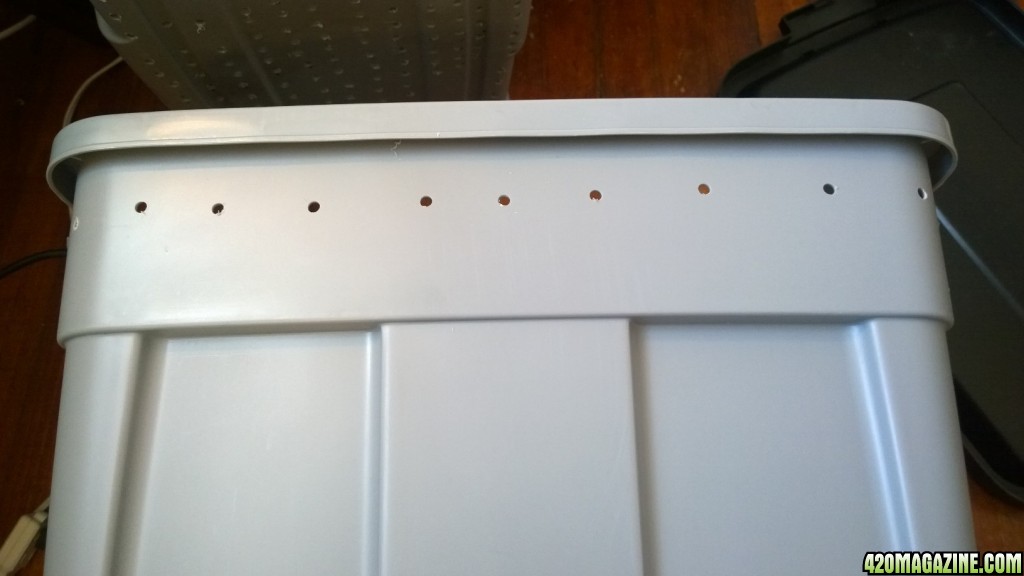
-You will also need holes drilled in the sides of the two totes so when the lid is on they can still breath. Mark these side holes about 2” apart and about 4” or 5” from the top of the bin. You can drill holes in the top lid if you want, but the worms do not like light and the holes on the side will provide ample ventilation. Keep in mind if you use a different container you might have to place the holes even lower because the containers may not let in enough air when stacked.
- Drill the holes in the base and sides of the totes you marked off with the ¼” drill bit.
- Next, we must cut and add the supports which will hold up the totes. Again, we will only be adding the supports to two of the totes. The placement and type of supports will greatly vary on the size and shape of containers you use. I will be using 2x4 cut into 2” pieces.
- Measure the scrap 2x4 length wise and mark off the piece of wood at every 2” until you have measured 4 pieces. Cut the wood with the jig saw...a miter or hand saw would be ideal but I do not have one - so I made do. After cutting you should have 4 separate pieces of wood
- Most plastic totes have a middle ridge which allows them to be stacked together. I marked about 1 ½” below that on the two short sides under the handles and drilled a hole with the ⅛” bit. Secondly, drill a hole in the center of each piece of wood. Grab your wood screws, washers, and swap in the phillips head bit. Place each screw through a washer, and drill the screws through the plastic, into the wood on the interior of the tote. When you are done each tote should have one support on each short side.
(I initially was going to use two screws on each support but they cracked the wood so I went with just one.)
Assembly
- Construction is done!
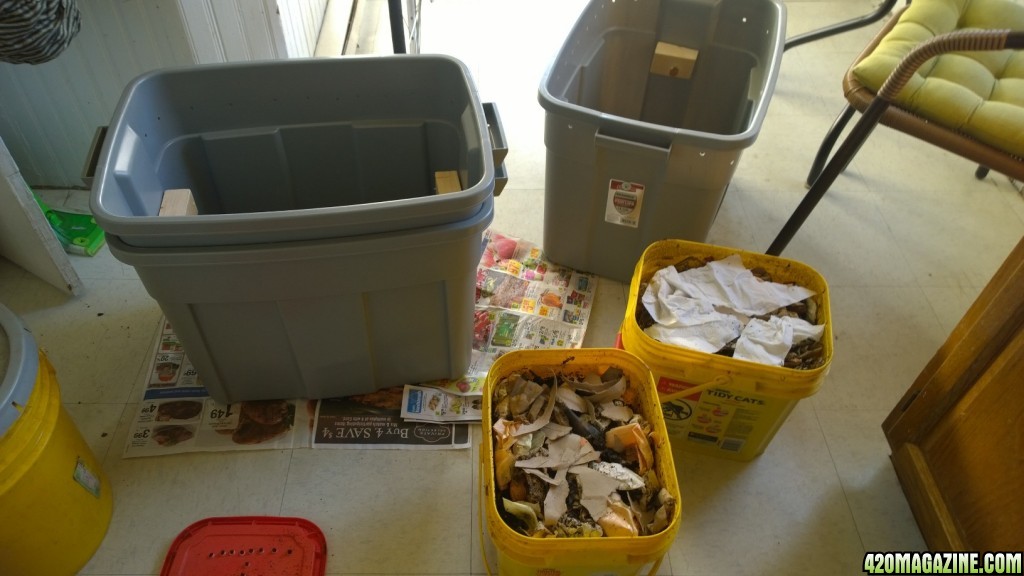
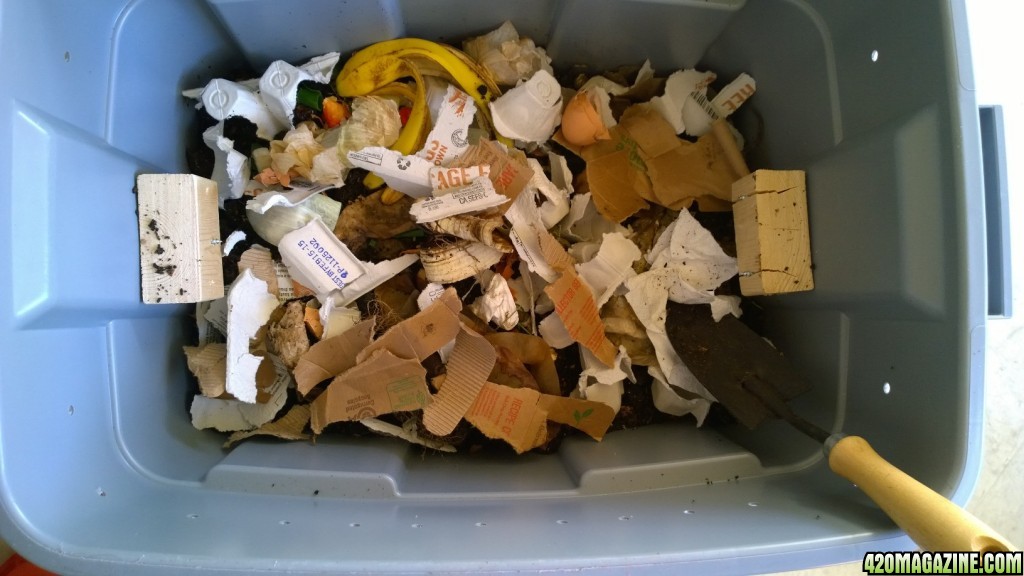
- Now you just need to stack the totes. The tote you didn’t touch is the bottom bin. Stack one of the constructed totes inside the bottom tote, and the last one inside of that one. You will need to place some bedding at the bottom of the top bin. Moisten the bedding with the RO water until it is semi-damp. You can then add the food scraps to the bin, and spread the soil or worm castings over the scraps. Add another layer of bedding and moisten it.

- Once the food reaches the top of the wood supports you will stop adding anything to the bin. Rotate the top bin to the second position, and move the middle bin to the top. You will now add food to the top bin. Remember to always sandwich the food scraps with moistened bedding. Eventually, once the food is completely consumed in the bottom bin, the worms will migrate to the top bin. You can then empty the bottom bin, which will now be full of worm castings. To harvest the castings dump the castings on a tarp in a cone shaped pile. Wait for the few straggler worms to crawl to the bottom of the pile. Now you can scoop the worm casting up. Throw the remaining worms in the top bin.
(what follows is how my own project went down since I already had worms that I had just added to my compost") )
)
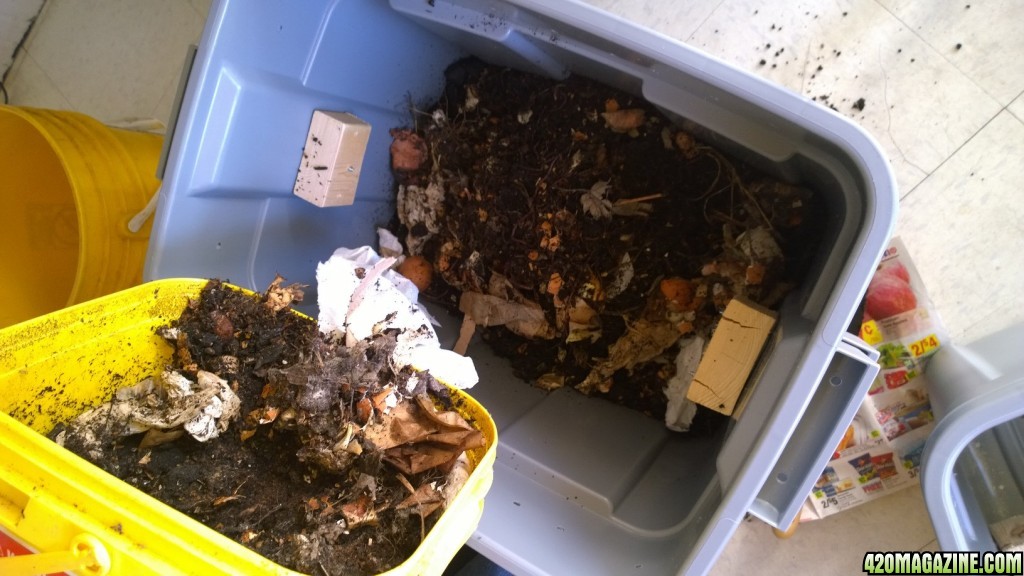
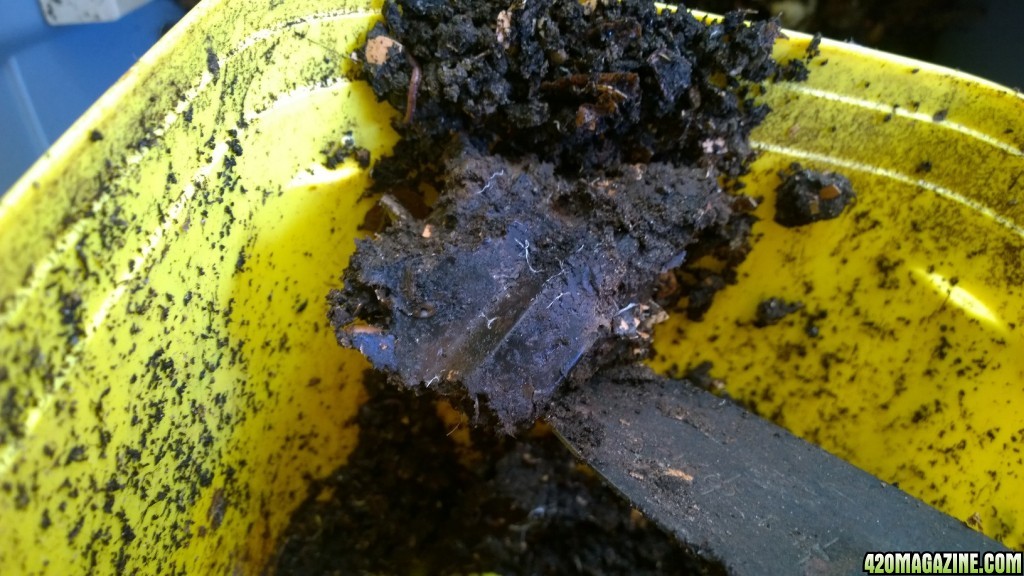
This one is interesting. In one of my bins there was a dense layer of degraded leaves, eggshells, and some sort of root system (fungal?).
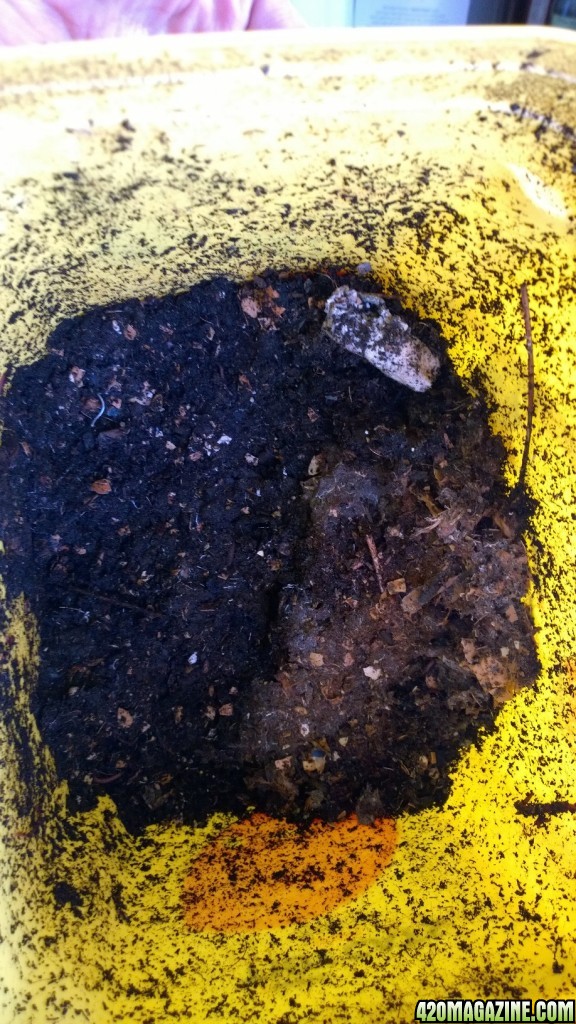
I had never seen the bottom of my bins before...they had been running for two years and I had only ever used cup fulls at a time so I never needed to empty them out. Some of the stuff got pretty densely compacted in there...and I definitely didn't realize how thoroughly broken down some of compost was.
(One of the things you can do with your bedding is to allow the worms a place to hide. Egg cartons provide a cavern type deal for the worms, and pealing the top layer of cardboard off exposes the inner grooves which the worms will snuggle into...when they are screwing and stuff. There will be lots of sex. )
)
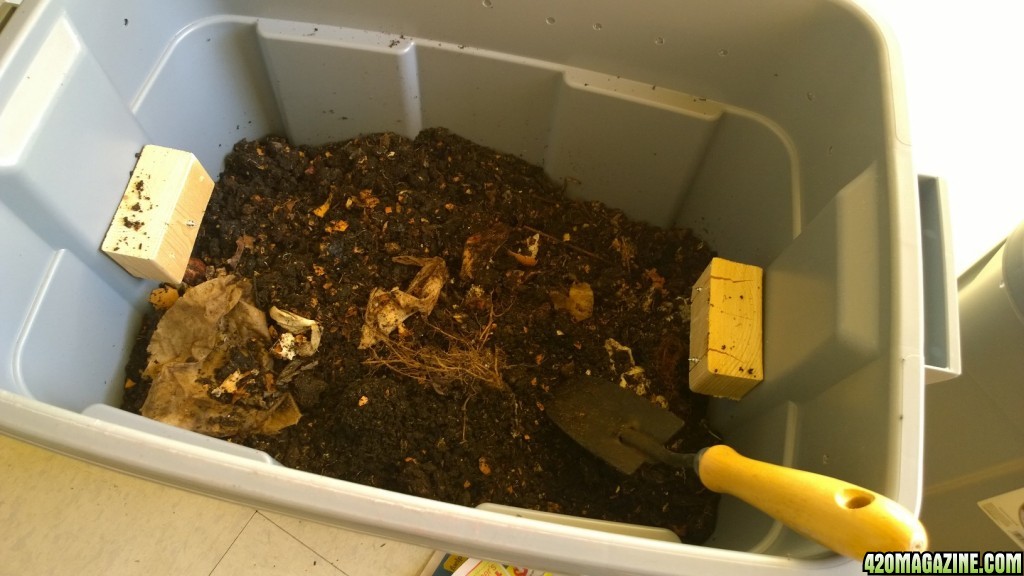
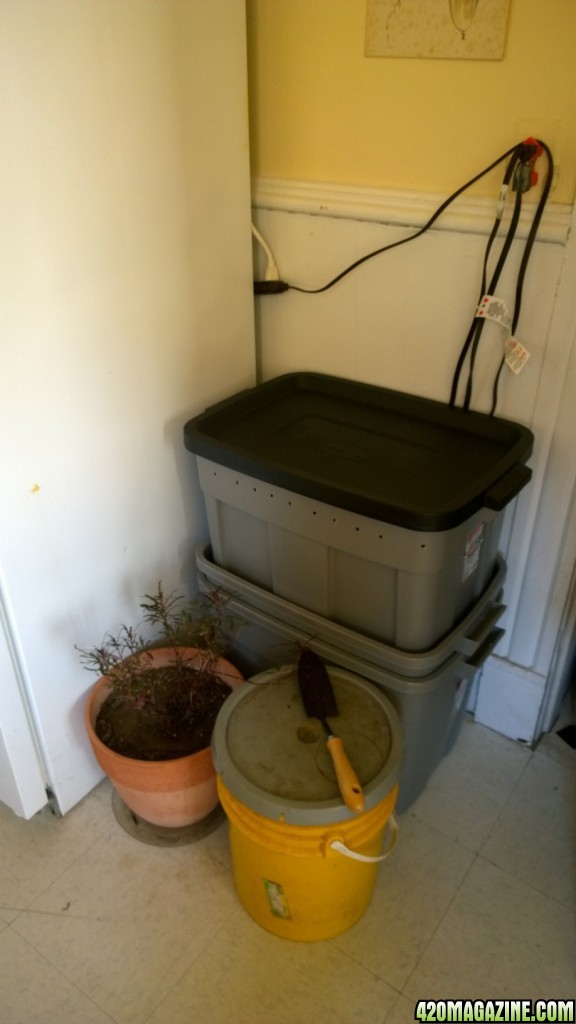
Here's the final shabam!

Overview: I know some of us here are interested in becoming self sufficient Cannabis growers. I'd like to take that same path so I wanted to share this project with you all so maybe someone else can take some inspiration from it and direct their methods towards self sufficiency.
This design is pretty simple. It works pretty much like the expensive bins do, but at a quarter of the cost and with a much larger capacity. This design consists of three stacked totes. The bottom tote is stationary and only works to catch the leachate which will drain from the other two totes. The top two totes are identical in construction...they will be swapped out as the worms convert the food in the bins into castings.
Tools
- Jig Saw
- Drill [⅛” bit?? & ¼” & Phillips bit]
- Sharpie
- Measuring Tape
- Spray Bottle
- RO or Distilled Water
Parts
- 3 18 gal. Rubbermaid totes
- 4 #10 x 2” Zinc wood screw
- 4 ¼” zinc washers
- about 12” scrap of 2x4 [cut into four 2” pieces]
- Minimum 500 red wiggler worms (for my size setup)
- About a pound of food scraps
- 2 cups of soil or worm castings
You will also need some bedding for the worms. I used cardboard egg and mushroom cartons as well as old news paper.
(The worms, bedding and food are not pictured because I had already added worms to my compost bins. So all I had to do was dump the contents in the new worm bin and add new bedding.)
Directions
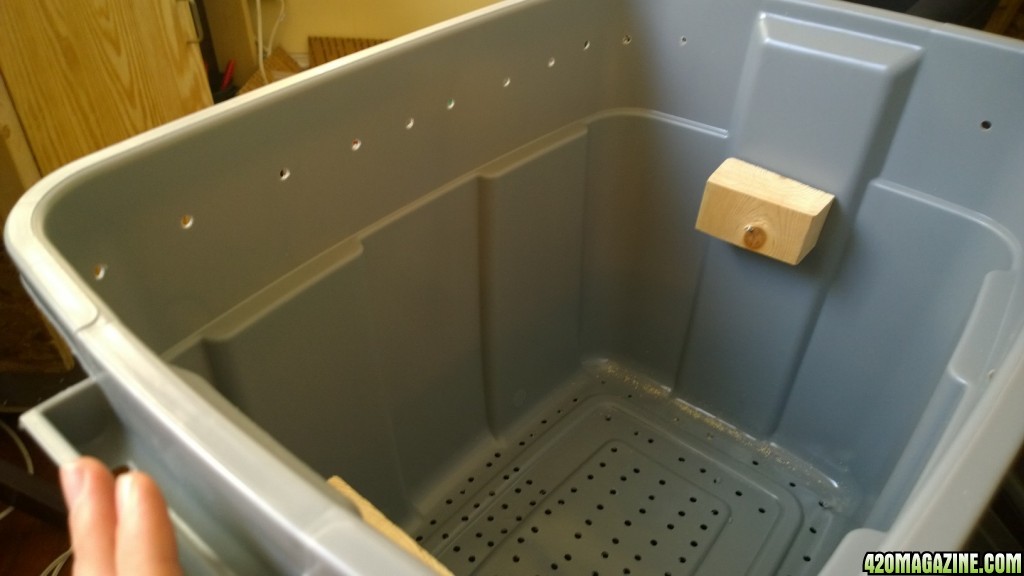
- Mark off holes on the bottom of two of the totes. I spaced them about an inch apart, filling up the entire raised or indented portion of the bottom of the tote (depends on what container you buy), adding arms to the center so we are left with a cross shaped pattern. I spaced holes around the perimeter of the base also at one inch intervals. You can use whatever layout you want, but you need enough holes so the worms can move freely between the totes. I’d say you need at least 50-60 holes minimum.
-You will also need holes drilled in the sides of the two totes so when the lid is on they can still breath. Mark these side holes about 2” apart and about 4” or 5” from the top of the bin. You can drill holes in the top lid if you want, but the worms do not like light and the holes on the side will provide ample ventilation. Keep in mind if you use a different container you might have to place the holes even lower because the containers may not let in enough air when stacked.
- Drill the holes in the base and sides of the totes you marked off with the ¼” drill bit.
- Next, we must cut and add the supports which will hold up the totes. Again, we will only be adding the supports to two of the totes. The placement and type of supports will greatly vary on the size and shape of containers you use. I will be using 2x4 cut into 2” pieces.
- Measure the scrap 2x4 length wise and mark off the piece of wood at every 2” until you have measured 4 pieces. Cut the wood with the jig saw...a miter or hand saw would be ideal but I do not have one - so I made do. After cutting you should have 4 separate pieces of wood
- Most plastic totes have a middle ridge which allows them to be stacked together. I marked about 1 ½” below that on the two short sides under the handles and drilled a hole with the ⅛” bit. Secondly, drill a hole in the center of each piece of wood. Grab your wood screws, washers, and swap in the phillips head bit. Place each screw through a washer, and drill the screws through the plastic, into the wood on the interior of the tote. When you are done each tote should have one support on each short side.
(I initially was going to use two screws on each support but they cracked the wood so I went with just one.)
Assembly
- Construction is done!
- Now you just need to stack the totes. The tote you didn’t touch is the bottom bin. Stack one of the constructed totes inside the bottom tote, and the last one inside of that one. You will need to place some bedding at the bottom of the top bin. Moisten the bedding with the RO water until it is semi-damp. You can then add the food scraps to the bin, and spread the soil or worm castings over the scraps. Add another layer of bedding and moisten it.
- Once the food reaches the top of the wood supports you will stop adding anything to the bin. Rotate the top bin to the second position, and move the middle bin to the top. You will now add food to the top bin. Remember to always sandwich the food scraps with moistened bedding. Eventually, once the food is completely consumed in the bottom bin, the worms will migrate to the top bin. You can then empty the bottom bin, which will now be full of worm castings. To harvest the castings dump the castings on a tarp in a cone shaped pile. Wait for the few straggler worms to crawl to the bottom of the pile. Now you can scoop the worm casting up. Throw the remaining worms in the top bin.
(what follows is how my own project went down since I already had worms that I had just added to my compost
)
This one is interesting. In one of my bins there was a dense layer of degraded leaves, eggshells, and some sort of root system (fungal?).
I had never seen the bottom of my bins before...they had been running for two years and I had only ever used cup fulls at a time so I never needed to empty them out. Some of the stuff got pretty densely compacted in there...and I definitely didn't realize how thoroughly broken down some of compost was.
(One of the things you can do with your bedding is to allow the worms a place to hide. Egg cartons provide a cavern type deal for the worms, and pealing the top layer of cardboard off exposes the inner grooves which the worms will snuggle into...when they are screwing and stuff. There will be lots of sex.
)
Here's the final shabam!

