

PeeJay;2784262 said:Smokey, I told you I'd do one with you when you have seeds. I'm taking pictures of how I do it and will write out the details.
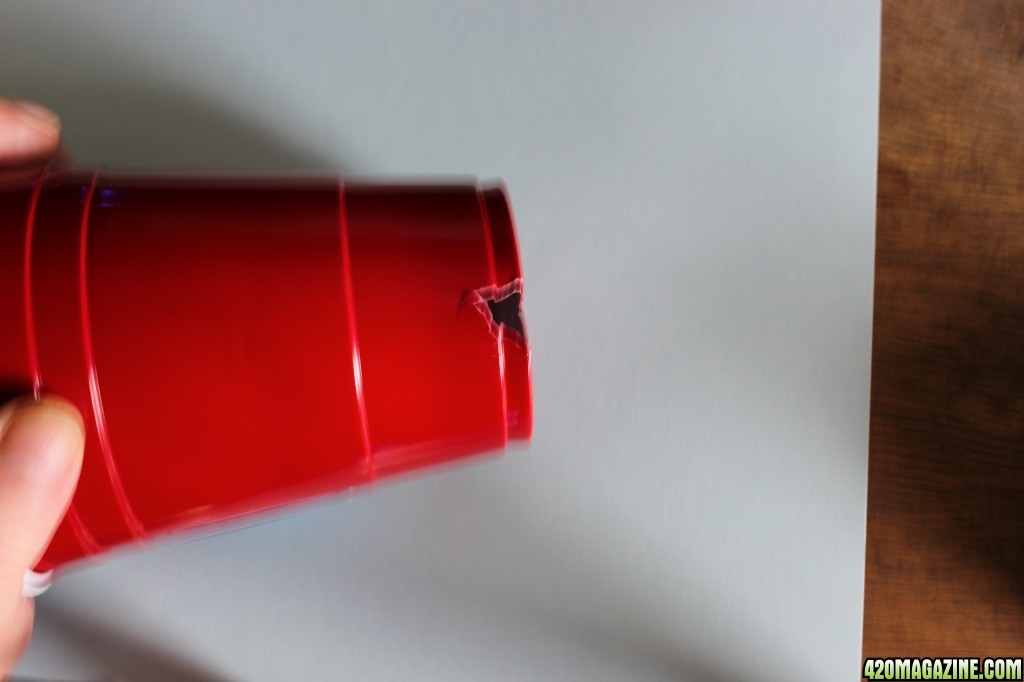
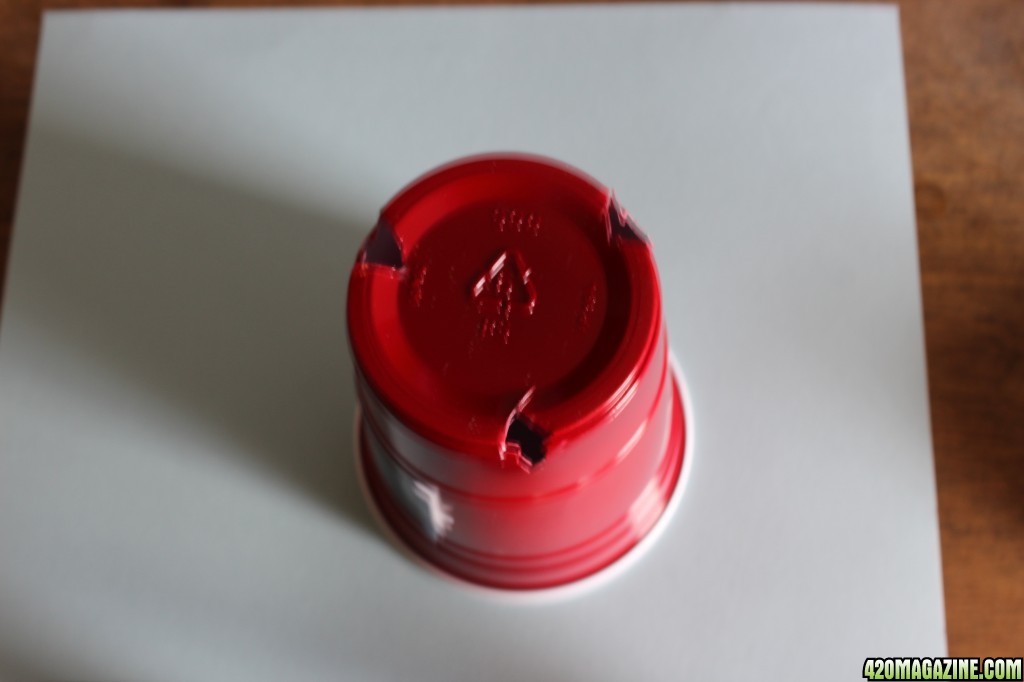
I'm using a Solo cup and used a serrated knife to make triangular holes in the bottom like this.
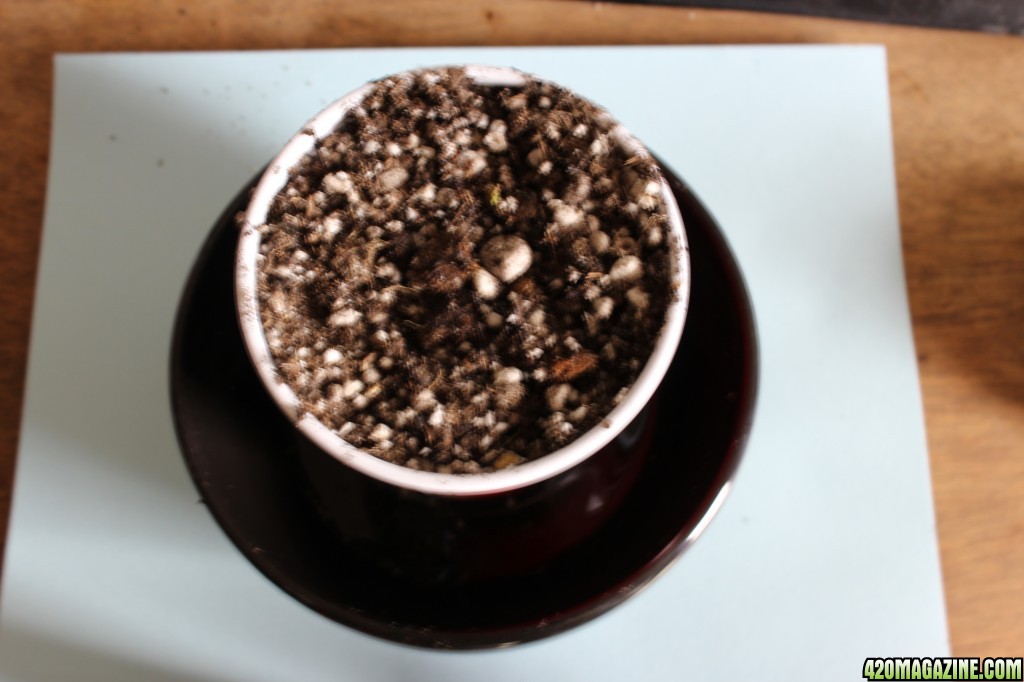
Fill the cup up to the top with baby dirt.
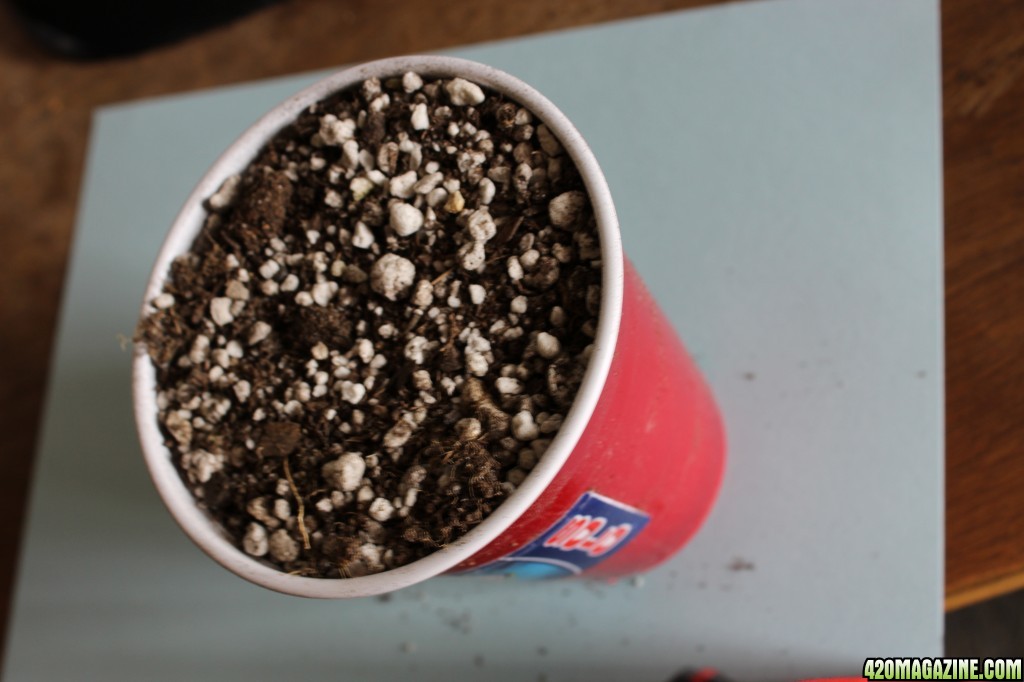
Using a bowl for a drip tray I watered the soil well. The dirt was very dry and it didn't want to soak up the water. Dry soil is like a dry sponge. When a sponge is dry and you first hold it running water the water just runs off. Soil does the same thing. It takes time to get it completely soaked. I'll hit it with water several times over the next few hours.
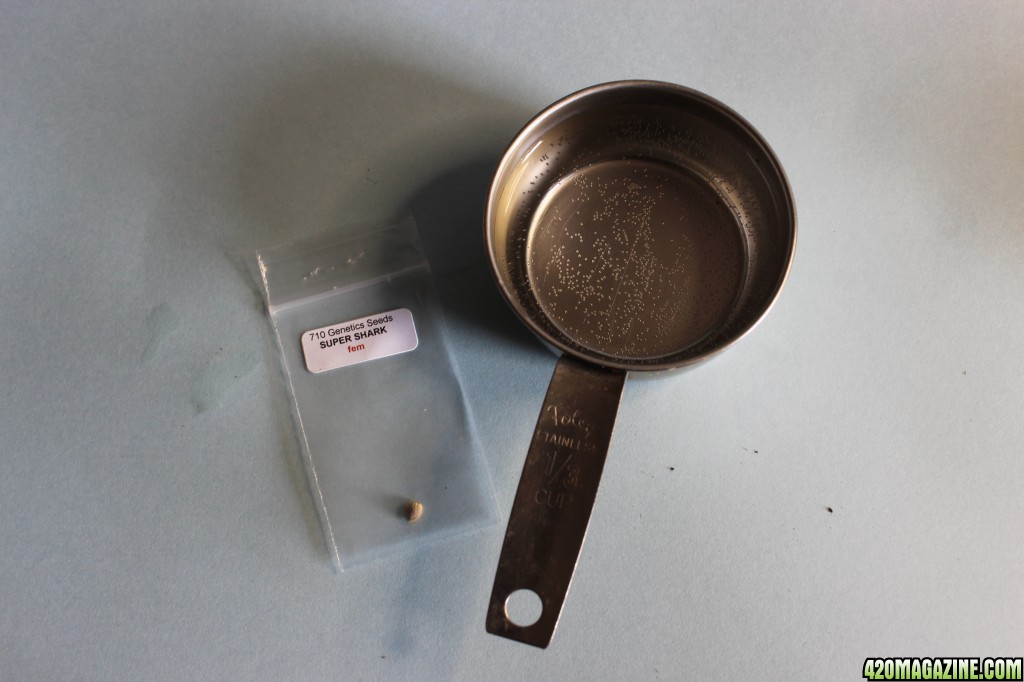
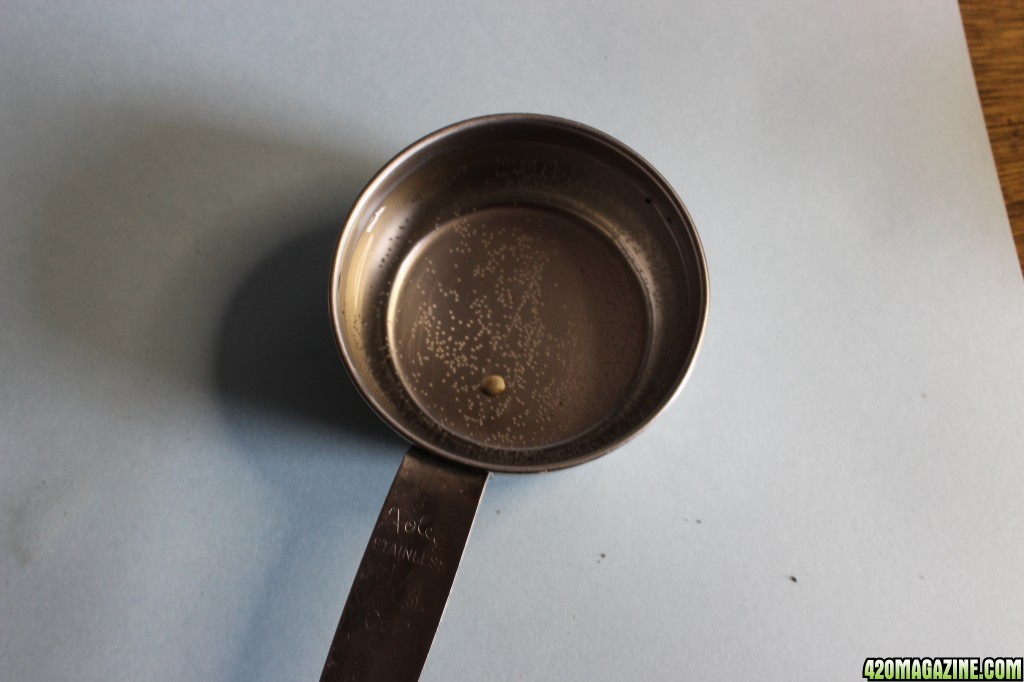
I drop the seed into a small container of water that has set out do dissipate the chlorine. I'll plant it when it sinks - usually around four hours. If I'm not there when it sinks it's no big deal but I wouldn't soak it longer than 24 hrs.
Next I took a measuring tape and a pen. I put a piece of tape around the pen 3/4" from the tip. Well, I used a 420 Mag sticker. Don't really know what I'm supposed to do with all these stickers... I consider this a very important step. The seed needs to be deep enough that the seed coat is removed by friction as it moves up through the soil.
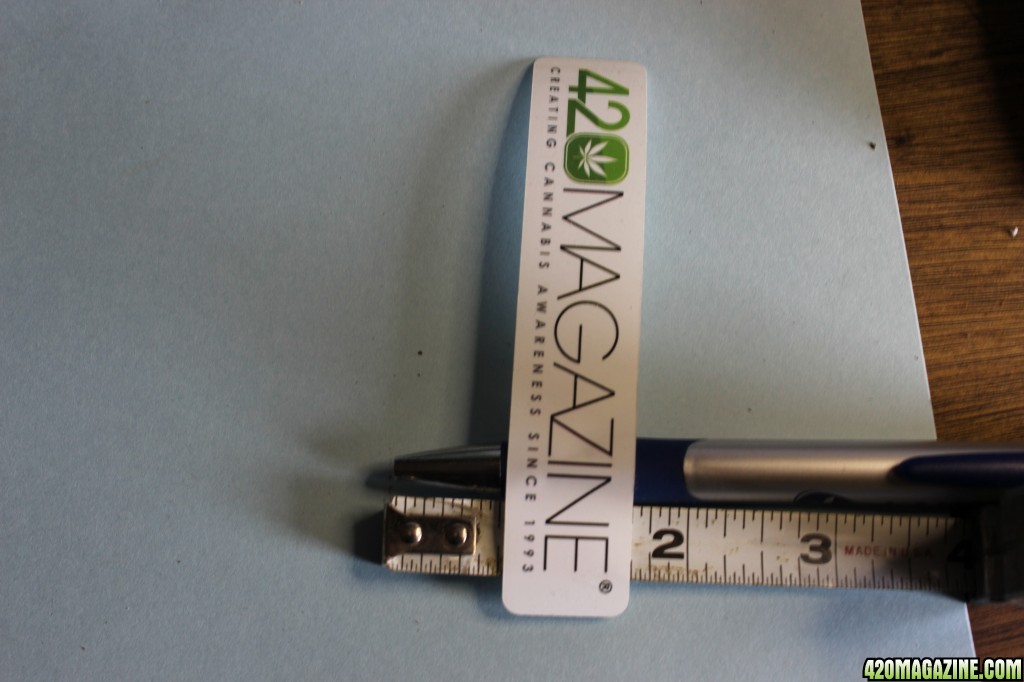
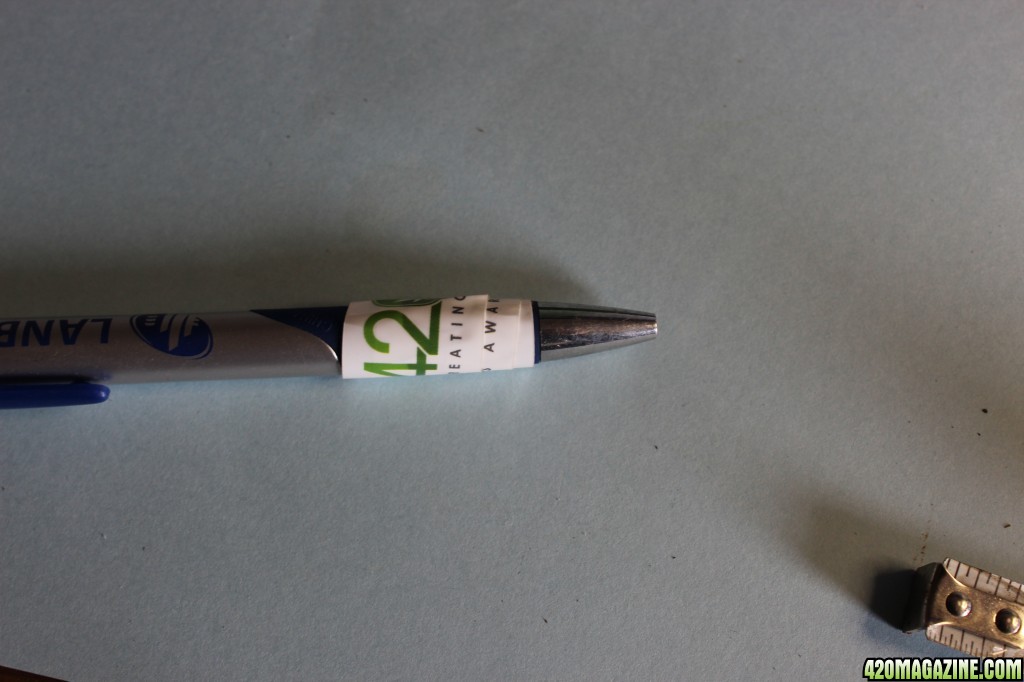
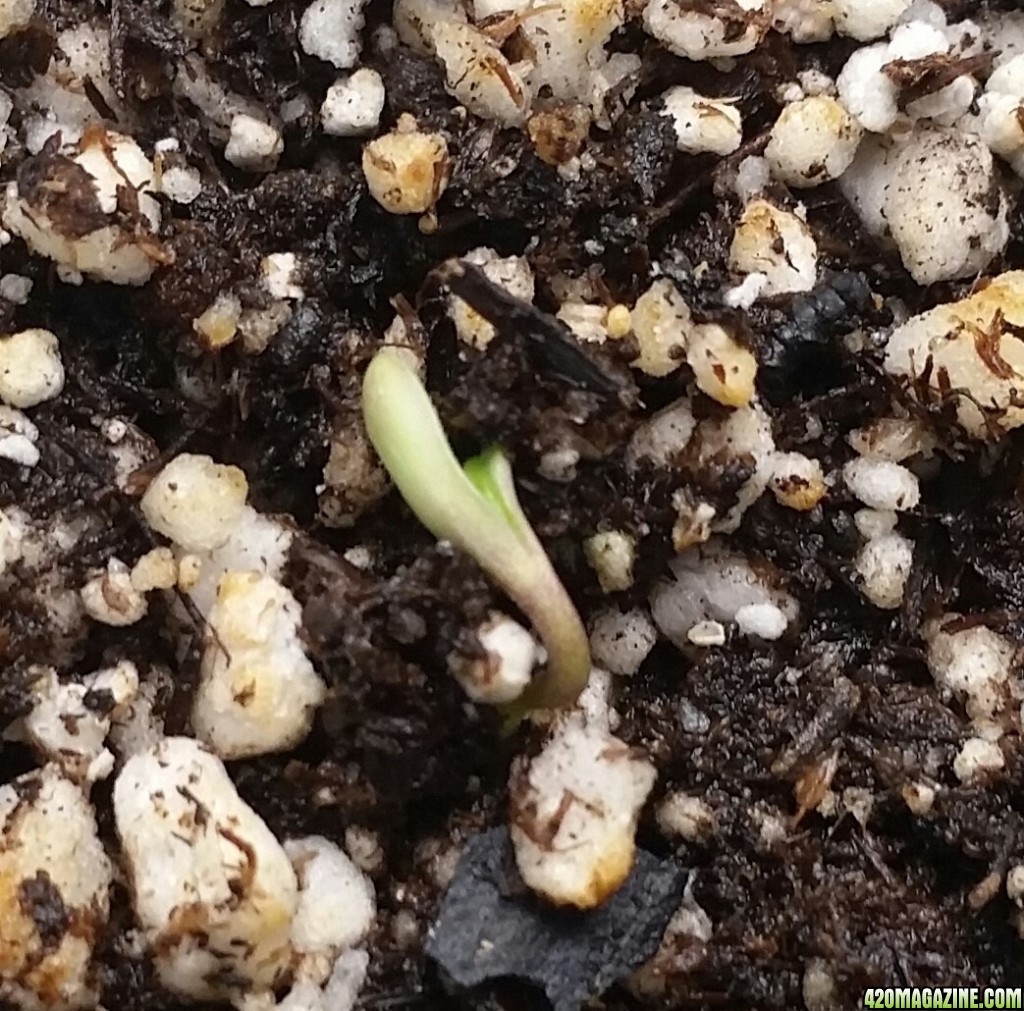
When that doesn't happen you will find that there is considerably more stretch early. We want the plant to break ground with the cotyledons (those first two oval leaves) exposed and opening like this.)
When the seed sinks in a while I'll do the last step.
That new picture uploading process stinks! I hope it's just temporary. It's going to make 20 picture updates a PITA!
My First Time Growing
- Author JimmieJ
- Create date
Blog entry information
More entries in Member Blogs
-
 From Dab to Vape: The Evolution of Rosin Consumption HabitsIn recent years, Live Rosin, as a typical product type of solventless cannabis concentrate, has...
 -
Micro Bar: Box-Shaped Cannabis Vape and Their Market AppealMicro Bar, a brand that has quickly risen to the top of the disposable cannabis vape market...
-
How Box-Shaped Disposable Vape Empower Cannabis Vape Brand?The emergence of box-shaped disposable cannabis vape hardware as a preferred choice marks a...
-
 HashGirl's Completed Grow Journals - 2017 to 2024HashGirl's Completed Grow Journals My and Felonious Punk's (my husband) Completed Grow...
 -
DEMO: The Petite Powerhouse in Cannabis VapingIn the ever-evolving world of cannabis consumption, variety and personalization are key, and...