

- Thread starter
- #41
What's happening guys!
I found the stuff i need for the lights and will order somewhere next week.
Any major updates will be put on hold because next 5 months i will change states due to job opportunities. Ofcourse the brainstorming/collecting the required items/asking for help/post updates will still continue.
What brings me to the topic of my post: Passive Air Intake:
I always thought for intake you needed 2 times the surface of the exhaust but after some more digging I read (on this forum) that for PASSIVE intake you need 4-5 times that surface.
So in my head I have the following:
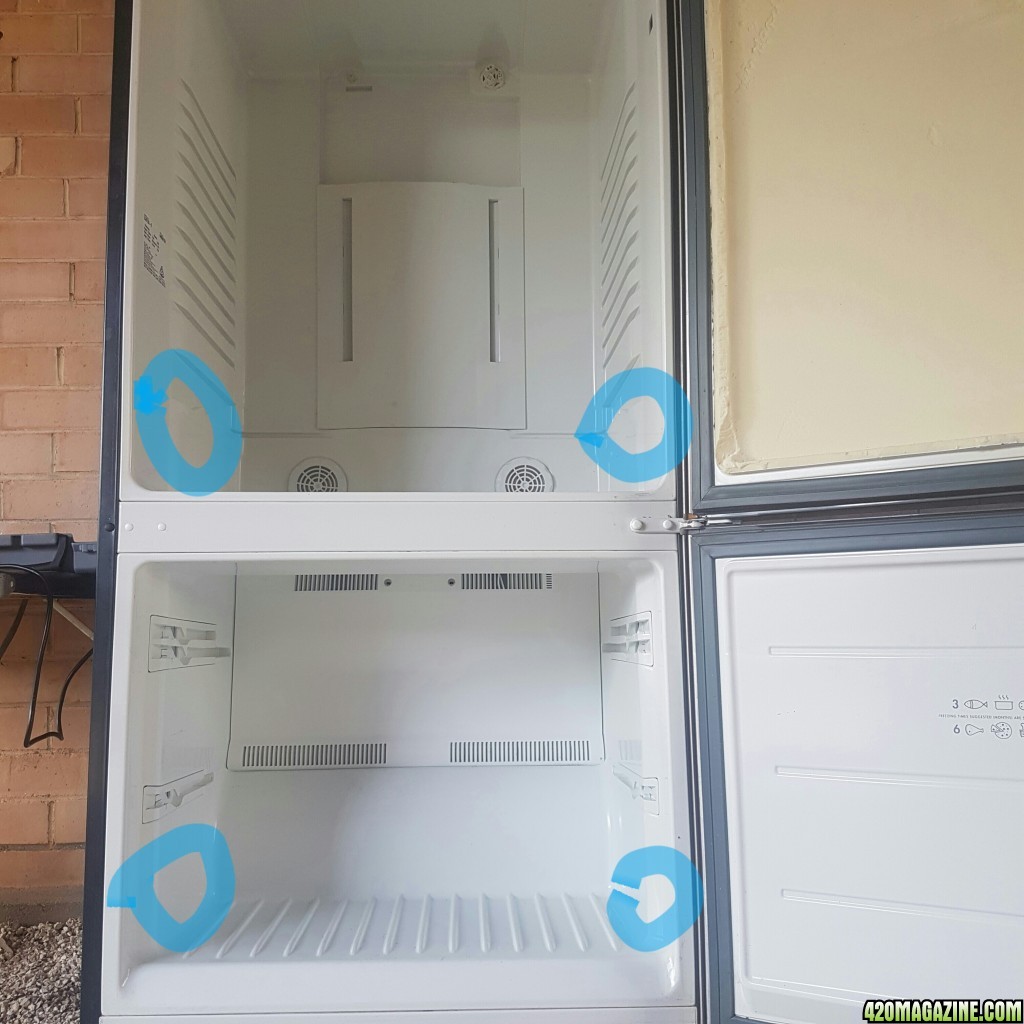
I would make 4 (4inch) holes so 2 like shown before and 2 extra ones on the opposite side of the fridge:
Then i would tape off the inside of the hole to give it a smooth finish. Then i was thinking to use something like this to cover the holes:
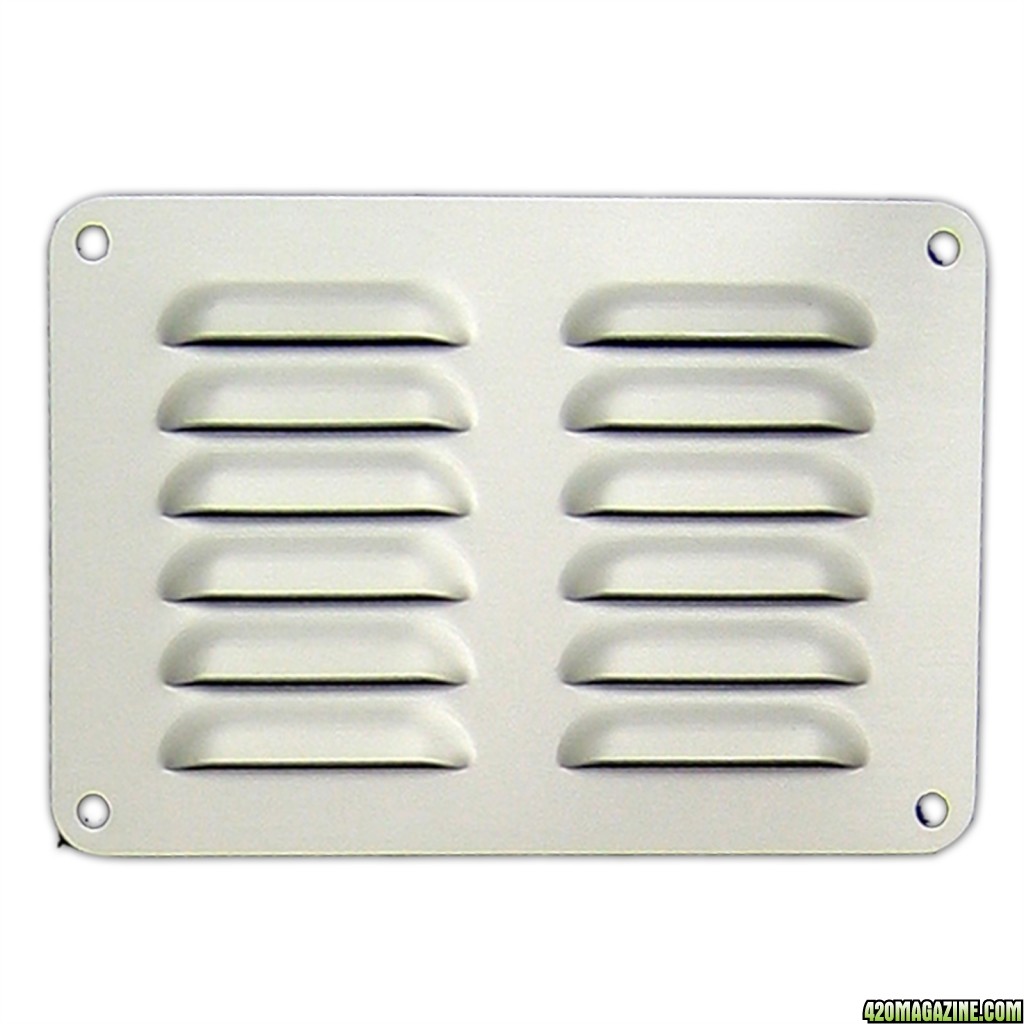
Ofcourse big enough so the hole is completely in the perforated area. From here on the struggle begins:
I'm thinking to put 1 on each side of the hole so 2 per hole so 8 in total. All of the would be painted black on the inside, the ones inside the fridge painted white on the outside and the ones outside the fridge i would paint black on the outside and wrap them in a stocking/tights before mounting them.
I am just concerned if this would work? So regarding airflow/light/etc..
I am worried that if i put the vent covers on both side in their normal mounting position that might affect the airflow as it is shaped to let air flow trew in 1 direction. So maybe i mount the ones on the outside inside outto improve that?
Just interested to hear your opinions!!
I found the stuff i need for the lights and will order somewhere next week.
Any major updates will be put on hold because next 5 months i will change states due to job opportunities. Ofcourse the brainstorming/collecting the required items/asking for help/post updates will still continue.
What brings me to the topic of my post: Passive Air Intake:
I always thought for intake you needed 2 times the surface of the exhaust but after some more digging I read (on this forum) that for PASSIVE intake you need 4-5 times that surface.
So in my head I have the following:
I would make 4 (4inch) holes so 2 like shown before and 2 extra ones on the opposite side of the fridge:
Then i would tape off the inside of the hole to give it a smooth finish. Then i was thinking to use something like this to cover the holes:
Ofcourse big enough so the hole is completely in the perforated area. From here on the struggle begins:
I'm thinking to put 1 on each side of the hole so 2 per hole so 8 in total. All of the would be painted black on the inside, the ones inside the fridge painted white on the outside and the ones outside the fridge i would paint black on the outside and wrap them in a stocking/tights before mounting them.
I am just concerned if this would work? So regarding airflow/light/etc..
I am worried that if i put the vent covers on both side in their normal mounting position that might affect the airflow as it is shaped to let air flow trew in 1 direction. So maybe i mount the ones on the outside inside outto improve that?
Just interested to hear your opinions!!

 ) so 2sqft = 15000lumen divided by 2 = 7500 lumen for the bottom veg room. Again in 24w (1500l) bulbs so I'll make a 8 bulb growlight (and put 6 actual bulbs) for the veg room.
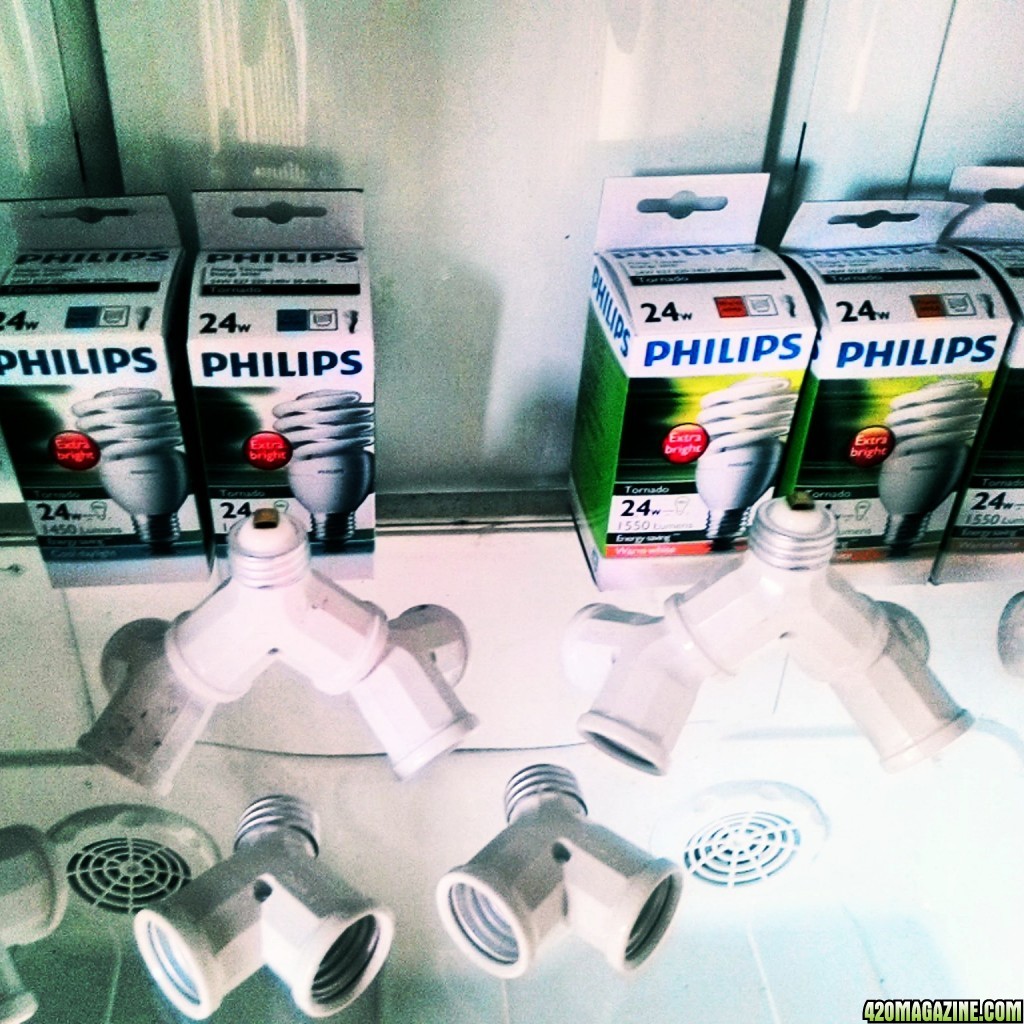


")


