

Justwannagrow
Well-Known Member
Didn't realize they were much different price wise on the other side of the pond? Here a vero29 is between $21-$28 USD even more some places. Which ain't bad unless you need 20 of them
How To Use Progressive Web App aka PWA On 420 Magazine Forum
Note: This feature may not be available in some browsers.
No problemCheers for the estimate Caconym!
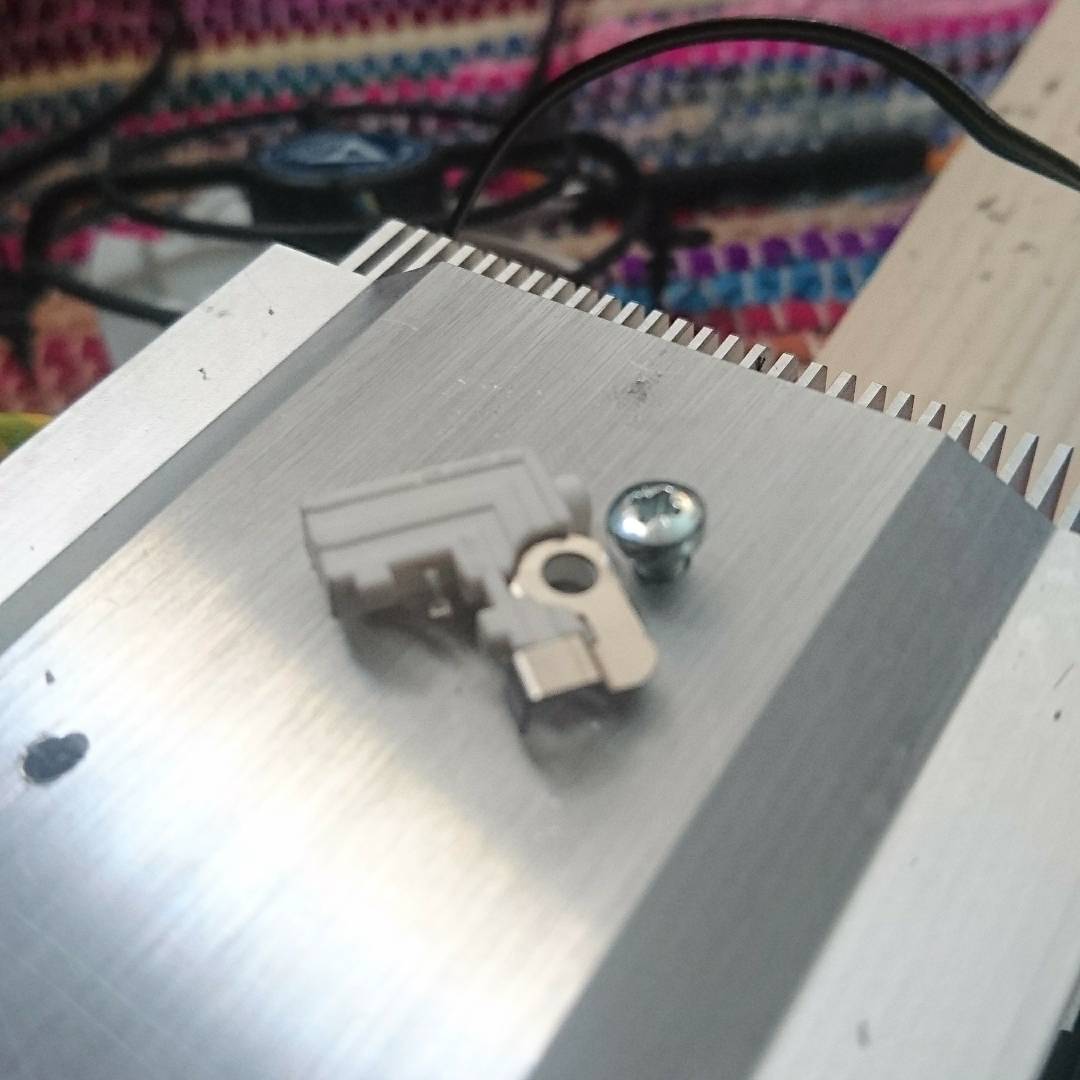
Plug type is something I'm very familiar with .
I wasn't trying to be funny I got my parts from Mouser, there aren't many other options to get everything from the same supplier over here. The cheapest I saw a vero29 converts to around $40 US and my Cree chips were about the same price.Yeah I could really careless about your location that was just curriosty lol more if where you got everything from one place as everywhere I've looked you have to get different parts at different places with the exception of cobkits and rapid which are kinda over priced. No big deal either way
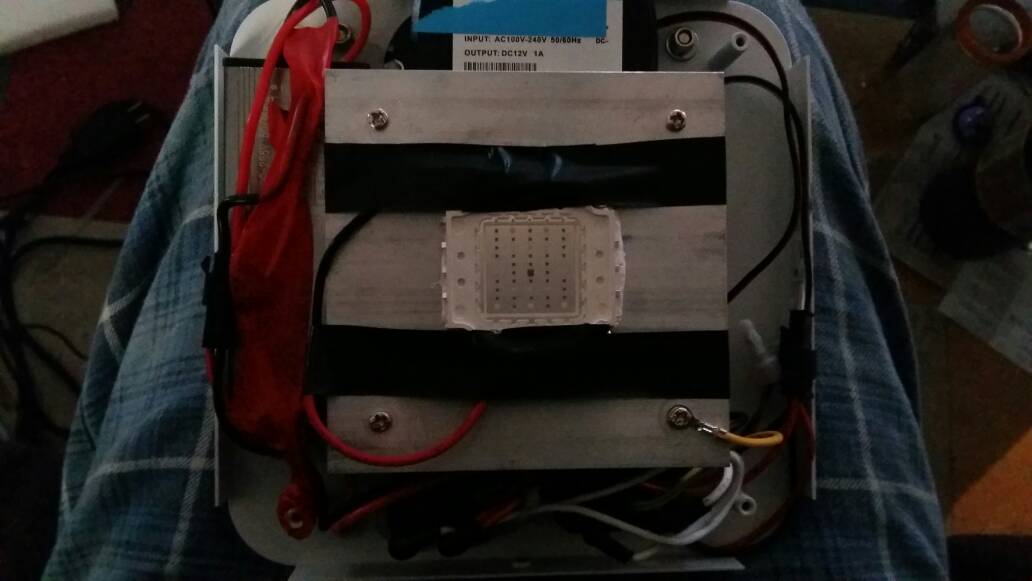
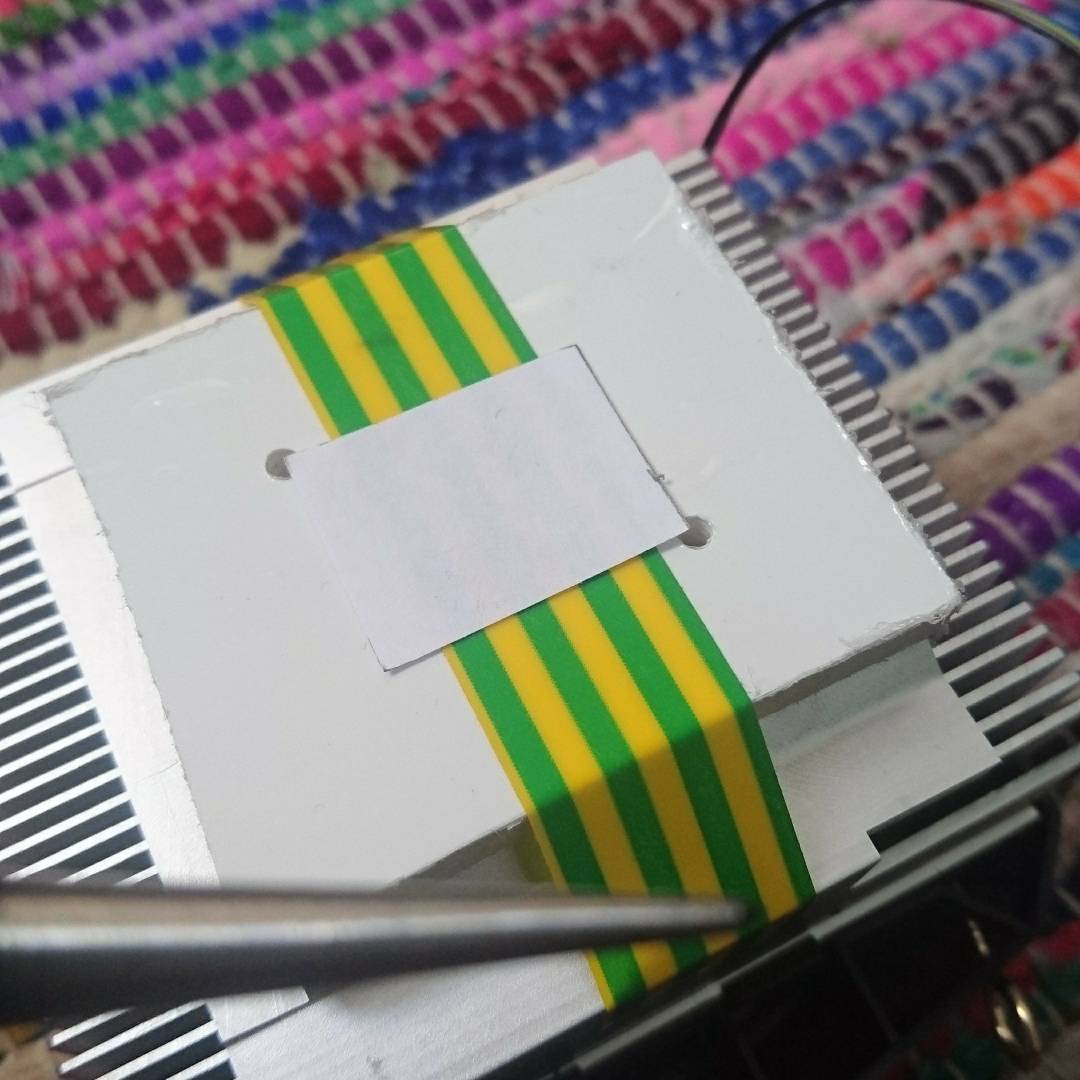
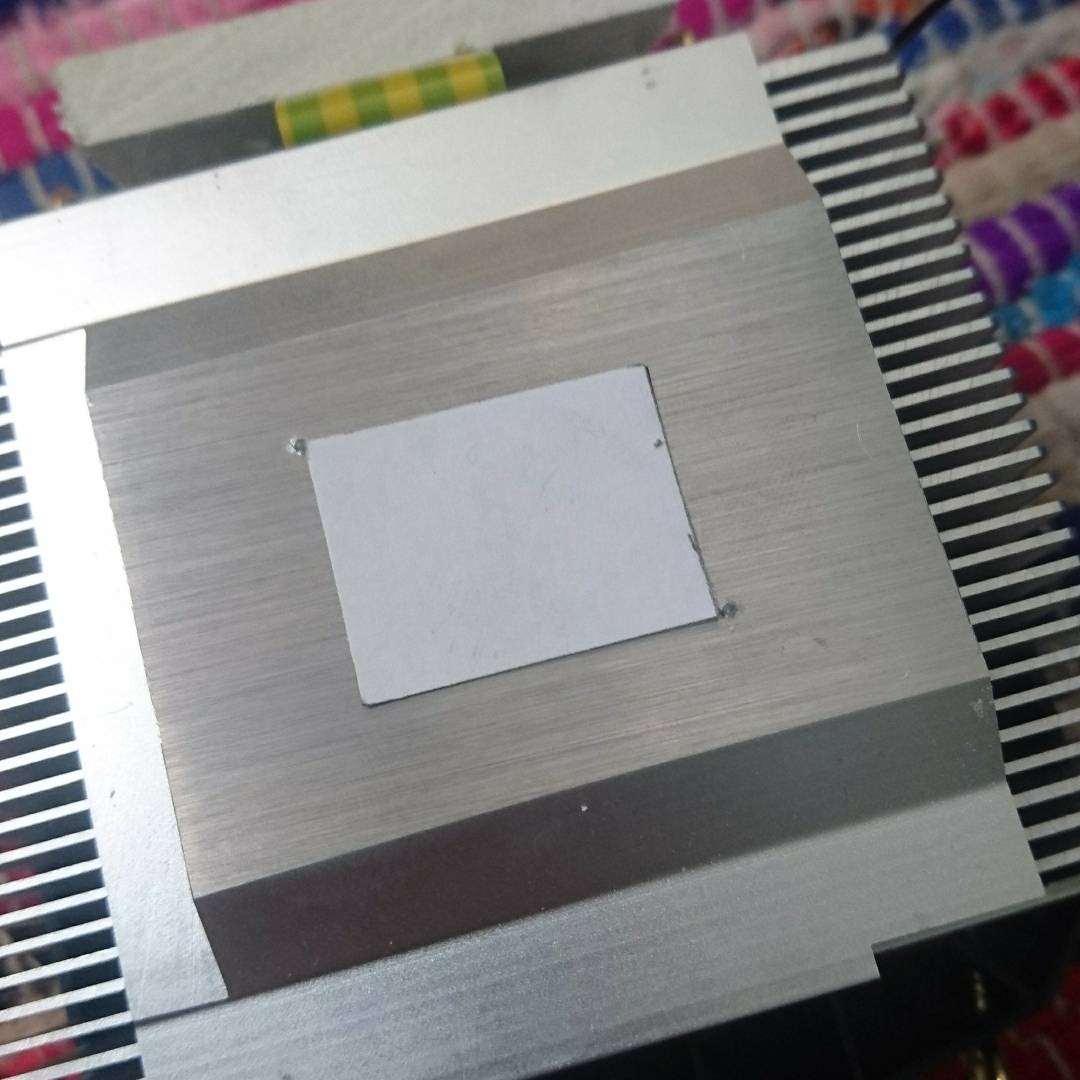

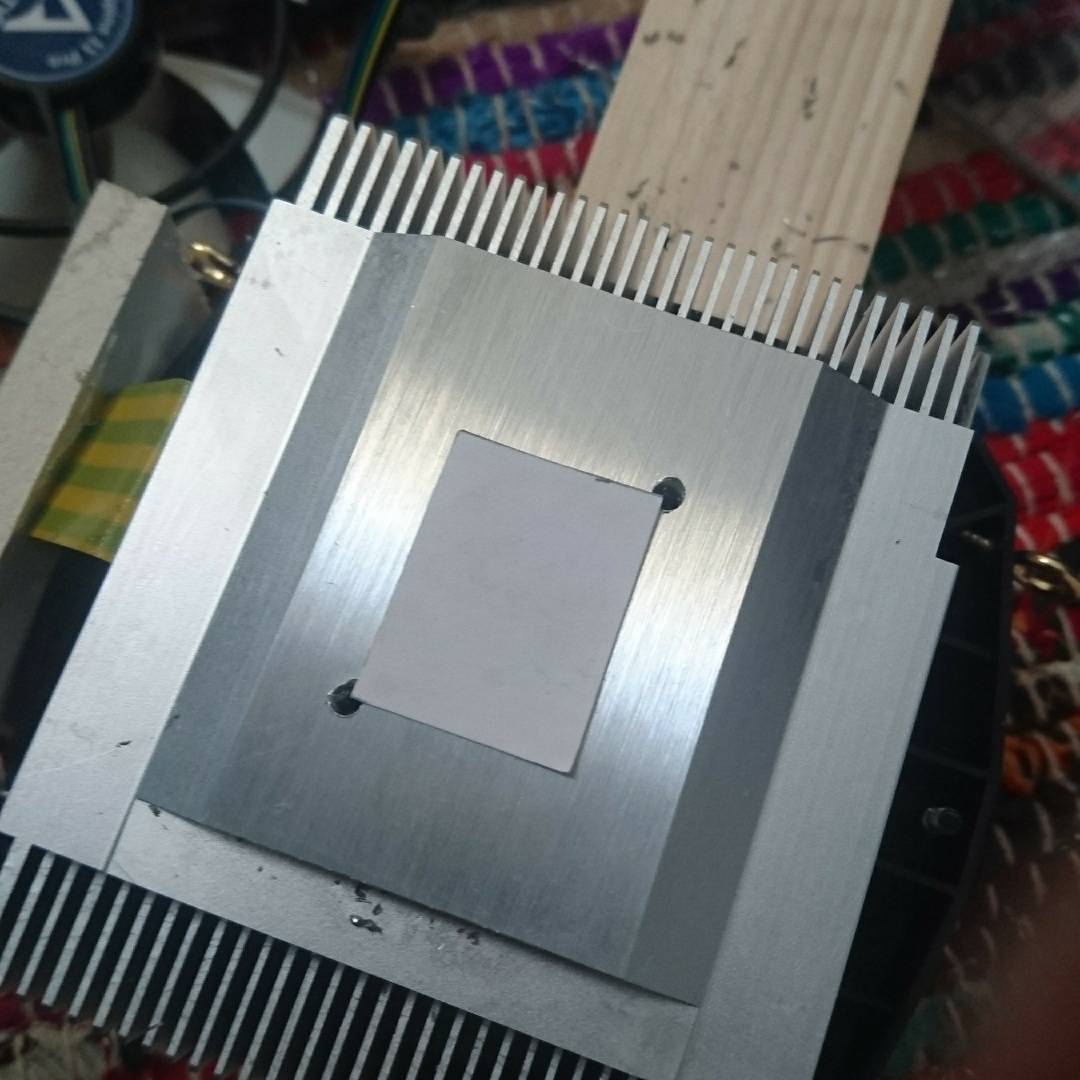
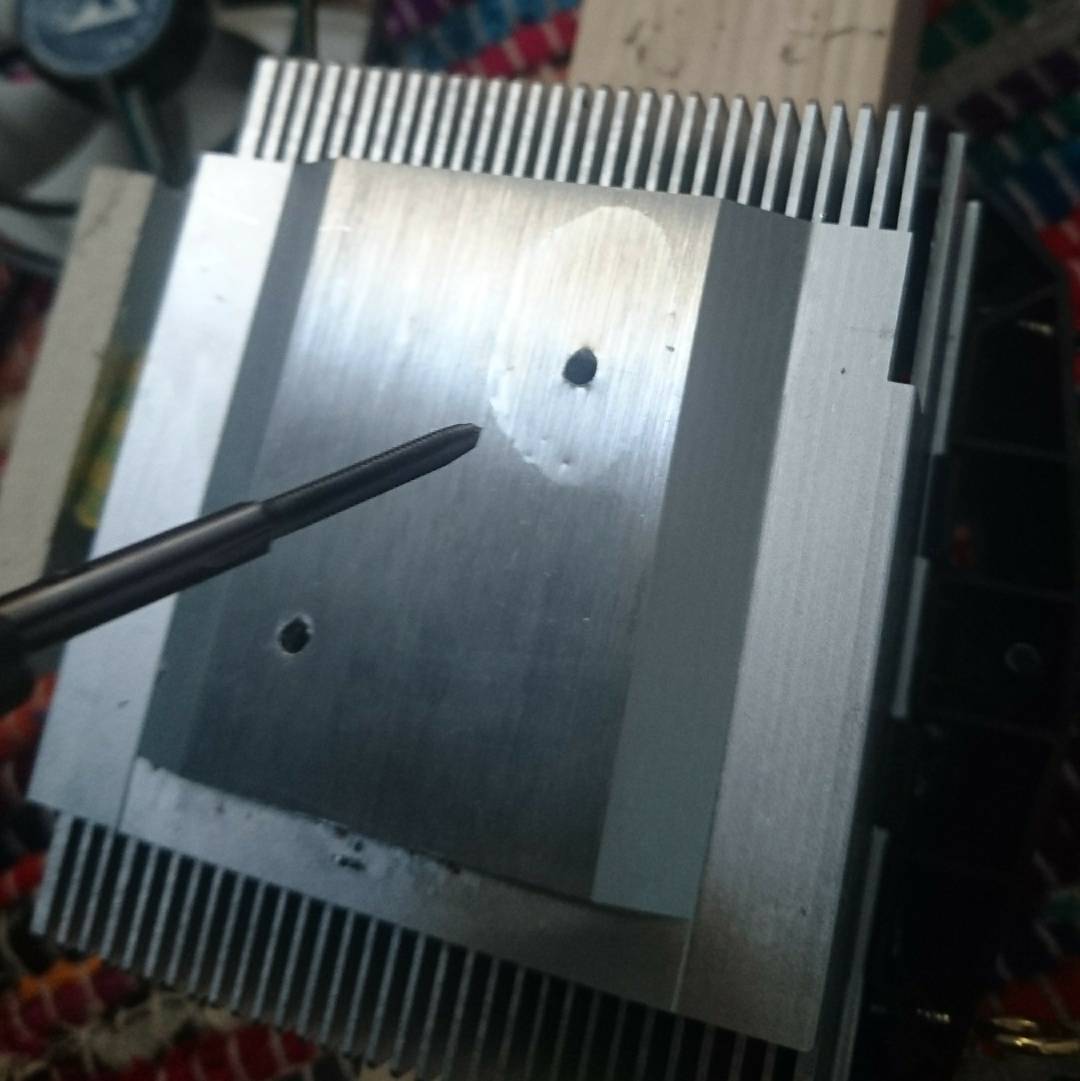
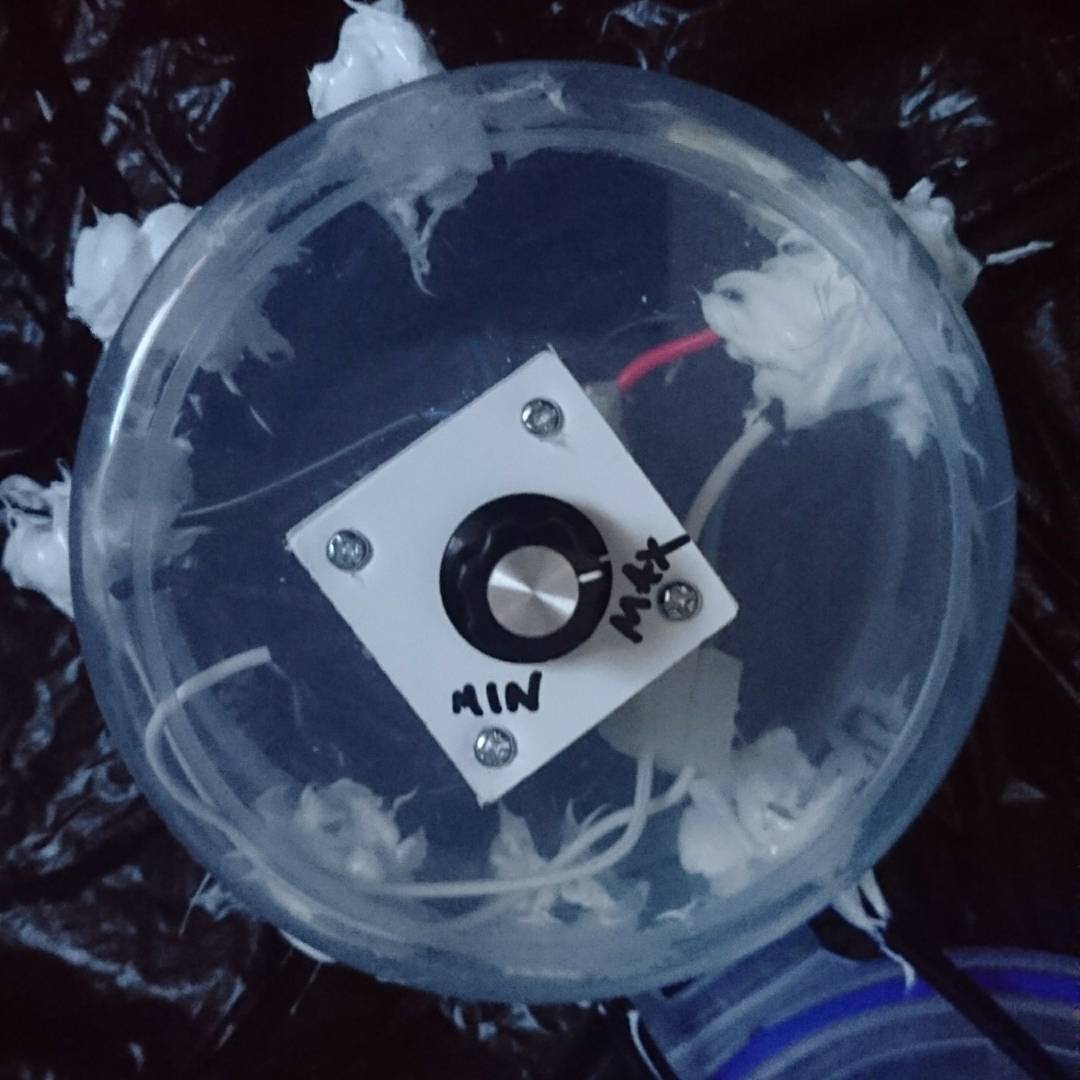
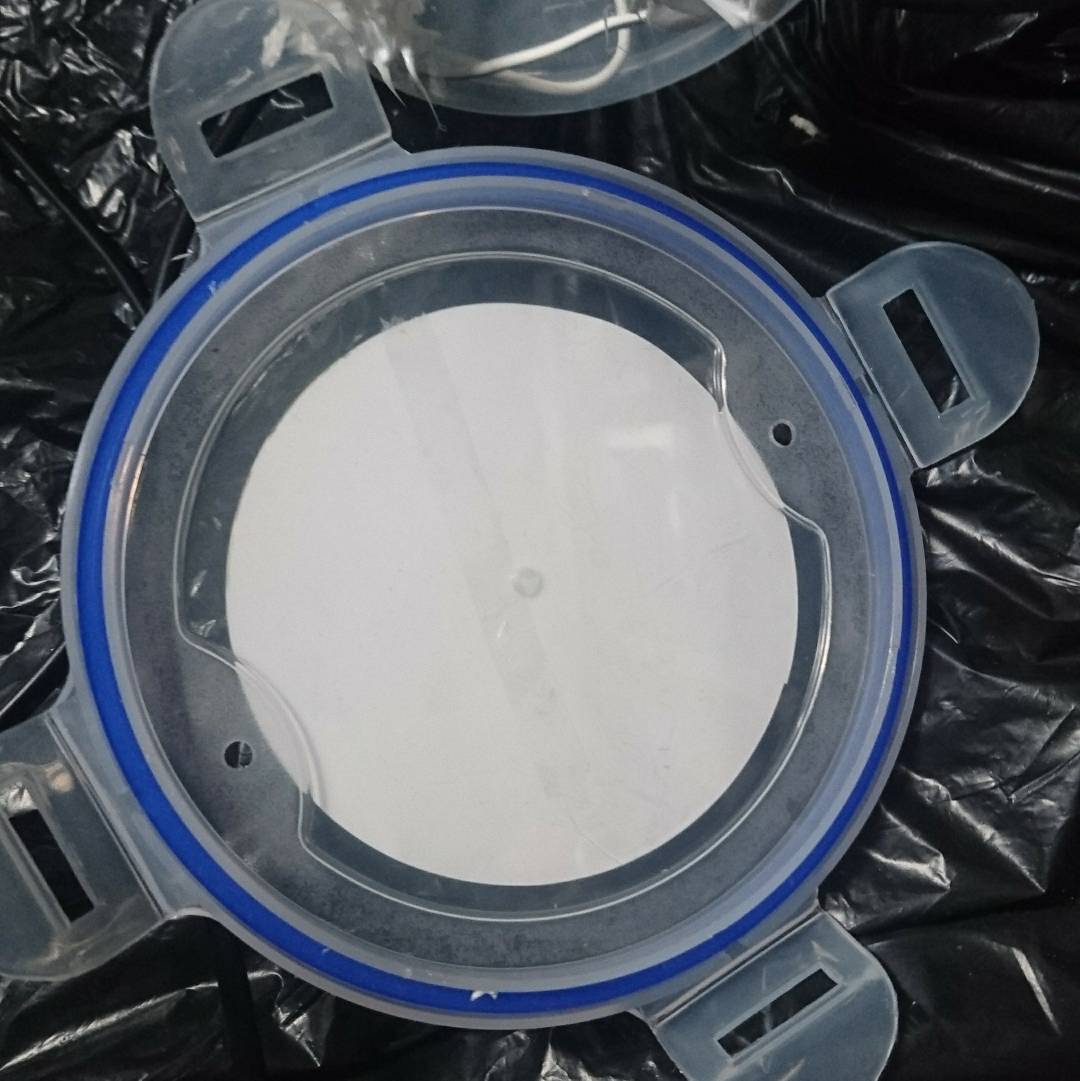
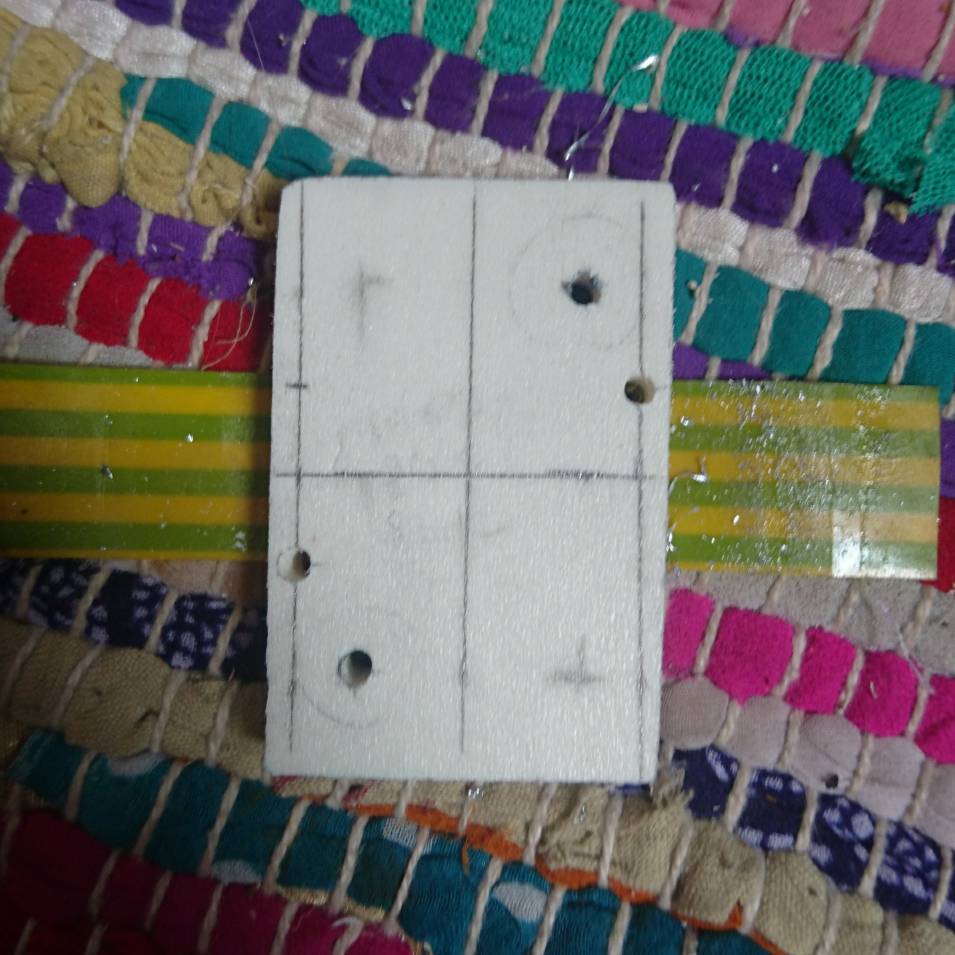
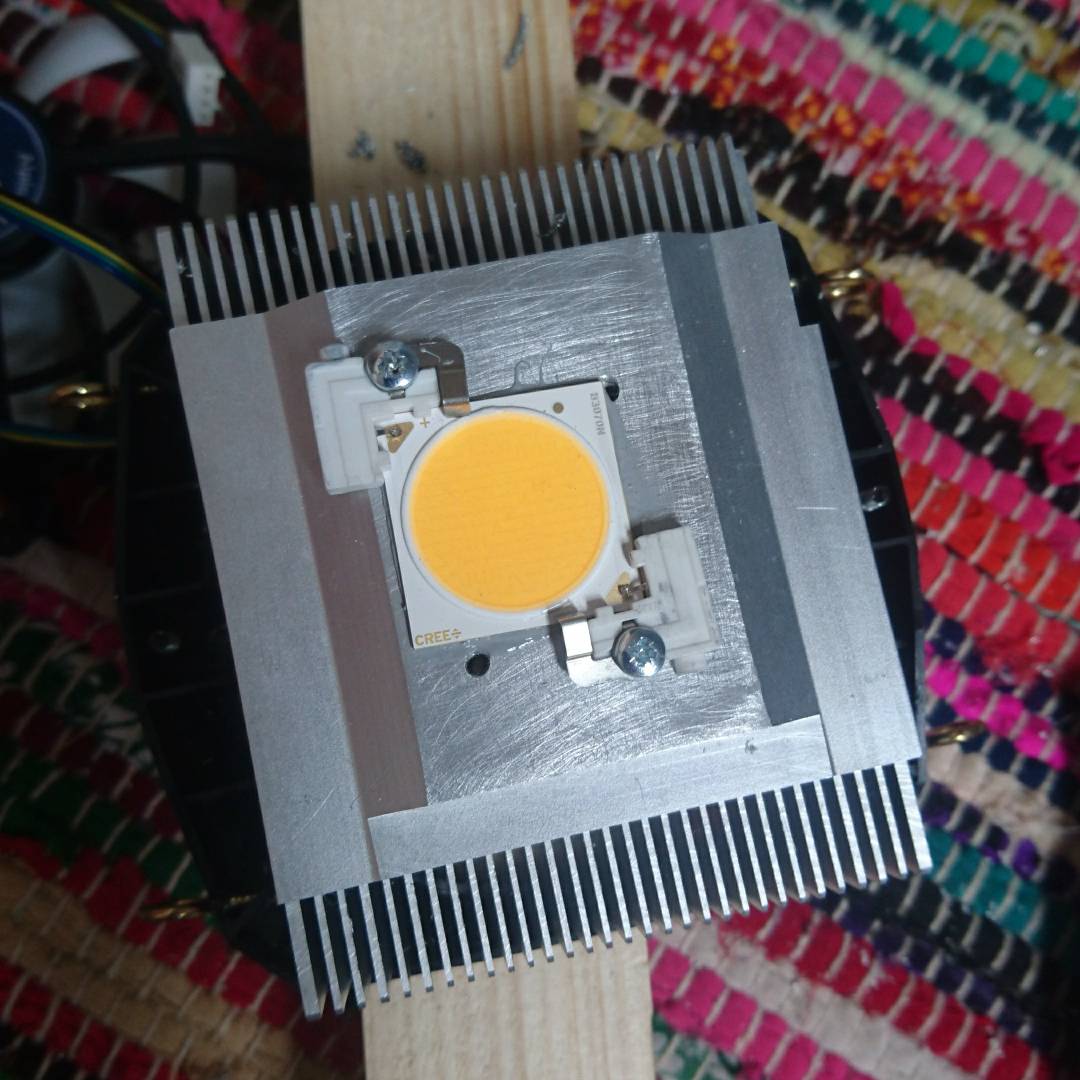
Thanks hopefully I'll get all six chips mounted today and then I can test it all out.It's looking good
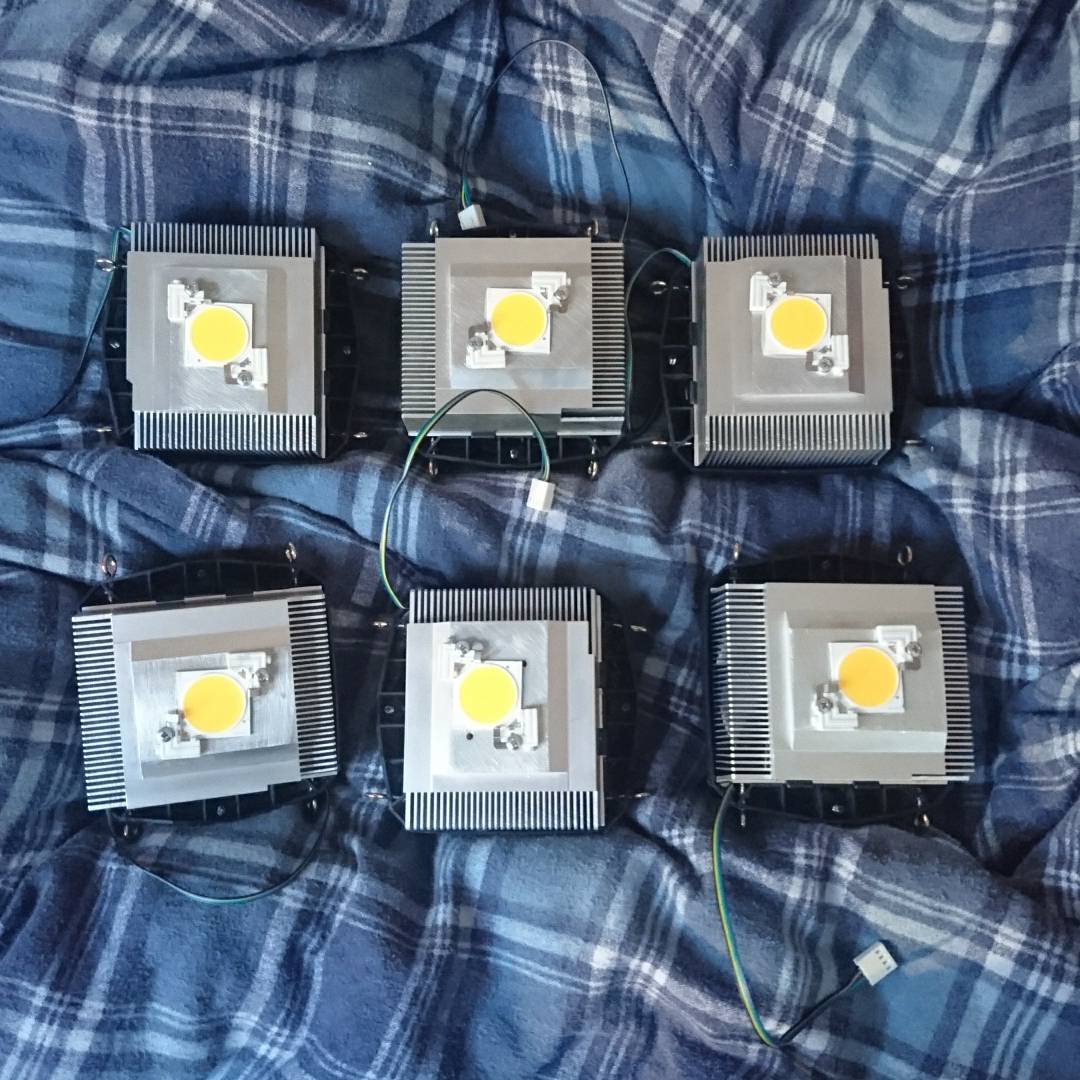
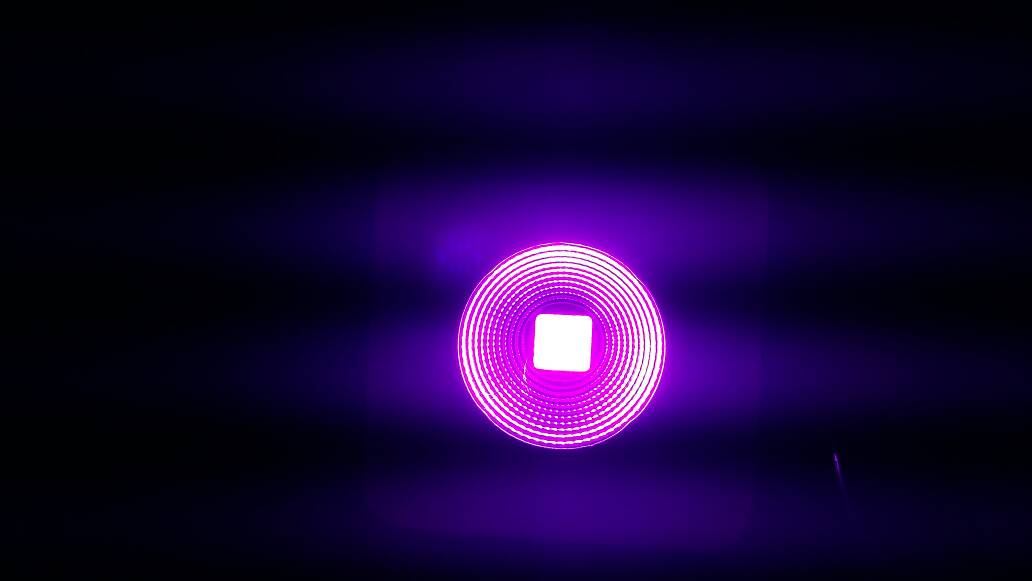
Looking forward to seeing them lit up
Got all six chips mounted today, just the fans to wire up tomorrow and I'm good to go
Me too! The build has been somewhat stressful.Looking forward to seeing them lit up
Thanks your girls are looking well in their new pots.This is really coming together. Nice job!
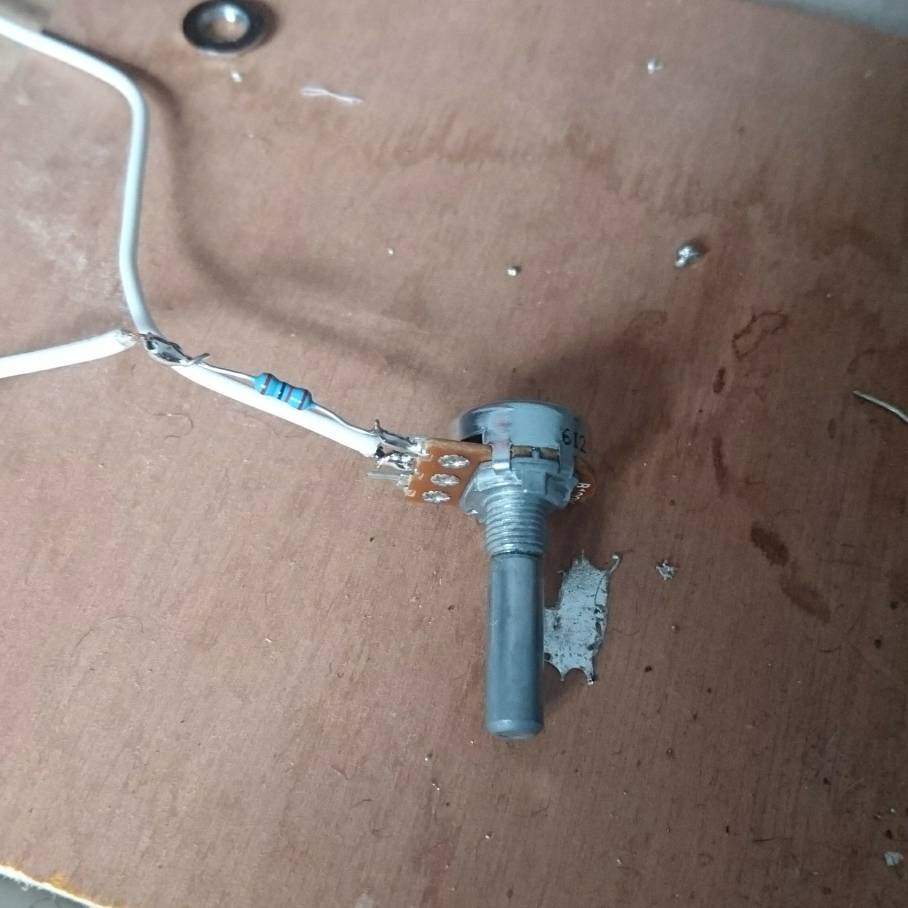
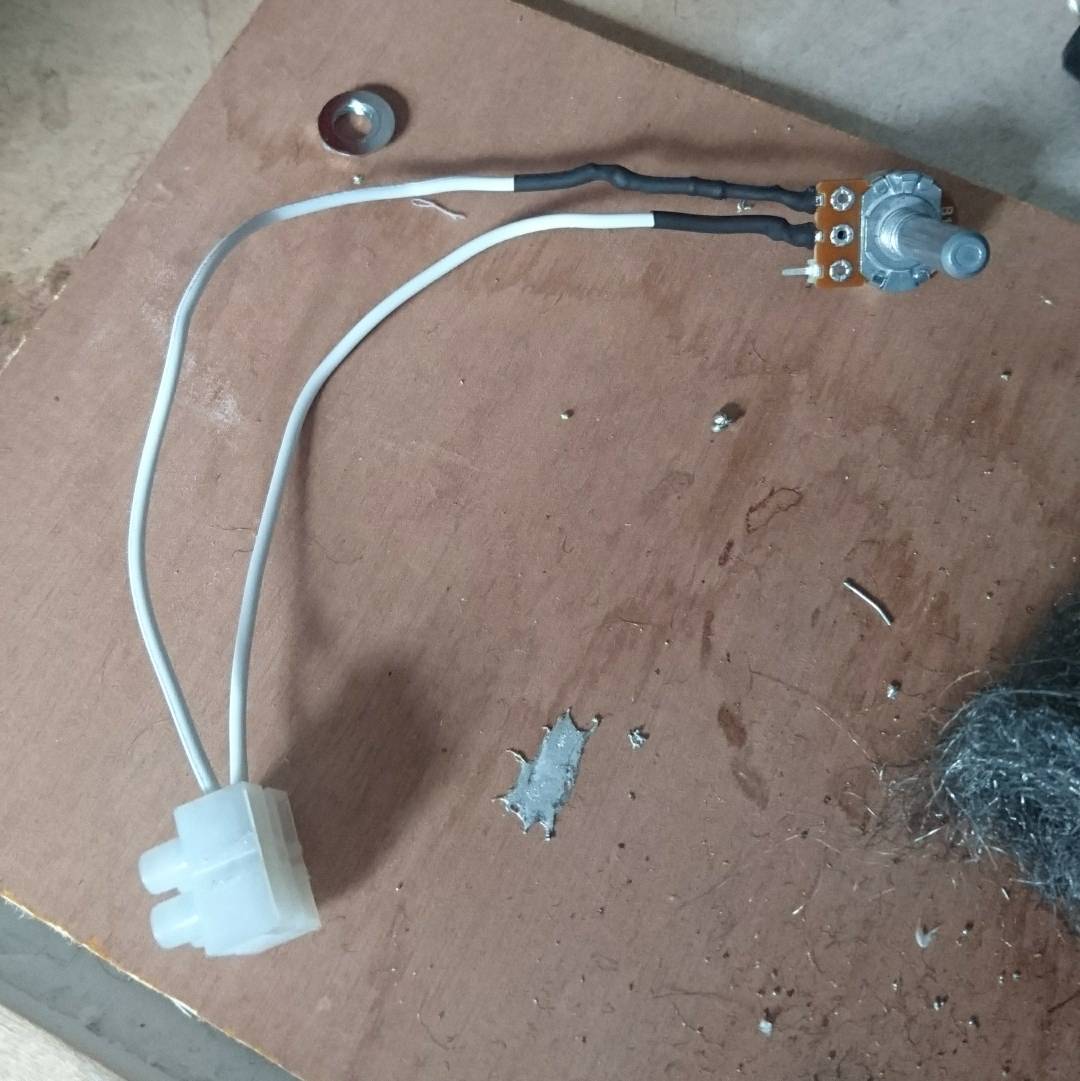
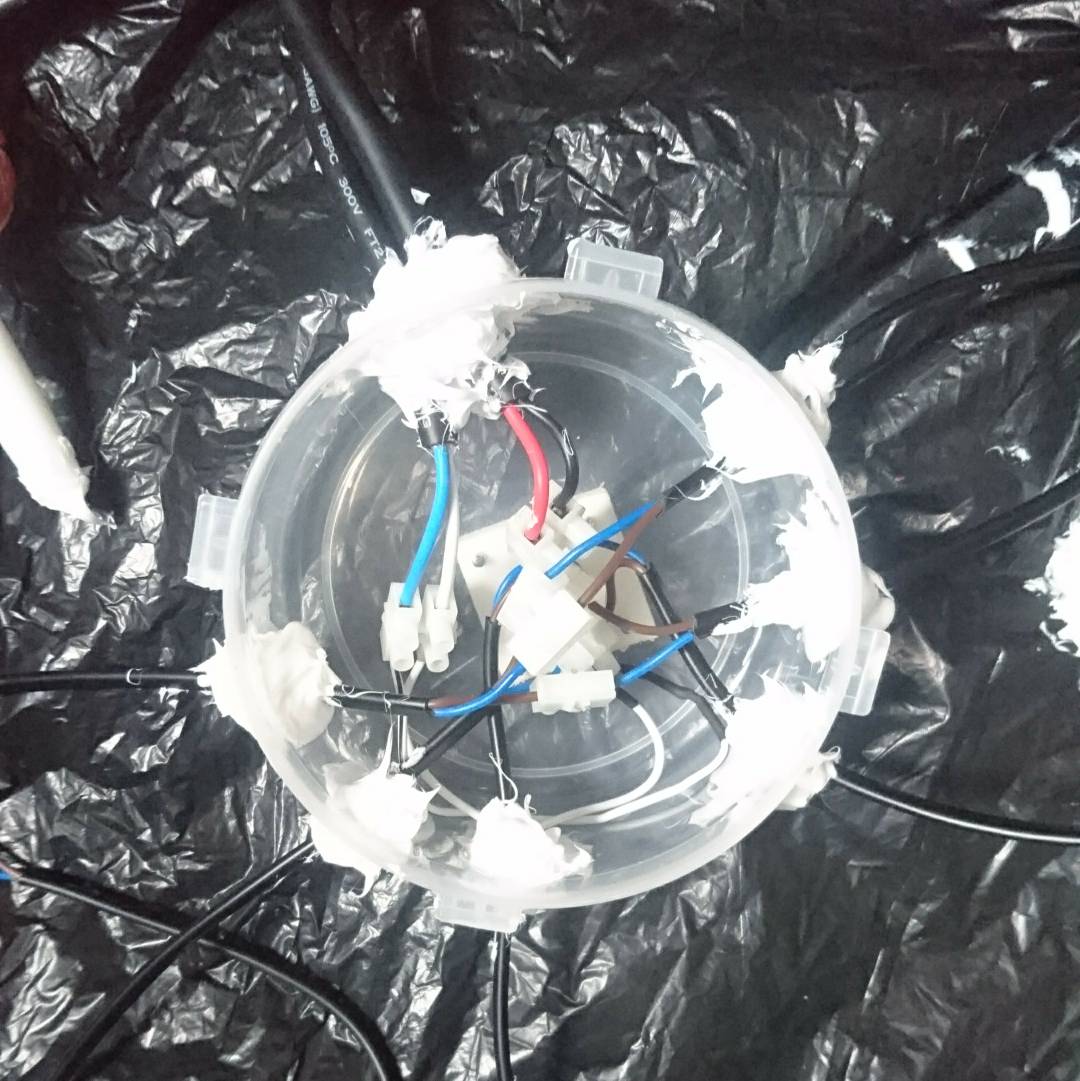
I tried this already, I think the wire I was using was just a little too thick and my soldering skills are mediocre as well so some ended up a bit lumpy. The hookup wire should give me a perfect connection just a shame having to wait when I thought I was nearly finished.You can try soldering the ends and see if that helps ?